
How to: Install your wwrs lip kit 5gen
 03-03-2009, 11:52 AM
#1
B*a*n*n*e*d
Thread Starter
Join Date: Dec 2008
Location: South Carolina
Posts: 46
Likes: 0
Received 0 Likes
on
0 Posts
Since the wwrs kit is basically a PITA to install thought i'd make a thread about how to install it from a normal persons point of view.
Front:
I dont have the front so anyone who has a front installed, would you like to add to this piece please?
Sides:
1. You do not need L brackets. They are basically worthless really.
2. Use double sided tape on the door sill part, it holds just fine.
3. Put double sided tape on the top of each end near the wheel wells
4. Have a friend help you to line it up and get the door sill part and wheel well part lined up and put onto the car
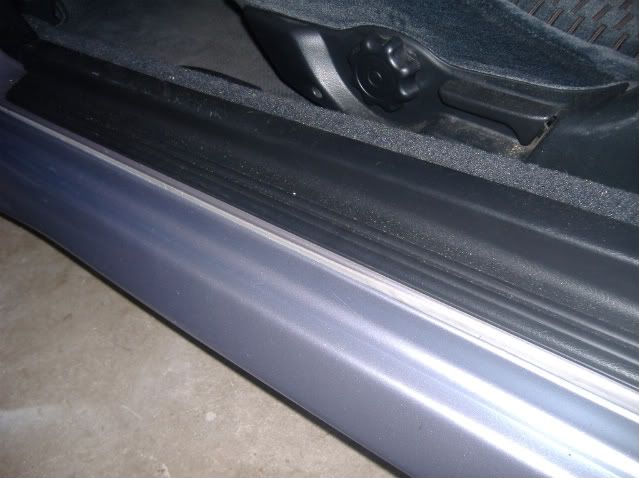
5. Put two self tapping screws on the under side in that flap piece. Use a jack or have a friend hold that flap to push the sides out and give it that "flare" the wwrs is known for
(wasnt able to get all of it since the car sits to low, but you can see one. These screws are to push the skirt out to help with flusness and give it that "flare")

Front:
Rear:
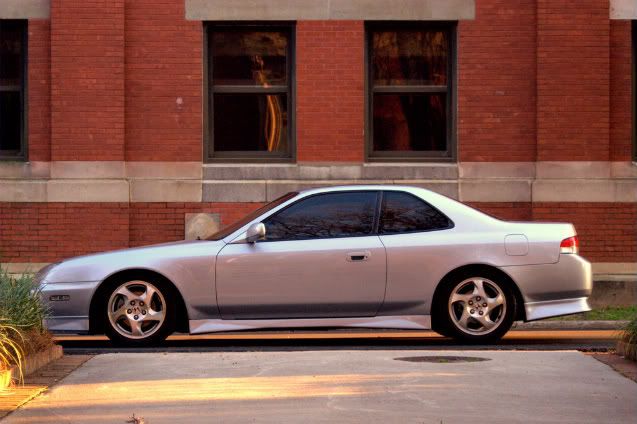
(how the sides look from a distance)
Rear:
1. You can either leave the black rear part on or take it off. W/e you feel comfortable with
2. Line the black rear piece with double sided tape
3. Put the wwrs rear piece onto the black piece until it is nice and even through out
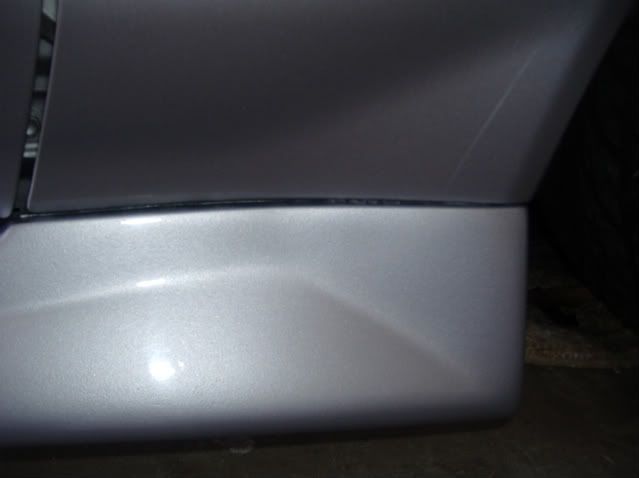
4. Put two screws through the lip into the black piece on each wheel well section and three screws on the flap on the underside of the rear lip into the black piece as well
(Wheel well screws)
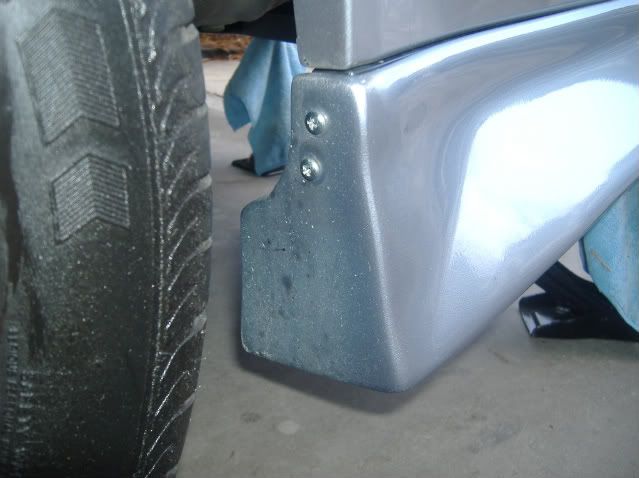
(Wasn't able to get a good one of the flap, but you can understand that part i assume)
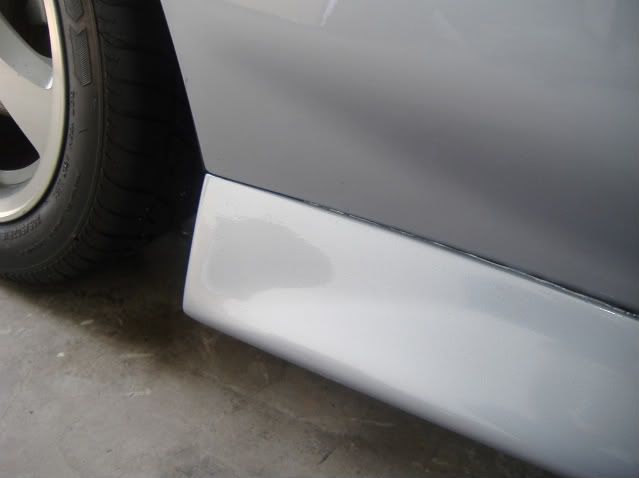
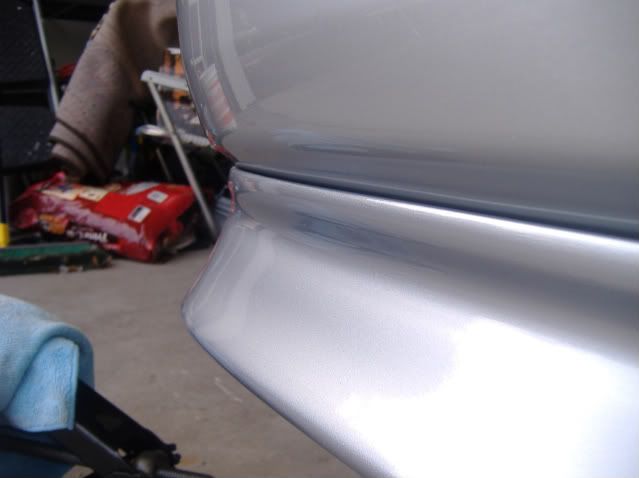
5. Get three scissor jacks and jack them up on each corner and one in the center to push the rear lip against the black piece to help the tape harden and stick (the longer you leave it the better, even leave it like that overnight for several wks and it will stick, i had a lot of problems with sagging but this solved the sagging problem)
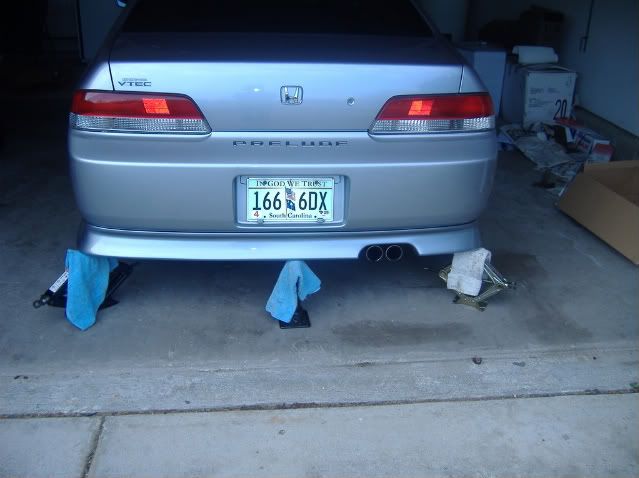
(How flush the rear sits when you do this for a while)
(And from a distance)

Hope that helped anyone with issues installing their wwrs kits. This is exactly what i did and its worked fine since. PM me if you have any questions and i will do the best i can to help
Jesse
Front:
I dont have the front so anyone who has a front installed, would you like to add to this piece please?
Sides:
1. You do not need L brackets. They are basically worthless really.
2. Use double sided tape on the door sill part, it holds just fine.
3. Put double sided tape on the top of each end near the wheel wells
4. Have a friend help you to line it up and get the door sill part and wheel well part lined up and put onto the car
5. Put two self tapping screws on the under side in that flap piece. Use a jack or have a friend hold that flap to push the sides out and give it that "flare" the wwrs is known for
(wasnt able to get all of it since the car sits to low, but you can see one. These screws are to push the skirt out to help with flusness and give it that "flare")
Front:
Rear:
(how the sides look from a distance)
Rear:
1. You can either leave the black rear part on or take it off. W/e you feel comfortable with
2. Line the black rear piece with double sided tape
3. Put the wwrs rear piece onto the black piece until it is nice and even through out
4. Put two screws through the lip into the black piece on each wheel well section and three screws on the flap on the underside of the rear lip into the black piece as well
(Wheel well screws)
(Wasn't able to get a good one of the flap, but you can understand that part i assume)
5. Get three scissor jacks and jack them up on each corner and one in the center to push the rear lip against the black piece to help the tape harden and stick (the longer you leave it the better, even leave it like that overnight for several wks and it will stick, i had a lot of problems with sagging but this solved the sagging problem)
(How flush the rear sits when you do this for a while)
(And from a distance)
Hope that helped anyone with issues installing their wwrs kits. This is exactly what i did and its worked fine since. PM me if you have any questions and i will do the best i can to help
Jesse

 03-03-2009, 05:44 PM
#3
B*a*n*n*e*d
Thread Starter
Join Date: Dec 2008
Location: South Carolina
Posts: 46
Likes: 0
Received 0 Likes
on
0 Posts
Well. Ive been using just what ive posted since Nov 2008 and havent had any problems with it. For the wwrs...isnt much else you can do on the rear
 03-04-2009, 12:34 PM
#7
B*a*n*n*e*d
Thread Starter
Join Date: Dec 2008
Location: South Carolina
Posts: 46
Likes: 0
Received 0 Likes
on
0 Posts

Thread
Thread Starter
Forum
Replies
Last Post
blue rocket
Honda Civic (2006 - 2015)
31
03-28-2007 07:04 PM