

 03-25-2015, 09:48 AM
Last edit by: IB Advertising
See related guides and technical advice from our community experts:
Browse all: Engine and Powertrain
- Honda: How to paint your engine cover
Step by step instructions for do-it-yourself repairs.
Browse all: Engine and Powertrain

DIY: Step-by-step how to paint your valve cover
09-11-2006, 12:12 PM
#1
Did a search and didn't find anything with detailed instructions so here's my write up. Not everyone will do it EXACTLY the same, but this will give you all a general idea on the necessary steps needed to do the job correctly.
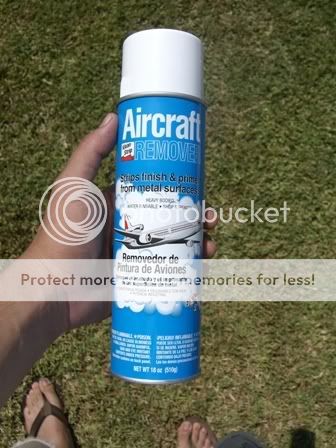
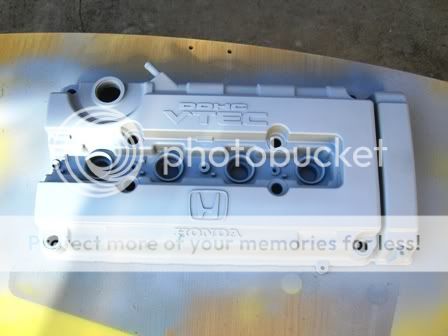
1. Get your preferred paint stripper/thinner. I used a can of Air craft paint remover. Worked good. The gel stuff is a bit stronger though. But with a few coats of the spray, a good amount came off. Personally i would rather use the can, its faster and easier to use. Just please, please make sure you wear gloves. My finger was killing me the rest of the day.
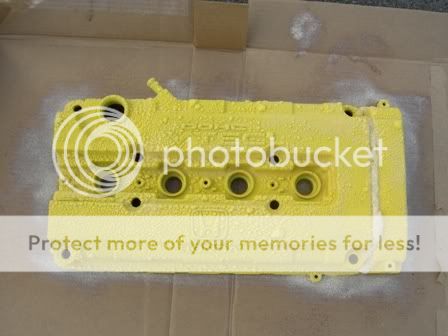
2. Once paint is bubbling up, and you have waited about 10 min for paint stripper to work, rinse or wipe off the paint. I used a hose and it did the job. You might have to repeat this process a coupe times if the paint is really thick, or just caked on there.
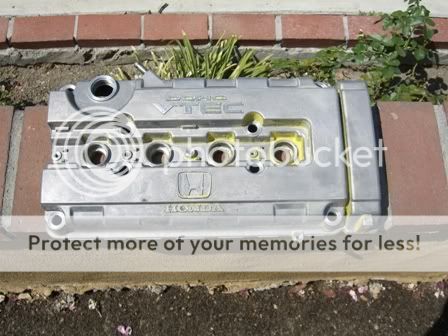
3. Once done with taking excess paint off, sand it lightly. I forget the grit that i used but it was about 800. Make sure everything is nice and smooth and ready for primer.
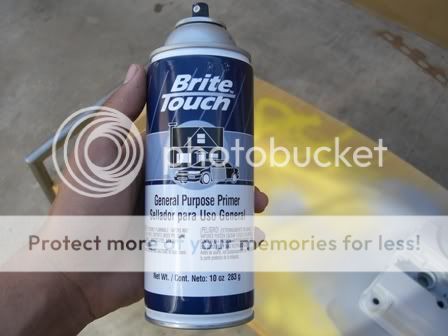
4. Now i used the cheap 2.99 primer instead of the 5.99 stuff. Worked just as good. Make sure to spray evenly from left to right or right to left. I put 2 coats of primer to make sure everything was covered give it 1-2 minutes between coats.
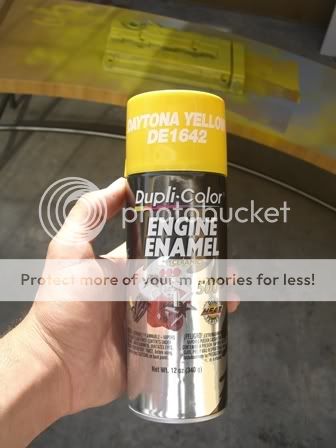
5. Let the primer dry for about 5 min. Will dry very quickly. Then get your preferred paint ready to go by shaking it for about 1 min.
6. The most important step is paint. In order to get a nice smooth finish, you need to be patient and not over do it. Coat by coat. When painting make sure to get a few sprays on the card board or floor or whatever your painting on to get an idea as to how far you need to be from the valve cover.
Once you have the first LIGHT coat. Let it sit for 10-15 min. DO NOT TOUCH THE PAINT TO MAKE SURE ITS DRY. Although it may be dry on the surface, the paint is still very soft and unless you like seeing your finger print in the paint, dont do it man! Repeat step 6 until you have atained the desired look.
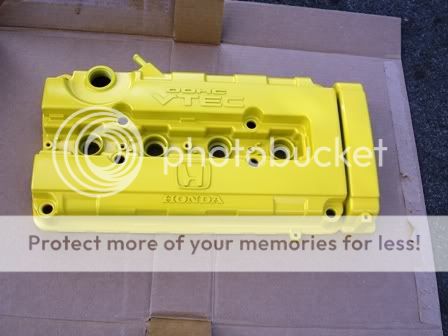
Never spray 1 spot only, you must spray from right to left in an even fashion or you will over spray.
7. Now again let the paint dry for another 15 min. Once this is complete, carefully take the valve cover(try not to touch any painted surface if possible.) and stick it in the oven at 215 degrees for 15 min. This will heat treat the paint so it will not chip off.
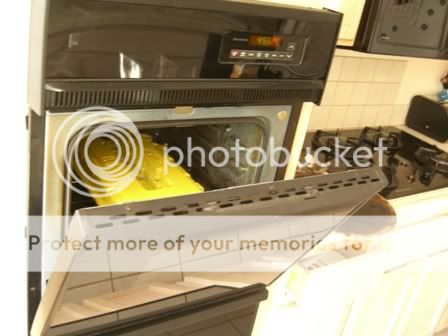
Get a towel or a mitt, take the cover out of the oven, let sit until its not burning your hand off, and enjoy!!
This is just one way you can do it. Hope this helps!
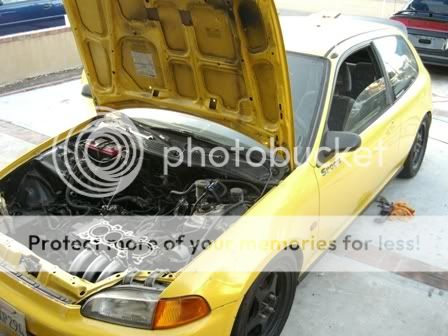
And just for kicks, the car its going in....
5.
1. Get your preferred paint stripper/thinner. I used a can of Air craft paint remover. Worked good. The gel stuff is a bit stronger though. But with a few coats of the spray, a good amount came off. Personally i would rather use the can, its faster and easier to use. Just please, please make sure you wear gloves. My finger was killing me the rest of the day.
2. Once paint is bubbling up, and you have waited about 10 min for paint stripper to work, rinse or wipe off the paint. I used a hose and it did the job. You might have to repeat this process a coupe times if the paint is really thick, or just caked on there.
3. Once done with taking excess paint off, sand it lightly. I forget the grit that i used but it was about 800. Make sure everything is nice and smooth and ready for primer.
4. Now i used the cheap 2.99 primer instead of the 5.99 stuff. Worked just as good. Make sure to spray evenly from left to right or right to left. I put 2 coats of primer to make sure everything was covered give it 1-2 minutes between coats.
5. Let the primer dry for about 5 min. Will dry very quickly. Then get your preferred paint ready to go by shaking it for about 1 min.
6. The most important step is paint. In order to get a nice smooth finish, you need to be patient and not over do it. Coat by coat. When painting make sure to get a few sprays on the card board or floor or whatever your painting on to get an idea as to how far you need to be from the valve cover.
Once you have the first LIGHT coat. Let it sit for 10-15 min. DO NOT TOUCH THE PAINT TO MAKE SURE ITS DRY. Although it may be dry on the surface, the paint is still very soft and unless you like seeing your finger print in the paint, dont do it man! Repeat step 6 until you have atained the desired look.
Never spray 1 spot only, you must spray from right to left in an even fashion or you will over spray.
7. Now again let the paint dry for another 15 min. Once this is complete, carefully take the valve cover(try not to touch any painted surface if possible.) and stick it in the oven at 215 degrees for 15 min. This will heat treat the paint so it will not chip off.
Get a towel or a mitt, take the cover out of the oven, let sit until its not burning your hand off, and enjoy!!
This is just one way you can do it. Hope this helps!
And just for kicks, the car its going in....
5.

 09-11-2006, 01:30 PM
#7
Honda-Tech Member
Join Date: Aug 2003
Location: gold rust on my mugen rims
Posts: 19,768
Likes: 0
Received 0 Likes
on
0 Posts
LOL at you finger
oh yeah
it might be better if you use high temp primer as well. Just so the base coat can with stand the temp.
And use High Temp Clear...makes the VC easier to clean when it get greasy

so the spray on **** sucks???
I almost dies using the gel **** freakin gotta wear a mask
oh yeah
it might be better if you use high temp primer as well. Just so the base coat can with stand the temp.
And use High Temp Clear...makes the VC easier to clean when it get greasy
so the spray on **** sucks???
I almost dies using the gel **** freakin gotta wear a mask
Trending Topics
 09-11-2006, 02:38 PM
#10
Thanks yall for the comments.
Ya I decided not to clear it, dont want it to be too shiny.
I repainted it because the first time around I got a couple hairs in it and I didnt have a chance to take step-by-step pictures.
The first time, I baked it twice. lol thats probable why it wouldnt come off.
Ya I decided not to clear it, dont want it to be too shiny.
I repainted it because the first time around I got a couple hairs in it and I didnt have a chance to take step-by-step pictures.
The first time, I baked it twice. lol thats probable why it wouldnt come off.
10-17-2006, 10:54 PM
#18
Honda-Tech Member
iTrader: (1)
Join Date: May 2005
Location: Narita - LAX
Posts: 3,553
Likes: 0
Received 0 Likes
on
0 Posts
after the paint was stripped I would have sanded with a more coarse grit of sand paper. 200 or 400 something, 800 is very fine. I sand mine with 200 before prime. After the paint was layed, I would have let it dry and then wet sand with the 800. Then follow with a clear coat.
 nice write up !
03-01-2007, 08:04 PM
nice write up !
03-01-2007, 08:04 PM
#25
Honda-Tech Member
Join Date: Feb 2007
Location: stafford, virginia, USA
Posts: 132
Likes: 0
Received 0 Likes
on
0 Posts
for primer use an epoxy primer...sticks better to metal or self etching...make sure u clean the valve cover very well so no dust is on it when ur painting it