Honda Civic: How to Replace Your Headlights
From time to time, you may need to remove your headlights. Maybe it's because they need repair, or maybe it's time for an upgrade. Regardless the reason, read on to replace them yourself.
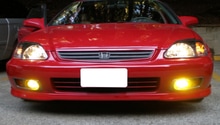
This article applies to the Honda Civic (1992-2000).
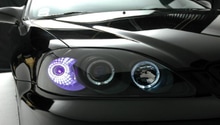
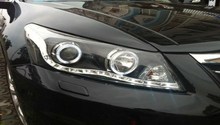
It's obvious the benefits that headlights provide. They keep you safe by illuminating the road ahead of you, and making you visible to other drivers. Unfortunately, headlights have a certain life expectancy, and will need to be replaced at some point in your car's lifetime. Whether that's something you need to do or something you want to do in order to install new set of aftermarket headlights, read this guide to find out how to get the job done. If you aren't too familiar with working under the hood, then it would be easier to visit a professional shop.

Materials Needed
- New headlight assembly
- 10mm socket, extension, and ratchet
- Flat head screwdriver
- Phillips screwdriver
Step 1 – Loosen the bumper
In order to reach the headlight housing, the front bumper must be tilted forward.
- First, disconnect the negative terminal (black cover) of the battery.
- With a flat head screwdriver, pry off seven body clips located on top of the bumper and grille.
- Inside of the wheel well (directly behind the headlight) is a plastic screw. Remove it with a Phillips screwdriver.
- Repeat this process with the screw on the other wheel well.
- In the same area of the front wheel well, carefully pull the bumper out, but just enough to reach the 10mm bolts. Make sure not to undo the clips attached to the frame.
- Remove the two bolts with a 10mm socket and ratchet. These bolts attach the bumper to the frame.

Figure 1. Remove seven body clips from the top of the front bumper and grille. 
Figure 2. Remove the bolts only.
Step 2 – Remove the headlight housings
In order for the housing to be removed, additional bolts must be removed.
- Two 10mm bolts are located vertically on the side of the headlight housing, facing the middle of the car. To remove both bolts, use your 10mm socket, ratchet, and extension.
- Then, unbolt the two 10mm bolts located directly on top of the headlight housing.
- Once the headlight housing is loose, remove the two wire harnesses that are plugged into the bulb sockets. Rotate them counterclockwise, and pull straight out.
- Repeat these steps with the other headlight housing.
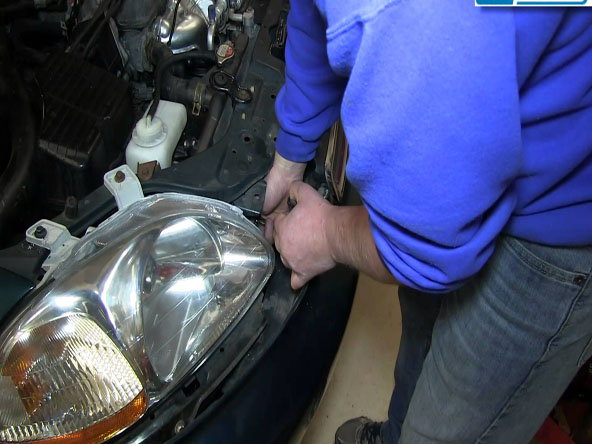
Figure 3. Remove two 10mm bolts from the side of the housing. 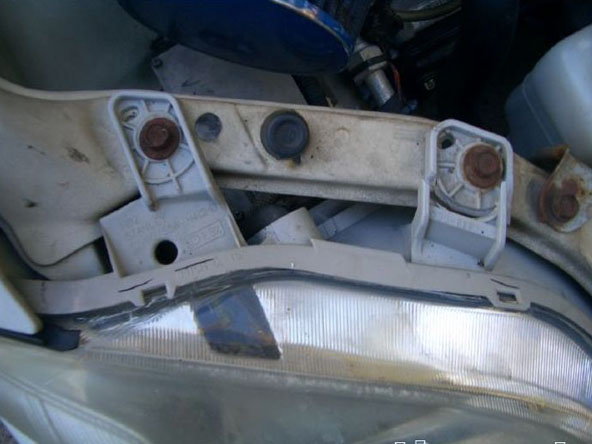
Figure 4. Remove two 10mm bolts on top of the housing. 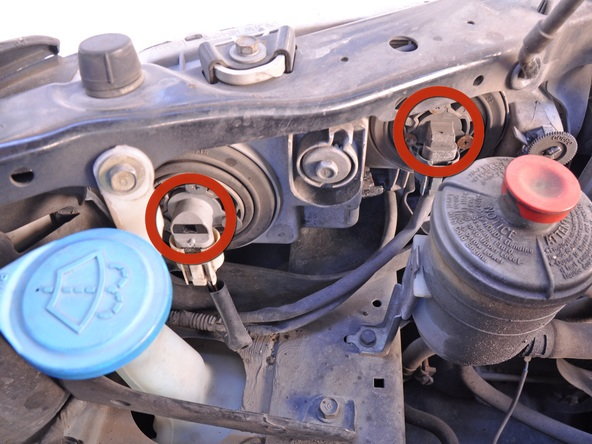
Figure 5. Unplug the two headlight wire harnesses (circled in red).
Step 3 – Install the new headlight housings
Install the new headlight housing in reverse order to the steps above.
- Plug in the two wire harnesses into the new headlight housing, and place the housing into its proper location.
- Screw in the two 10mm bolts on top of the housing, followed by the two 10mm on its side.
- Push the bumper back into position, and make sure that the exterior bolts by the wheel well line up correctly.
- Fasten the bolts that attach the bumper to the frame.
- Then, fasten the plastic Phillips screw to the front inner wheel well.
- Repeat these steps with the other side of your car.
- Push in the seven plastic body clips back to the top of the grille and bumper.
- Reconnect the battery, and test the headlights.
Featured Video: How to Install/Remove Headlights
Related Discussion
- Replace Front Headlights/Bumper Removal - Honda-Tech.com