Honda Civic: How to Replace Rear Main Seal
Replacing the RMS on any car can be daunting. Fortunately, here is the breakdown on how to get through it. Continue reading to learn how to replace the rear main seal on your Honda Civic.
This article applies to Honda Civic/Del Sol (1992-2000).
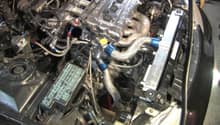
The rear main seal is situated between the engine and transmission, which allows for oil to flow from the engine to the flywheel or flex plate depending on your transmission type. If it starts to leak, you can loose oil very quickly. Replacing the seal isn't the easiest of tasks because you'll need to remove the transmission, but it is doable with the proper tools and patience. If you're weary about doing the job, it is suggested letting a shop handle it, so you don't damage your engine or transmission.

Materials Needed
- Rubber mallet
- Sockets ranging from 8mm to 19mm
- 10mm and 17mm 12-point socket
- Breaker bar
- WD-40 or something similar
- Brake cleaner
- Shop towels
- Drain pan
- Two jack stands
- Wheel chocks
- Floor Jack
Step 1 – Preparation
-
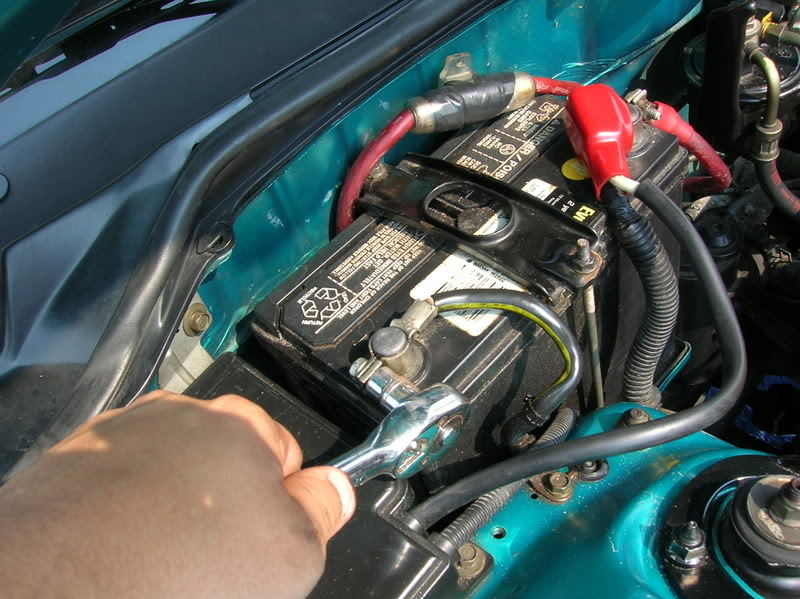
In order to access the RMS, multiple items will need to be addressed. First, unplug the battery.
-
Then, unbolt the electrical connections from the starter and remove it.
-
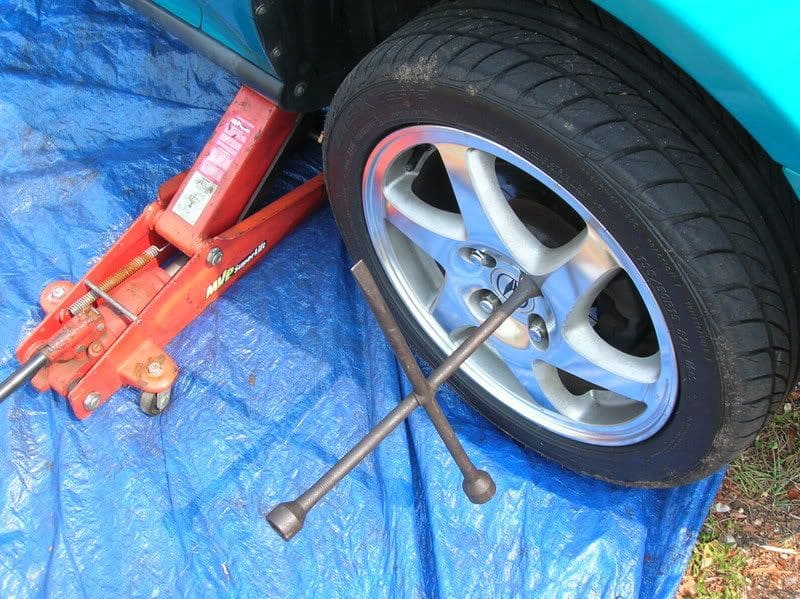
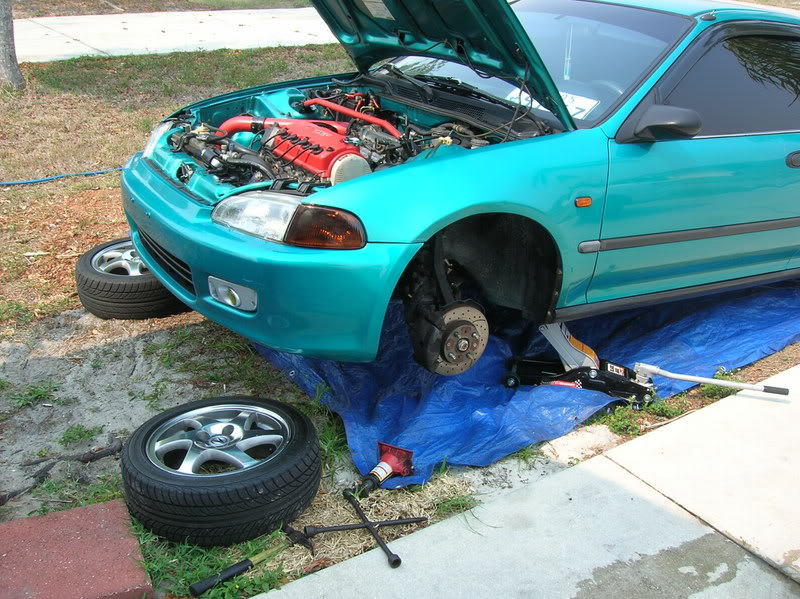
From here, you will need to chock the rear wheels. Jack up the front end, and remove both front wheels.
-
Raise the front of the car high enough in order to work under it, and lower the transmission. Budget at least 24" of clearance. Then, lower the car onto jack stands. Never work under a vehicle not supported by jack stands.
-
Place your drain pan under the transmission drain plug, and then loosen it with a socket to allow it to drain out.
(Related Article: How to Jack Up Your Civic - Honda-Tech.com)
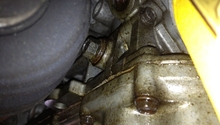
Step 2 – Transmission removal
- Using your socket, remove any brackets securing the plugs and wires to the transmission.
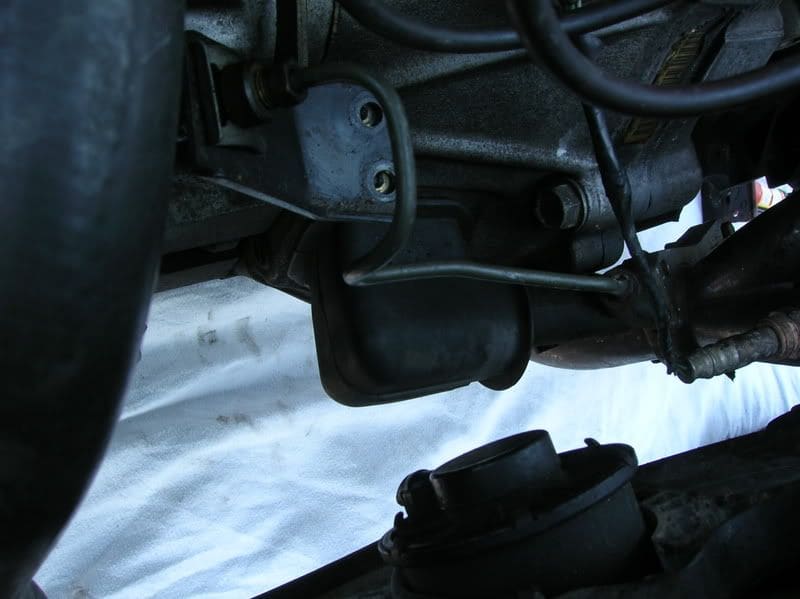
Figure 6. Bracket removal. - Unplug all wires from the transmission. It may be helpful to take photos as you do this, so you know where they go during re-installation.
- Remove the two bolts holding on the slave cylinder.
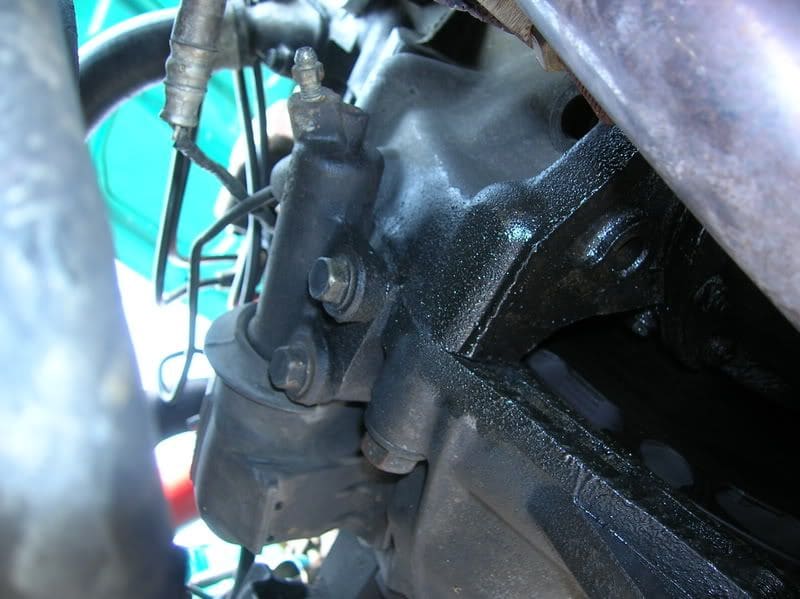
Figure 7. Slave cylinder. - Position your floor jack under the transmission with a little tension on it to hold it in place.
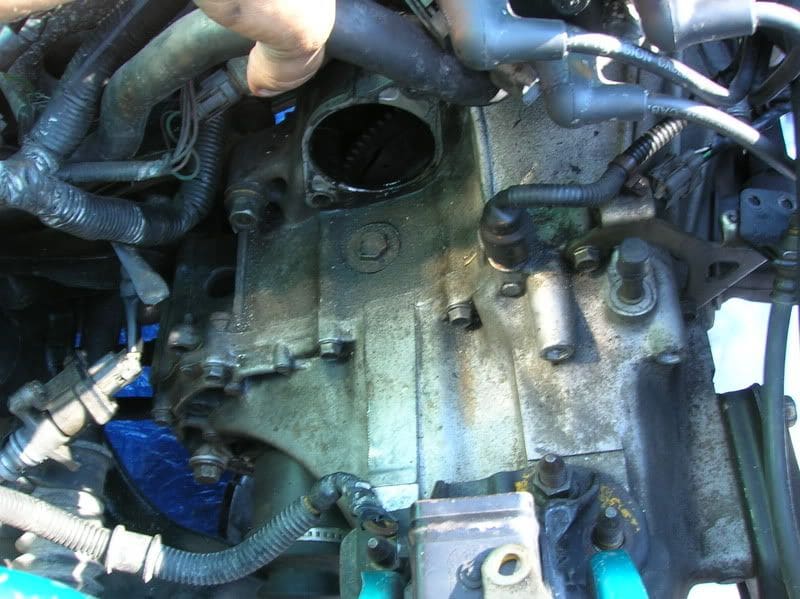
- Remove the four 17mm bolts holding the transmission to the engine.
- Remove the 19mm bolt at the top near the starter hole, and the two 19mm bolts underneath holding the transmission. Your transmission is now fully disconnected from the engine.
- Gently pry the transmission back from the engine until it comes free, and then you can lower it down. If you wish, you can pull the transmission out from under the car to give yourself more working space, but it isn't completely necessary.
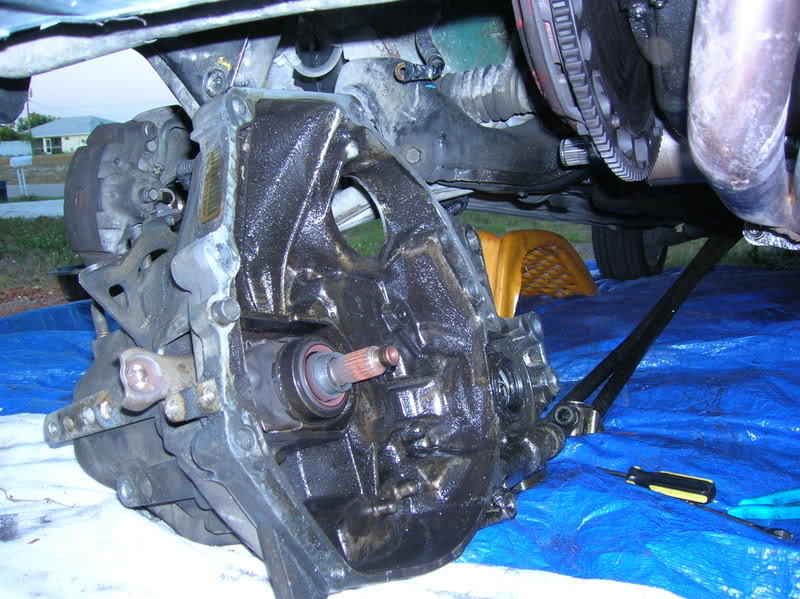
Figure 8. Transmission lowered.
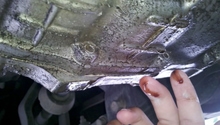
Step 3 – Rear main seal removal
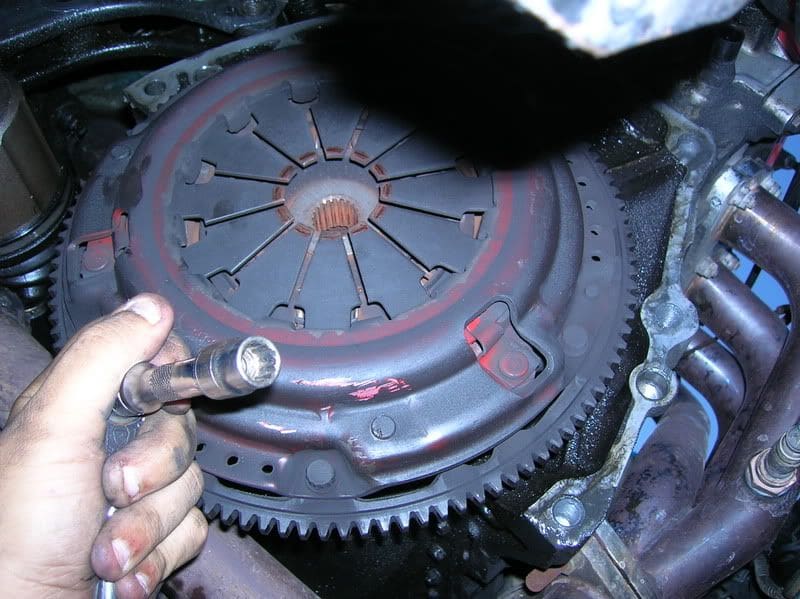
-
Using the 12-point, 10mm socket, remove the pressure plate assembly from the back of the motor.
-
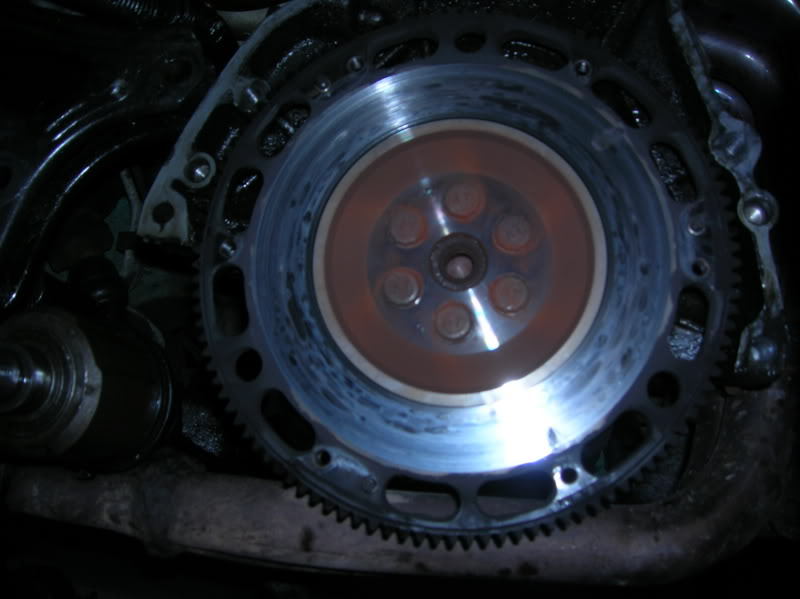
Using the 12-point, 17mm socket, remove the flywheel assembly.
-
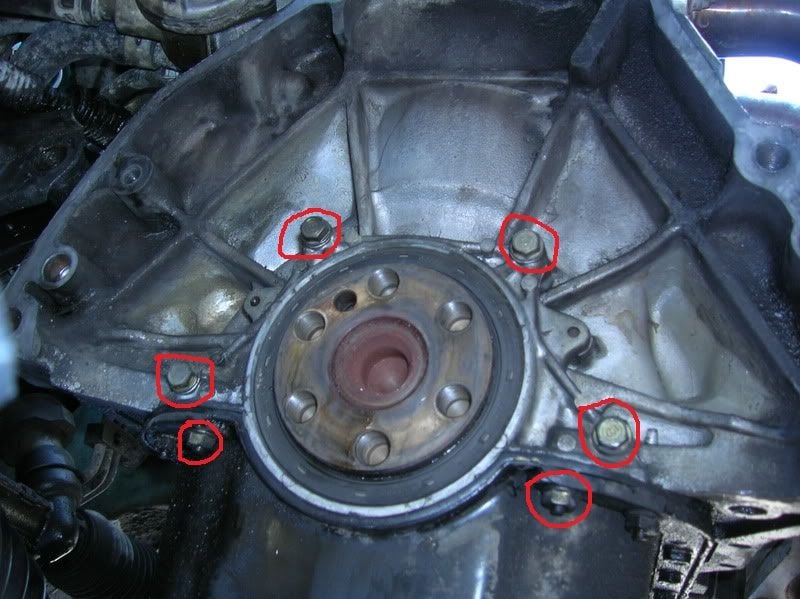
3. Using a 10mm socket, remove the six bolts holding on the rear main seal bracket.
Step 4 – Rear main seal replacement
- Lay the bracket on a flat surface upside down. Depending on how worn the old seal is, you may be able to push it out by hand. Otherwise, you can knock it out gently by using a rubber mallet going in a circular pattern around it.
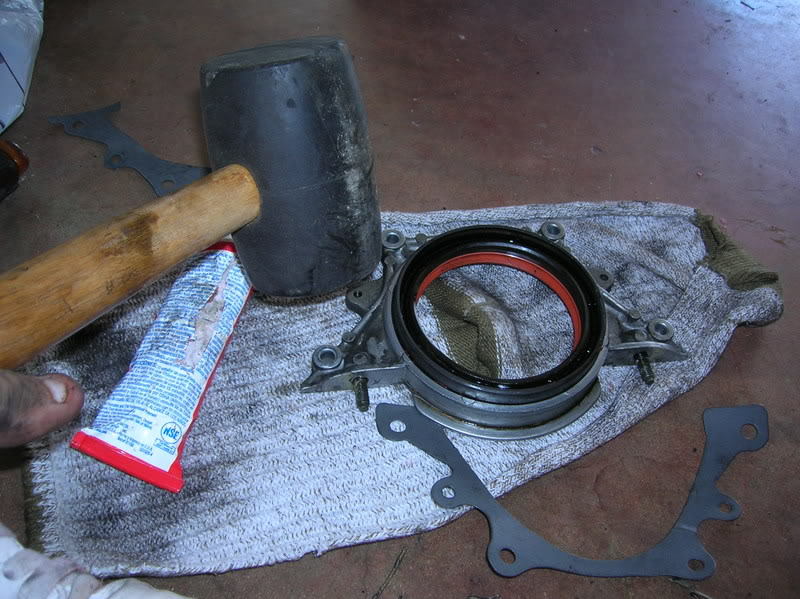
Figure 12. Remove old seal. - Lay the new seal face down on a flat surface, and place the bracket over it. Gently going in a circular pattern, tap the new seal into place using the rubber mallet.

Figure 13. New seal installed.
Step 5 – Installation
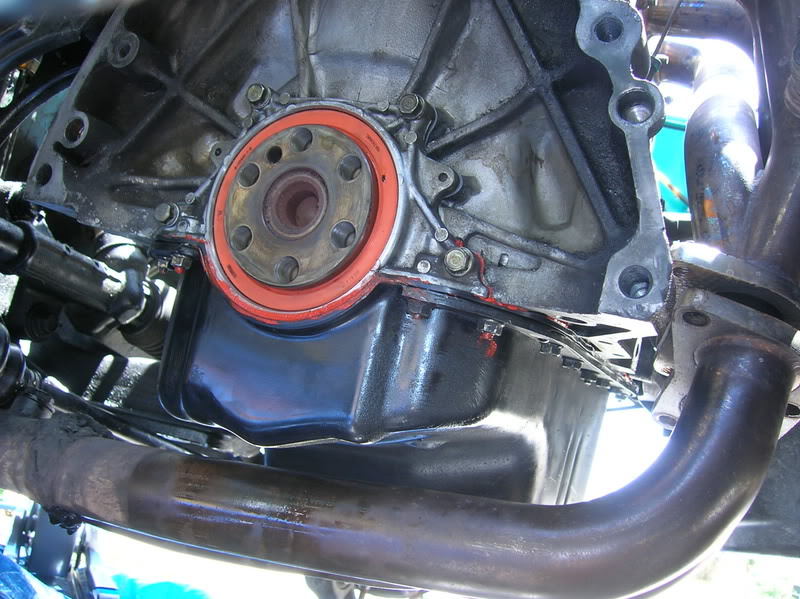
- Line up the bracket with the new rear main seal in place, and then bolt it down using the six 10mm bolts. Don't forget to place the bracket gasket back on.
- Re-install the flywheel assembly using the 12-point, 17mm socket.
- Re-install the pressure plate assembly using the 12-point, 10mm socket.
- Position your transmission onto the floor jack, and then slowly raise it back up into place.
- Once the transmission is lined up, slide it forward to engage it to the motor.
- Re-install the four 17mm bolts and the three 19mm bolts that hold the transmission to the motor.
- Re-install the slave cylinder.
- Re-install any wires and brackets removed from the transmission.
- Re-install the starter onto the engine block.
- Refill the transmission fluid with new, clean fluid.
- Reconnect the negative (black) battery cable.
- Top of the engine oil if needed.
- Re-install front wheels, and lower car off of jack stands onto the ground.
With a new rear main seal in place, it's very important to keep an eye on it for the next week (or so) to check for any leaks. Any leaks are a sign that the seal or something else didn't seat well, and will require you to fix it as soon as possible.
Related Discussions
- How to Replace Rear Main Seal - Honda-Tech.com
- D16 Rear Main Seal Replacement - Honda-Tech.com
- Rear Main Seal Access Question - Honda-Tech.com