Honda Accord: How to Replace Your Headlight Assembly
Misaligned headlights, dimming, grazing, flaking lens surface. If any of those sound familiar, it's time to replace. Keep reading to learn how to replace the headlight assemblies on your Honda Accord.
This article applies to the Honda Accord (1990-2002).
Headlight integrity is crucial for safe driving conditions. Proper maintenance can significantly lower the risk of accidents. Broken headlights hurt your visibility when driving at night, and visibility is a two-way street (seeing and being seen). This article will guide you on how to remove the headlight assembly on your Honda Accord to limit the risk on the road.

Materials Needed
- 10 mm and 8 mm socket
- Socket wrench
- Flat head screwdriver
- Phillips screwdriver
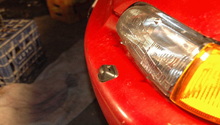
Step 1 – Pop the hood and detach light bulb connectors
- Before beginning any headlight repairs, make sure the headlights are switched off.
- The connectors for the headlight wiring are located in the back of the headlight assemblies. On most vehicles they are a twist fit. Rotate the connectors, and then pull the housings with the bulbs still attached. Do not force this because the plastic connectors could break.
Figure 1. Make sure the headlights are switched off. Figure 2. Light bulb connectors.

Pro Tip
Do not touch the headlight bulbs with your bare hands. This will create hot spots on the bulb and shorten their lifespan.
Step 2 – Remove the front bumper attachment clips and the bumper
- Remove the bolts located on the bottom corners of the bumper, and remove them with an 8 mm socket wrench.
- Locate the plastic pins along the bottom of the bumper. Use a flat head screwdriver to pop up the heads of the push pin, and remove the entire push pin assembly from the holes. Many of these push pins are located on the plastic undertray, as seen in Figure 4.
- There are four clips along the top of the bumper. While still holding it in place, very gently lift the bumper as you pull it away from the car to free the clips. Then remove the bumper.
Figure 3. Use an 8 mm socket wrench to remove the circled bolt. Figure 4. Location of the push pin. Figure 5. Use a flat head screwdriver to pop up the push pin.


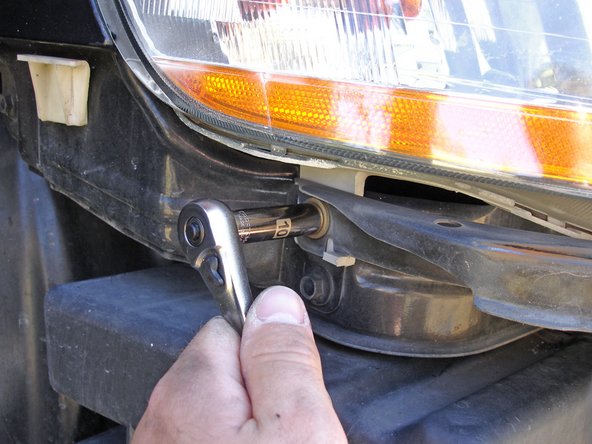
Step 3 – Remove the headlight
- Below the headlight is a metal support bracket secured on with three 10 mm bolts. Remove the bolts, and then remove the bracket.
- There are two additional 10 mm bolts underneath the headlight that require removal. You will also need to remove the upper support bracket, which attaches the headlight to the upper tie bar of the radiator support.
Figure. 6 Remove the 10 mm bolts. Figure 7. Remove the bracket. Figure 8. Remove the additional 10 mm bolts.


Step 4 – Install new headlight
The replacement housing should slide into place with the mounting brackets lined up. Once an initial fitment test is done, all that is required is to reassemble. The re-installation is reverse of removal.
Featured Video: How to Replace Headlight Assembly on Accord
Related Discussions
- Headlight Replacement Discussion - Honda-Tech
- Accord Bulb Replacement - Honda-Tech