Honda Accord: How To Replace Parking Lights with LEDs
If you're customizing the parking lights in your Accord with premium LED bulbs, this article will help you get the job done.
This article applies to the Honda Accord (1990-2002).
Some repairs and replacement parts simply do not require the attention of a mechanic or Honda dealership. Replacing the parking lights on your Honda Accord is one of them. Why pay a professional auto mechanic for a repair that any novice DIY-er can complete in under 30 minutes? You don't need to know the inner workings of your vehicle, and since you won't be handling complex cables, completing this DIY project is as simple as 1-2-3! Grab your Phillips screwdriver and a couple of replacement LED bulbs from your local auto parts store (or online retailer), and let's get started.

Materials Needed
- LED bulbs
- Phillips screwdriver
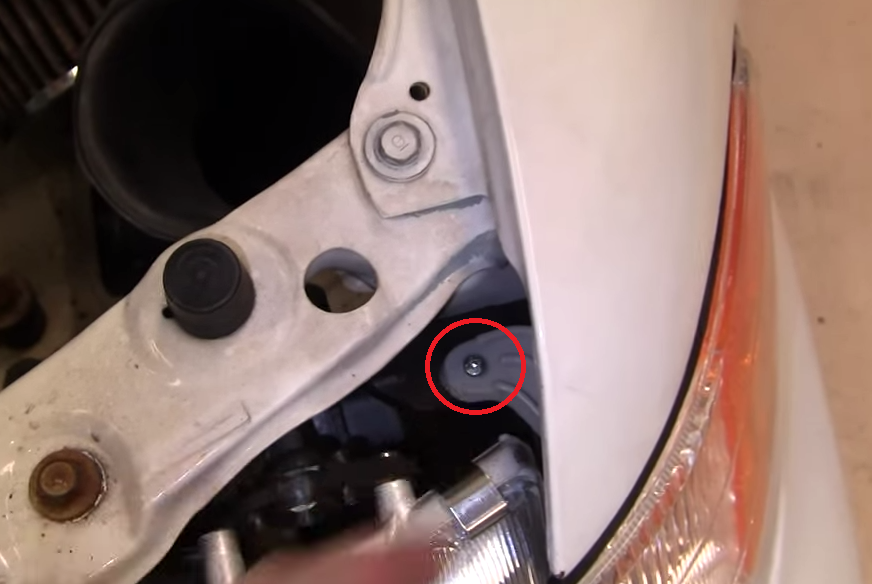
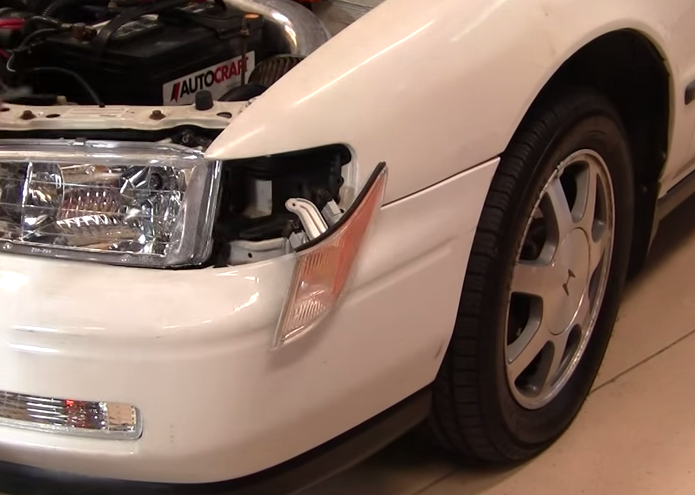
Step 1 – Locate and remove the parking light screw
From the driver side position, the parking light screw is located at the front-right corner of the engine bay. Using your Phillips screwdriver, remove the screw that holds the parking light and side parking light assembly in place. Do the same with the passenger-side assembly.
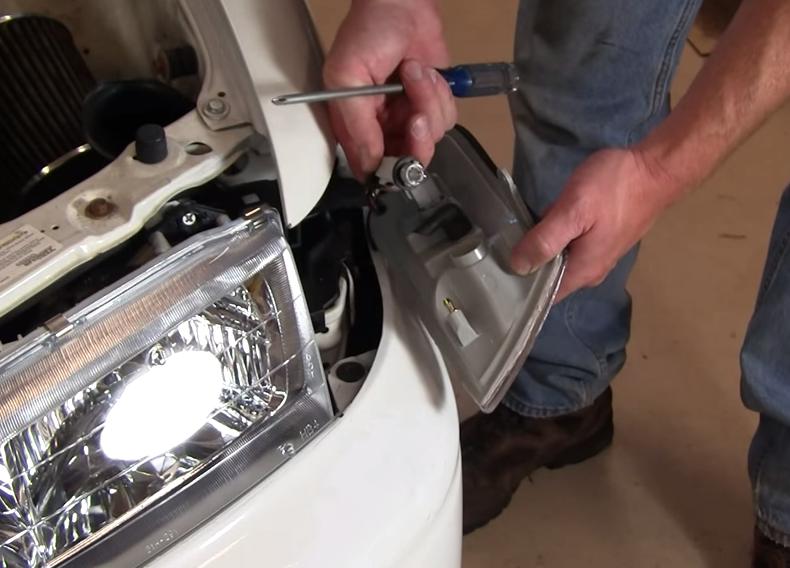
Step 2 – Remove the parking light assembly
Carefully pull the driver's side parking light assembly outward, but do not detach it from the vehicle. The light connectors should still be attached to the assembly. Repeat this process with the passenger-side parking light assembly.
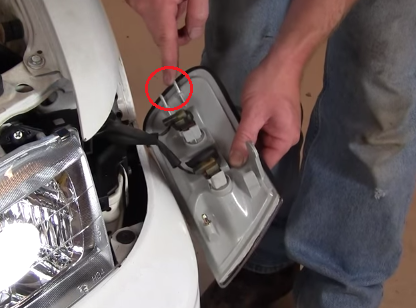
Step 3 – Replace the parking light bulbs
To remove the stock parking light bulb (the front light bulb), twist the connector counter-clockwise to pull it from the housing. Carefully remove the bulb from the socket by twisting it counter-clockwise and pulling it out; set the stock light bulb aside. To install the new LED bulb, insert it into the socket and secure it by twisting counter-clockwise. Repeat this process with the passenger-side parking light.
Pro Tip
Lumen brand LED bulbs retail for approximately $10 to $20 online.
Step 4 – Re-install the parking light assembly and test
Use the side markers of the parking light assembly to guide back into place. Then, reattach the screw to secure the assembly. Test the LED parking light by turning on the ignition and putting the car in park; make sure the parking light turns on.
Pro Tip
If the new LEDs fail to illuminate when the vehicle is running, turn the vehicle off and check the fuse box under the hood. You may have a blown fuse and will need to replace it if so.
Related Discussions
- Honda Accord Bulb Fitments - Honda-Tech.com
- How to Replace Side Marker/Parking Light Bulbs - YouTube.com