Honda Accord: How to Replace Brake Pads, Calipers and Rotors
Replacing the brake pads, calipers and rotors is not as difficult as you may think. Read here to find out how to do this job yourself.
This article applies to the Honda Accord (1990-2002).
The brakes are arguably the most important components of any vehicle. Next to your tires, the brakes are what will save your life. You need excellent stopping power for that stray dog, inattentive driver, or that curve that just snuck up on you. Having a professional do this job can cost a great deal, but doing it yourself will probably take quite a bit longer. If you have the time, you can do this job yourself, saving you a bundle of cash. You do not need to have any great mechanical skills to do this job, just time, patience, and a hub-puller. If this just doesn't seem like a job you want to tackle, just make sure that you take your car to a reputable professional mechanic and don't put it off. Your brakes are too important to let go.

Materials Needed
- Ratchet and socket set
- Hub-puller
- Torque wrench
- Breaker bar
- C-clamp
- Hydraulic floor jack and jack stands
- Off-set 12 mm wrench
- A helper/assistant
If you need to replace the calipers, you will need to drain the brake fluid from the master cylinder and bleed the brake lines before jacking up the car. If you do not need to replace the calipers, you do not need to bleed the brake lines at this point. An alternate method which can be done at your own discernment is to take a small pair of vice grips and cover the ends with thick tubing (such as brake line tubing) and pinch off the brake line behind the calipers. Either method will work.
Step 1 – Loosen the lugs, jack up the car
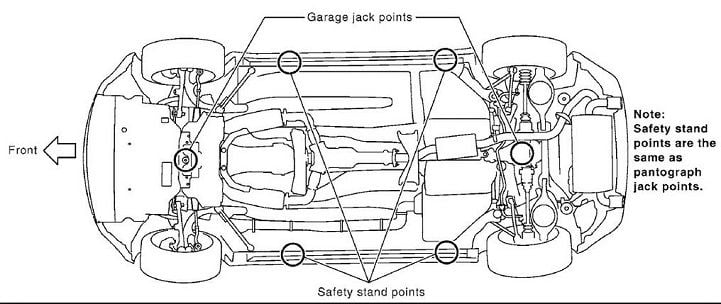
Loosen the lug nuts on your tires first before jacking. They may be very tight and require a bit of muscle and cranking to break them free. Just loosen them, don't take them completely off yet. Jack the front end up high enough to get the jack stands under the correct location points. Set the car on the jack stands and remove the wheels.
(Related Article: How to Jack Up Your Accord - Honda-Tech.com)
The rest of the instructions will apply to both the passenger and driver sides of the car.
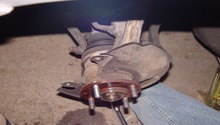
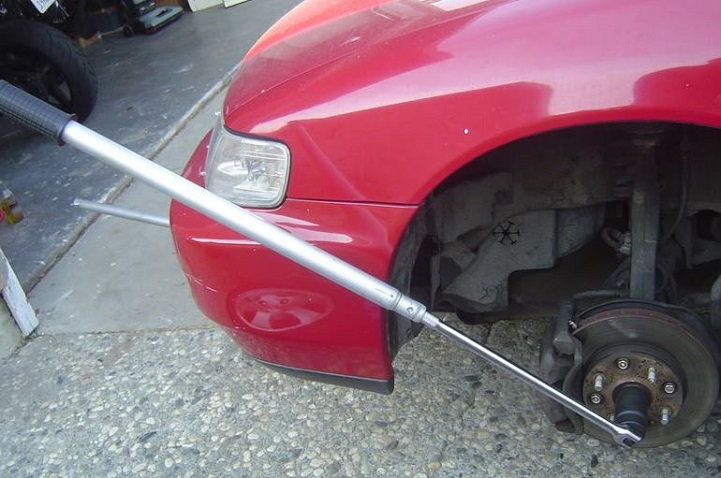
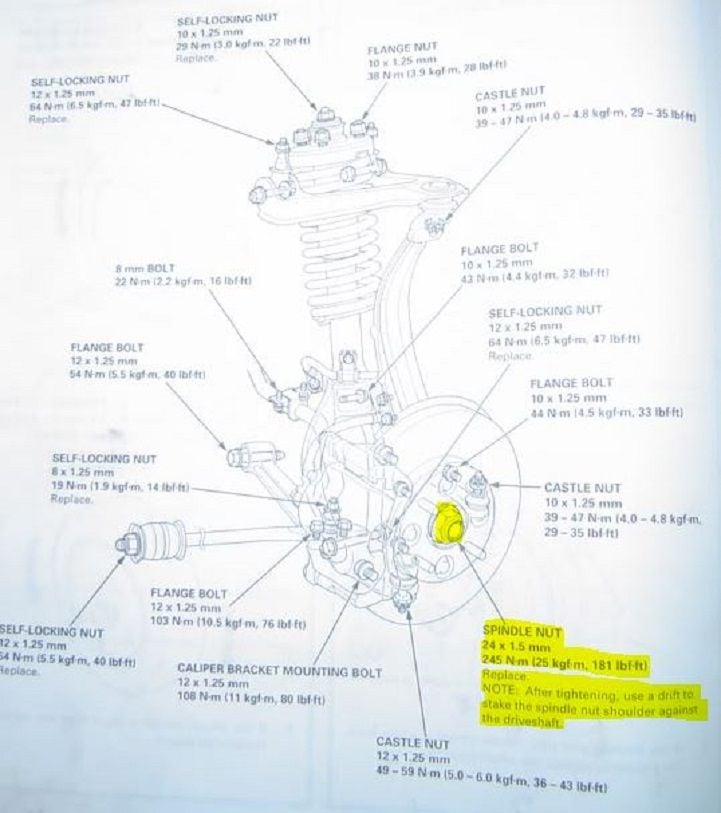
Step 2 – Remove the spindle nut and bolt
Use a screwdriver or a nail and hammer the spindle bolt in the void where the metal bends in to make it form a circle so you can pull it off. Use a 36 mm socket and long handled ratchet to remove this bolt. An air ratchet is optimal for this job, but it will come off with a little bit of force. The long-handled ratchet will do nicely. You will need someone to depress the brake pedal while you wrench on the bolt to prevent it from spinning. Some models may use a cotter pin to secure the hub nut; these are one-time-use items and require replacement upon removal.
Step 3 – Loosen the four flange bolts on the hub
Break free the four flange bolts on the front of the hub. Again, you will need someone to be depressing the brake pedal for this. Just get them loosened; do not take them completely off.
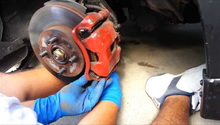
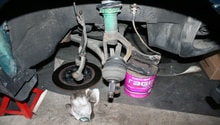
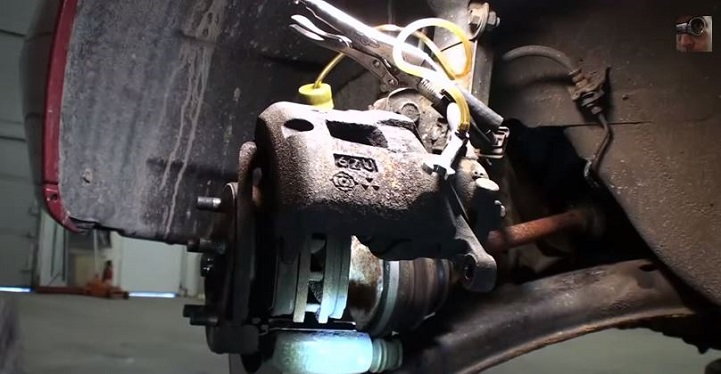
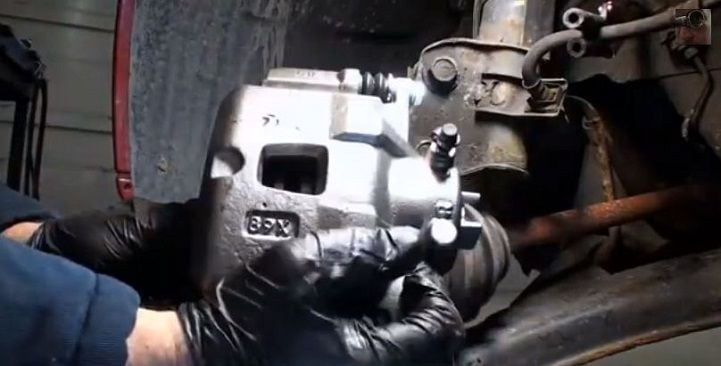
Step 4 – Remove the two caliper housing bolts and caliper
They are on pretty tightly. Use a deep-well socket to work around the brake lines. Be careful to not strip these bolts. Remove the bolts, and the caliper will come right off. Set the caliper aside if it is still good and doesn't need replacing. Otherwise, you'll install the new caliper after the rotors are replaced. If you are going to replace the calipers, you'll need to bleed the lines at this point. You can use the small vice grips to minimize the amount of fluid to bleed. Use a C-clamp or large channel locks to compress the caliper pistons and force the fluid out the bleeder valve into your container. In order to replace the caliper, you will need to disconnect the brake line by removing the banjo bolt that connects the line to the caliper.
(Related Article: How to Replace Brake Line - Honda-Tech.com)
Pro Tip
One way to tell if your calipers are going bad is if the car pulls to one side when you hit the brakes. If it pulls to the left, that means the left caliper is working and the right is not, and vice-versa.
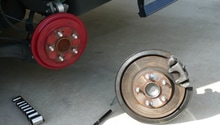
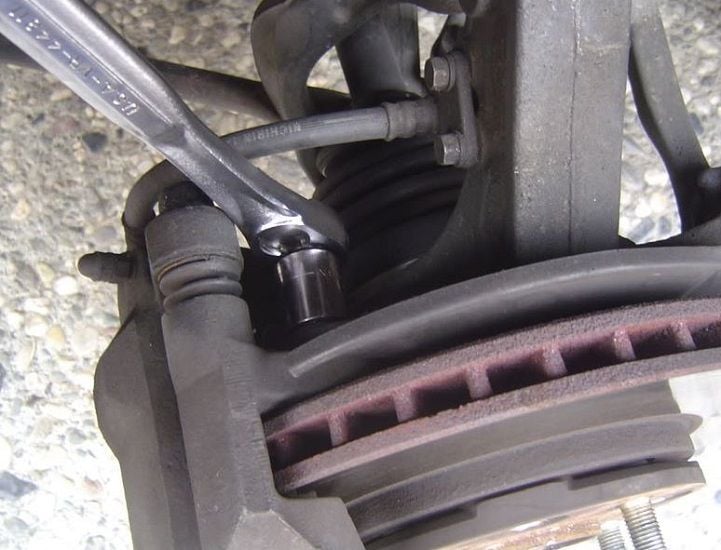
Step 5 – Pull the caliper bracket
Two bolts (likely 17 mm) hold the caliper bracket in place. The bolts are likely seized or rusted pretty badly. You may need a long-handled wrench over a ratchet to break them free. When you are removing them, loosen them both first; then, remove the bottom bolt before removing the top bolt, and the entire bracket will pull right off.
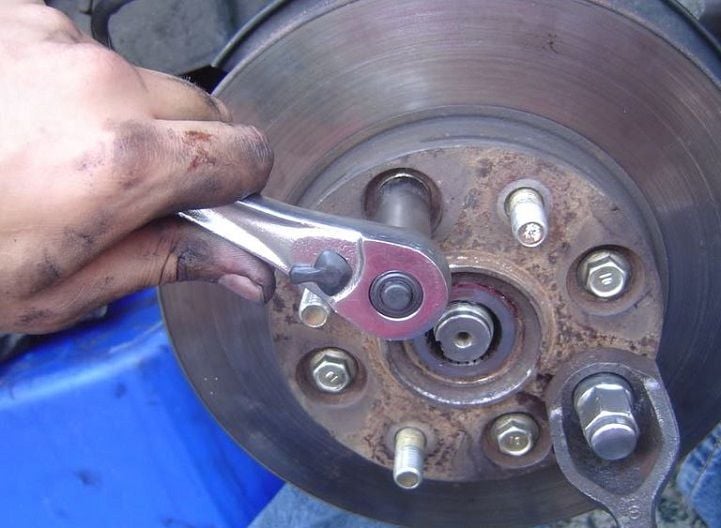
Step 6 – Remove the four rear hub bolts
There are four 12 mm bolts on the rear of the hub that need to be removed. Use an offset wrench for this. They will fit in there nicely and allow the removal of those bolts. You will have to push the drive shaft protector away to get the wrench in there, and you may need to use some WD40 or other spray lubricant to help get those bolts loose. Remember that you'll be wrenching from the opposite side, so from your perspective, wrenching to the right will loosen.
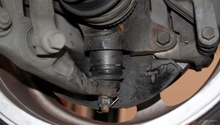
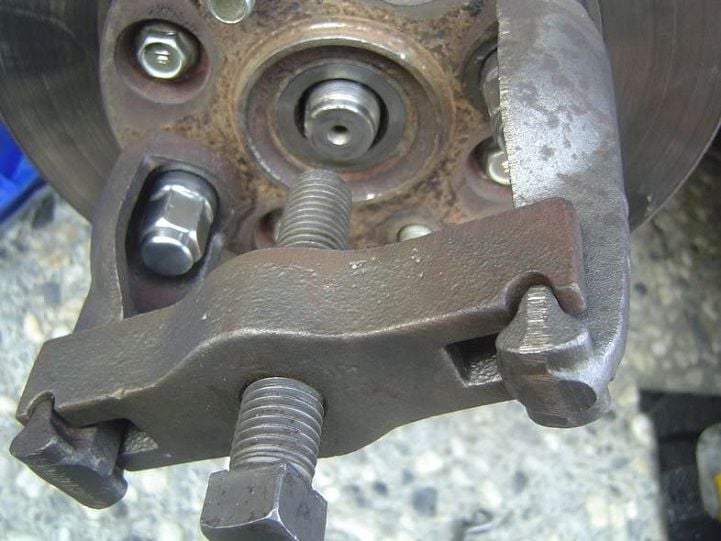
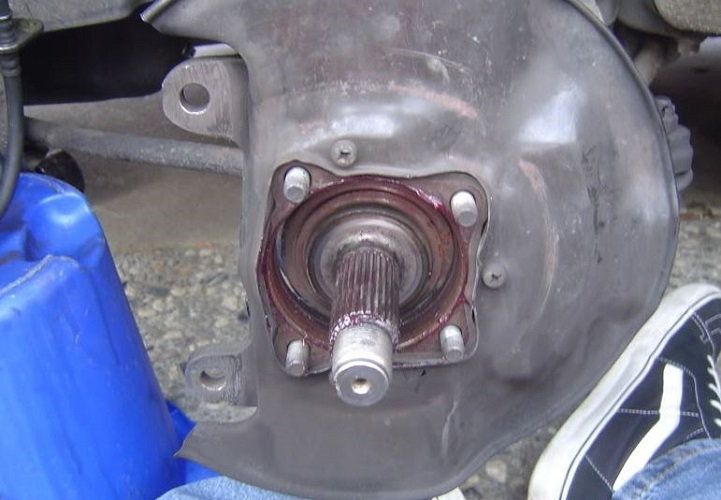
Step 7 – Remove the hub
This is where your specialized hub-puller tool comes in to play. Honda married the hub and wheel bearing unit together and the rotors behind that. These have to come off to get to the rotors. Place the hub-puller over two lug nut screws and screw those two lug nuts back on. Put the hub puller cross-member on and screw that center bolt down until the hub and wheel bearing pop off.
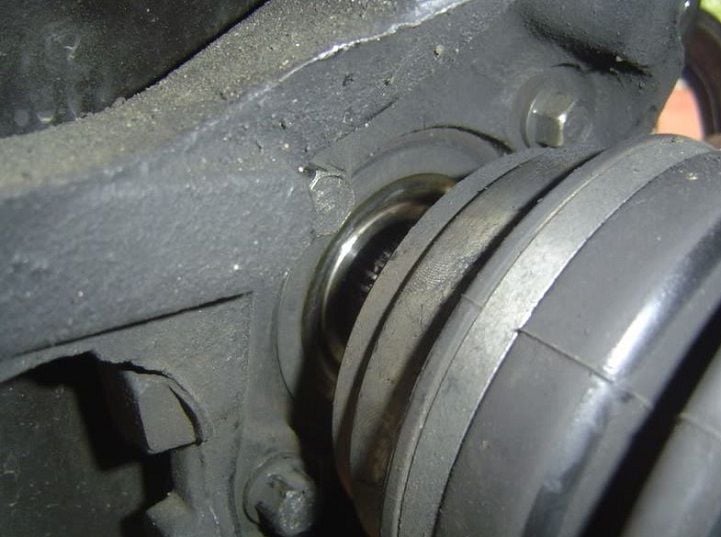
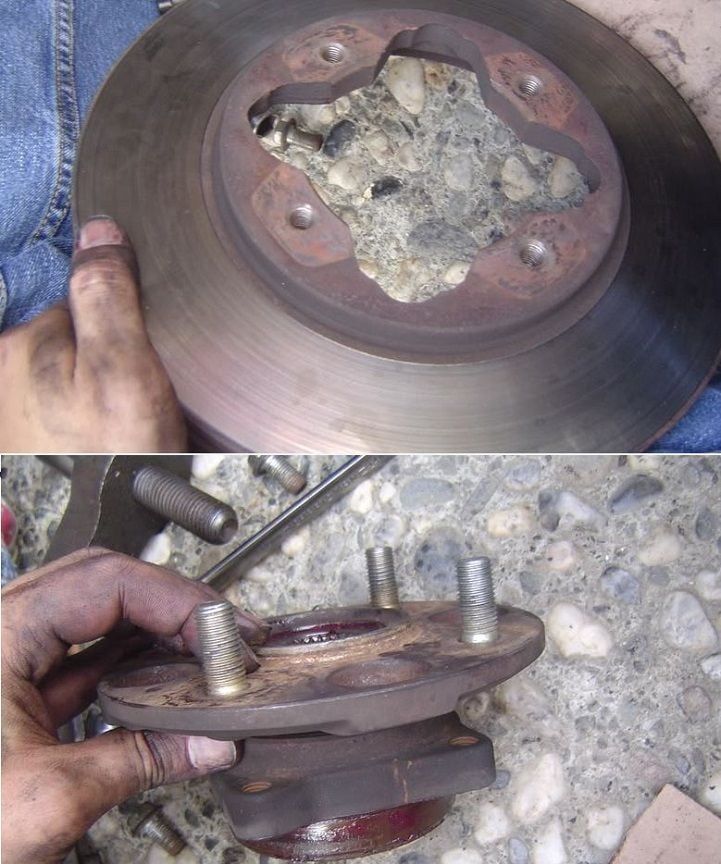
Step 8 – Grease the wheel bearing and axle end
With the hub pulled, now is the perfect time to give the wheel bearings and axle ends a little TLC. If they are rusty, get some 800-grit sandpaper and get rid of as much rust as possible. Once that is cleaned up, use some multi-purpose grease and lube the wheel bearing, axle, and housing. Replace the four rear hub bolts.
Step 9 – Put the new rotor onto the hub
Make sure that you are putting the rotor back onto the hub in the correct direction.
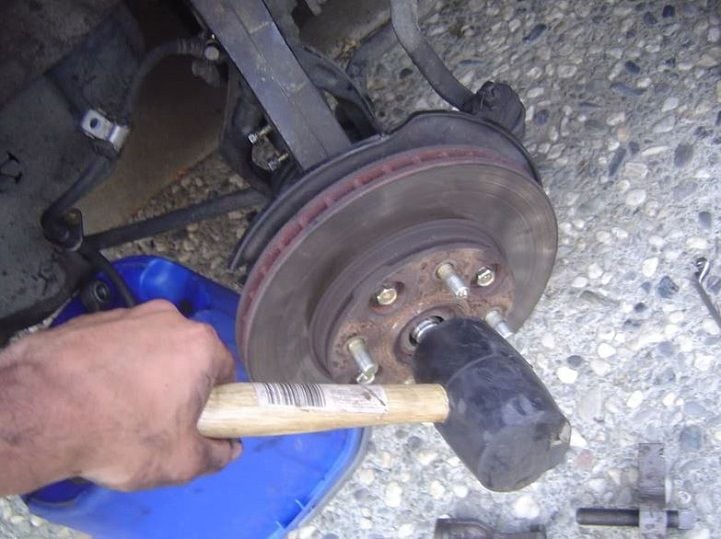
Step 10 – Re-install the rotor and hub unit onto the bearing and axle end
Line up the four bolts from the rear of the hub unit with the hub assembly so you can get a bite on those bolts. You will have to play with the bearing to get it in and get those bolts to bite. This is going to take a while. You will need to use some force as well. Once those bolts get a good bite and are in well, use a rubber mallet and hit the assembly in place until it is in there really well. Tighten those four back bolts and use the mallet to hit it some more.
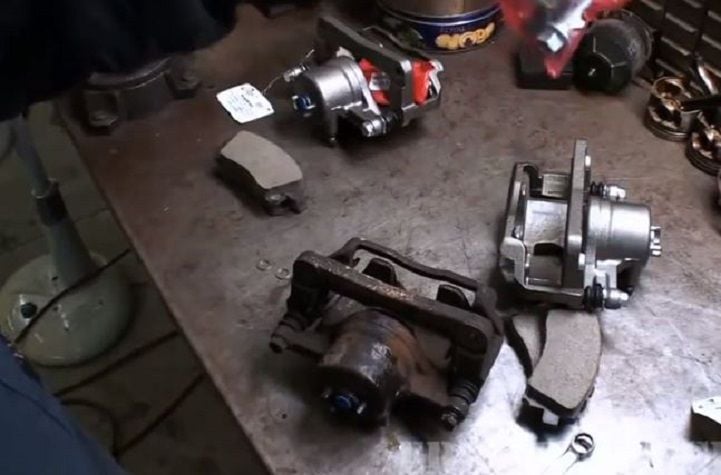
Step 11 – Assemble the new pads and calipers
The hardest part is over. It's time to reassemble everything. Put your new pads into the new calipers. It may be easier to get the calipers back on to the rotor and then install the new pads.
Step 12 – Re-install caliper bracket and calipers
Put the caliper bracket back in place as well as the housing. Wiggle the housing on the rotor, sliding it up and down until the bolt bites. Tighten all the caliper and caliper housing bolts and then torque them to specifications. If you haven't installed the new brake pads, do so now before you tighten and torque the housing bolts.
Step 13 – Re-install the spindle nut and wheels
You are almost finished. Put the spindle nut back on and use a screwdriver to deform it back into the void part of the drive shaft. Tighten down the spindle nut to at least where the end of the shaft meets the end of the spindle nut. Actual specifications call for about 181 foot-pounds of torque. You will need your helper to step on the brake pedal before tightening. Keep pressing on the brake while you put the tires back on and tighten the lug nuts. Lower the car off the jack stands and torque down the lug nuts.
Step 14 – Take a test drive
Take your car for a test drive with no radio on and the windows down. Listen for any weird sounds, especially when the brakes are applied. If it sounds normal, then you are finished. Otherwise, check that all bolts are tightened down and there is no debris. If nothing seems out of the ordinary, then the job is done.
Featured Video: Brake Replacement, Rear Calipers, Rotors and Pads Honda Accord
Related Discussions, Site and Video
- 1997 Accord Brakes Tutorial - Honda-Tech.com
- Need Help Changing Brake Pads on a 93 Accord - Honda-Tech.com
- 95 Accord Brake Rotors Replacement - Honda-Tech.com
- How to Change Rear Rotors and Pads on a 5th Gen Accord - Honda-Tech.com
- How to Change the Brake Calipers on a Honda Accord - eHow.com
- How to Replace the Front Caliper - Youtube.com