Honda Accord: How to Replace Brake Fluid
Brake fluid should be changed every three years if you want to prevent brake failure. This guide will show you how to do it yourself.
This article applies to the Honda Accord (1990-2002).
Changing the brake fluid is an important part of your Accord's routine maintenance, but many vehicles never have their brake fluid changed, and that can lead to eventual brake failure. You can do it yourself using components you already have lying around.

Materials Needed
- Dot 3 or Dot 4 brake fluid
- Wrench set
- Turkey baster
- Clear plastic hose and clear plastic bottle or a one man brake bleeding kit
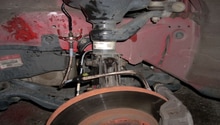
Step 1 – Lift the car and remove the wheels
Set the car on jack stands so you can access the undercarriage. Remove the wheels to access the bleeder valves at the back of each caliper.

(Related Article: How to Jack Up Your Accord - Honda-Tech.com)
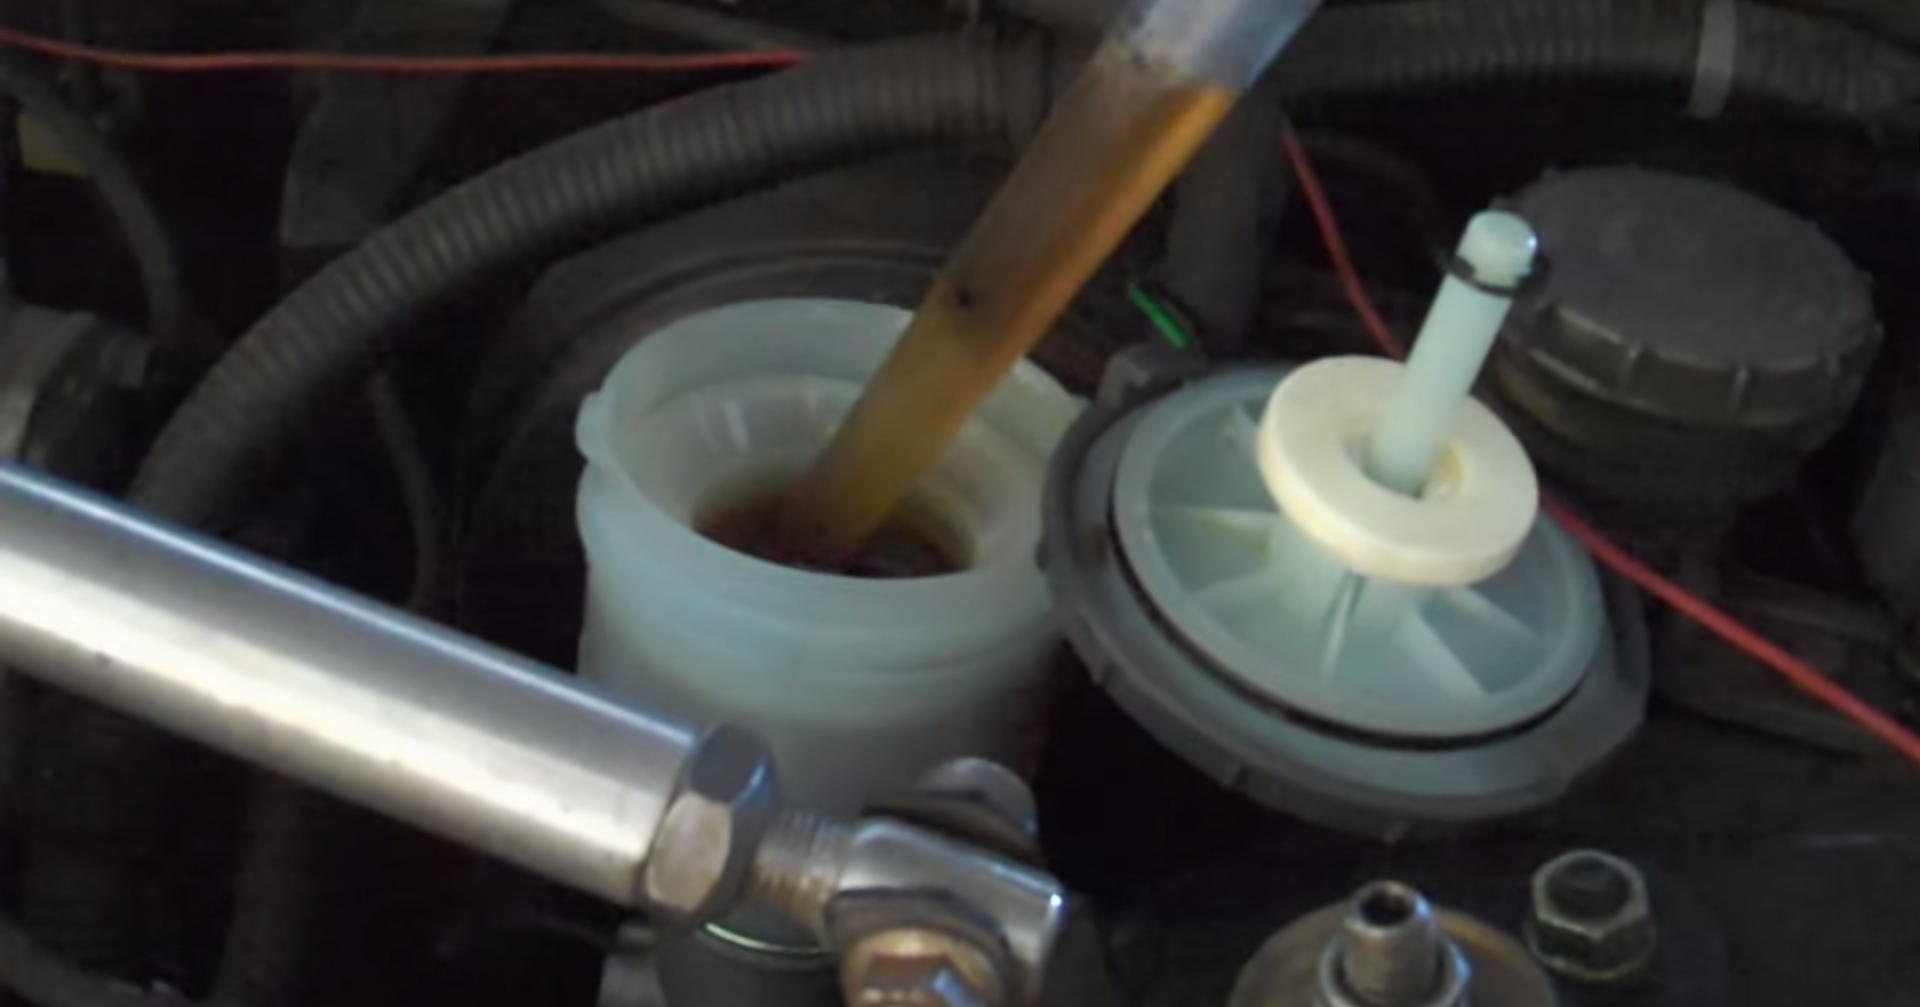
Step 2 – Replace the brake fluid in the reservoir
The first thing you should do before bleeding the brakes is remove the old fluid sitting in the reservoir. If you look under your hood it's a larger grey container sitting near the top right. Use a turkey baster or other suction device to remove most of the old fluid from the reservoir and place it in the bottle you'll be using. Don't remove all of the fluid or you'll introduce air into the system. Pour in new brake fluid to the same level as the old brake fluid.
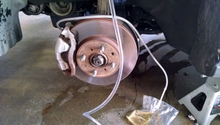
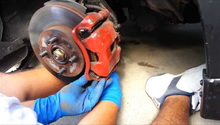
Step 3 – Bleed the brakes
It's recommended you do this in a certain order starting with the bleeder farthest from the master brake cylinder. 1) right rear, 2) left rear, 3) right front, 4) left front.
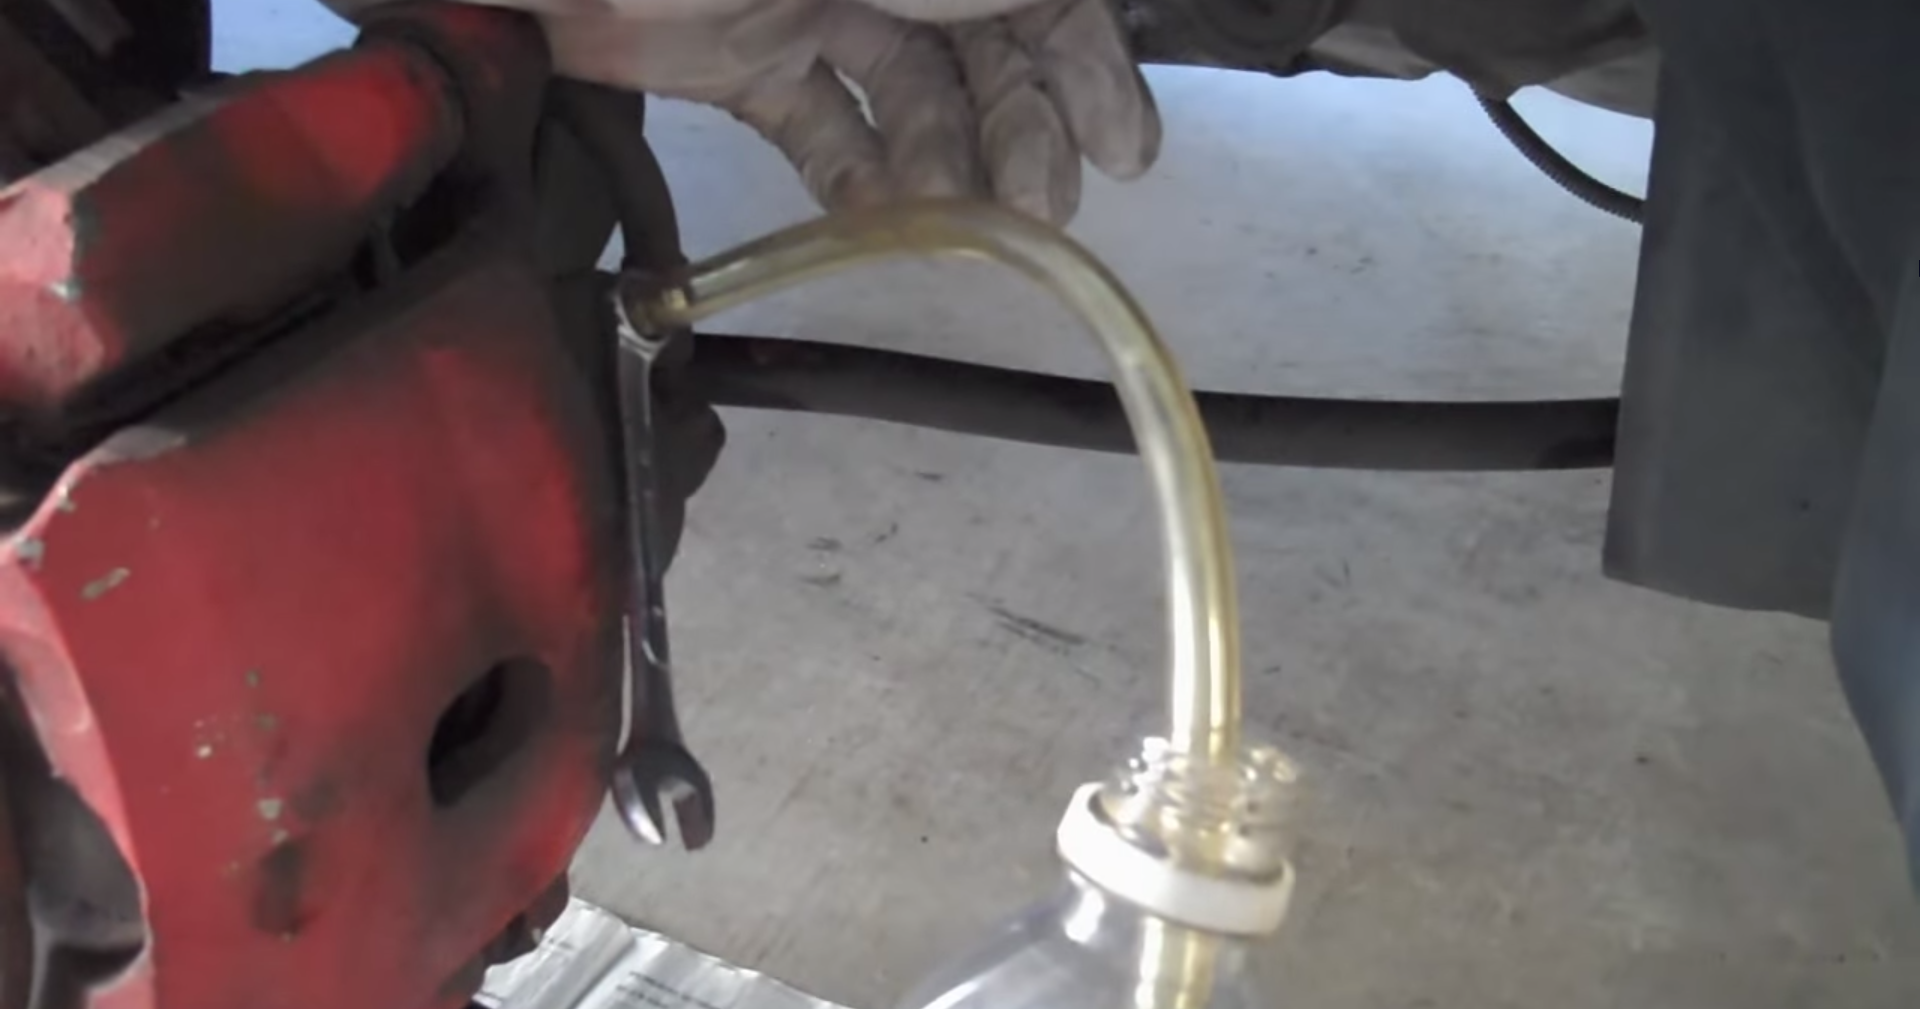
Drill a hole in the cap of your plastic bottle and push the hose in until it's submerged in brake fluid. The hose needs to fit snug over the bleeder. We want to avoid letting any air into the system so if you have some kind of vacuum tube or something to seal the tip of the hose use it.
When you're ready wrench the bleeder loose, and slowly pump the brakes. Watch the old fluid go into the bottle. Keep going until you see new fluid come through then tighten the bleeder. Top off the fluid in the reservoir before moving to the next bleeder. Once you've gone through all four wheels and have the reservoir filled you're done.
Pro Tip
To make it easier on yourself get a second person to pump the brakes before you loosen the bleeder and have them keep pushing down on the brakes before you tighten the bleeder. Letting go of the brakes may allow air into the system if the hose and bottle aren't sealed.
Related Discussions
- Replacing Brake Fluid, 2001 Accord EX 4 Cyl. - How do I do it myself? - Honda-Tech.com
- How to change the brake fluid properly on my 1990 Accord? - Honda-Tech.com
- Question about brake fluid - Honda-Tech.com
- How to Replace Brake Fluid - YouTube