Honda Accord: How to Install Valve Cover Gasket
When oil leaks from between the cylinder head and valve cover, this is a sign that the valve cover gasket needs to be replaced. Follow the DIY below to properly repair a leaky valve cover.
This article applies to the Honda Accord (1990-2002).
The valve cover is bolted to the top of the cylinder head and is sealed with a gasket to keep oil from leaking out of engine. The valve cover gasket, in addition to the spark plug tube seals and grommets, are prone to leaking oil. These should be replaced because if left untreated, damage to some engine components, like belts and hoses, might occur. And, if the gasket leaks enough, oil running down the side of the cylinder head will eventually reach the exhaust manifold. This will result in the smell of smoke or burnt oil. You can try tightening the valve cover bolts, but it's hardly recommended. So, replacing it would be the best thing to to. Doing the procedure yourself is not a difficult task, but if you're not too sure about your mechanical skills, having it replaced at an auto shop would be the next best thing, although much pricier.

Materials Needed
- Ratchet, extension, and 10 mm sockets
- Torque wrench
- Brake cleaner
- Rags
- Valve cover gasket
- Spark plug tube seals
- RTV sealant
Pro Tips
- Use a high-quality valve cover gasket to reduce the chance of recurring leaks and additional repairs.
- When replacing the valve cover gasket, have a valve adjustment performed if applicable. Since the valve cover is removed to adjust the valves, this will save on labor costs.
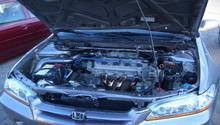
Step 1 – Remove wires under the hood
Remove the spark plug cables and PCV valve hose from the valve cover and set them aside.
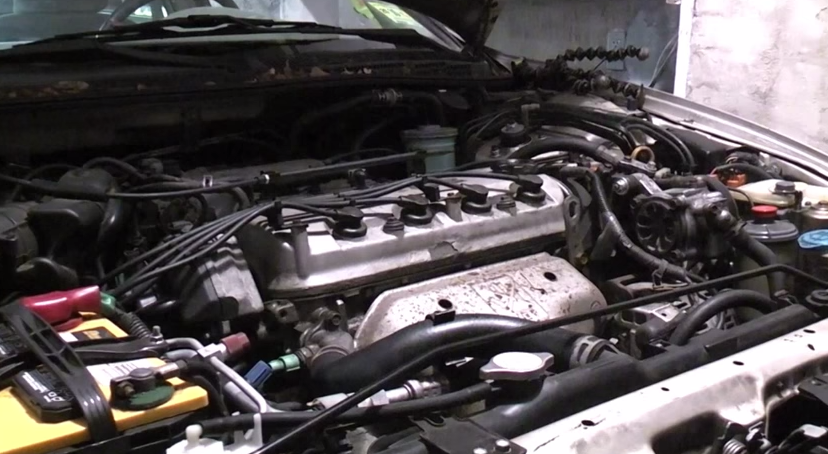
Figure 1. Remove the four spark plug cables. 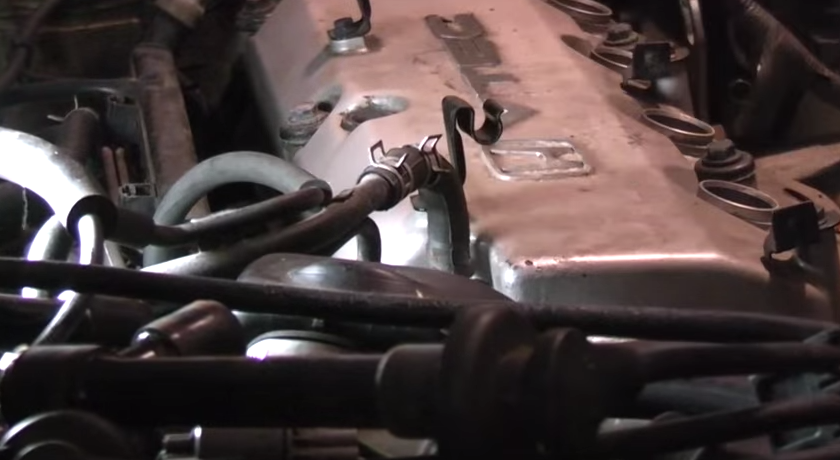
Figure 2. Remove the PCV valve hose.
Step 2 – Remove valve cover bolts
With the ratchet and racket extension, loosen the five 10 mm bolts securing the valve cover to the cylinder head. Unscrew and remove the bolts by hand and set them aside.
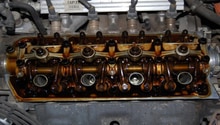
Step 3 – Pull off the valve cover
Pull off the valve cover from the cylinder head. If necessary, carefully pry the valve cover loose, and then remove it by hand.
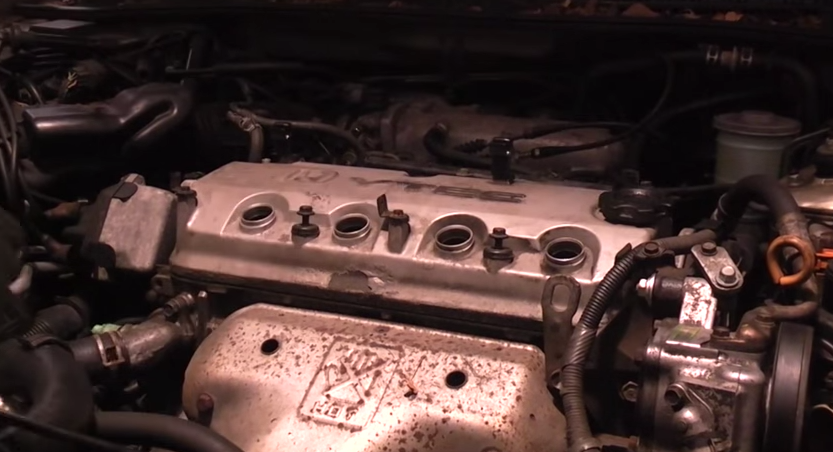
Step 4 – Remove the old gasket, clean cylinder head and valve cover
Remove the old valve cover gasket and spark plug tube seals. Apply brake cleaner to a rag and thoroughly clean the edges of the cylinder head, valve cover and spark plug holes. If necessary, use fine sandpaper to clean the rougher portions of the edges.
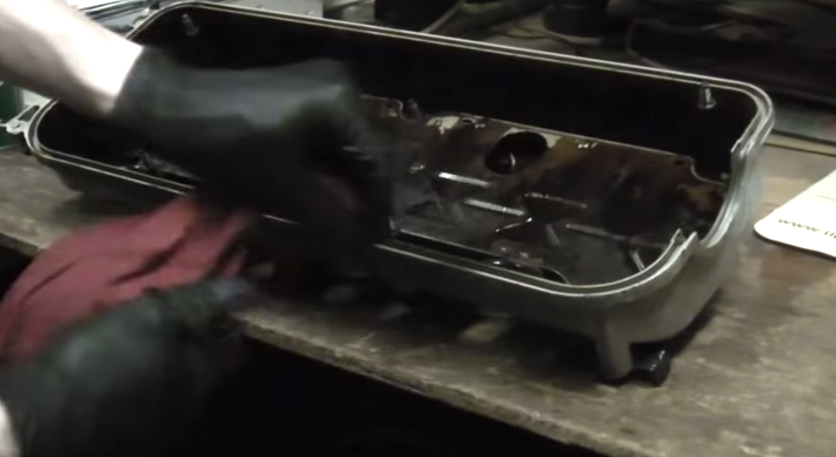
Figure 4. Remove the old gasket and clean the valve cover. 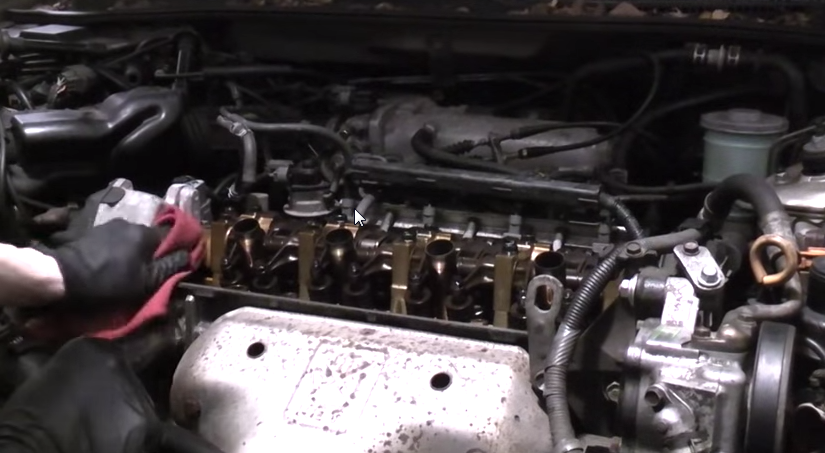
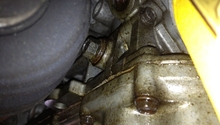
Figure 5. Clean edges of the cylinder head.
Step 5 – Install the new valve cover gasket and plug seals
Insert and guide the new valve cover gasket into the grooves of the valve cover. To ensure the gasket is fully secured, turn the valve cover over onto a flat surface and firmly push down on it. Insert the new spark plug tube seals and firmly press down on them; be sure they are fully secured into the grooves. If necessary, hammer down the edges of the plug seals.

Figure 6. Guide new gasket into the valve cover grooves. 
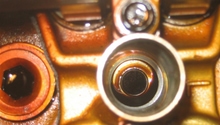
Figure 7. Install the new spark plug tube seals.
Step 6 – Re-assemble the valve cover
Apply RTV sealant to the four flat portions of the gasket located on both ends of the valve cover. Slowly place the valve cover onto the cylinder head and tighten the valve cover bolts with a torque wrench. Refer to the owner's manual for the proper torque specifications of the valve cover bolts. Re-install the spark plug cables and the PCV valve hose. Wait around 24 hours to allow the RTV sealant to fully cure.
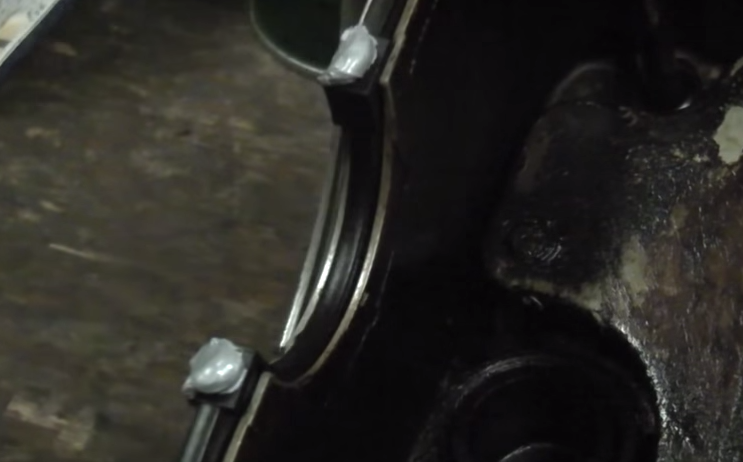
Figure 8. Apply RTV sealant to edges of the gasket. 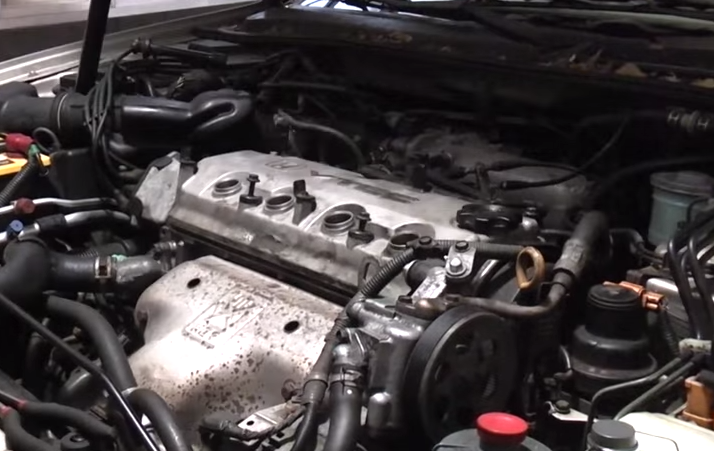
Figure 9. Re-assemble the valve cover.
Featured Video: '94-'97 Honda Accord Valve Cover Gasket Replacement
Related Discussions
- How-To Discussion - Honda-Tech.com
- Valve Cover Costs and Materials - Honda-Tech.com