Honda Accord: How to Flush Your Radiator
Paying a mechanic to drain, flush, and fill your radiator is a waste of money. You don't need special tools, the coolant and flush is easy to find and inexpensive, and you can do it in less time than your favorite hour-long television program.
This article applies to the Honda Accord (1990-2002).
Draining and re-filling your car with coolant or antifreeze will keep it running cool, but flushing your radiator is more effective and doesn't tack on much time to the project. Since draining alone doesn't remove all of the deposits that have built up in the engine and around the heater core, if you don't flush your radiator before adding more coolant, you'll simply contaminate the new coolant as soon as you add it, making it less effective than if you add it after you flush.
Keep in mind that after you finish this project, you'll need to dispose of your old coolant and used flush. You usually can recycle it an Environmental Protection Agency-aproved garage or recycling facility. Until you do, do not store in covered containers; pour down drains and sewers, on the ground, or mix with other garbage; and keep it away from children and animals. If you spill antifreeze or coolant during this project and clean it with towels or rags, do not simply throw away -- instead, take it with you when you recycle your old coolant and flush. If you have coolant and flush left over, do not store near a furnace or hot water heater. Heated fluid, even if in sealed bottles, can release toxic fumes.

Materials Needed
- Flat head screwdriver
- One gallon of coolant, or pre-mixed antifreeze
- Coolant flush
- Water
- Pan or other container to catch coolant when draining and flushing the radiator
- 18 mm socket (only if you own a 2.3L)
- Funnel (optional)
Step 1 - Allow car to cool down before starting
Park your car on a flat surface and wait for at least an hour before starting. Your car should cool down enough in an hour to prevent you from accidentally burning yourself. In the mean time, jack up and support the front end of the car.

(Related Article: How to Jack Up Your Accord - Honda-Tech.com)
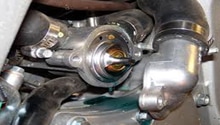
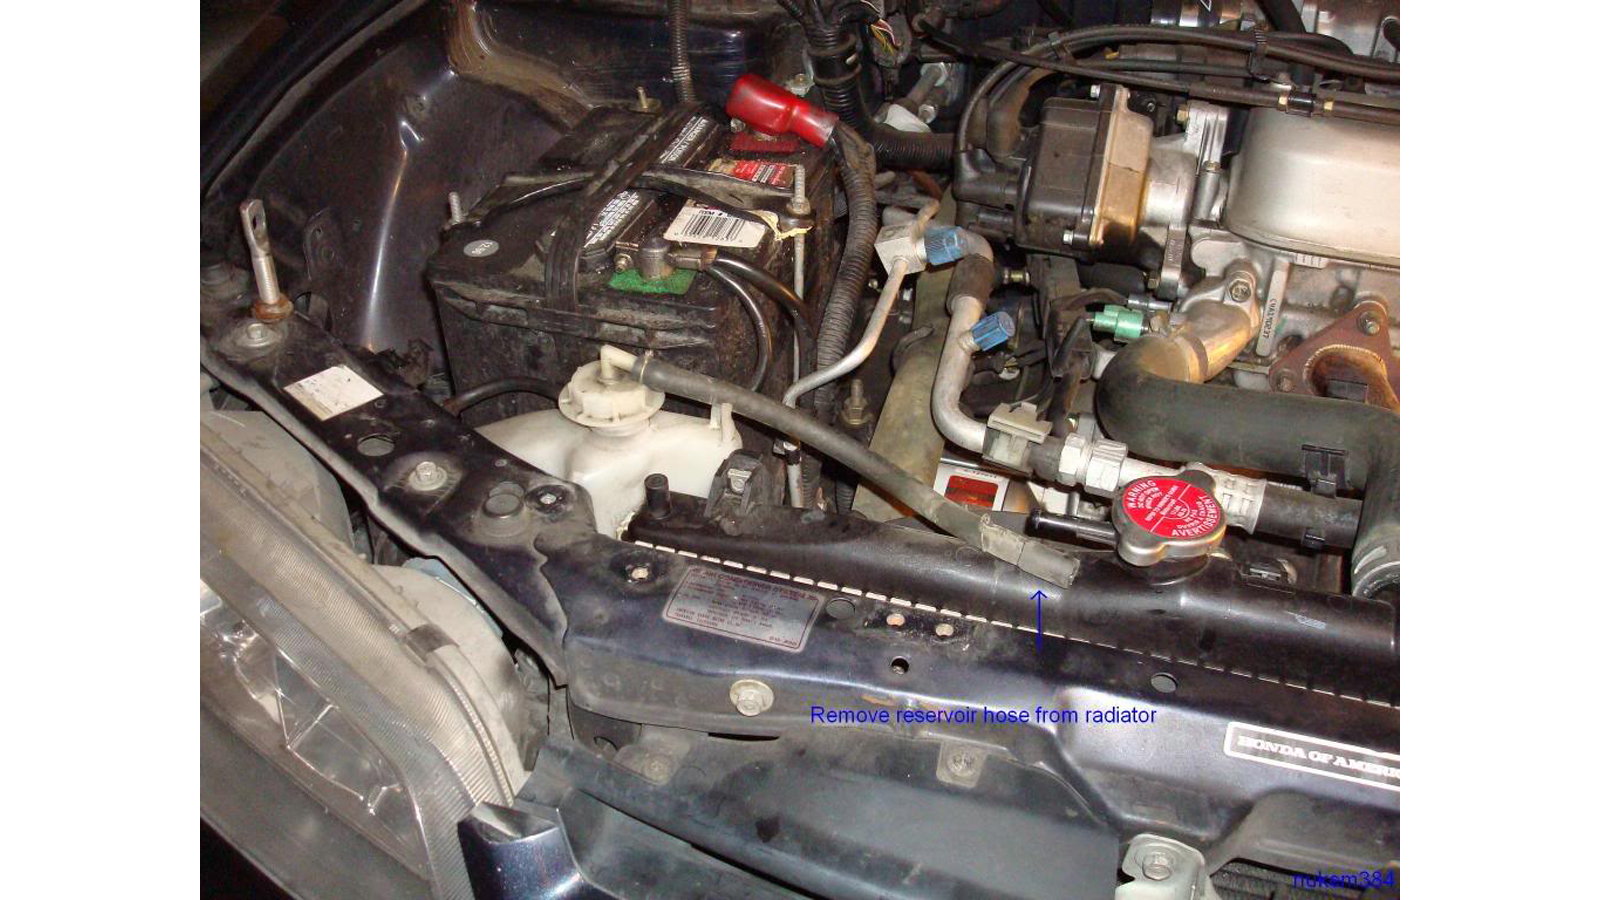
Step 2 - Remove radiator cap and reservoir hose
Twist radiator cap off and put aside. Then remove the reservoir hose from the radiator.
Step 3 - Prepare radiator to drain
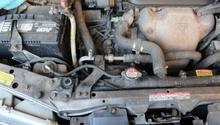
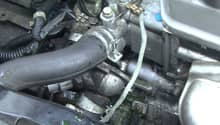
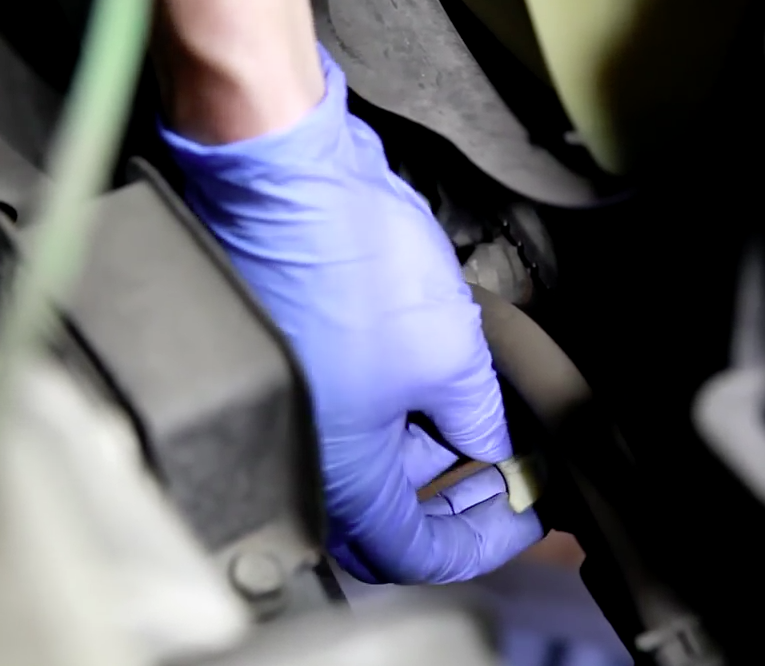
Have your pan, bottle, or other container available and place under the draining fluid to catch it. Locate and unscrew the plastic wing-nut on the underside of the radiator. This causes coolant to immediately begin to drain. If you own a 2.3L, use your 18 mm socket wrench to remove the 18 mm drain bolt on the rear side of the cylinder block. You will find this below the oil filter. After the radiator has fully drained, set aside the old coolant.

Step 4 - Flush radiator
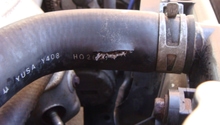
Pour coolant flush into radiator once it is fully drained. Turn on your car and let it run while the coolant flushes through your system. Repeat this step until the fluid drains clear. At this point, fill with water and flush one time just with water. Using a funnel can help prevent spills. Each time you fill radiator to flush it, gently squeeze along length of radiator hose to help run fluid into and through your system.

Step 5 - Prepare radiator to re-fill
Screw back in the plastic wing-nut on the bottom of your radiator. If you own a 2.3L, use your 18mm socket wrench to tighten drain plug until snug.
Step 6 - Fill radiator
Fill radiator. If you're filling with coolant, add 1 gallon of coolant and then add water until full. If you're using a pre-blended antifreeze, add until full. You don't need to add water if you're using something that is pre-blended. Gently squeeze along length of radiator hose to help run fluid into your system.
Step 7 - Put radiator cap back on
Put on radiator cap and tighten. Test drive the car and note the temp gauge and ensure proper engine operation.
Related Discussions
- How to Flush the Radiator of a 1999 Honda Accord - Honda-Tech.com
- 1998-2002 Honda Accord Coolant Flush - YouTube.com
- DIY Coolant Flush - Honda-Tech.com
- How to Flush Radiator Fluid - Honda-Tech.com