
how to retrofit JDM 1 piece headlights with TSX projectors!
 01-19-2010, 12:37 PM
#1
Honda-Tech Member
Thread Starter
Join Date: Oct 2006
Location: M Radio, ca
Posts: 345
Likes: 0
Received 0 Likes
on
0 Posts
since im in the process of doing this and found that theres no real good write ups or info for the 4th gen prelude, i will be making this thread for any questions you may have.
i'll be updating this thread as i finish my retrofit and hopefully it will help others out with their own retrofits.
first off get some projectors!!
i went with the TSX projectors cus there are easy to get, have a nice cut off and arent too big unlike the s2k projectors for example.


they are from an 06 model so they had the fresnel lenses but i ordered some clear lenses from the retrofit store.

i have the JDM 1 piece so sorry for you USDM guys and gals :lol: preheat oven to 350 degrees. remove the 5 metal clips from the headlights and of course the bulbs and rubber caps. theres also 2 bracket things, remove those also, it is 2 screws each. place the headlight on a cookie tray with a towel under it. turn the oven off and place in over for 8 minutes. remove after 8 minutes and carefully start to pry at the edges with a flat head screwdriver. take your time and work carefully! it should comes off after you have went around the whole headlight with your screw driver.


making poorman custom shrouds...
i got this idea from hidplanet forums, you get a 3''-4'' abs plastic reducer from the heating air duct isle at home depot and a travelers coffee mug from walmart, total cost under 10 bucks!! take the chrome ring off the coffee mug lid with a flathead and trim the reducer to fit nice and snug over the projector housing


the reflector bowl and the top half of the projector, i was test fitting and seeing how much needs to be trimmed... its alot


[img]https://i474.photobucket.com/albums/rr103/hotprelude97/HPIM3082.jpg
i cut the holes today and did some more test fitting, still trying to figure out how to mount them and aim them right.


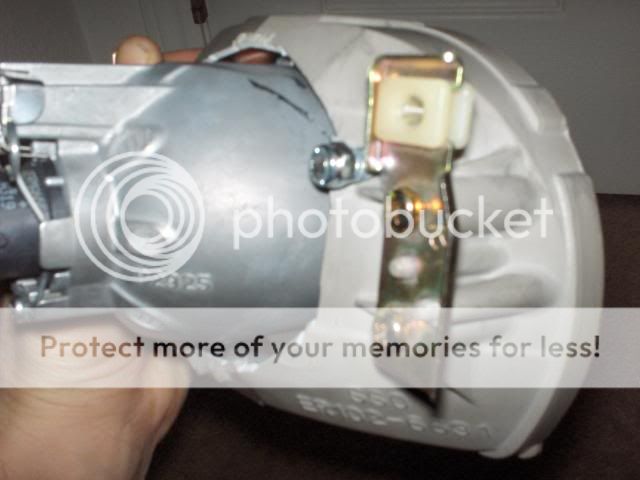
after some research on hidplanetforums i found some other guy used this mounting method and it seems to work pretty good. i got the hardware from home depot, 1" L brackets, #8 32x5/8'' nuts and bolts, and #8 washers and lock washers (i used the washers for color mod). so far i only mounted one side with a nut and bolt so i can go test out the cutoff level and make adjustments before securing the other L bracket. im still gonna put some jb weld on the back of the prjector and reflector bowl for extra strength


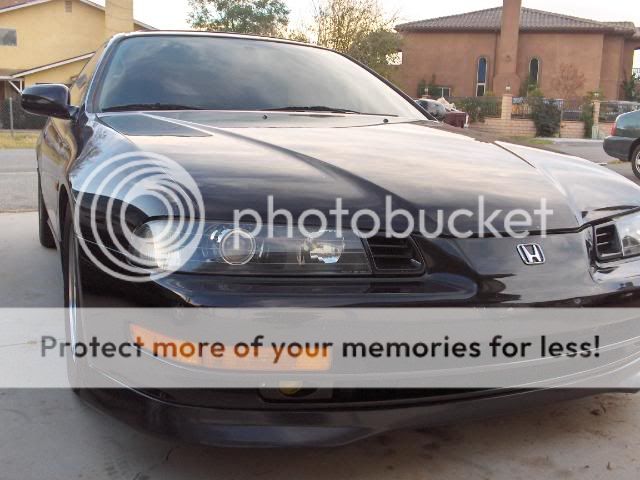
put the headlights on and did some test aiming, these are with the fresnel lenses BTW


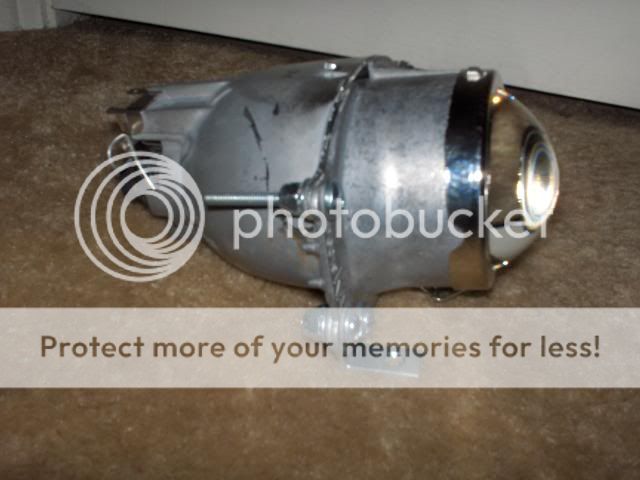
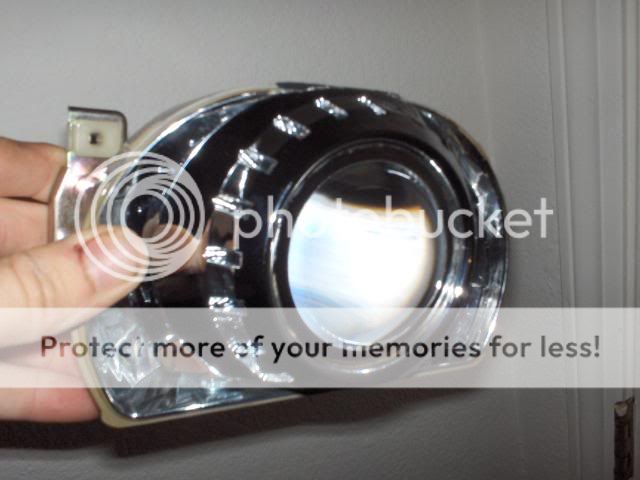
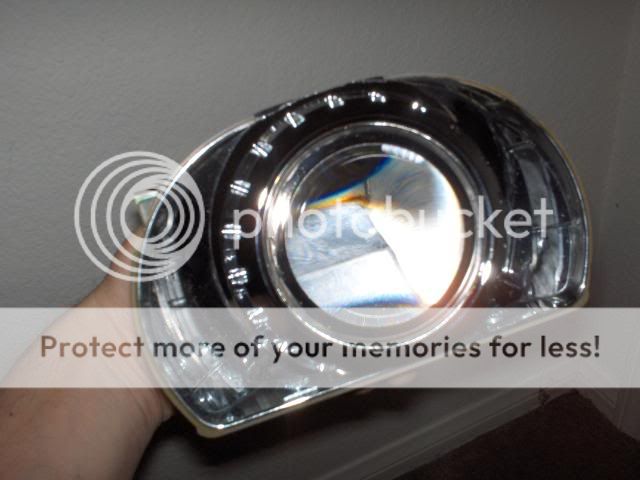
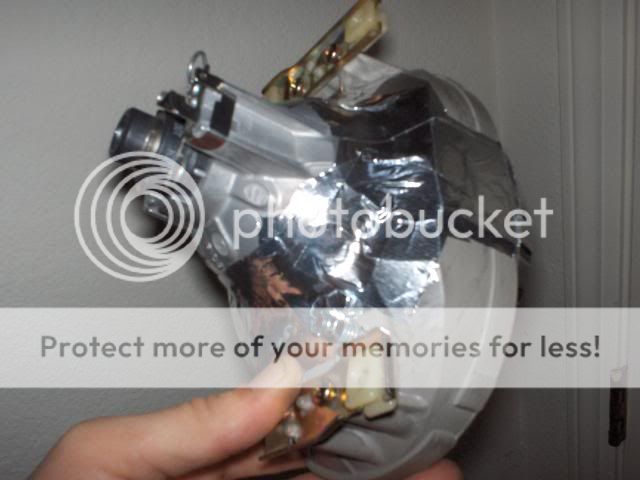
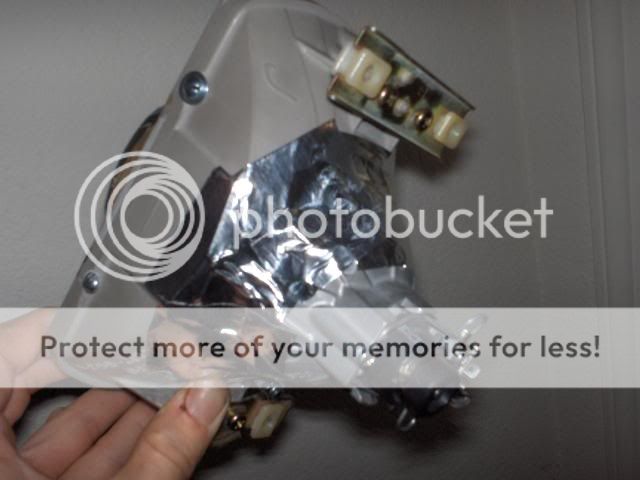
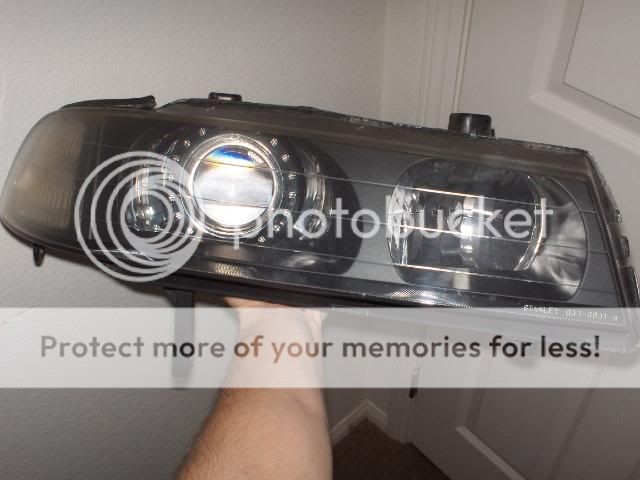
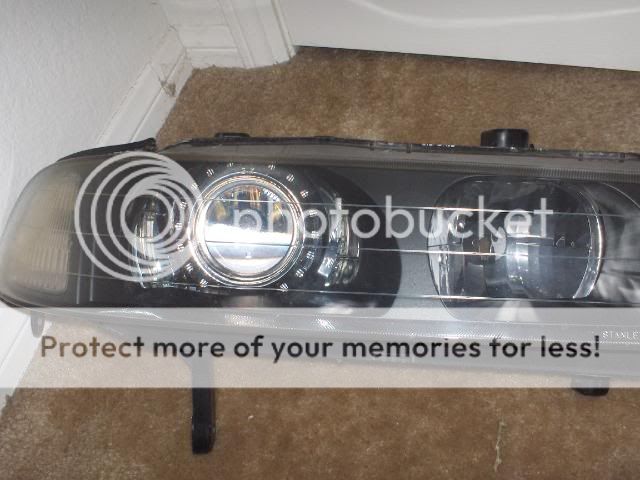
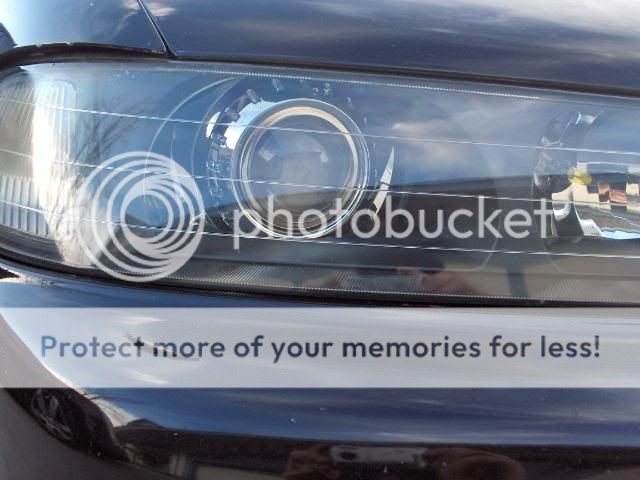
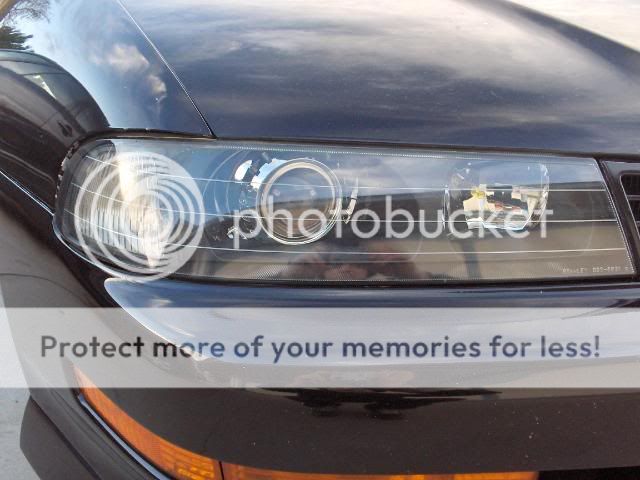
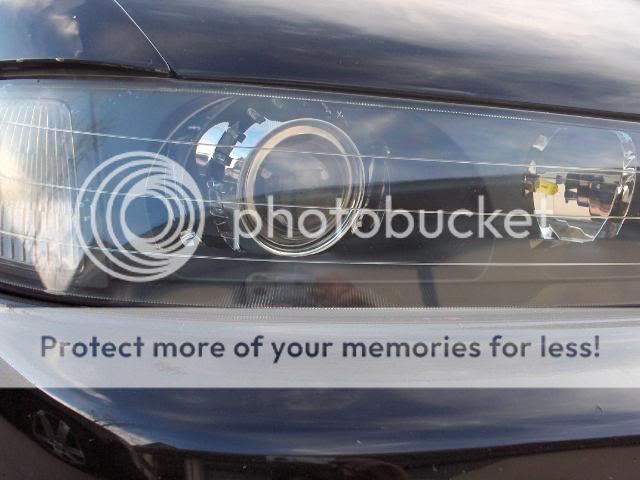
heres some pictures of the projectors all mounted up in the housing, upgraded to ninja star lock washers and nylon lock nuts. i dont want to risk these things coming loose on me


got my cut off as level as i can, these are with the clear lenses BTW


i added a 3rd upper mounting bolt, to keep it more secure. i got 1 1/2" bolt with a nylon lock nut and some lock washers on both sides.
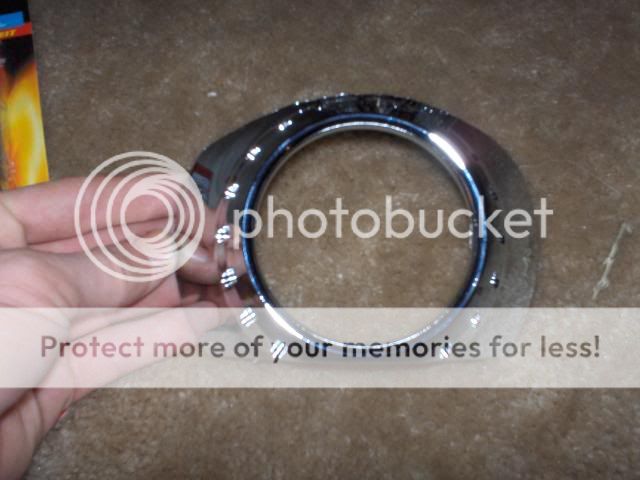
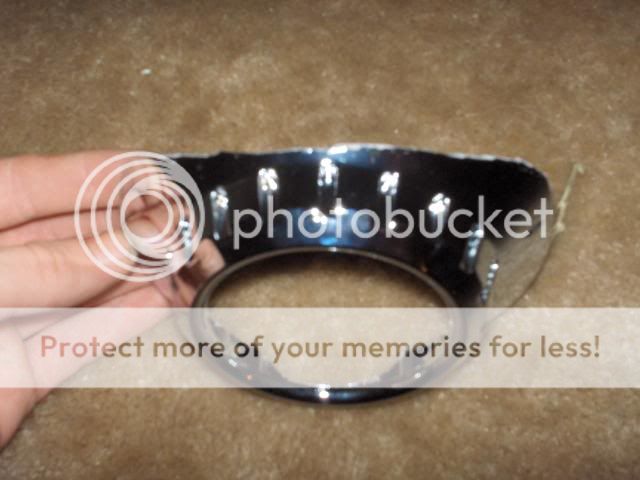
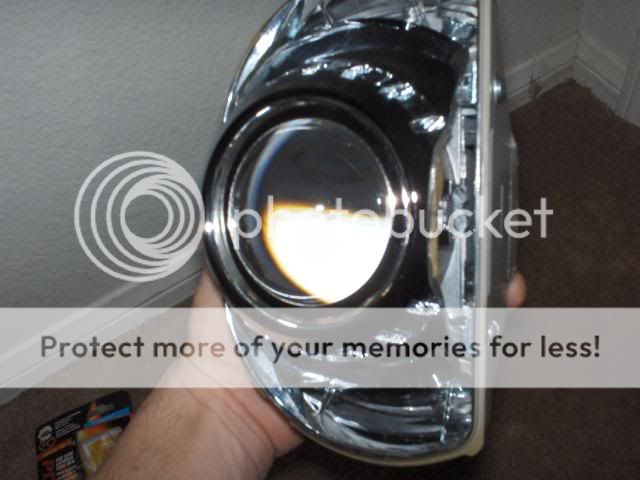
ok so i gave up on my custom shrouds because they didnt really cover everything the way i wanted them too plus splatter punk basically gave me some e46 shrouds for free. thanks again bro!! i had to trim then alot to fit, mostly the top part and some of the bottom
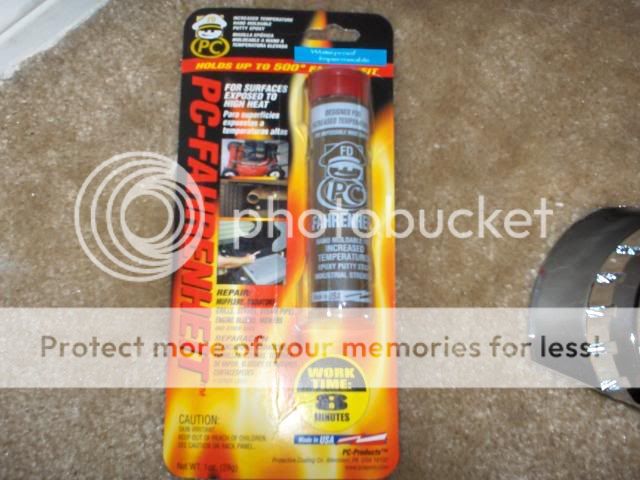
this is the stuff i used to attach the shroud to the projectors, works really well i think and gets rock hard in 10 mins and can withstand high temps up 500 degrees.
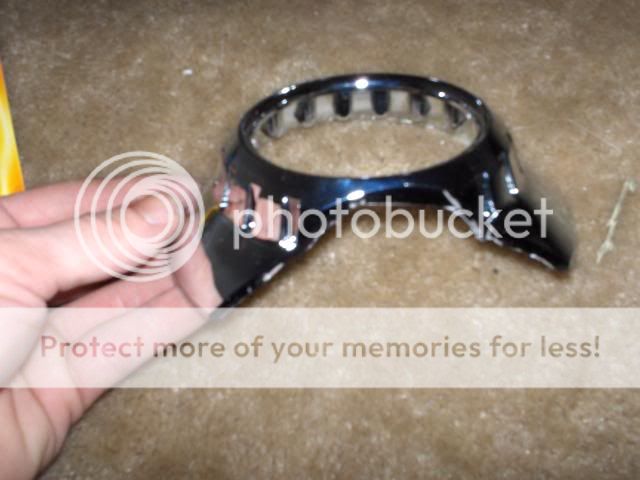
then i attached the shroud..
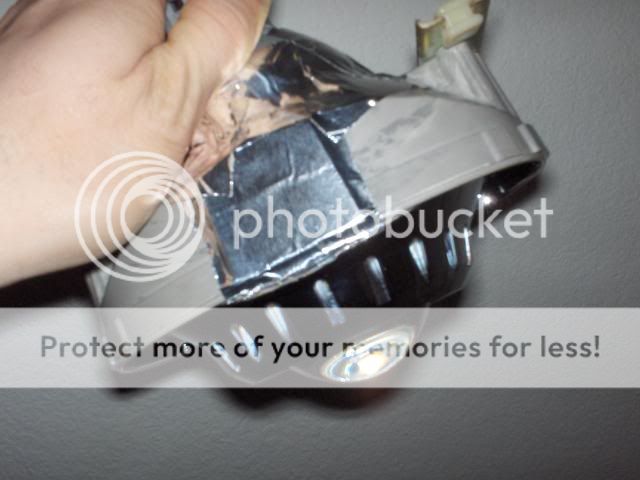
then i added some foil tape, to the exposed parts in the back
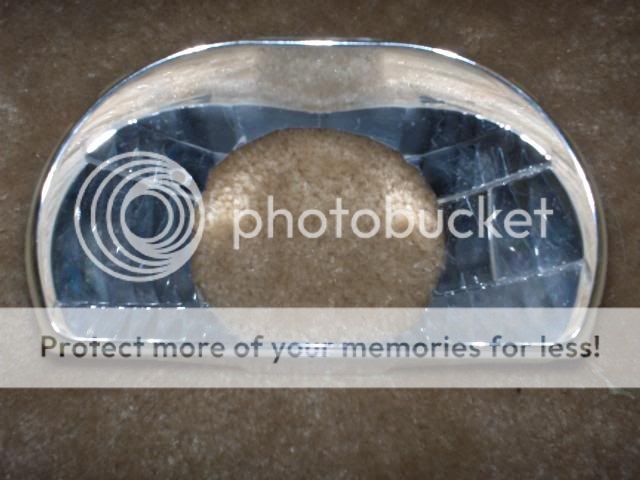
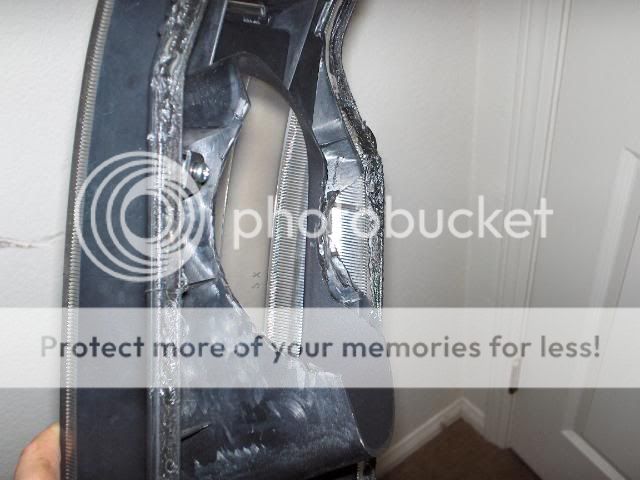
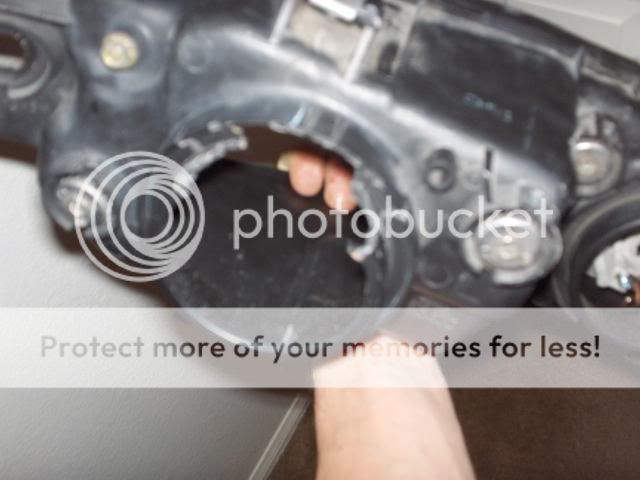
after putting the projector back in the housing, you have to trim some of the black plastic piece thats held in the headlight lense. remove the 2 screws and remove the black piece, then trim as needed to fit the projector and shroud.
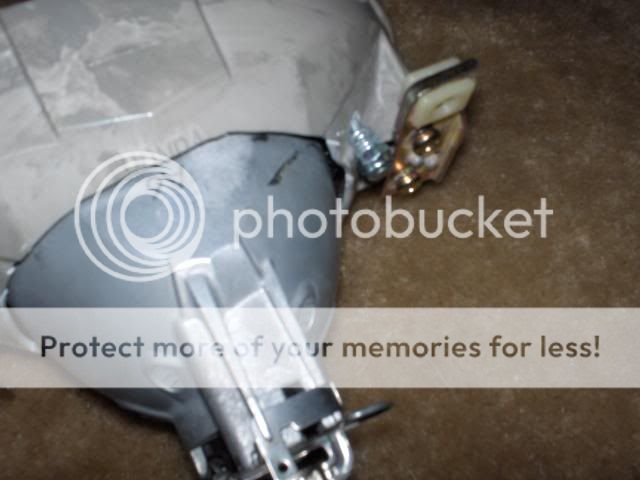
i also had to trim the back of the housing to fit the bulb clip, and make sure it works and doesnt rub on anything
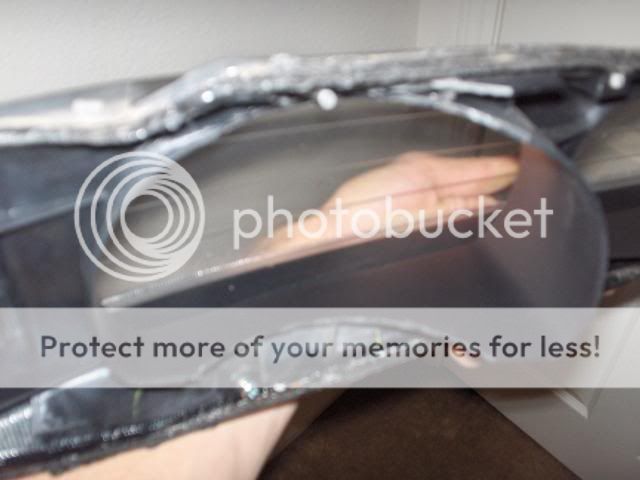
now clean everything off really good and put the headlight lense back on the housing.


sealing the headlight back up, i used the same method i did to open the headlight, but only 300 degress this time at 8 mintues. the little metal clips that come with the headlight really help holding it together when you go to reseal it, just a tip.
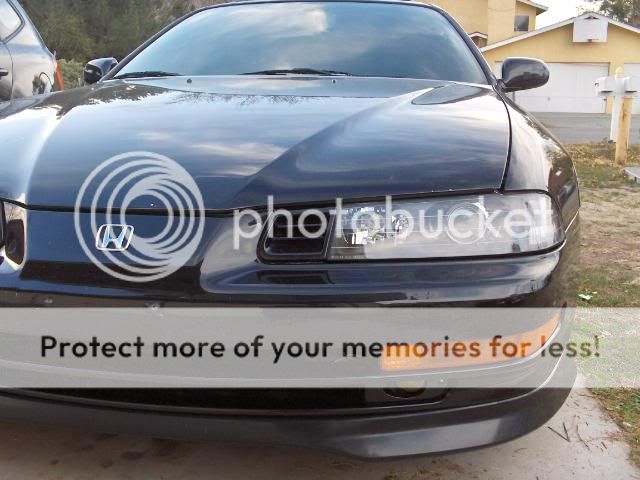
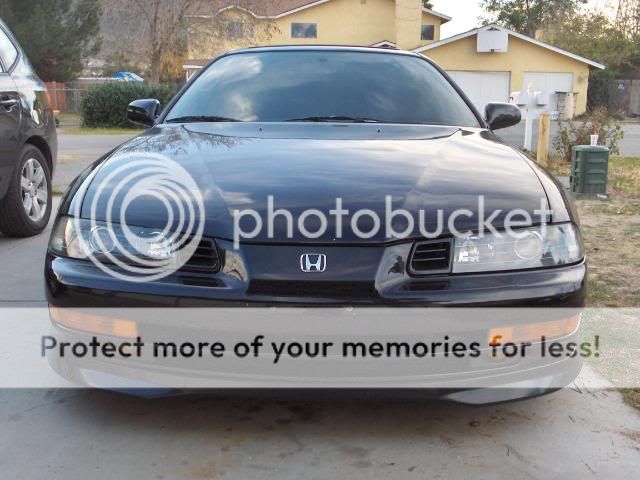
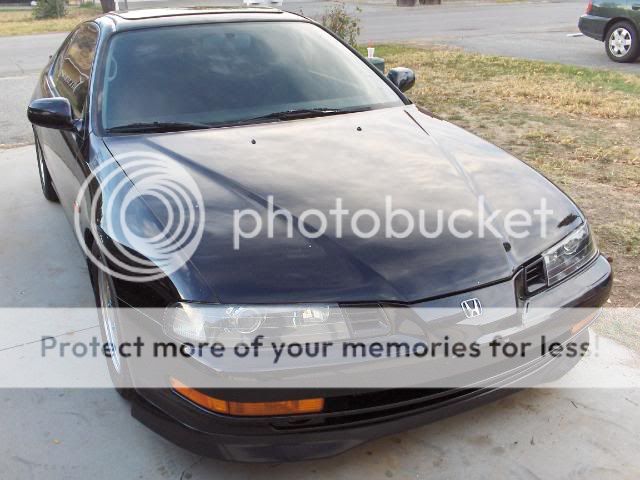
install onto car and enjoy, you just saved yourself about 200-300 bucks


i'll be updating this thread as i finish my retrofit and hopefully it will help others out with their own retrofits.
first off get some projectors!!
i went with the TSX projectors cus there are easy to get, have a nice cut off and arent too big unlike the s2k projectors for example.
they are from an 06 model so they had the fresnel lenses but i ordered some clear lenses from the retrofit store.
i have the JDM 1 piece so sorry for you USDM guys and gals :lol: preheat oven to 350 degrees. remove the 5 metal clips from the headlights and of course the bulbs and rubber caps. theres also 2 bracket things, remove those also, it is 2 screws each. place the headlight on a cookie tray with a towel under it. turn the oven off and place in over for 8 minutes. remove after 8 minutes and carefully start to pry at the edges with a flat head screwdriver. take your time and work carefully! it should comes off after you have went around the whole headlight with your screw driver.
making poorman custom shrouds...
i got this idea from hidplanet forums, you get a 3''-4'' abs plastic reducer from the heating air duct isle at home depot and a travelers coffee mug from walmart, total cost under 10 bucks!! take the chrome ring off the coffee mug lid with a flathead and trim the reducer to fit nice and snug over the projector housing
the reflector bowl and the top half of the projector, i was test fitting and seeing how much needs to be trimmed... its alot
[img]https://i474.photobucket.com/albums/rr103/hotprelude97/HPIM3082.jpg
i cut the holes today and did some more test fitting, still trying to figure out how to mount them and aim them right.
after some research on hidplanetforums i found some other guy used this mounting method and it seems to work pretty good. i got the hardware from home depot, 1" L brackets, #8 32x5/8'' nuts and bolts, and #8 washers and lock washers (i used the washers for color mod). so far i only mounted one side with a nut and bolt so i can go test out the cutoff level and make adjustments before securing the other L bracket. im still gonna put some jb weld on the back of the prjector and reflector bowl for extra strength
put the headlights on and did some test aiming, these are with the fresnel lenses BTW
heres some pictures of the projectors all mounted up in the housing, upgraded to ninja star lock washers and nylon lock nuts. i dont want to risk these things coming loose on me
got my cut off as level as i can, these are with the clear lenses BTW
i added a 3rd upper mounting bolt, to keep it more secure. i got 1 1/2" bolt with a nylon lock nut and some lock washers on both sides.
ok so i gave up on my custom shrouds because they didnt really cover everything the way i wanted them too plus splatter punk basically gave me some e46 shrouds for free. thanks again bro!! i had to trim then alot to fit, mostly the top part and some of the bottom
this is the stuff i used to attach the shroud to the projectors, works really well i think and gets rock hard in 10 mins and can withstand high temps up 500 degrees.
then i attached the shroud..
then i added some foil tape, to the exposed parts in the back
after putting the projector back in the housing, you have to trim some of the black plastic piece thats held in the headlight lense. remove the 2 screws and remove the black piece, then trim as needed to fit the projector and shroud.
i also had to trim the back of the housing to fit the bulb clip, and make sure it works and doesnt rub on anything
now clean everything off really good and put the headlight lense back on the housing.
sealing the headlight back up, i used the same method i did to open the headlight, but only 300 degress this time at 8 mintues. the little metal clips that come with the headlight really help holding it together when you go to reseal it, just a tip.
install onto car and enjoy, you just saved yourself about 200-300 bucks
 01-19-2010, 02:23 PM
#2
Honda-Tech Member

Join Date: Aug 2005
Location: Macon, GA, USA
Posts: 1,324
Likes: 0
Received 0 Likes
on
0 Posts
more pics please. just kidding,that is awesome work man.wish i had the ***** to try that.i just installed a set of jdm headlights that i had laying around for a year. i should have sent them out and gotten this done. looks very good.
01-19-2010, 02:33 PM
#3
Honda-Tech Member
Join Date: Mar 2008
Location: Montreal, QC
Posts: 130
Likes: 0
Received 0 Likes
on
0 Posts
very very well done! and thanks for the diy. I'm not gonna do this personally cause I just cant stand how weird preludes look with retrofits. To each his own.
But no joke,
But no joke,
01-19-2010, 03:12 PM
#5
Honda-Tech Member

Join Date: Oct 2008
Location: Jacksonville Beach, Florida, United States
Posts: 1,562
Likes: 0
Received 0 Likes
on
0 Posts
How much were the projectors?
Kinda want to do this but a lil afraid of cutting up my headlights.
Kinda want to do this but a lil afraid of cutting up my headlights.
01-19-2010, 03:31 PM
#6
be professional
Ten thumbs up for doing HIDs the right way: a projector retrofit in housings with non-fluted lenses.

Trending Topics
01-19-2010, 07:47 PM
#9
Great work! I'll sticky this in pp.com as well like i said. I am 95% done mine, the only part i needed to do was the sealing up. I was going to epoxy but foil tape seems like a much better idea. Holds it in place tightly and can be reaiming whenever needed!
 01-20-2010, 05:55 PM
#14
Honda-Tech Member
iTrader: (1)
Join Date: Apr 2006
Location: Houston, TX, USofA
Posts: 215
Likes: 0
Received 0 Likes
on
0 Posts
i think u can. but for the price of those h.i.d.'s you can pick up some projectors and fork out a bit more for bulbs and ballast and you have a WAYYY better light output WITHOUT blinding oncoming traffic! I guarantee you, you will NOT be disappointed.
01-20-2010, 06:59 PM
#15
Honda-Tech Member
Join Date: Dec 2003
Location: San Diego, CA, USA
Posts: 423
Likes: 0
Received 0 Likes
on
0 Posts

 11-04-2010, 07:03 AM
#21
formerly xmod_supra
Join Date: May 2009
Location: Charleston
Posts: 1,492
Likes: 0
Received 0 Likes
on
0 Posts
Not to be mean but to be completely honest I am not into the projector thing, I think it looks fine stock. (Not saying you didnt do an amazing job and it looks great for a projector) But All I want to know is the setup for the yellow light??? Not the fog. But when you turn your lights on the inner lights are yellow. And I like that!
 11-04-2010, 08:12 PM
#24
Honda-Tech Member
Join Date: Jul 2010
Location: Central Florida, USA
Posts: 297
Likes: 0
Received 0 Likes
on
0 Posts
Looks great, you did an awesome job. I'm also scared to do mine, but if I did I would do it this way--the right way.
Now you should get some 3000k HIDs in your fog lights
Now you should get some 3000k HIDs in your fog lights
11-05-2010, 02:58 AM
#25
be professional
A projector retrofit is the easiest and cheapest way to do it right, and also produces the best light output. To use reflector-type HIDs would require more donor parts and a lot more hacking of the housings.