
ScubaSteve's 1988 Crx dx rebuild (A learning experience)
 11-22-2013, 05:55 PM
#1
Honda-Tech Member
Thread Starter
So the story starts a few years ago when I spotted a Crx on craigslist for $750, I immediately fell in love with the body style and tried to contact the owner. Unfortunately it had already been sold; but my passion had been ignited. I jumped onto Honda-tech and read for hours, learning everything I possibly could without having a car in front of me. All while still searching craigslist to find the car I couldn't stop dreaming about.
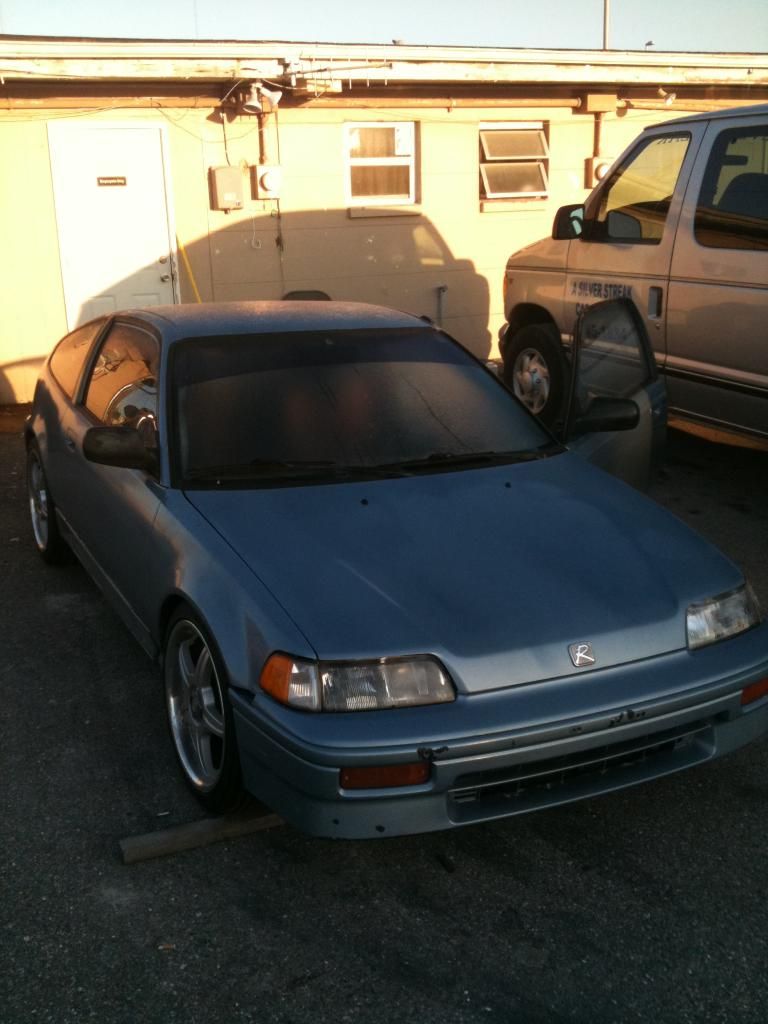
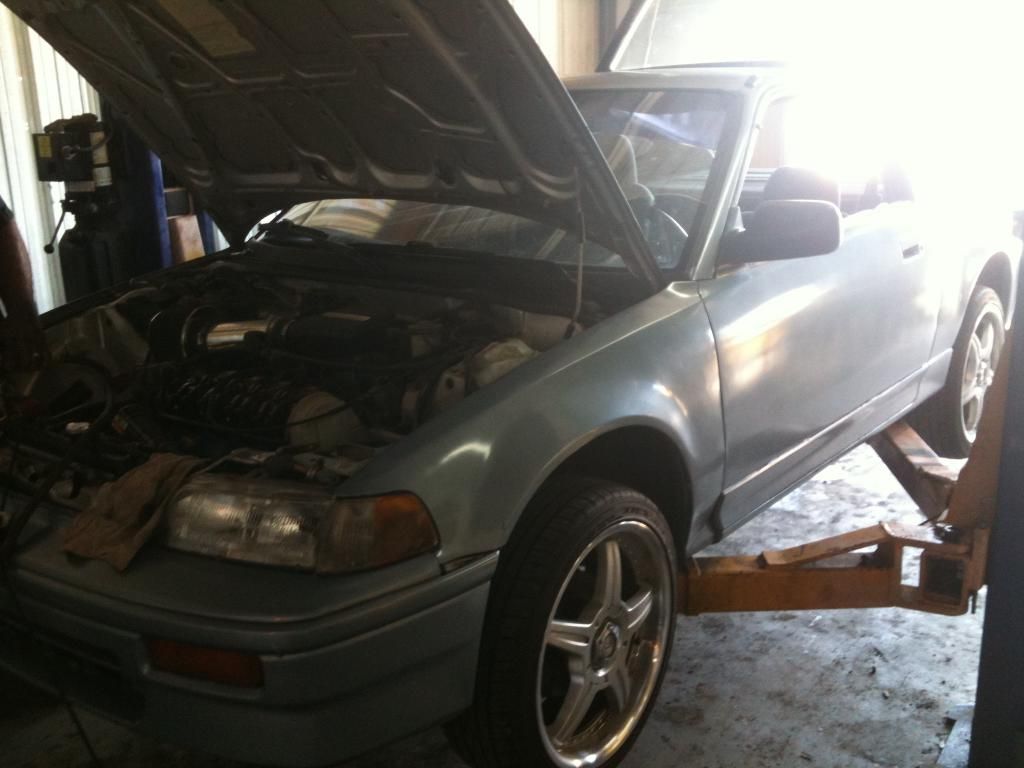
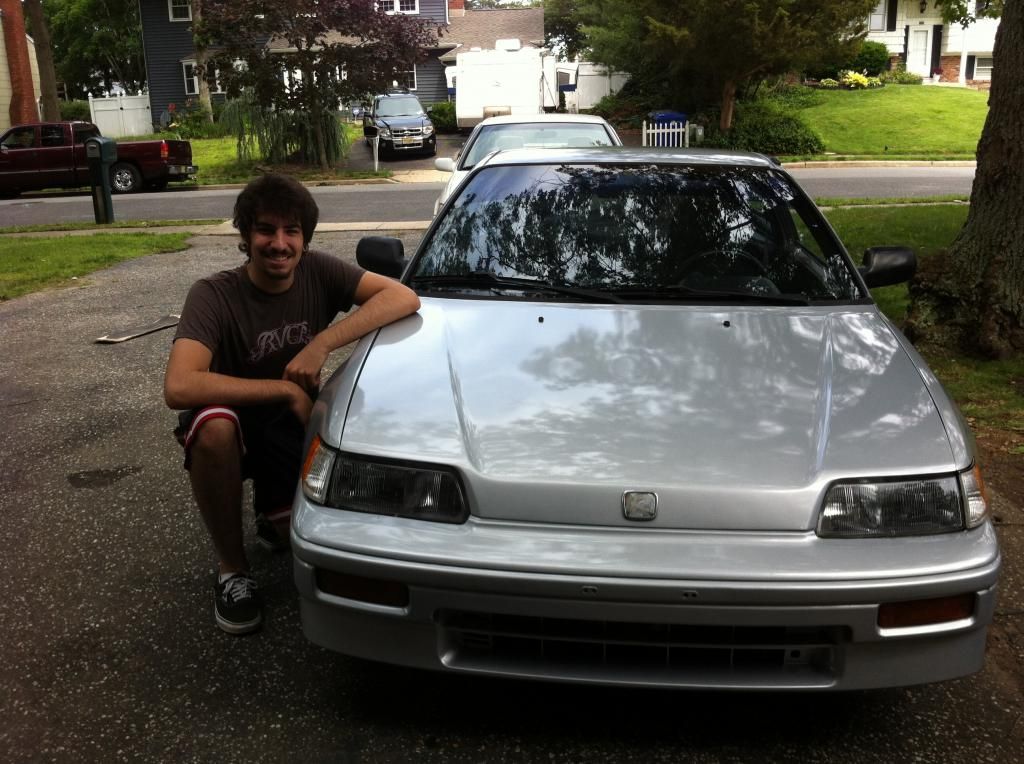
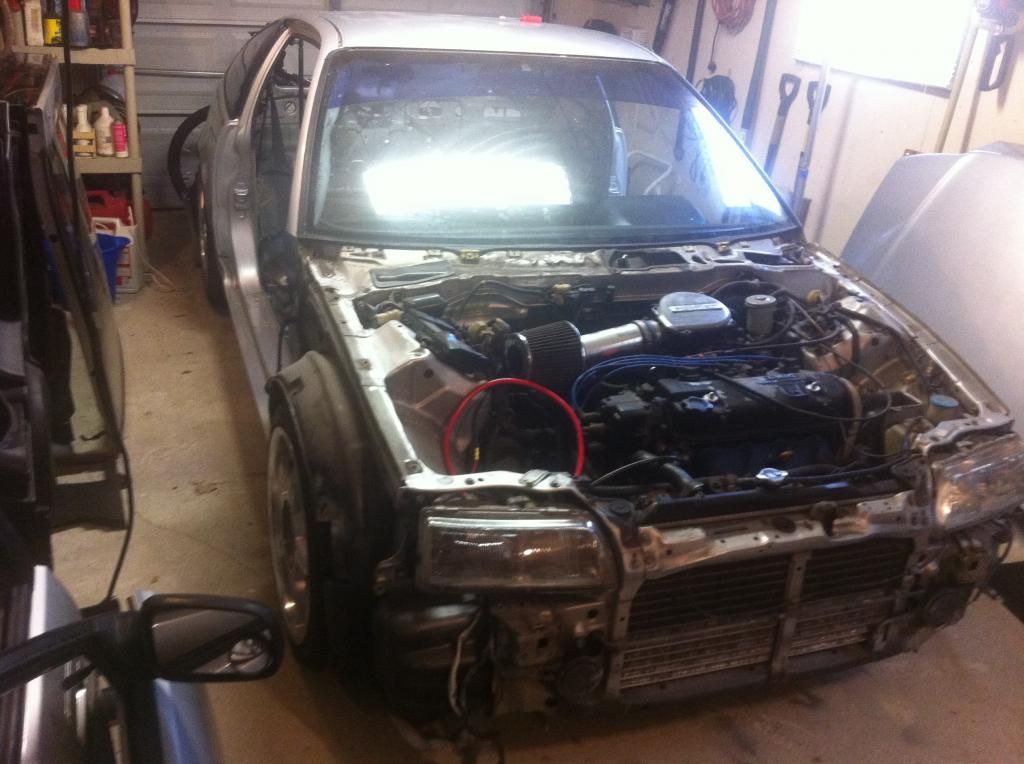
Fast forward a few months and I'm visiting Florida and working for my Mom's taxi service. I was around 16 and very easily excited; so when I mentioned my recent obsession and my step-father said he'd go 50/50 with me on a car I instantly started searching for a Crx. (He said he had a friend who could ship it up to me for free) I found a few possibilities, but my time in fl was coming to a close and we ended up making a rushed purchase. This is what I ended up with...
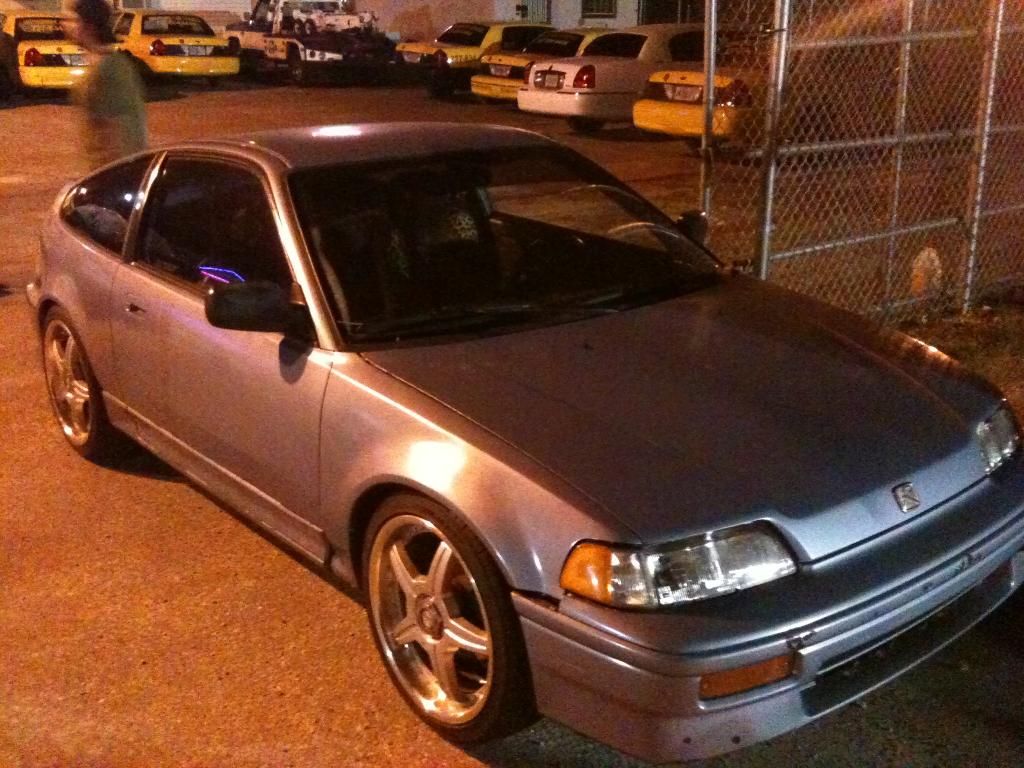
(Sorry about the picture quality these are old phone pictures)

At that time I could not have been more excited, the next day I came back to the car and started cleaning it. It had been sitting under a tree for over a year, and you could really tell in the light that it needed a lot of love.
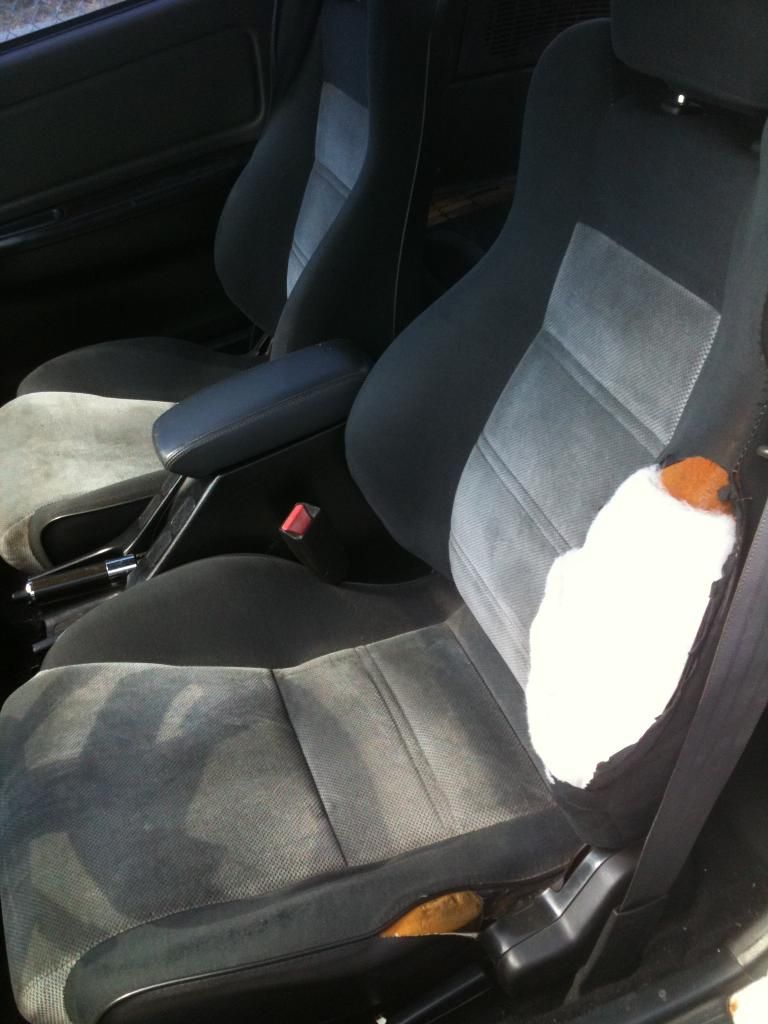
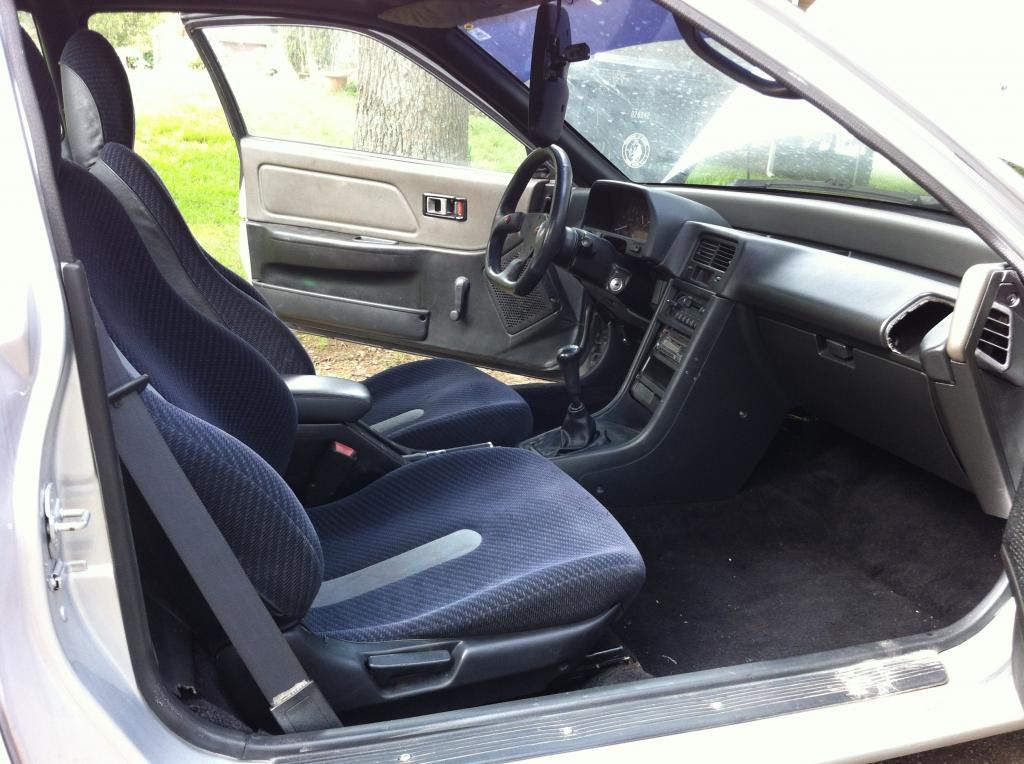
This was the interior when I got it, and yes, that fan was screwed into the center console.
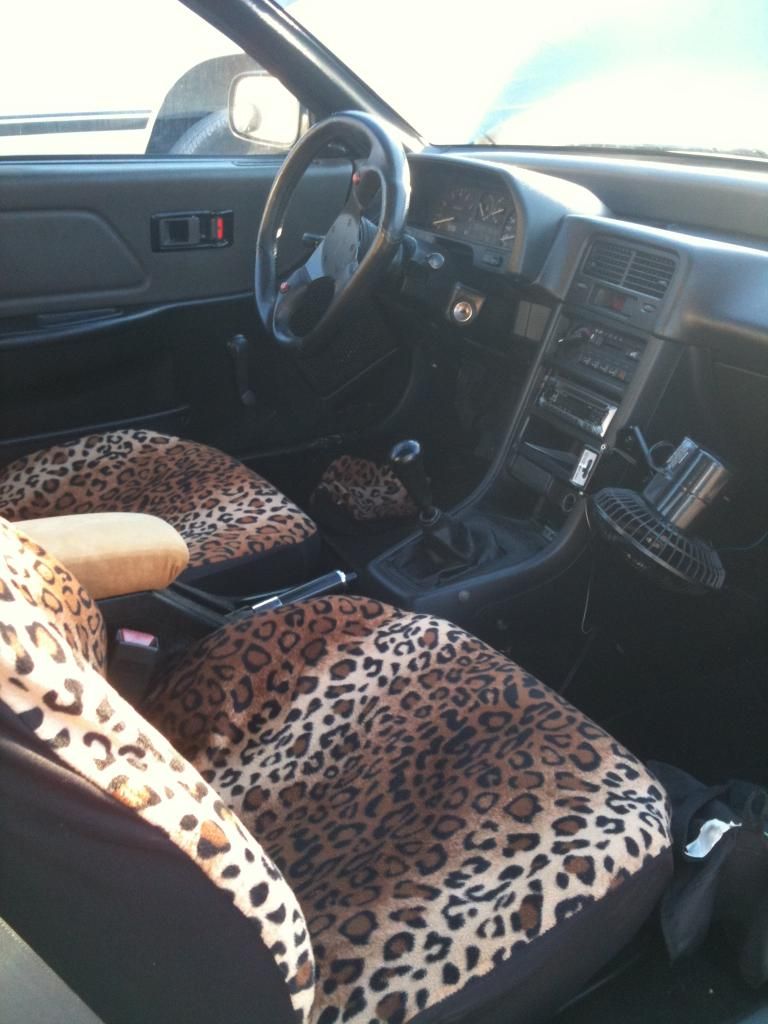
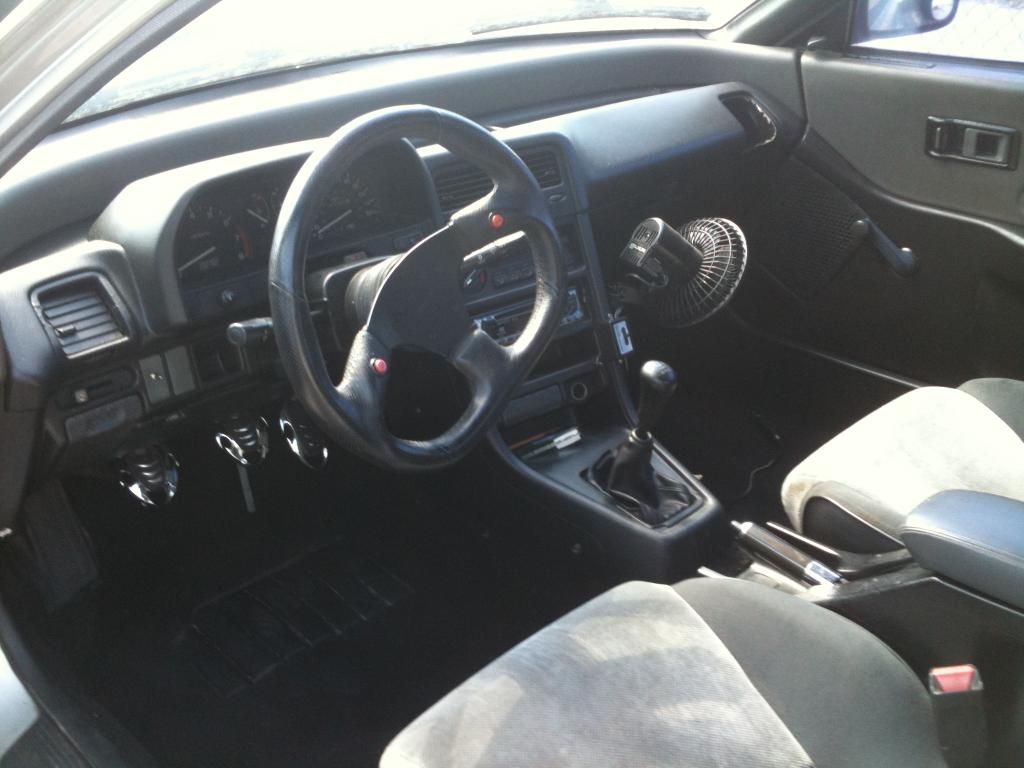
After some vacuuming and cleaning the interior started to look decent, minus the fan, death trap pedals, rice steering wheel, and ebrake handle.
Typical driver seat tear and arm rest from another honda.
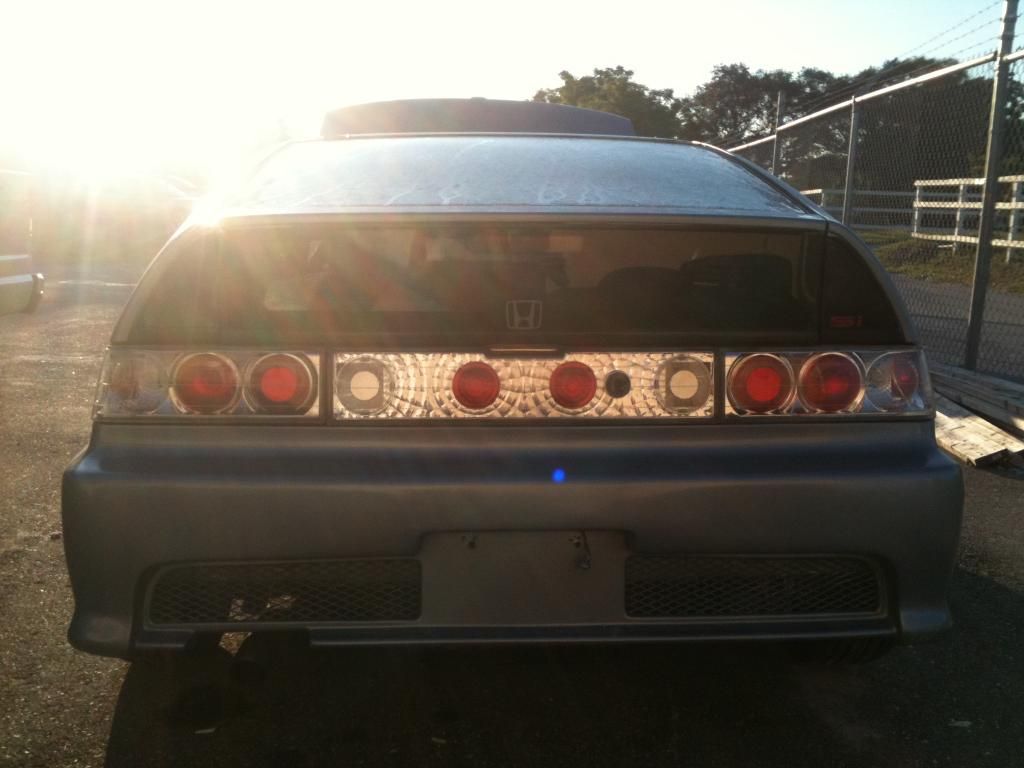
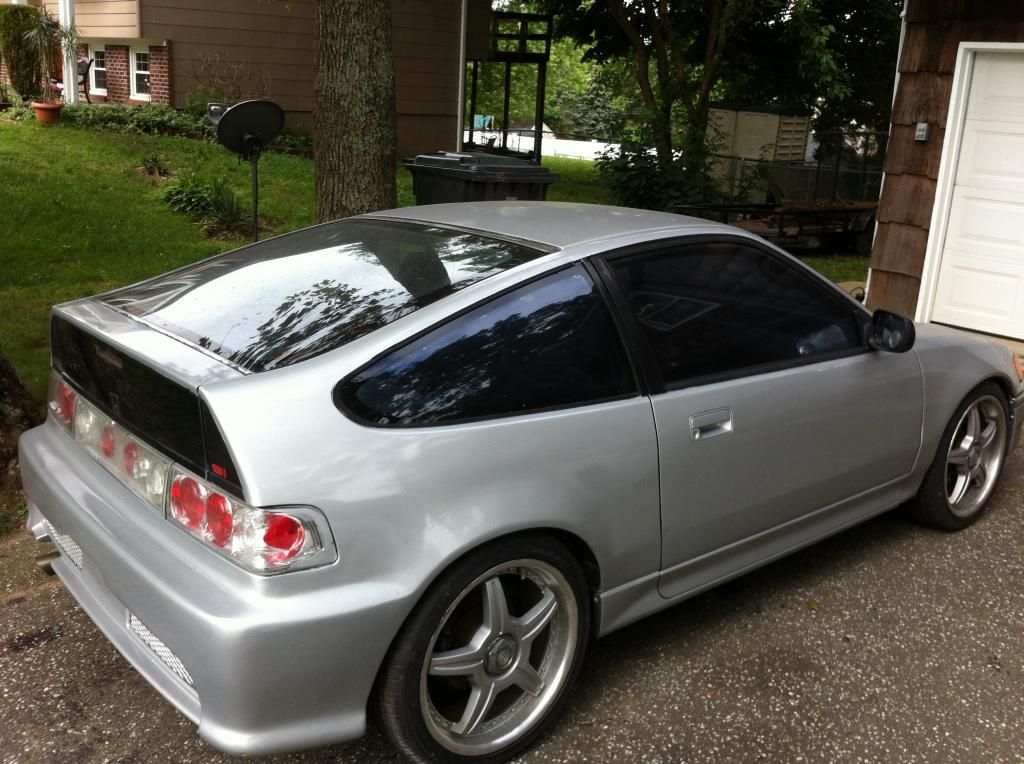
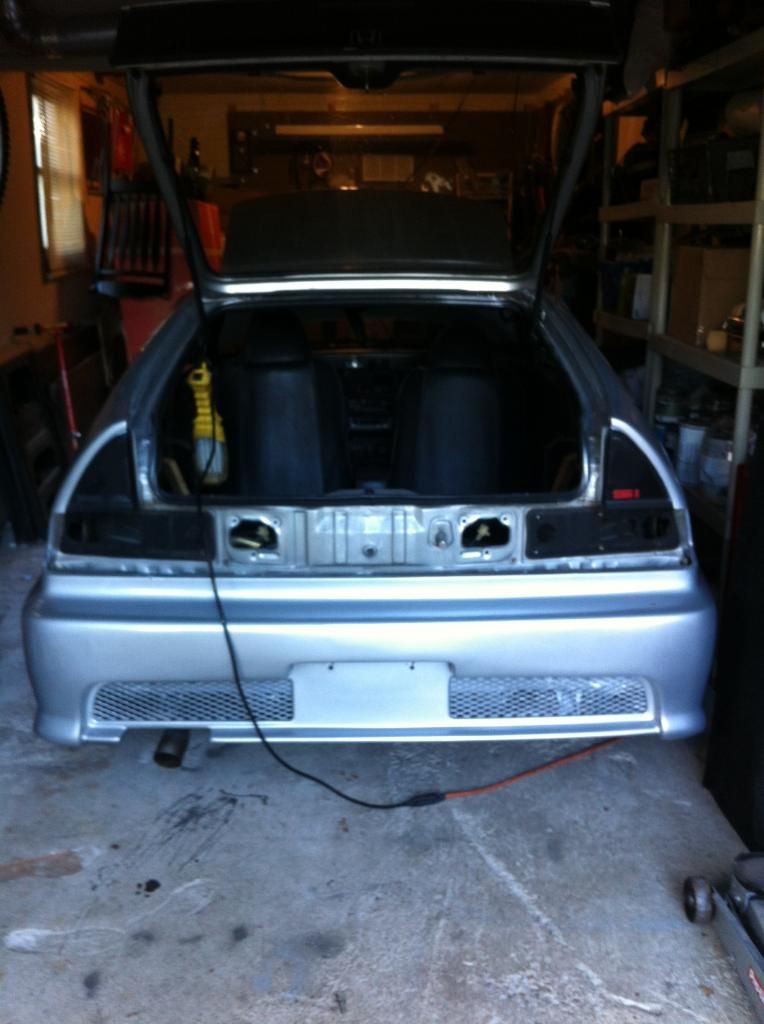
The exterior was a different story, between the body kit fenders, bondo covered trim slots, replica mugen rear bumper (which was "molded" on) and ricey tail lights I had my work cut out for me.
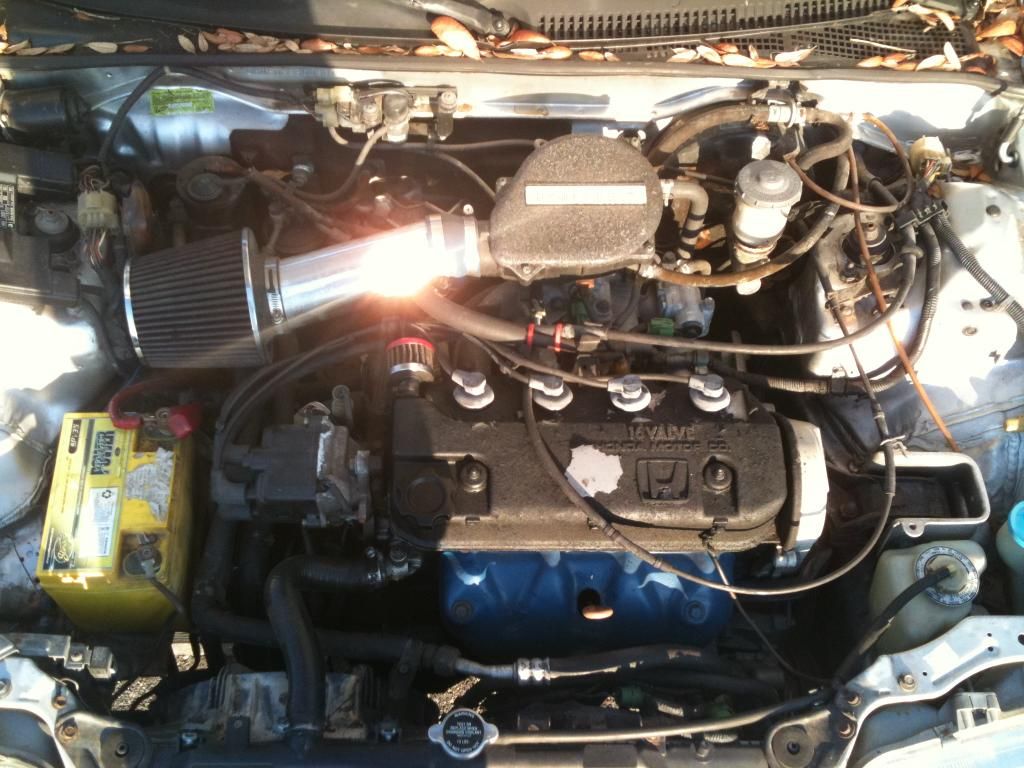
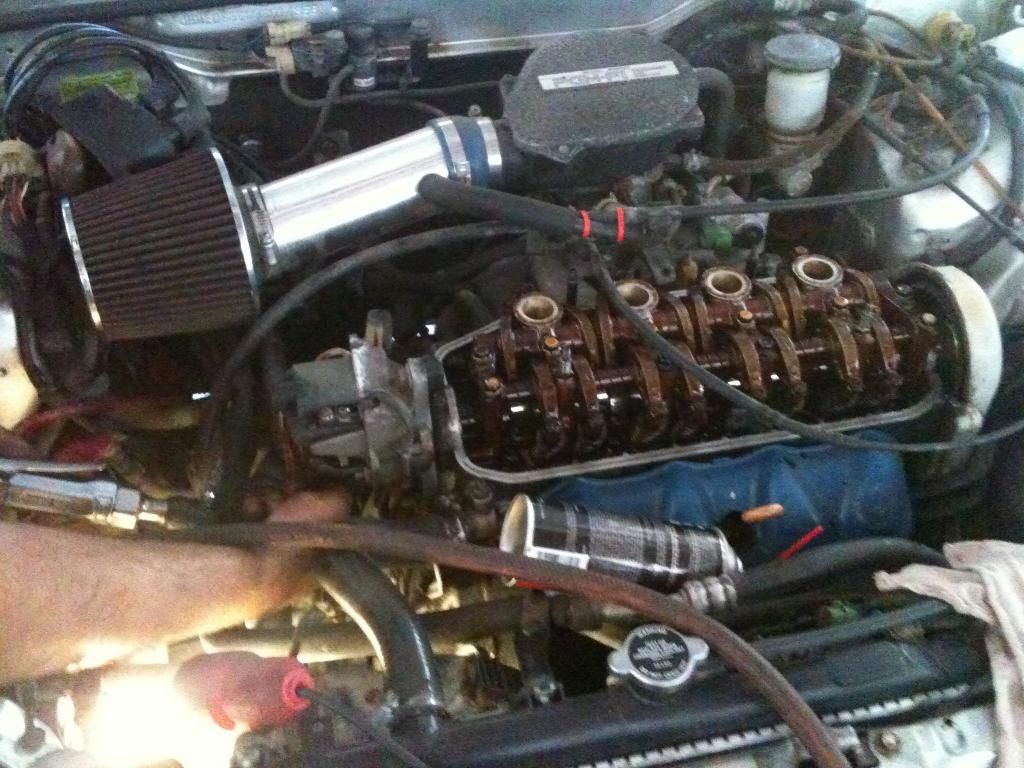
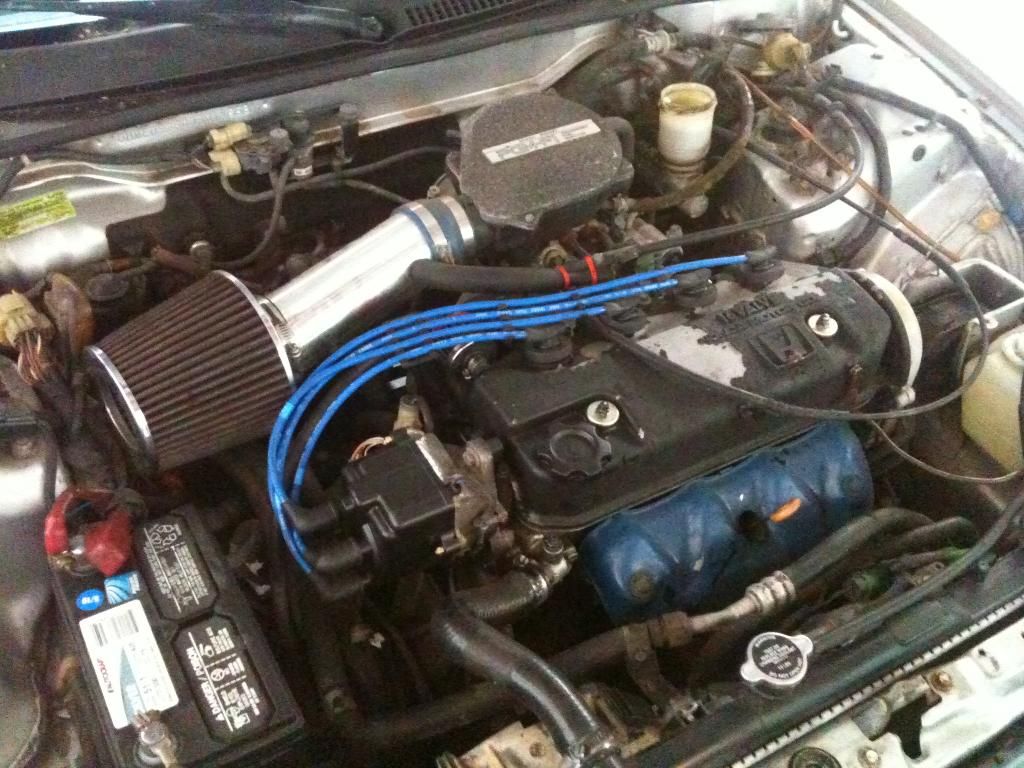
The Taxi shop mechanic helped me change the battery, valve cover gasket, distributor cap and rotor, spark plugs and wires, leaking master cylinder, brake pads and change all the fluids.
I went back to New Jersey, and the fenders came in. My stepfather took the liberty of painting it silver (over the awful perrywinkle blue it had been painted) and tossing the seats and replacing them with a pair of del sol seats. I was not happy.
Then, it sat.

After a year of him telling me his friend was going to ship it, but constantly bailing at the last minute, I decided to get it up here by myself. I found a company and got it here a few days after my high school graduation.
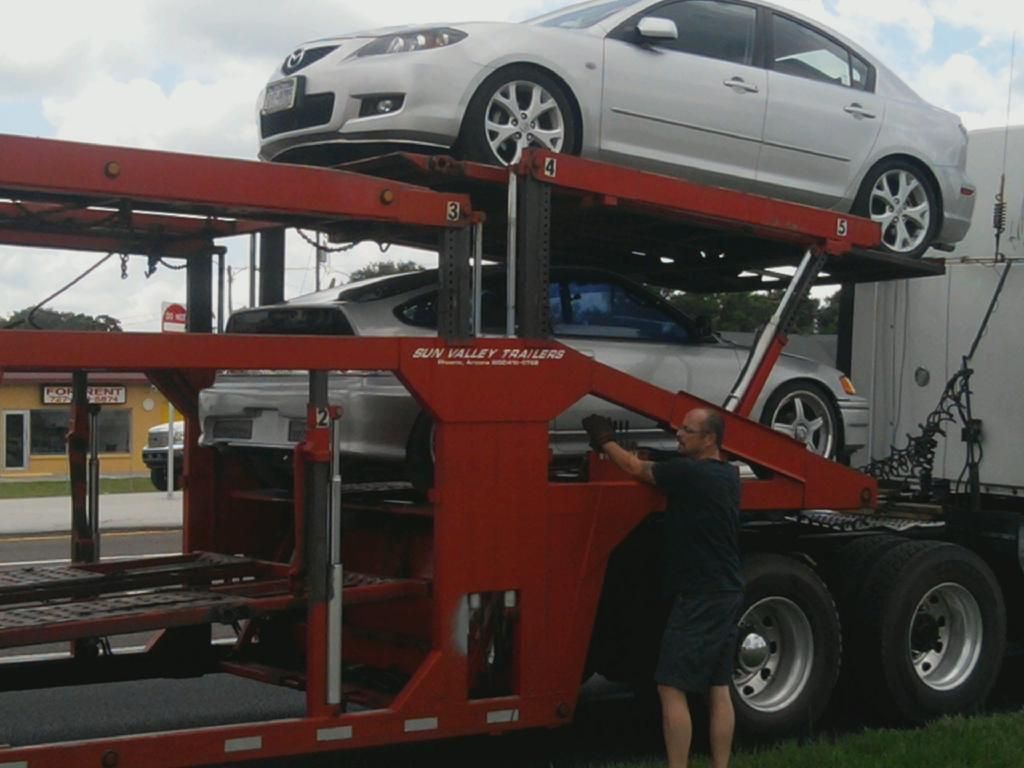

I was so excited! Finally the car was here!
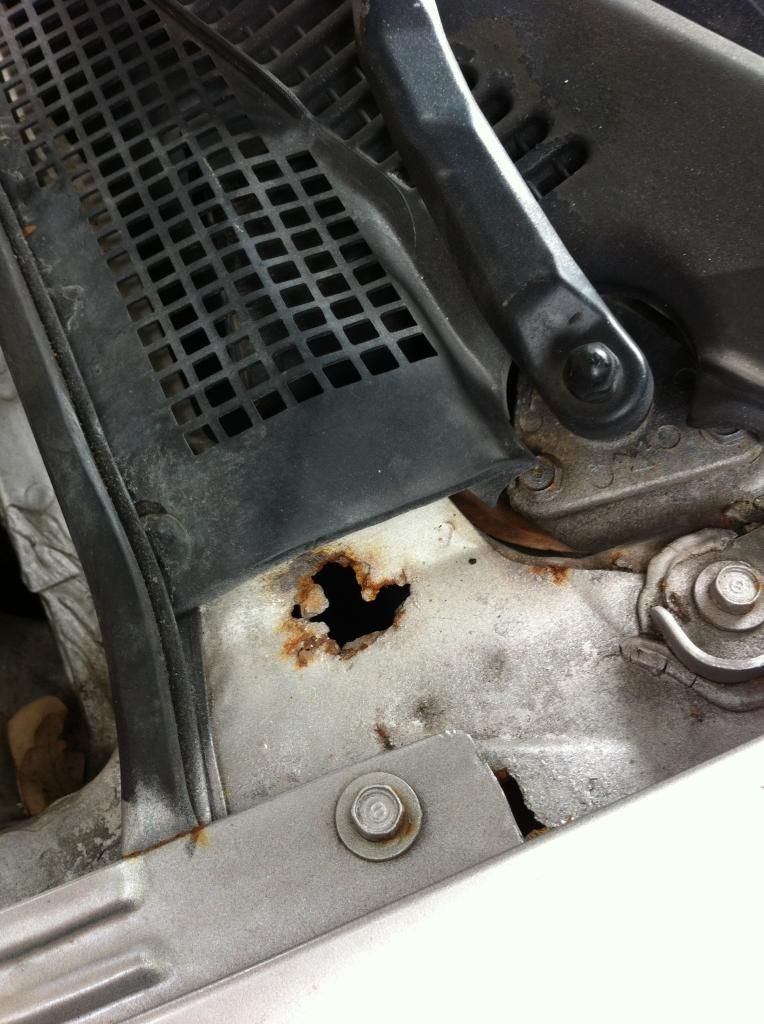
Upon further inspection I found rust.
I decided it'd be best for me to check the rest of the car before I started driving it, and after pulling off a few panels, I started to realize this car was held together with woodscrews and tears. Oh you think I'm joking?
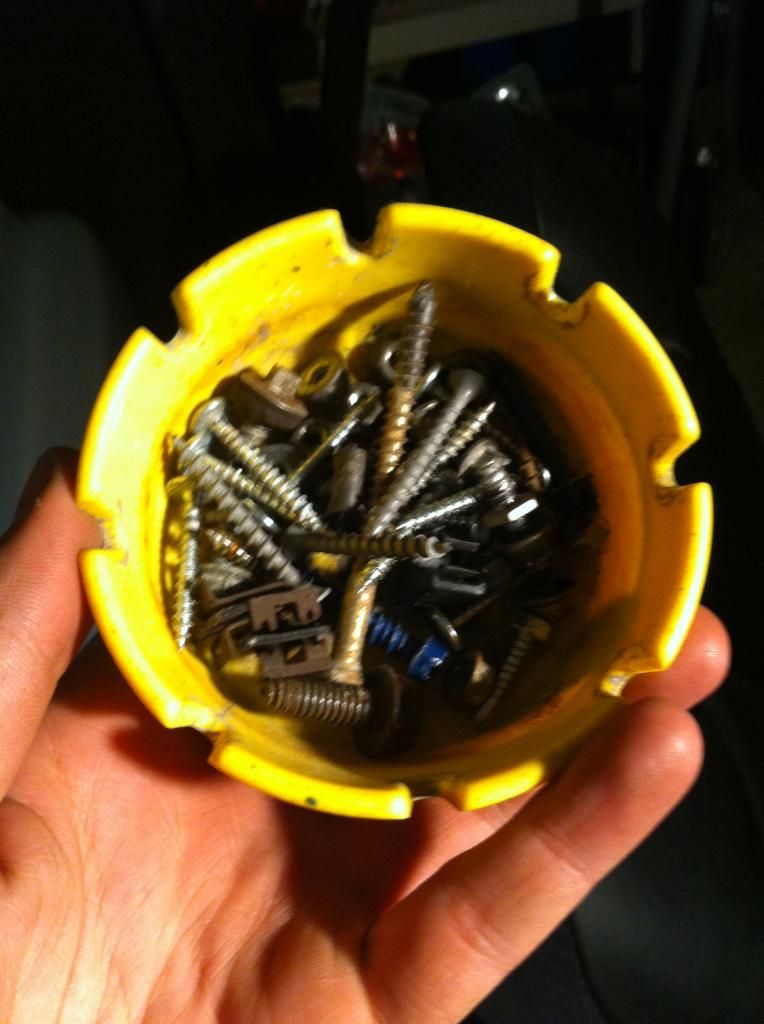
That was the final straw, I was going to pull this car apart. I'm a bit obsessive and a major perfectionist and this wasn't going to fly. So I dove head first into my first restoration project.
The tail lights were first to go.
Then the rear plastics and door panels
As I pulled more and more out of the car I started to get the feeling that I was in over my head, but thanks to my Dad, I decided to keep going.
These pictures are from over a year ago, and I have much much more, but I think this should be good for my first post!
Thanks for reading!
Fast forward a few months and I'm visiting Florida and working for my Mom's taxi service. I was around 16 and very easily excited; so when I mentioned my recent obsession and my step-father said he'd go 50/50 with me on a car I instantly started searching for a Crx. (He said he had a friend who could ship it up to me for free) I found a few possibilities, but my time in fl was coming to a close and we ended up making a rushed purchase. This is what I ended up with...

(Sorry about the picture quality these are old phone pictures)

At that time I could not have been more excited, the next day I came back to the car and started cleaning it. It had been sitting under a tree for over a year, and you could really tell in the light that it needed a lot of love.

This was the interior when I got it, and yes, that fan was screwed into the center console.

After some vacuuming and cleaning the interior started to look decent, minus the fan, death trap pedals, rice steering wheel, and ebrake handle.

Typical driver seat tear and arm rest from another honda.

The exterior was a different story, between the body kit fenders, bondo covered trim slots, replica mugen rear bumper (which was "molded" on) and ricey tail lights I had my work cut out for me.


The Taxi shop mechanic helped me change the battery, valve cover gasket, distributor cap and rotor, spark plugs and wires, leaking master cylinder, brake pads and change all the fluids.


I went back to New Jersey, and the fenders came in. My stepfather took the liberty of painting it silver (over the awful perrywinkle blue it had been painted) and tossing the seats and replacing them with a pair of del sol seats. I was not happy.
Then, it sat.

After a year of him telling me his friend was going to ship it, but constantly bailing at the last minute, I decided to get it up here by myself. I found a company and got it here a few days after my high school graduation.


I was so excited! Finally the car was here!

Upon further inspection I found rust.

I decided it'd be best for me to check the rest of the car before I started driving it, and after pulling off a few panels, I started to realize this car was held together with woodscrews and tears. Oh you think I'm joking?

That was the final straw, I was going to pull this car apart. I'm a bit obsessive and a major perfectionist and this wasn't going to fly. So I dove head first into my first restoration project.
The tail lights were first to go.

Then the rear plastics and door panels

As I pulled more and more out of the car I started to get the feeling that I was in over my head, but thanks to my Dad, I decided to keep going.
These pictures are from over a year ago, and I have much much more, but I think this should be good for my first post!
Thanks for reading!
 11-22-2013, 06:15 PM
#2

Glad to see a few other perfectionists out there. Gives me a little bit of needed inspiration after looking at a bunch of sloppily built stuff online. Haha. I have gotten to that point of tearing it completely down to get it 100% correct with the last couple that I have fooled with. The final payoff is worth it.
 11-22-2013, 07:29 PM
#4
Honda-Tech Member
Thread Starter
Glad to see a few other perfectionists out there. Gives me a little bit of needed inspiration after looking at a bunch of sloppily built stuff online. Haha. I have gotten to that point of tearing it completely down to get it 100% correct with the last couple that I have fooled with. The final payoff is worth it.
Thanks man! I promise this is just the beginning! Btw I've been following you on instagram for awhile. I'm a major hatchback lover myself!
11-23-2013, 07:26 AM
#5
Those are the aftermarket tail lights that I think are definitely ricey. I do have aftermarket tail lights on my car, but they are black instead of that silver. And it has the stock center portion. Looks much closer to stock and not as ridiculous.
11-23-2013, 07:54 AM
#6
Honda-Tech Member
Thread Starter
Funny that you say that, I ended up buying a parts car, and it had the black ones. And I've only been able to acquire a stock 91 centerpiece, so we're going to match for a while. Haha, Think I should post some more of the build?
Trending Topics
11-24-2013, 11:09 PM
#8
Honda-Tech Member
i notice the fender went from a hatchback fender before shipping to a crx fender after you received it, what happened there?
11-25-2013, 02:49 AM
#9
But OP, what's so bad about that wheel? Aside from the Fast and Furious Nitrous buttons?
11-26-2013, 07:52 AM
#10

can't wait for updates! I would love to see step by step of your progress to see this car from rice2nice !
11-30-2013, 01:34 PM
#12
Honda-Tech Member
Thread Starter
You got that right! Thanks!
11-30-2013, 03:31 PM
#14
Honda-Tech Member
Thread Starter
Sorry about the gap between updates, I was visiting family for Thanksgiving, but I'm back and I still have a lot of progress to go over!
Let's get right back into it!
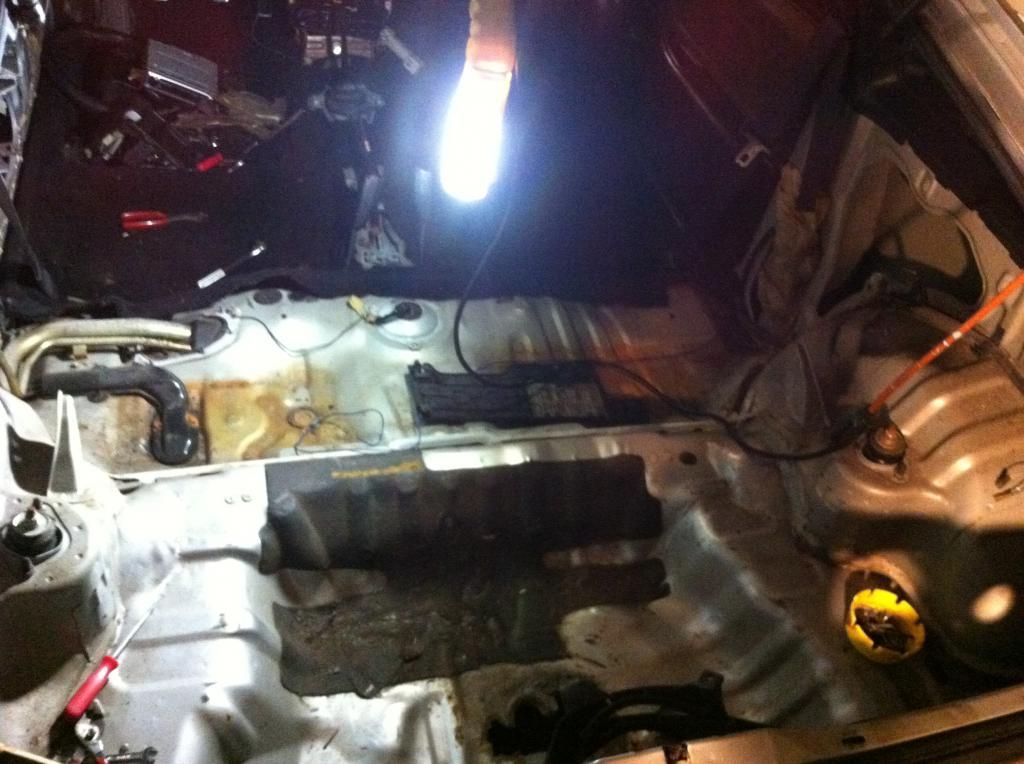
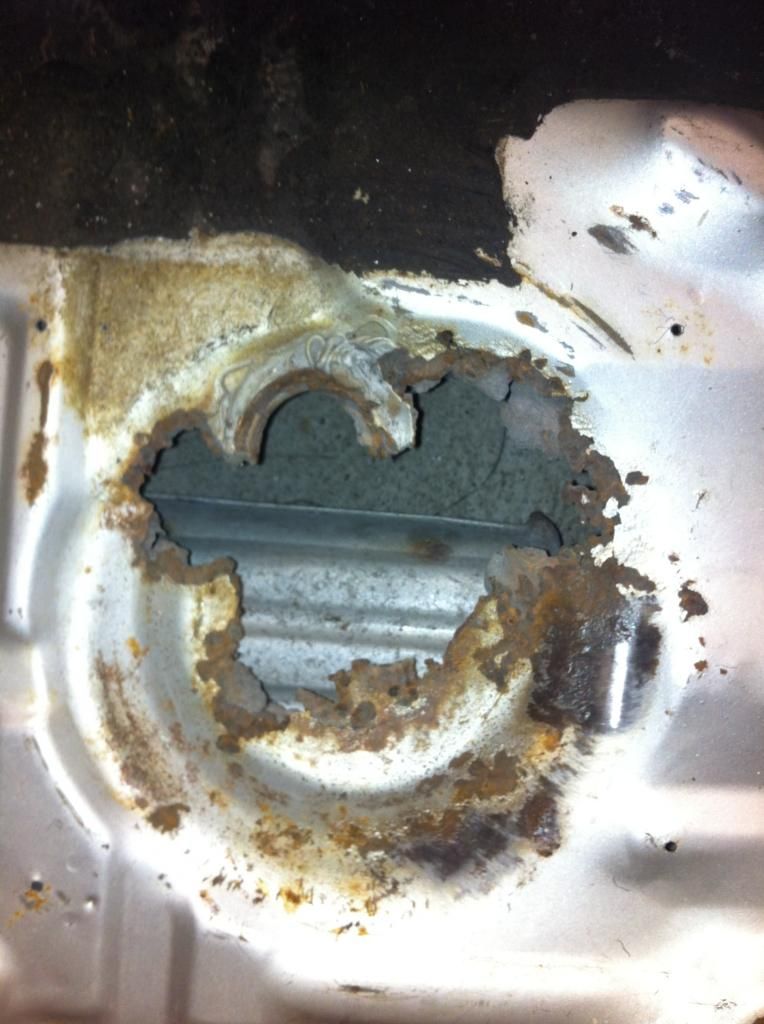
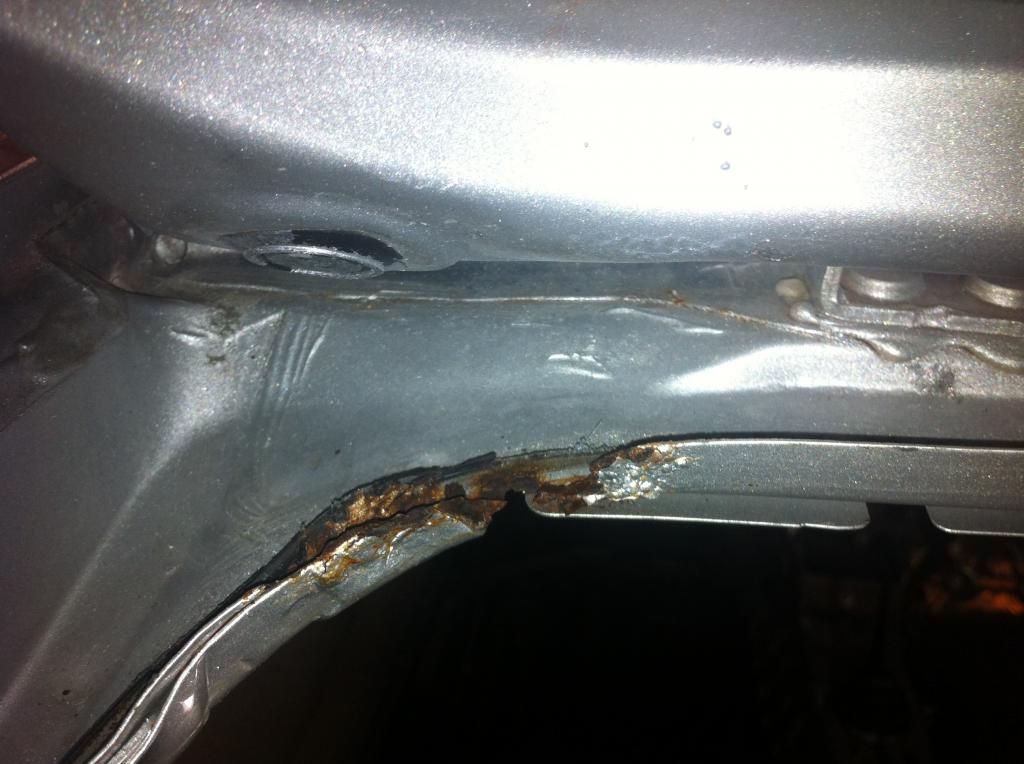
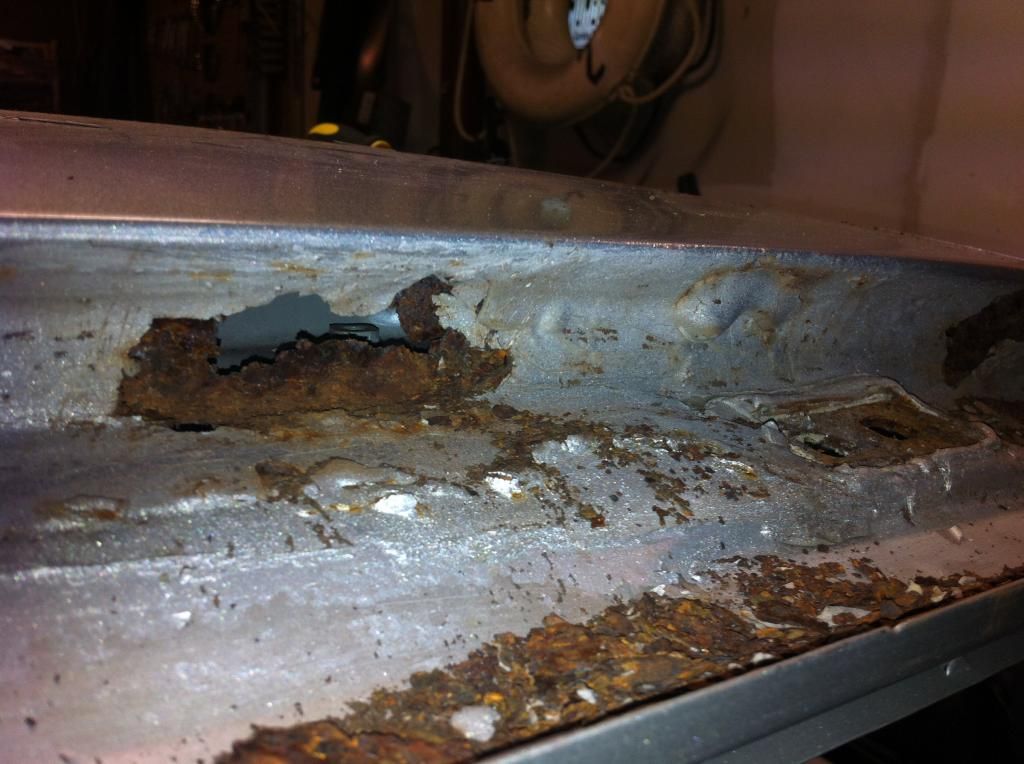
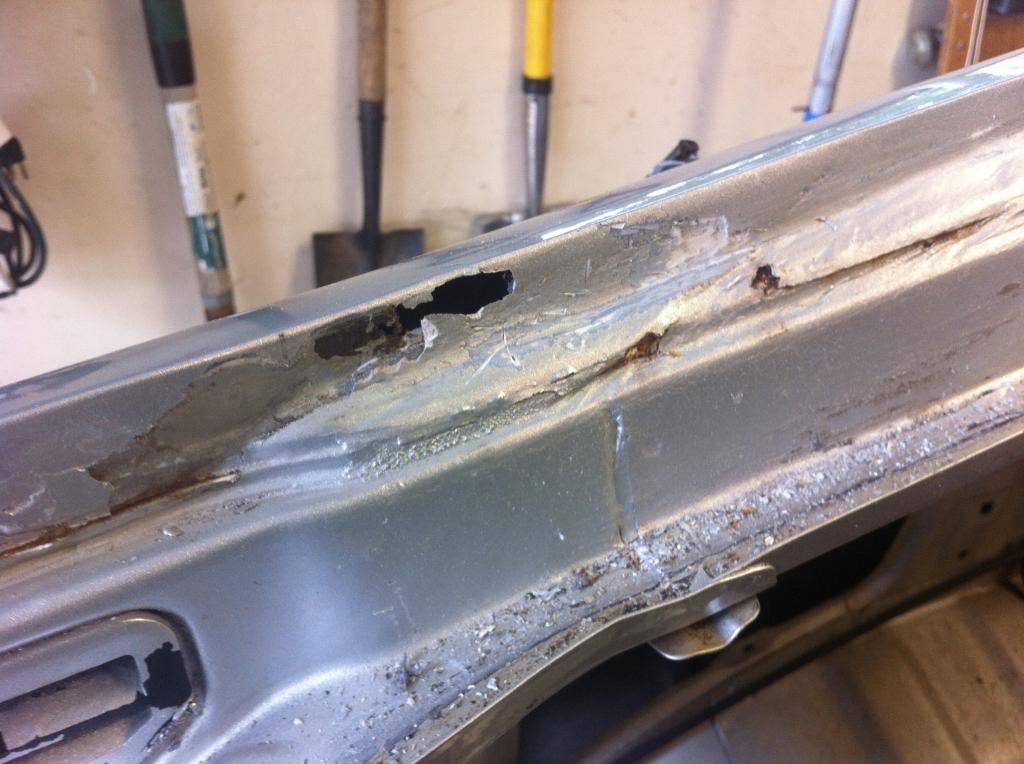
As I was taking the car apart and lamenting over the horrible paintjob I started to really inspect the car and I found quite a few problem areas. Under the three different layers of paint and clearcoat was a decent amount of rust. The biggest spot being the trunk pan.
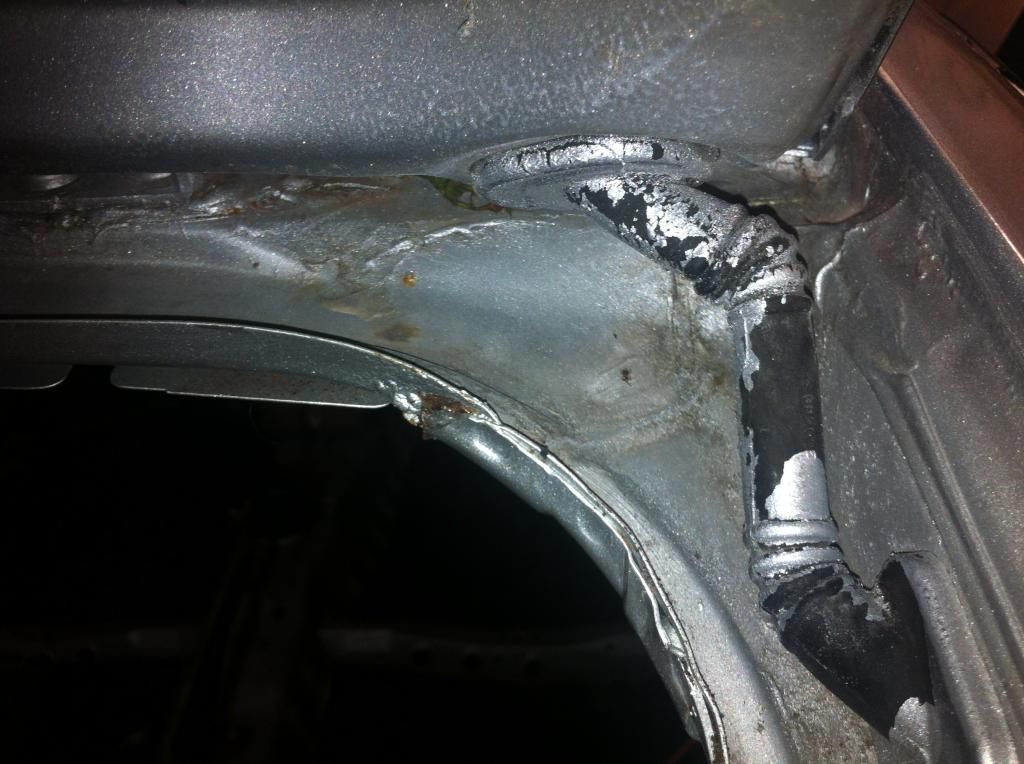
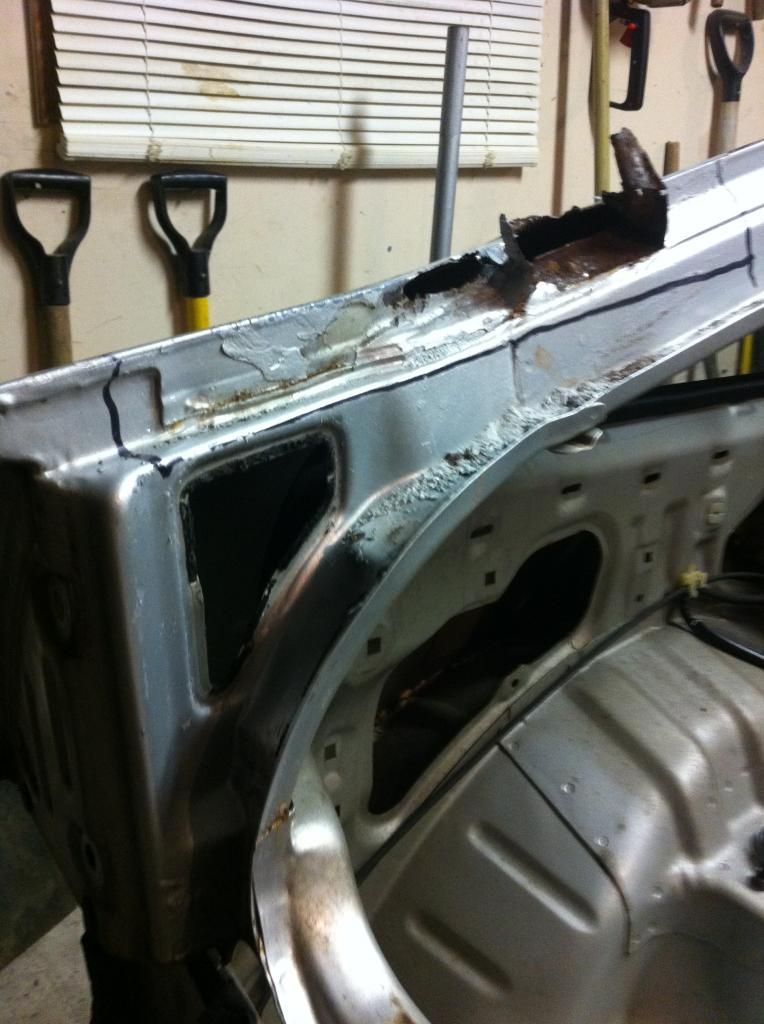
There were also a few spots I found around the hatch jamb.
I found this stuffed with bondo, its right behind the hatch hinges.
Here are some examples of the overspray on the car, I really don't think the guy even tried.
So I kept stripping the car and eventually I removed almost all of the interior.
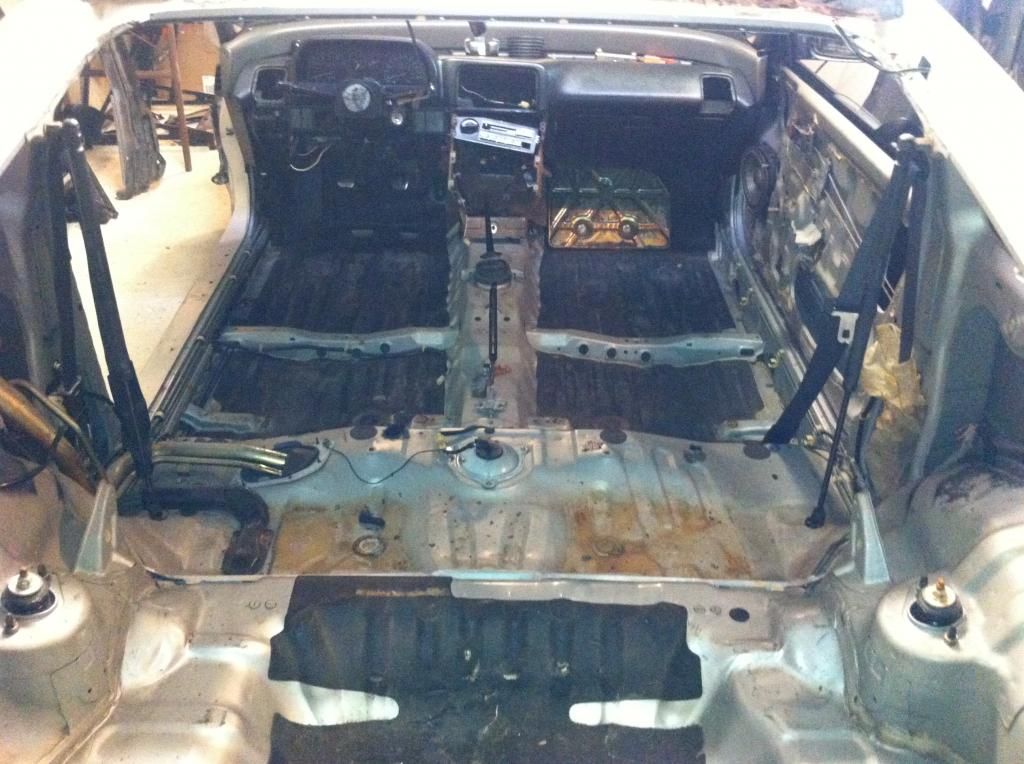
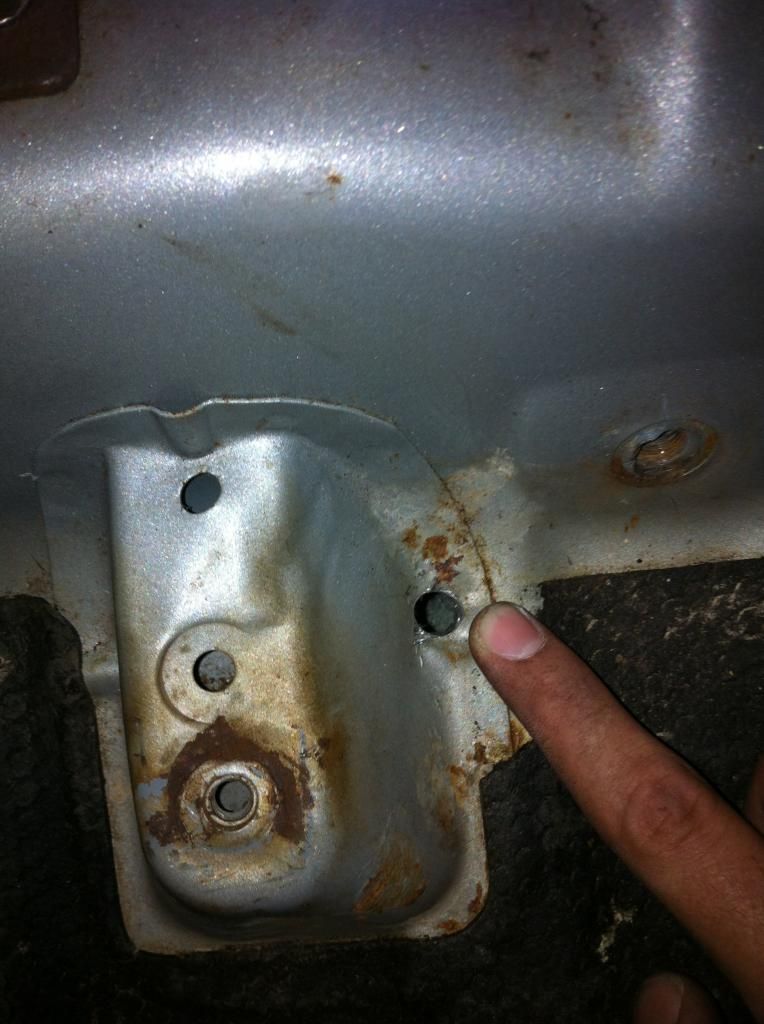
As I was doing this I found out the del sol seats didn't fit in the car, and couldn't slide forward or backward, not to mention they were crooked as hell. I then realized they had drilled a hole through the floorpan and used a three inch bolt to hold the seat rail.
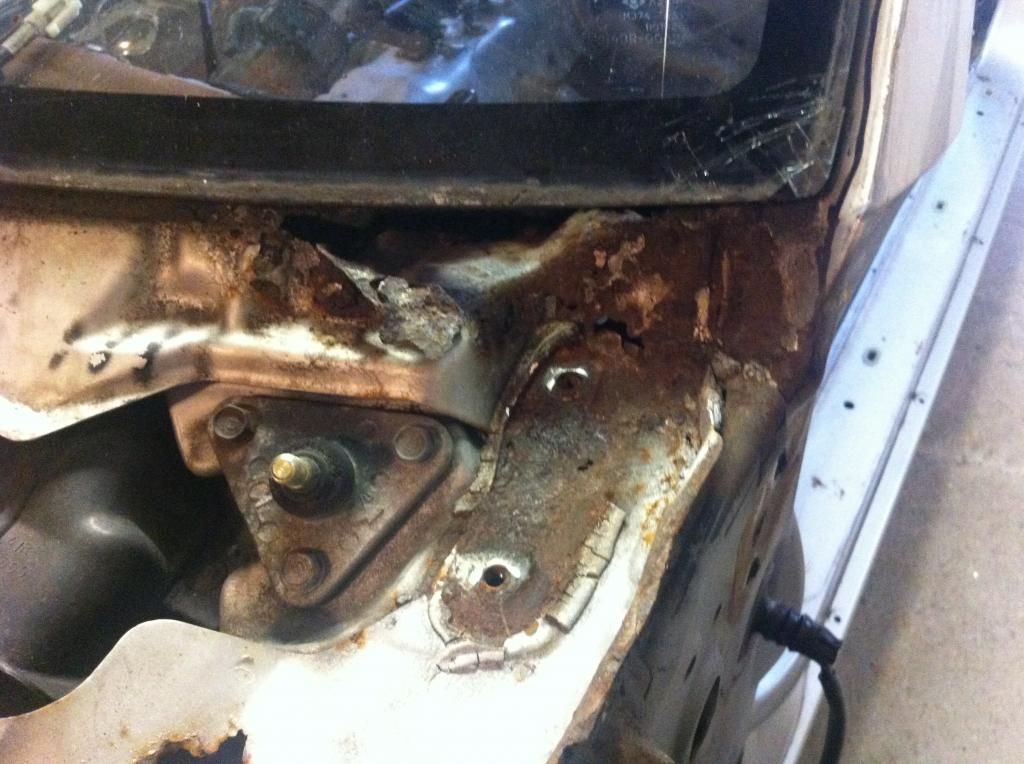
Then as I removed the hood I found that one of the hinges was a little
loose.
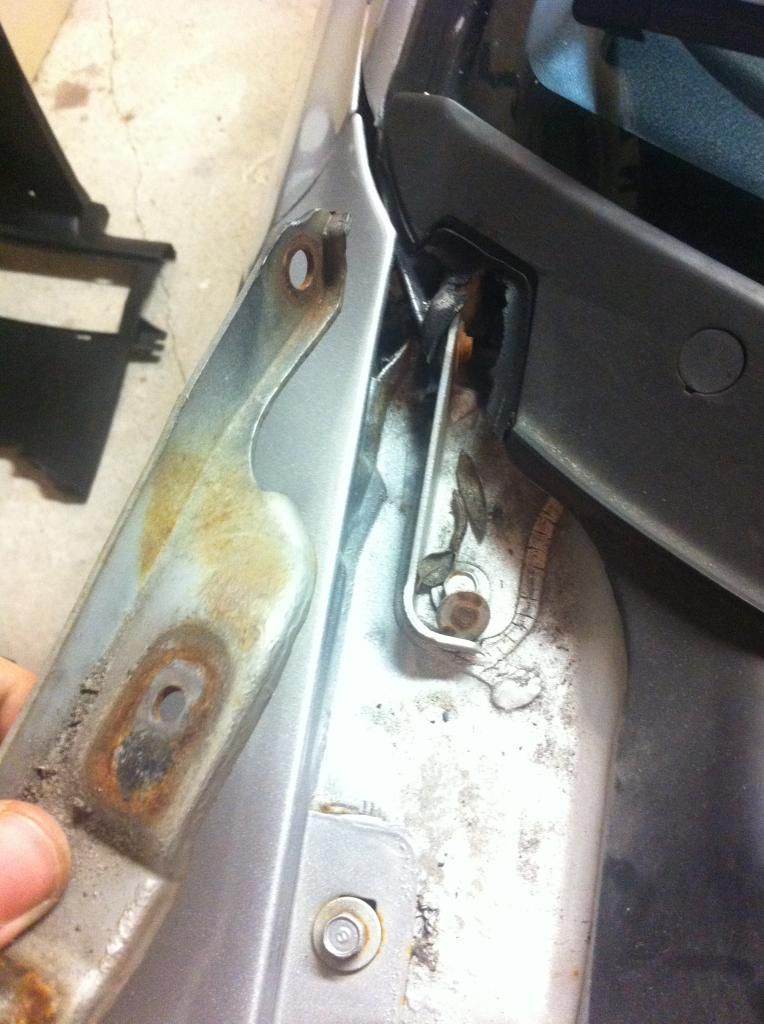
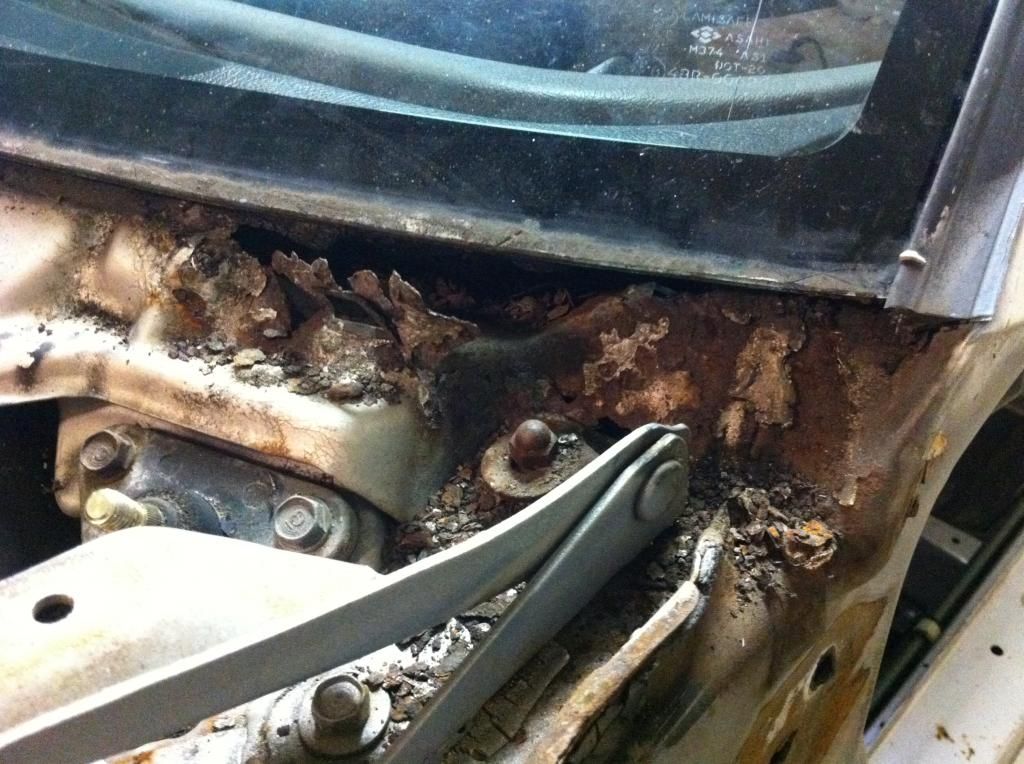
And the other hinge had some serious rust behind it.
I was getting nervous over the amount of rust on the car, thinking that rust was impossible to fix. Luckily I was able to have a chat with my Dad, and his stories of cars he had to cut almost in half to fix gave me my confidence back.
Okay, so remember how I said I ordered brand new fenders for it? Well I was curious why the trim slots were missing and why there wasn't a spot for the piece of trim that goes on the bottom of them. This is what I found after I pulled the fenders off.
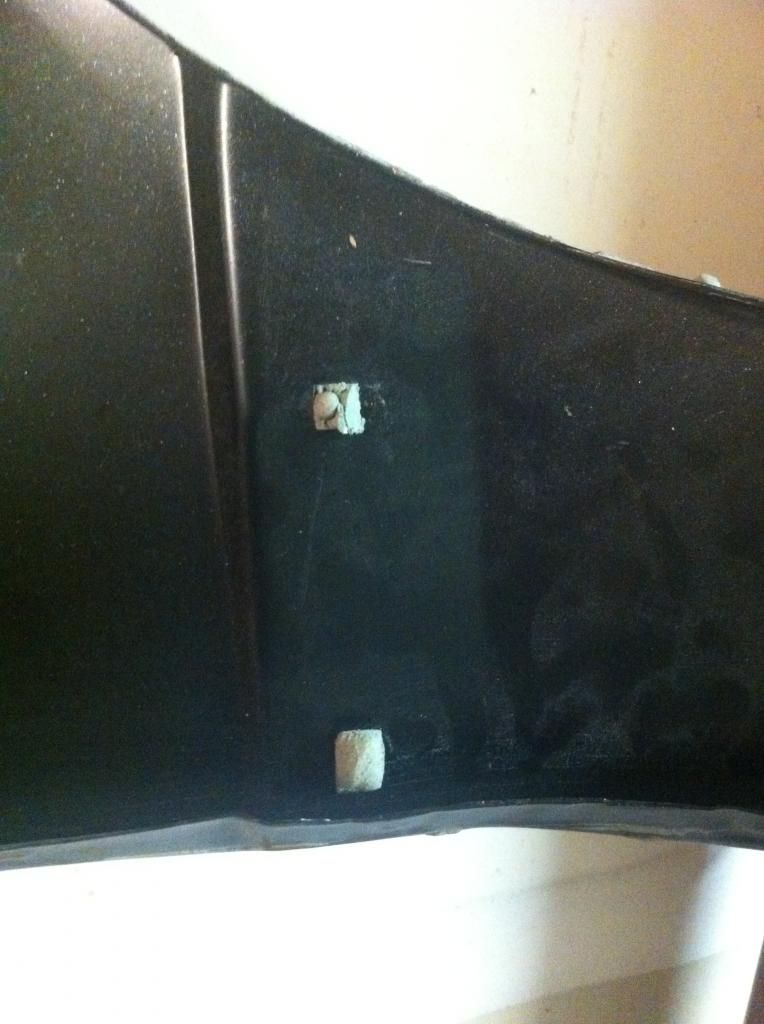

What is that? A screw covered in bondo?
No, it's three screws, screwed into the new fender!!
And they're securing a piece of sheetmetal cut from the old fenders?!
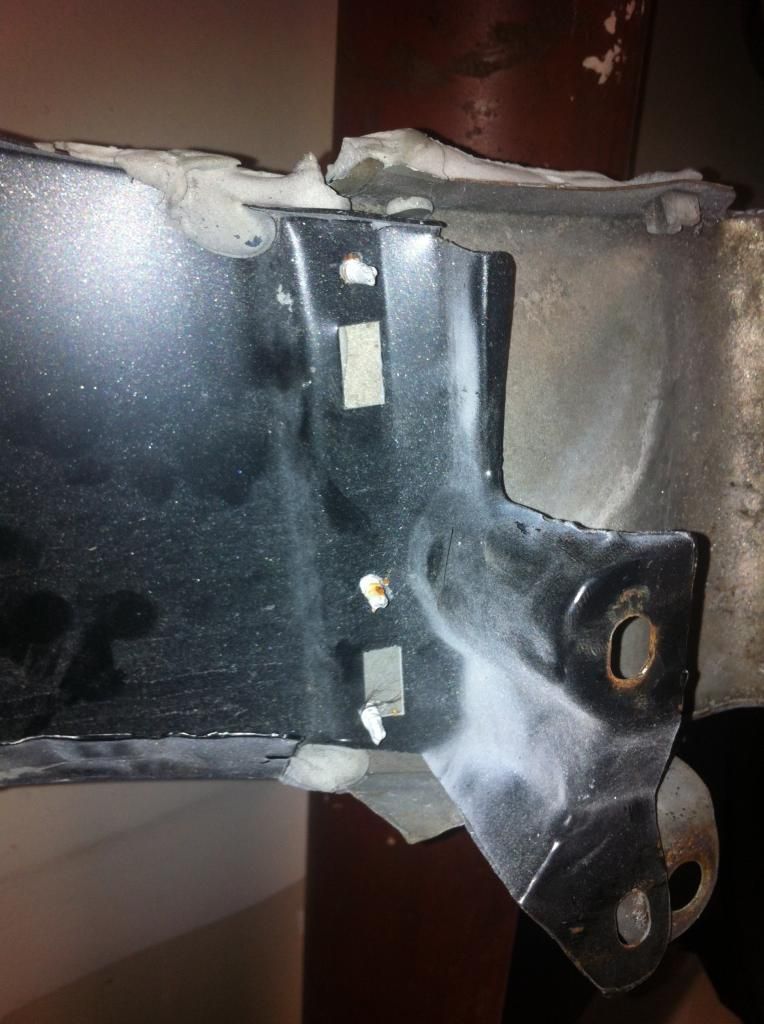
Seriously, I have heard of rigging something, but this is ridiculous. I'm so glad I decided to take this car apart.
My father and I then decided it was time to rid myself of that awful "Mugen" rear bumper. As we cracked the plastic holding it on, we found out that once again, woodscrews were used to hold the bumper in place.
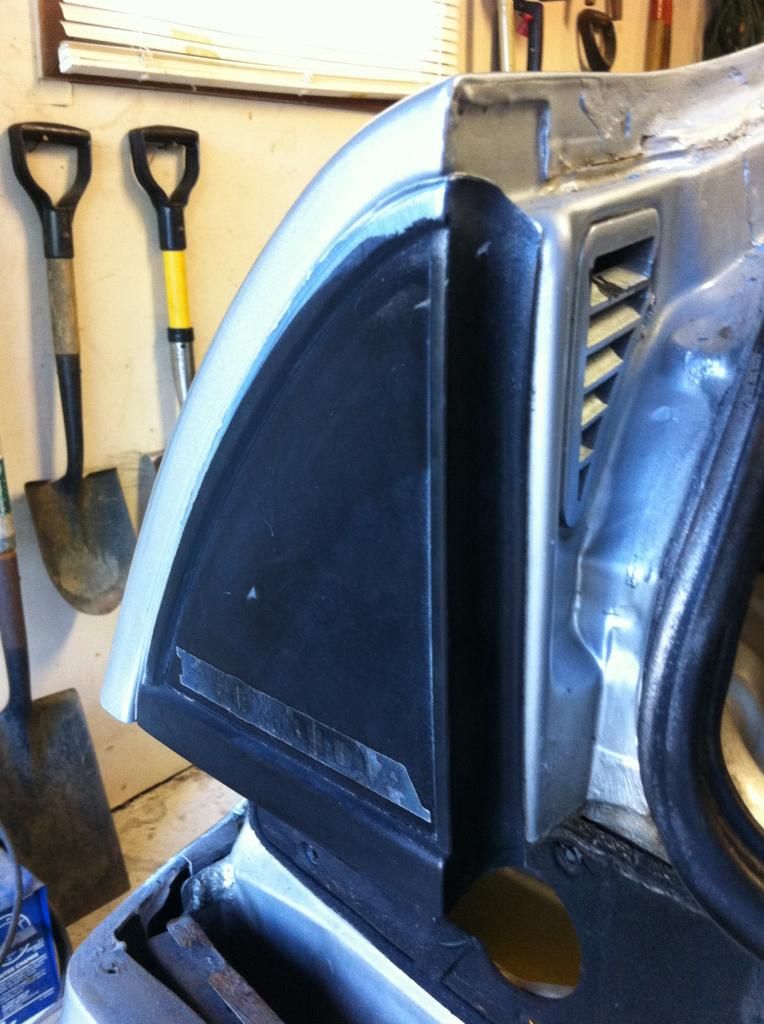
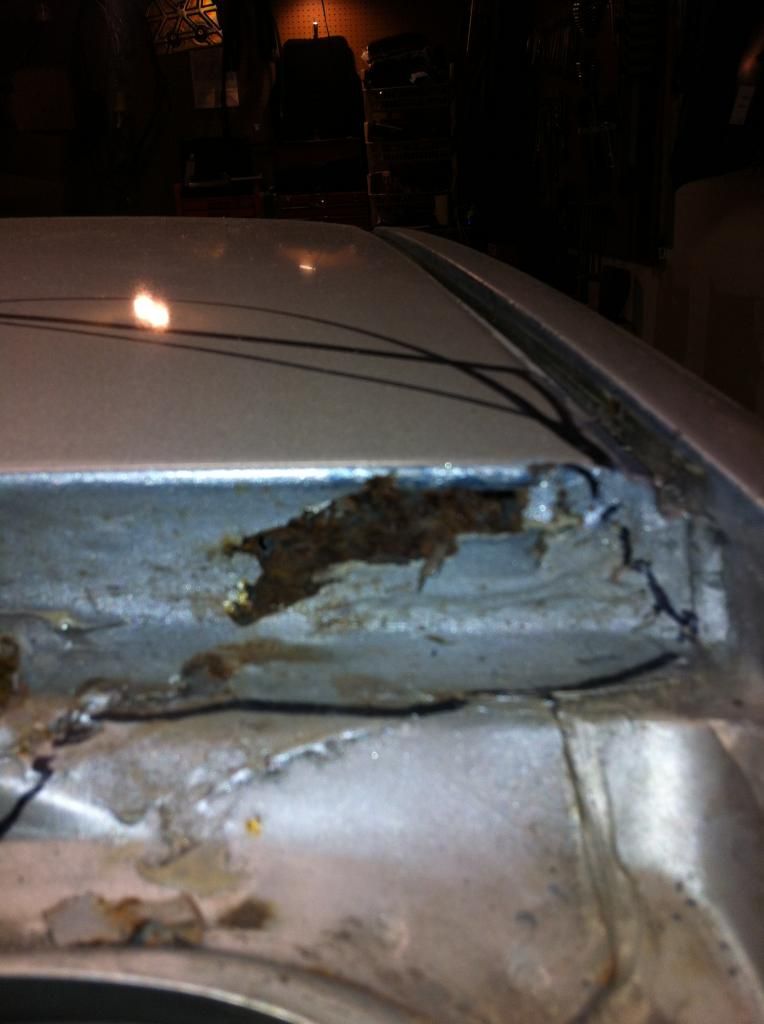
In this picture you can see the windshield delaminating on the passenger side.
So I pulled out the dashboard.

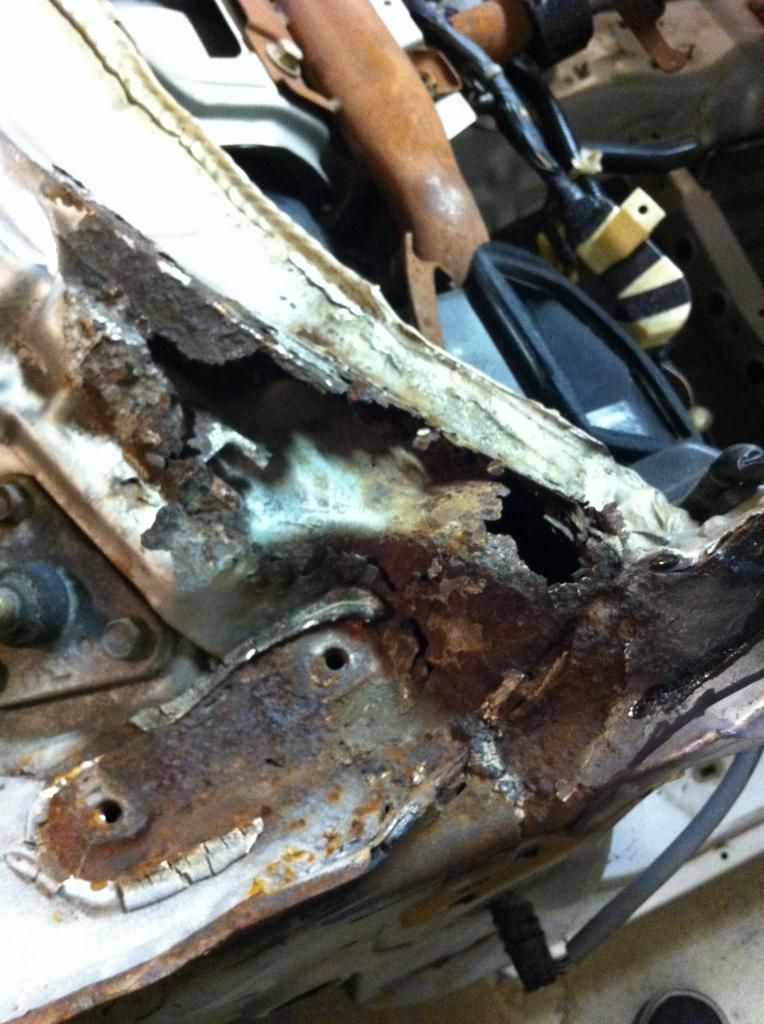
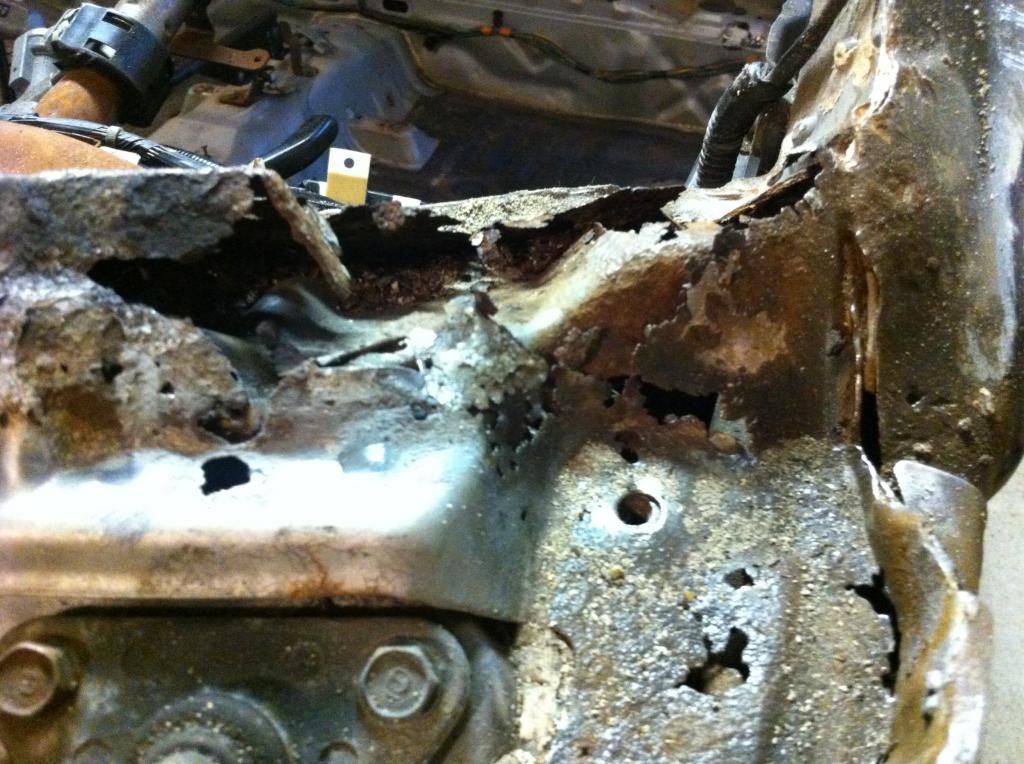
From there I realized there was a hole underneath the windshield.
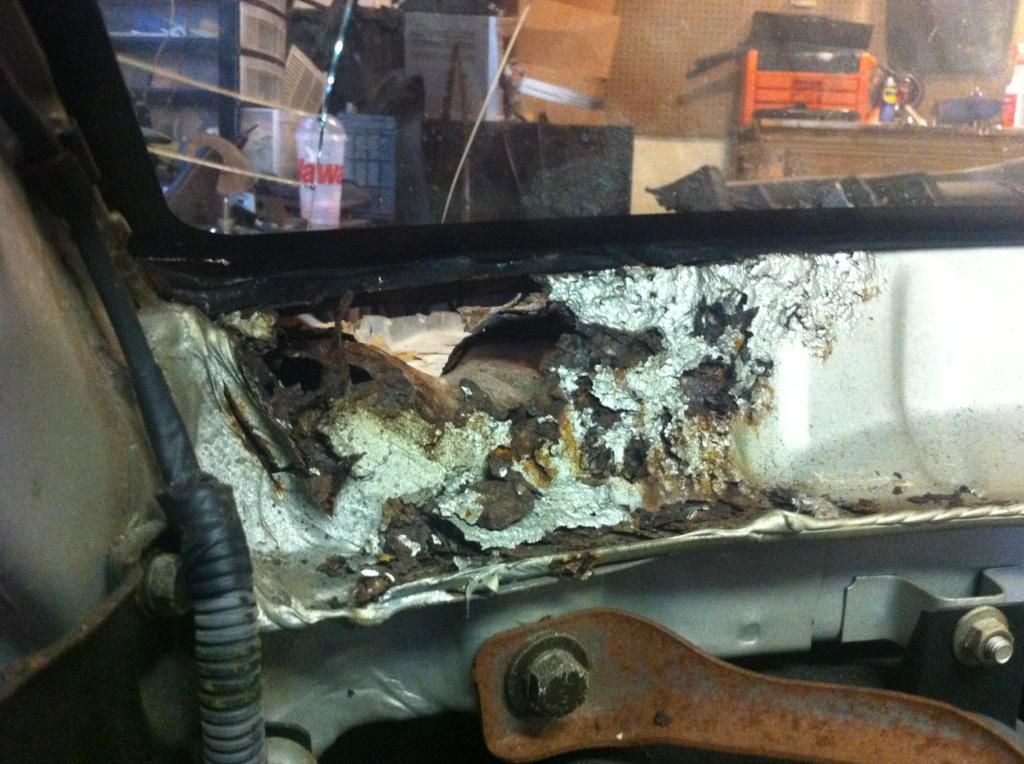
Between that and the delamination we decided to remove the windshield, which is much easier said than done.
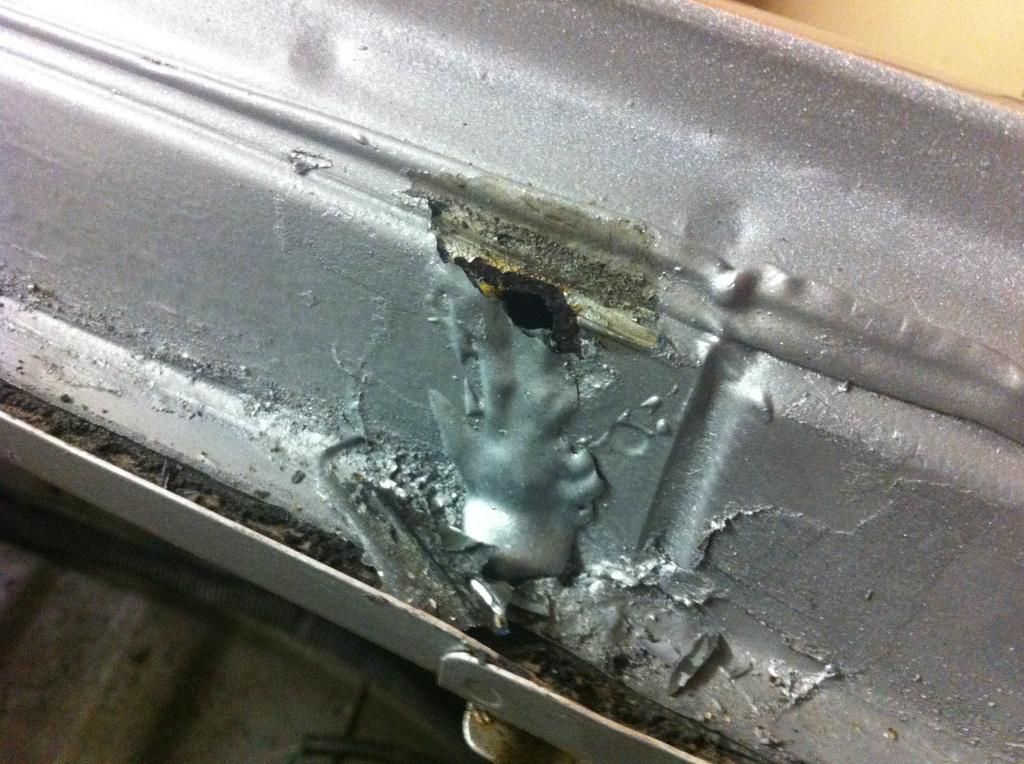
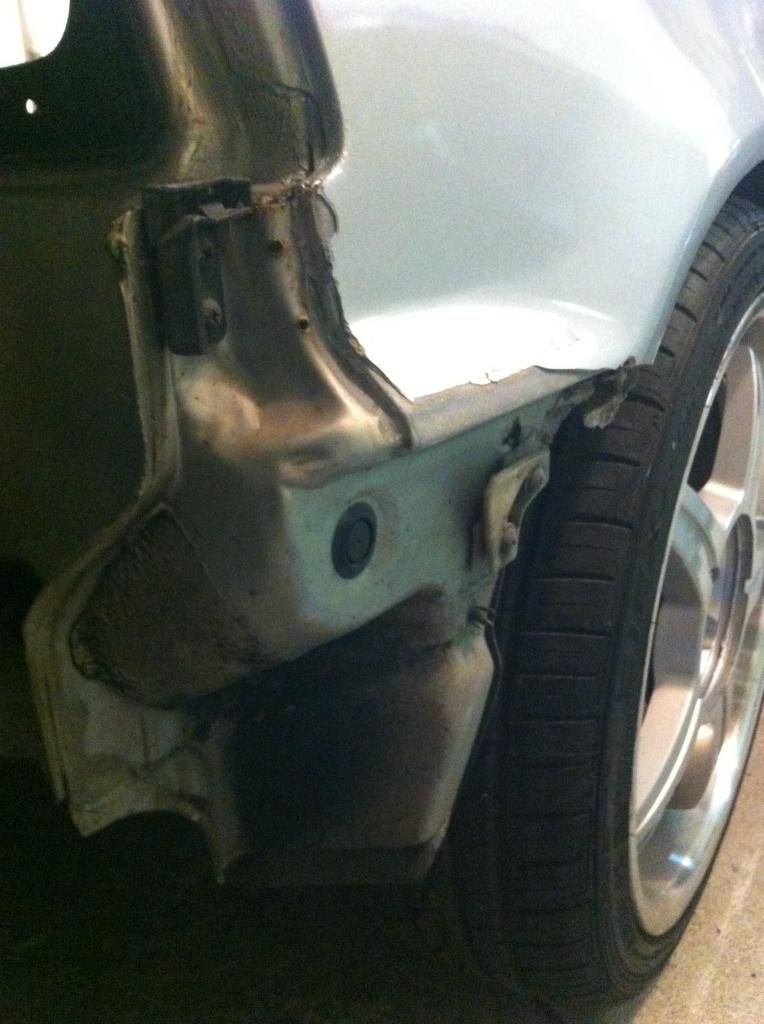
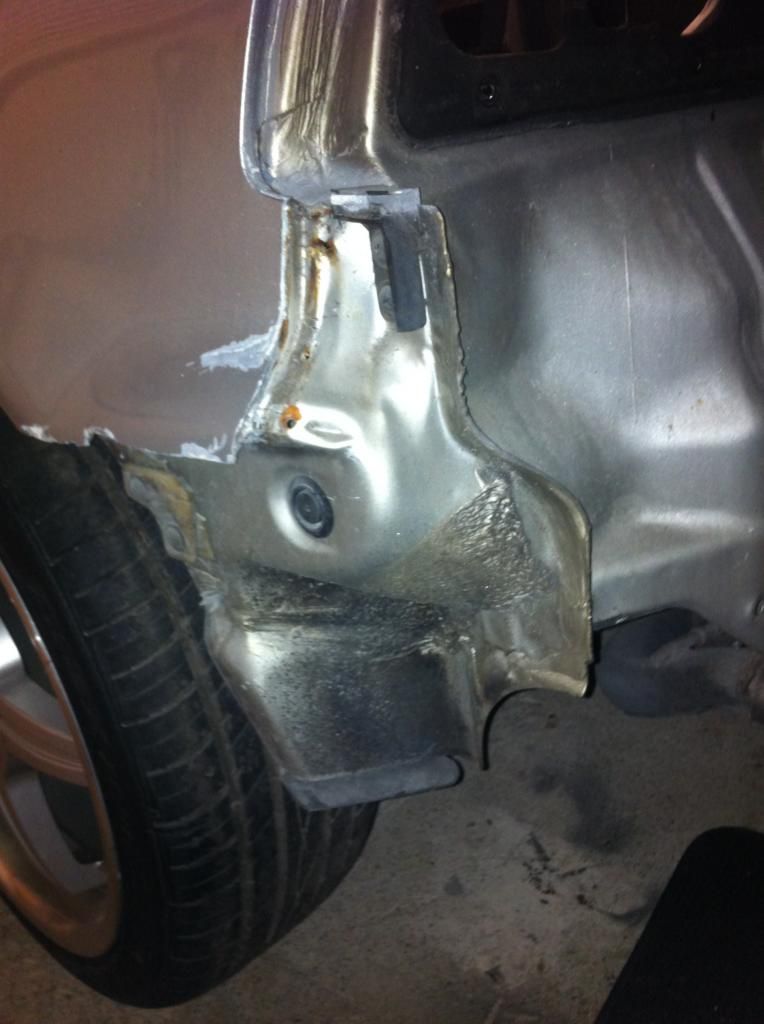
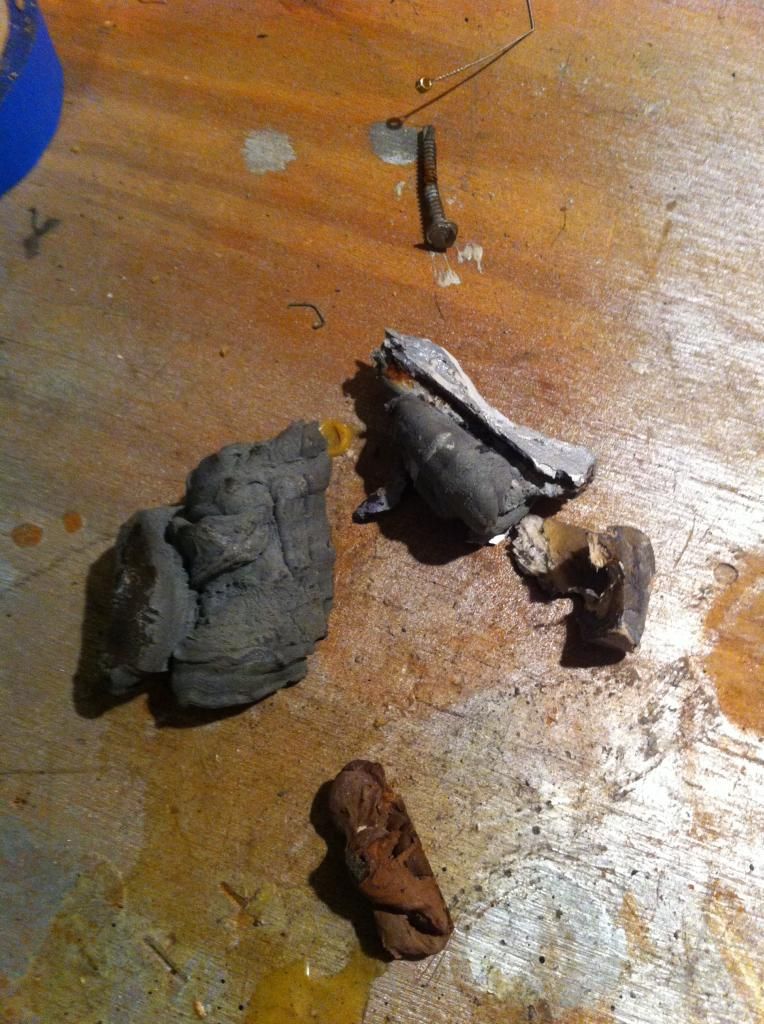
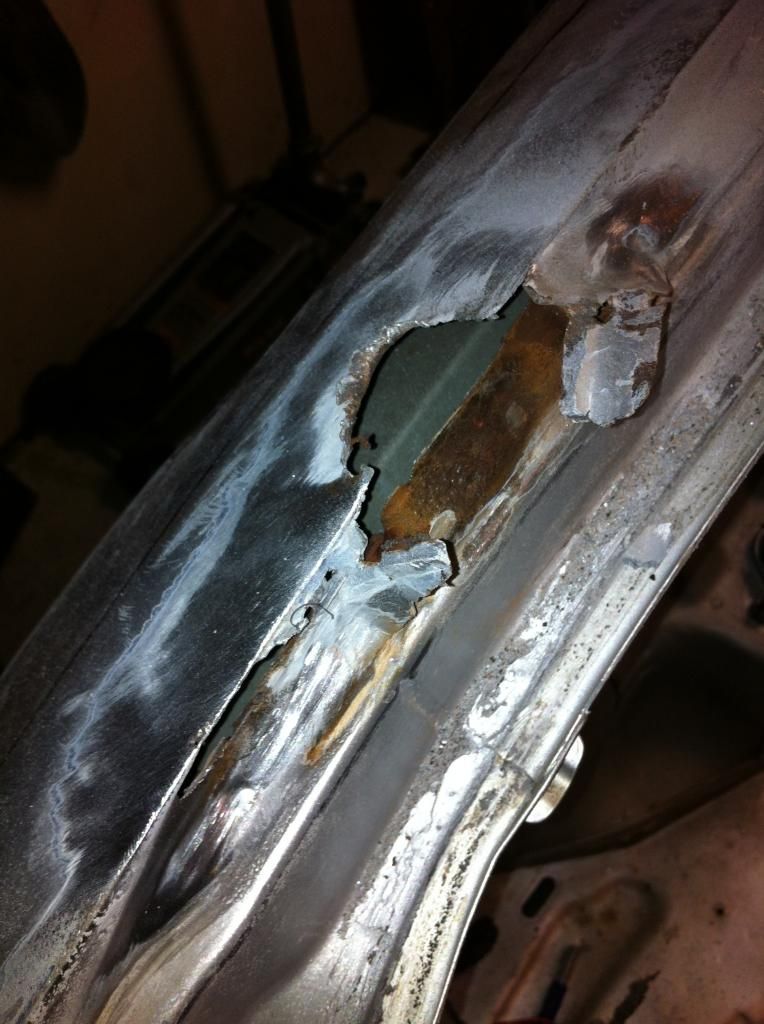
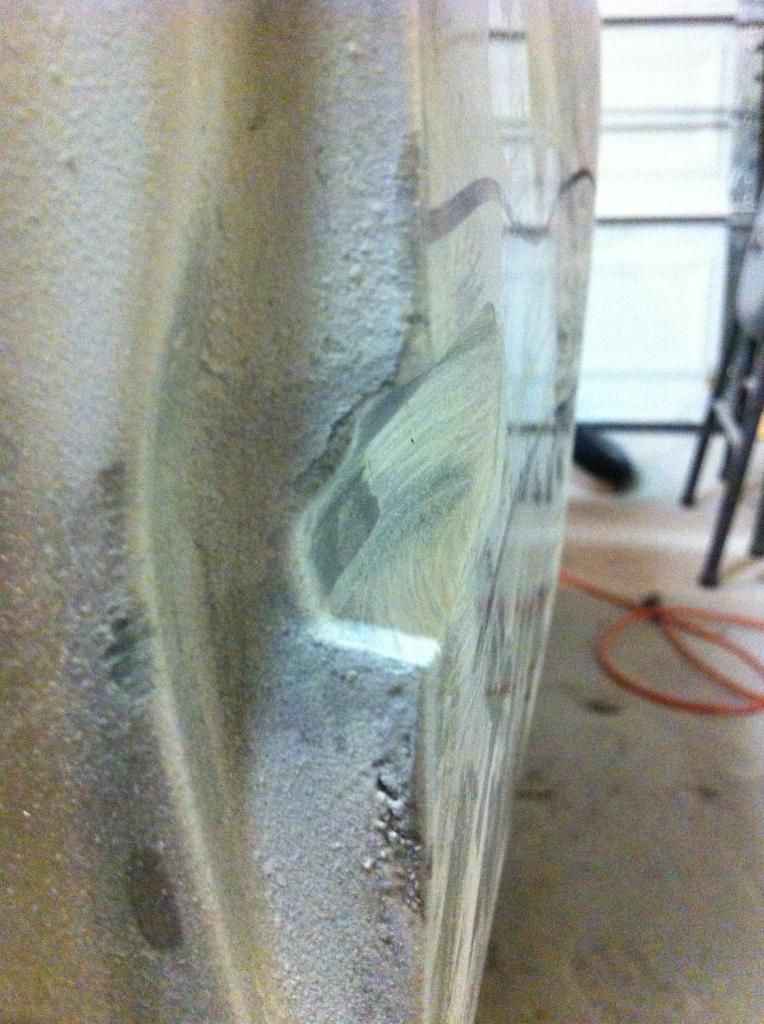
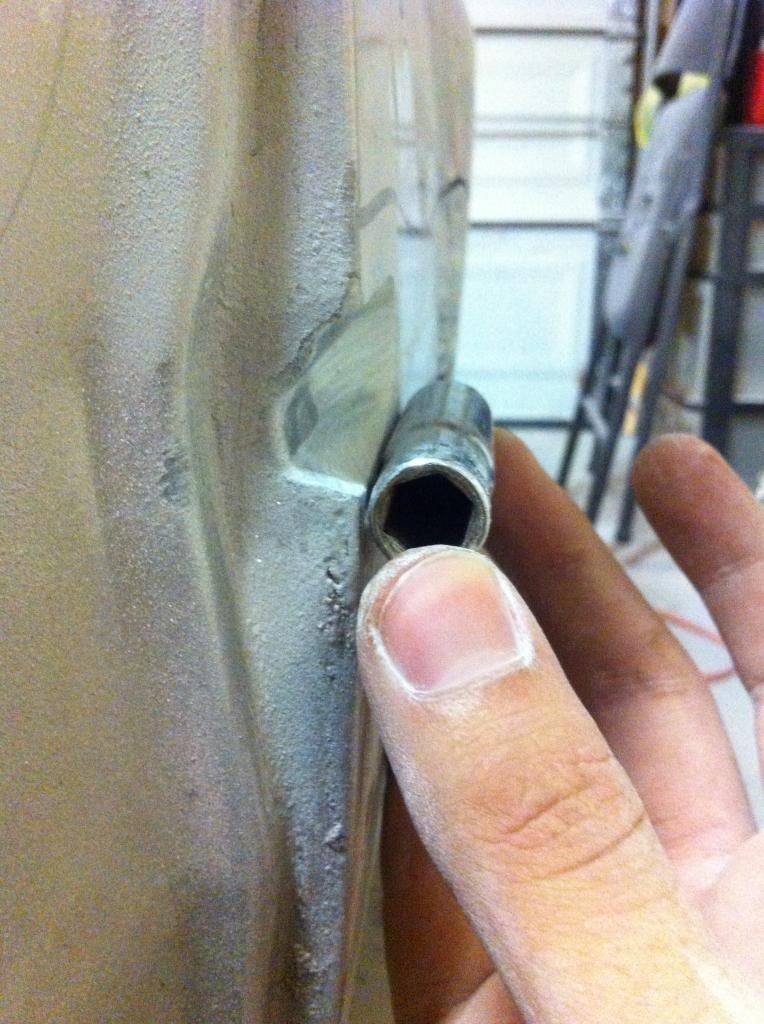
After that, I found a spot where the metal looked a little funny, I poked it and it definitely wasn't metal. After some investigating I realized I found another rigged repair.
I found these gobs of bondo that had been pressed into this gaping rust hole.
From this point on all I could see when I looked at the car was was rust, rust, and more rust.

I now had a lot of work ahead of me, and a lot of learning, but I was determined to see it through to the end. So I began to strip the car of it's layers upon layers of paint and bondo.
The marker is where the trim slot SHOULD be.
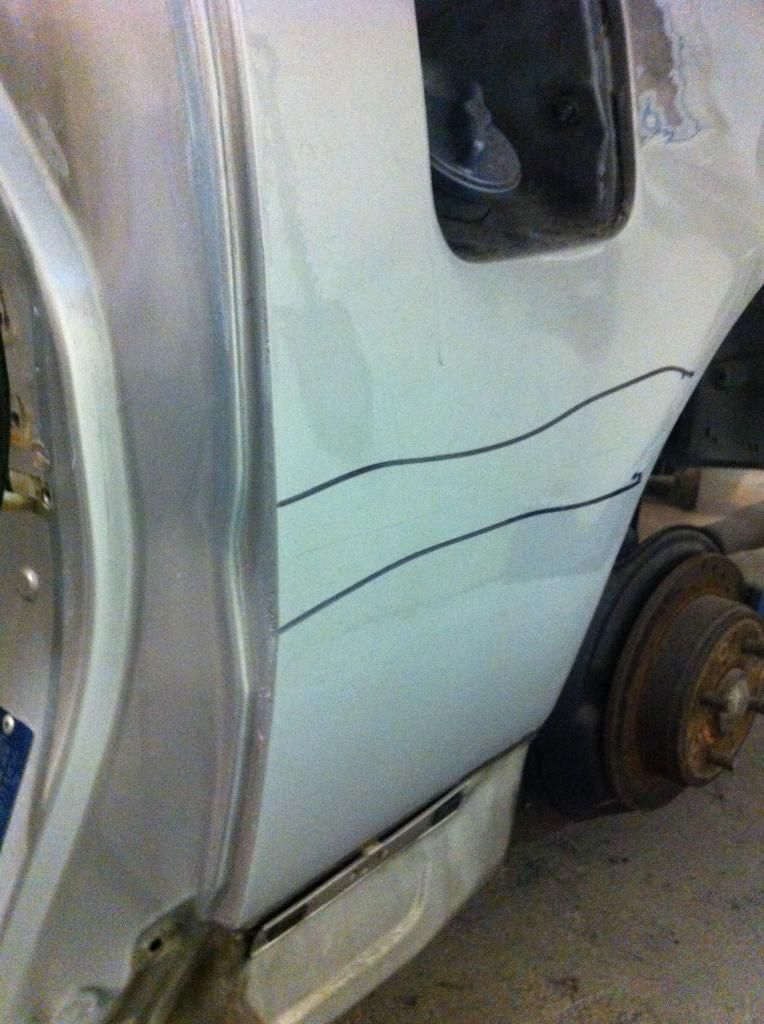
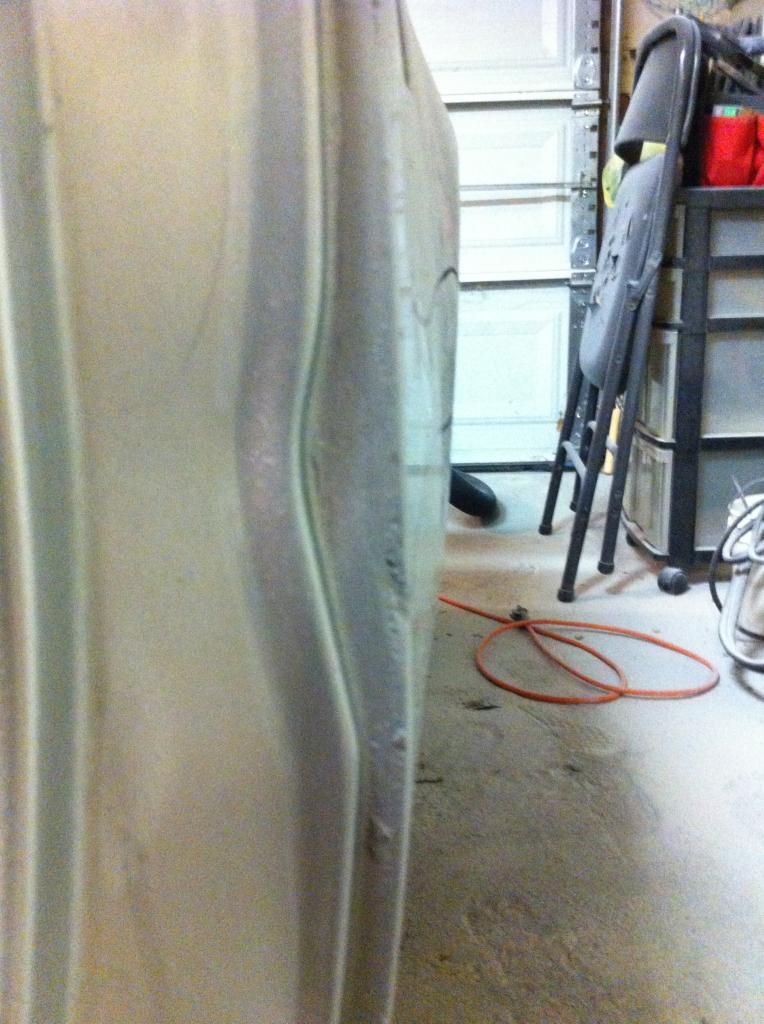
Grinded down to the metal just to show you how thick the bondo actually was.
Absolutely insane that someone could do this in good conscience to this car. I'm just happy I could save it.
So this round of pictures is still from a little over a year ago, but we're getting close to catching up because I had about a 7 month period where I didn't touch it.
Thanks again for reading and stay tuned for another update!
Let's get right back into it!
As I was taking the car apart and lamenting over the horrible paintjob I started to really inspect the car and I found quite a few problem areas. Under the three different layers of paint and clearcoat was a decent amount of rust. The biggest spot being the trunk pan.

There were also a few spots I found around the hatch jamb.


I found this stuffed with bondo, its right behind the hatch hinges.

Here are some examples of the overspray on the car, I really don't think the guy even tried.


So I kept stripping the car and eventually I removed almost all of the interior.

As I was doing this I found out the del sol seats didn't fit in the car, and couldn't slide forward or backward, not to mention they were crooked as hell. I then realized they had drilled a hole through the floorpan and used a three inch bolt to hold the seat rail.

Then as I removed the hood I found that one of the hinges was a little
loose.

And the other hinge had some serious rust behind it.

I was getting nervous over the amount of rust on the car, thinking that rust was impossible to fix. Luckily I was able to have a chat with my Dad, and his stories of cars he had to cut almost in half to fix gave me my confidence back.
Okay, so remember how I said I ordered brand new fenders for it? Well I was curious why the trim slots were missing and why there wasn't a spot for the piece of trim that goes on the bottom of them. This is what I found after I pulled the fenders off.


What is that? A screw covered in bondo?
No, it's three screws, screwed into the new fender!!
And they're securing a piece of sheetmetal cut from the old fenders?!

Seriously, I have heard of rigging something, but this is ridiculous. I'm so glad I decided to take this car apart.
My father and I then decided it was time to rid myself of that awful "Mugen" rear bumper. As we cracked the plastic holding it on, we found out that once again, woodscrews were used to hold the bumper in place.


In this picture you can see the windshield delaminating on the passenger side.

So I pulled out the dashboard.

From there I realized there was a hole underneath the windshield.


Between that and the delamination we decided to remove the windshield, which is much easier said than done.
After that, I found a spot where the metal looked a little funny, I poked it and it definitely wasn't metal. After some investigating I realized I found another rigged repair.


I found these gobs of bondo that had been pressed into this gaping rust hole.

From this point on all I could see when I looked at the car was was rust, rust, and more rust.


I now had a lot of work ahead of me, and a lot of learning, but I was determined to see it through to the end. So I began to strip the car of it's layers upon layers of paint and bondo.
The marker is where the trim slot SHOULD be.


Grinded down to the metal just to show you how thick the bondo actually was.


Absolutely insane that someone could do this in good conscience to this car. I'm just happy I could save it.
So this round of pictures is still from a little over a year ago, but we're getting close to catching up because I had about a 7 month period where I didn't touch it.
Thanks again for reading and stay tuned for another update!
11-30-2013, 03:42 PM
#15
Honda-Tech Member
Thread Starter
 12-01-2013, 07:52 AM
#16
Dang, I thought I saw this at the bottom of the sea the other day. That's a lot of rust! And I guess the wheel is kinda ugly. I still like it. Looks pretty basic and functional to me, aside from the buttons. But! I want a couple buttons like that for my intercooler/rad sprayer. Spray some mist to help cool them. Or use the buttons for the horn.
12-01-2013, 09:15 AM
#17
Honda-Tech Member
Thread Starter
Dang, I thought I saw this at the bottom of the sea the other day. That's a lot of rust! And I guess the wheel is kinda ugly. I still like it. Looks pretty basic and functional to me, aside from the buttons. But! I want a couple buttons like that for my intercooler/rad sprayer. Spray some mist to help cool them. Or use the buttons for the horn.
12-05-2013, 07:50 AM
#21
Honda-Tech Member
Thread Starter
Haha, well thanks, like I said these pictures are from awhile ago. I actually just finished repairing the last bit of rust and I'm just doing the plastic and bodywork now.
A long road indeed, and thank you! Lol
A long road indeed, and thank you! Lol
12-05-2013, 08:20 AM
#22
Honda-Tech Member
Join Date: Aug 2013
Location: Empire State
Posts: 186
Likes: 0
Received 0 Likes
on
0 Posts
12-05-2013, 09:32 AM
#23
Honda-Tech Member
Thread Starter
") 12-05-2013, 12:59 PM
12-05-2013, 12:59 PM
#25
Honda-Tech Member
Thread Starter