
[88' CRX B20v Build]

 12-21-2011, 07:53 PM
#27
Honda-Tech Member
Thread Starter
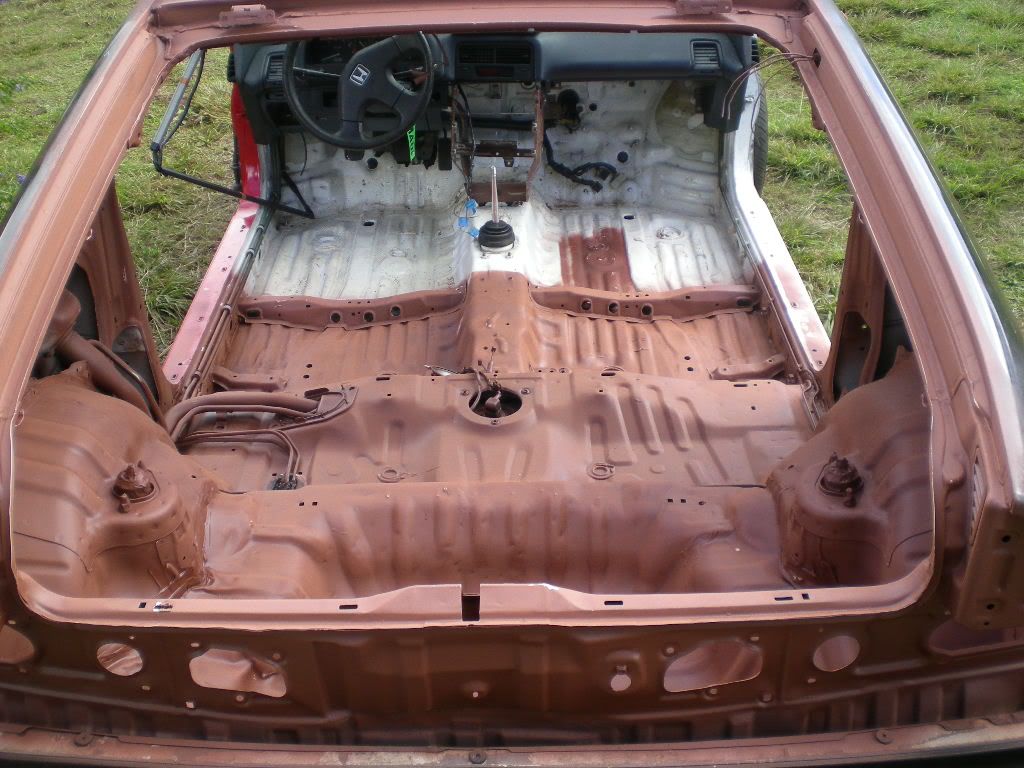
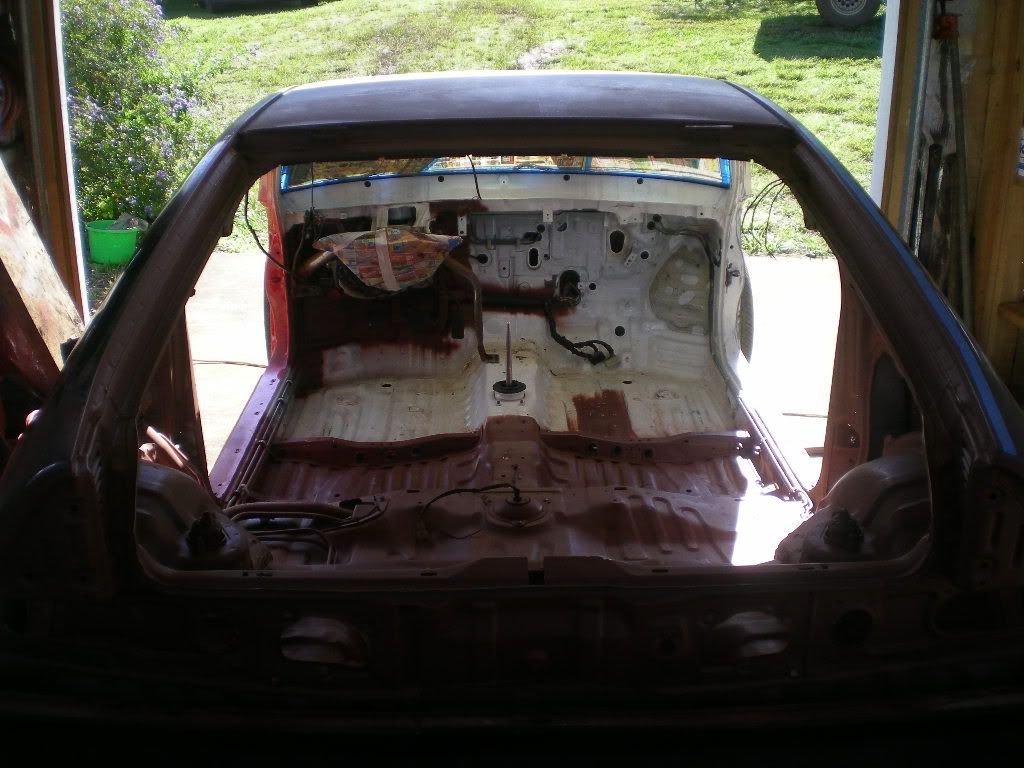
So I got the rear interior removed.. yay.
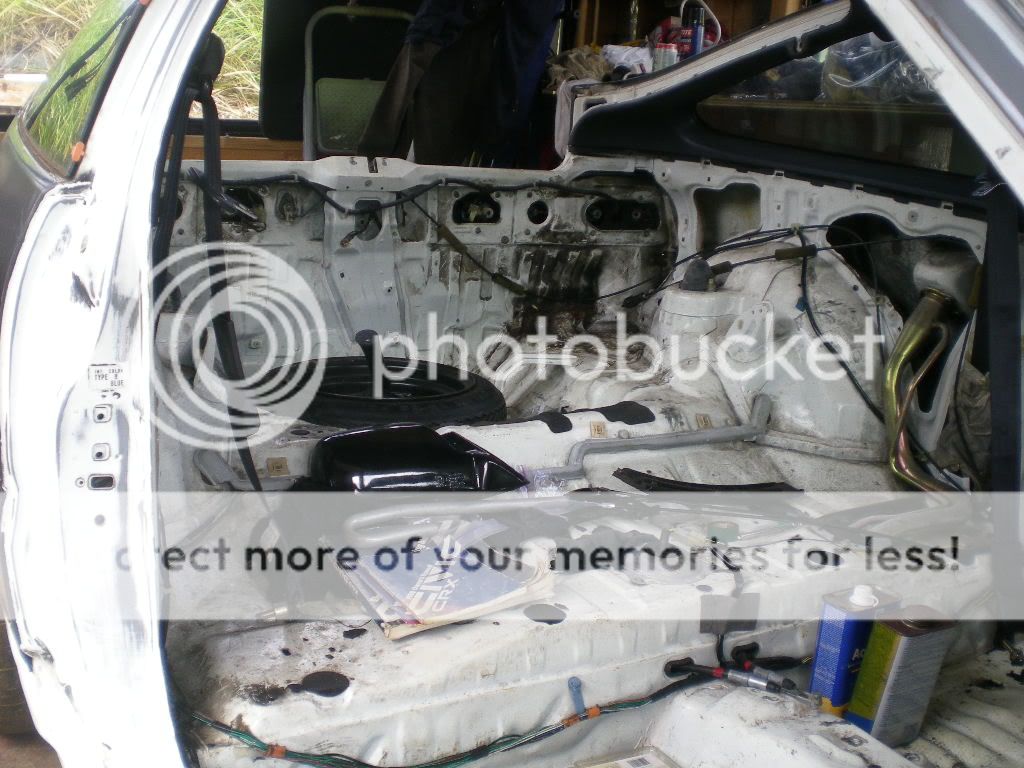
Then I saw the jack holder and the spare tire screw-down holder, and didn't like the way they looked.
A couple pops with the hammer and they were out. It's scary to think the entire chassis is assembled with the same spot welds..
Cleaning up the interior until my fingertips get bloody... I need a better method, or hired help :S

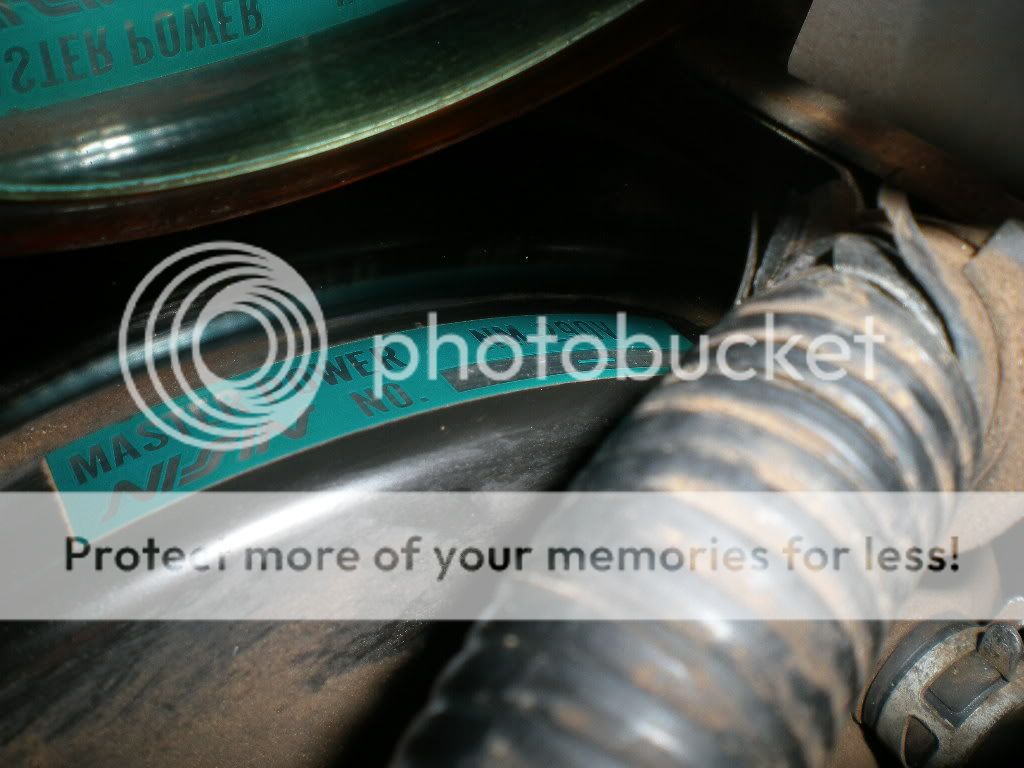
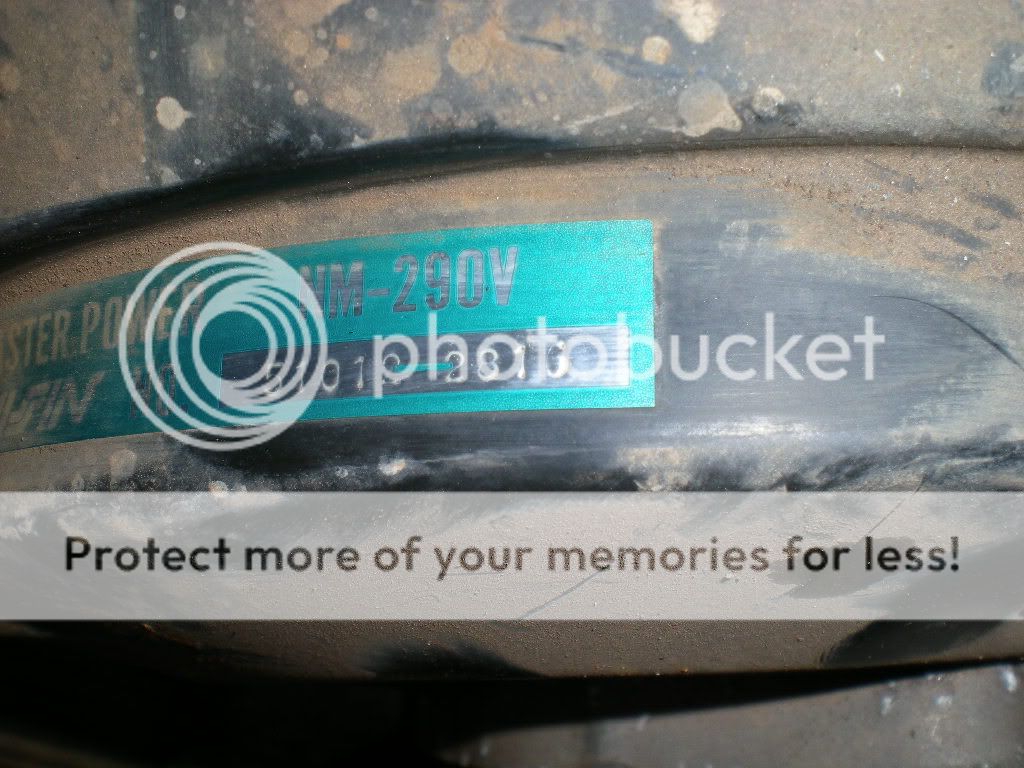
Look in the mirror.. Does that say 290V?
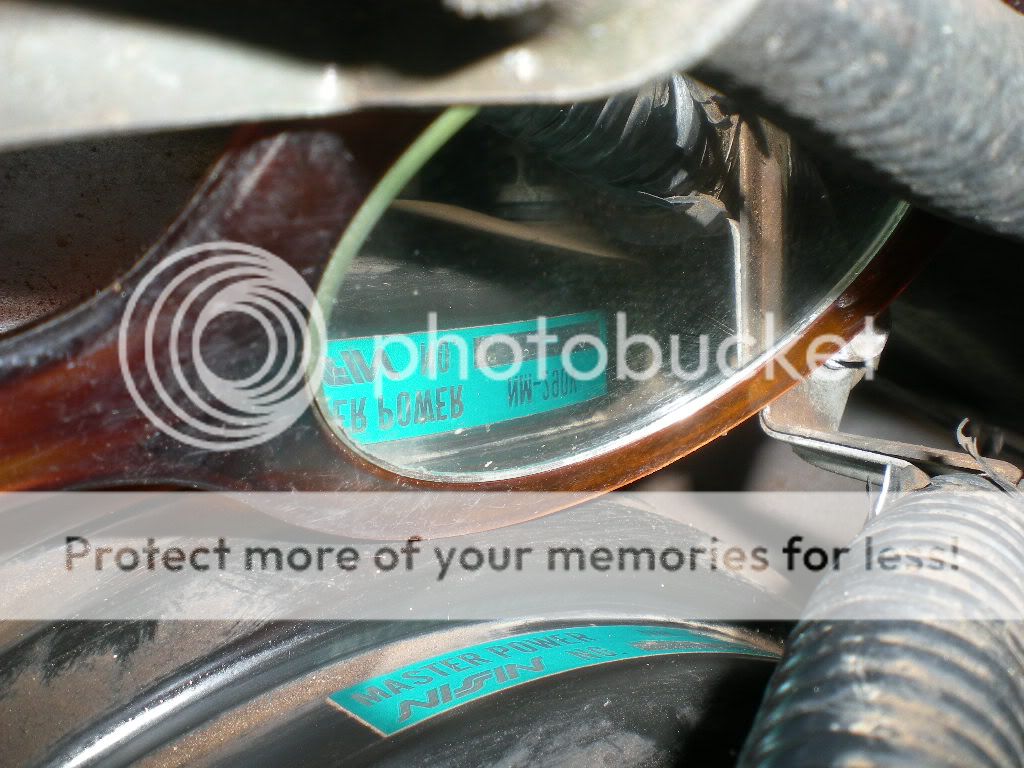
It DOES! Ladies and gentlemen we have our 1" Master Cylinder and 1" brake booster for the brake upgrades!
Hmm. I thought I took more pics... I guess not. Doing paint prep is boring because most of the residues that fck with paint adhesion are not visible to the naked eye, let alone film.
Picked up a gallon of primer, gallon of mineral spirits for the final pre-paint wipedown. And some acetone, and gloves, and scrub brushes, and more degreaser. And another 4 miles of electric tape for the wire tuck and harness-rebuilding.
Tomorrow I scrub off more crud and maybe get the interior primed (if I can scrub anymore.) 80% of my fingertips have red sticky stuff on them after a few minutes of work. I'm just gonna say to anyone who wants to do this to their CRX - there is a lot of scrubbing with solvents, degreasers etc. Consider a younger sibling, cheap laborer, or time machine for time stopping purposes to accomplish it all in a timely manner.
Then I saw the jack holder and the spare tire screw-down holder, and didn't like the way they looked.
A couple pops with the hammer and they were out. It's scary to think the entire chassis is assembled with the same spot welds..
Cleaning up the interior until my fingertips get bloody... I need a better method, or hired help :S
Look in the mirror.. Does that say 290V?
It DOES! Ladies and gentlemen we have our 1" Master Cylinder and 1" brake booster for the brake upgrades!
Hmm. I thought I took more pics... I guess not. Doing paint prep is boring because most of the residues that fck with paint adhesion are not visible to the naked eye, let alone film.
Picked up a gallon of primer, gallon of mineral spirits for the final pre-paint wipedown. And some acetone, and gloves, and scrub brushes, and more degreaser. And another 4 miles of electric tape for the wire tuck and harness-rebuilding.
Tomorrow I scrub off more crud and maybe get the interior primed (if I can scrub anymore.) 80% of my fingertips have red sticky stuff on them after a few minutes of work. I'm just gonna say to anyone who wants to do this to their CRX - there is a lot of scrubbing with solvents, degreasers etc. Consider a younger sibling, cheap laborer, or time machine for time stopping purposes to accomplish it all in a timely manner.
12-21-2011, 07:53 PM
#28
Honda-Tech Member
Thread Starter
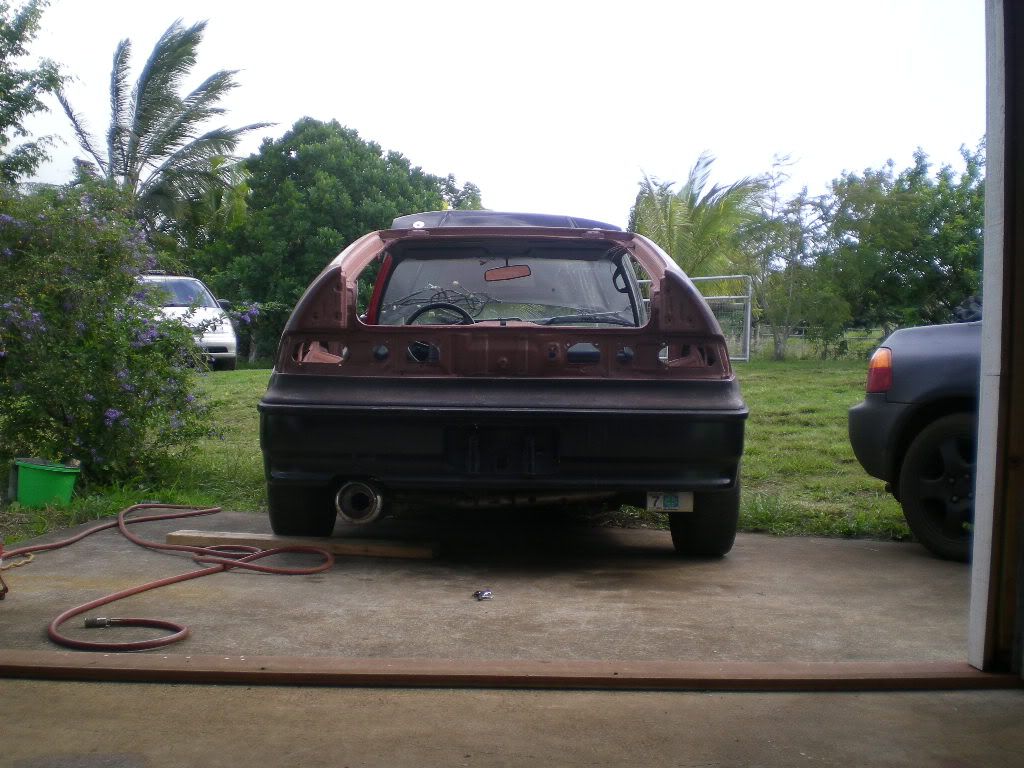
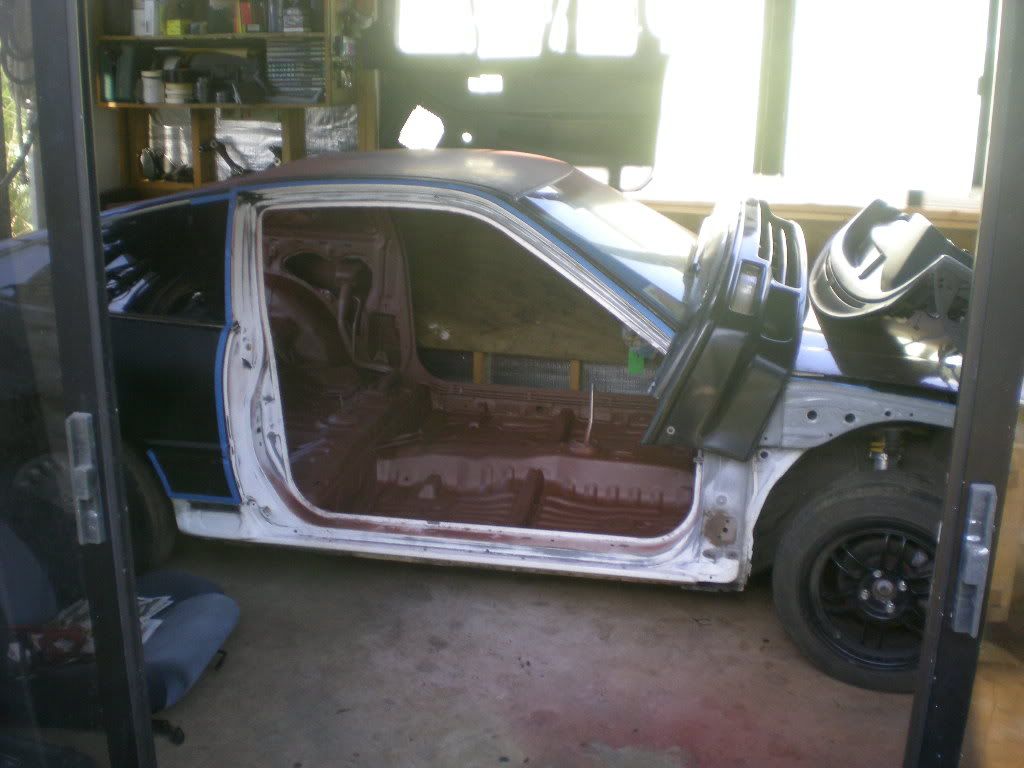
By the way it looks like the subframe has been crunched and 'repaired' in one of those pics. ^^
The bumpers/tailights/fenders all seem to line up fine, but the crunch means my already weak subframe is not 100%. This simply will not do, I can't cut any corners here or I will end up crying myself to sleep every night.
I guess this means a rollcage a lot sooner than a motor. Hmmmph.
The bumpers/tailights/fenders all seem to line up fine, but the crunch means my already weak subframe is not 100%. This simply will not do, I can't cut any corners here or I will end up crying myself to sleep every night.
I guess this means a rollcage a lot sooner than a motor. Hmmmph.
12-23-2011, 08:43 AM
#29
Honda-Tech Member
Thread Starter
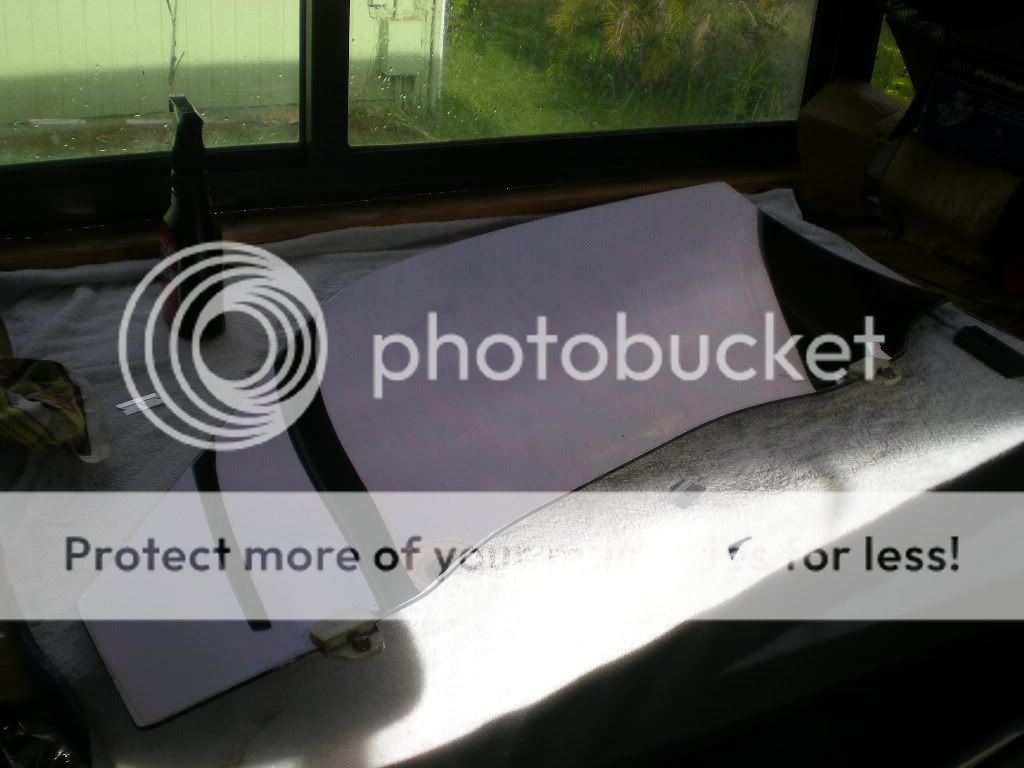
I got the side rear window tinted. The other was in the sun, and just as you cannot properly wash a window in direct sunlight, you cannot tint one. Tomorrow.
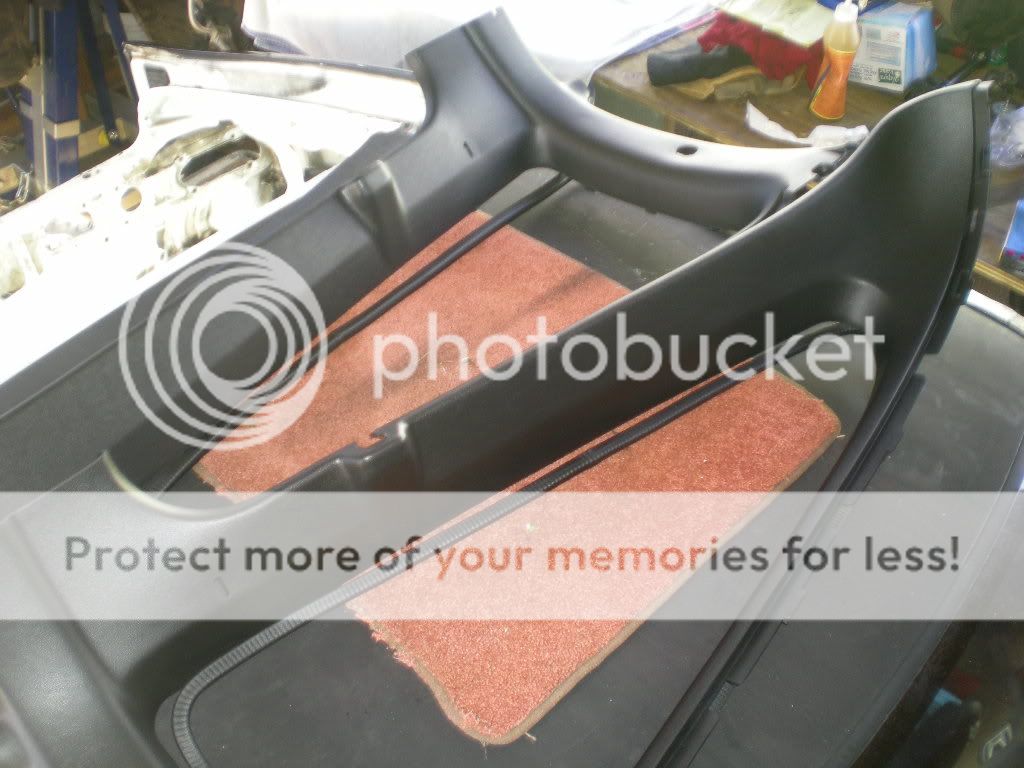
The hatch is finished sans tint and reinstallation. Also got the rear window trim and dome-light panel dyed black to match.
My old 13/16th master cylinder...
And the new 1" master cylinder. I will be re-bending lines as you can see.
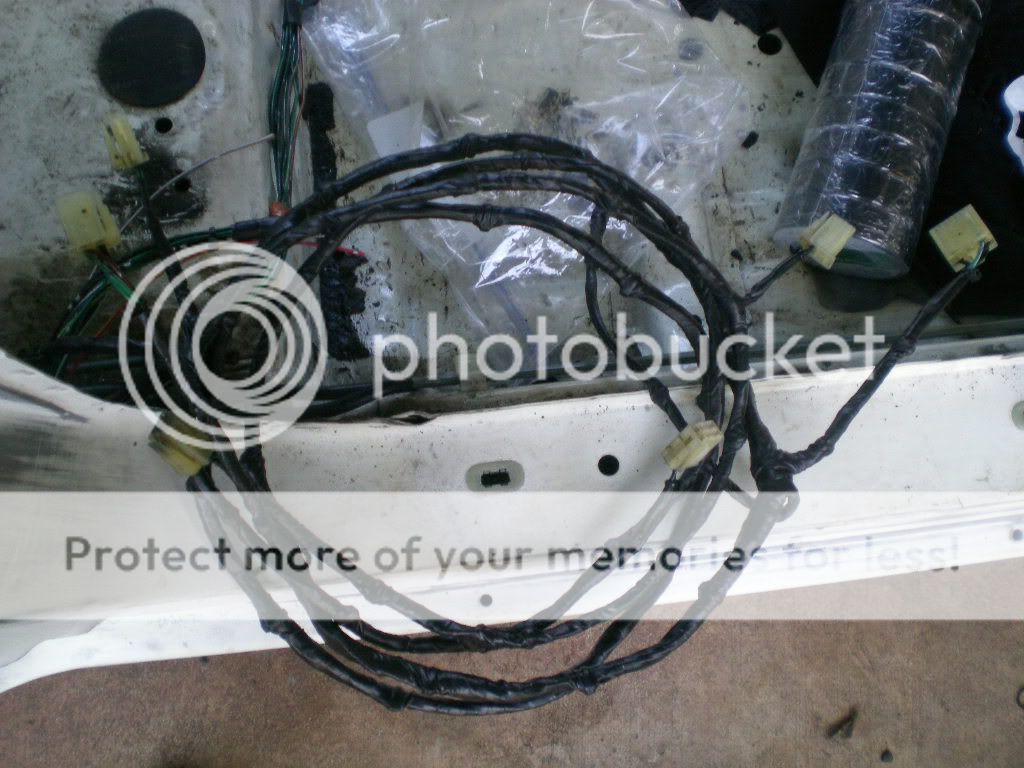
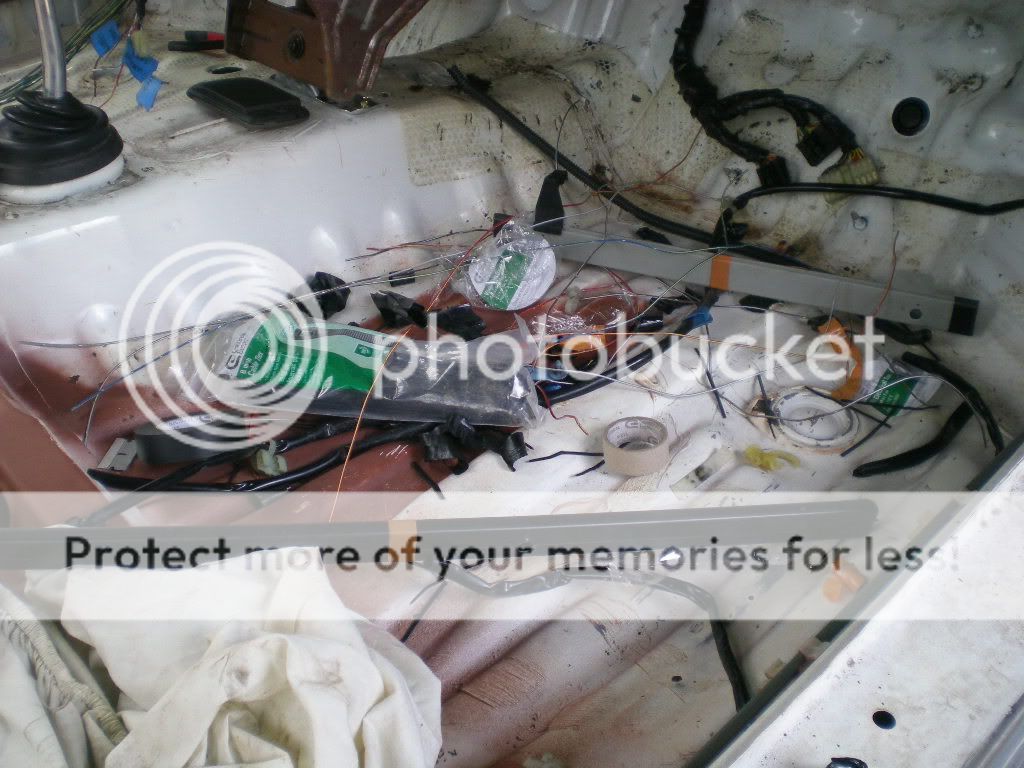
Time to clean up the rear lighting harness...
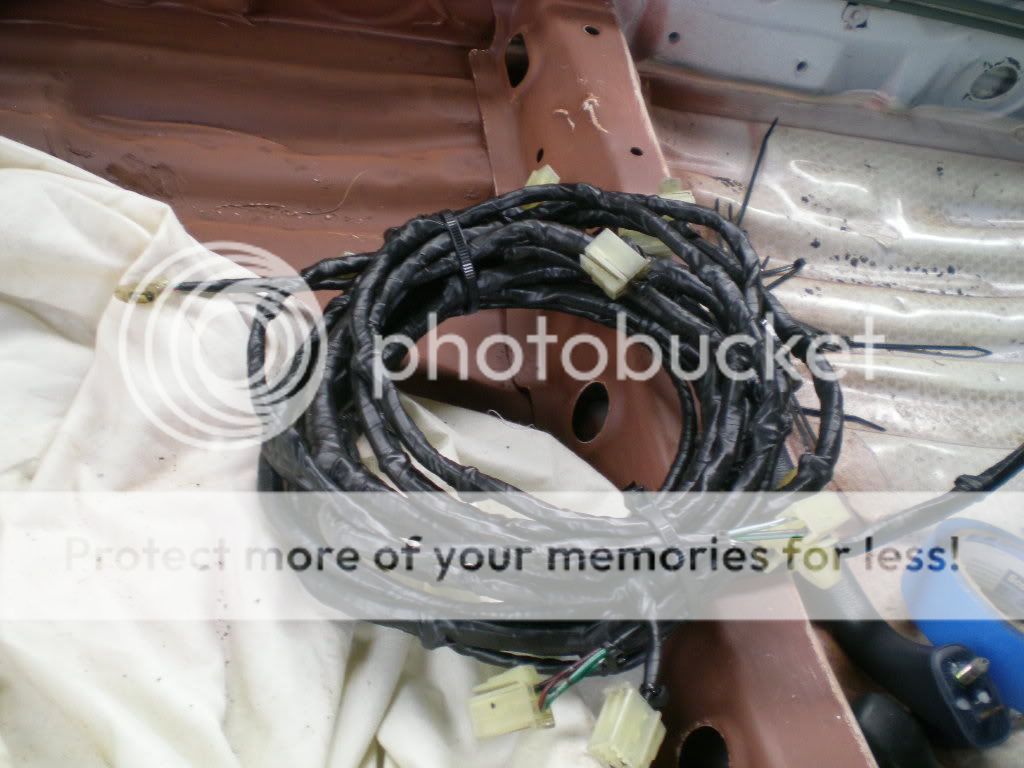
One roll of electric tape and about 4302 cable ties later...
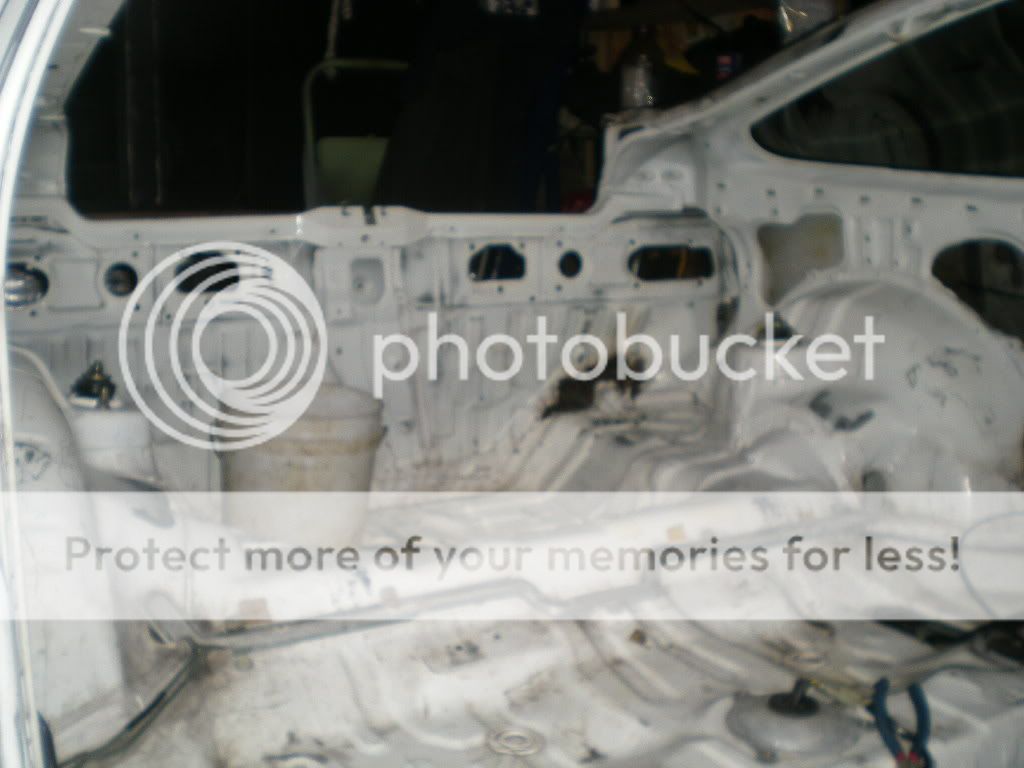
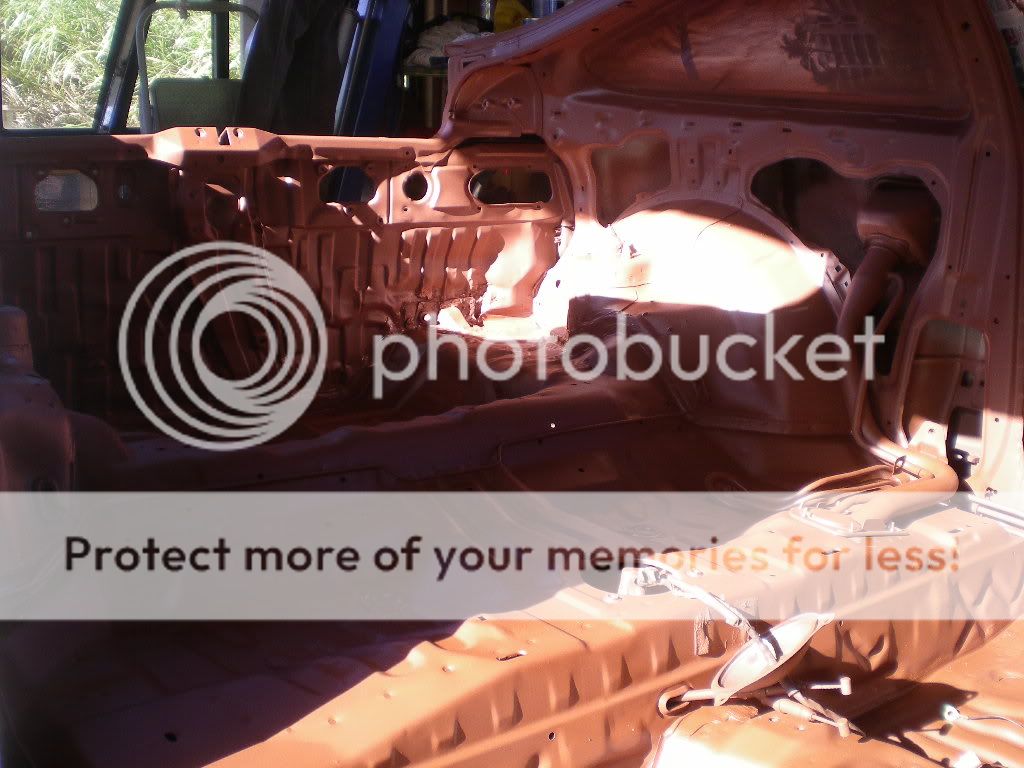
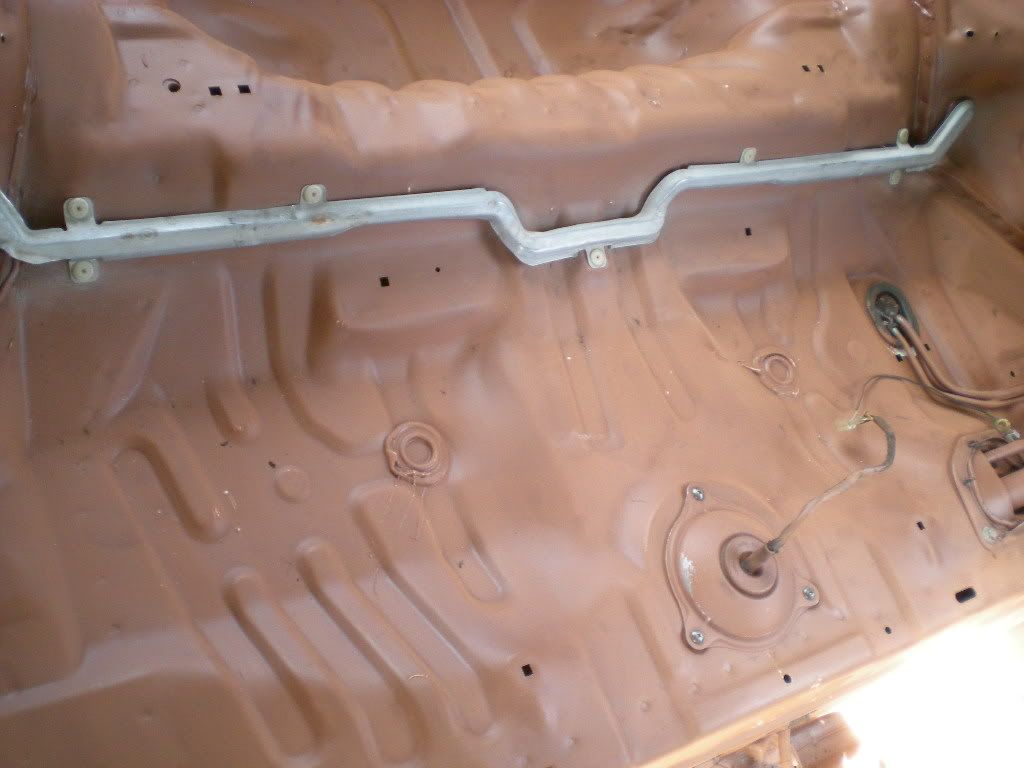
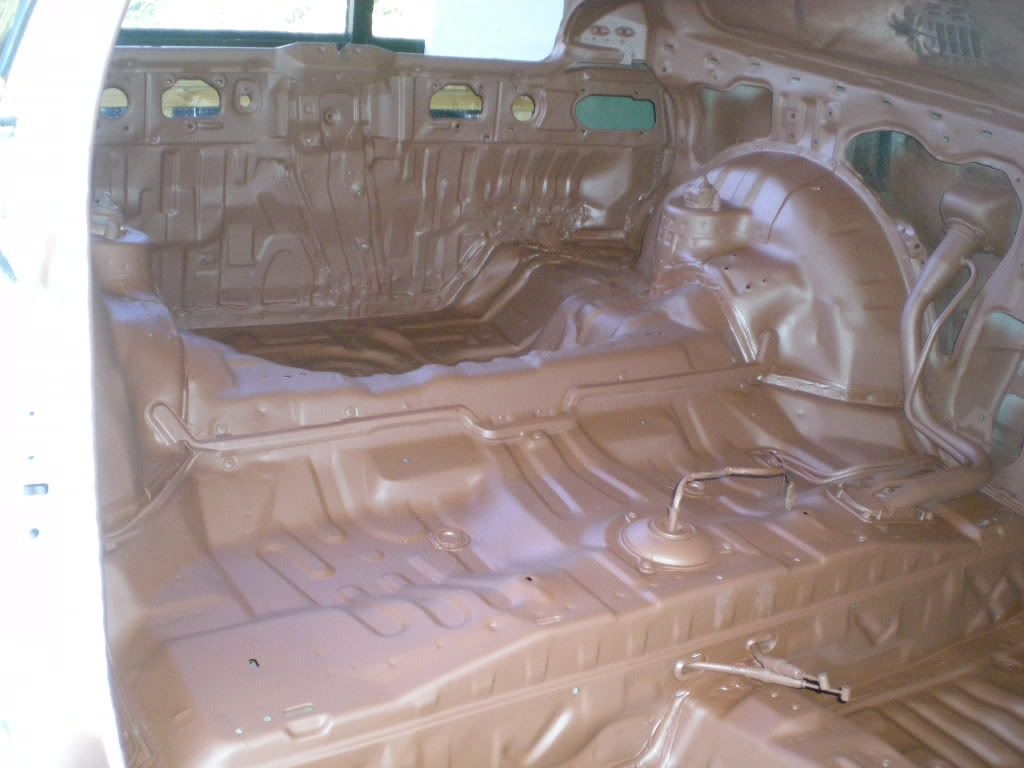
Rear interior subframe ready for paint. Tomorrow I hope to get the cabin area prepped out the same way.
wooooo honda restoration. stay tuned.
The hatch is finished sans tint and reinstallation. Also got the rear window trim and dome-light panel dyed black to match.
My old 13/16th master cylinder...
And the new 1" master cylinder. I will be re-bending lines as you can see.
Time to clean up the rear lighting harness...
One roll of electric tape and about 4302 cable ties later...
Rear interior subframe ready for paint. Tomorrow I hope to get the cabin area prepped out the same way.
wooooo honda restoration. stay tuned.
12-24-2011, 12:38 PM
#31
Honda-Tech Member
Thread Starter
Anyways here we go again..
I tinted the passenger window..
Look how perfectly these tints are coming out.. Not a single wrinkle or a bubble or anything..

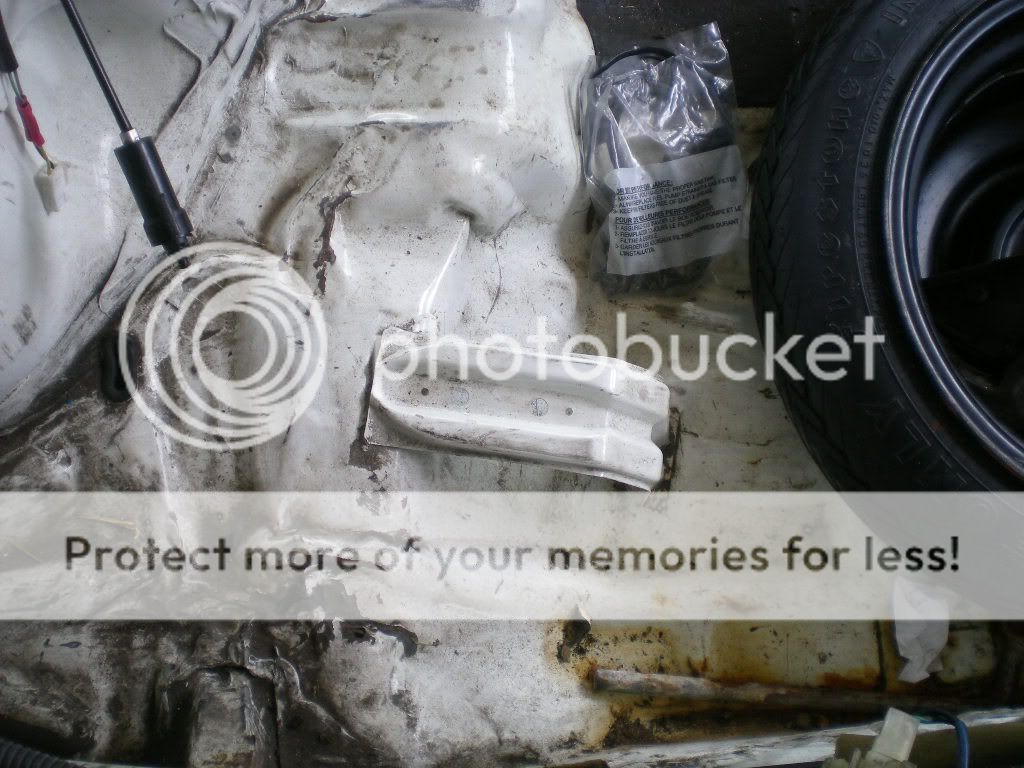
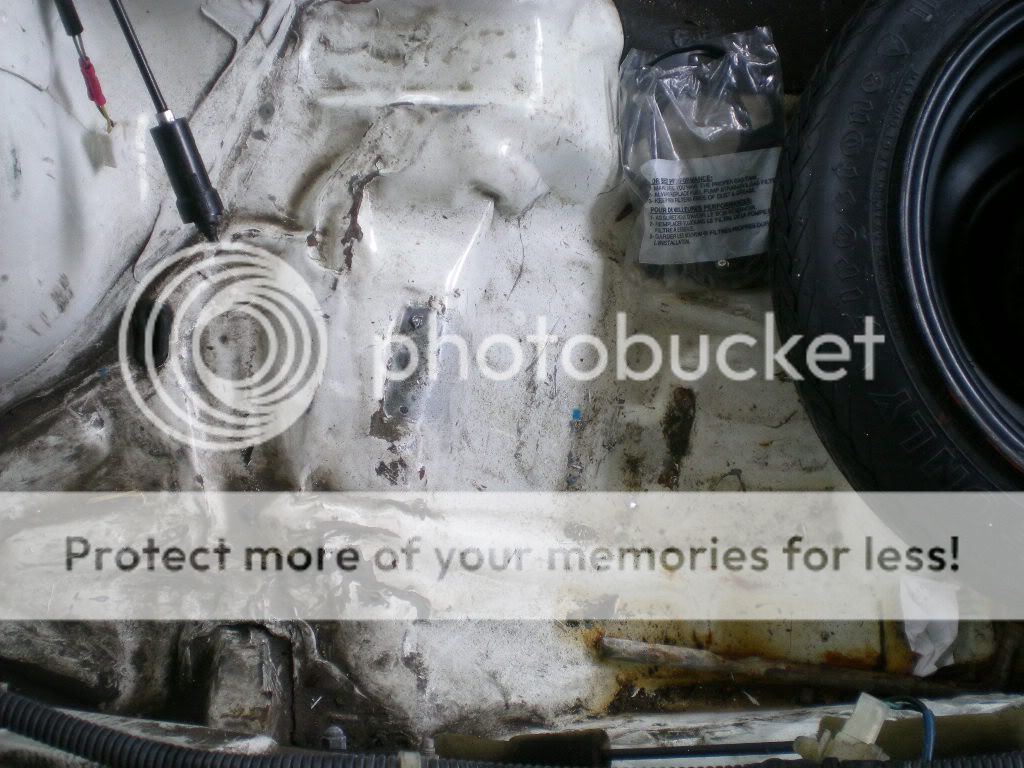
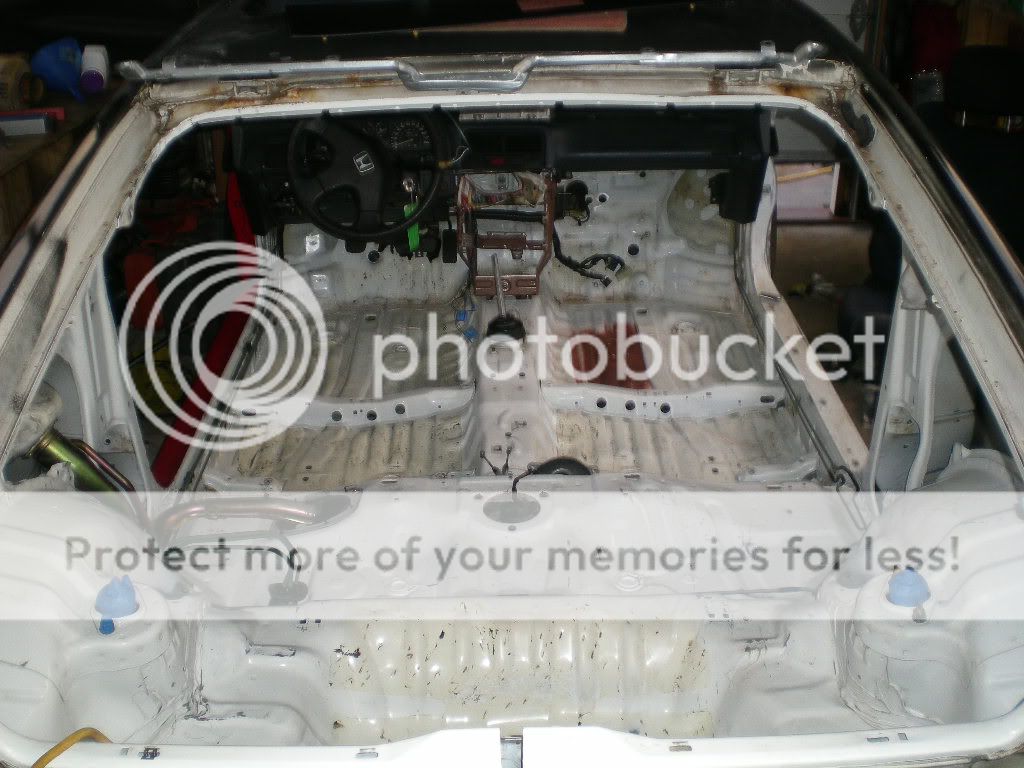
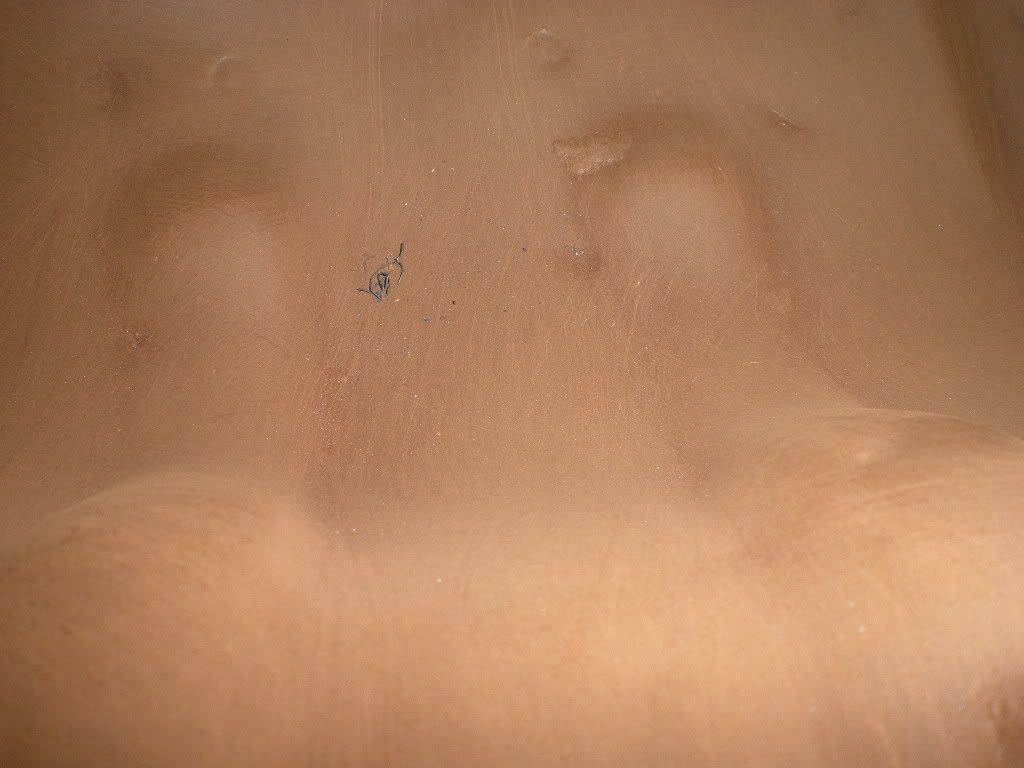
I finished cleaning the back interior subframe. Believe it or not, this is as good as it gets.
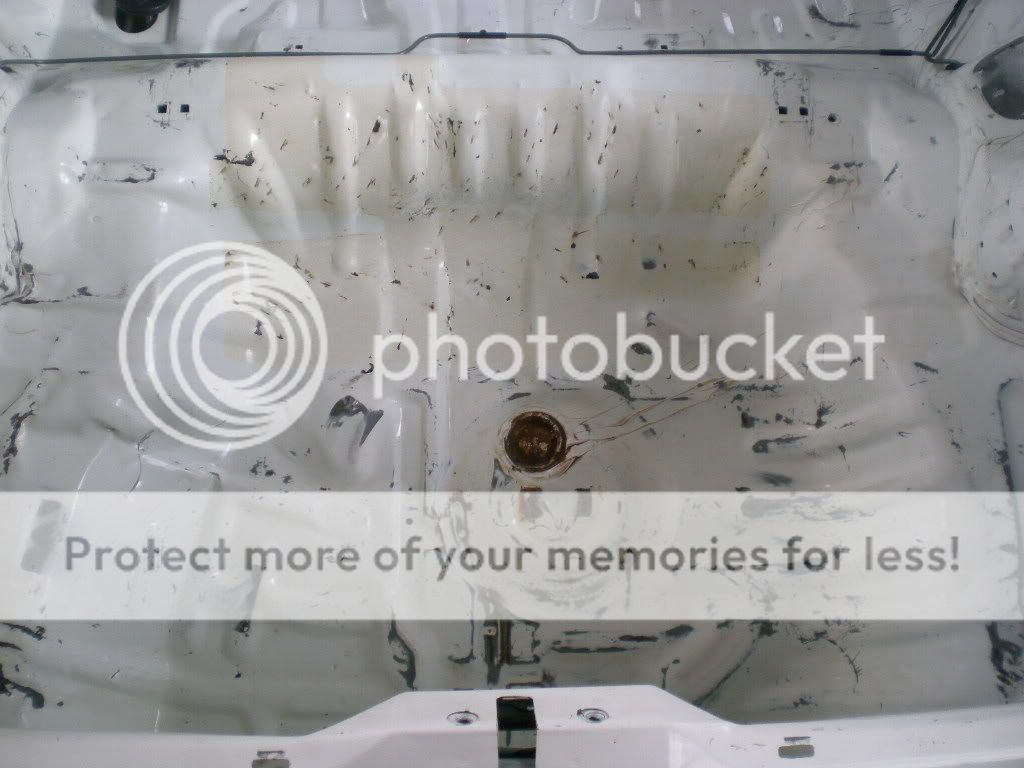
Next up is a mineral-spirit wipedown and then the paint gun and primer comes out.
The only area I haven't prepped for primer is up under the dash. That happens today.
And I tinted the rear passenger window. 2.5% VLT limo tint ftmfw. Another perfect tint... That just leaves the hatch-glass. Where can I find oversized rolls of tint for such a large window? I can't have a seam in the tint, that would be too ghetto.
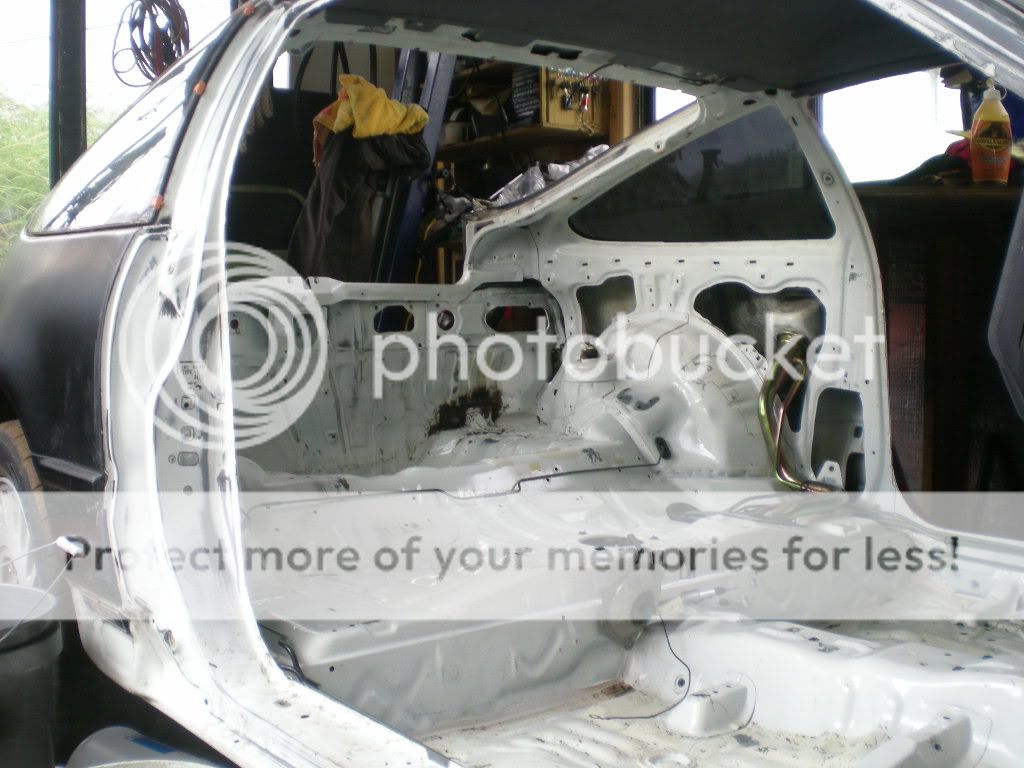
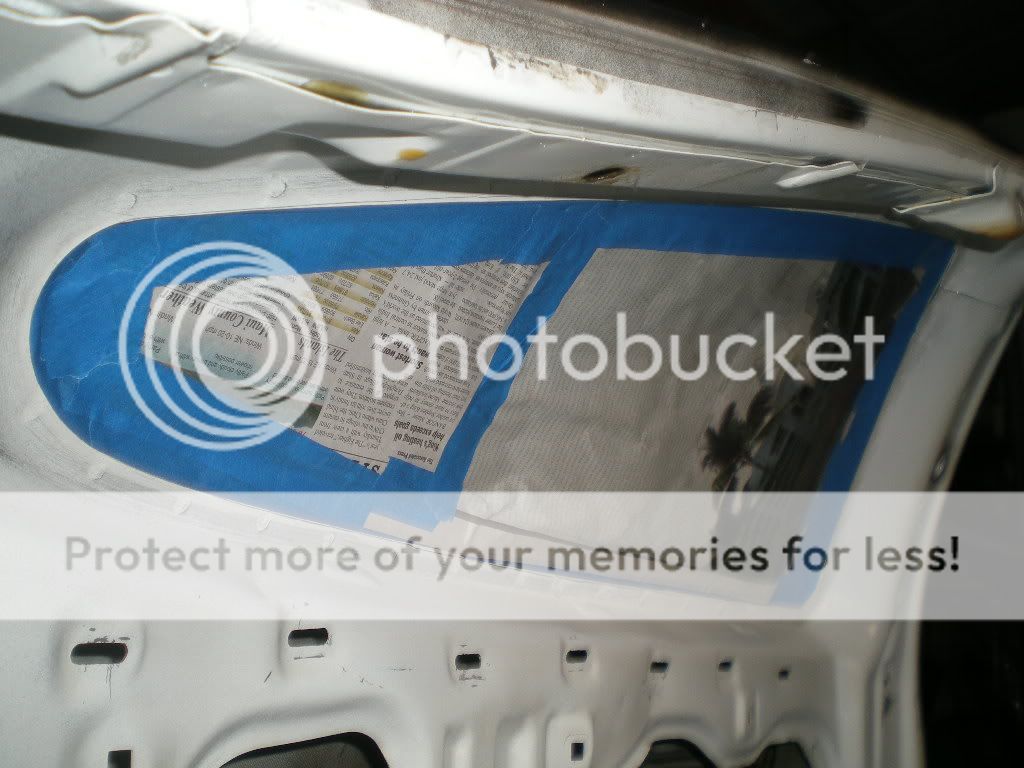
Take notes - this is how you mask properly. Notice that the tape is stuck behind the edge, between the window glass and the subframe. That means my paint line will be perfectly indiscernible from OEM. Except it's a different red :D

Then we work the tape around...

And then the paper. No need to waste money on expensive masking supplies - but plastic is handy.
Pretty soon I'll be spraying...
thanks for watchin.
12-25-2011, 05:57 PM
#32
Honda-Tech Member
Thread Starter
okay I finally got into spraying some paint.
Got out the old spray gun and cleaned it up for the project....
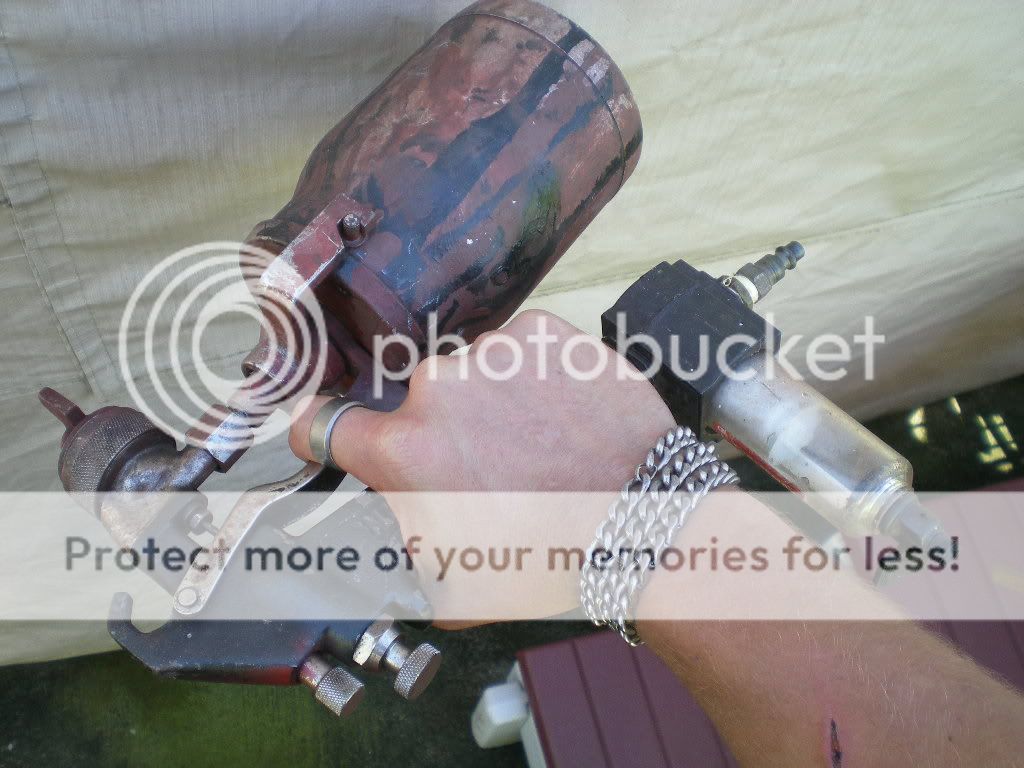
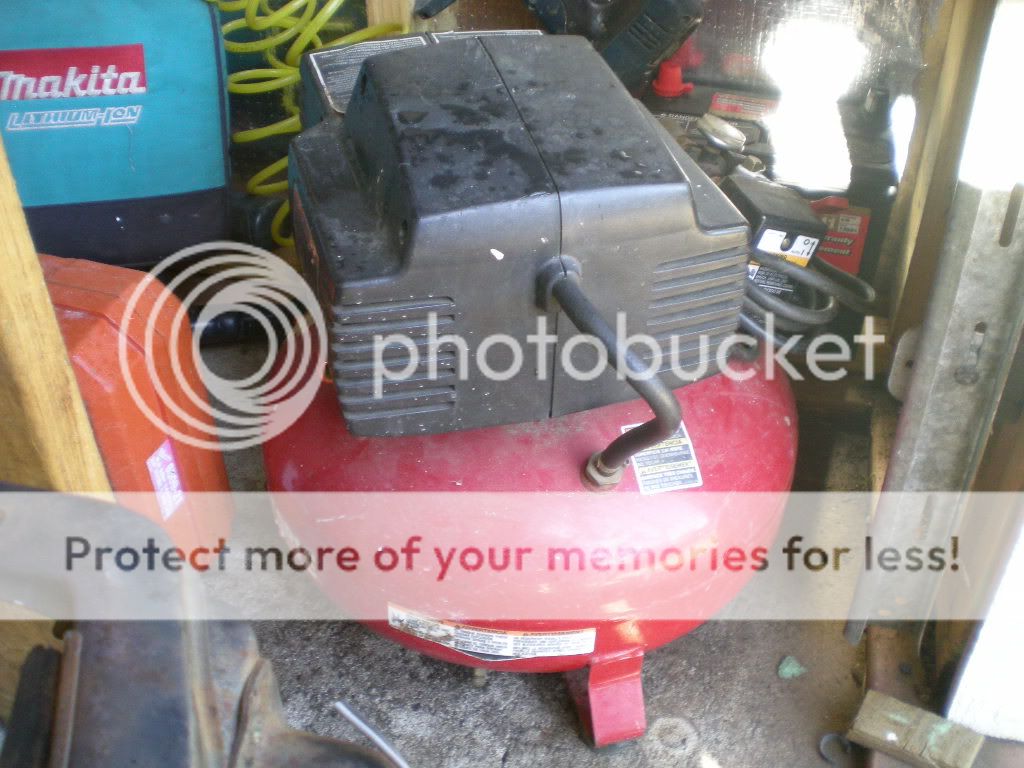
I used a severely undersized compressor.
Spilled paint all over in the usual fashion..
Then got some of it on the actual item to be painted :D
Another angle... sheet lighting..
All jokes aside, when the paint is cured in seven days or so, I will hit the primer with a scotchbrite and mild-cleaning-solution so wet sand everything and make sure adhesion is 100%. Then it's nice glossy red for the topcoat. Still debating clearcoat or not.. I might add 100lbs+ in sound deadener, so who knows.

Got out the old spray gun and cleaned it up for the project....
I used a severely undersized compressor.
Spilled paint all over in the usual fashion..
Then got some of it on the actual item to be painted :D
Another angle... sheet lighting..
All jokes aside, when the paint is cured in seven days or so, I will hit the primer with a scotchbrite and mild-cleaning-solution so wet sand everything and make sure adhesion is 100%. Then it's nice glossy red for the topcoat. Still debating clearcoat or not.. I might add 100lbs+ in sound deadener, so who knows.

 12-25-2011, 09:52 PM
#35
Honda-Tech Member
Sick sick sick. You appear to know what you're doing. I have a blue dash in my Civic, was stressing thinking I was going to have to swap dashes...vins... Anyhow, looks like I can just use that vinyl paint. Did you remove the dash to paint it?
 12-27-2011, 06:33 PM
#38
Honda-Tech Member
Thread Starter
Sick sick sick. You appear to know what you're doing. I have a blue dash in my Civic, was stressing thinking I was going to have to swap dashes...vins... Anyhow, looks like I can just use that vinyl paint. Did you remove the dash to paint it?

The vinyl coloring product I am using seems to work quite well. You just have to make sure the surface is 100% clean and free of any oils or residue to interfere with the adhesion. One of my door panels didn't stick right and flaked off in an area or two, so I had to re-do it.
I didn't paint my dash yet. But that's coming up soon. Stay tuned.
Btw I am in no way responsible for the source of this knowledge and I assure you I have NEVER done it myself- but the best way to swap vins (dash atleast) is with a soldering iron. Seeing as the VIN is riveted onto the plastic (vin is metal, rivets are metal...) all you have to do is hold a soldering iron on the head of the rivet until the rivet is hot enough to melt the plastic, then just pry/push it up and out. The plastic melts perfectly and the rivet/vin slides right out. Best of luck. You didn't hear that from me. I don't do illegal things. Ever.
Srsly. Ever.
I like were the aesthetics side of this build is heading.
What are you plans to reach 280HP in NA form?
280HP is a very tough number to reach. Are you stroking the engine..
What are you plans to reach 280HP in NA form?
280HP is a very tough number to reach. Are you stroking the engine..
going to follow this build, im getting ideas for my hatch from you :-)
I'll have an update up in a bit when I upload pics etc etc.
12-27-2011, 06:37 PM
#39
Honda-Tech Member
Thread Starter
btw use the same rivet trick to get the VIN into the new dash, then use a dab of superglue on the back of the VIN to hold it down. Too much superglue creates a white residue when the cyanoacrylate cures (so experiment before trying it on VIN.)
And the key to the vinyl product I'm using is many thin light coats. Try to get 100% coverage on coat one, it won't stick and will flake off. Spray a light coat in the shade, take it into the sun and watch the product flash-off (painting term: means when the freshly sprayed product isn't shiny anymore.) When it's dull (flat-which is what I used) then you re-do a top coat and repeat for 100% coverage. I did uhmmmmmmmmm 3 coats if I recall, and that wasn't enough. I put it on too heavy in the areas it flaked off.
Buy flat spray, then you can shine it up with a protectant (I use the turtle-wax stuff in the florescent green bottle.) I'll post pics later.
12-27-2011, 06:53 PM
#40
Honda-Tech Member
Thread Starter
Not too much an update today...
My old paint (first-coat atleast) turned out to be bunk. I went down and bought a new gallon..

I hit the entire primer coat with a few scotchbrite stripping pads. The entire finish has been scuffed up with these things to promote top-coat adhesion and test for basecoat adhesion. I would say the primer coat is very well stuck down, and it's not fully cured yet. This is going to be a bulletproof paintjob.
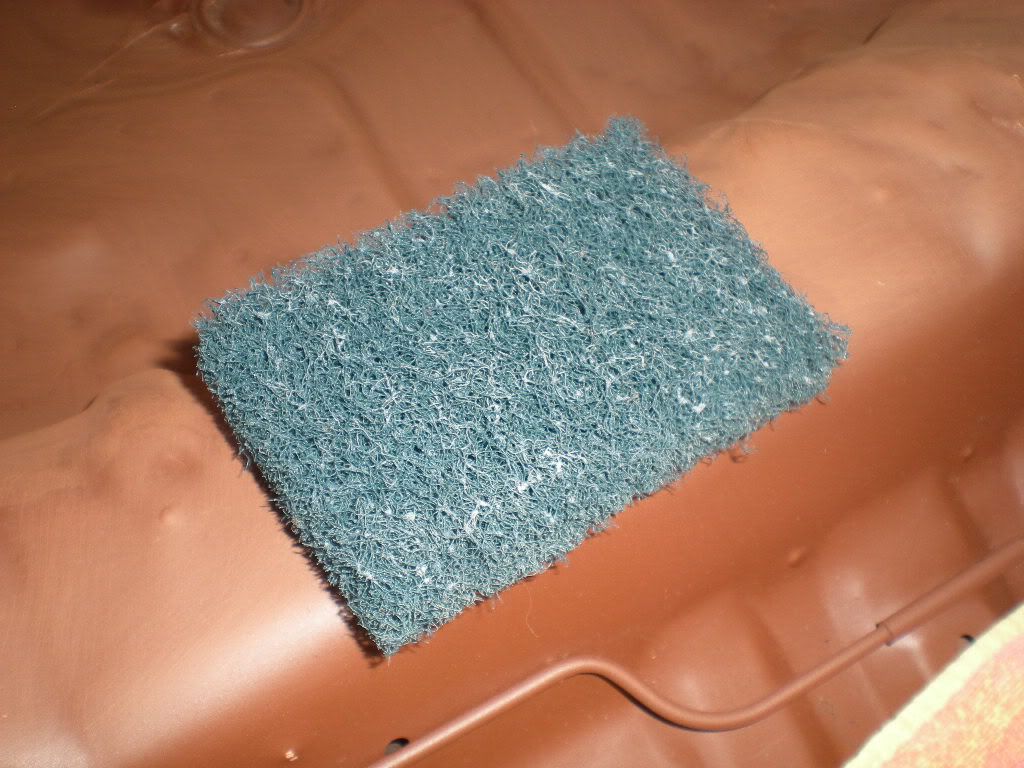
I'm not sure if this will come out, but as you can see it's all lightly-scuffed.
I also reinstalled the fuel-pump plate and the brake-line snap holders etc, a few guards over the lines etc.. All ready for finish coat as soon as this primer finishes setting up!
I got the car out in the sun (all ten minutes off it) to promote primer curing... it didn't really work. It was cloudy all day.
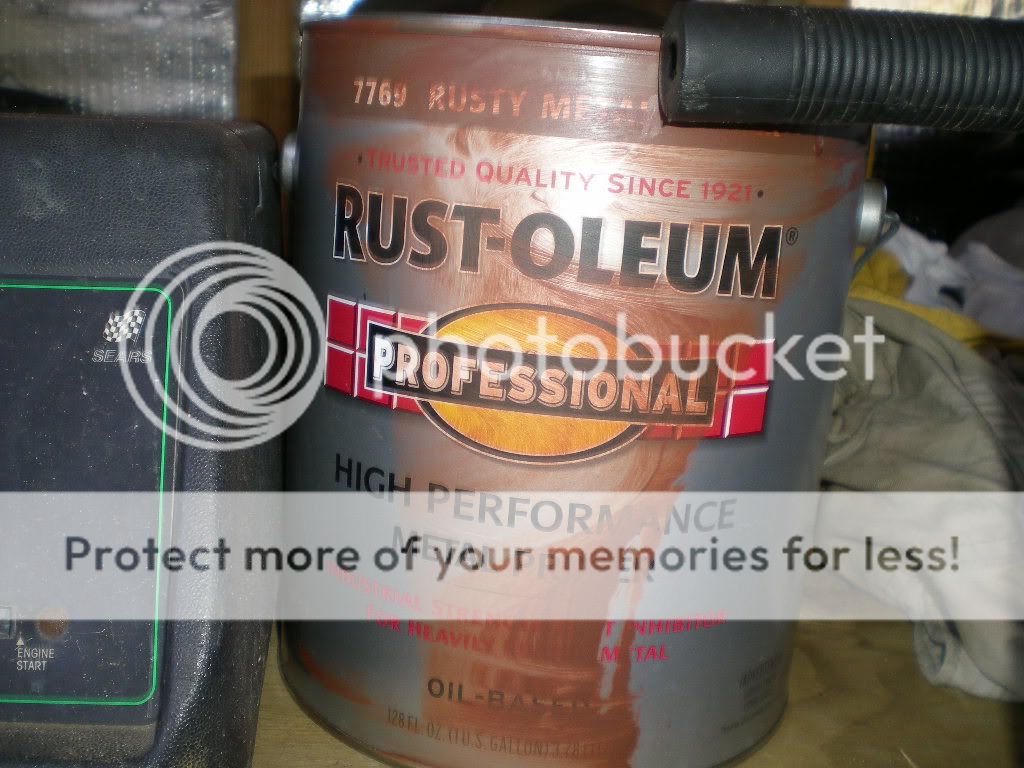
In the next day or so depending on temperature, I will be ready for the first topcoat of high-gloss candy red oil-base enamel. Nothing too fancy, a simple 30usd/gallon paint that doesn't fully cure in this climate for a week or two. But with 3 coats of fully cured enamel, this paint is extremely durable.
Btw hot tip = paint curing doesn't necessarily depend on humidity or direct UV exposure (oil-based paints) but it cures with heat. If your paint won't set up properly (hard enough you can't scuff it with a fingernail) then get out the heat gun. I may end up doing this if tomorrow is another cool day. By cool I mean 70 degrees.
For the sprayer setup I'm switching from the tiny 2gal pot-compressor which has to run 90% of the spray time to keep up - to a 20gal compressor, ghetto-connected to an old 80gal water-heater tank. Once it's all connected, turn the compressor on and let it pressurize the 20gal tank, AAAAND the attached 80gal water-heater tank for an hour or so, then you have enough condensation-free air pressure to work with properly.
stay tuned.
My old paint (first-coat atleast) turned out to be bunk. I went down and bought a new gallon..
I hit the entire primer coat with a few scotchbrite stripping pads. The entire finish has been scuffed up with these things to promote top-coat adhesion and test for basecoat adhesion. I would say the primer coat is very well stuck down, and it's not fully cured yet. This is going to be a bulletproof paintjob.
I'm not sure if this will come out, but as you can see it's all lightly-scuffed.
I also reinstalled the fuel-pump plate and the brake-line snap holders etc, a few guards over the lines etc.. All ready for finish coat as soon as this primer finishes setting up!
I got the car out in the sun (all ten minutes off it) to promote primer curing... it didn't really work. It was cloudy all day.
In the next day or so depending on temperature, I will be ready for the first topcoat of high-gloss candy red oil-base enamel. Nothing too fancy, a simple 30usd/gallon paint that doesn't fully cure in this climate for a week or two. But with 3 coats of fully cured enamel, this paint is extremely durable.
Btw hot tip = paint curing doesn't necessarily depend on humidity or direct UV exposure (oil-based paints) but it cures with heat. If your paint won't set up properly (hard enough you can't scuff it with a fingernail) then get out the heat gun. I may end up doing this if tomorrow is another cool day. By cool I mean 70 degrees.
For the sprayer setup I'm switching from the tiny 2gal pot-compressor which has to run 90% of the spray time to keep up - to a 20gal compressor, ghetto-connected to an old 80gal water-heater tank. Once it's all connected, turn the compressor on and let it pressurize the 20gal tank, AAAAND the attached 80gal water-heater tank for an hour or so, then you have enough condensation-free air pressure to work with properly.
stay tuned.
 12-28-2011, 08:05 AM
#43
Honda-Tech Member
Thread Starter
Yeh dude when the compressor runs and compresses air, it heats the air up. The more often the compressor runs, the more it heats up the compressor, and heats up the air it's compressing. When the air makes it into the tank, condensation is formed.
In a nutshell.. compressor run a lot = lots of condensation in the air.
Then when you spray paint, the water makes it's way out the spray gun and into your paint, which isn't so much of a problem with latex/acrylic and water-based paints. However I am spraying oil-based enamel, so the water does not mix, beads on the surface of the paint (if you're lucky) and generally f^cks up all kinds of things.
12-28-2011, 08:39 PM
#44
Honda-Tech Member
Thread Starter
More updates.
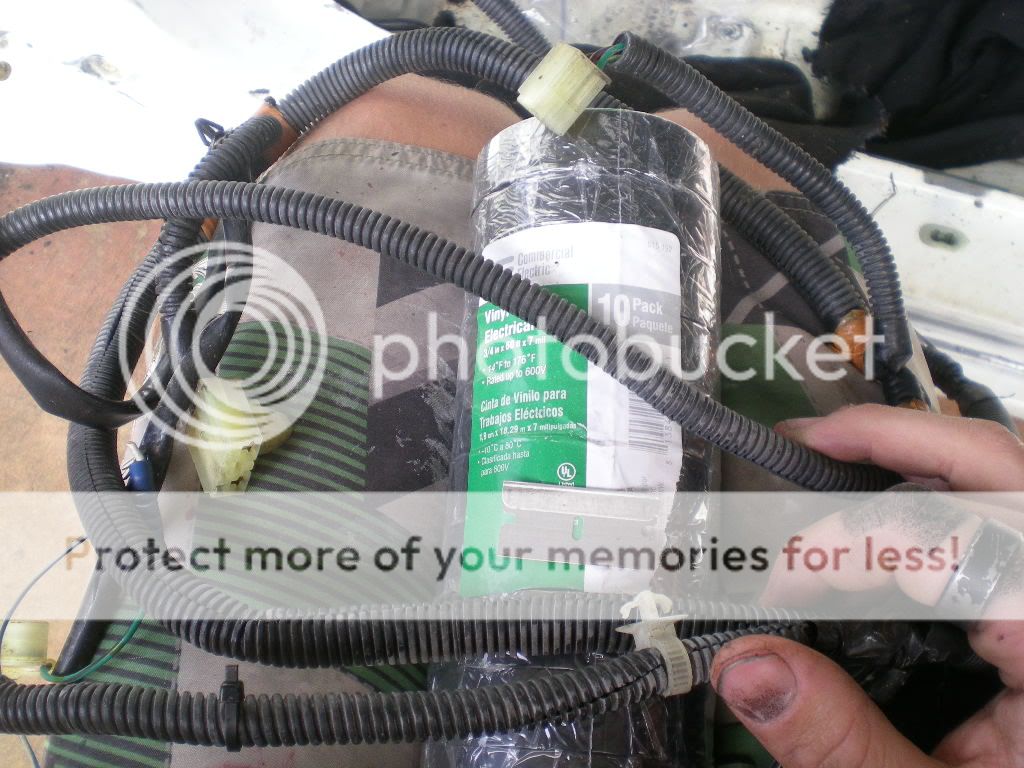
I stripped a few more wires out of my rear harness and have finished deleting wires from the main harness that I will not be needing.
Then I loomed up the last of the rear harness. It will be held into the car with cable ties (with the screw-loop) and self-tapping 3/8th" screws.
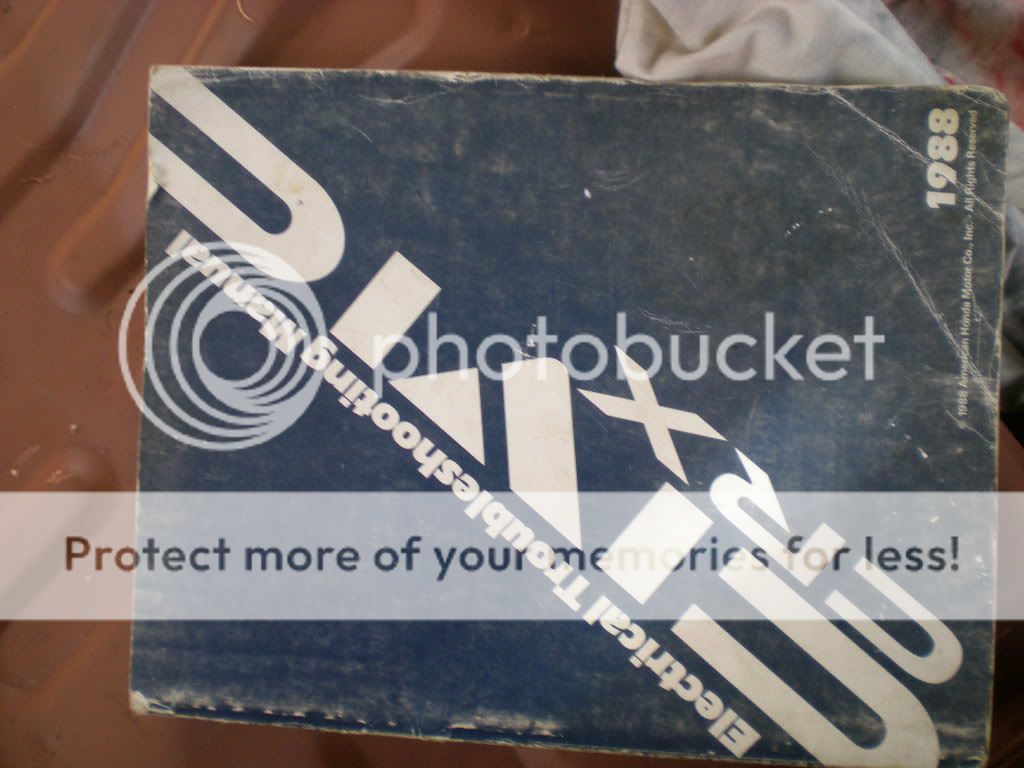
If you don't have one of these before getting into and mucking around with OEM wiring.... GET ONE.
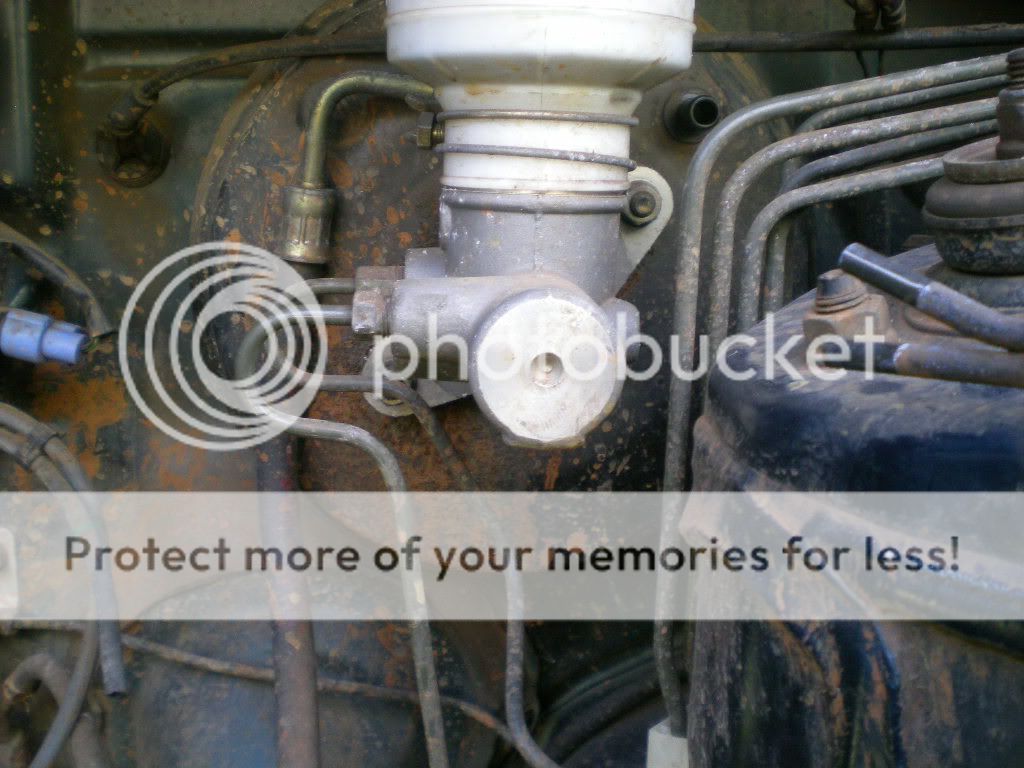
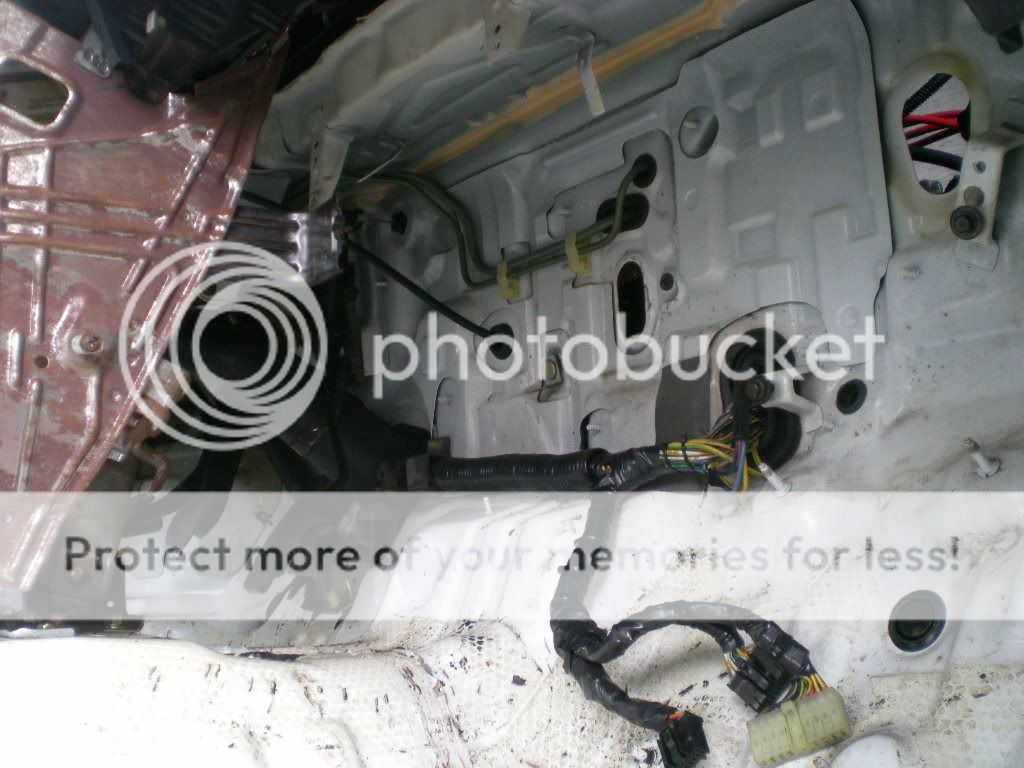
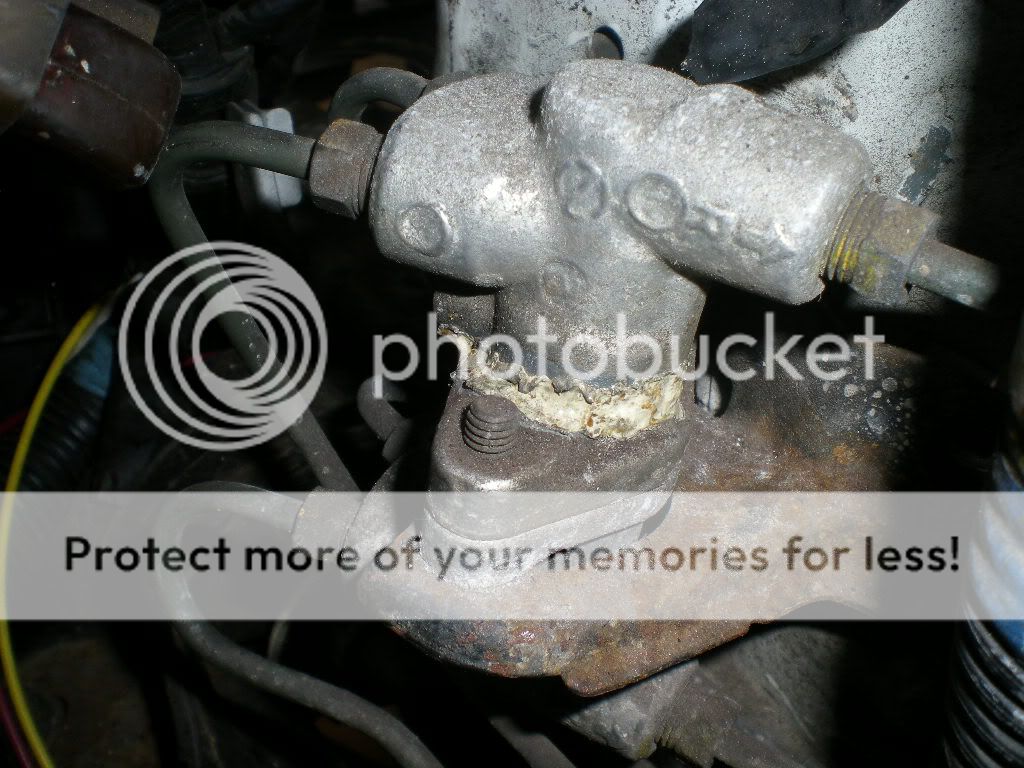
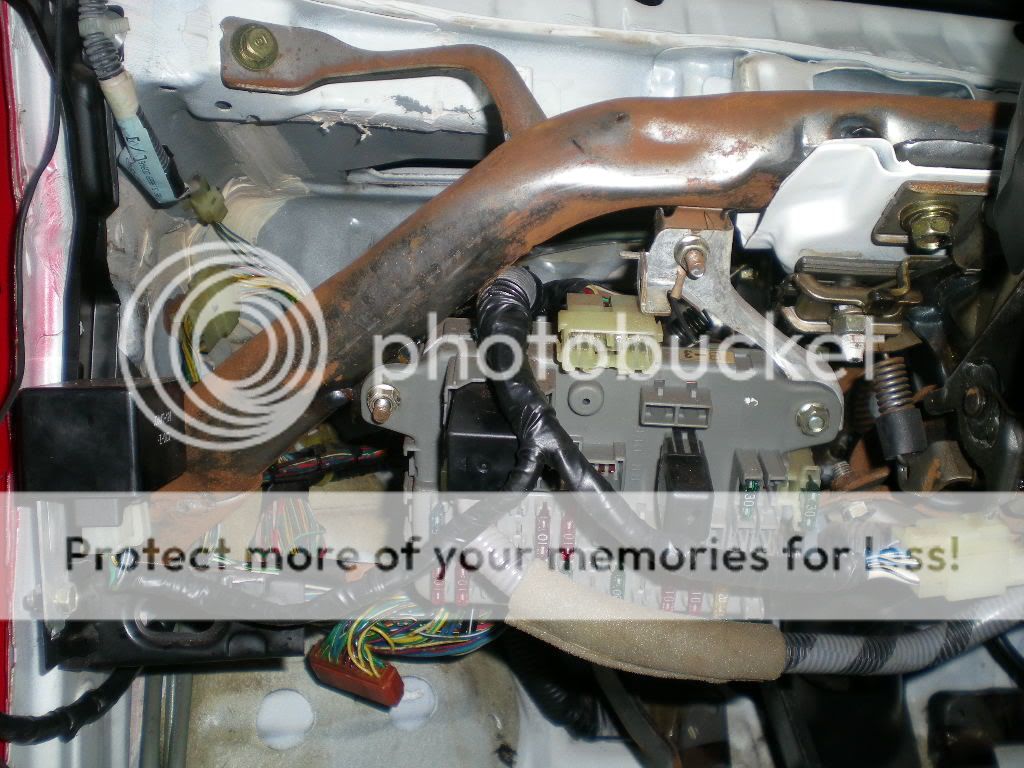
I discovered my fuel-return line had been snipped and left off. Maybe that's why my gas gauge has been slowly dropping..
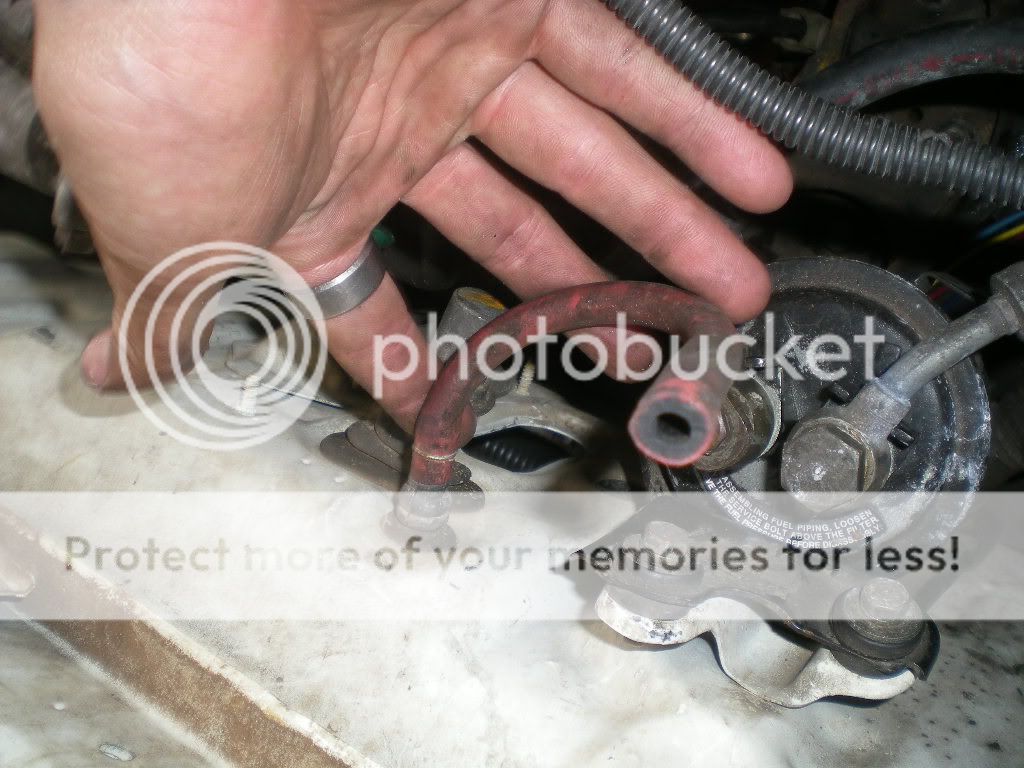
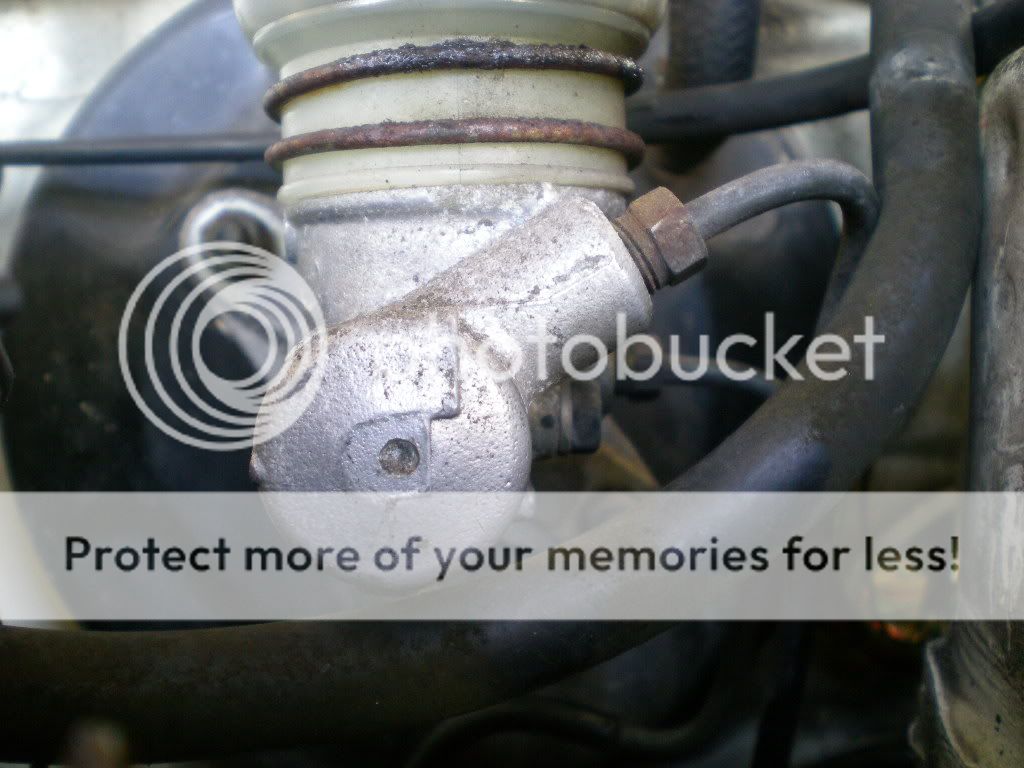
It also looks like someone tried to take that infamous bolt out of the OEM prop-valve.. The bolt that isn't designed to be removed. The bolt that strips out and causes leaks. This is another reason to go through your 'new' old car before you can say it's 100% solid.
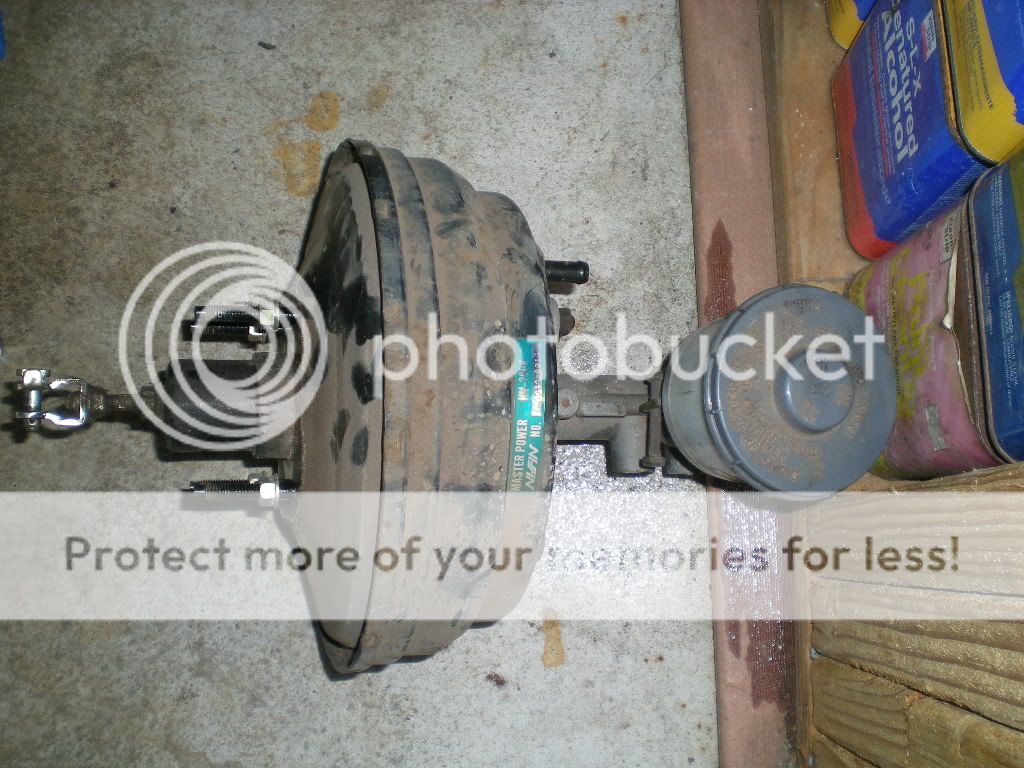
Can anyone confirm that this booster will bolt up (and is 1"?) ---- AHAHAHAHa this isn't the right place to be asking.
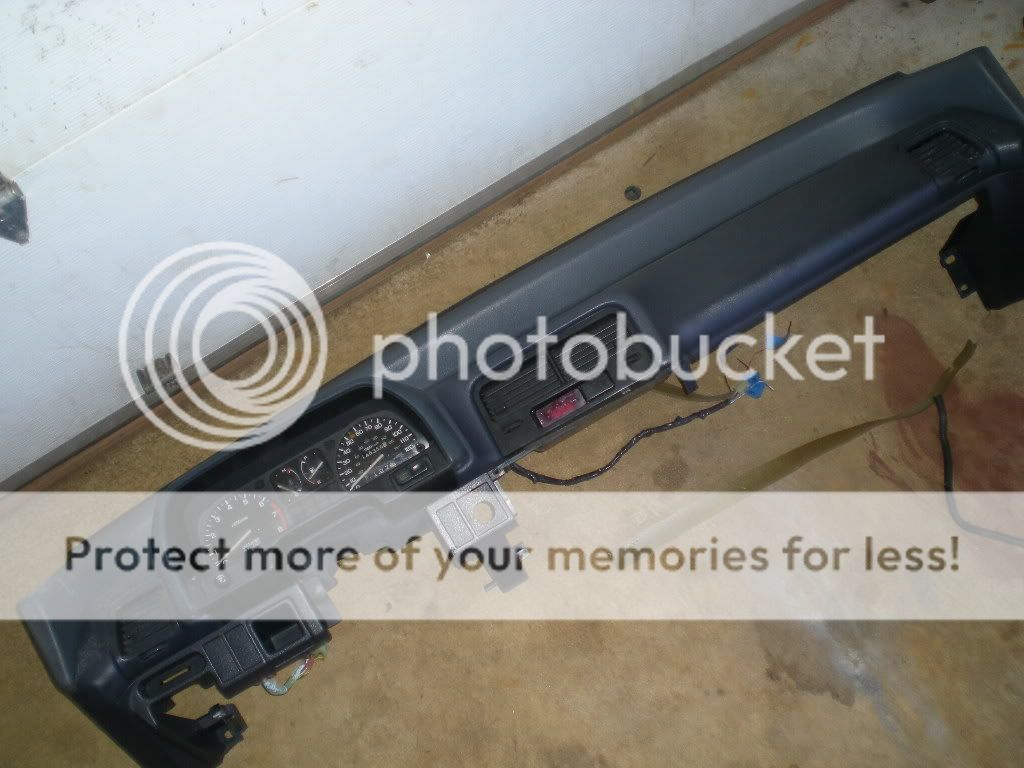
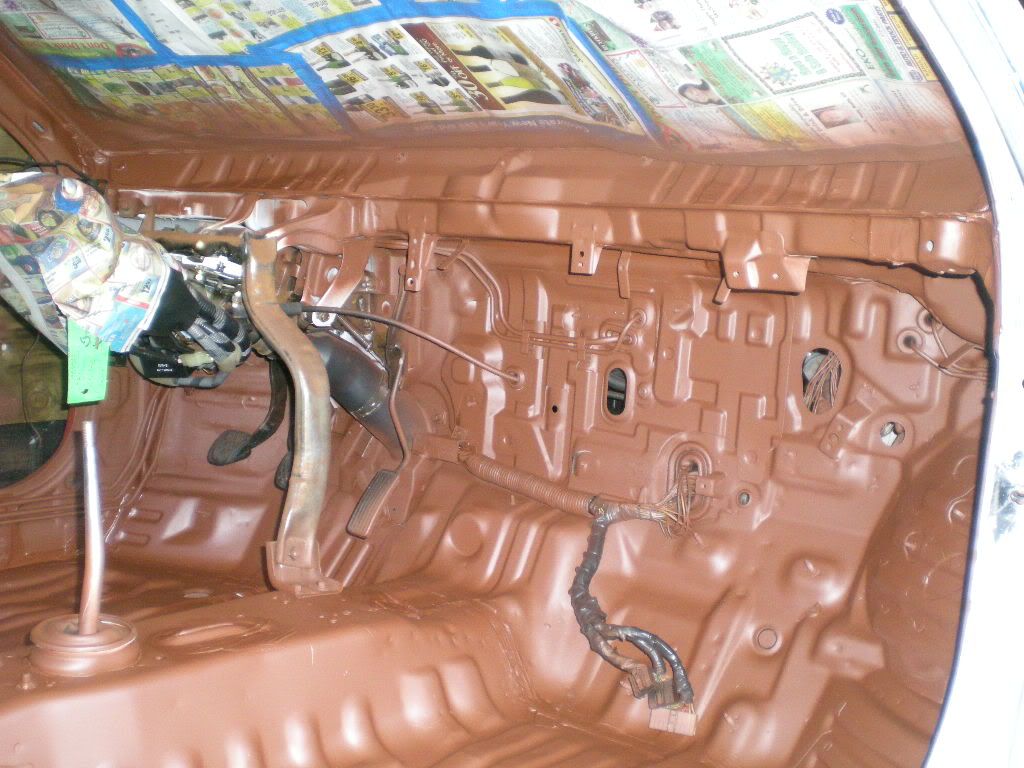
I got the dash out, for cleaning and re-painting to black.
Here's my booster and 1inch MC.. 96 Honda Odyssey...
I also finished removing vents and cleaning the OEM fuse box out.
Dash is out and cleaned. Primer tomorrow.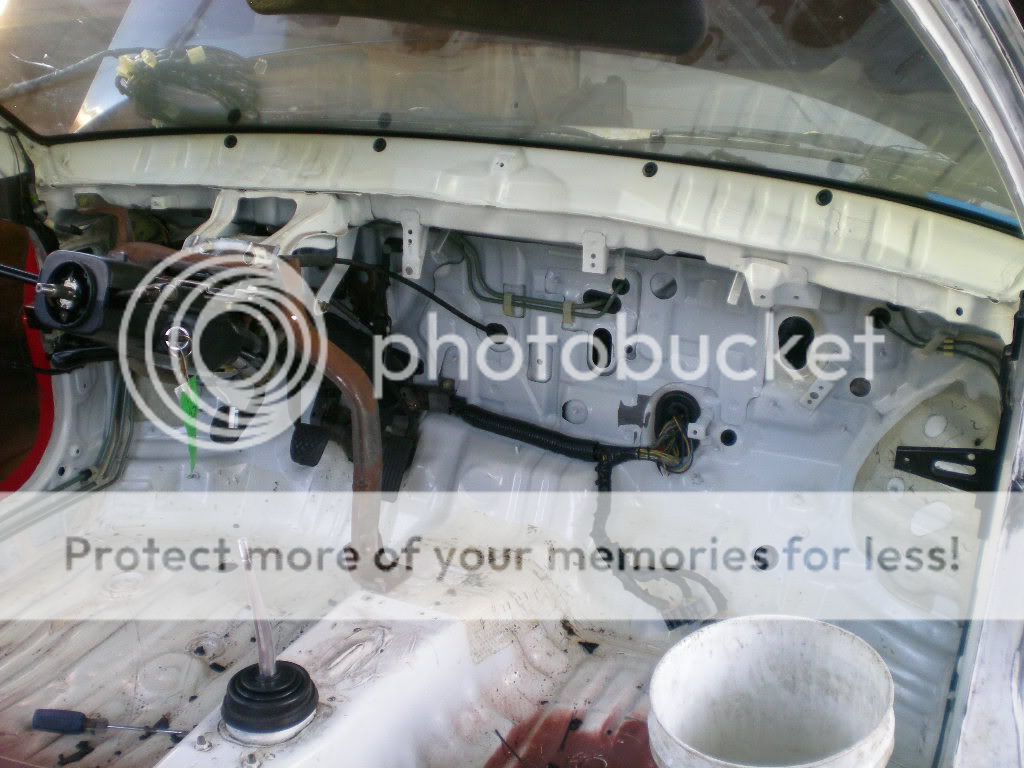
I stripped a few more wires out of my rear harness and have finished deleting wires from the main harness that I will not be needing.
Then I loomed up the last of the rear harness. It will be held into the car with cable ties (with the screw-loop) and self-tapping 3/8th" screws.
If you don't have one of these before getting into and mucking around with OEM wiring.... GET ONE.
I discovered my fuel-return line had been snipped and left off. Maybe that's why my gas gauge has been slowly dropping..
It also looks like someone tried to take that infamous bolt out of the OEM prop-valve.. The bolt that isn't designed to be removed. The bolt that strips out and causes leaks. This is another reason to go through your 'new' old car before you can say it's 100% solid.
Can anyone confirm that this booster will bolt up (and is 1"?) ---- AHAHAHAHa this isn't the right place to be asking.
I got the dash out, for cleaning and re-painting to black.
Here's my booster and 1inch MC.. 96 Honda Odyssey...
I also finished removing vents and cleaning the OEM fuse box out.
Dash is out and cleaned. Primer tomorrow.
 12-29-2011, 07:57 PM
#47
Honda-Tech Member
Thread Starter
well then.
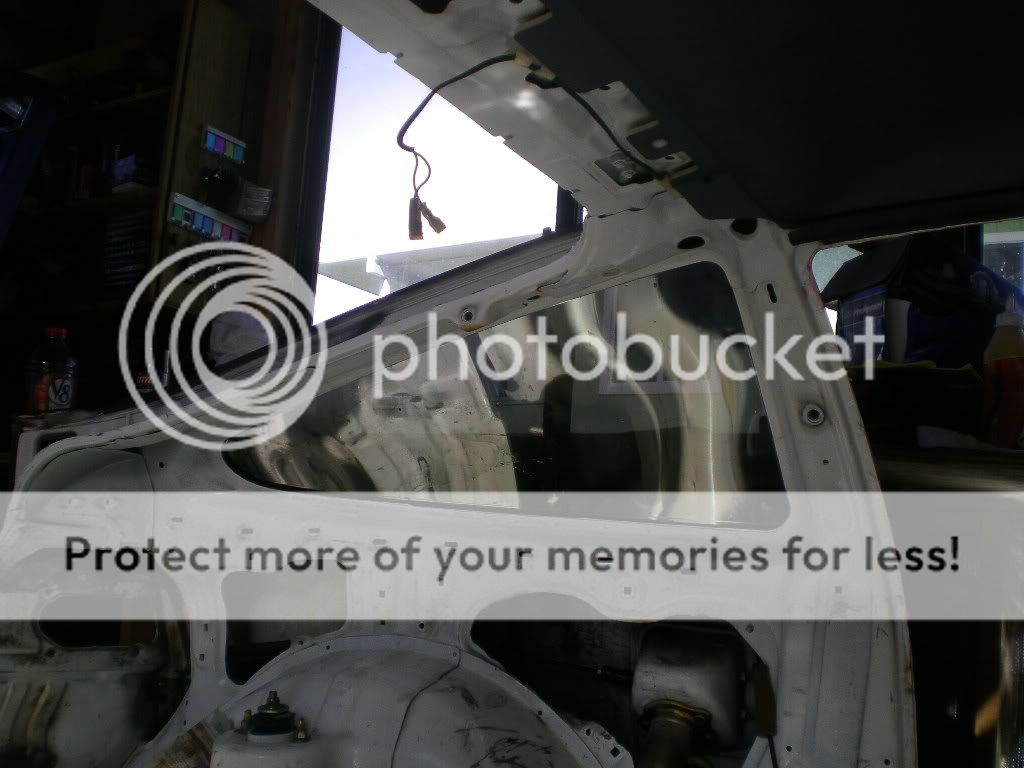
It looks like someone masked the windshield.
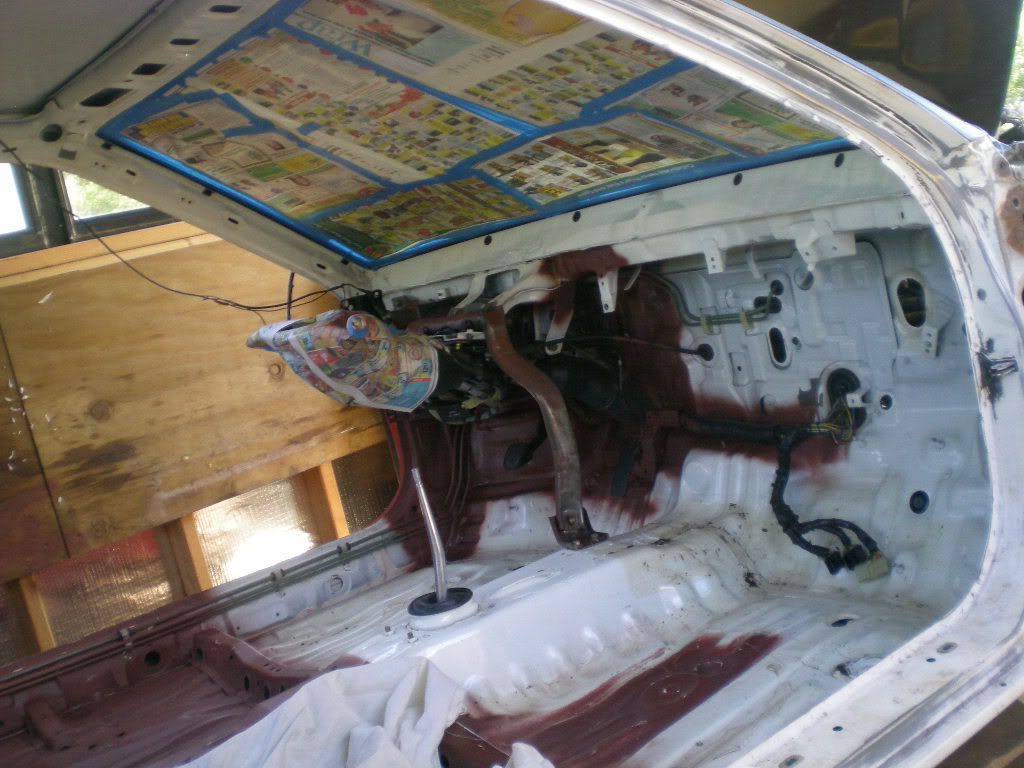
Aaand ripped the headliner out.
She rolls out for final cleaning in the sun before paint. Solvents evaporate better in direct sunlight.
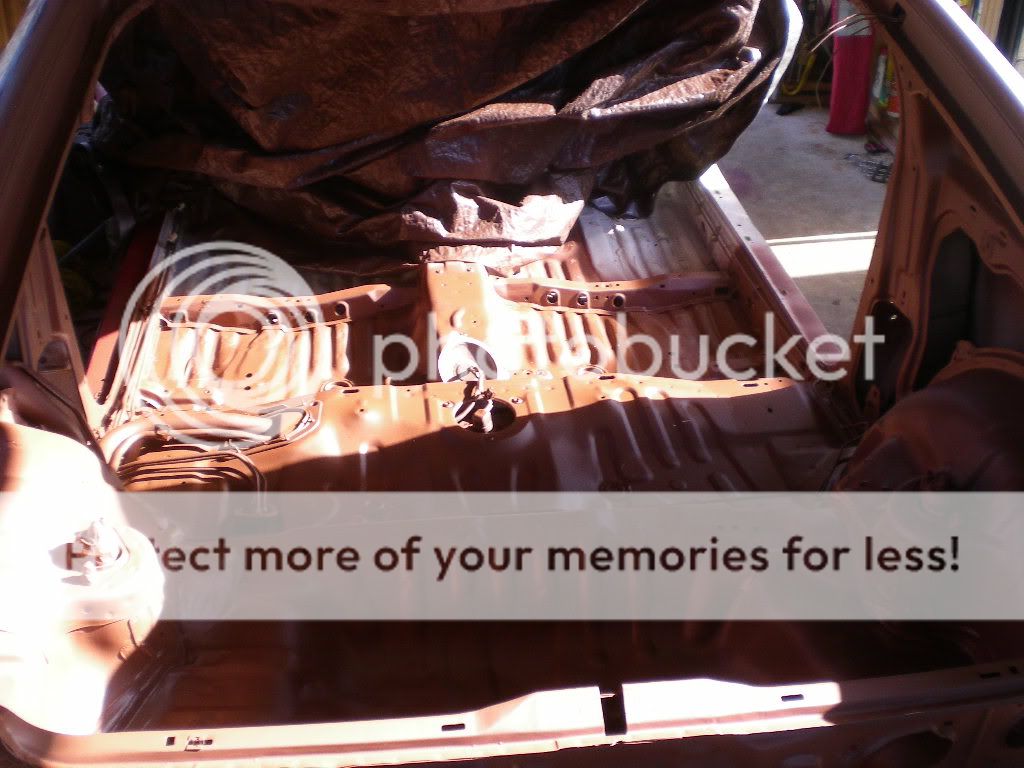
Then after an hour and a half of spraying... she rolls back in to dry.
Not much to see here, primer is boring.
Atleast it's over with..
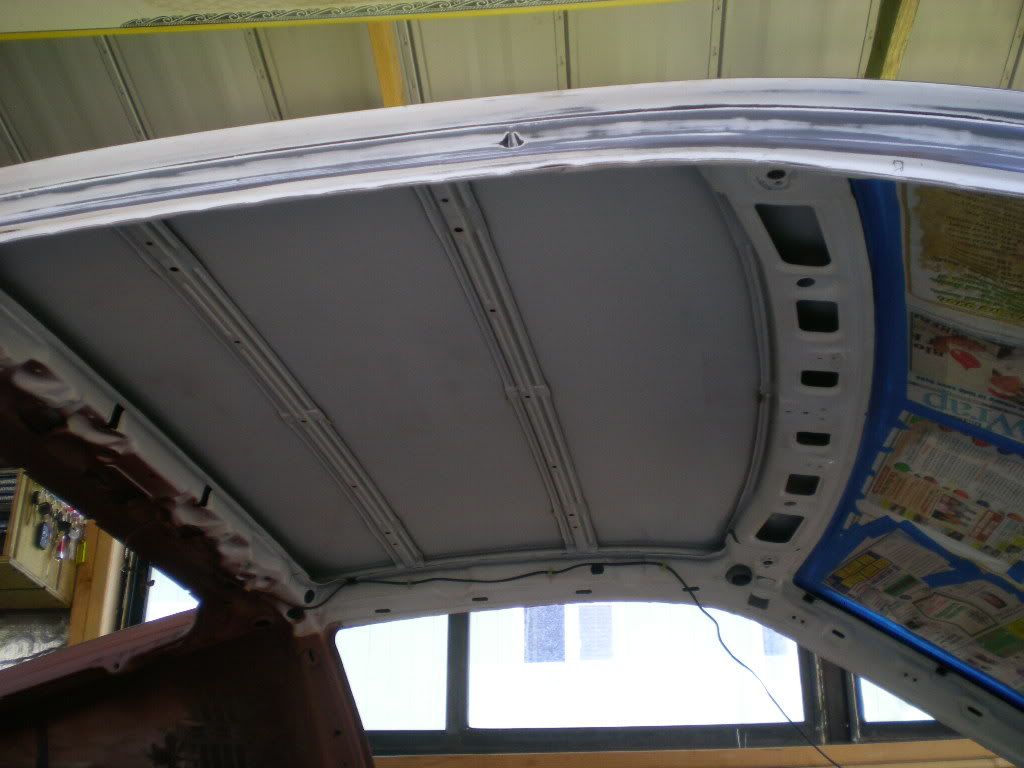
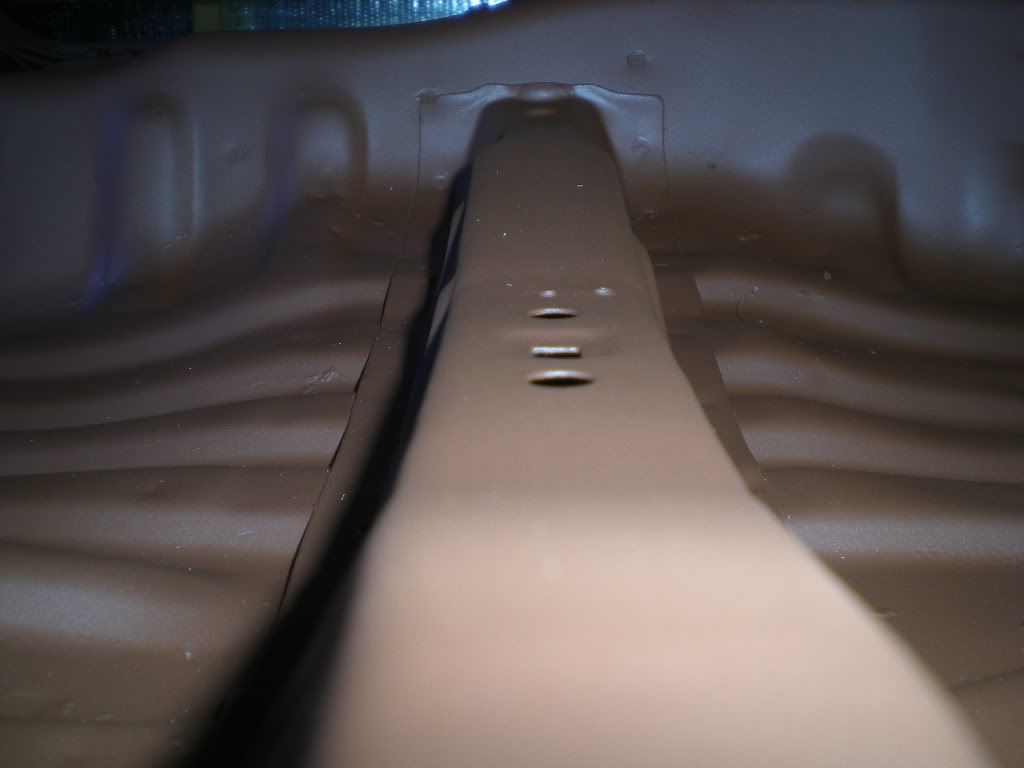
It looks like someone has even sprayed the roof... No one will see this of course; it's about protecting the investment from things like rust.
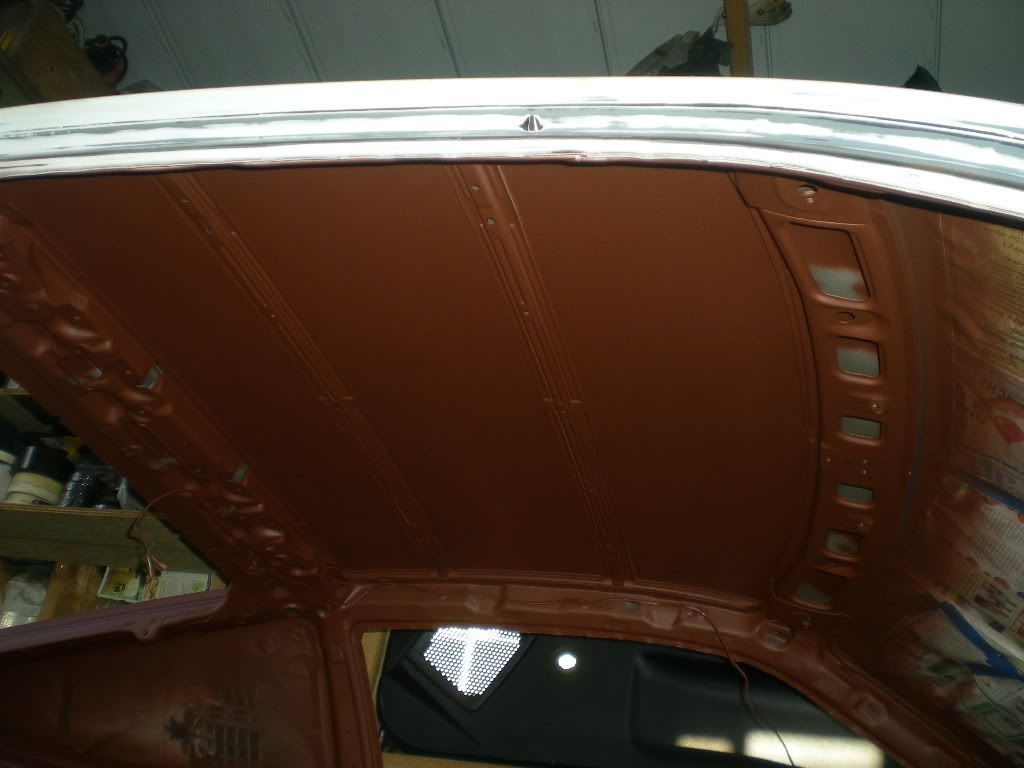
A nice even dull glow tells us that there were no imperfections in the tacking and flash off of the paint. This coat will be bulletproof.
This compressor was used to spray. It could only hold it's breath as long as I could. In other words.. The tank would only hold spraying pressure as long as I could. Take a deeeeep breath and hold it, spray paint for 1 minute, then evacuate and let the compressor/lungs catch up.

Wait til I have pics of the frankenstein compressor setup for the finish paint. I might have to buy another organic vapor mask, they get moldy around here.
stay tuned.
It looks like someone masked the windshield.
Aaand ripped the headliner out.
She rolls out for final cleaning in the sun before paint. Solvents evaporate better in direct sunlight.
Then after an hour and a half of spraying... she rolls back in to dry.
Not much to see here, primer is boring.
Atleast it's over with..
It looks like someone has even sprayed the roof... No one will see this of course; it's about protecting the investment from things like rust.
A nice even dull glow tells us that there were no imperfections in the tacking and flash off of the paint. This coat will be bulletproof.
This compressor was used to spray. It could only hold it's breath as long as I could. In other words.. The tank would only hold spraying pressure as long as I could. Take a deeeeep breath and hold it, spray paint for 1 minute, then evacuate and let the compressor/lungs catch up.
Wait til I have pics of the frankenstein compressor setup for the finish paint. I might have to buy another organic vapor mask, they get moldy around here.
stay tuned.
12-29-2011, 08:37 PM
#48
Honda-Tech Member

Join Date: Dec 2011
Posts: 5
Likes: 0
Received 0 Likes
on
0 Posts
hey i got a crx with a b20v it is a good route to take. i made 196 to the wheels with just the bottom end build, at 11.8 compression and just a home porting job, ran a best of 13.3 on the 1/4 with a 2.0 60ft.
 12-30-2011, 04:13 PM
#50
I like the tuna here
Its too bad you live in Maui, OP. I'd give my left nut to have that rear interior. Ok, so I probably wouldn't ACTUALLY give my left nut, plus you probably wouldn't want it anyway. But suffice it to say that I want that rear interior.
Also, you're doing an excellent job on this car, it reminds me of my rebuild of my CRX, before I ran out of money, motivation, and good old fashioned givea****.
Also, you're doing an excellent job on this car, it reminds me of my rebuild of my CRX, before I ran out of money, motivation, and good old fashioned givea****.