When you click on links to various merchants on this site and make a purchase, this can result in this site earning a commission. Affiliate programs and affiliations include, but are not limited to, the eBay Partner Network.
haha, I know nothing really exciting about the mirrors. I probably should have replaced these before I painted the car but what are you going to do.... At least now I will be able to use my mirror again. The old one got messed up when I was buffing the clear coat. Appearantly buffing a side mirror with a 6" buffing machine can mess up the mirror's internal adjusting mechanisms
And window rain visors:
I'm a smoker so pretty much required piece, and not much to say about these. got them from an ebay seller, baysonrmotorsports. I've bought a few things from them before, not too bad quality. Mostly seems like they do abs plastic parts, so if you need some trim parts or whatnot, check them out.
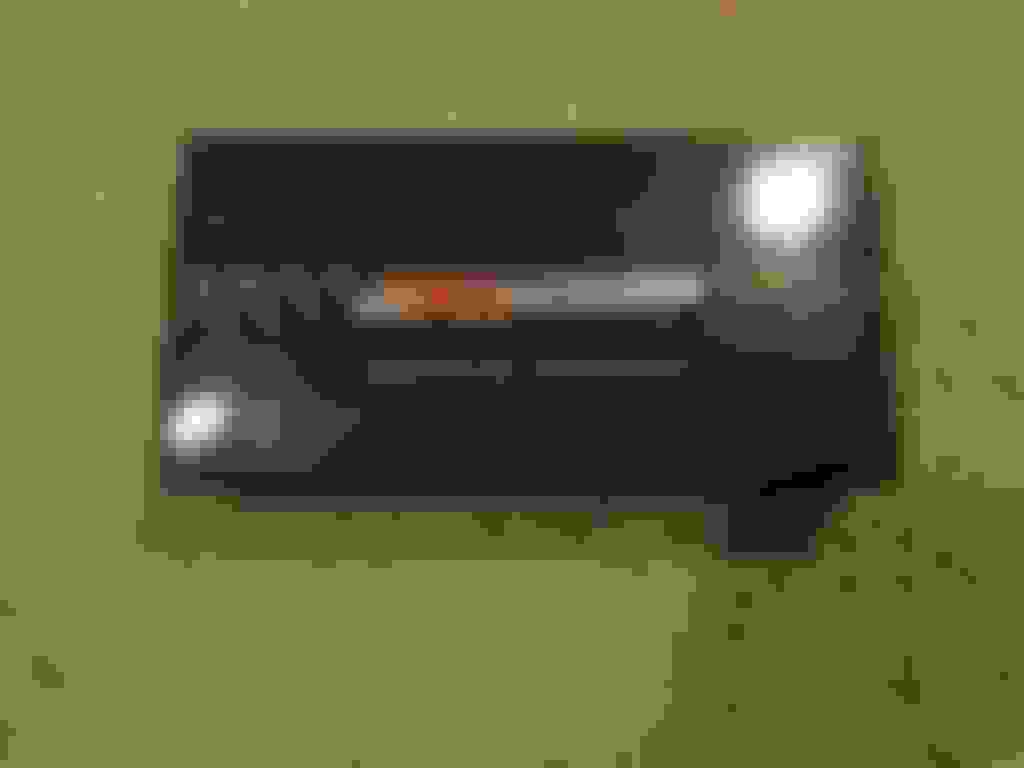
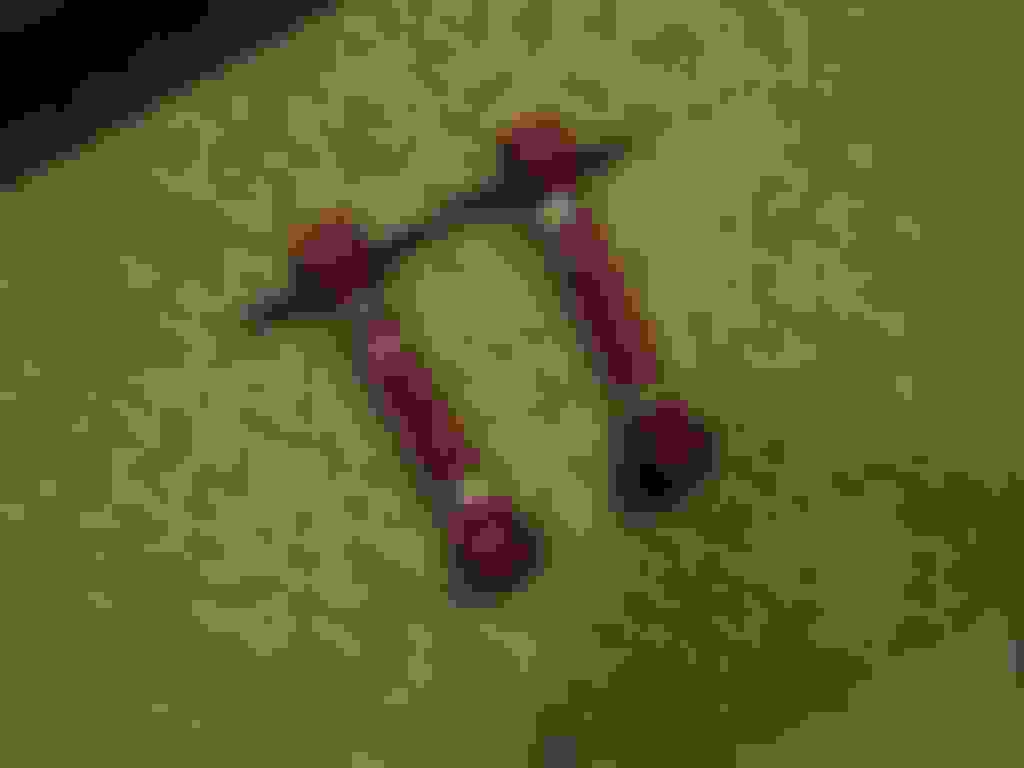
Got some rear upper camber links. Been really impressed with the quality of truhart and the low price. they all have had hardrace bushings so far.
next up got some 1 piece headlights:
I know they are ricey, but my old OEM headlights have almost all of the mounting tabs broke and the corners have no way of staying in because who ever had this car before me royally screw up the mounting tabs. Right now if you can see it in the pictures I have blue masking tape holding the corners in lol. These come with all of the bulbs and crap so all I have to do it put em in. They seem to be of a decent quality build and has all LED lights, so never have to worry about replacing bulbs, at least not for a long time.
The one thing about these that did make me upset was the mounting tab came broken. Rather then deal with returns and all that hassle I just JB welded them back together.
So all in all was a productive day at any rate. Got my door weatherstrip in and my window vents on, and my new mirrors on to boot.
Not really sure how I feel about the way this black mirrors look. one part of me just wants to paint them so bad, and the other part of me like the way they look raw. Then part of me likes how they blend in with the windows, and not stick out like the paint matched ones do.
see what I mean? it kinda blends in with the window, but at the same time it sticks out
hmm looking at these pictures make me think I need to tint the front windows darker... just hate trying to see out them at night when they are super dark tho
Broken, busted, and worn out. if this car was a girl instead of a car, well let's just say she has had alot of lovers... These headlights are a perfect example of the stuff I have to keep coming behind to fix, as you can see in the pictures.
test fit up to see how it looks compared to the stock one:
ok I would have to say these look 1000x better then the stock ones. **** the haters!
added some resistors so the led's dont blink fast:
so here we go got it all in i'll just let the pictures do the talking:
Not bashing or anything so I hope it doesn't come off as such, but what about the other one piece headlights with clear fronts and amber corners? Didn't like those? I'm not feeling this one much at all. But I mean as long as you like them then I like them for your project
You might wanna check those "projector" lenses there for correct blinder positioning..ive had a set of those myself and had to fully disassemble them to fix the height and angle of the blinders...mine were almost 30 degrees off and caused a horrible light pattern. Other than that, I really like the raw black look of the mirrors. nice work.
Not bashing or anything so I hope it doesn't come off as such, but what about the other one piece headlights with clear fronts and amber corners? Didn't like those? I'm not feeling this one much at all. But I mean as long as you like them then I like them for your project
Dont worry, I dont mind, I knew what people's reaction to them would be. I dont like the ones that look stock they seem too plain to me.
trust me, if these headlights are not to your liking then when you see what im going to do to my car later will mind **** you! lol
You might wanna check those "projector" lenses there for correct blinder positioning..ive had a set of those myself and had to fully disassemble them to fix the height and angle of the blinders...mine were almost 30 degrees off and caused a horrible light pattern. Other than that, I really like the raw black look of the mirrors. nice work.
yep. when I use the high beam the light scatters. now they add screws on the back to dial it in just have to get around to it.
some more parts should be here by friday. Right now I'm working on drywalling and painting the floor in my garage. Should be back to the actual build by then.
Had to tear apart my center console to get to the climate controls unit. let me tell you that thing is a bitch to take out. there are 3 screws holding on the front panel that you have to get at from behind. basically this means you have to put your arm inside the console to take them out... at any rate got them out and the new parts in
console panel pulled off:
had to replace these sliders:
yay heat again!:
also changed out my mounts..
old mounts, pulling away from the metal insert:
found this pleasant little surprise when I changed the mounts:
that is the transmission mount bolt hole on the transmission. going to have to deal with that problem tomorrow..
and speaking of tomorrow just checked UPS and should be a big update coming tomorrow!
yea, when I pull the tranny out to rebuild it im going to weld it up. In the mean time I may just use a stud and jb weld it in. (welding torch will burn out jb weld easy enough.)
got in some of the more major parts today:
BWR adjustable coilovers. Ive read mixed reviews about these coilovers. Alot of people who actually have them say the ride nice and they last fairly well. Most of the people that are bashing them are doing that basically on the merit that they are made in asia, and that BWR wont post shock dynos. They contend that they are just knock-off of another brand. With the reviews being 50/50 and these being the same price as F&F v1's, my deciding factor came down to the warranty, BWR is 3yrs and F&F is 1 yr. I guess for science I will try these out and if they blow, ill just get a replacement...hopefully....
out of the box they seem pretty decent, I've had my fair share of ebay coilovers, janky, cheap parts, missing hardware, to a nice set of Buddy club's. Currently there are a set of H&R springs on (think not sure) tokico red adjustable compression rebound shocks. These BWR coilovers are definately higher quailty then normal cheap coilovers. the body is heavy and well made and appears to be high quailty materials, ie hard grade aluminum, stainless steel and good rubber/neoprene/silicone seals and boots. The spring quality and internals are hard to say because springs all look alike and the internals are just that.
At any rate when I get them on my car I will be super-critical of them and give a long term test of how they hold up.
next I got some Ikon carbon fiber seats:
Never really did find out much about this brand online, may not be a domestic market thing. Got them from an ebay seller, mainly went with these seats because the reclining hardware and mechanism looks really stout. the main problem that I've had with aftermarket seats in the past is that mech gives out super fast, save for the $1k plus seats.. These seem stout in that department, so barring the fabric coming off or tearing I think i'll be fine.
Syncrotech Rebuild kit:
Ok one place that is not wise to fool around with ebay parts or budget brands is the driveline. Syncrotech is one of the best in the biz and it shows on the quality of their kit. This kit came with all NTN bearings, OEM seals and hardware. Got this rebuild kit for 10% off just by using the code in the marketplace, and if you buy their stuff they will even install it for you for free. Hard to go wrong with a company as awesome as Syncrotech.
Going to try and get my garage finished with the drywall, and get these parts (other then trans) in this weekend, so stick around to see more!
MPC extended tophats, got these for the front, tired of hearing the suspension bottom out every bump I go over
In the meantime I drywalled and put up new lights in my garage waiting for the parts to get here:
I actually have two 2-car garages, so if you see some pictures of a garage with wood paneling for the wall with a crap load more stuff in it that's my shop. It sits on the back of my property, and after trekking back and forth there last year in the winter, I decided to get my front garage fixed up. Gonna move maybe just my tool chests, compressor and shop press up there but still leave my welders and other crap in the rear garage, just for those dirty fab jobs.
Only problem I have now is that we normally use the front garage for nothing other then a car park, now we will have to squeeze 2 cars + tools in there, and my wife is already asking me how here car is going to fit in there during winter...
At any rate Im going to do a full suspension rebuild tomorrow, so check back to see all that im doing!
so it's 2am and im just sitting here looking at these BWR coilovers before I install them tomorrow and thinking to myself....did I really need tophats for these..... I mean arent coilovers designed to have full suspension travel at thier lowest setting? will they be bottoming out? I hope not, and I think it's at least nice to have the top hats as a back-up.
Read a few threads about this and people said it made the car more bouncy. the main reason I wanted to do it is to go lower, but im going to ride on the coilovers without the top hats for now with my car as low as I want it and see if the bottom out. if they do then I guess ill put the tophats in, and if that makes it too bouncy, well then... I'll just drive the car off a cliff!
Great build man! Looking forward to seeing how this progresses and how you like the BWR coils. I almost bought a set for my hatch and then decided to go with Koni/GC w/top hats. With the way the BWR's are designed you should be able to lower your car without compressing the spring therefore not decreasing shock rod travel which is all the extened top hats do is give the shock rod more room. Keep the updates coming!
I'm almost positive you're going to have droop issues if you run those top hats. Those shocks look they are already pretty short. If you don't have enough droop the shocks are just going to "top out" and not be able to follow the road undulations... the car will almost fall into the bumps, it will feel really odd. It's also really bad for the shock internals.
I would try them out without the hats first and see how much droop travel you have, you can always add them on later if you still think you need them.
I think it is funny, that of all of the parts that I have ordered, the simplest one to install is the only one that came with instructions lol:
Next came the oddyessy pc680 battery:
I think it is funny how small this battery is. The first thing I thought when I opened it, was that I bought the wrong one. After seeing that I can't return it, and alot of people using it and swearing by it, I decided that i'm going to try it out and see if it works..
Next on the list is OEM fender splash guards. Gong to have to modify these so that my lowered stance will work with these:
I wish I could simply leave them out but they are there for a reason. I was driving around without them and there was a storm, went thru a puddle and car shut off. Got home and checked it out, seems that water splashed up through the fenders and saturated the underdash electrical componets. Luckily the car didnt catch fire, and only the starter interrupt relay got fried.
When I repainted the car, I took off the original weather seal, was too cracked to put back on so got this:
Not an oem part but came from my local napa, who is also the area's supplier for professional body shops, so should be good quality
And last but not least, got a new carpet from Auto Custom Carpets. was about $20 more then stockinteriors.com but I have seen a couple bad fitments from them, and wanted to try something else out:
I know why they send they carpets in the box the way they do, because shipping it any other way would be crazy. But rolling it up the way they did put a crapload of wrinkles in it. granted after sitting for about 3-4 hours it looks alot better. after 24 hr though I will cast my first judgement of the way it lays. if all is not kosher, im thinking I'll use and iron to smooth it out. This is also making me think that the reasons most people have had problems with the carpet by mail is improper/hasty instillation.
Not to bust your bubble man but I ordered my carpet through stockinteriors.com and it also came in a auto custom carpets box just like yours and it was rolled up and wrinkled just like yours...kinda makes me think they are sister companies or even the same people.
Not to bust your bubble man but I ordered my carpet through stockinteriors.com and it also came in a auto custom carpets box just like yours and it was rolled up and wrinkled just like yours...kinda makes me think they are sister companies or even the same people.
CRAP! lol, damned if I do, damned if I dont... oh well...
BTW, what did you use to stick the carpet down to the floor pan? velcro or something? they did not send anything with mine for attaching it to the floor, not sure if it will just stay in there on it's own or not?
got a decent amount of work done over the last 2 days. Had some problems with sockets breaking, rust, and a bit of a hangover from some beer pong on friday...
Anyways first thing I did was pull the old suspension:
Think these are tokico illuminati shocks or wtf ever they are called, the ones with the little dial on the top to adjust them... with some H&R 3" drop springs. the shocks are still in good shape and there is no spring sag, but I want something with adjustability.
The upper control arms are some ebay special pos with blown out ball joints. All these are good for are throwing away...
Next while I had everything out I resprayed the rust proofing:
Used this stuff:
SEM products underbody spray. Pretty much everything SEM makes does exactly what it says. Just make sure you clean off all the dirt and sand any bare metal or it will peel off. I like this stuff because it comes out with a texture like rhino liner that is scratch resistant, but not super thick.
Rustproofing is a major concern in cars like these getting to be 20 years old.
that leads me to my next roadblock;
The bolt that holds the control arm together was super seized up. My air impact couldn't bust this loose, so I tried to just leave it in and press the bushings out with the arm together but not matter how I tried I couldn't fit the arm in the press.
So what I ended up doing:
6'x2" SCH 10 316 pipe lol. used it as a breaker bar on 1/2 drive ratchet. Amazingly the bolt was rusted so bad that it took that pipe to turn it out about 1/4" before the air impact could even budge it. What surprised me the most was that the head of the bolt twisted before the bolt snapped, which would have been fine too because I would just scarf it out with the torch..
so after getting the arm apart, I find out the bushings are seized into the bore, that leaves me with removing them with this:
1 1/2" hole saw in an electric drill. basically going to have to remove these the hard way, drilled the rubber core out left with this:
Next I used a Carbide tootsie roll bit:
Basically Im going to run this in and out of the side of the bushing steel shell and grind down till I can just see the bushing bore:
When it gets to the point where it looks like that you want to stop grinding. anymore and you can damage the housing. The bushing casing is now thin enough to just peel out from the side. That's when you get out the air hammer:
Although it's hard to tell in the picture I'm using a pointed bit in the hammer and just getting it in between the shell and the bore and working it around around the shell to about halfway. After that point the shell should just fall out, or come out with light taps.
Here you can see the bore after:
Notice how I just barely touched off inside of the bore, only enough to polish, but not cut all the way across. That's why I prefer using the carbide die grinder VS stone. may be 2-3x more the cost, but you get a lot more control with it. Also take note of how rusted this bore is, that is the reason why I could not press the bushings out. Luckily they go in easy enough because the new ones don't have a metal shell.
Using a socket and board to press new bushings in:
I found that if you put a board in between the socket and the bushing it goes in a lot easier. The board not only helps to distribute the force evenly from the walls of the socket, but you can lean your hand on one side or the other and guide the bushing in square.
Just a socket works fine for the steel inserts though:
So far so good everything with the bushings has gone in good, and seems like with this master set I have alot of extra bushings. They did give me a nice size jar of grease with set which I have been using extremely liberally, and still have at least 3/4 of a jar left after both front sides. It is recommended to use a crap ton during installation otherwise you may have squeaking...
Everything on the front is in there now, still need to do the rears:
I will have to say everything was pretty straight forward to install, and the only problems were from the car itself being rusty. The upper control arms came with all new hardware which I liked because I lost one of the old nuts Another thing I like about the control arms it the new ball joint seems like it can handle the angle from being dropped way better then the old one. the old one looked like it was ready to snap, whereas the hardrace one looked like it was hardly even moved...
The thing that I did not like however was there is no provision to attach the brake line to the shock body anymore. What I ended up doing was zip-tieing the cable down as close as possible to the stock location with an industrial zip-tie:
What do you guys think? should I do something else with this? Im thinking of going with stainless brake lines very soon, should I just not worry about it when I get those? I don't know this does not feel like a perm solution to me, going to be looking for something to remedy it, but for now I feel I should be fine.
Ok so that is all I have to report for now. going to work on the rears tomorrow and Wed. and get the suspension dialed in. might possible work on the interior this weekend depending on how much paperwork I have to go over, hopefully I can break free enough to have the suspension and interior in by next week though.


 10-17-2014, 07:46 AM