
[FAQ]Solo Brake/Clutch Bleeder Screws. DIY Install and How they work.
 03-14-2008, 06:42 PM
#1
Honda-Tech Member
Thread Starter
Alot of people have been wondering about these solo bleeders. Few companies sell it (we sell them) and youll find them for different prices. We like to use EARL products only, but i believe Goodridge has a set and someone else to. But honestly i wouldnt trust anything less then EARL products, thats just my personal opinion. This write up is using EARL products, dont ask me about PN for Goodridge as we dont use them.
Anyway I've decided to go ahead and make these write up. These are great tools for the solo mechanic that cant get a hand at the track. Basically the way these work is when you press you push the fluid through to come out, but as soon as you let off the little ball will go down and close on the lines. This eliminates the need for someone to
close it. Also take out the dumb pumper that doesnt hear you say go again, and they start pumping before its closed letting air back in.
I did this write up on the slave cylinder but its the same principle on the brakes as well. Brakes are alot easier to work with because they have a bigger nipple for a hose to be put on.
I did this write up in 2 parts. The first part is outside of the car. When you look at my engine bay youll see why. You just cant not see the slave from above. So i took a spare slave for my example.
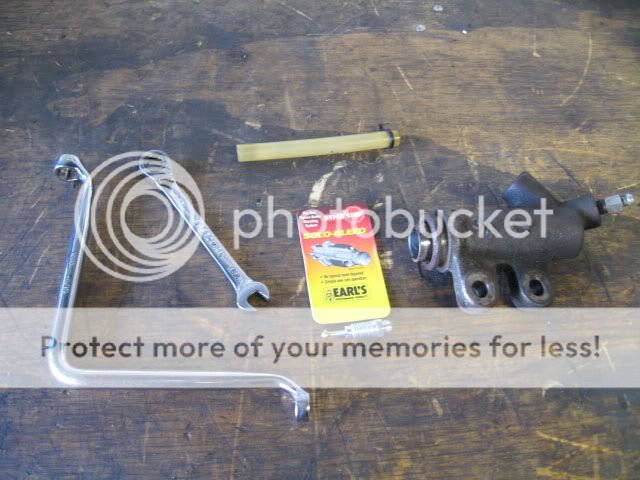
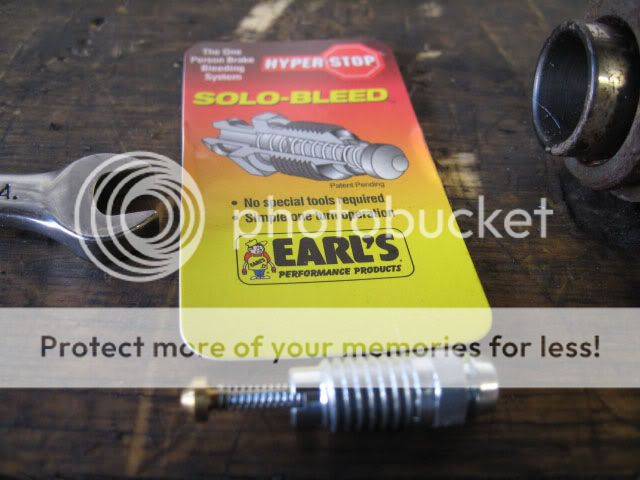
First off you have your tools, equipment. This is what you need:
1 - 8mm wrench
1 - 2800024ERL (clutch, rear drums) 2800028ERL (front disc, rear disc) (Solo Bleeder)
1 - hose or tube (forgot the size but about a 1/4 inch)
1 - Slave cylinder (or brakes)
1 - Water bottle to collect fluid (not pictured)
1 - Brake fluid (Dot 3) (not pictured)
1 - Rags (not pictured)
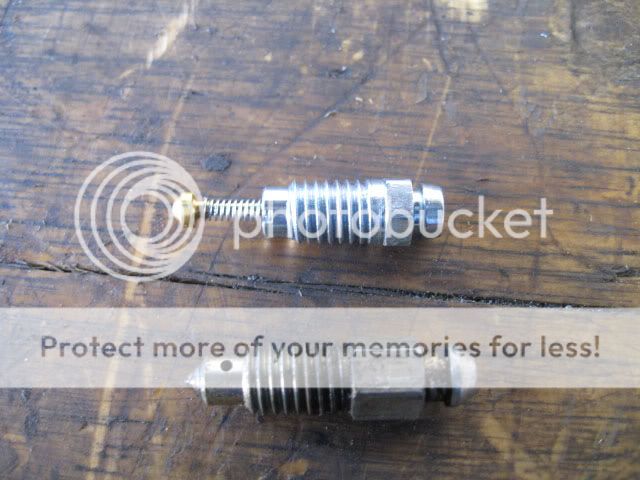
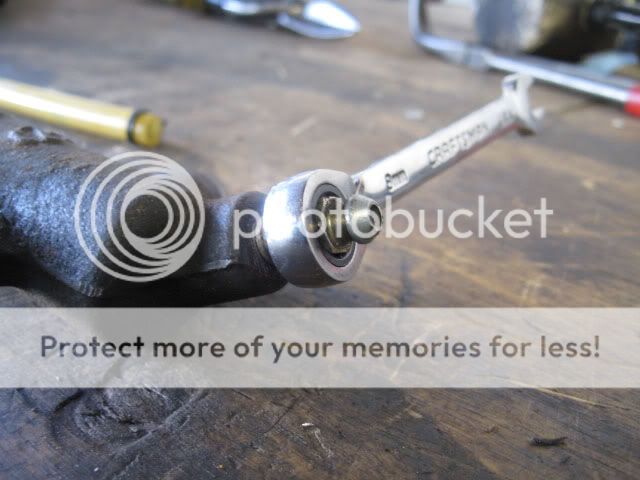
(Old vs. New)
Now lets go over to the car and find the equipment needed to do this setup.
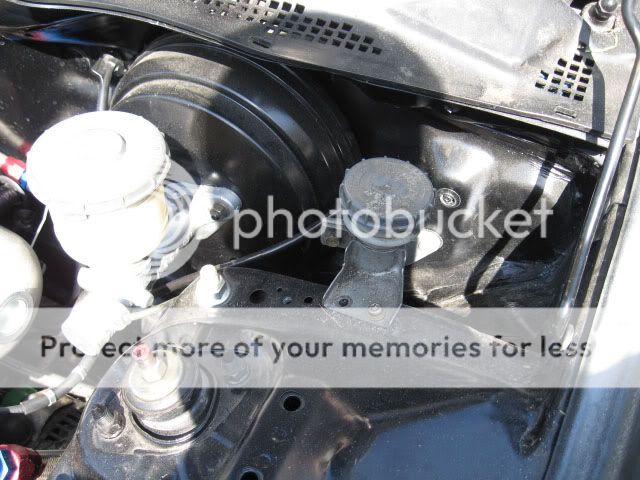
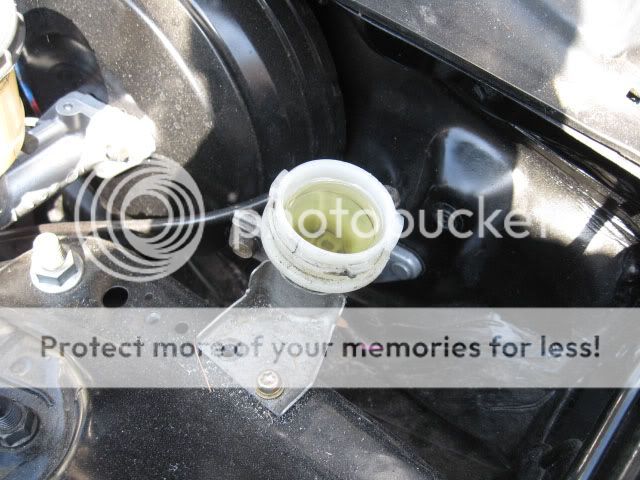
First look over towards your driver side shock tower, you will see your clutch resoviour and your brake resoviour.
Since im doing this on my clutch i am using the clutch resoviour. If your doing brakes take off the brake one.
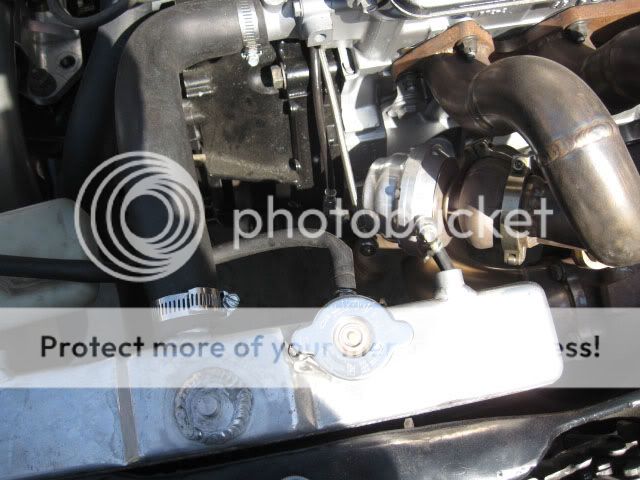
First take off the cap. Next we come over to the front of the car and look where the engine and the transmission meet. You will see your slave cylinder.
(Clutch on the right, Brake on the left)
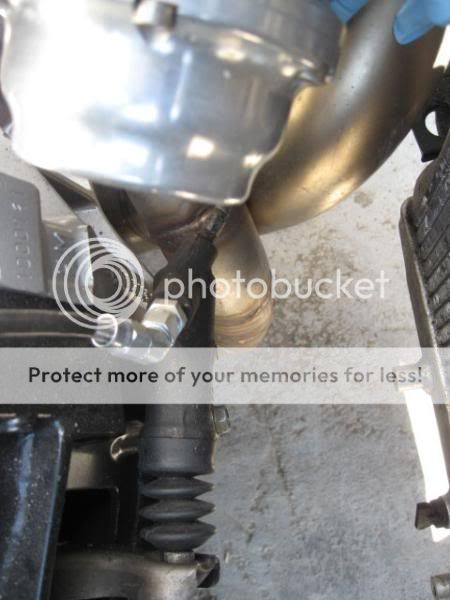
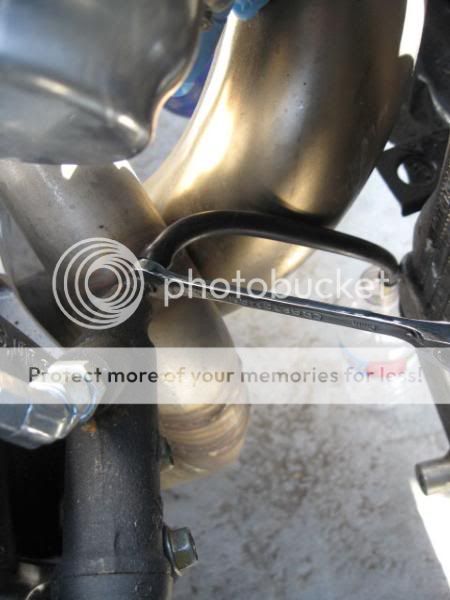
Now you grab your hose and your 8mm and place them both on the bleeder screw. Place the other end of the hose into your container to keep this a very nice clean install. Next break the bleeder screw loose like you would to bleed the clutch but now hop into the car and start pumping. What you are doing is taking out all your brake fluid so when you take out the bleeder screw it doesnt come out with it. Since you have to bleed anyway why not bleed with new fluid
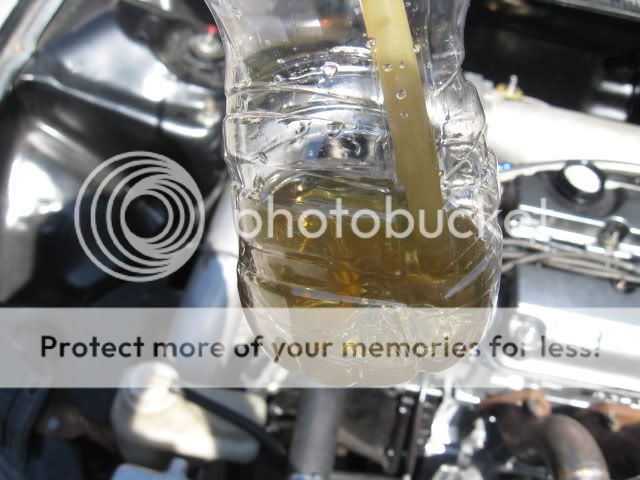
(Give or take this is about how much will come out)
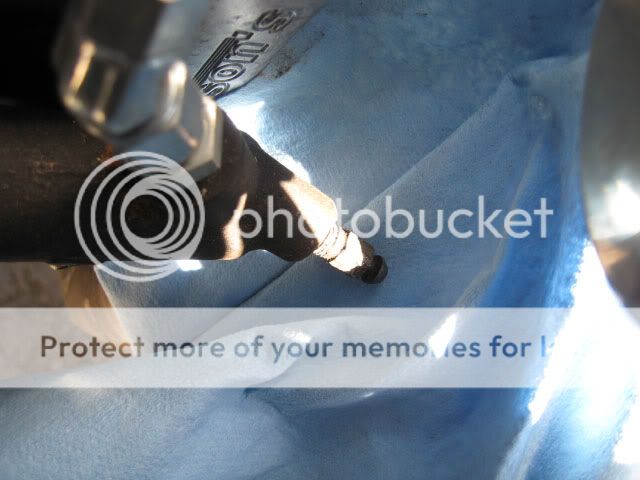
I didnt want to chance having fluid fall on my DT and DP so i decided to put some rags on them so it wont drip any just in case. Once all the fluid is gone screw out the bleeder screw and replace it with the new one and put it down all the way finger tight. Put the hose on it (to redirect the fluid from making a mess) and twist out the screw just a little more. What you are doing here is allowing the ball to move back and forth when you press on the pedal, if you do to much it will spray out the sides, if you do to little it wont push enough out. When your done tighten it up and your good to go.
While pumping you will feel when the air is completely out. Pressure will build up. Just make sure you keep refilling. When i did mine i kept forgetting and right when it was to where i liked it the next pump brought air back
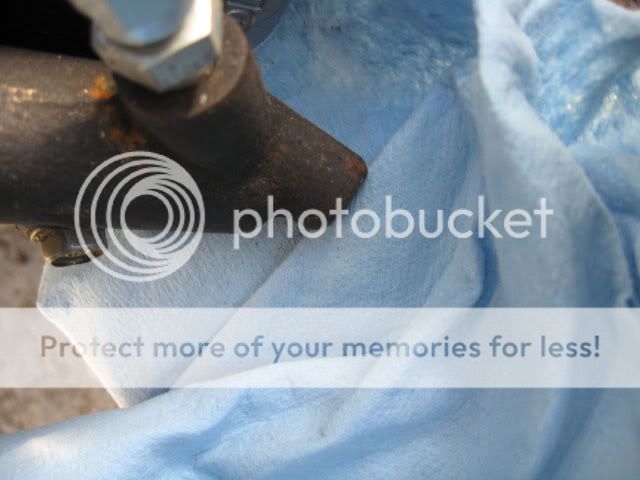
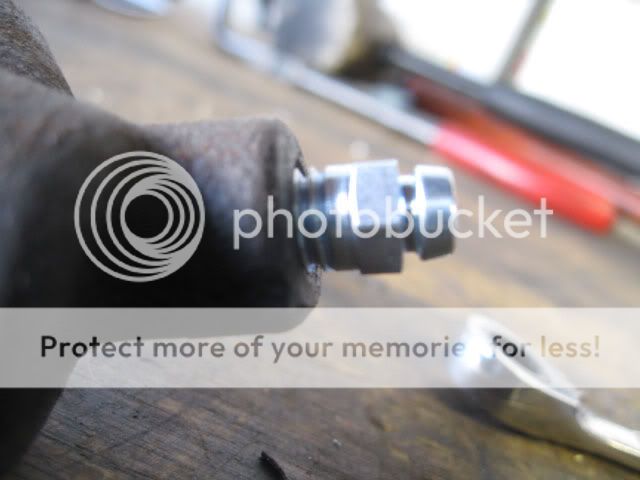
(How far down it should go)
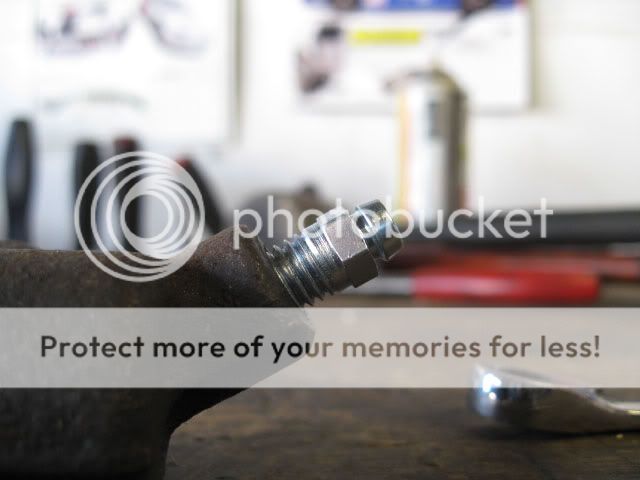
(About max you want to bring it out)
Now you are done, have a drink of choice and never have to worry about asking for help again
Another side note: It takes a little while to get used to. Just play with it to find the spot where it flows nicely and your set.
Anyway I've decided to go ahead and make these write up. These are great tools for the solo mechanic that cant get a hand at the track. Basically the way these work is when you press you push the fluid through to come out, but as soon as you let off the little ball will go down and close on the lines. This eliminates the need for someone to
close it. Also take out the dumb pumper that doesnt hear you say go again, and they start pumping before its closed letting air back in.
I did this write up on the slave cylinder but its the same principle on the brakes as well. Brakes are alot easier to work with because they have a bigger nipple for a hose to be put on.
I did this write up in 2 parts. The first part is outside of the car. When you look at my engine bay youll see why. You just cant not see the slave from above. So i took a spare slave for my example.
First off you have your tools, equipment. This is what you need:
1 - 8mm wrench
1 - 2800024ERL (clutch, rear drums) 2800028ERL (front disc, rear disc) (Solo Bleeder)
1 - hose or tube (forgot the size but about a 1/4 inch)
1 - Slave cylinder (or brakes)
1 - Water bottle to collect fluid (not pictured)
1 - Brake fluid (Dot 3) (not pictured)
1 - Rags (not pictured)
(Old vs. New)
Now lets go over to the car and find the equipment needed to do this setup.
First look over towards your driver side shock tower, you will see your clutch resoviour and your brake resoviour.
Since im doing this on my clutch i am using the clutch resoviour. If your doing brakes take off the brake one.
First take off the cap. Next we come over to the front of the car and look where the engine and the transmission meet. You will see your slave cylinder.
(Clutch on the right, Brake on the left)
Now you grab your hose and your 8mm and place them both on the bleeder screw. Place the other end of the hose into your container to keep this a very nice clean install. Next break the bleeder screw loose like you would to bleed the clutch but now hop into the car and start pumping. What you are doing is taking out all your brake fluid so when you take out the bleeder screw it doesnt come out with it. Since you have to bleed anyway why not bleed with new fluid
(Give or take this is about how much will come out)
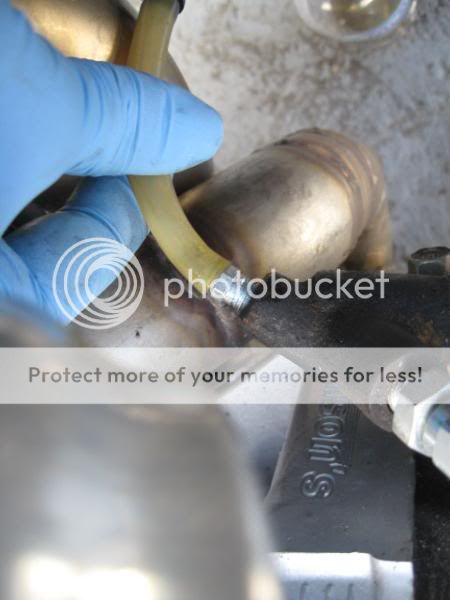
I didnt want to chance having fluid fall on my DT and DP so i decided to put some rags on them so it wont drip any just in case. Once all the fluid is gone screw out the bleeder screw and replace it with the new one and put it down all the way finger tight. Put the hose on it (to redirect the fluid from making a mess) and twist out the screw just a little more. What you are doing here is allowing the ball to move back and forth when you press on the pedal, if you do to much it will spray out the sides, if you do to little it wont push enough out. When your done tighten it up and your good to go.
While pumping you will feel when the air is completely out. Pressure will build up. Just make sure you keep refilling. When i did mine i kept forgetting and right when it was to where i liked it the next pump brought air back
(How far down it should go)
(About max you want to bring it out)
Now you are done, have a drink of choice and never have to worry about asking for help again
Another side note: It takes a little while to get used to. Just play with it to find the spot where it flows nicely and your set.
 03-21-2008, 11:23 AM
#5
<TABLE WIDTH="90%" CELLSPACING=0 CELLPADDING=0 ALIGN=CENTER><TR><TD>Quote, originally posted by BlueIntegraBoy »</TD></TR><TR><TD CLASS="quote">I was going to use these for my calipers, but there aren't any places on the island that sell them. Plus I really wanted to install my new MC that day.  </TD></TR></TABLE>
Just buy em from us and have em shipped lol
</TD></TR></TABLE>Just buy em from us and have em shipped lol


Thread
Thread Starter
Forum
Replies
Last Post
tylerdurden
Honda CRX / EF Civic (1988 - 1991)
3
01-11-2003 04:10 PM