
2000 Turbo GSR Project (lots of pictures)
 01-31-2010, 07:10 PM
#1
Honda-Tech Member
Thread Starter
Join Date: Apr 2006
Location: nj
Posts: 744
Likes: 0
Received 0 Likes
on
0 Posts
Hey guys, about three weeks ago i had finally decided to rebuild the motor in my 2000 Gsr integra. I had this car turboed for about 38k miles and the motor is due for a rebuild. It was smoking and burning more oil than gas it seemed like. I picked a nice day about a week and a half ago to pull the motor. Here are some pictures.


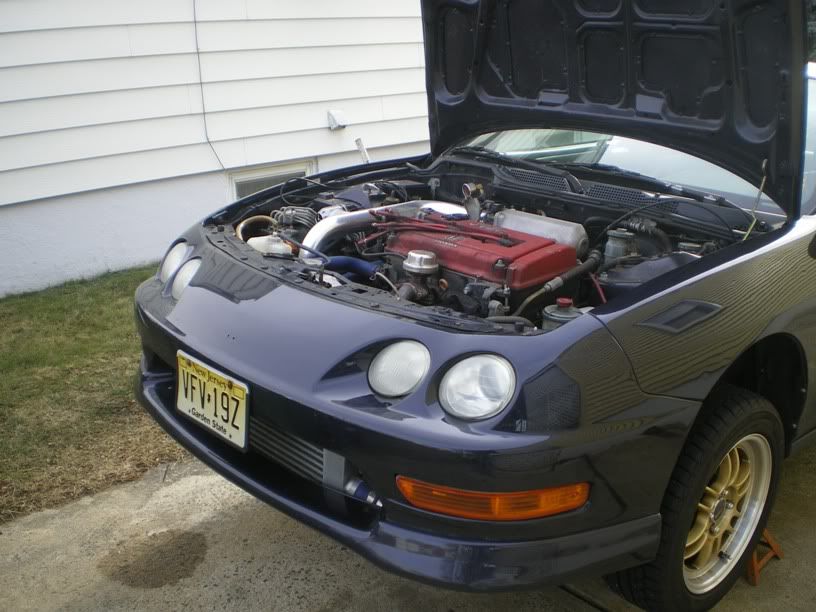
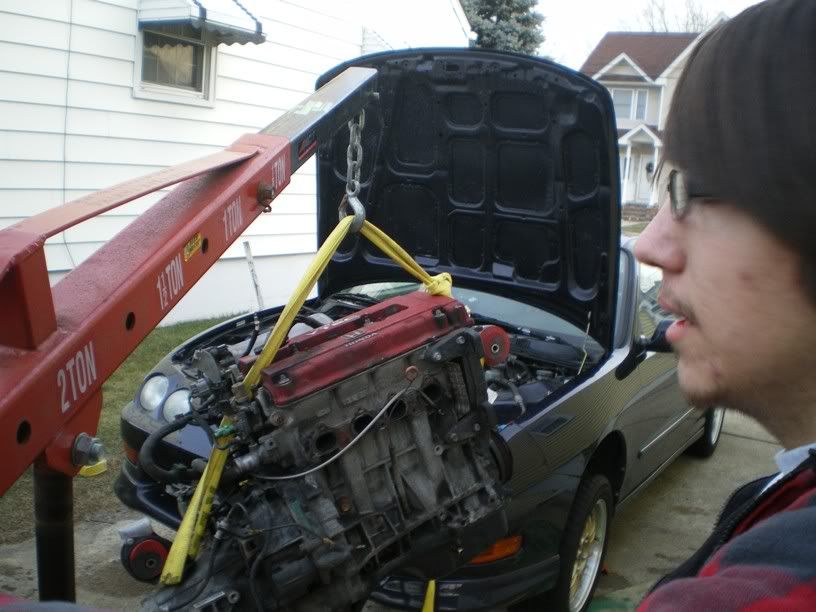
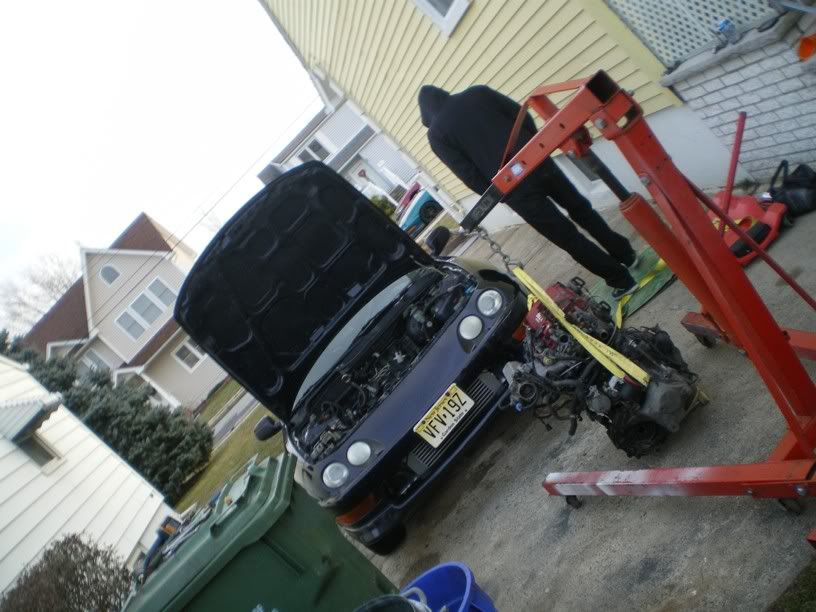
Its ready to come out!!

And there it goes, with my brother supervising.
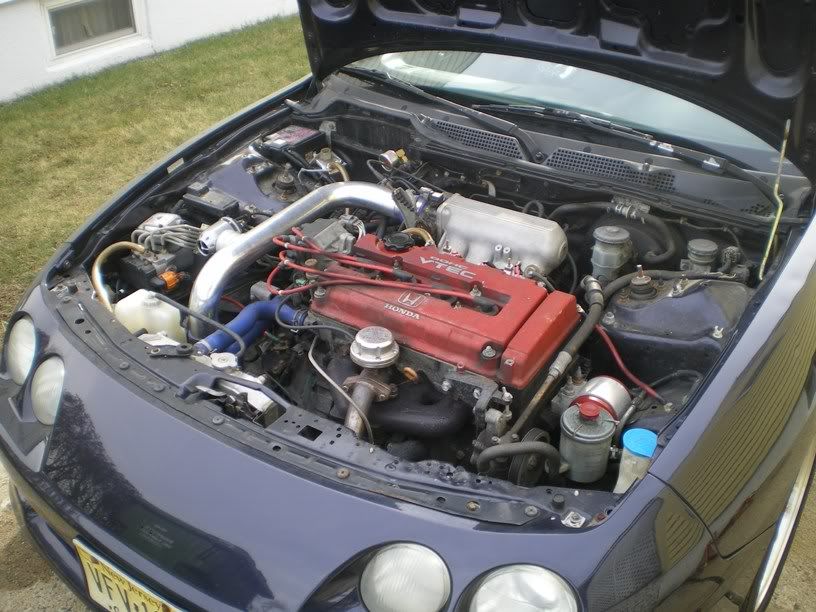
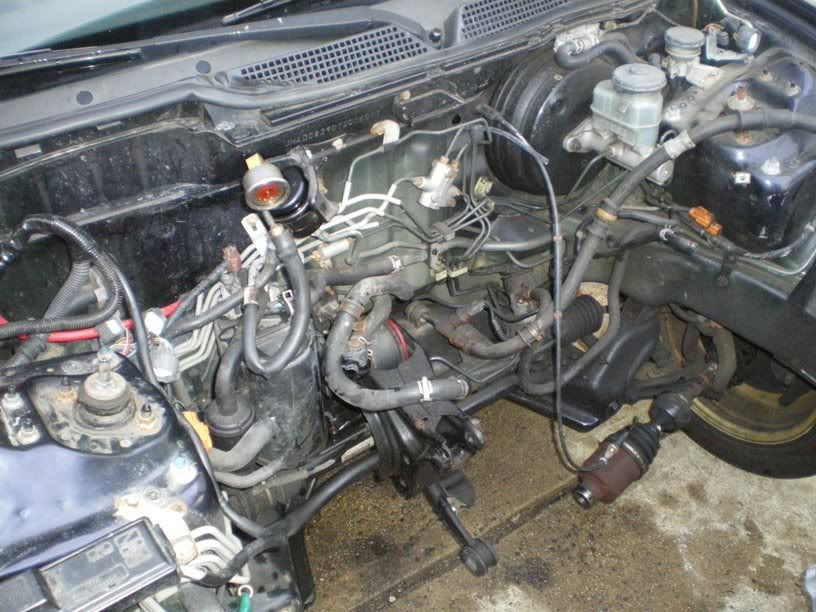
Nasty engine bay, will be cleaned soon though.
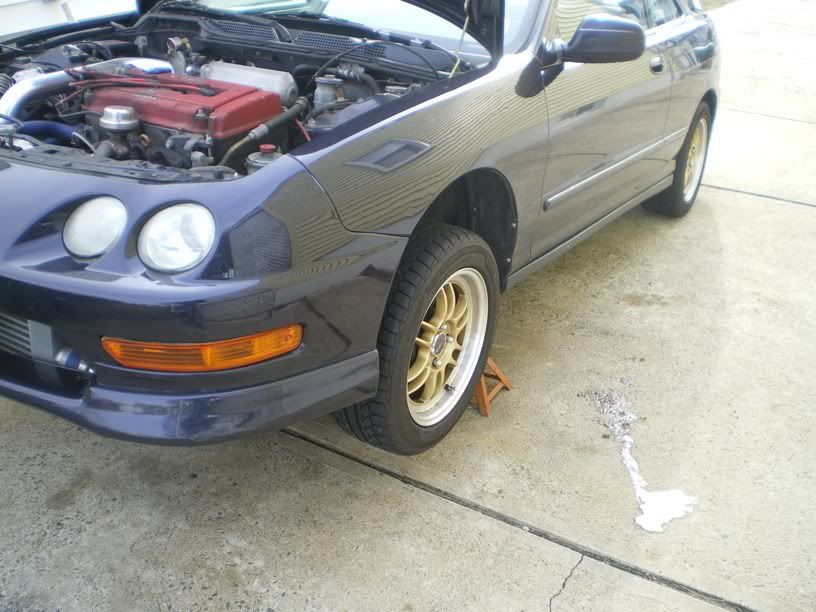
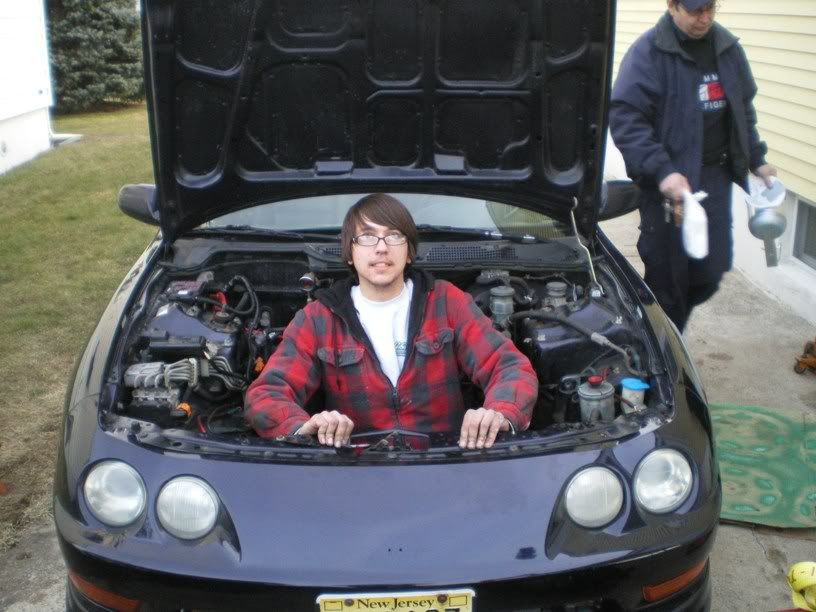
My brother Flintstoning the car.
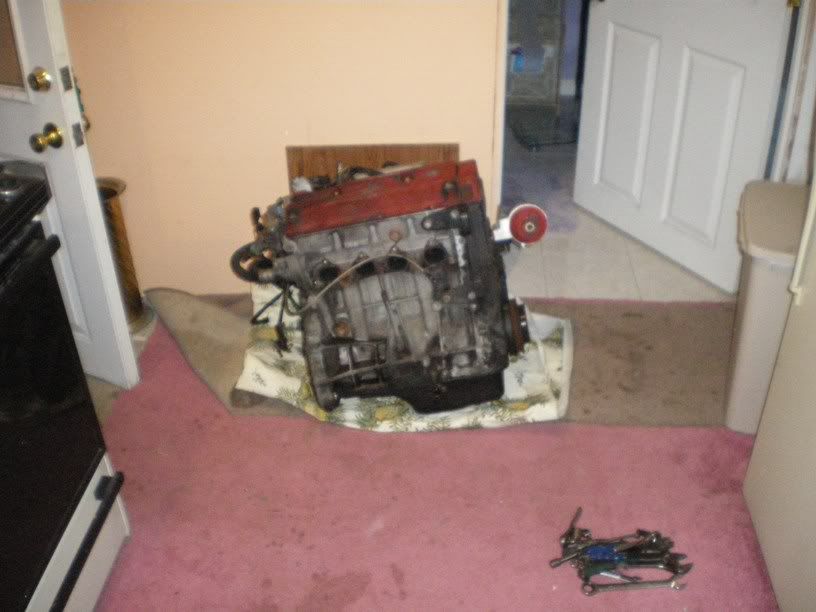
It was really cold outside and I do not have a garage. So, i got the bright idea to bring to motor to my basement and work on it there.
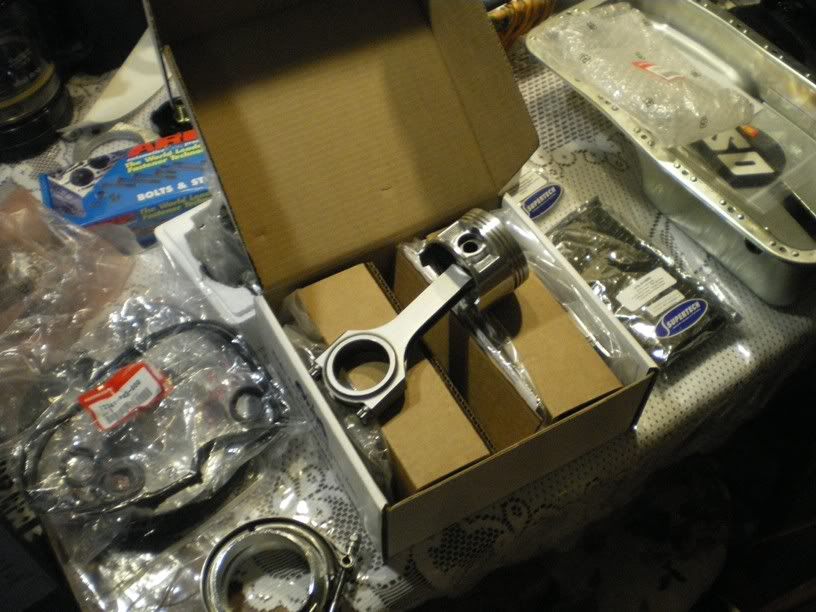
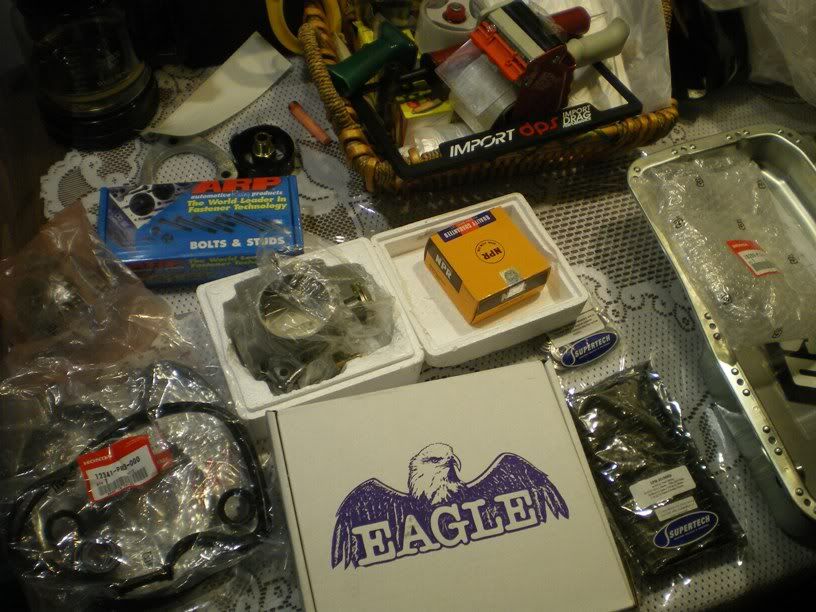
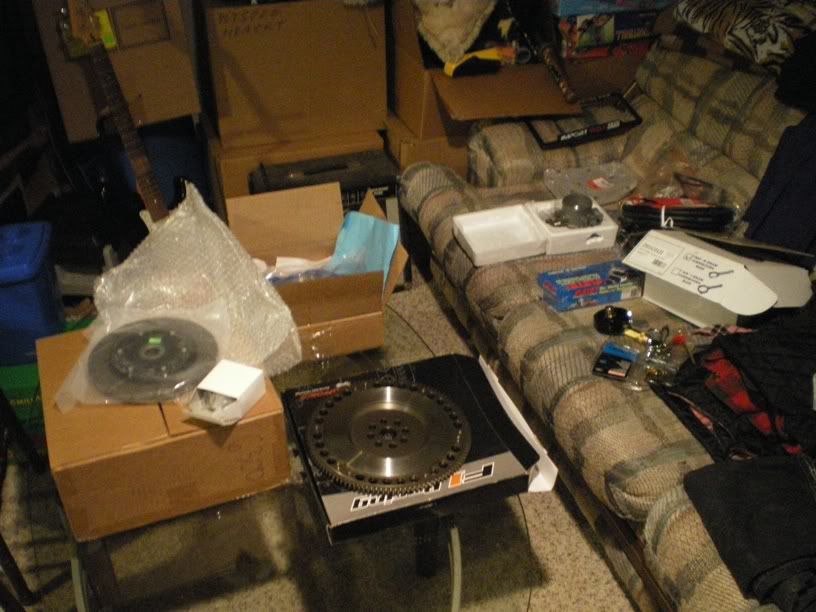
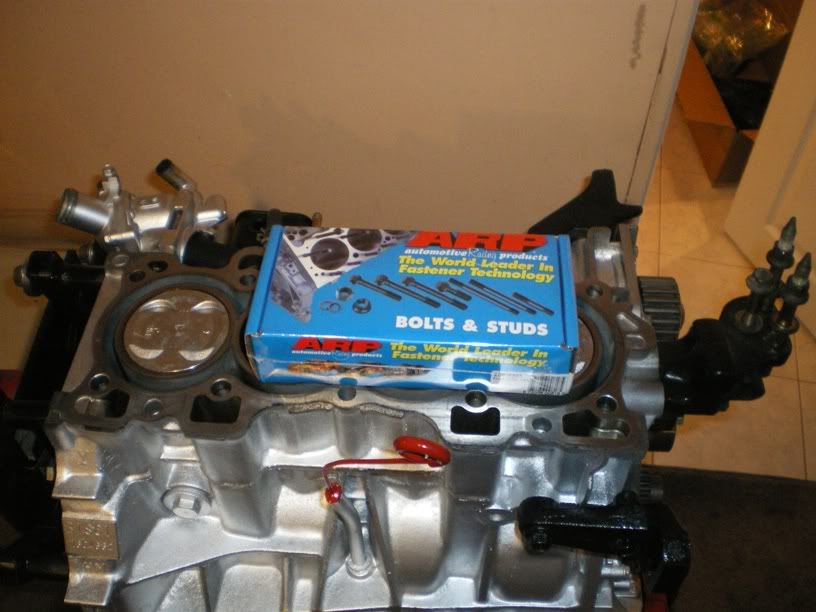
here are some parts i had acquired.
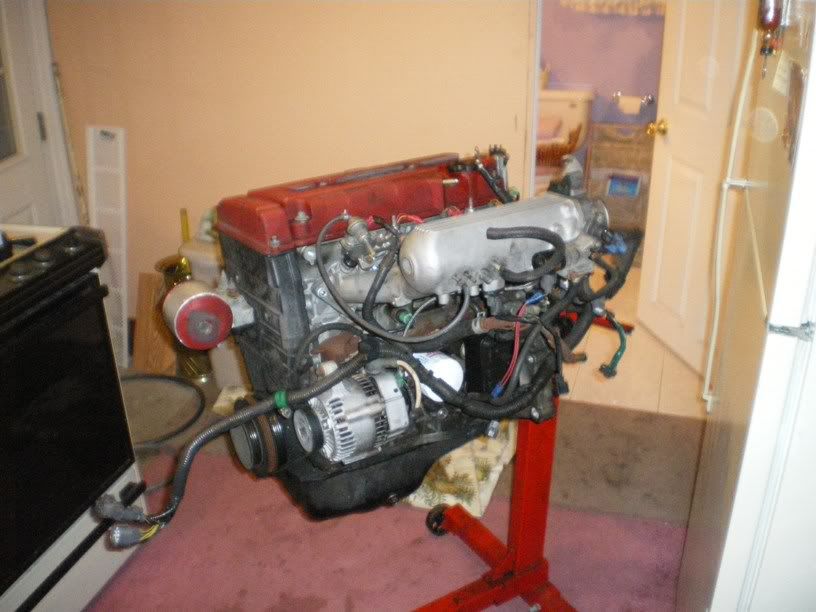
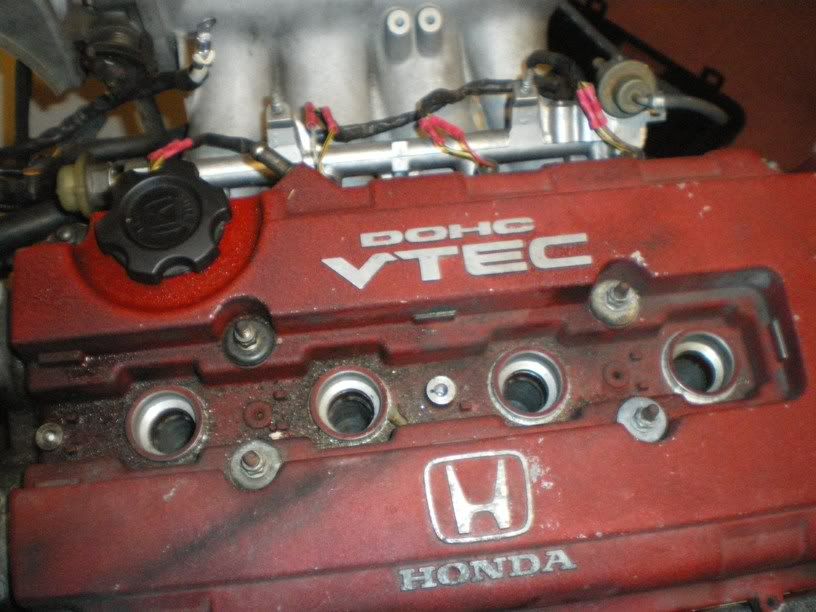
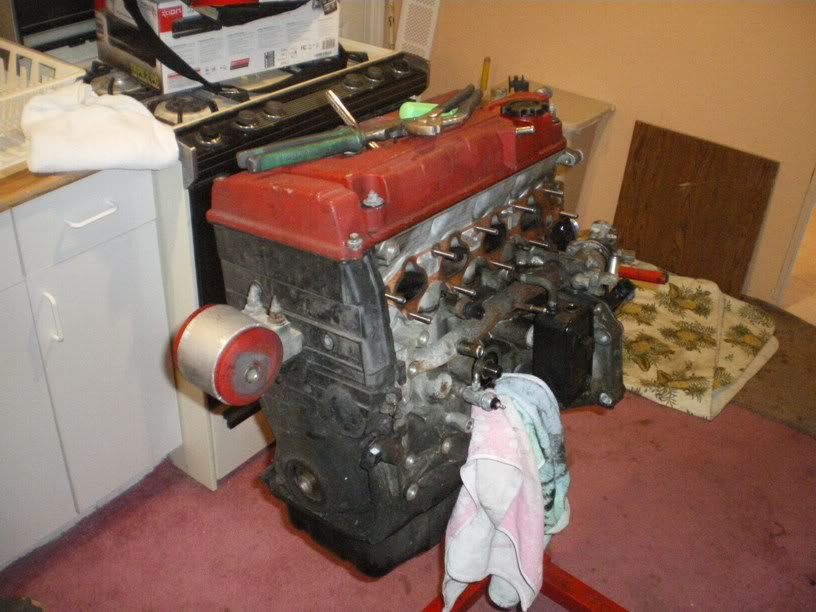
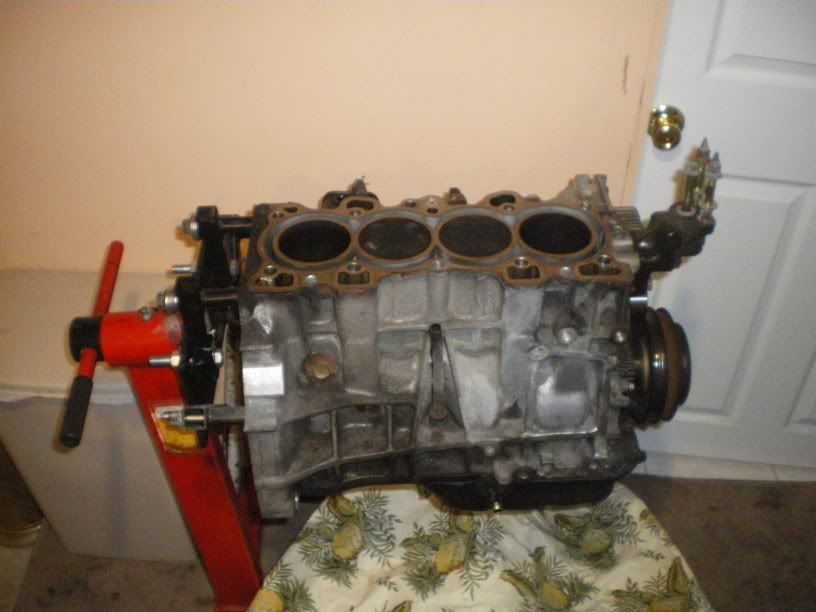
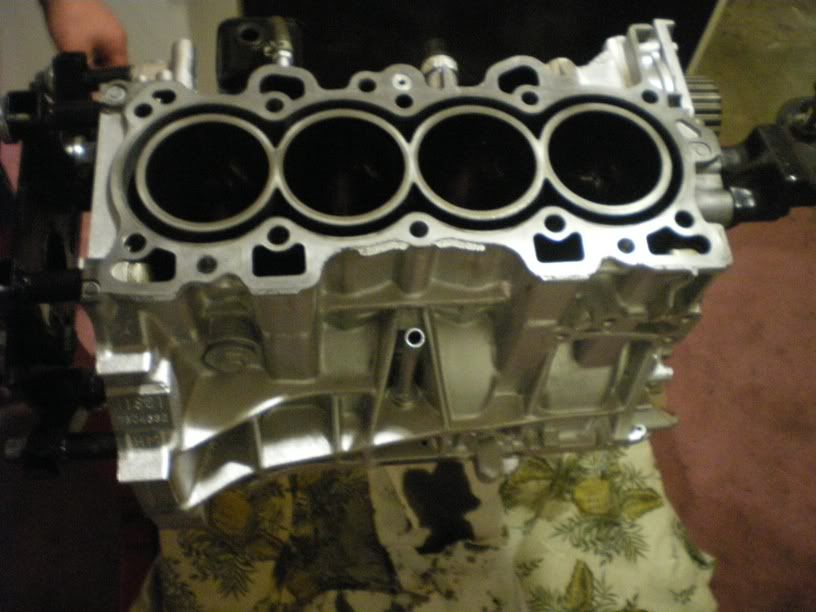
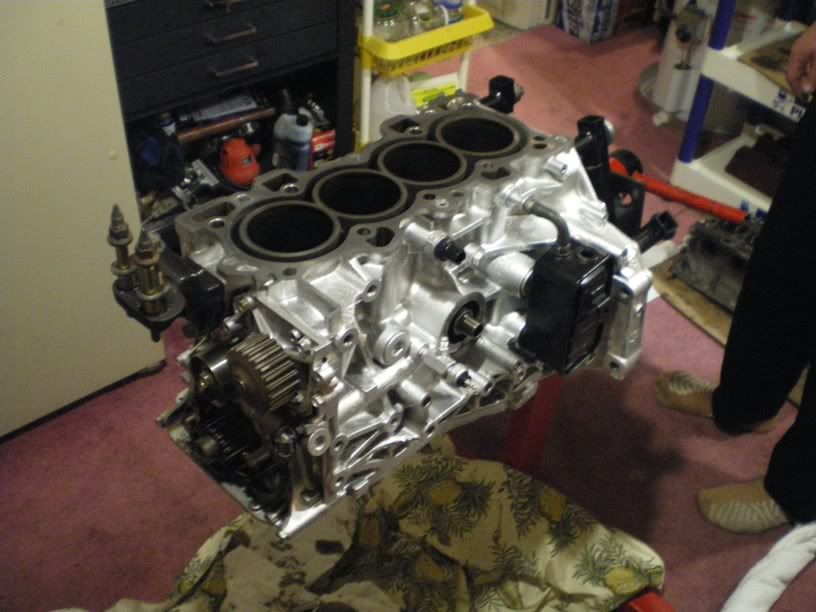
Some pictures of the motor on the engine stand.
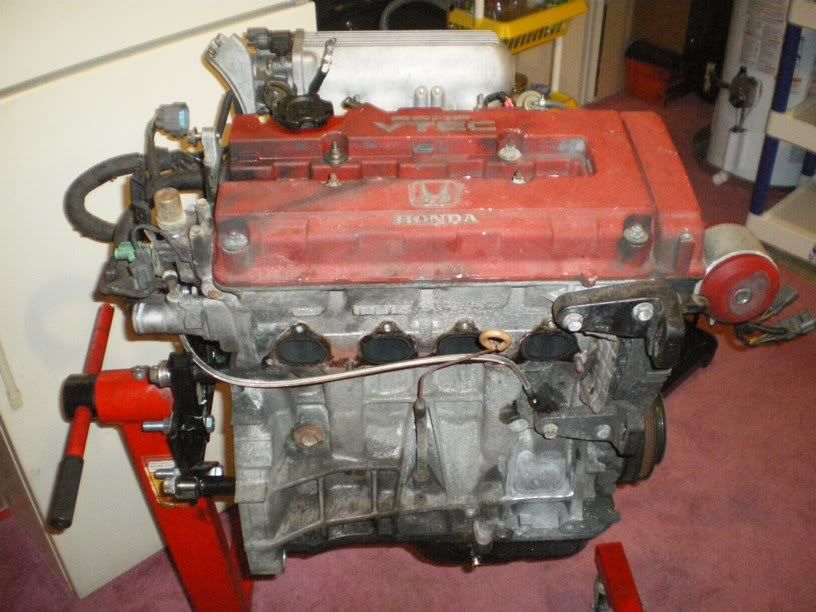
Filthy
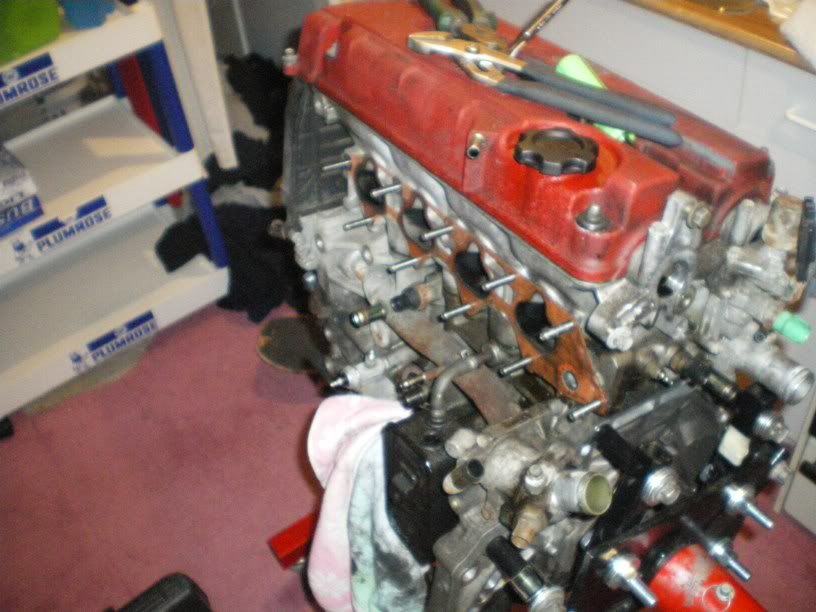
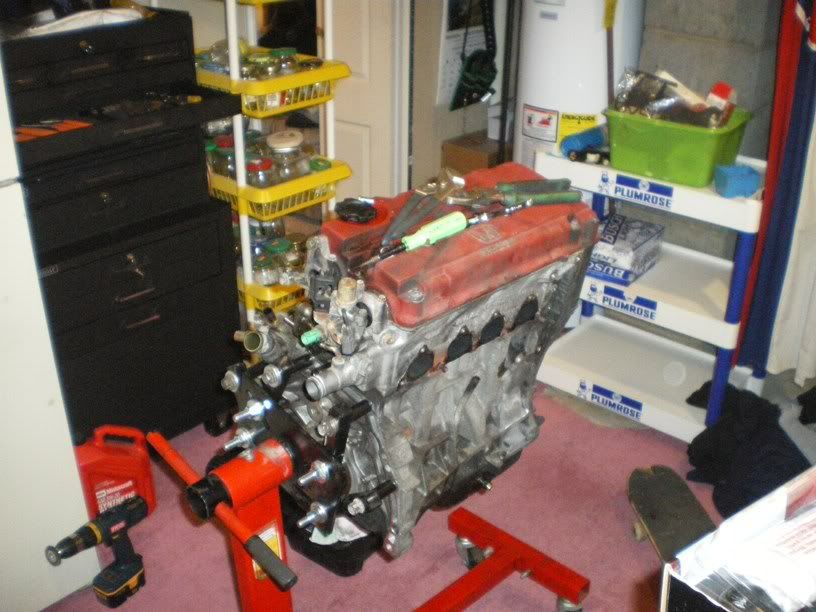
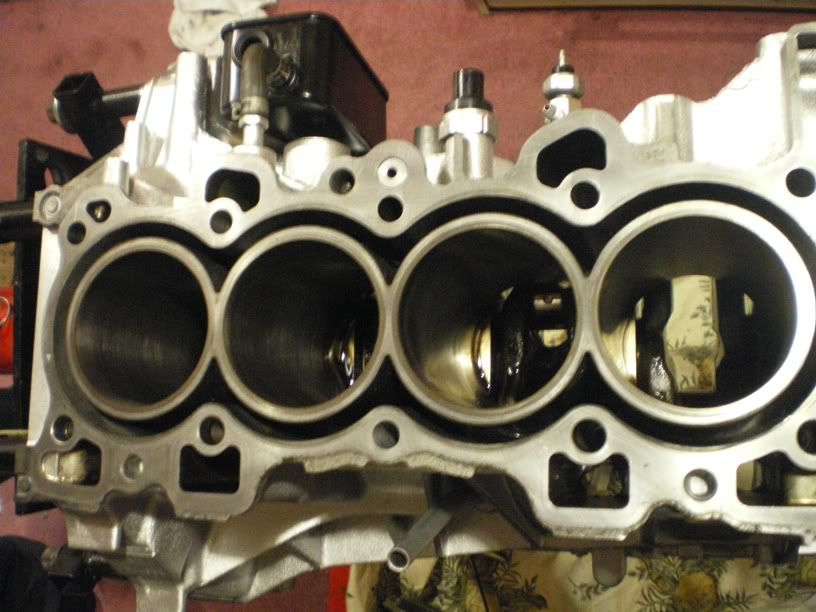
Now, i had started the tear down.
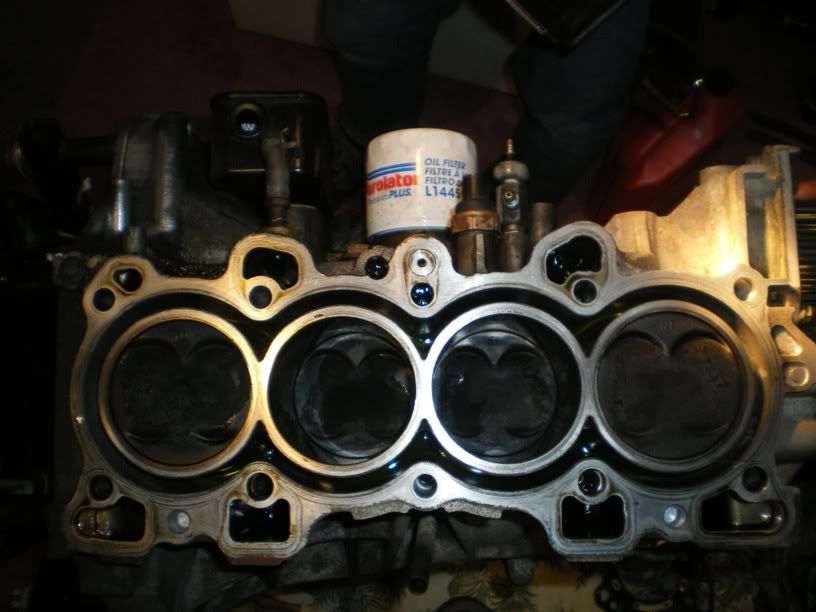
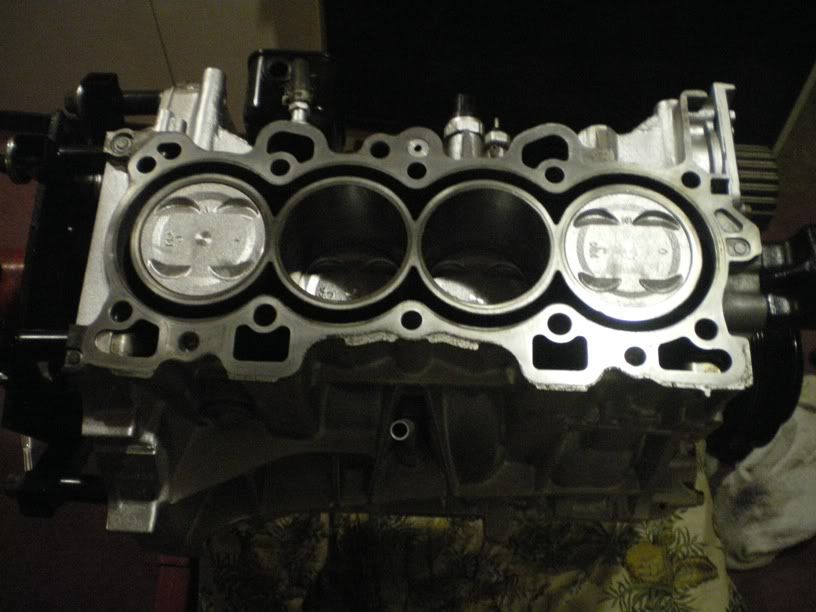
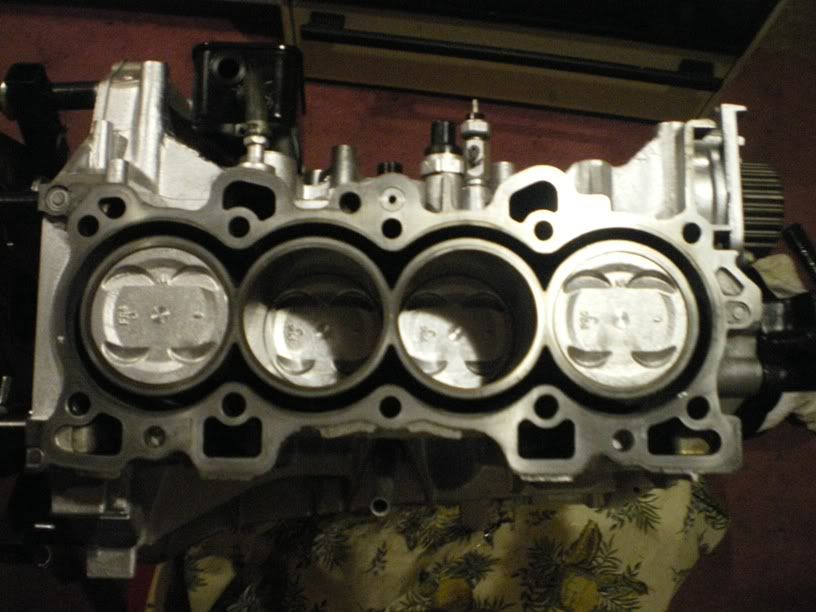
Top of the pistons, after pulling them out i found out Piston 4 had a cracked ring gland which was causing the motor to burn LOTS of oil.
Here it is all dirty and such.
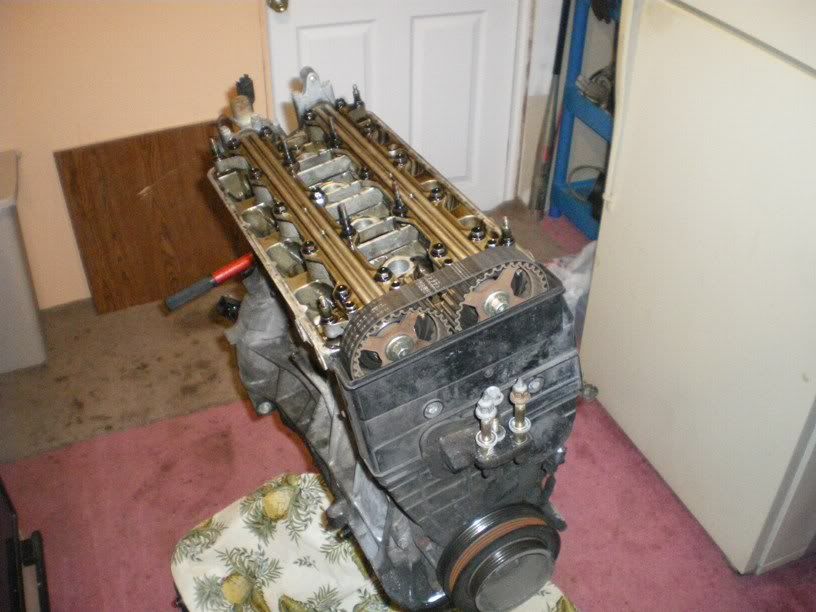
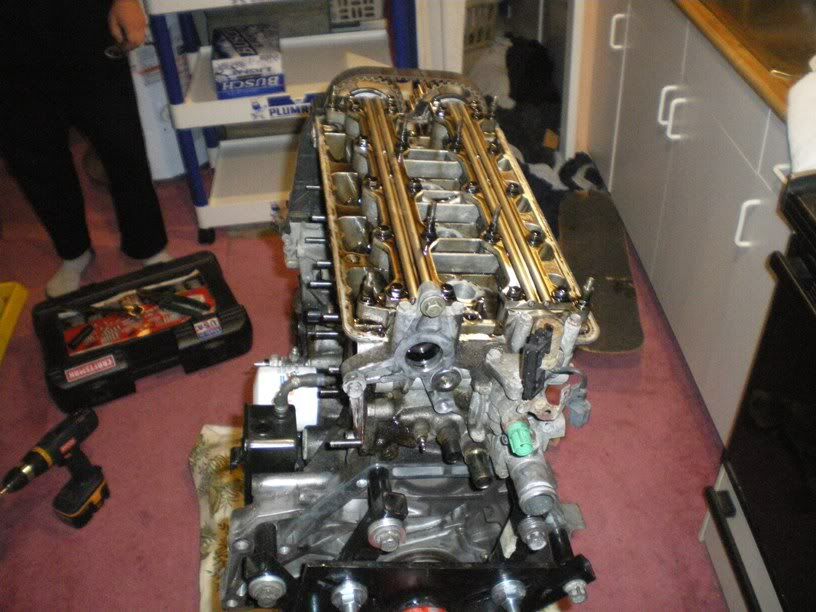
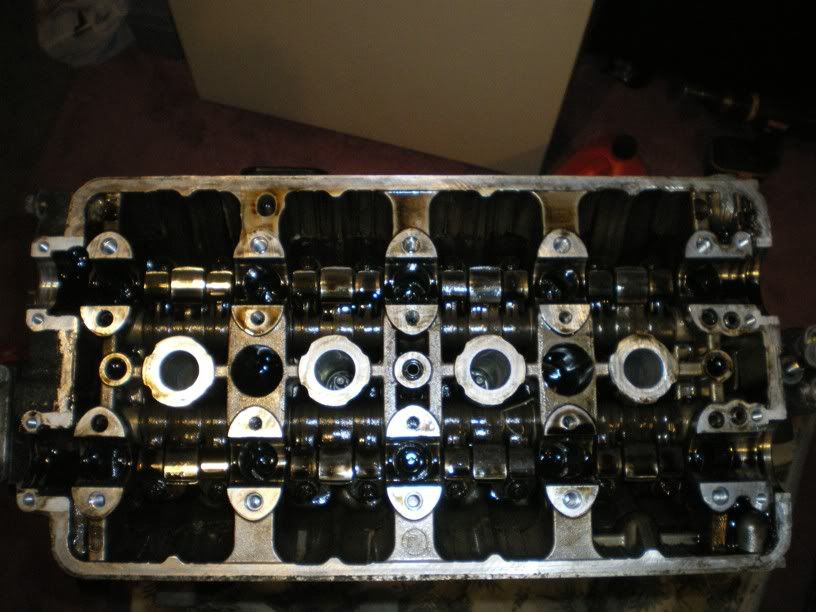
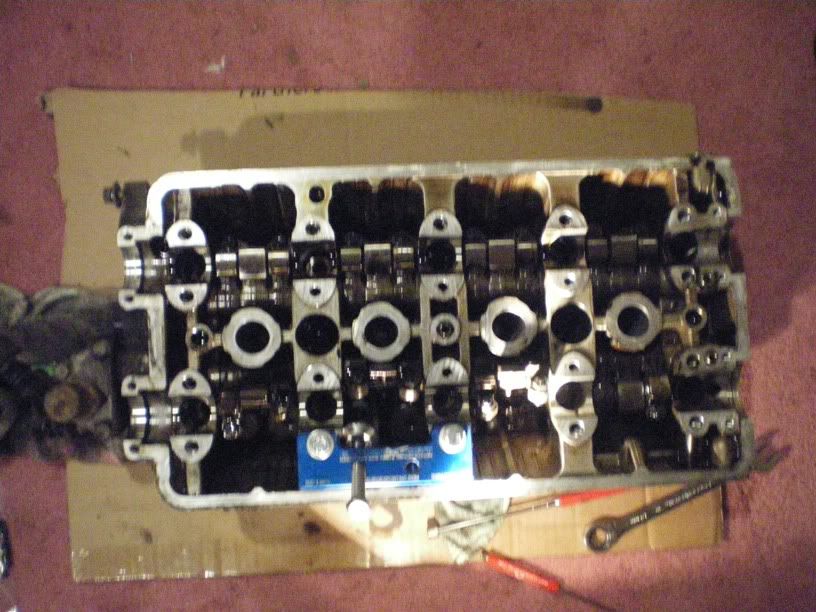
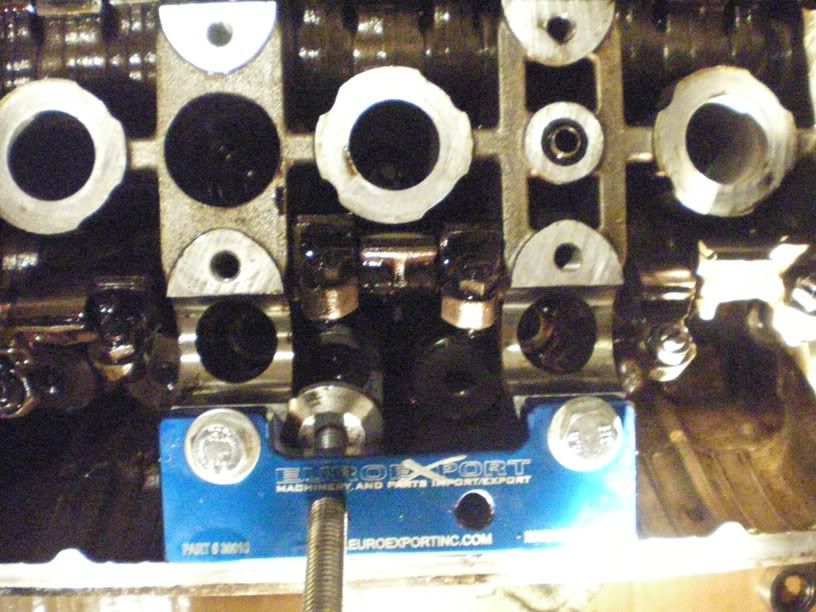
Decided to take the valves out.
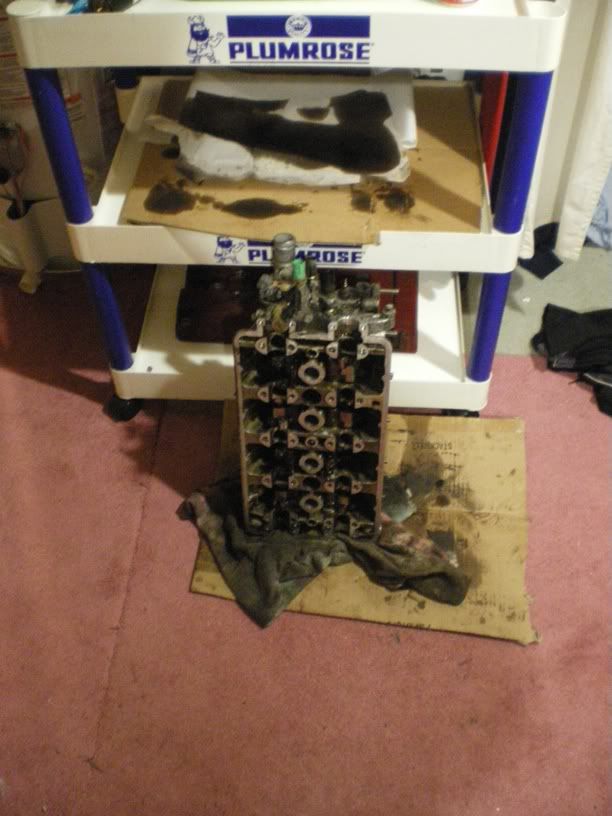
Sprayed it down with break cleaner and let it sit over night.
Taking the pistons out and cleaning the block/ painting it.

rear shot
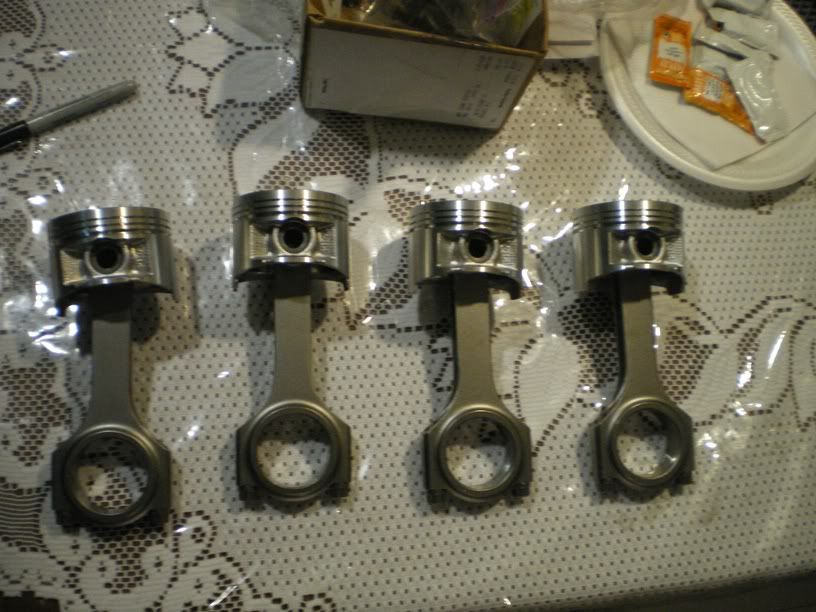
My new pistons mated with my new eagle rods.
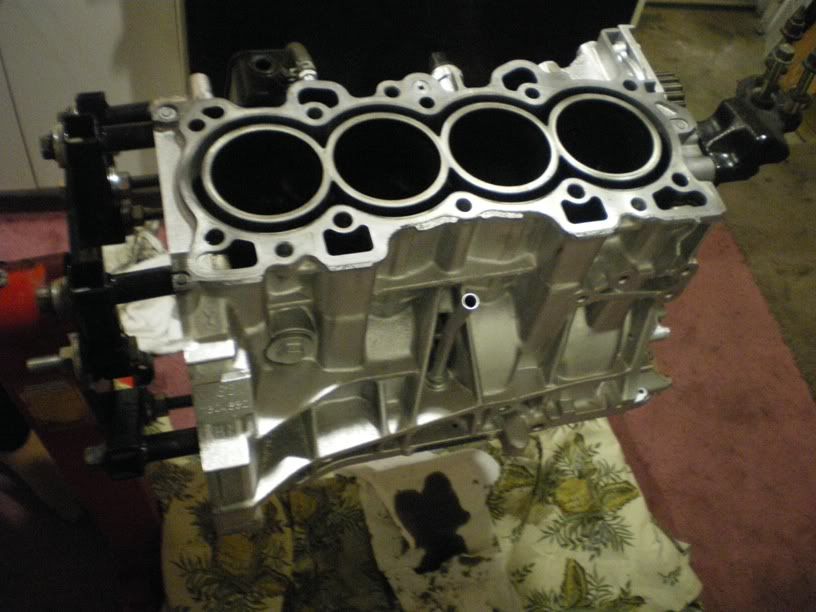
Honed out the cylinder
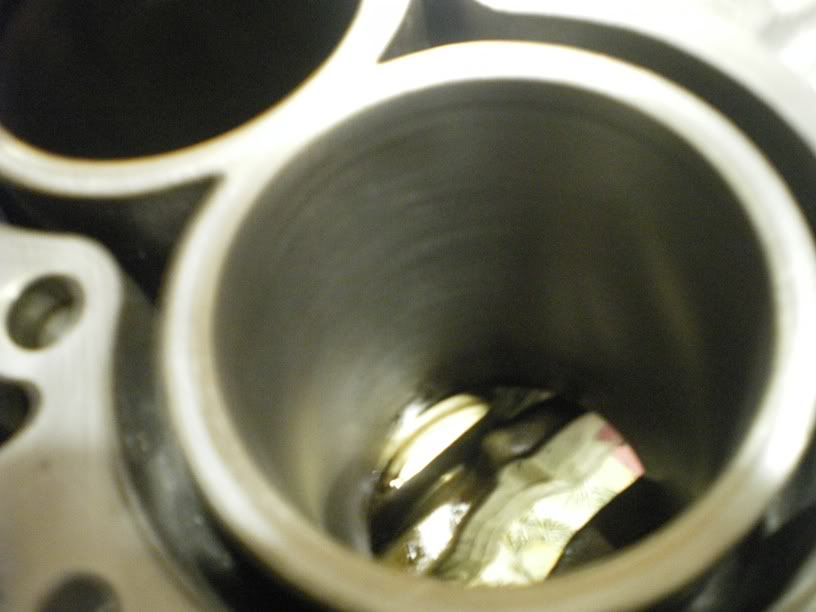
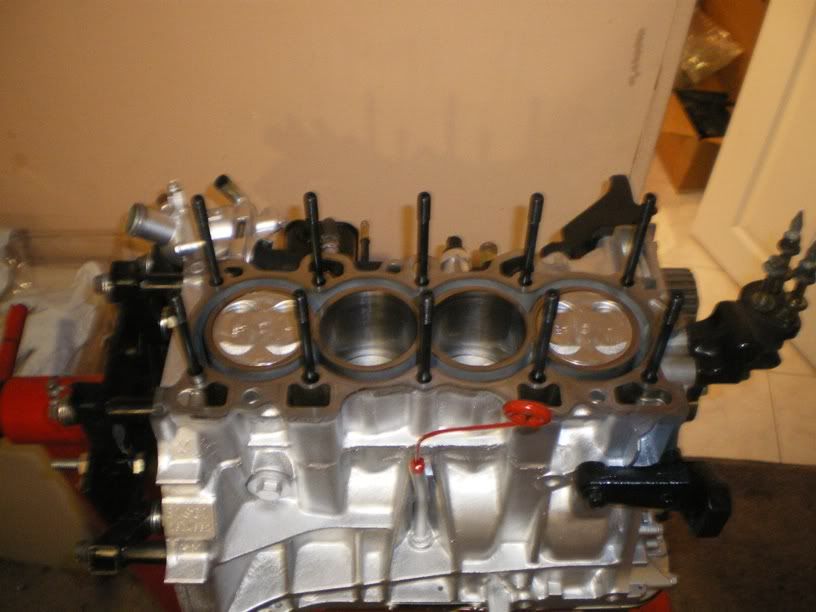
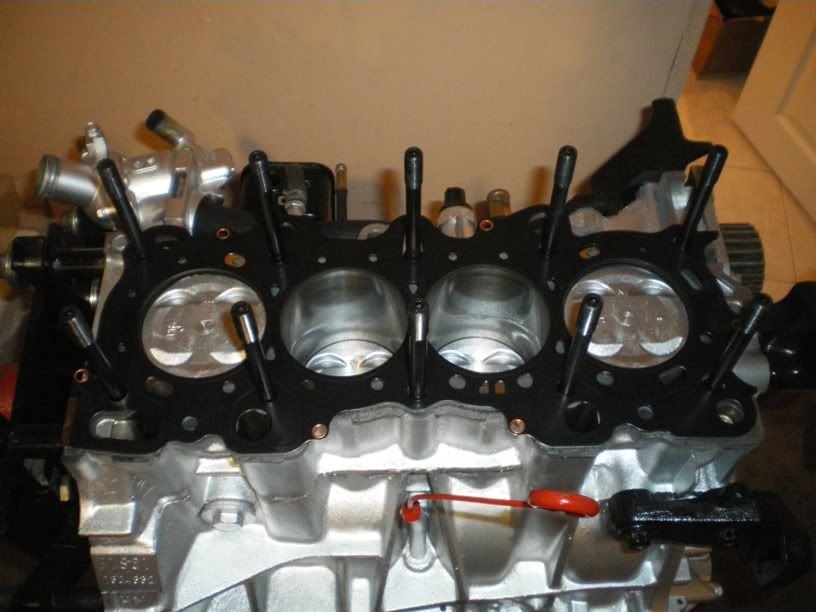
And installed the new pistons
Some more parts.
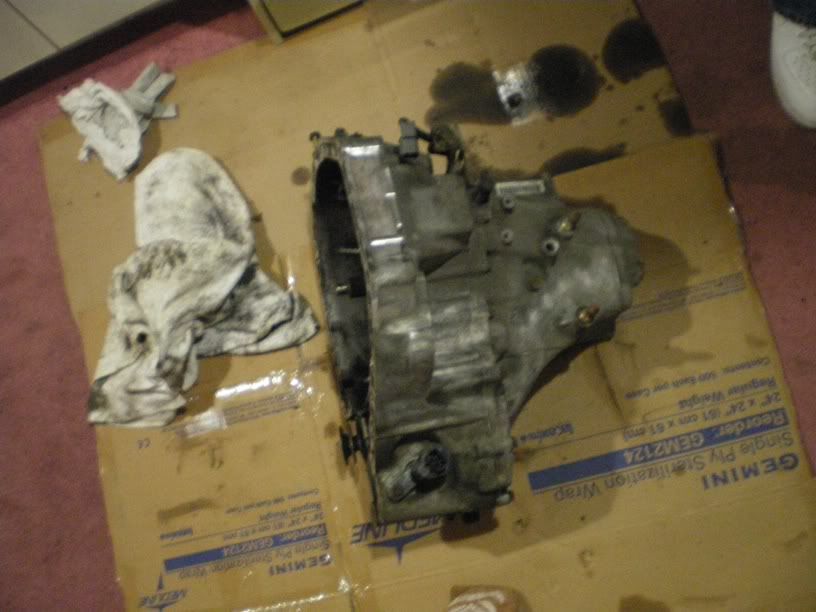
Tranny before
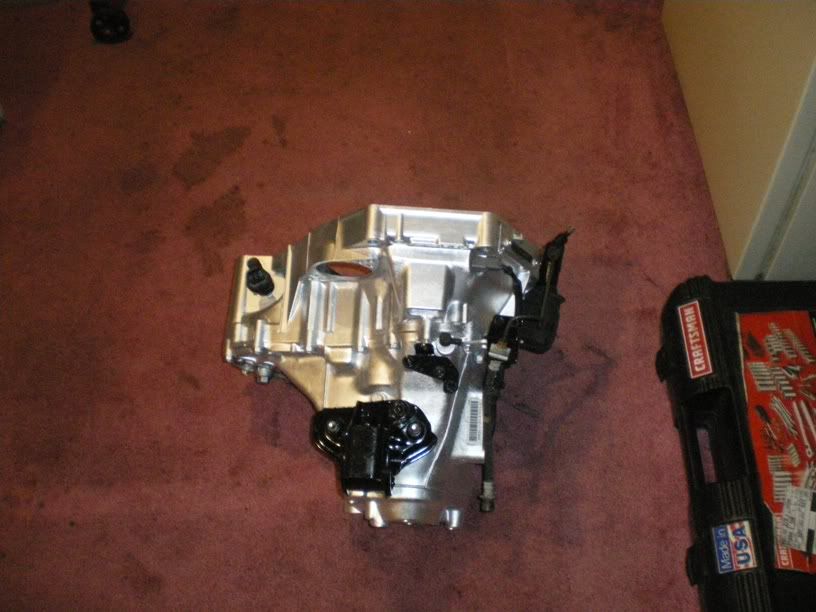
And after
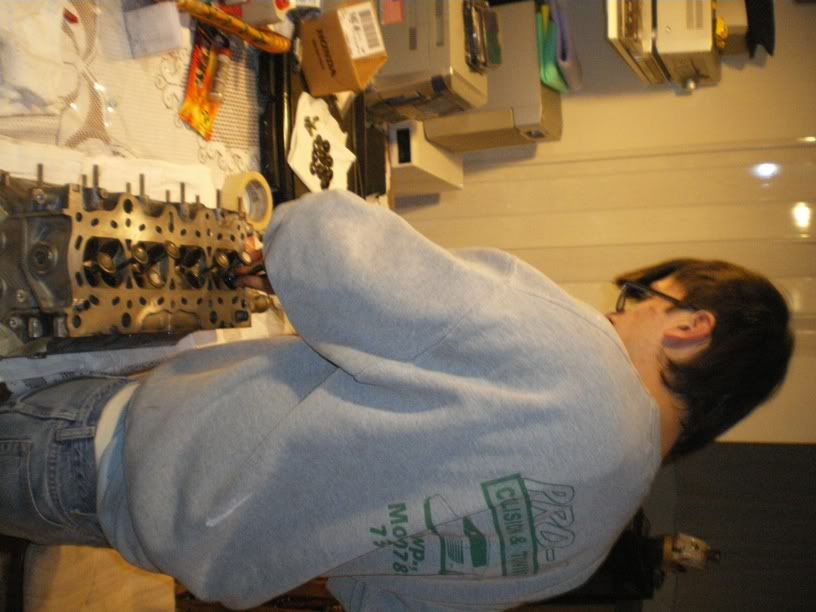
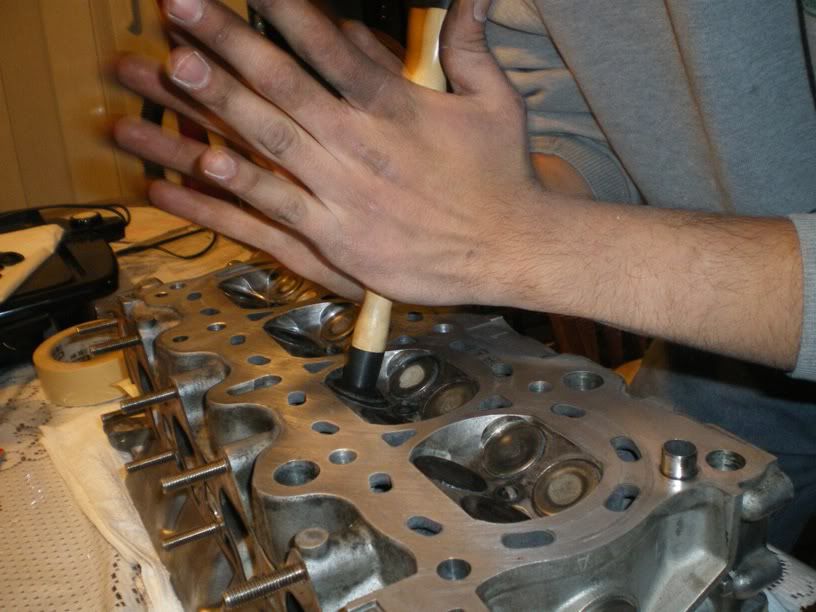
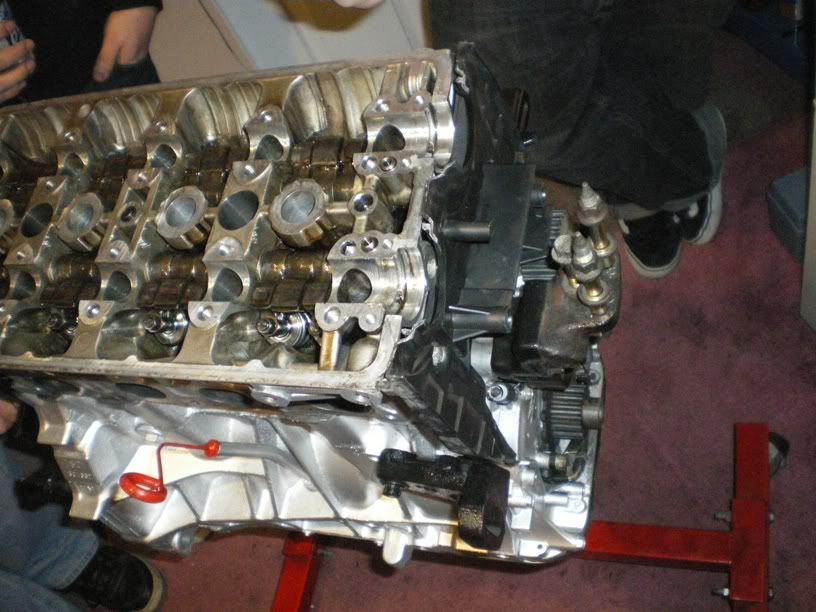
My brother helping me assemble the head
using valve grinding paste to seat the valves properly

Cleaned and painted the brackets and thermostat housing
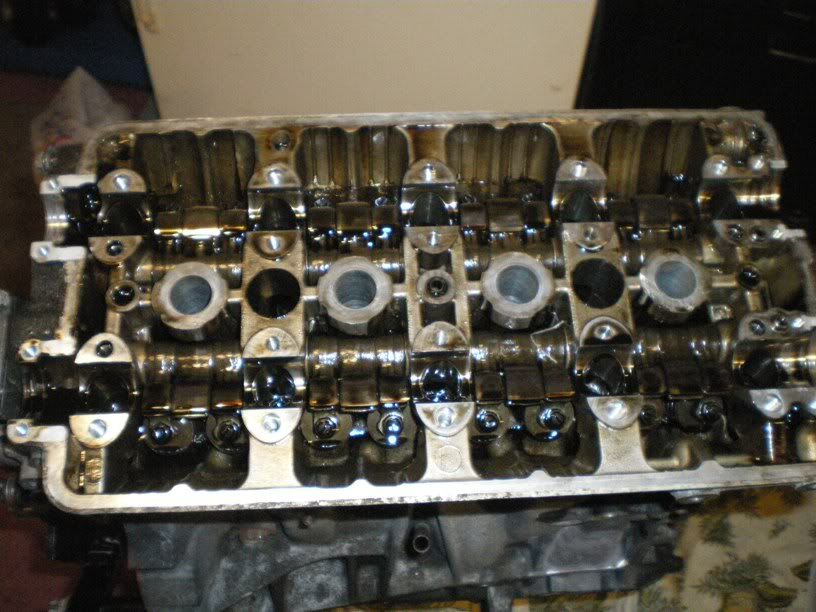
Back to seating the valves
During the process
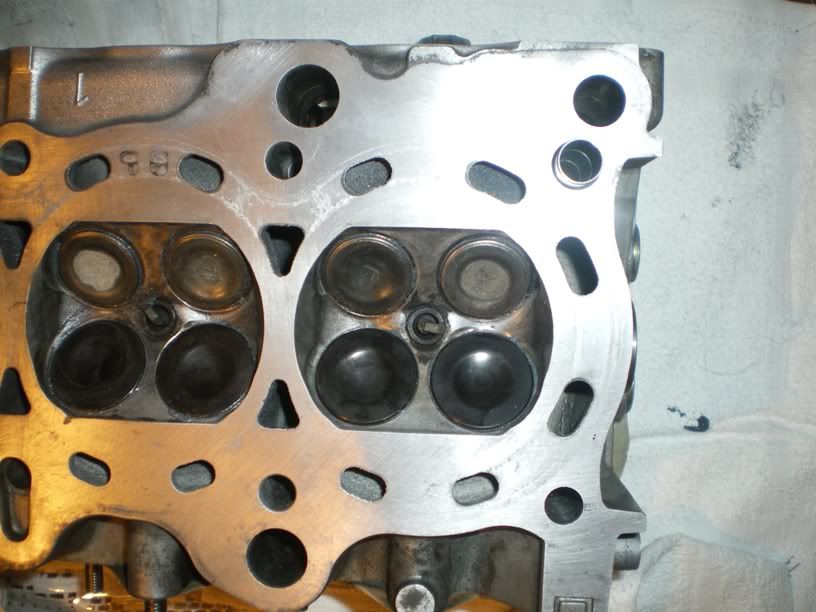
Intake side done
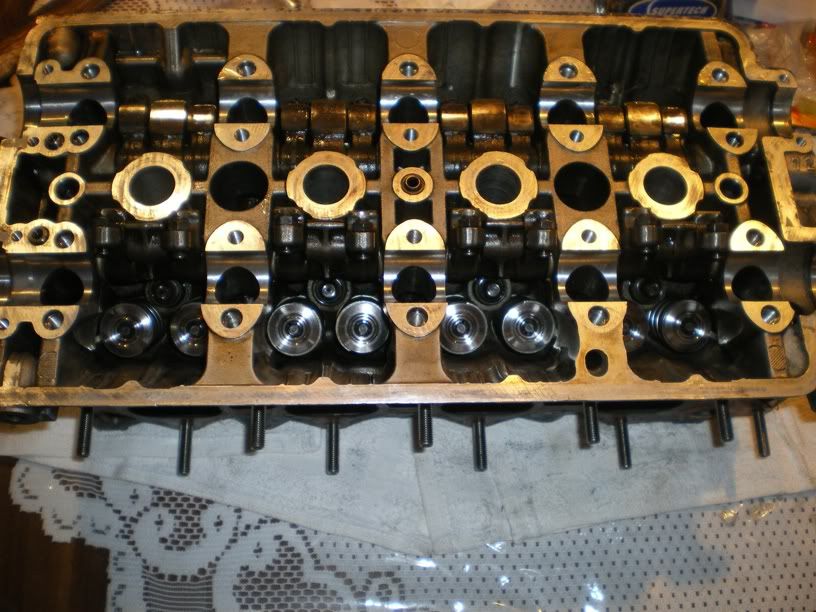

over to the exhaust side
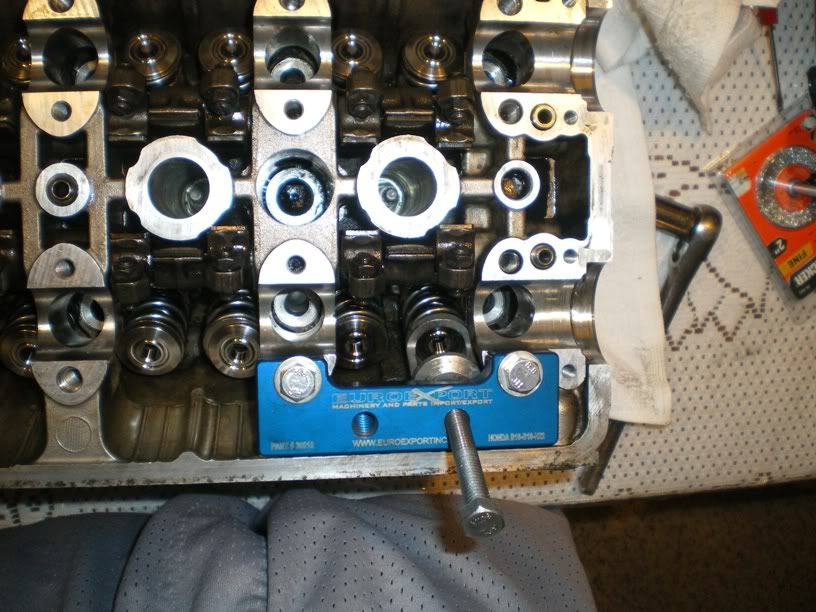
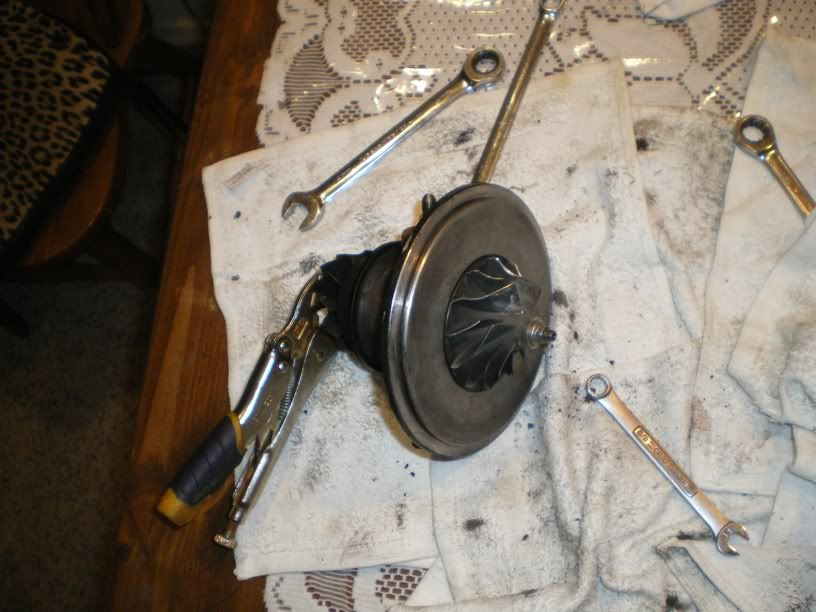
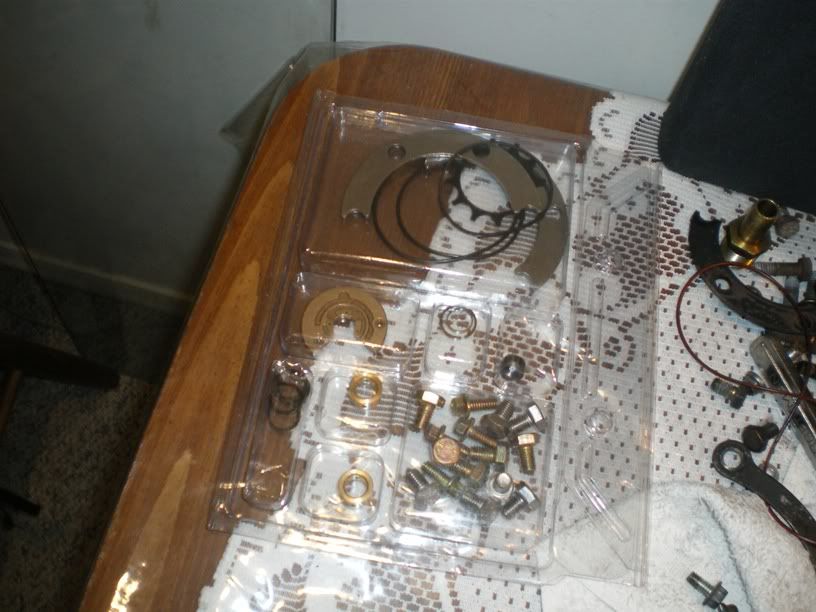
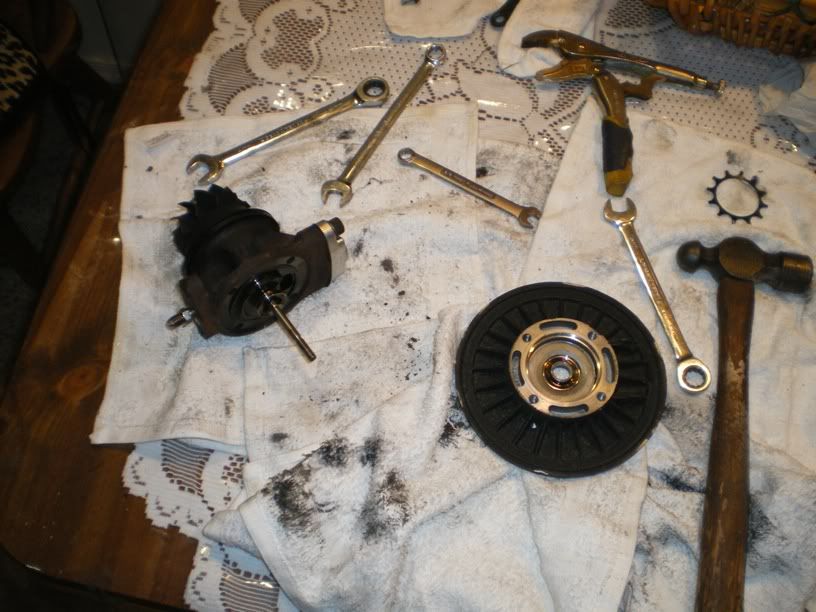
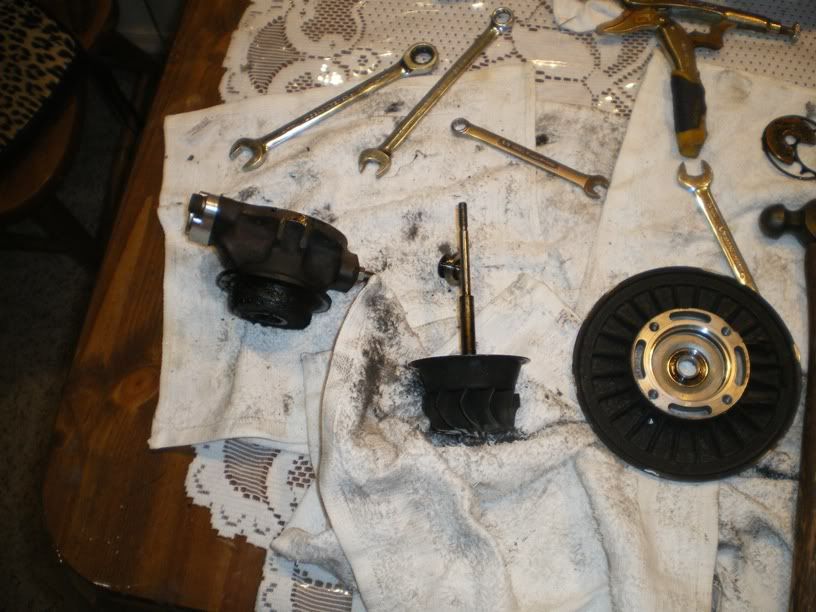
Rebuilding the turbo as well.
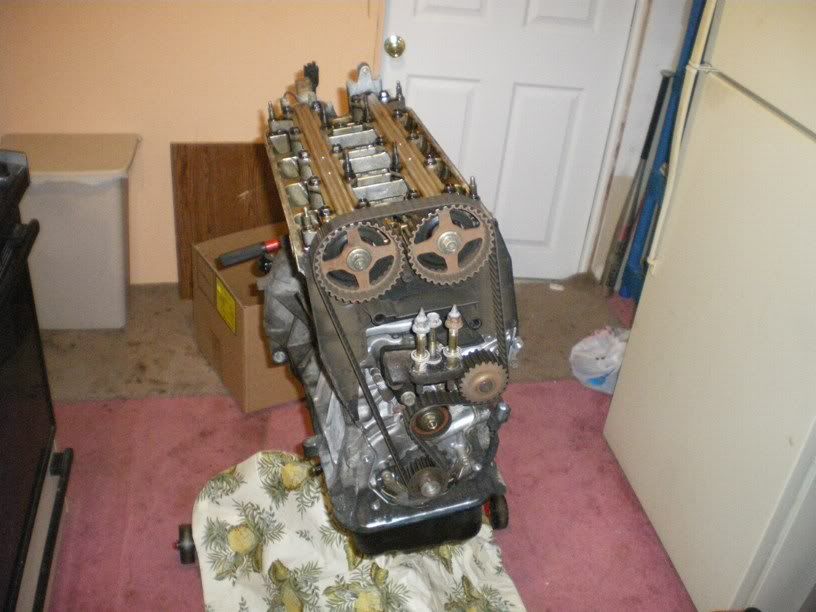
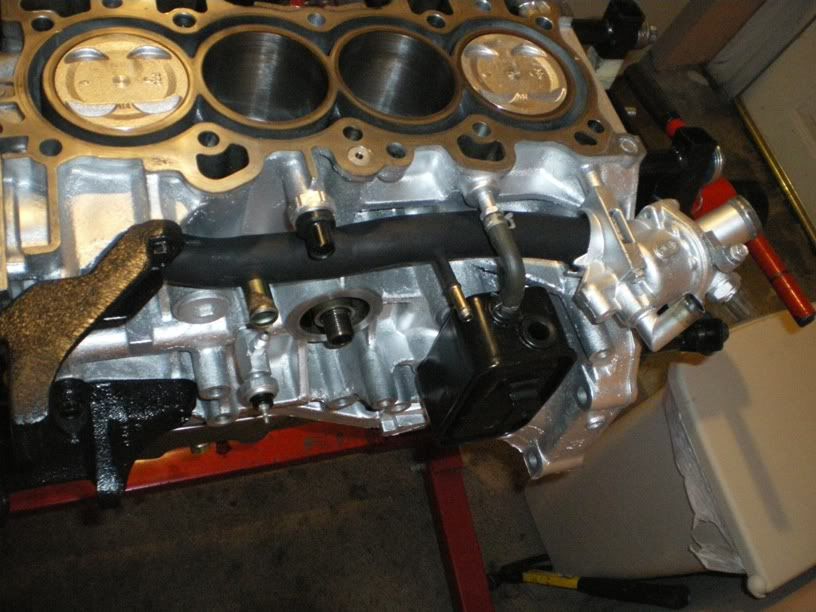
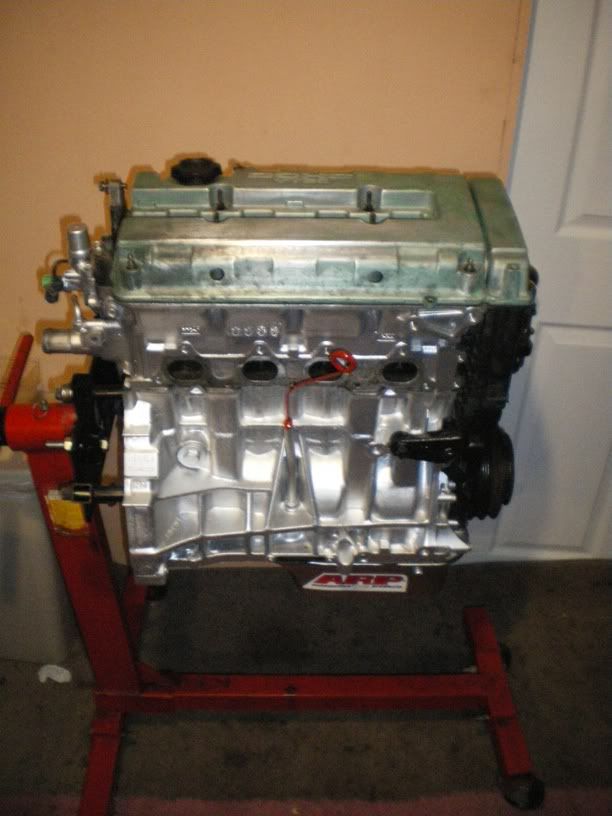
assembling the rest of the motor
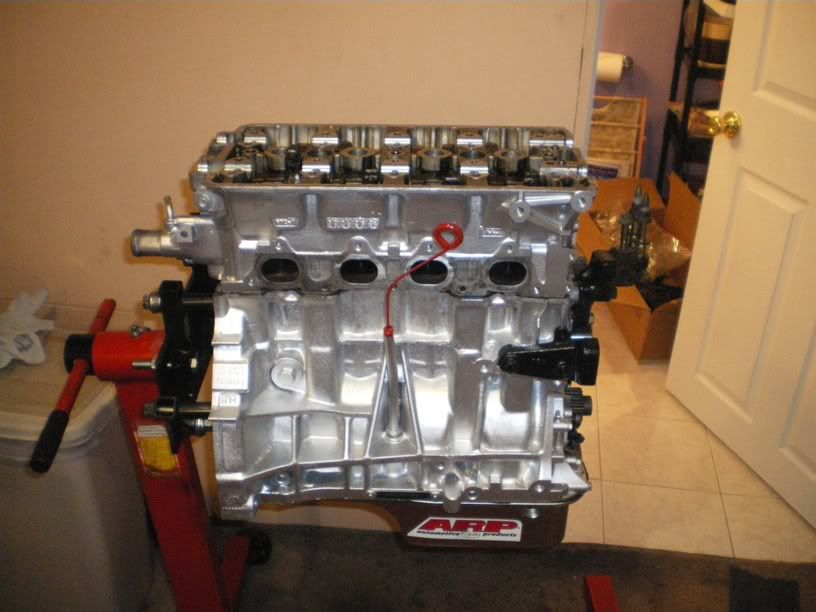
All done, but the valve cover isnt. I still need to weld fittings on to it and paint it.
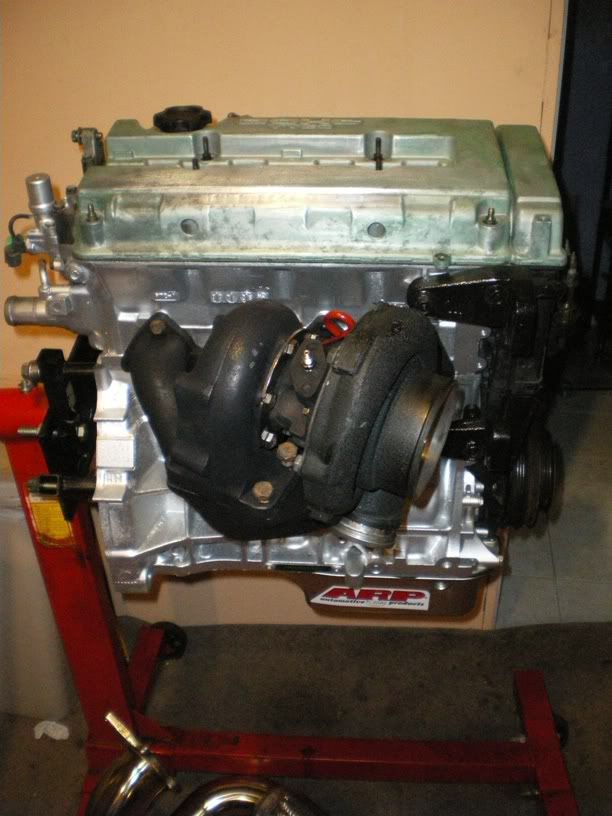
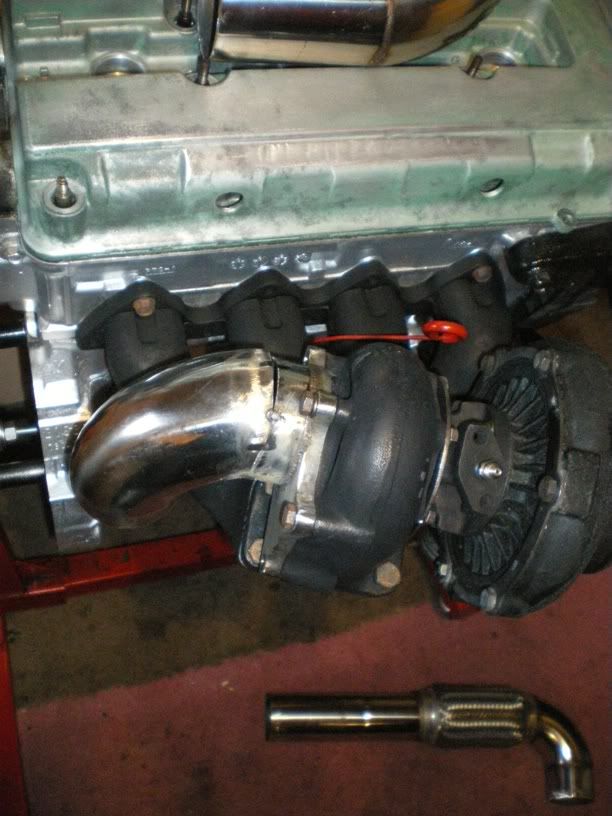
Mocking up the turbo and the downpipe

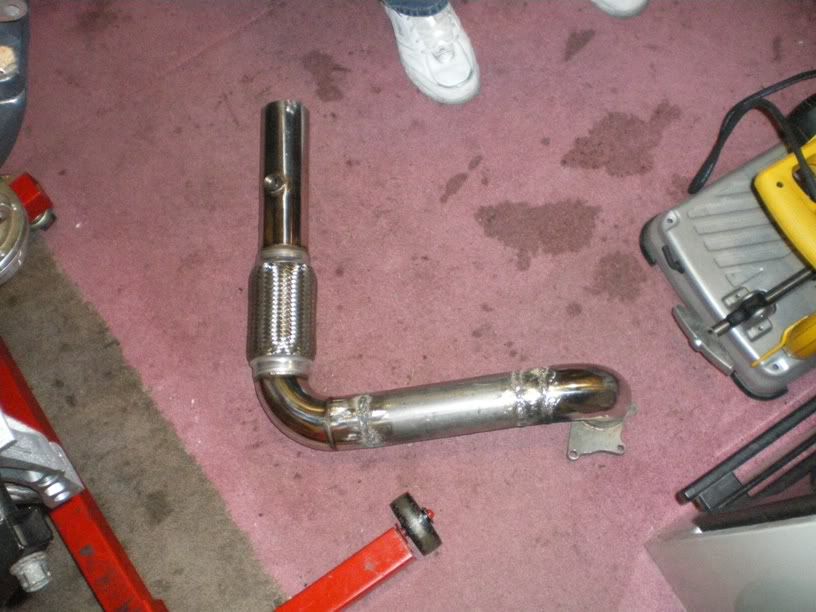
Downpipe is now done, with the help of my bro. Thanks
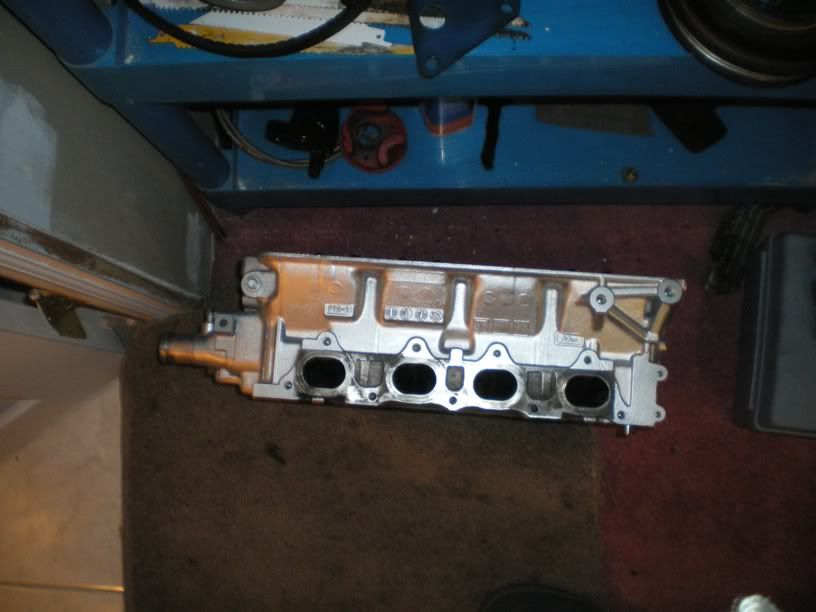
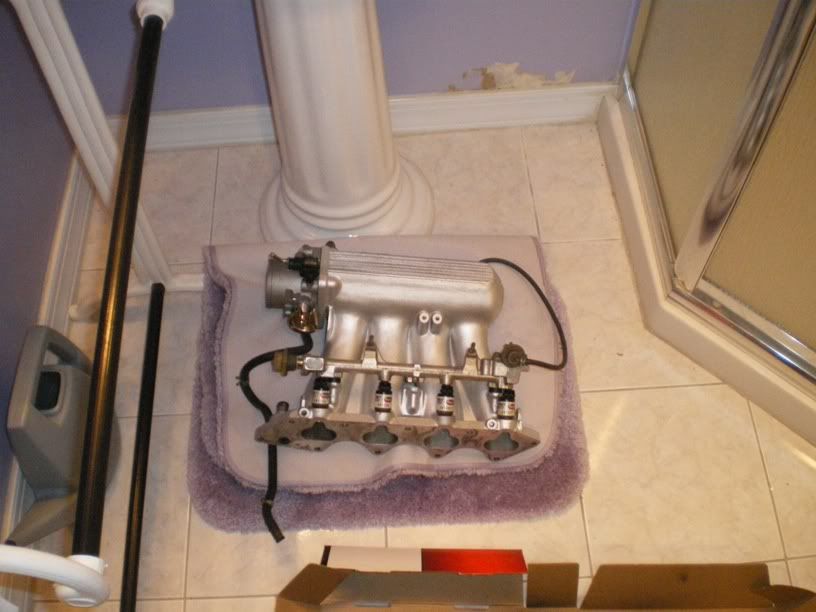
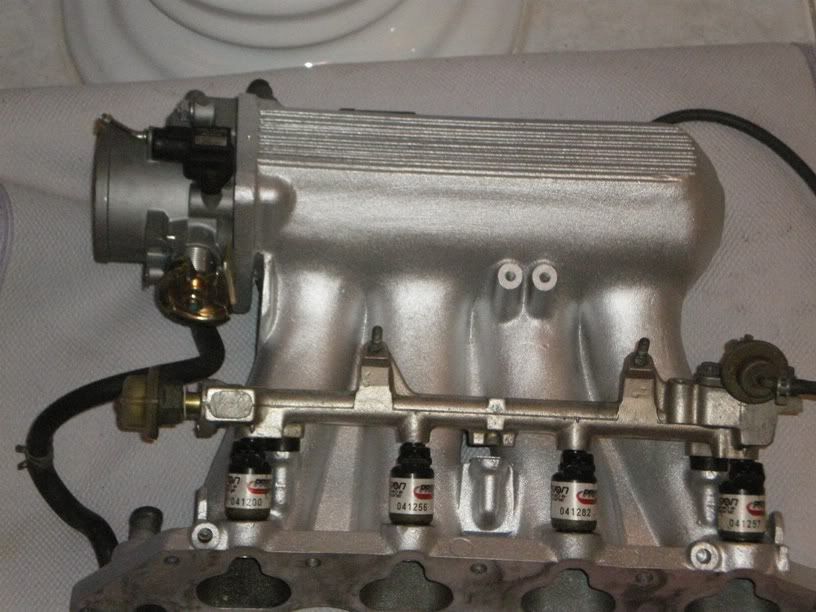
Intake Mani cleaned and painted. and the new 68mm throttle body.
So this is where im at as of today. Thanks for looking. I still have alot of things to do and i will give some updates asap.
Its ready to come out!!
And there it goes, with my brother supervising.
Nasty engine bay, will be cleaned soon though.
My brother Flintstoning the car.
It was really cold outside and I do not have a garage. So, i got the bright idea to bring to motor to my basement and work on it there.
here are some parts i had acquired.
Some pictures of the motor on the engine stand.
Filthy
Now, i had started the tear down.
Top of the pistons, after pulling them out i found out Piston 4 had a cracked ring gland which was causing the motor to burn LOTS of oil.
Here it is all dirty and such.
Decided to take the valves out.
Sprayed it down with break cleaner and let it sit over night.
Taking the pistons out and cleaning the block/ painting it.
rear shot
My new pistons mated with my new eagle rods.
Honed out the cylinder
And installed the new pistons
Some more parts.
Tranny before
And after
My brother helping me assemble the head
using valve grinding paste to seat the valves properly
Cleaned and painted the brackets and thermostat housing
Back to seating the valves
During the process
Intake side done
over to the exhaust side
Rebuilding the turbo as well.
assembling the rest of the motor
All done, but the valve cover isnt. I still need to weld fittings on to it and paint it.
Mocking up the turbo and the downpipe
Downpipe is now done, with the help of my bro. Thanks
Intake Mani cleaned and painted. and the new 68mm throttle body.
So this is where im at as of today. Thanks for looking. I still have alot of things to do and i will give some updates asap.
 01-31-2010, 07:54 PM
#4
Honda-Tech Member
Thread Starter
Join Date: Apr 2006
Location: nj
Posts: 744
Likes: 0
Received 0 Likes
on
0 Posts
01-31-2010, 08:05 PM
#6
Honda-Tech Member
Thread Starter
Join Date: Apr 2006
Location: nj
Posts: 744
Likes: 0
Received 0 Likes
on
0 Posts
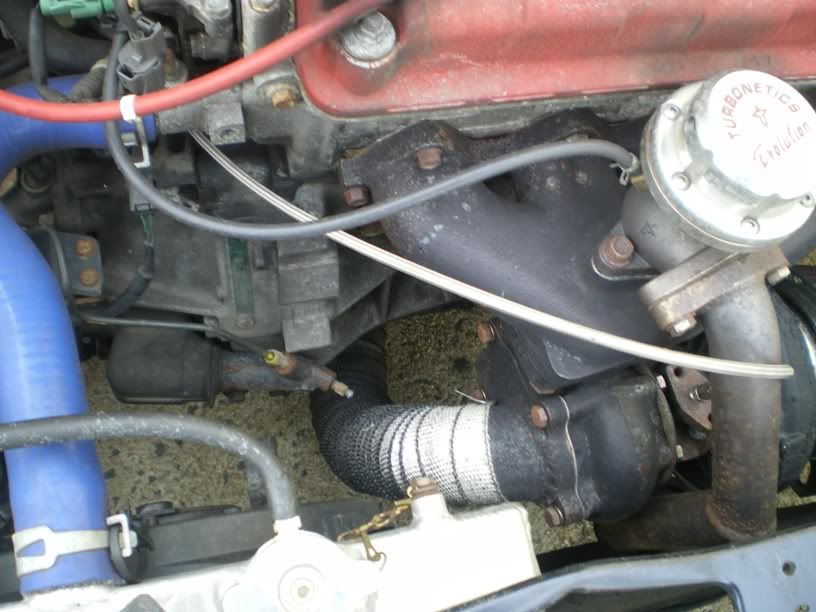
Honestly, im not exactly sure what type of turbonetics it is. I believe its an older turbonetics 60-1, .63 exhaust and .60 compressor.
01-31-2010, 08:10 PM
#7
Honda-Tech Member
nice job man i have a few questions
how did u prep the block/head for paint and what paint did u use
can u explain the process of the valave paste and doing the seating with it
how was the meutek mani i just bought one for like 70 bucks
and why are u using a f1 clutch, those things suck
i had an ebay xtd clutch 6puck for like 4 months before it went out
Trending Topics


 01-31-2010, 10:35 PM
#14
Honda-Tech Member
Join Date: Sep 2008
Location: dFw, TX, US
Posts: 1,153
Likes: 0
Received 0 Likes
on
0 Posts
loooks goood!
looks like fun toooo!
you should be at 350 with no issue
n yeah what pistons are those?
looks like fun toooo!
you should be at 350 with no issue
n yeah what pistons are those?
Last edited by _kiid; 02-01-2010 at 12:23 AM.
02-01-2010, 04:53 AM
#17
Honda-Tech Member
Thread Starter
Join Date: Apr 2006
Location: nj
Posts: 744
Likes: 0
Received 0 Likes
on
0 Posts
nice job man i have a few questions
how did u prep the block/head for paint and what paint did u use
can u explain the process of the valave paste and doing the seating with it
how was the meutek mani i just bought one for like 70 bucks
and why are u using a f1 clutch, those things suck
i had an ebay xtd clutch 6puck for like 4 months before it went out
how did u prep the block/head for paint and what paint did u use
can u explain the process of the valave paste and doing the seating with it
how was the meutek mani i just bought one for like 70 bucks
and why are u using a f1 clutch, those things suck
i had an ebay xtd clutch 6puck for like 4 months before it went out
http://www.firewheelclassics.com/sto.../1611-2114.jpg
As far as the valve seating goes, we put some valve grinding paste on the seats of the valve and used that wooden tool to spin the valve untill the edges became dull looking and it felt like we had a good seal going. After that, we cleaned the paste off and put the valve back in the same spot it came from and installed new valve seals with Supertech valve springs and retainers. The meutek manifold was really good and strong, however i had to get rid of it because I want to put AC back in my car and it was not possible with this manifold because of the size of my compressor housing. It was too bit and would have hit the block even if i cut the webbing. As for your clutch question, I had done some research on these clutches and got more positive reviews than negative by a long shot. With that said, i know its not the best quality clutch, however, for the price you cant beat it. I had gotten away with using a bone stock clutch on my previous setup for a long long time without having any slippage what so ever. I am only going to be making a bit more power than before so I am hoping this clutch will last. Like i said this car is a DD so i want it to be comfortable to drive, which is the exact reason why i didnt go with a clutch such as a ACT 6puck. If it should happen that the clutch gives out, i will upgrade to something much better, but for now i want to try to get away with using it since i know it wont be hard to drive.
You are correct the pistons are Nippon low compression cast pistons. They are almost exactly like LS pistons but have thicker ring glands and are 9.3:1 compressor ratio. I know what your thinking, why did i go with those pistons? Reason behind that was I already know that these are capable of making around 450whp+ as a fellow HT member has proven. Since I am not looking to make that much power i found them suitable for my needs. Reason two was, I did not want to get forged pistons since i was not planning on taking the crank off and getting the motor bored/ fitted for forged pistons. I did not want to deal with the expansion/possibly cranking my stock sleeves, since i was not going to get the block properly fitted for such pistons. With these pistons i am using now, I had measured them with a digital micrometer and they measured to .0001 exact spec as the stock pistons. I had also measured the cylinders and they were to spec according to my repair manual. Sorry for writing a book over here but I have no problems with sharing my thinking process although it can sometimes be a bit off
 02-01-2010, 06:40 AM
#19
Man U FTW
So you used Eagle rods but ran a cast Nippon piston?? That's practically an OEM piston...which to me completely negates the build. Before your build, the weak point was the piston ringland and now, the same weak point exists. I would NOT push it to over 400whp like you're planning to...i would be worried it would tank. No offense meant by this, but that wasn't the best decision ever...
In almost every build, a forged piston is used. The problem with the factory cast piston is how thin the ringlands are which makes them prone to cracking. On a forged piston, the material is much stronger and the design, better. You'll gain a little wiggle room with the lowered compression, but i wouldnt expect miracles out of this setup. Thats not to say you can't make good power, but beware that it isn't bulletproof by any means...
In almost every build, a forged piston is used. The problem with the factory cast piston is how thin the ringlands are which makes them prone to cracking. On a forged piston, the material is much stronger and the design, better. You'll gain a little wiggle room with the lowered compression, but i wouldnt expect miracles out of this setup. Thats not to say you can't make good power, but beware that it isn't bulletproof by any means...
02-01-2010, 07:10 AM
#20
Honda-Tech Member
Thread Starter
Join Date: Apr 2006
Location: nj
Posts: 744
Likes: 0
Received 0 Likes
on
0 Posts
So you used Eagle rods but ran a cast Nippon piston?? That's practically an OEM piston...which to me completely negates the build. Before your build, the weak point was the piston ringland and now, the same weak point exists. I would NOT push it to over 400whp like you're planning to...i would be worried it would tank. No offense meant by this, but that wasn't the best decision ever...
In almost every build, a forged piston is used. The problem with the factory cast piston is how thin the ringlands are which makes them prone to cracking. On a forged piston, the material is much stronger and the design, better. You'll gain a little wiggle room with the lowered compression, but i wouldnt expect miracles out of this setup. Thats not to say you can't make good power, but beware that it isn't bulletproof by any means...
In almost every build, a forged piston is used. The problem with the factory cast piston is how thin the ringlands are which makes them prone to cracking. On a forged piston, the material is much stronger and the design, better. You'll gain a little wiggle room with the lowered compression, but i wouldnt expect miracles out of this setup. Thats not to say you can't make good power, but beware that it isn't bulletproof by any means...
Last edited by GsrIntegra789; 02-01-2010 at 07:41 AM.
02-01-2010, 09:52 AM
#21
Honda-Tech Member
Join Date: Jun 2009
Location: miami,florida
Posts: 791
Likes: 0
Received 0 Likes
on
0 Posts
question did u resurface the head
what was the wirebrush used on
are those the same valves or new,what was done about the guides
and dats a great build keep it up
what was the wirebrush used on
are those the same valves or new,what was done about the guides
and dats a great build keep it up
02-01-2010, 10:49 AM
#22
Honda-Tech Member
Thread Starter
Join Date: Apr 2006
Location: nj
Posts: 744
Likes: 0
Received 0 Likes
on
0 Posts
^ I did not resurface the head. I had checked the block and the head to see if they were warped and they werent. (straight edge ruler). After i found that they didnt need to be cut i used a soft abrasive pad like this http://product-image.tradeindia.com/...anding-Pad.jpg
just to make clean the surfaces a bit.
I used a fine wire brush on the head and the block to be cleaned. And yes i am reusing the stock valves. I had my brother take them to work and thats where he cleaned them. They came out looking perfect so i decided to use reuse them. Some of the carbon built up on the bottom of a few exhaust valves didnt clean up all the way. But I dont think it was that big of a deal. We had done the same thing on his car when we rebuilt his engine and the thing runs great, im hoping for the same results.