
eklum's 91 4wd Civic wagon .
 05-01-2014, 07:29 AM
#476
Honda-Tech Member

great build, love to see the wagons getting some love. me and my boys have 6 wagons between the 3 of us. so much fun and so out of the ordinary.
 05-04-2014, 12:31 AM
#477
Honda-Tech Member
Thread Starter
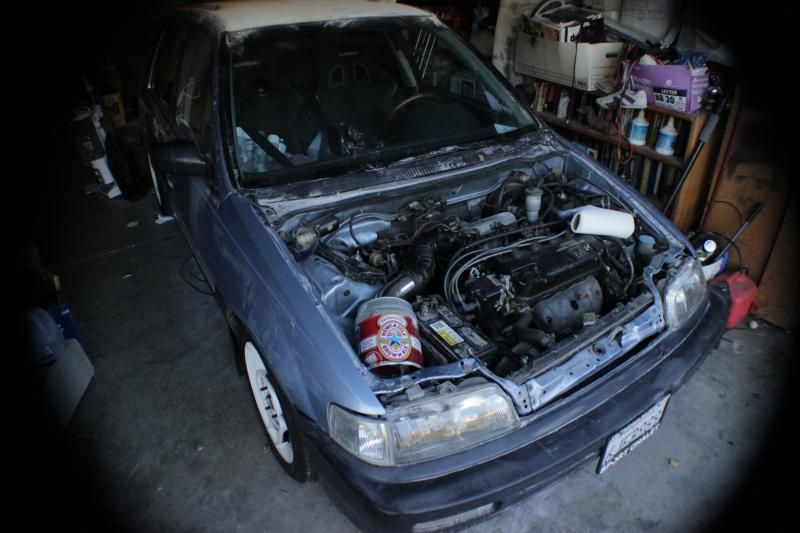
Since I don't have my ls right now I have been trying to utilize the time I have to get a lot of things done with my wagon, I saw this thread on honda tech a few weeks ago of a guy doing the same thing with his S2000 .
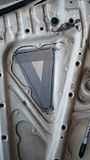
thinking about doing this i still have my wrecked white hood i think ill cut out covers to put over holes during rainy season or make something out of plastic like the tail light materialsThought it was a Good idea for my wagon since I've noticed my engine bay is always really hot and considering the hoods natural slope I think it would be even more beneficial to put a vent right next to my intake to make a pseudo ram air intake (that will be described later after I put the finishing touches on this current project.
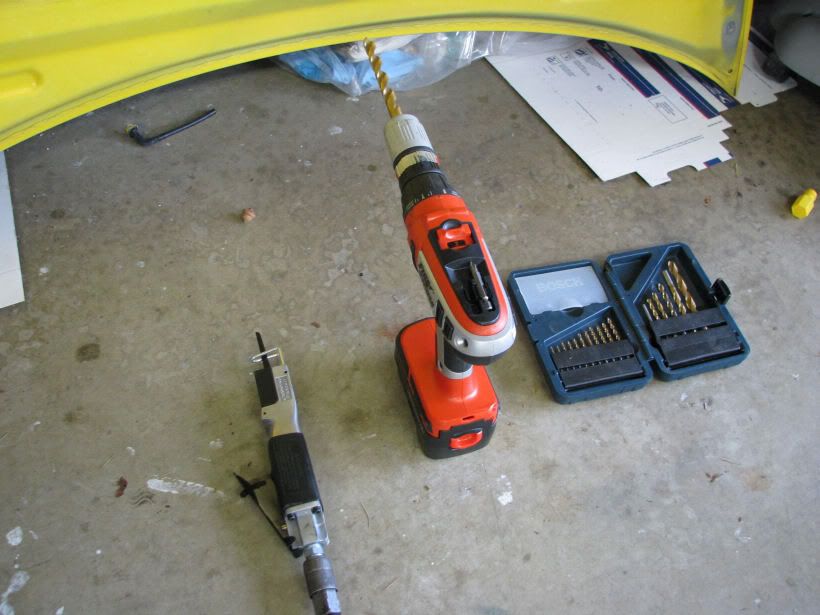
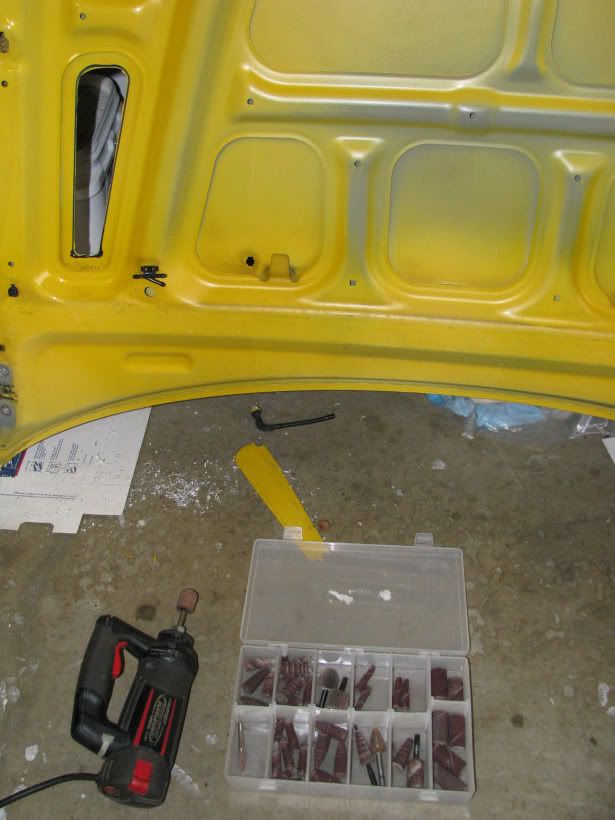
went to harbor frieght and got the body saw for 35$ I plan on returning after I'm done with the job
and I already have a drill I used a bit that was just big enough to stick my saw blade in
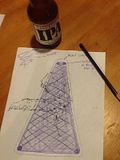
Taped off the area and used a marker to give a visual guide in the shape I want
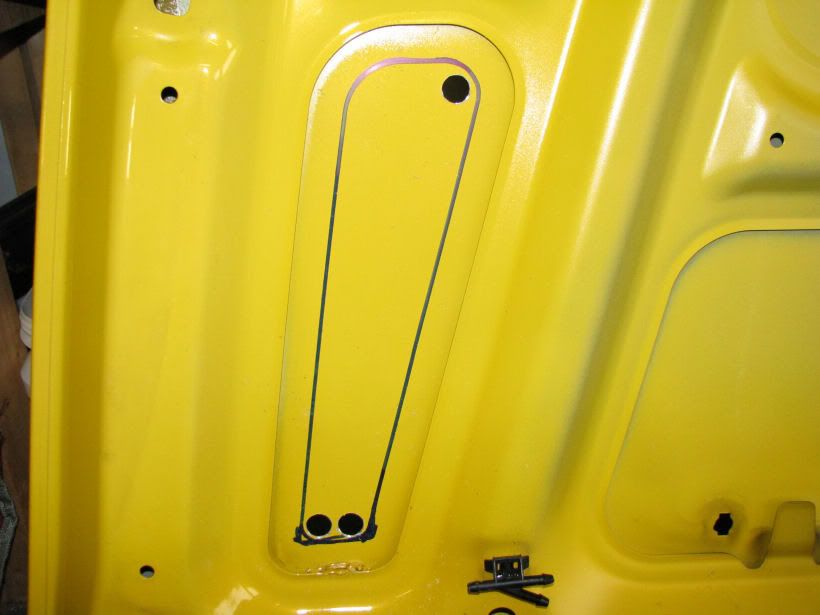
drilled holes
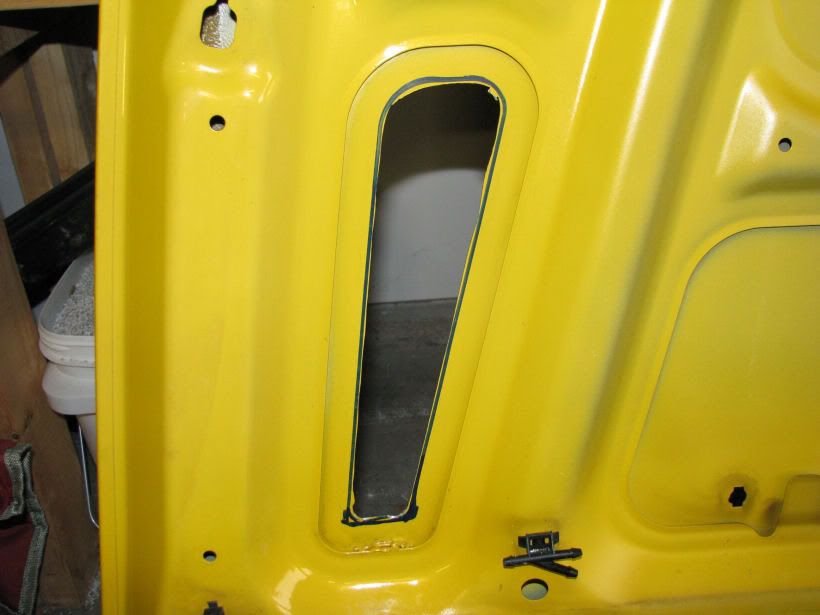
did a whatever don't give af cut job because it's a old wrecked hood I kept for a reason after all small bit of advice when making cuts is to do all cuts one way , one time
i did the first one on the wrecked hood for 2 reasons
1. Practice
2. I plan on fabbing up some sort of bracket to cover the hole I will make in the other hood for poor weather conditions , I'll put a weather foam seal on the underside to guarantee water protection and prevent damage to the new hood .
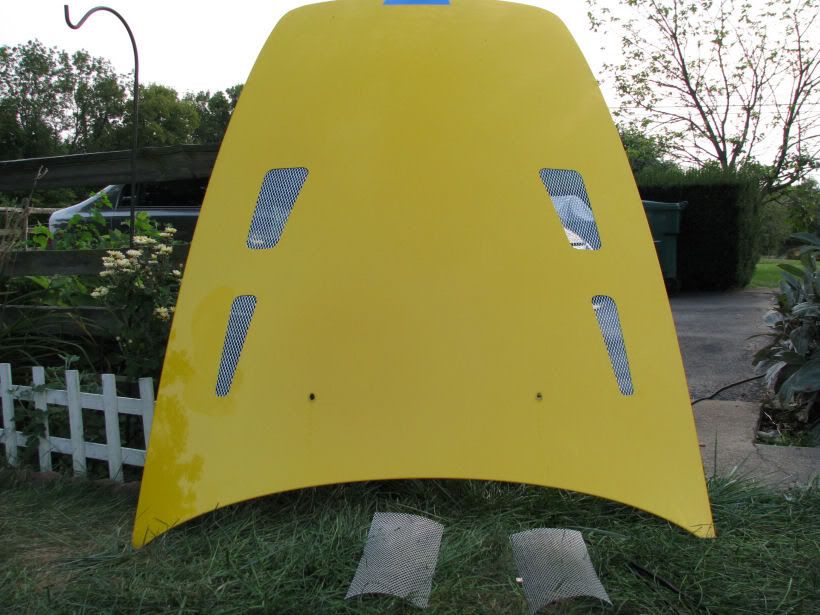
i started late and I don't feel like being a dick to my neighbors making noise so I stopped there and started a template for the cuts on the new hood
im thinking since the way I did the first cuts left a really messy look I will cut a smaller but same shape diameter vent shape and make them bigger by grinding and sanding to the perfect size.
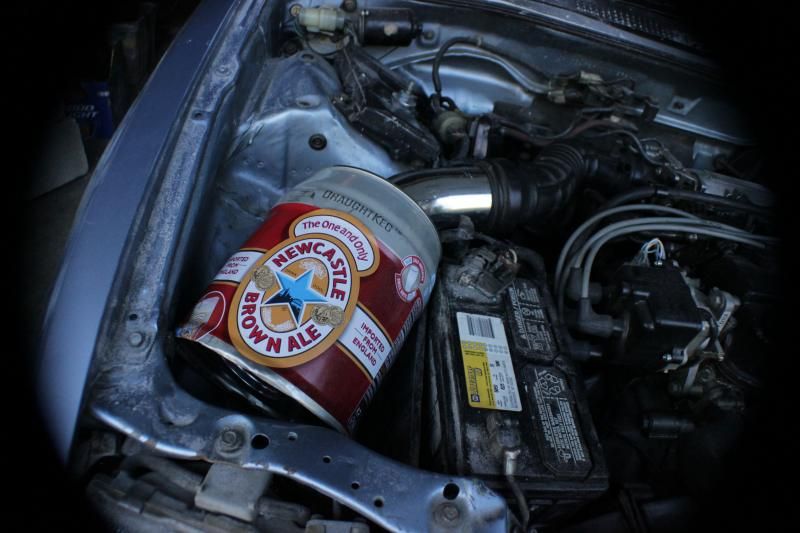
nothin better than a good IPA
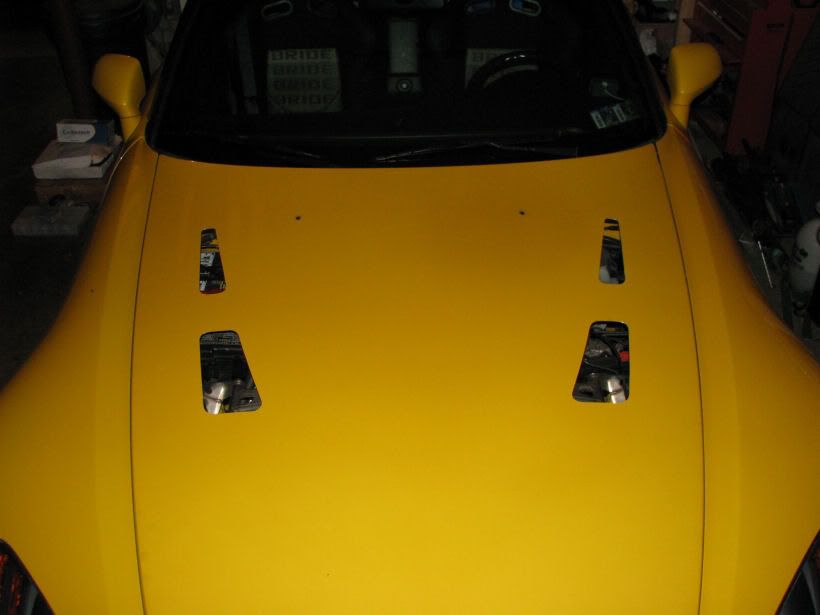


thinking about doing this i still have my wrecked white hood i think ill cut out covers to put over holes during rainy season or make something out of plastic like the tail light materialsThought it was a Good idea for my wagon since I've noticed my engine bay is always really hot and considering the hoods natural slope I think it would be even more beneficial to put a vent right next to my intake to make a pseudo ram air intake (that will be described later after I put the finishing touches on this current project.
went to harbor frieght and got the body saw for 35$ I plan on returning after I'm done with the job
and I already have a drill I used a bit that was just big enough to stick my saw blade in

Taped off the area and used a marker to give a visual guide in the shape I want

drilled holes

did a whatever don't give af cut job because it's a old wrecked hood I kept for a reason after all small bit of advice when making cuts is to do all cuts one way , one time

i did the first one on the wrecked hood for 2 reasons
1. Practice
2. I plan on fabbing up some sort of bracket to cover the hole I will make in the other hood for poor weather conditions , I'll put a weather foam seal on the underside to guarantee water protection and prevent damage to the new hood .
i started late and I don't feel like being a dick to my neighbors making noise so I stopped there and started a template for the cuts on the new hood
im thinking since the way I did the first cuts left a really messy look I will cut a smaller but same shape diameter vent shape and make them bigger by grinding and sanding to the perfect size.

nothin better than a good IPA
05-04-2014, 12:41 AM
#478
Honda-Tech Member
Thread Starter
Hell yeah I bet you guys have fun with 6 btwn the 3 of you lol I'm trying to acquire a new one for a more serious track build I'm tempted to just hack away at this one since I'm older and know what I'm capable of now , my main concern is the diff ripping out again and my solution would be to weld Ina. Steel bard rack and have the studs welded to that as oppose to the sheet metal
05-04-2014, 03:18 AM
#479
EFB055
IMO that shape doesn't suit the ef bonnet at all.
But i don't really like it on the s2k either... Makes me think of this:

But i don't really like it on the s2k either... Makes me think of this:
05-05-2014, 04:20 PM
#480
Honda-Tech Member
Thread Starter

No going back now!


Next up cutting and rigging up the mini keg as a intake
Plan on using a cheap eBay short ram or whale dick not sure yet


 11-28-2014, 10:00 PM
#483
Honda-Tech Member
Thread Starter
not like anyones on this forum any more but heres my updates:::
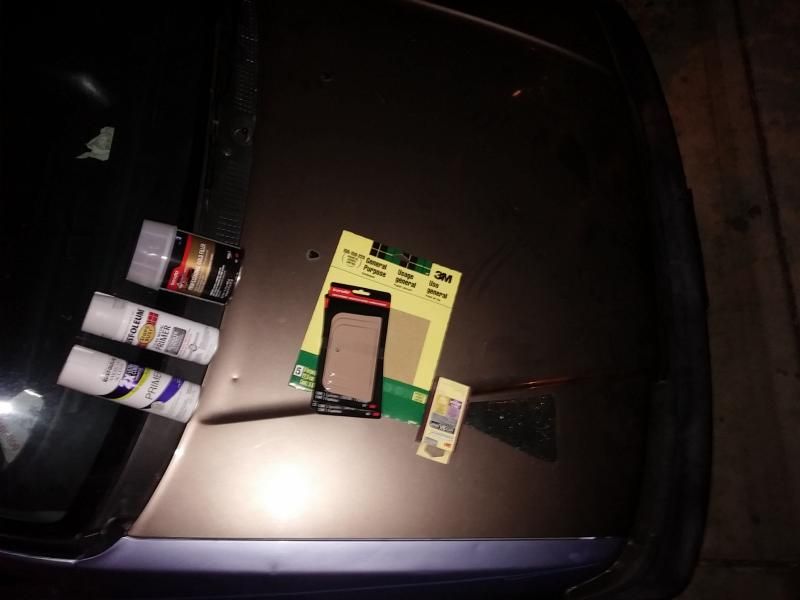
took a **** ton of recycling in and decided to spend the money on painting and body work gear
never done any bondo work so this will be a good learning expierience i might get carried away and do some other spots on my car while im at it not sure yet
for now just the hood and then the roof if i decide its warm enough
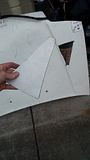
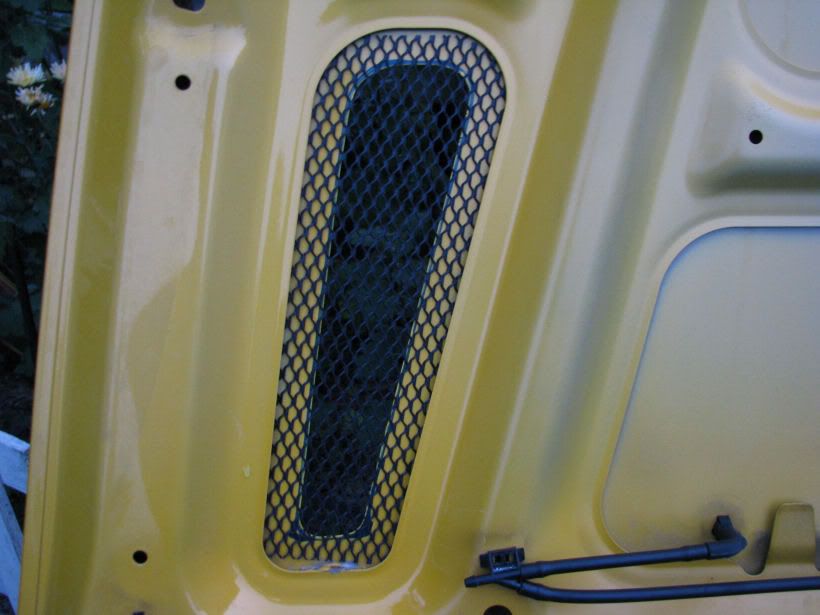
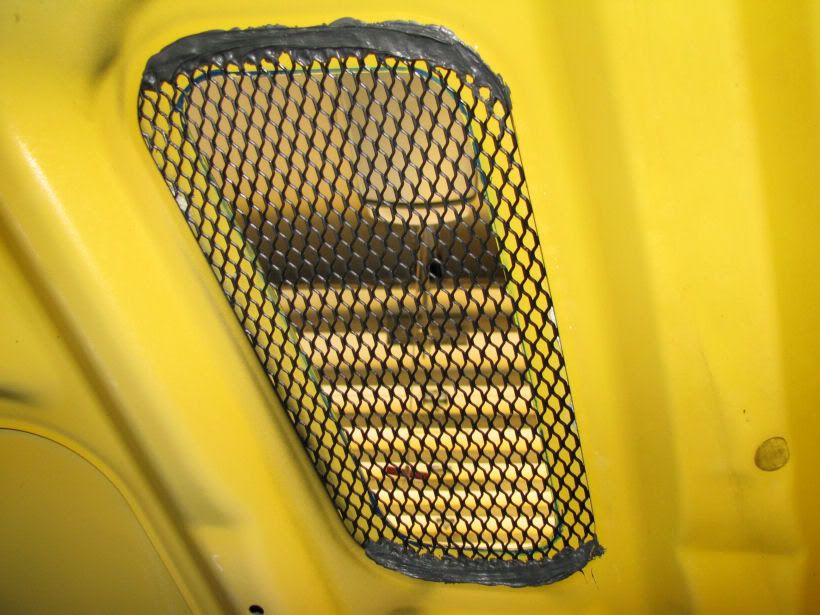
i recently made a little rain guard which will be kept in place by the bends in the plastic and the wire mesh that i will secure once the hood is painted.
i have also decided on building my first turbo with this car im going to run a smic which will make this little vent more than functional! ( it will look badass too )
since thankgiving is tomro i dont plan on getting to far along with this til the weekend but i will post updates with the progress and write up the process
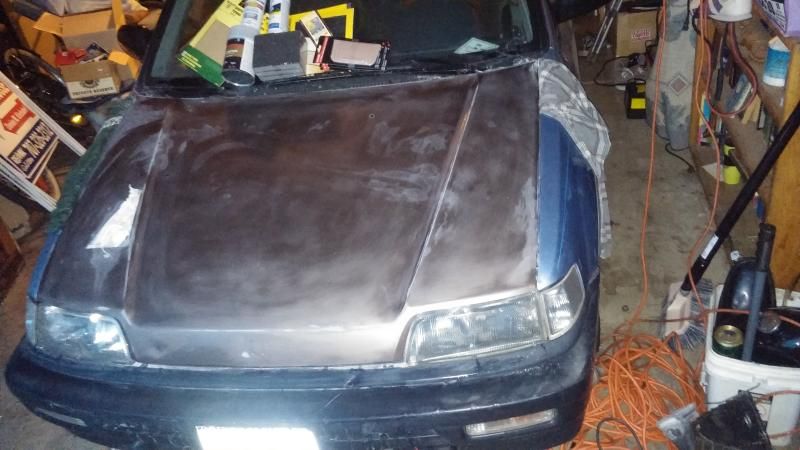
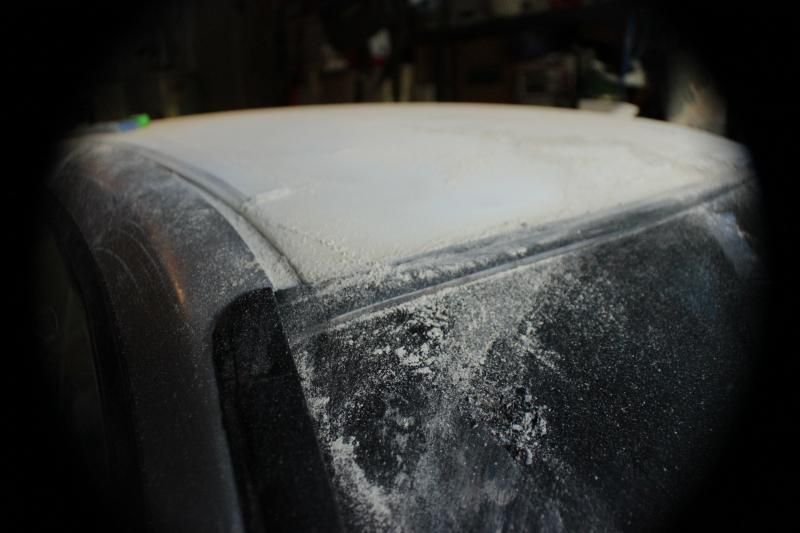
before any prep just really dusty
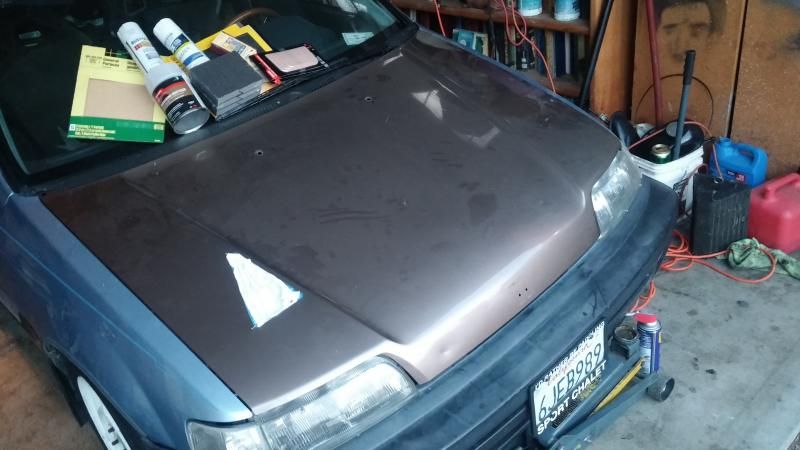
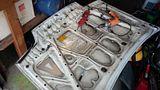
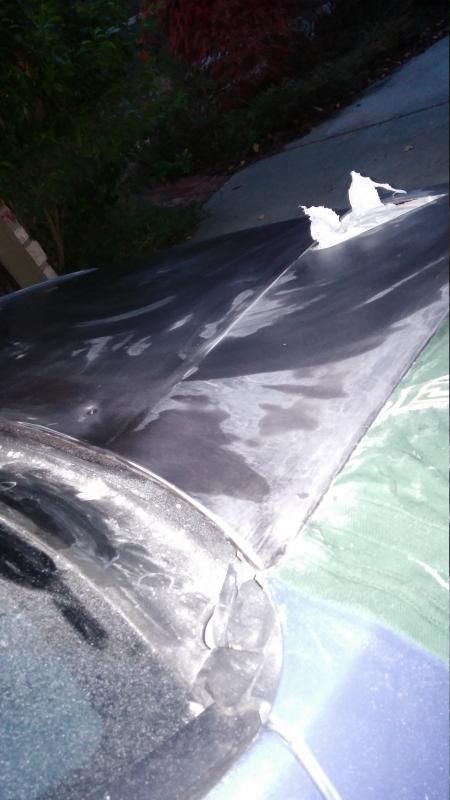
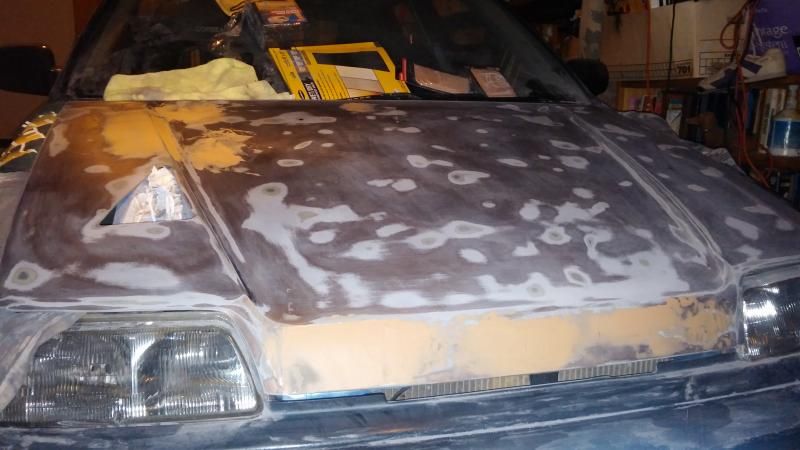
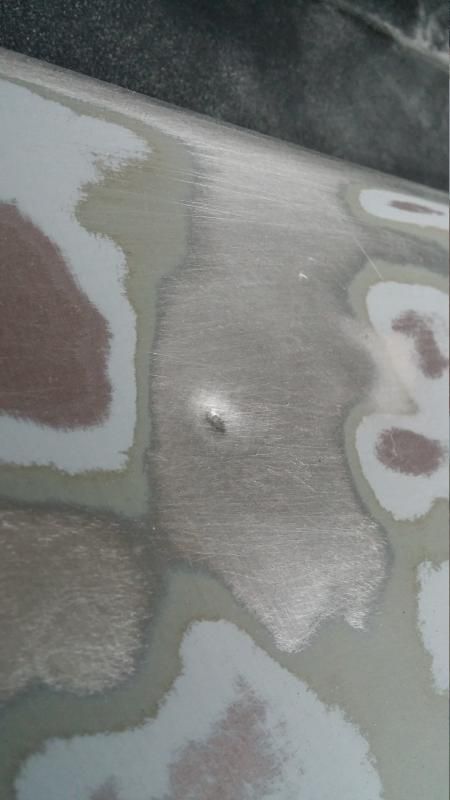
Started out with a really rough 80 grit palm sandpaper to rip apart the exisiting clear coat and dig up any rough metal edges from any deep dents i find
this includes the area around the air vent i made because of the jigsaw motion there is a wavey bend around the cuts i plan on eliminating
i dont have much practice with body work involving bondo as i stated but it seems fairly straight forward - this should be a fun project with a nice end result!
The white hood with black mesh on the vent is going to look really nice.
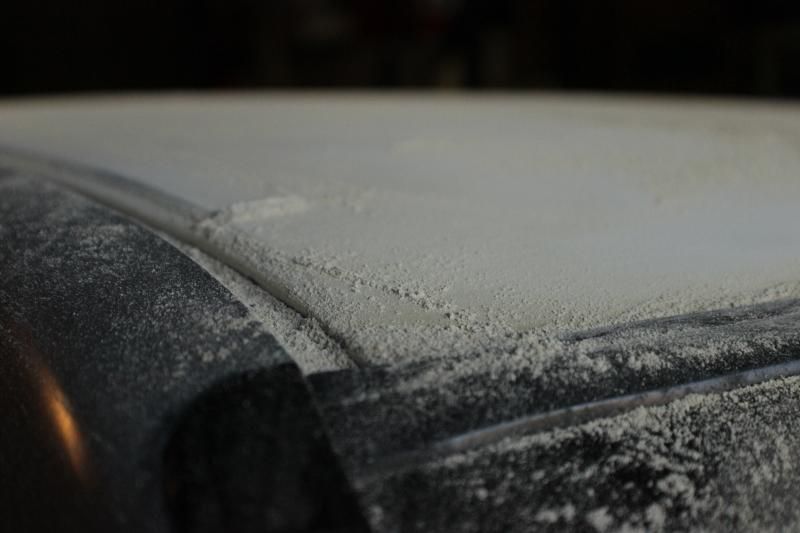
80 grit
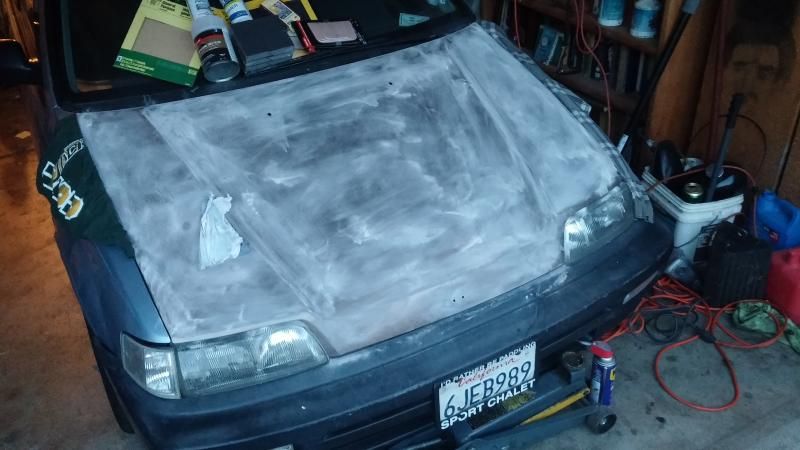
after a quick wet wipe down
thats it for today
im going to strip this top layer down to bare metal in any place that will need bondo work
i heard using paint thinner is recomended to really clean the area before paint and bondo so im going to ttry that as well.
should have the first little bit of bondo on tomoro
took a **** ton of recycling in and decided to spend the money on painting and body work gear
never done any bondo work so this will be a good learning expierience i might get carried away and do some other spots on my car while im at it not sure yet
for now just the hood and then the roof if i decide its warm enough
i recently made a little rain guard which will be kept in place by the bends in the plastic and the wire mesh that i will secure once the hood is painted.
i have also decided on building my first turbo with this car im going to run a smic which will make this little vent more than functional! ( it will look badass too )
since thankgiving is tomro i dont plan on getting to far along with this til the weekend but i will post updates with the progress and write up the process
before any prep just really dusty
Started out with a really rough 80 grit palm sandpaper to rip apart the exisiting clear coat and dig up any rough metal edges from any deep dents i find
this includes the area around the air vent i made because of the jigsaw motion there is a wavey bend around the cuts i plan on eliminating
i dont have much practice with body work involving bondo as i stated but it seems fairly straight forward - this should be a fun project with a nice end result!
The white hood with black mesh on the vent is going to look really nice.
80 grit
after a quick wet wipe down
thats it for today
im going to strip this top layer down to bare metal in any place that will need bondo work
i heard using paint thinner is recomended to really clean the area before paint and bondo so im going to ttry that as well.
should have the first little bit of bondo on tomoro

http://vidmg.photobucket.com/albums/...1127141332.mp4
didnt get to work as much as i wanted to with thanksgiving at my family's house and what not but will be starting bondo work in the morning
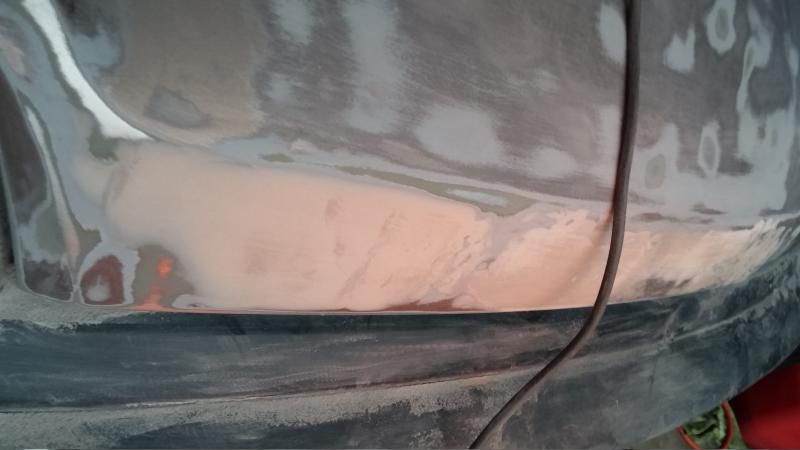
update-the bondo wont set quick enough for any sanding today its too cold out side ill have to get the jump early tomoro and hopefully finish all bondo work before sundown so i will be ready for paint by sunday.
like i said i never done bondo work before so i was a little timid at first and i tried to limit over use and kind of messed up at the top but its all part of the learning experience i guess !
you can see where i tried sanding and the heat lifted bondo and set it precariously about on the bottom right even after 3 hours
I was thinking about applying bondo because the hood pops in the middle but decided against that because i figure it would cause the bondo to crack and chip over time more than i already expect it to lol
im gunna shave the front and rear emblems i think as well not sure yet
might wanna lower the volume on the video if you click below...
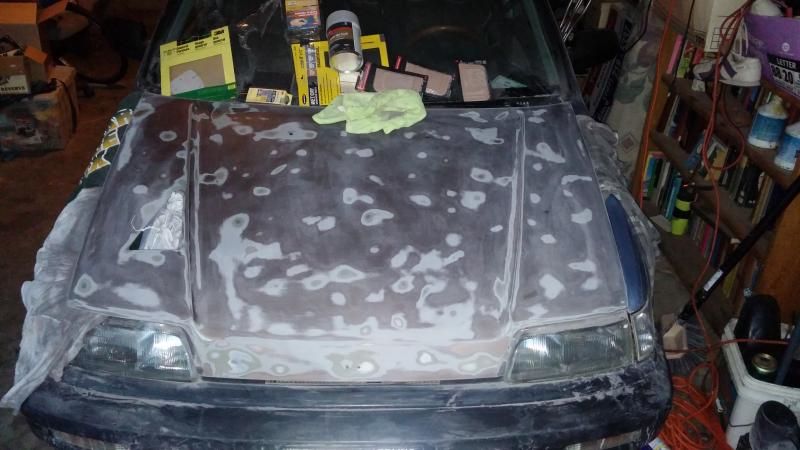
turns out i had been using 100 grit so i went over it with 80 to get the deep scratches and rock caused paint chips that were taking a long time with the 100 grit
heres right after that

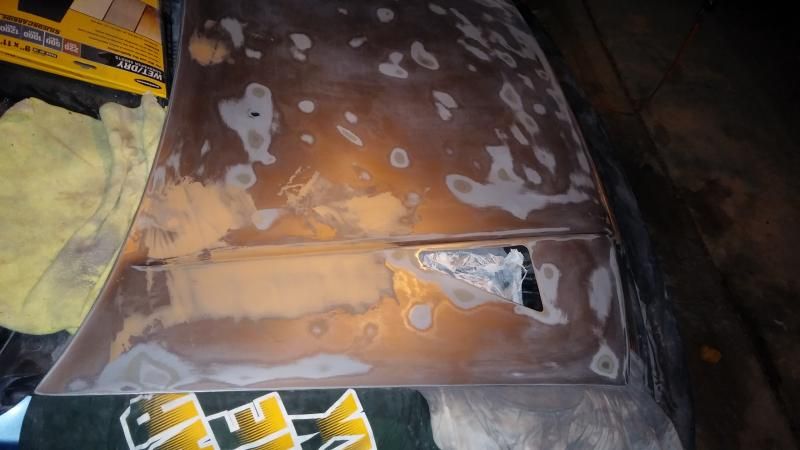
over view of the bondo first application


took a **** ton of recycling in and decided to spend the money on painting and body work gear
never done any bondo work so this will be a good learning expierience i might get carried away and do some other spots on my car while im at it not sure yet
for now just the hood and then the roof if i decide its warm enough
i recently made a little rain guard which will be kept in place by the bends in the plastic and the wire mesh that i will secure once the hood is painted.
i have also decided on building my first turbo with this car im going to run a smic which will make this little vent more than functional! ( it will look badass too )
since thankgiving is tomro i dont plan on getting to far along with this til the weekend but i will post updates with the progress and write up the process
before any prep just really dusty

Started out with a really rough 80 grit palm sandpaper to rip apart the exisiting clear coat and dig up any rough metal edges from any deep dents i find
this includes the area around the air vent i made because of the jigsaw motion there is a wavey bend around the cuts i plan on eliminating
i dont have much practice with body work involving bondo as i stated but it seems fairly straight forward - this should be a fun project with a nice end result!
The white hood with black mesh on the vent is going to look really nice.
80 grit


after a quick wet wipe down

thats it for today
im going to strip this top layer down to bare metal in any place that will need bondo work
i heard using paint thinner is recomended to really clean the area before paint and bondo so im going to ttry that as well.
should have the first little bit of bondo on tomoro
took a **** ton of recycling in and decided to spend the money on painting and body work gear
never done any bondo work so this will be a good learning expierience i might get carried away and do some other spots on my car while im at it not sure yet
for now just the hood and then the roof if i decide its warm enough
i recently made a little rain guard which will be kept in place by the bends in the plastic and the wire mesh that i will secure once the hood is painted.
i have also decided on building my first turbo with this car im going to run a smic which will make this little vent more than functional! ( it will look badass too )
since thankgiving is tomro i dont plan on getting to far along with this til the weekend but i will post updates with the progress and write up the process
before any prep just really dusty
Started out with a really rough 80 grit palm sandpaper to rip apart the exisiting clear coat and dig up any rough metal edges from any deep dents i find
this includes the area around the air vent i made because of the jigsaw motion there is a wavey bend around the cuts i plan on eliminating
i dont have much practice with body work involving bondo as i stated but it seems fairly straight forward - this should be a fun project with a nice end result!
The white hood with black mesh on the vent is going to look really nice.
80 grit
after a quick wet wipe down
thats it for today
im going to strip this top layer down to bare metal in any place that will need bondo work
i heard using paint thinner is recomended to really clean the area before paint and bondo so im going to ttry that as well.
should have the first little bit of bondo on tomoro
http://vidmg.photobucket.com/albums/...1127141332.mp4
didnt get to work as much as i wanted to with thanksgiving at my family's house and what not but will be starting bondo work in the morning
update-the bondo wont set quick enough for any sanding today its too cold out side ill have to get the jump early tomoro and hopefully finish all bondo work before sundown so i will be ready for paint by sunday.


like i said i never done bondo work before so i was a little timid at first and i tried to limit over use and kind of messed up at the top but its all part of the learning experience i guess !

you can see where i tried sanding and the heat lifted bondo and set it precariously about on the bottom right even after 3 hours
I was thinking about applying bondo because the hood pops in the middle but decided against that because i figure it would cause the bondo to crack and chip over time more than i already expect it to lol
im gunna shave the front and rear emblems i think as well not sure yet
might wanna lower the volume on the video if you click below...
turns out i had been using 100 grit so i went over it with 80 to get the deep scratches and rock caused paint chips that were taking a long time with the 100 grit
heres right after that
over view of the bondo first application
11-29-2014, 10:07 PM
#484
Honda-Tech Member
Thread Starter
went and grabbed some more sanding discs and a space heater from my friendly neighborhood harbor freight tools shop
and i was back to work
not so smart now are ya bondo?!
30$ with a one year warranty
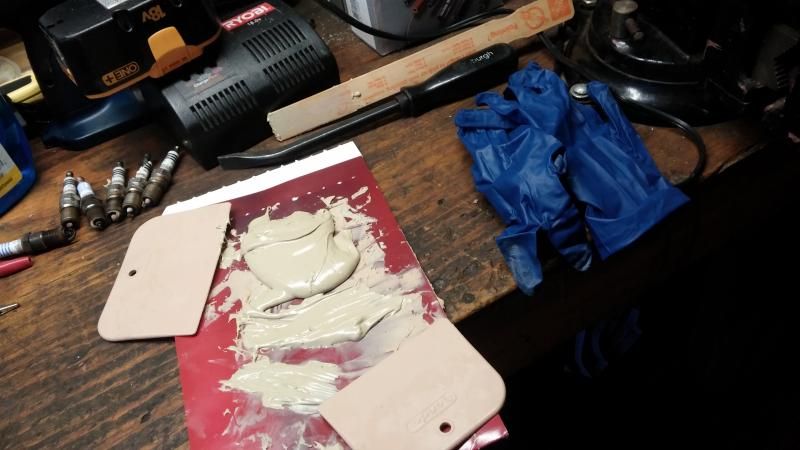
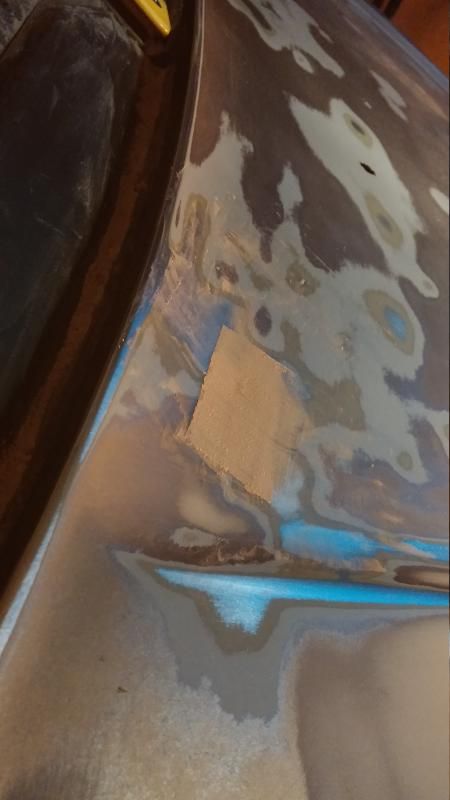
feathering out the bondo
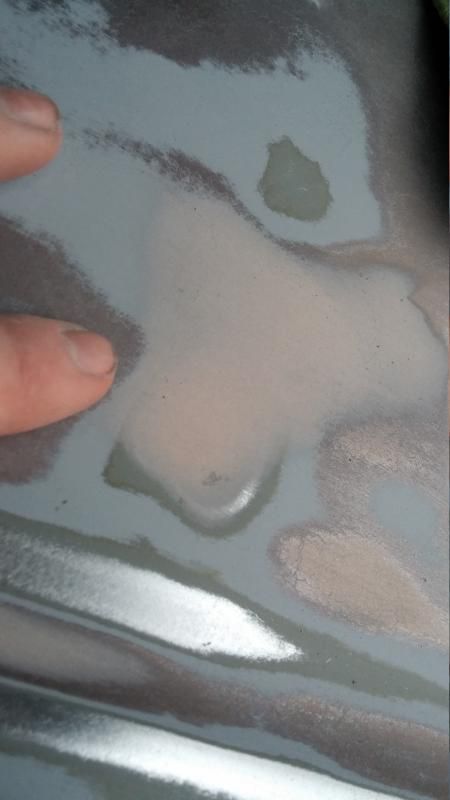
this line on the hood is one repair i really want to make sure is perfect a dent in the line of the hood is so ugly to me !
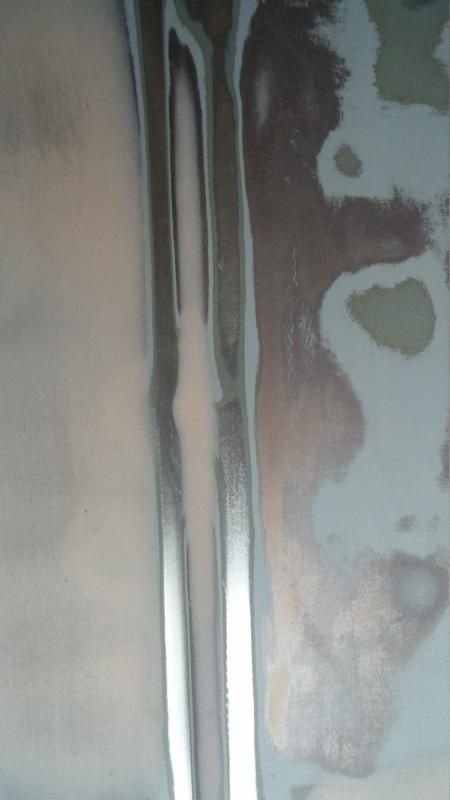
this pen sized dent i had to completely remove bondo from and start fresh
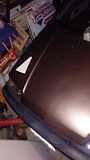
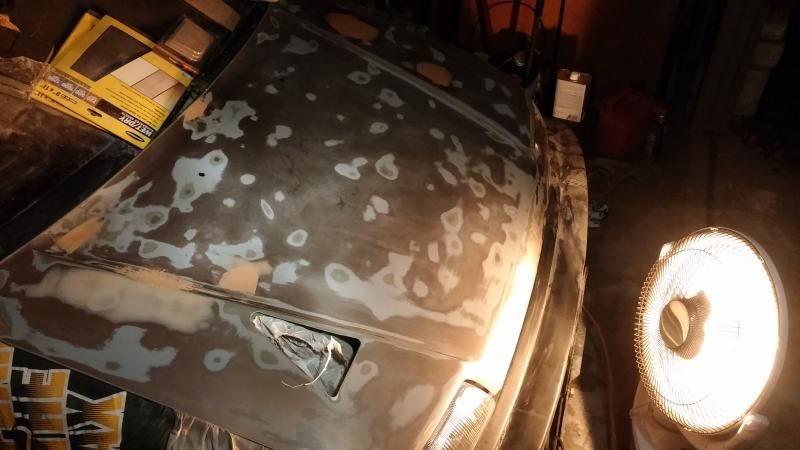
Everything bondo'd and sanded , will do a once over tomorow before i start the first coat of primer!
Post pics of the final product next.
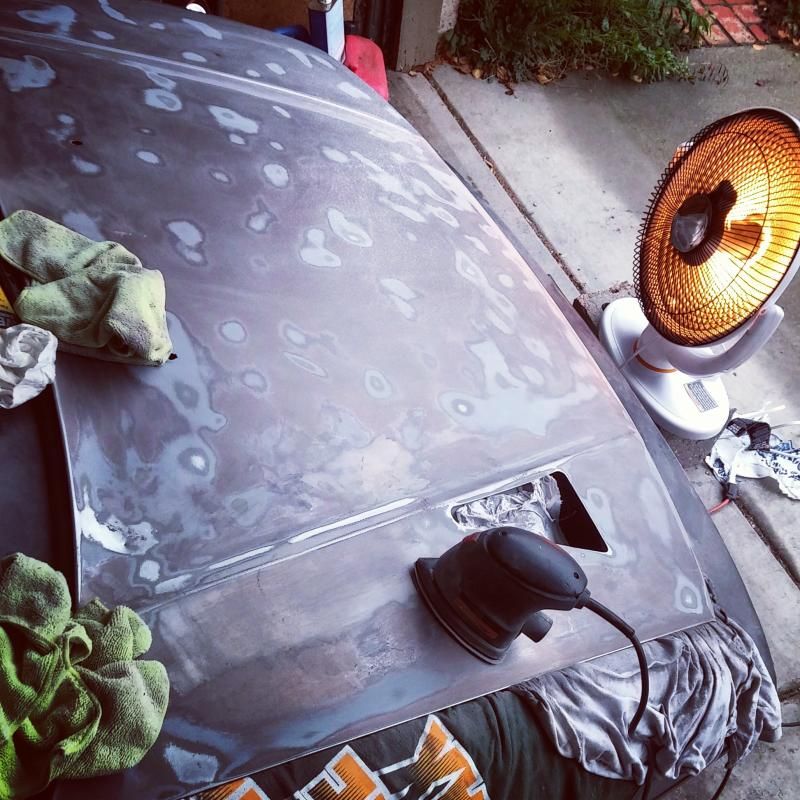
Im hoping i can get the hood finished in one day with this cool space heater i bought.. gunna toss the car outside with a tarp and use the garage just for the hood
only got two cans of primer and a can and a half of clear coat but im hoping its good enough to have a white hood ill sand the clear coat off down the road and spray white with a legit paint gun in the summer time.
and i was back to work


not so smart now are ya bondo?!

30$ with a one year warranty

feathering out the bondo


this line on the hood is one repair i really want to make sure is perfect a dent in the line of the hood is so ugly to me !

this pen sized dent i had to completely remove bondo from and start fresh


Everything bondo'd and sanded , will do a once over tomorow before i start the first coat of primer!


Post pics of the final product next.
Im hoping i can get the hood finished in one day with this cool space heater i bought.. gunna toss the car outside with a tarp and use the garage just for the hood
only got two cans of primer and a can and a half of clear coat but im hoping its good enough to have a white hood ill sand the clear coat off down the road and spray white with a legit paint gun in the summer time.
11-30-2014, 05:50 PM
#485
Honda-Tech Member
Thread Starter


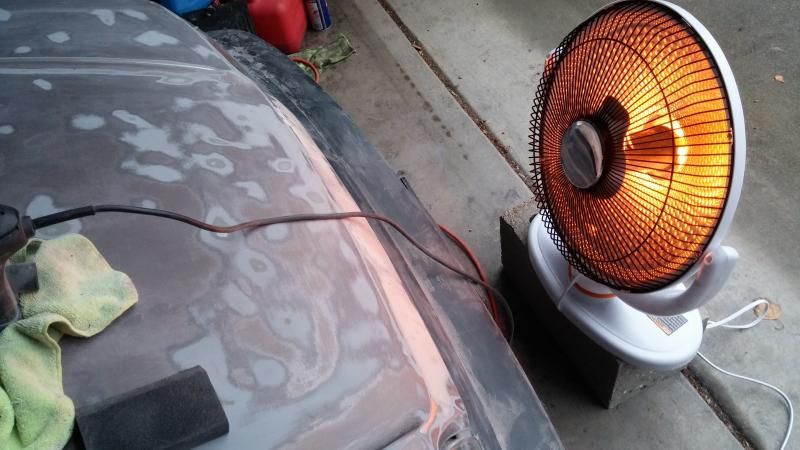
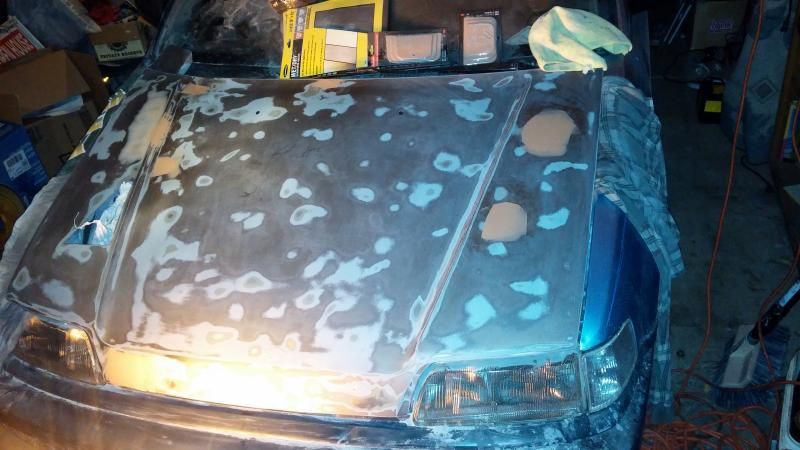
its cold and damp so im trying to get the paint to cure quicker with the space heater
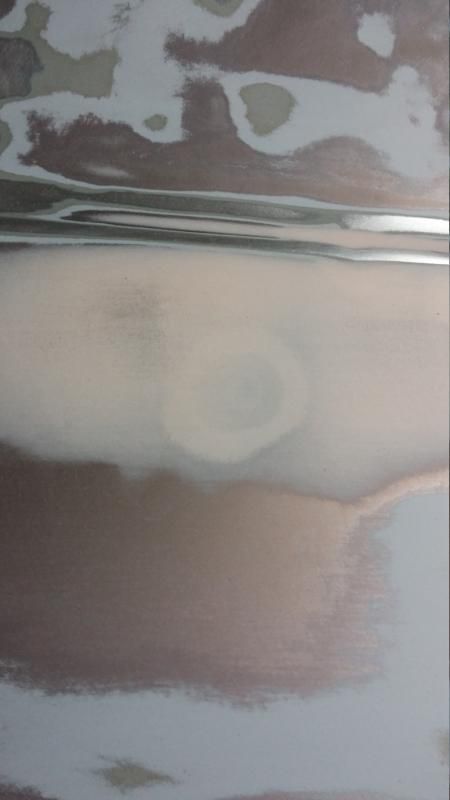
looks like i need to re-hit the deep ding on the top of the hood with bondo again...
i been using sponge sanding blocks but i think i need to use a hard block to make it perfectly flush it looked good until i put a coat of primer then you could see the depression from over sanding . the shaved emblem area looks perfect tho so thats good, the dent in the edge of the middle of the hood is as good as i think its gunna get for now im not sure. i think im gunna call it a day and try again in the morning hopefully i can get the new layer of bondo on for start

tryin to spread the heat across the whole hood


just gunna leave it alone i dont wanna damage the paint and make the whole day a waste here. thanks for peepin
11-30-2014, 08:39 PM
#487
Honda-Tech Member
Thread Starter
 12-27-2014, 01:37 PM
#491
Honda-Tech Member
Thread Starter
i think i saw someone on here with a intake simliar to this and it got the hamster wheel spinning and i was able to get my mini keg intake setup! too bad i need gasoline and a fresh battery charge before i can hear what it sounds like! im going to make rev clips with stock and the mini keg
i brushed the chrome paint off with my table wire wheel and grinder for the sharp edges in the cut to get rid of any loose metal so it wont end up in my motor!
im gunna start painting my roof this weekend too i think if i can get up before 2pm ..
started sanding the old clear and feathering out any paint cracks or chips

 05-21-2015, 01:54 AM
#492
Honda-Tech Member
Thread Starter
I saw a guy put one of these in the back ashtray or something similar to it at least
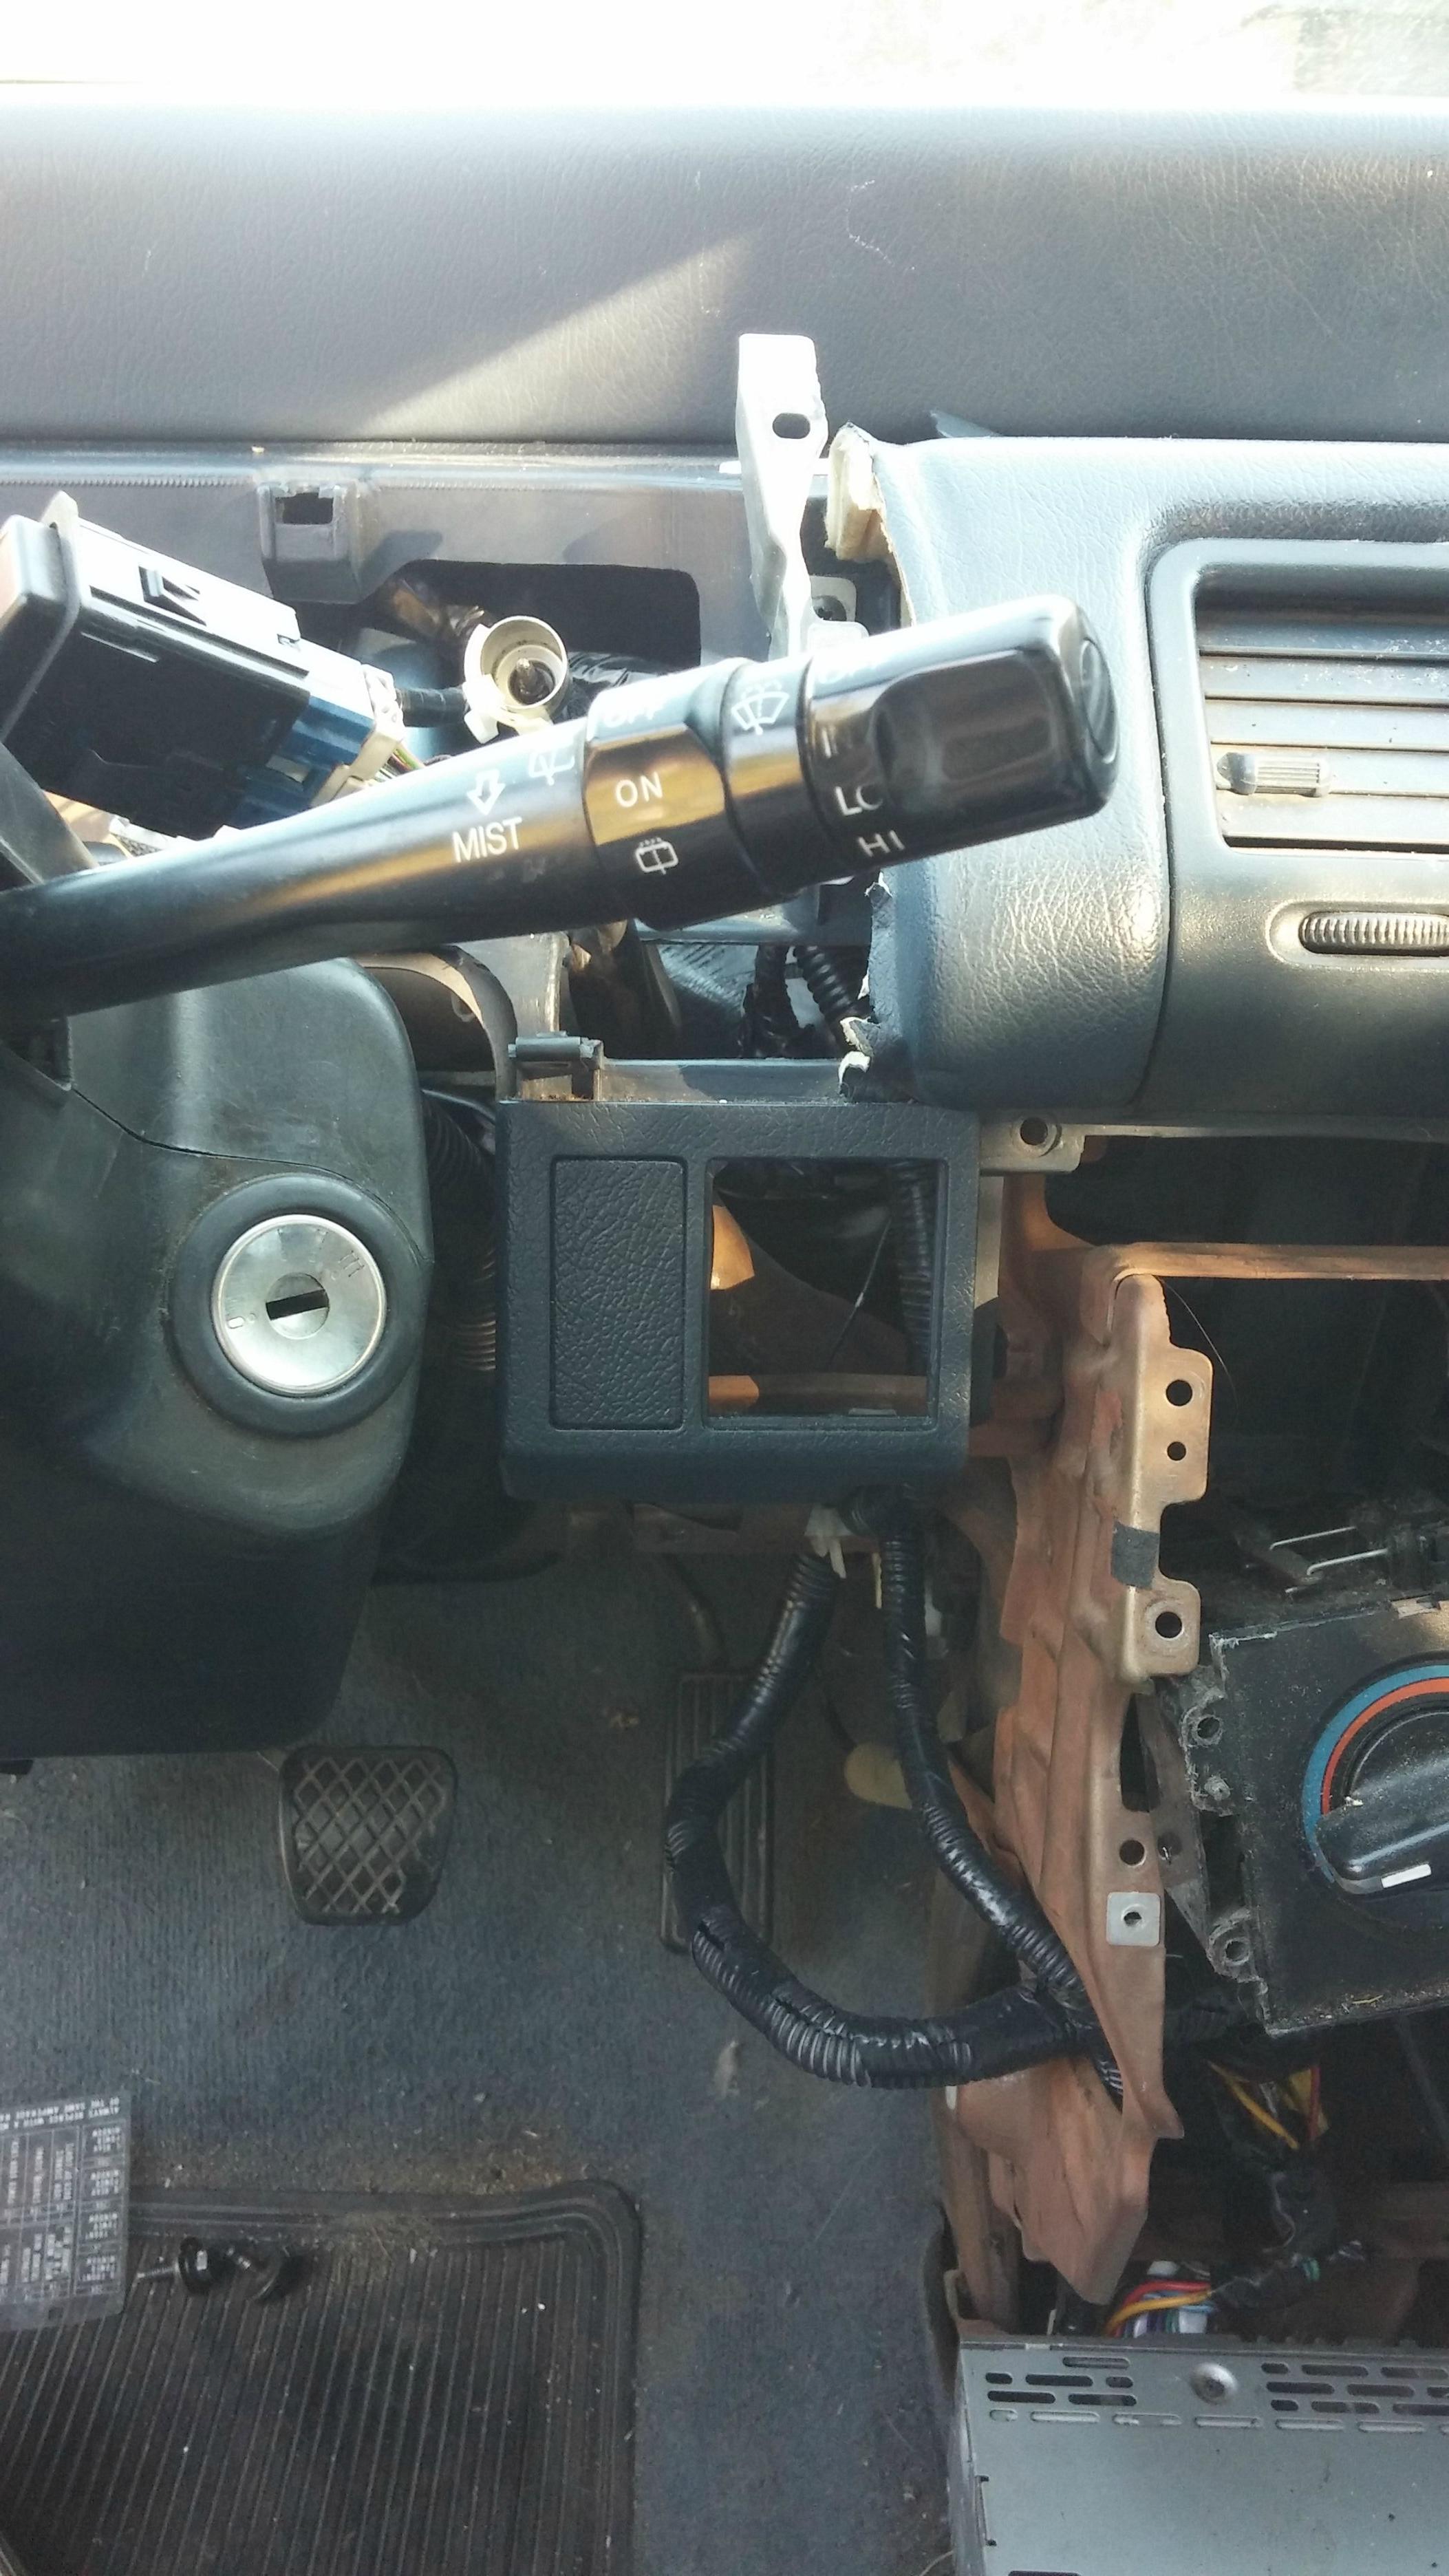
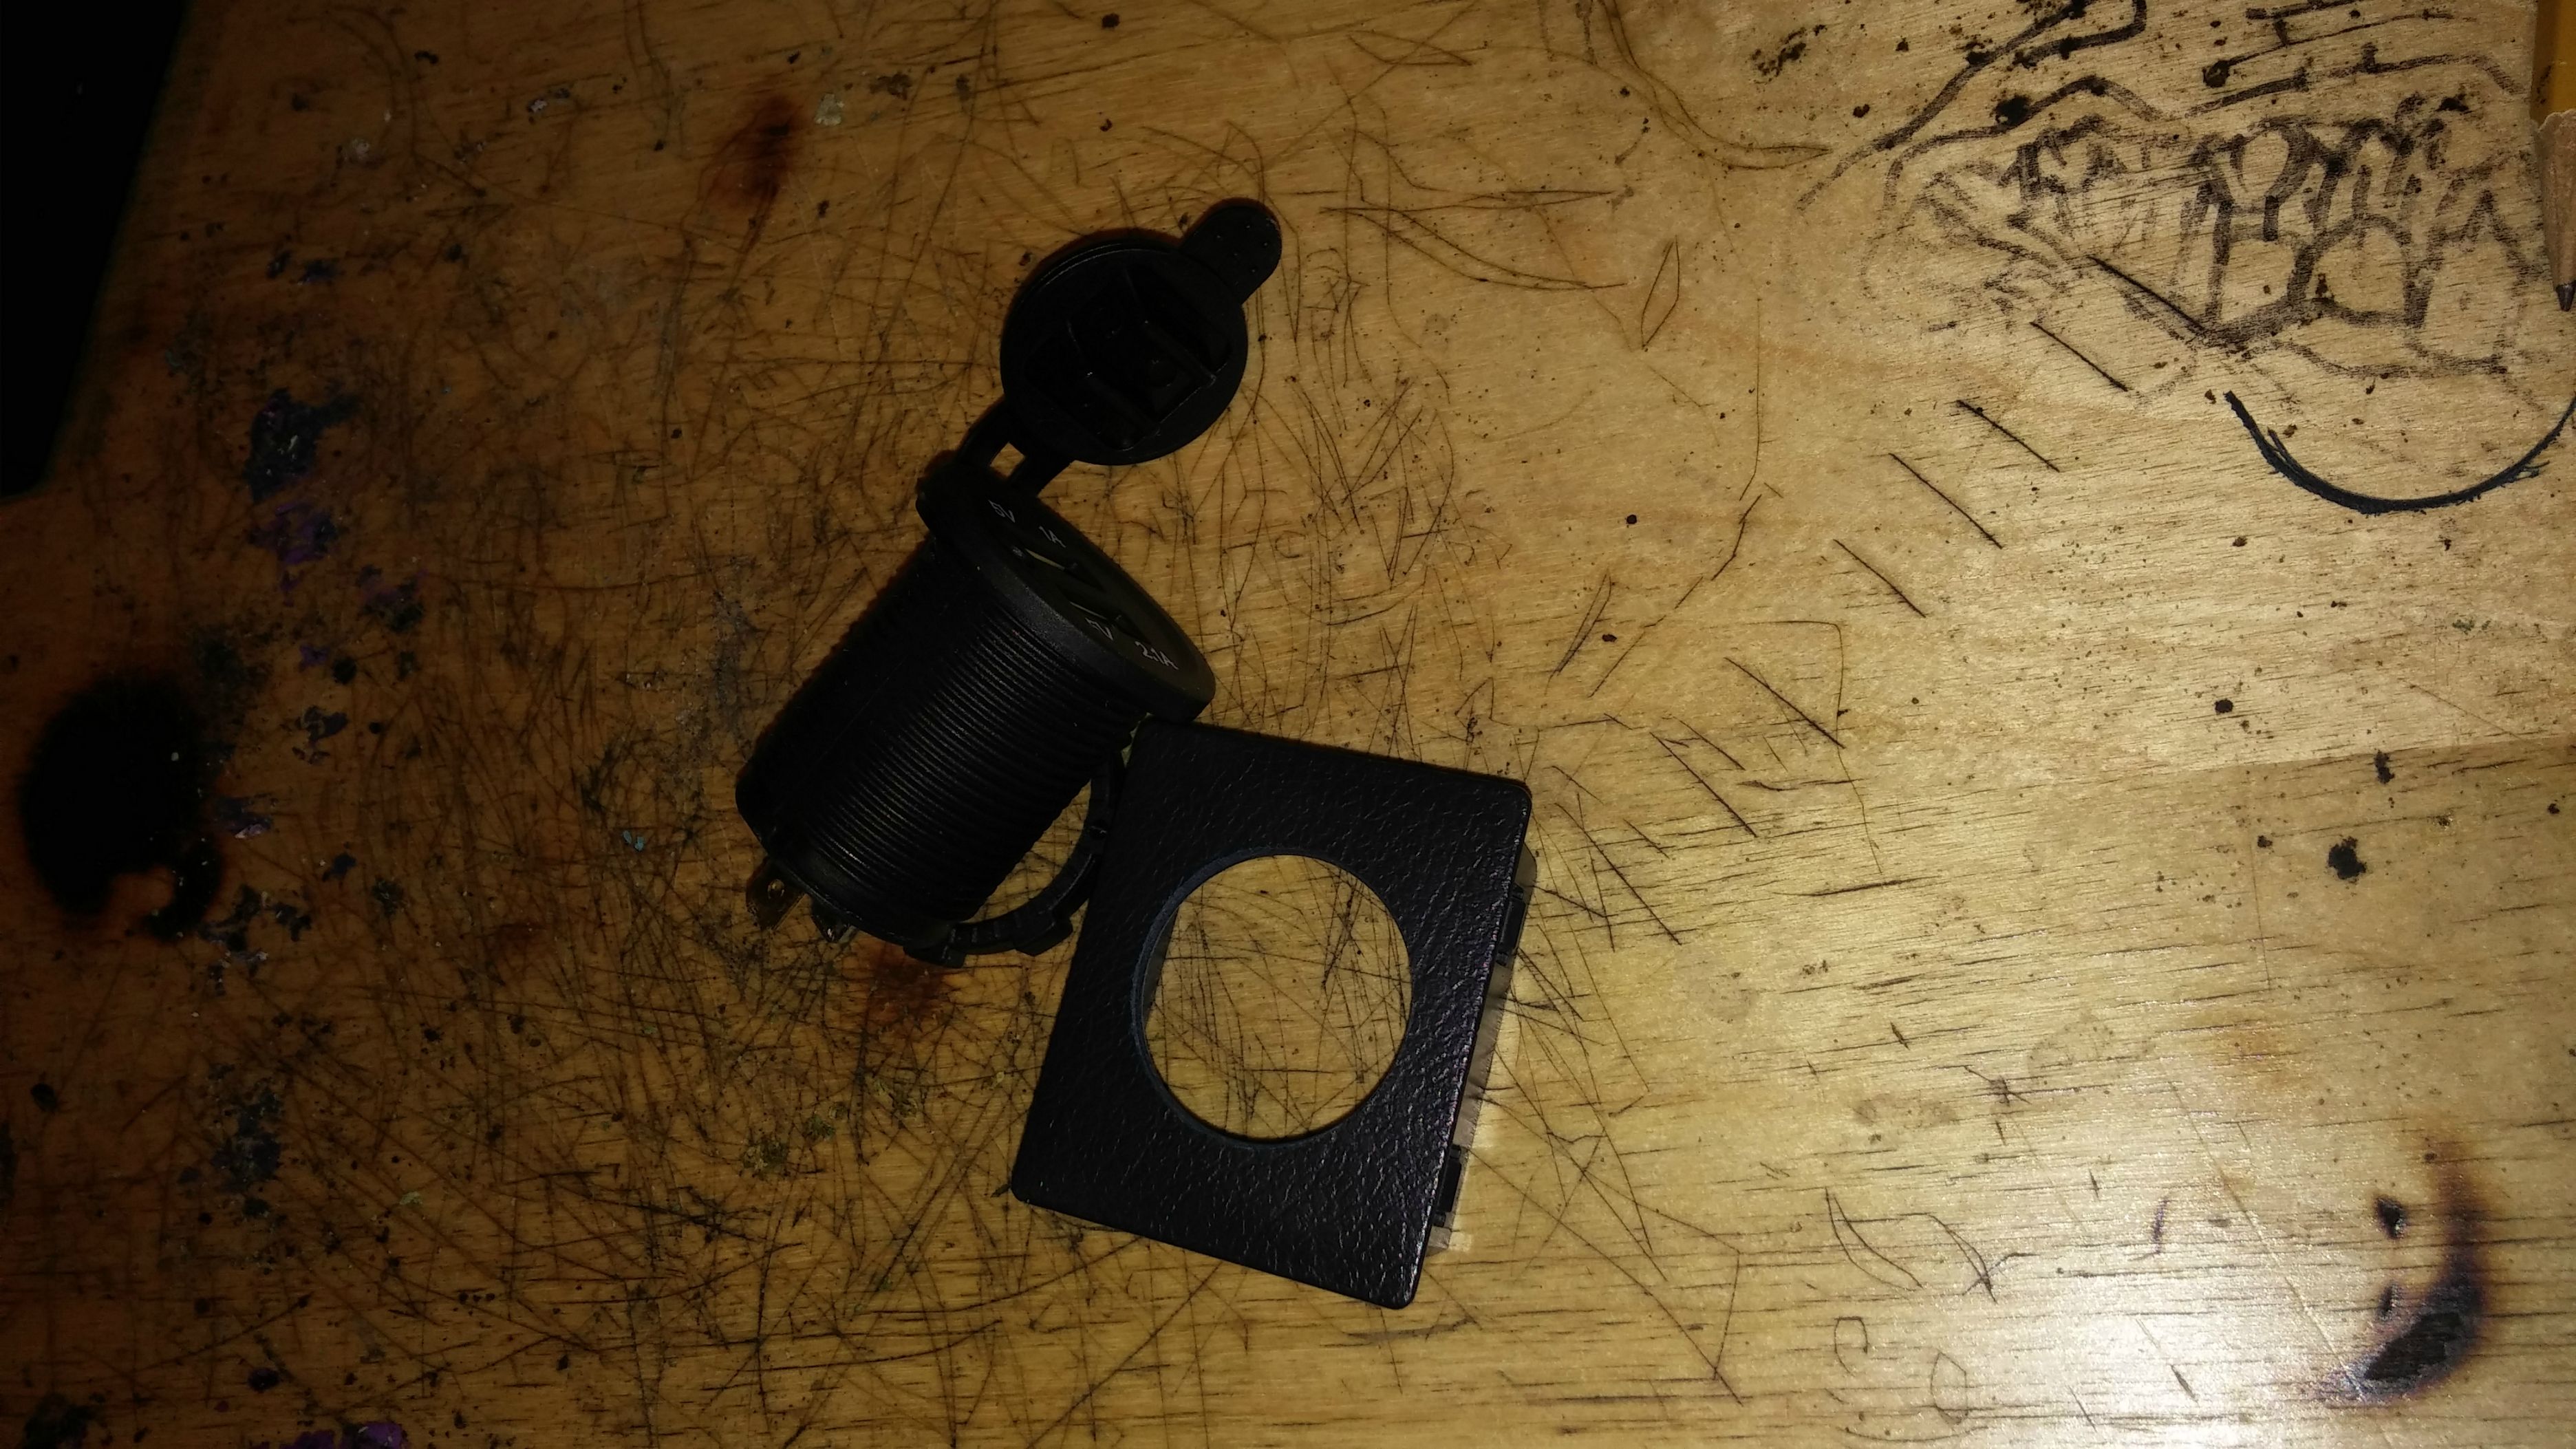
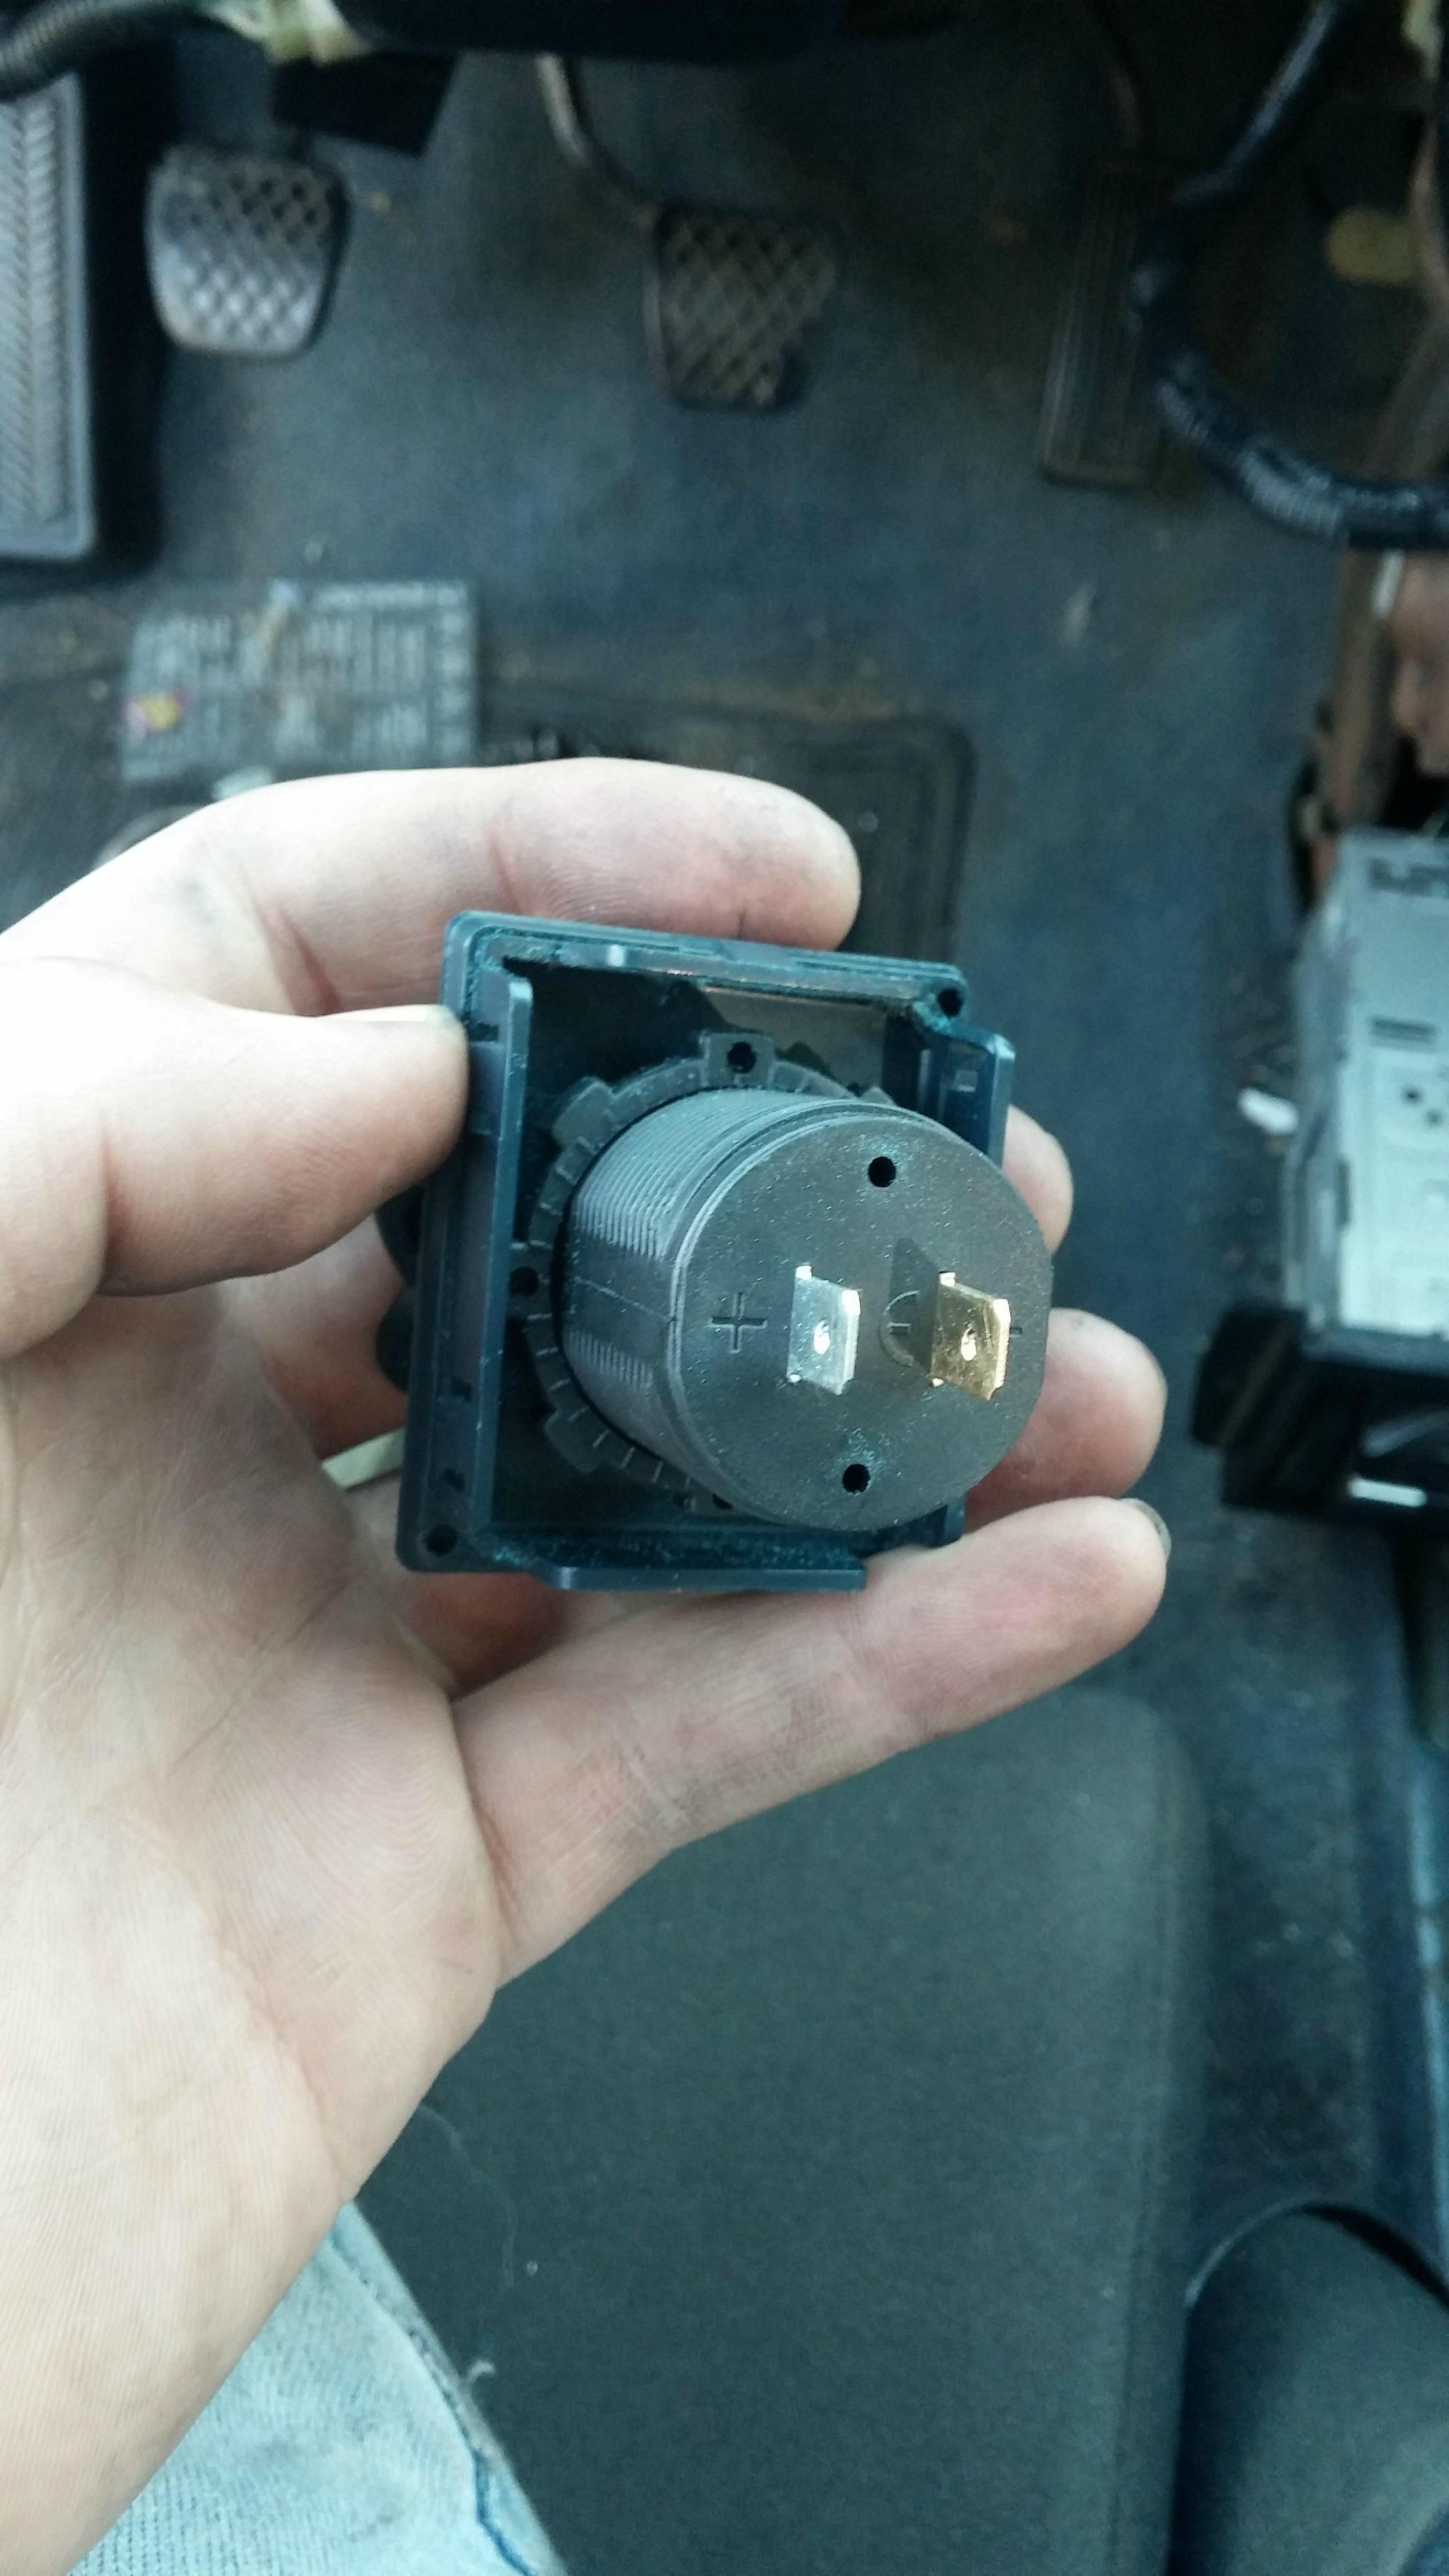
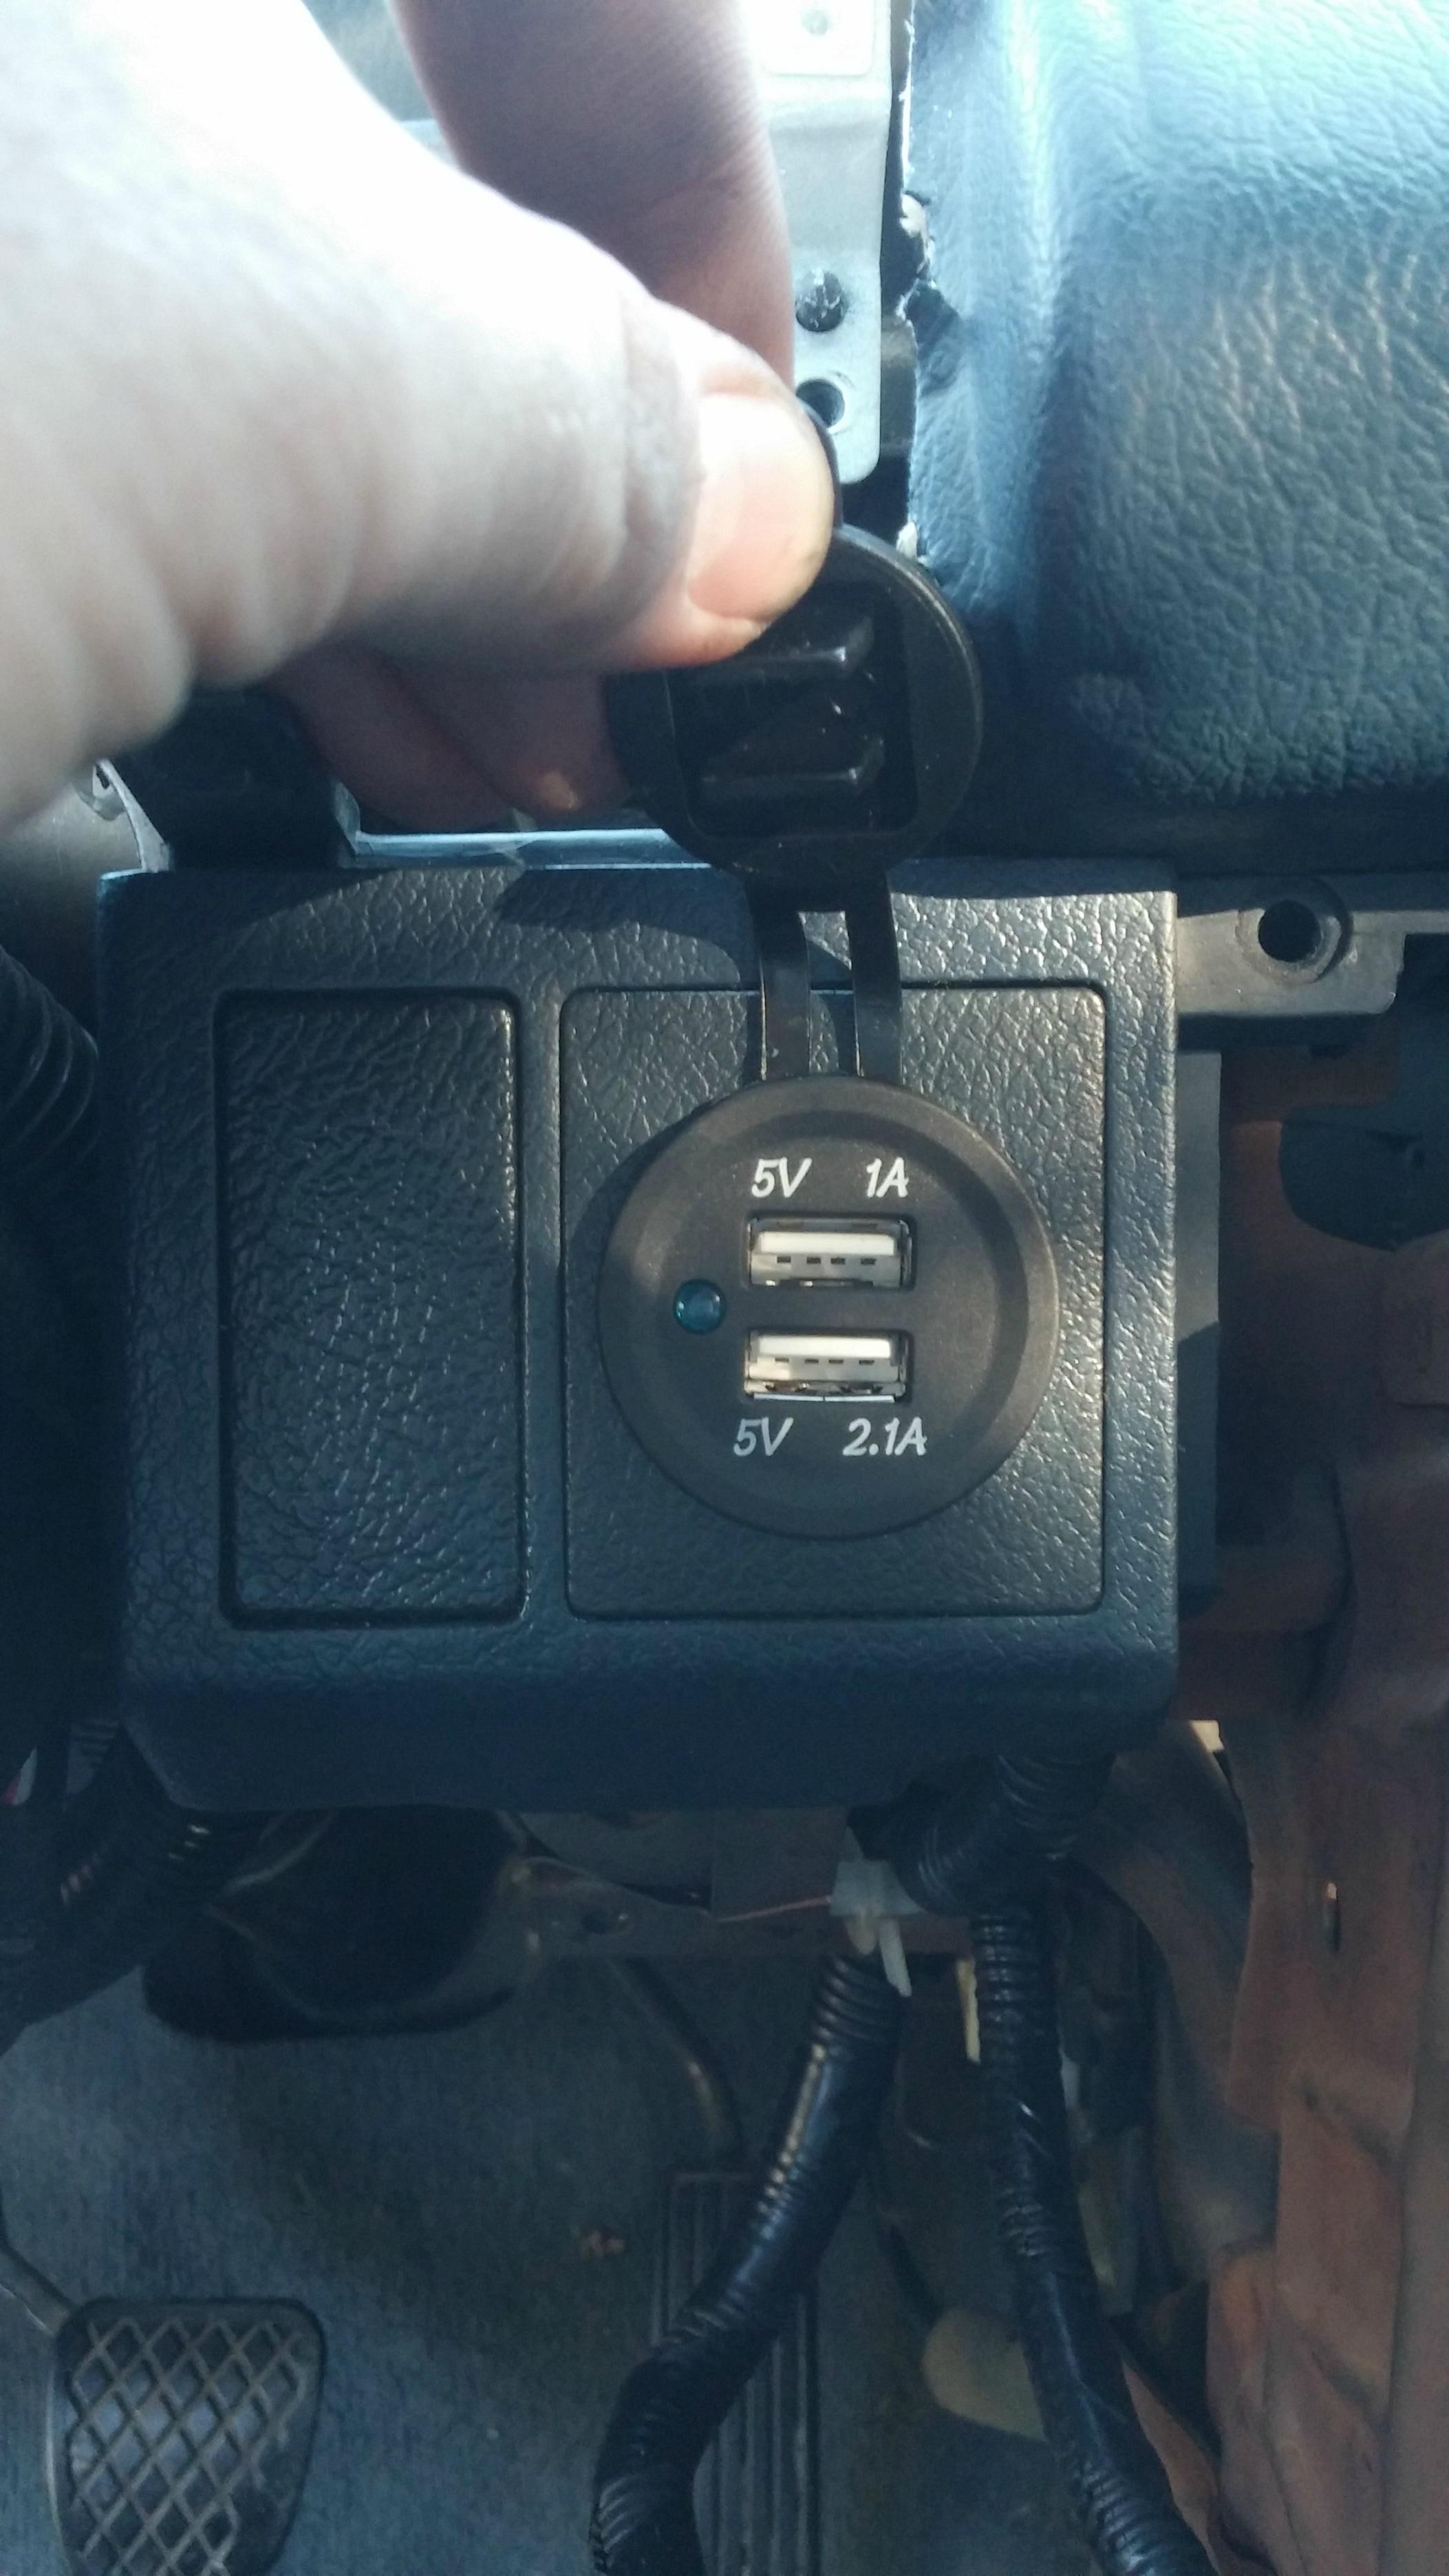
going to wire it up tomorow i got the usb port and drilled a hole in about 5 minutes to get it perfectly tight it has a back nut that spins on the threads to tighten up
i got some silicone to set the nut in place to prevent it from backing as a precaution
it looks to have really simple wiring two prongs
marked neg and pos
it claims to be a 12v so im going to tap into a hot wire that is activated with the key in on position
and the dash harness main ground is located right here stock as well so thats a quick wire.
I hope theres a transformer in there somewhere because it does have two different amperages i assume there is a transformer in there :confused:
ill try to charge a old phone first
oh and just so you know i placed it here really quick with no planning i realize its not very passenger friendly but its close enough for me
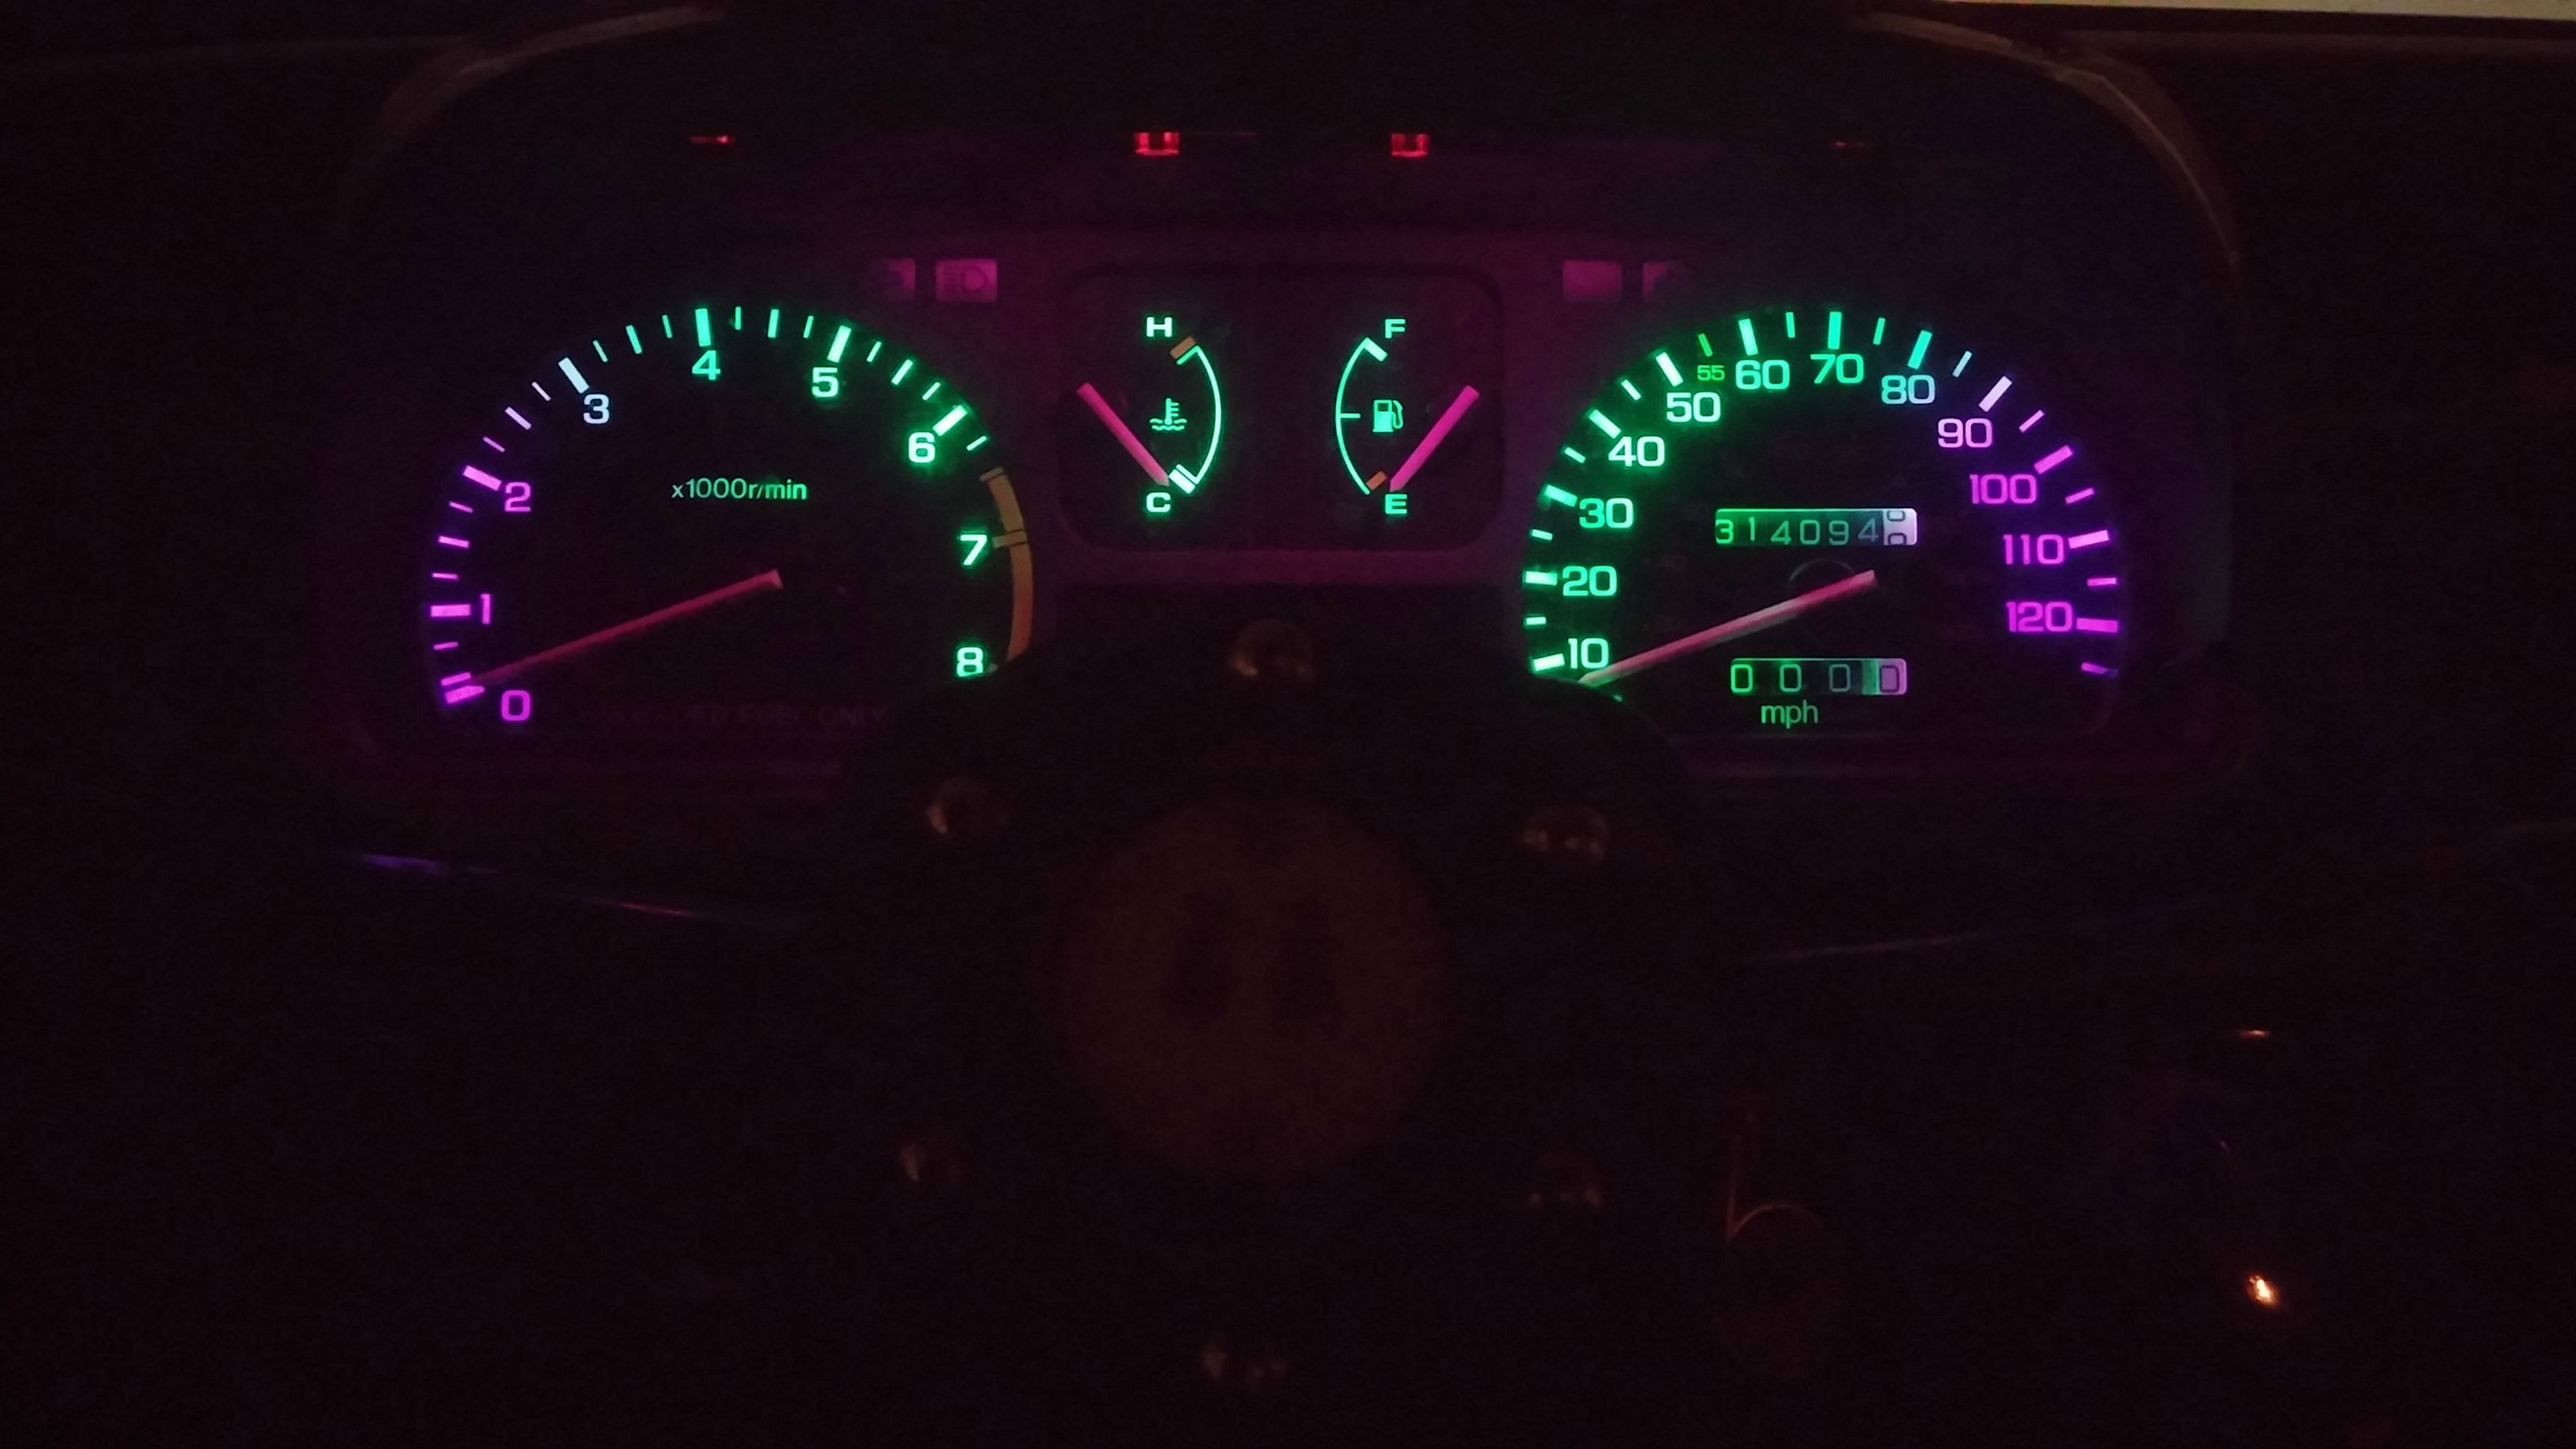
xpost from another thread about led instrument gauges
heres mine! the pic is shitty but it comes out looking really purple and green
going to wire it up tomorow i got the usb port and drilled a hole in about 5 minutes to get it perfectly tight it has a back nut that spins on the threads to tighten up
i got some silicone to set the nut in place to prevent it from backing as a precaution
it looks to have really simple wiring two prongs
marked neg and pos
it claims to be a 12v so im going to tap into a hot wire that is activated with the key in on position
and the dash harness main ground is located right here stock as well so thats a quick wire.
I hope theres a transformer in there somewhere because it does have two different amperages i assume there is a transformer in there :confused:
ill try to charge a old phone first
oh and just so you know i placed it here really quick with no planning i realize its not very passenger friendly but its close enough for me
xpost from another thread about led instrument gauges
heres mine! the pic is shitty but it comes out looking really purple and green
05-22-2015, 09:01 AM
#494
Honda-Tech Member
Thread Starter
heres my write up
DIY Modernizing a Car w/Dual USB Outlet in my 91 Wagon - Album on Imgur
12-03-2021, 11:25 AM
#496
Honda-Tech Member
yes. i have been off forums in a long time but i have been browsing lately when i have down time at work. keep me entertained damn it!
12-04-2021, 06:25 AM
#498
Honda-Tech Member
Thread Starter
12-04-2021, 06:27 AM
#499
Honda-Tech Member
Thread Starter
most recent video
The following users liked this post: