

My H22 Swap from start to finish. Over 80 photos of every step.

Thread Starter
Joined: Jul 2006
Posts: 232
Likes: 0
From: Cedar Rapids, IA, USA
If this is in the wrong spot, please move, thanks!
First of all I must thank Derek Banks for use of tools, providing us with a nice air conditioned shop, and knowledge/ experience that made this car what it is now. Derek, my friend Blake, and myself put this project together in a couple weeks, working off and on sometimes because we were waiting for parts. The axles have been switched out for Driveshaft shop since the pictures.
Here are the specs:
JDM H22A engine and transmission
Hasport engine harness
Pro-Grip mounts
ACT clutch/ Flywheel
DC header
Apexi Dunk megaphone exhaust
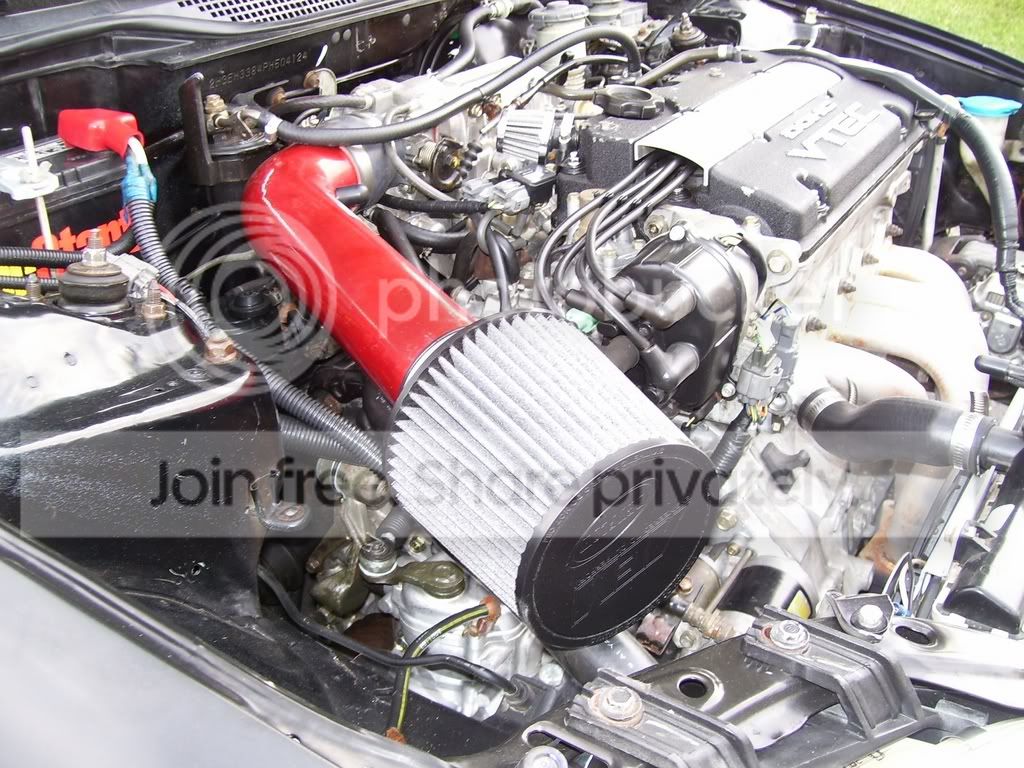
AEM short ram intake
Brembo front brakes
KYB gr2 struts
RS*R springs
15 inch Rotas
Falken 512's
Rear strut bar
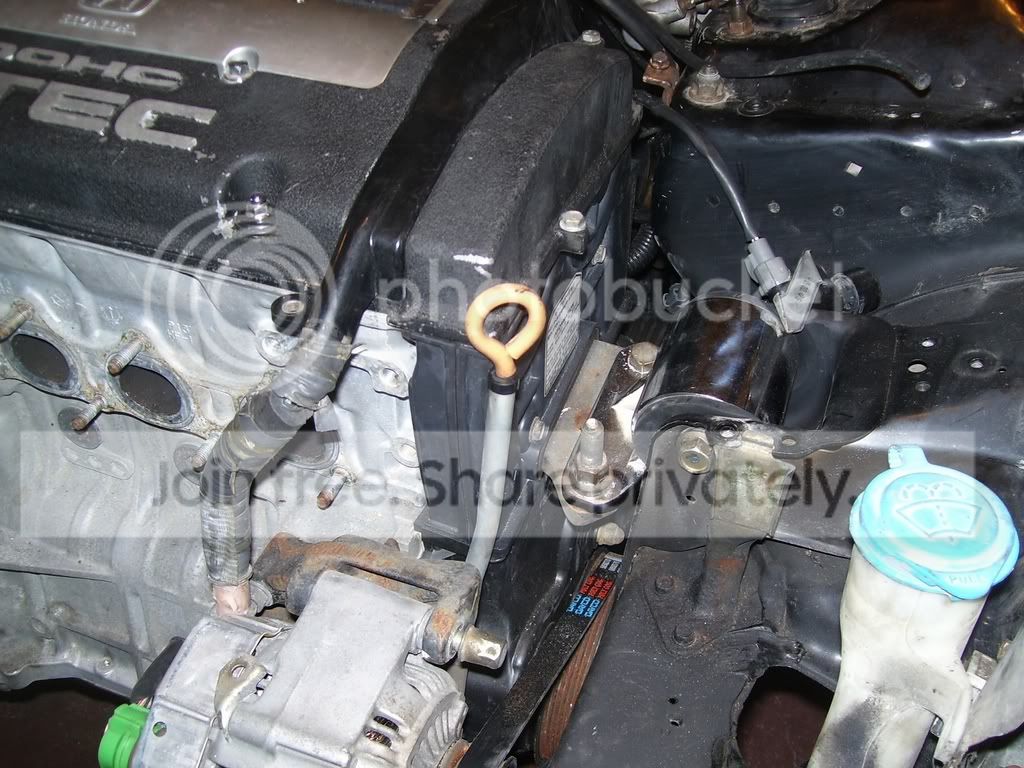
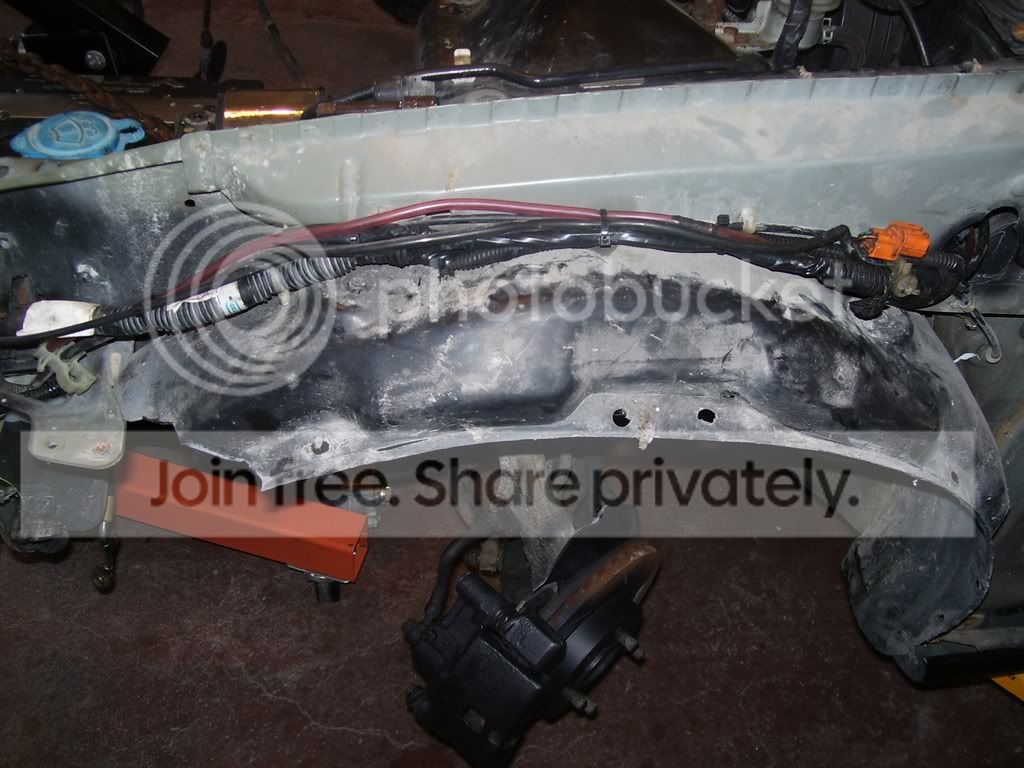
The engine was swapped into my 93 SI. Car was hit in the front at some point in its life so we also replaced the front core support at the time of the swap along with the passenger fender. A small wire tuck was done mainly to get things out of the way and not so much clutter, we ran the headlight wiring on the inside of the fenders as you will see in the picures. We used PRO-GRIP motor mounts, they arent the cheapest but they sure arent Hasports either. I didnt feel like spending near 700 on mounts, although I probably would have if hasport still made the tourque mount design. We contacted Hasport on this issue and a rep told us that setup had been discontinued and they were now using the plate that bolts to the frame instead.
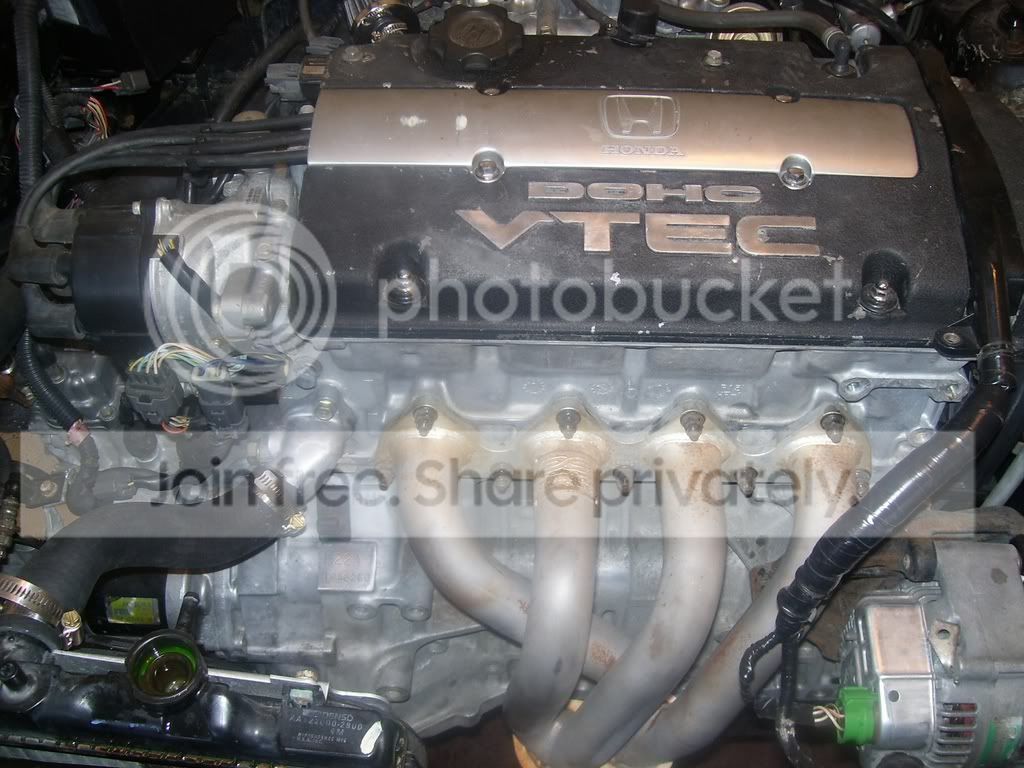
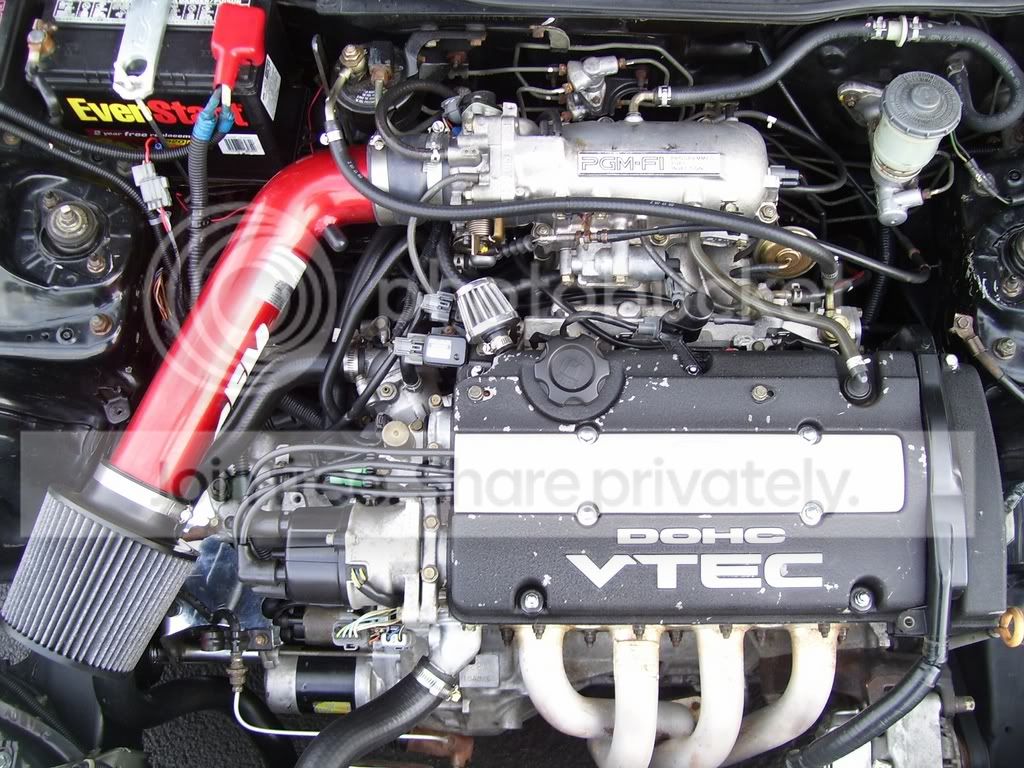
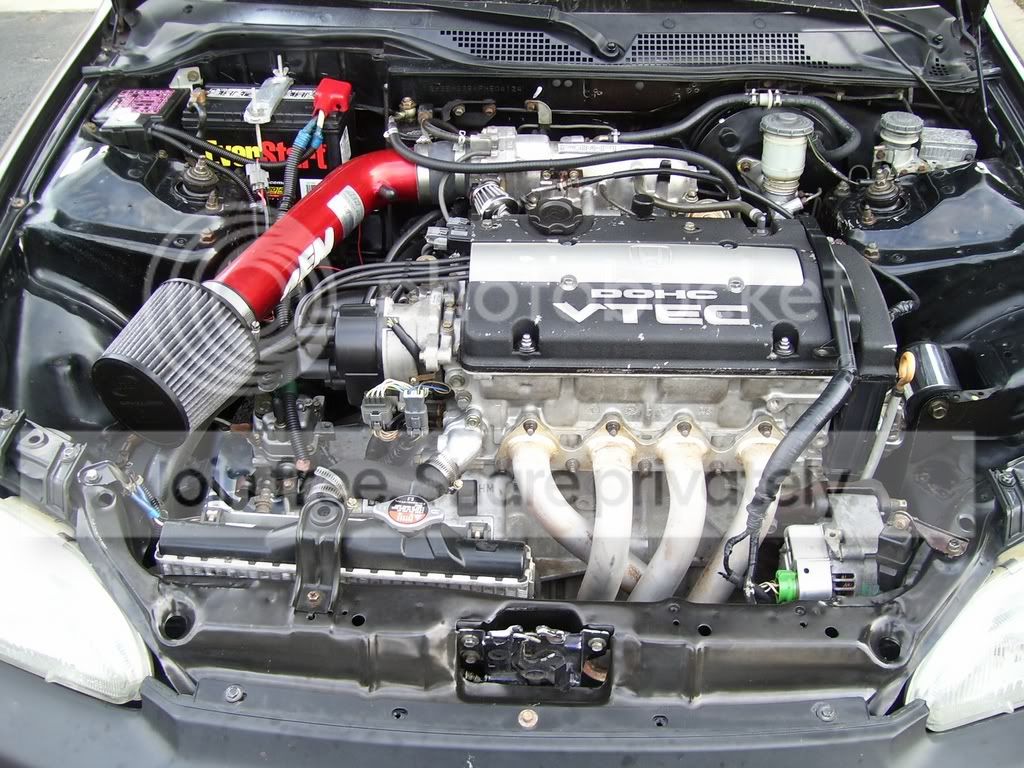
The Motor:

FAL Fan:

STEP 1
Removal of old core support


New core support. We installed this later on in the swap.
STEP 2:
Fill the rack and loop the power steering lines. Also at this time the Air Condition and cruise control were removed.

STEP 3:
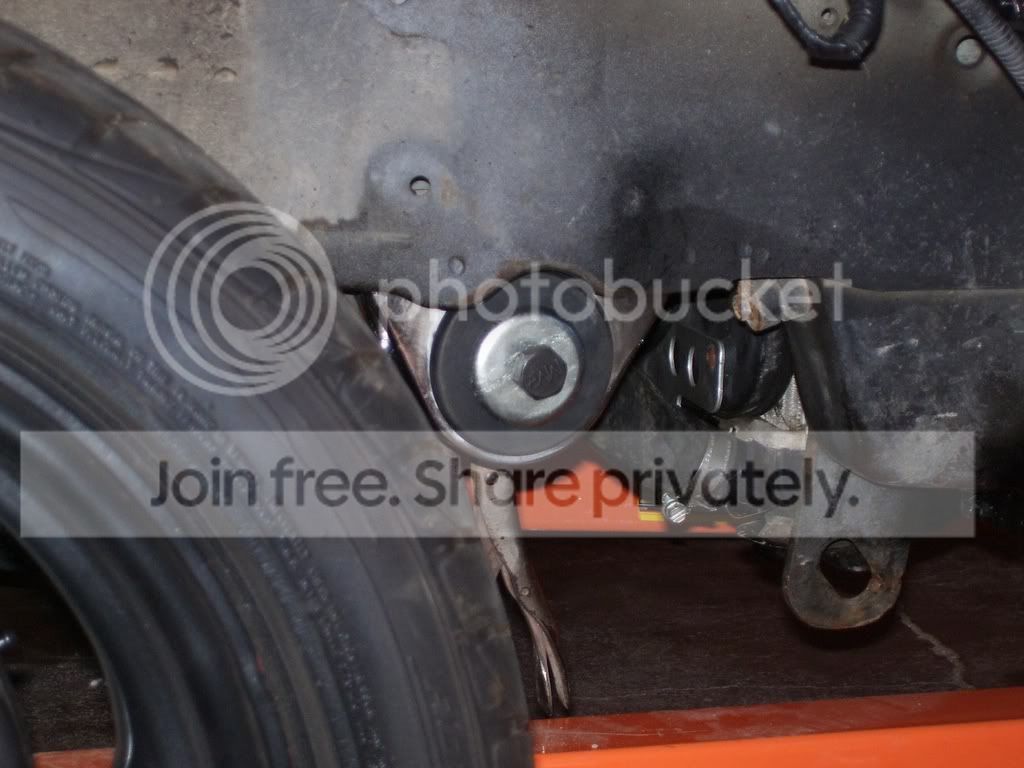
Removal of the passenger side mount entirely


STEP 4:
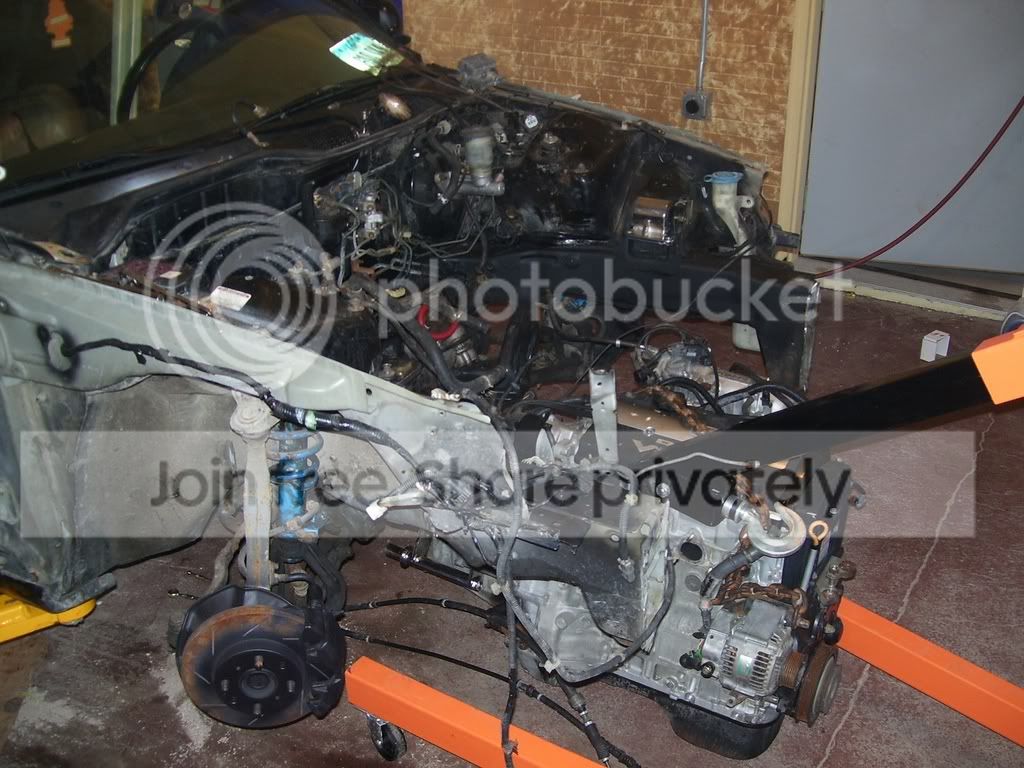
We decided next to gut the interior early on in the project to save time later and also to reduce the risk of damage as the project continues.


STEP 5:
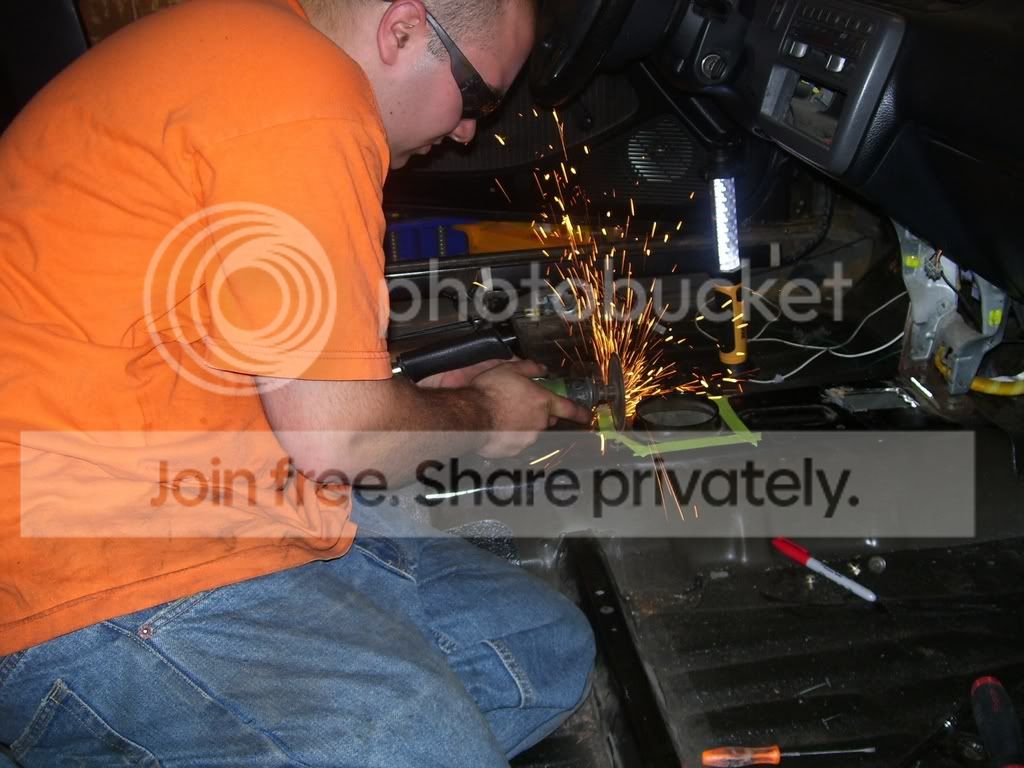
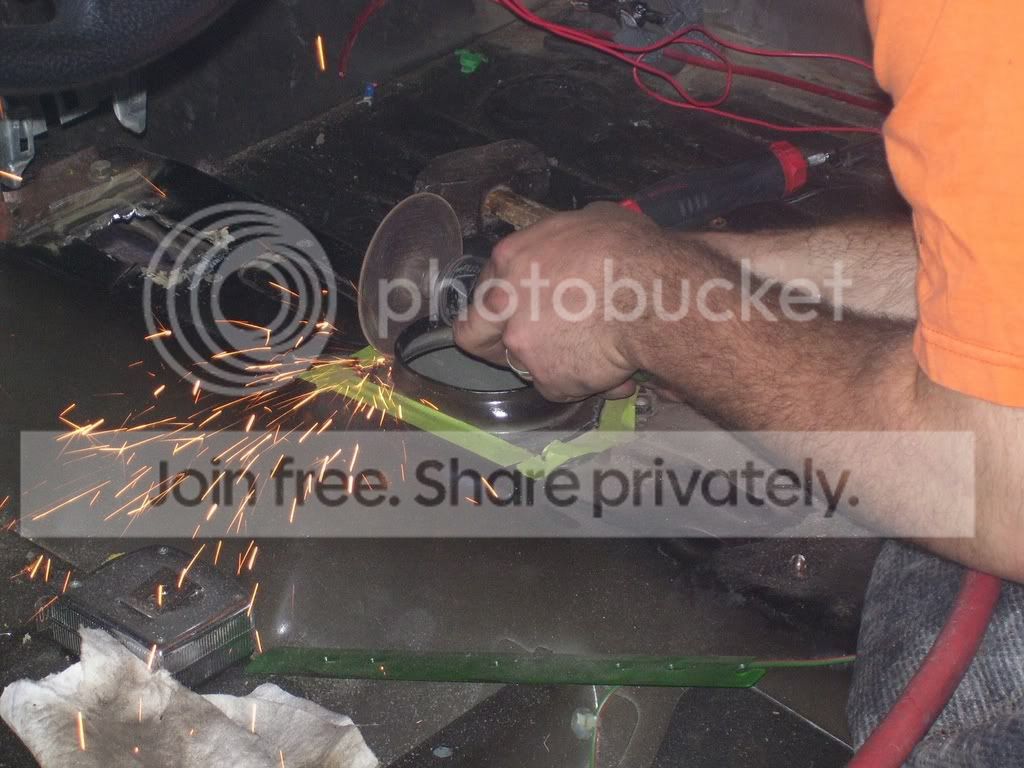
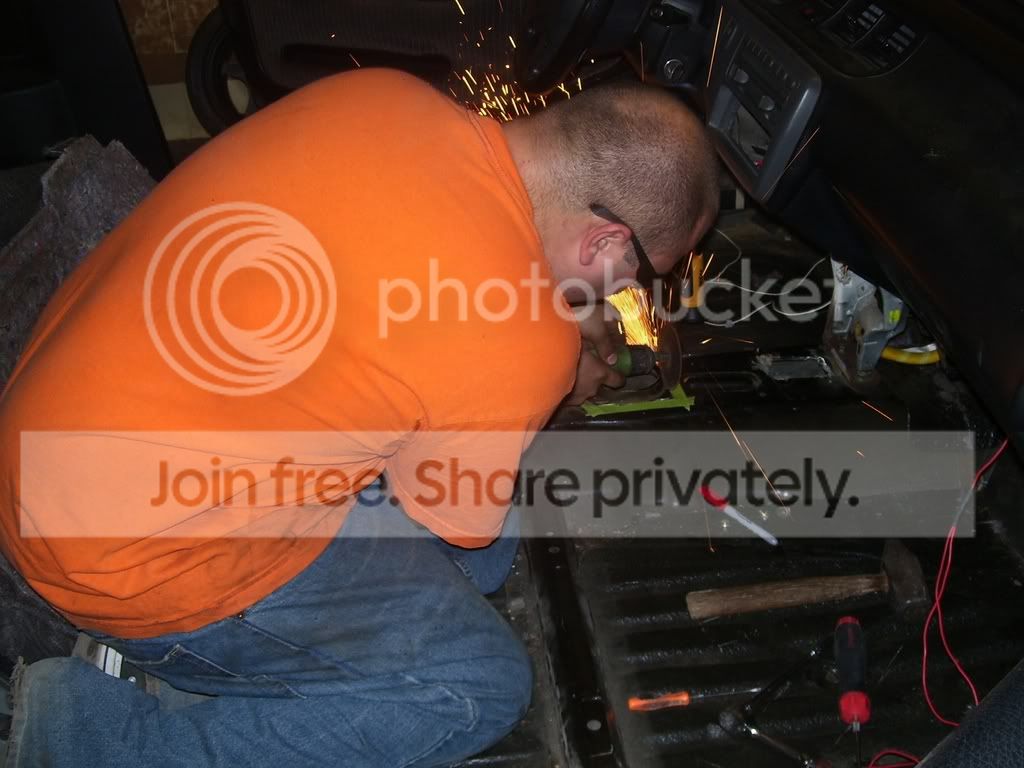
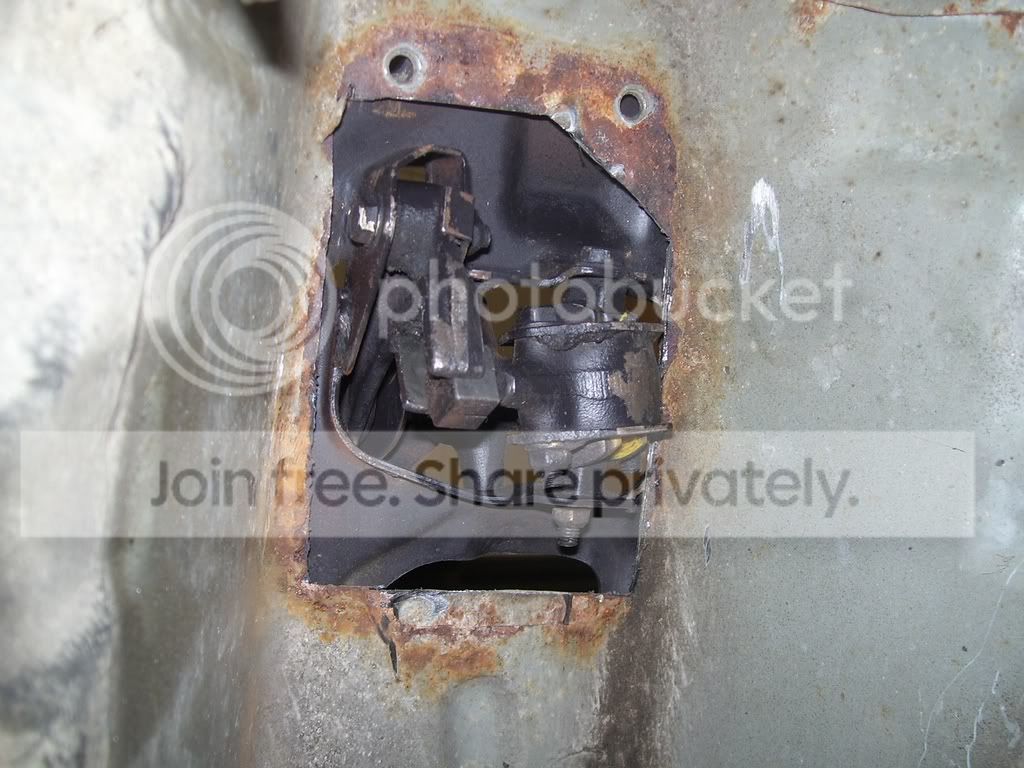
Some people like to wait until the engine is installed to cut the holes in the body which is fine, but we got measurements elseware and after a test fit of the engine started to mark and cut the holes.


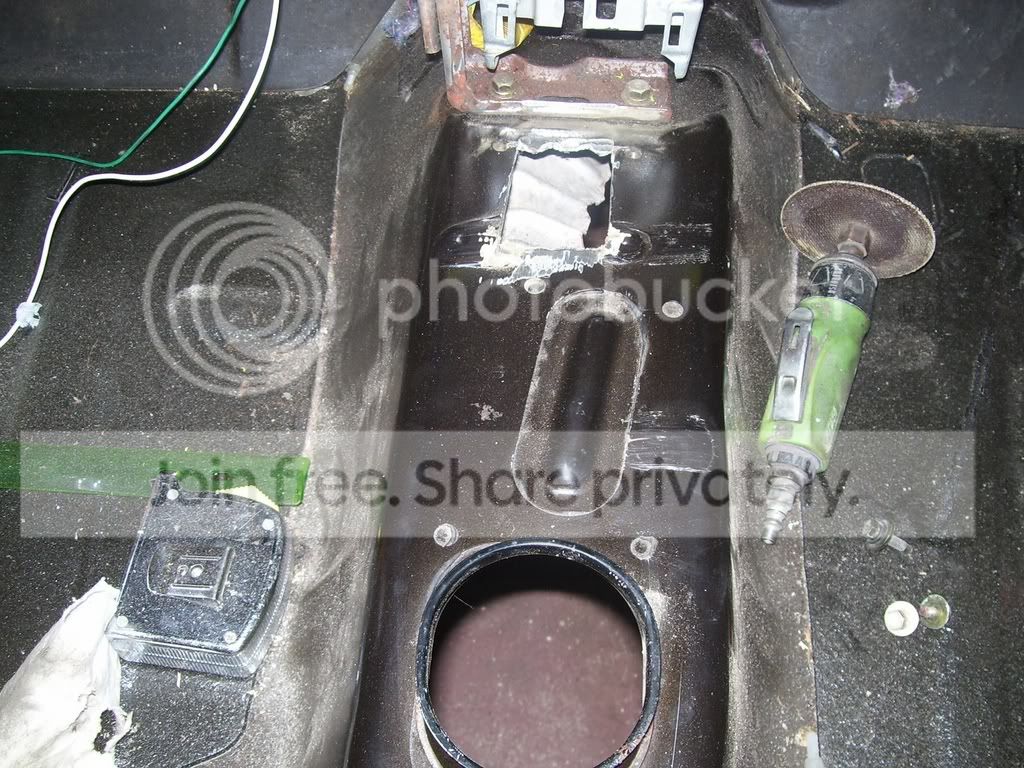

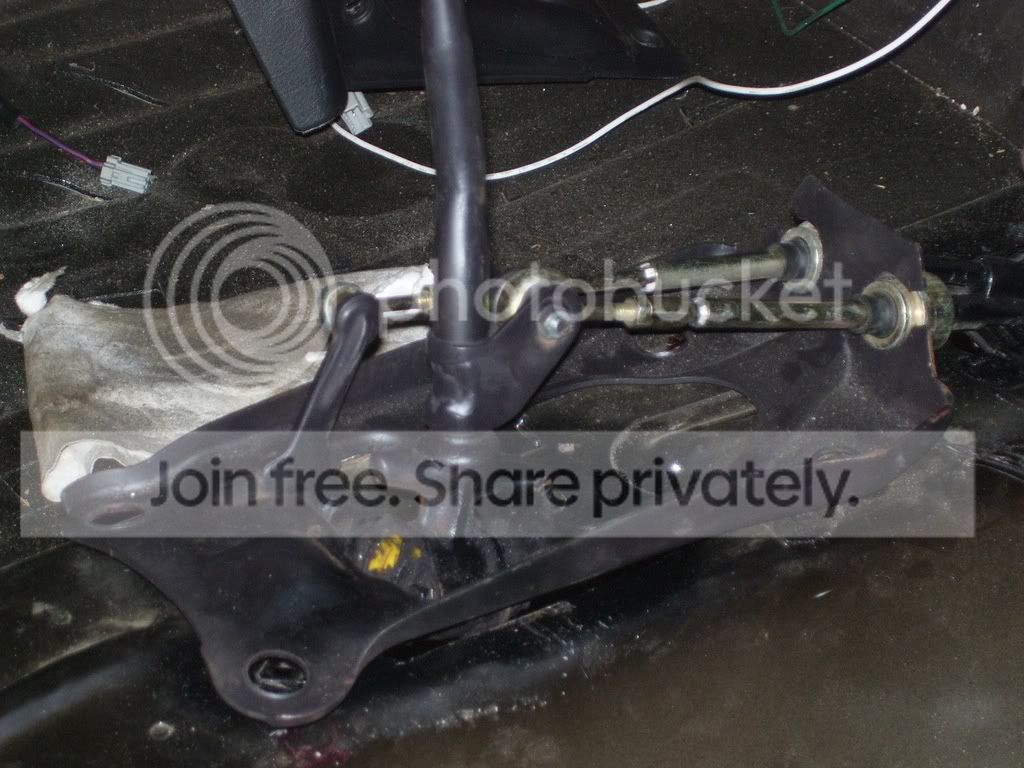
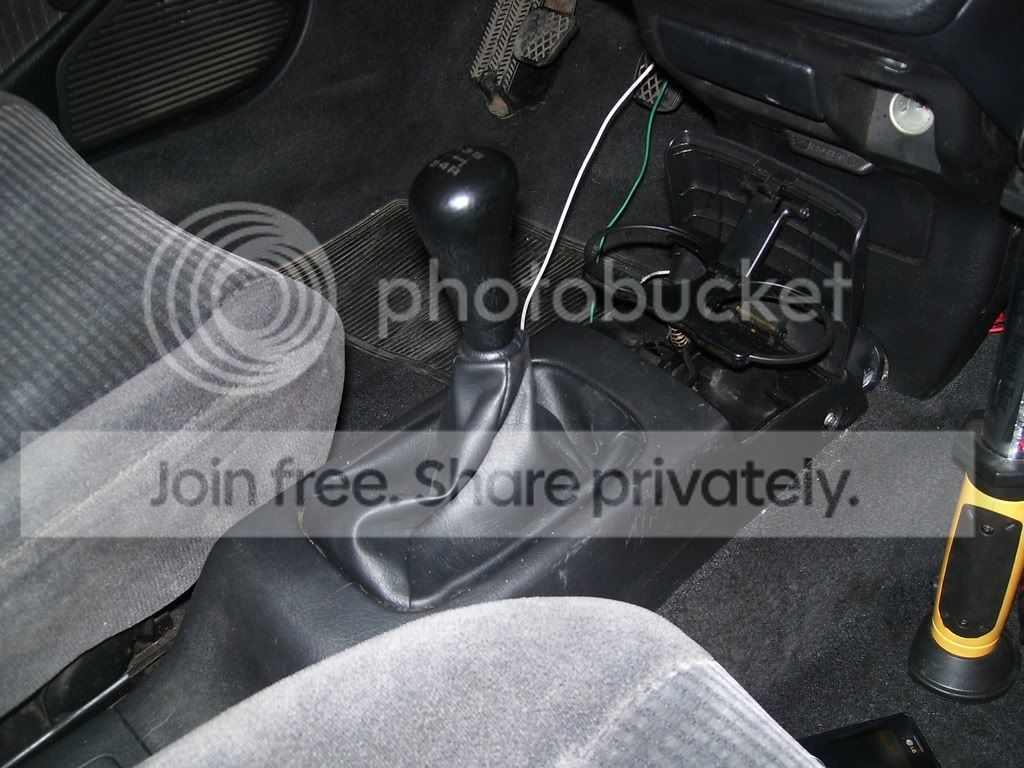
Shifter plate assembly that gets bolted to floor:

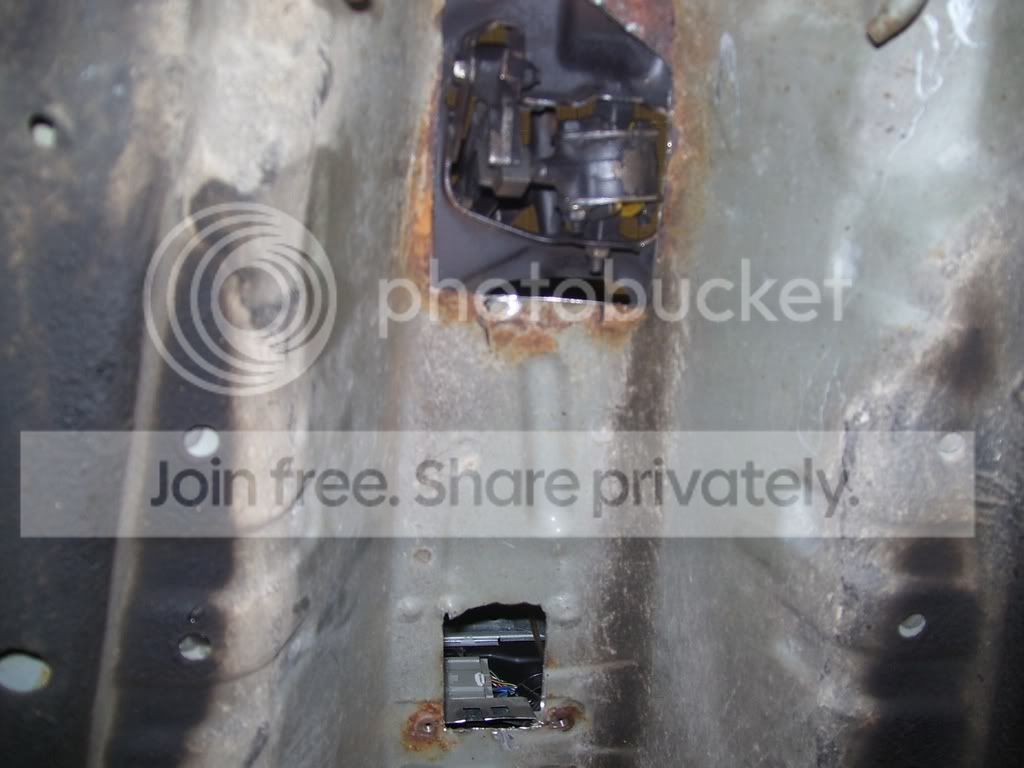
Shifter plate hole
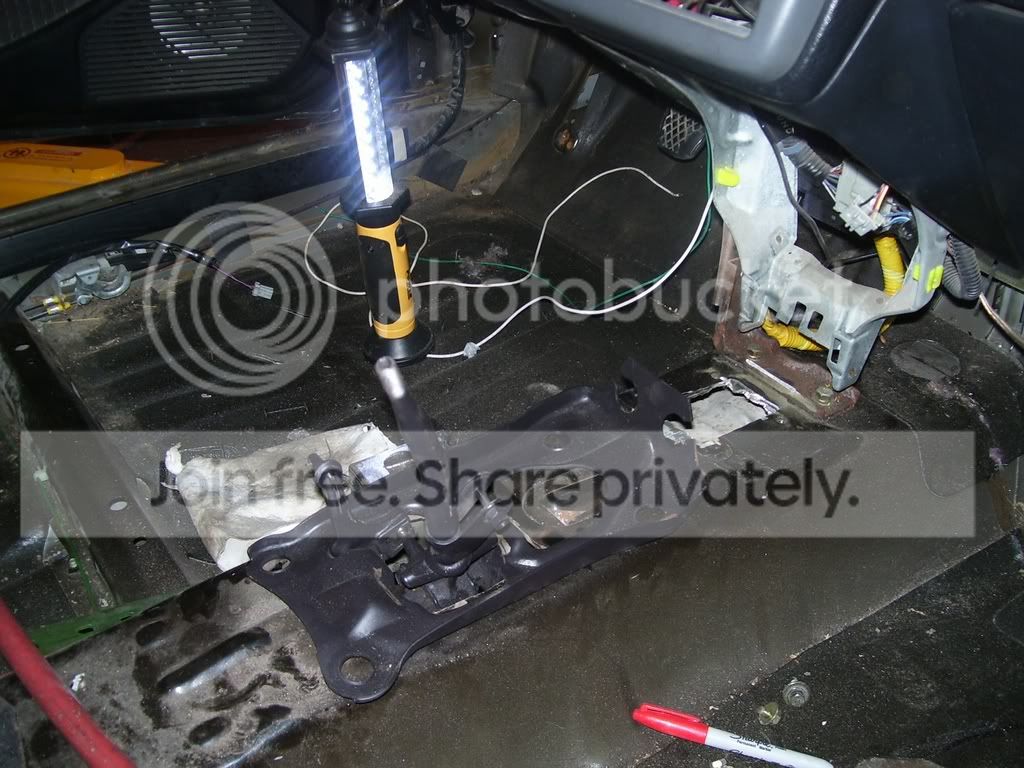
Test fit, we wanted to cut the least amount possible and still have optimal clearance.

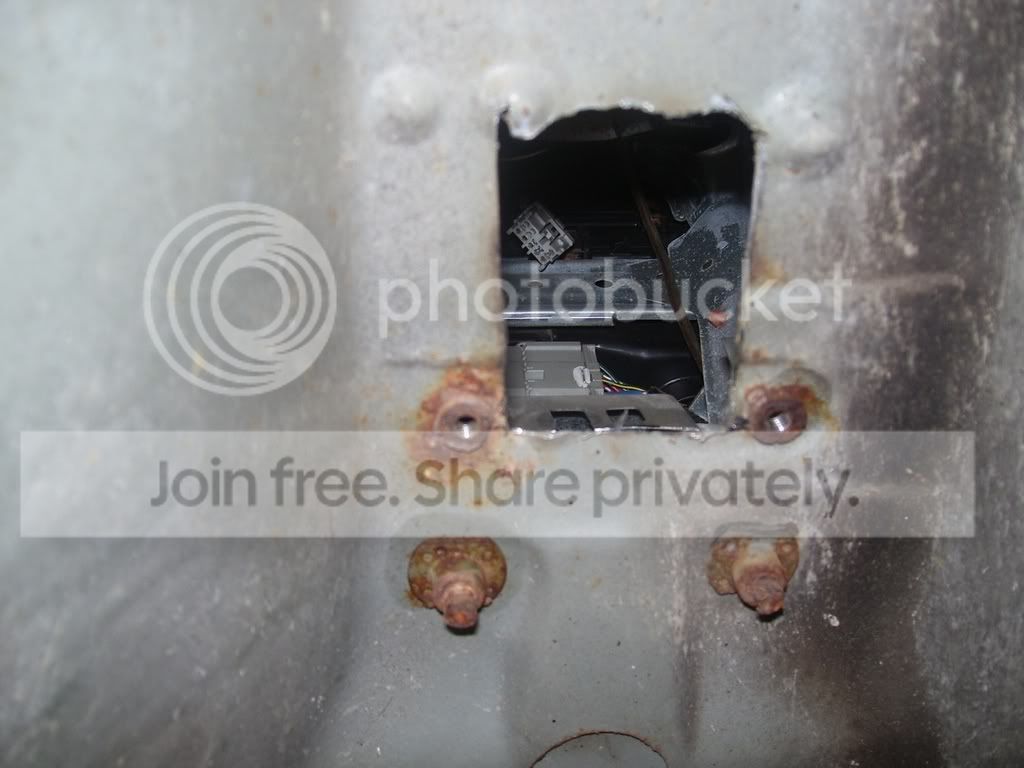
Cable hole before we cleaned it up
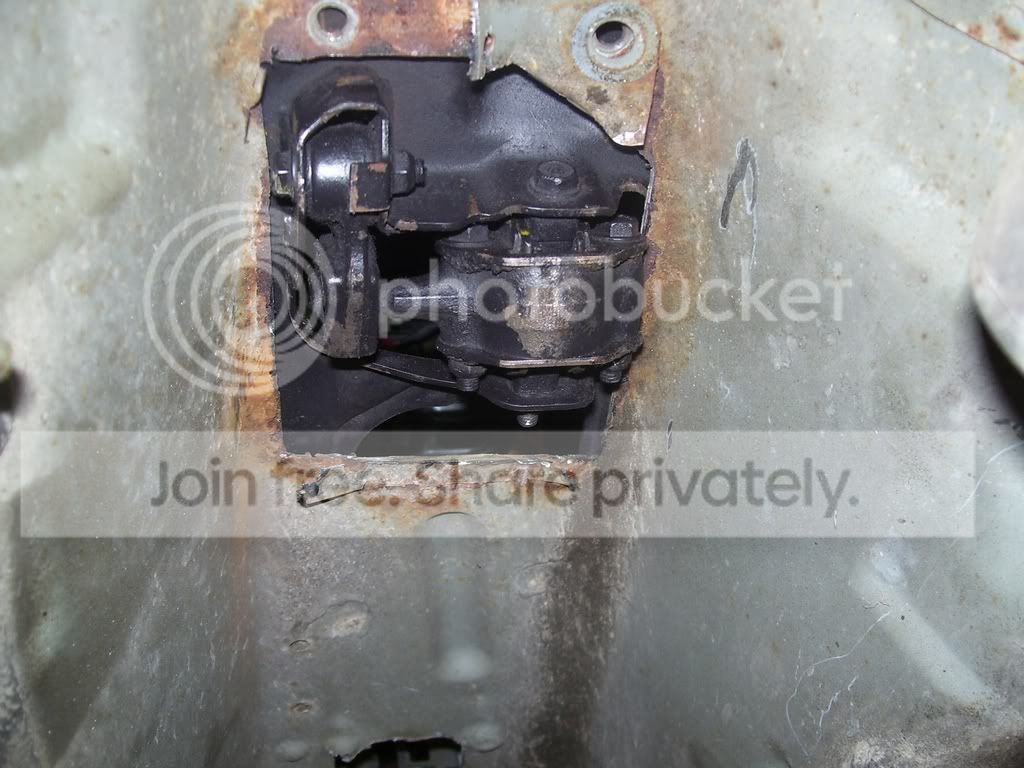
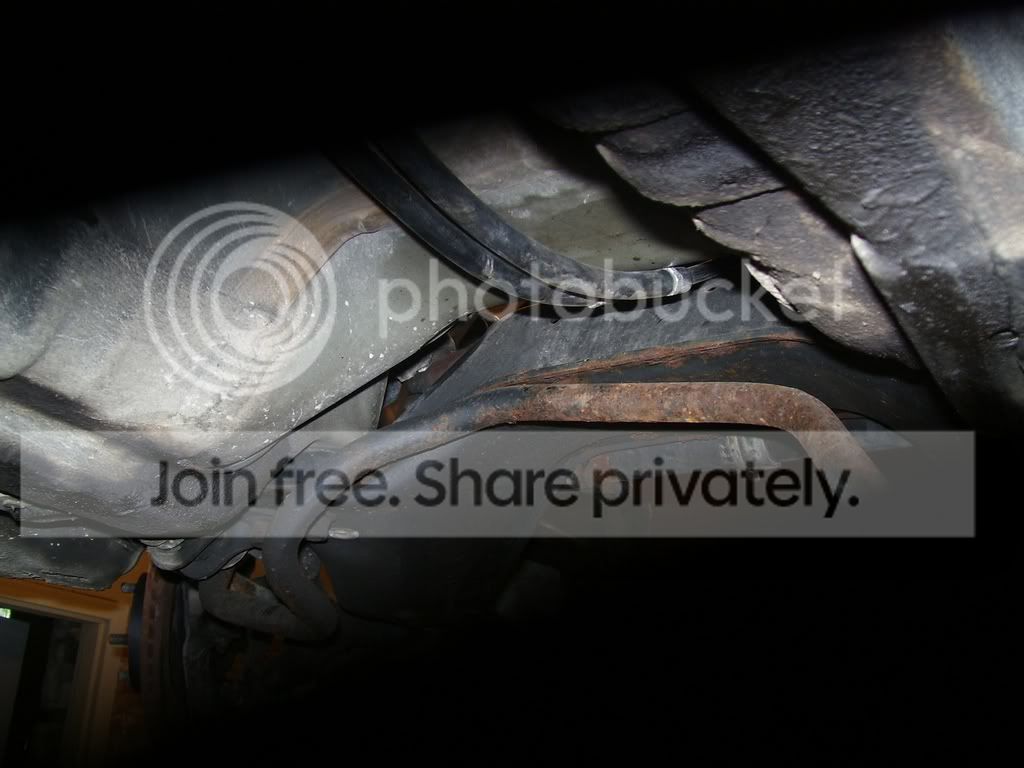
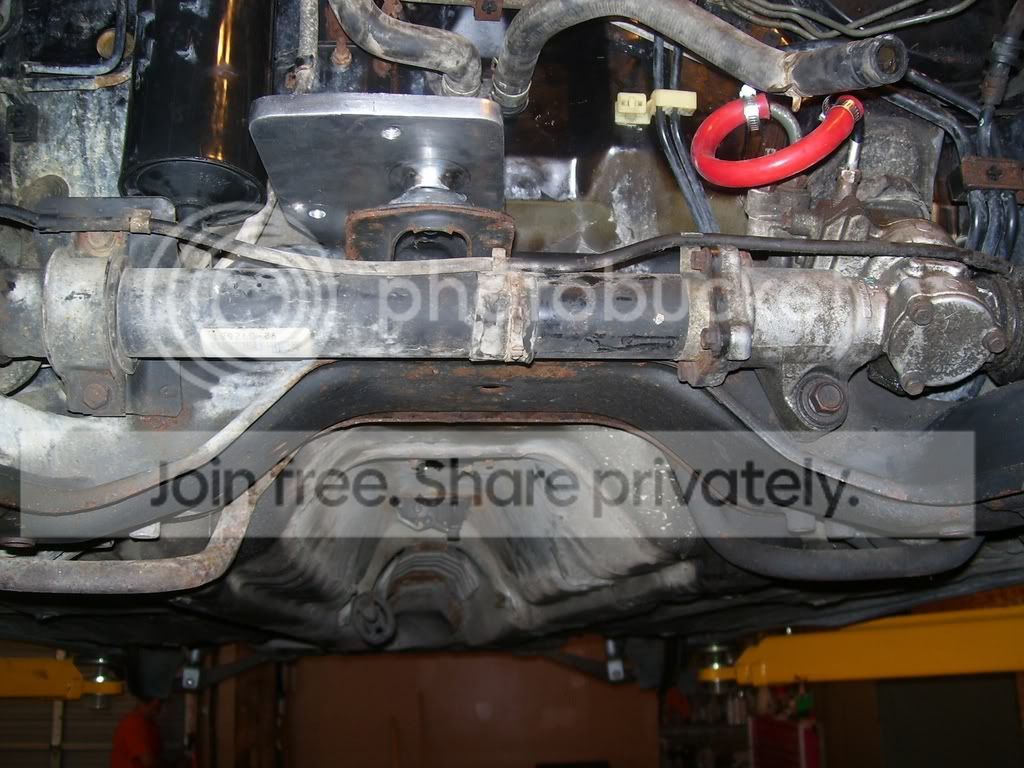
STEP 6:
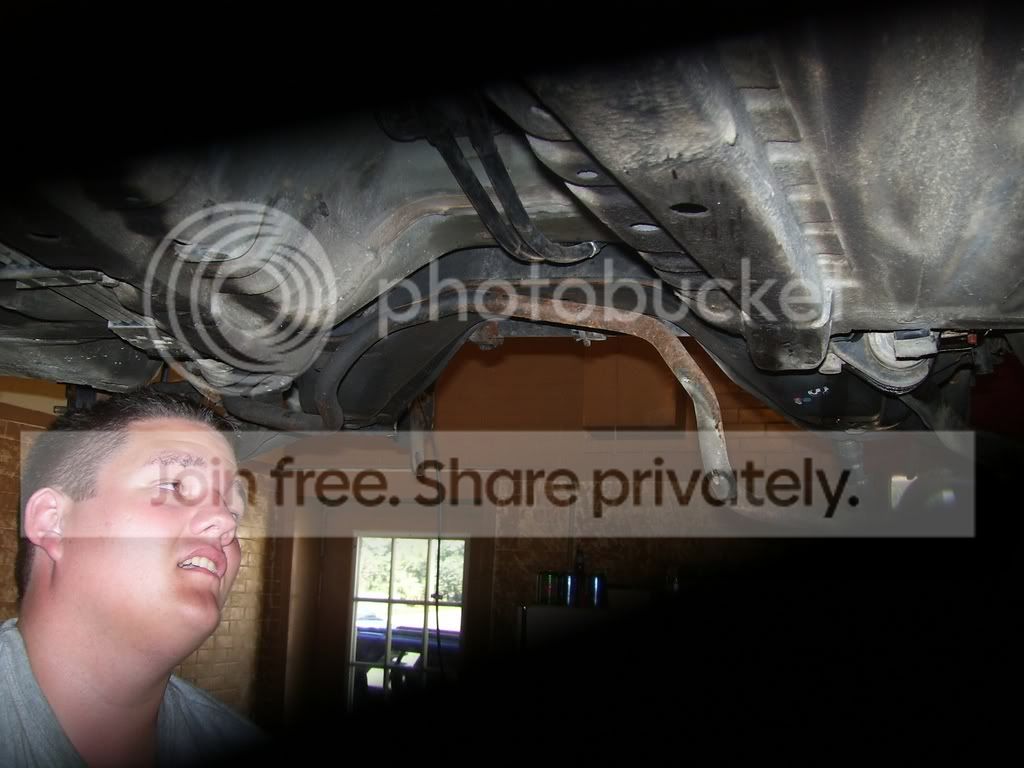
Hooking up the cables and routing them. The easiest way was to disconnect the swaybar on one side and run them up from the bottom, connect them at the shifter. Then we ran them up into the engine bay next to the rear motor mount.
Shot of Blake, yes it was a long day:

STEP 7:
Test fitting the motor mounts


STEP 8:
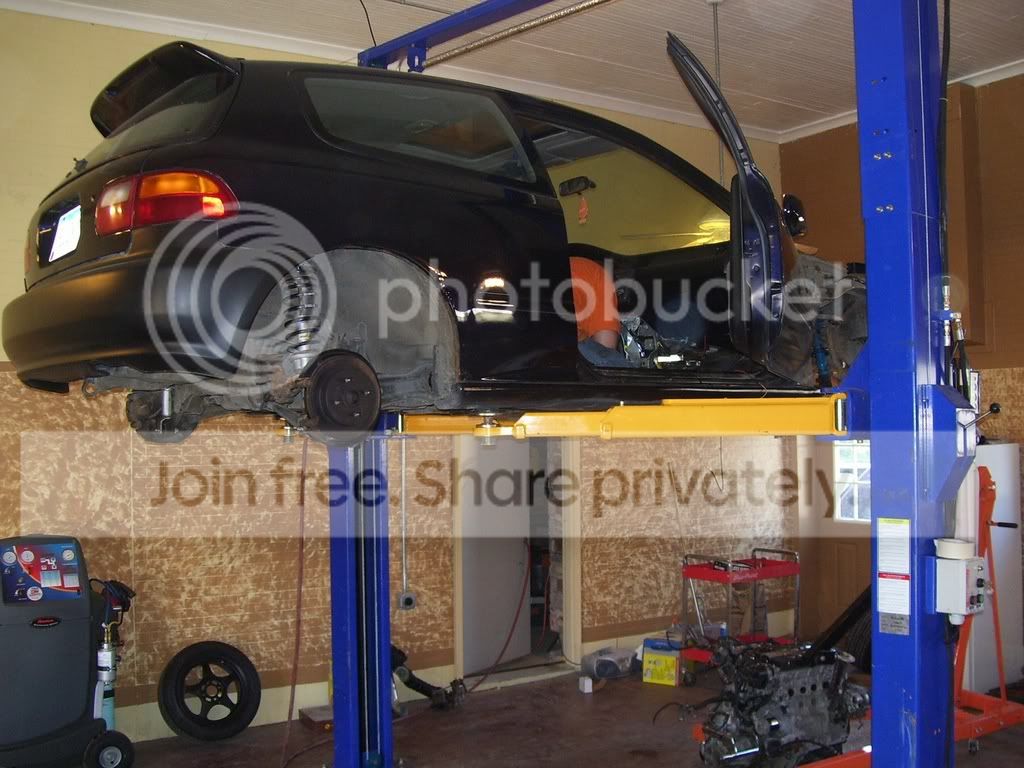
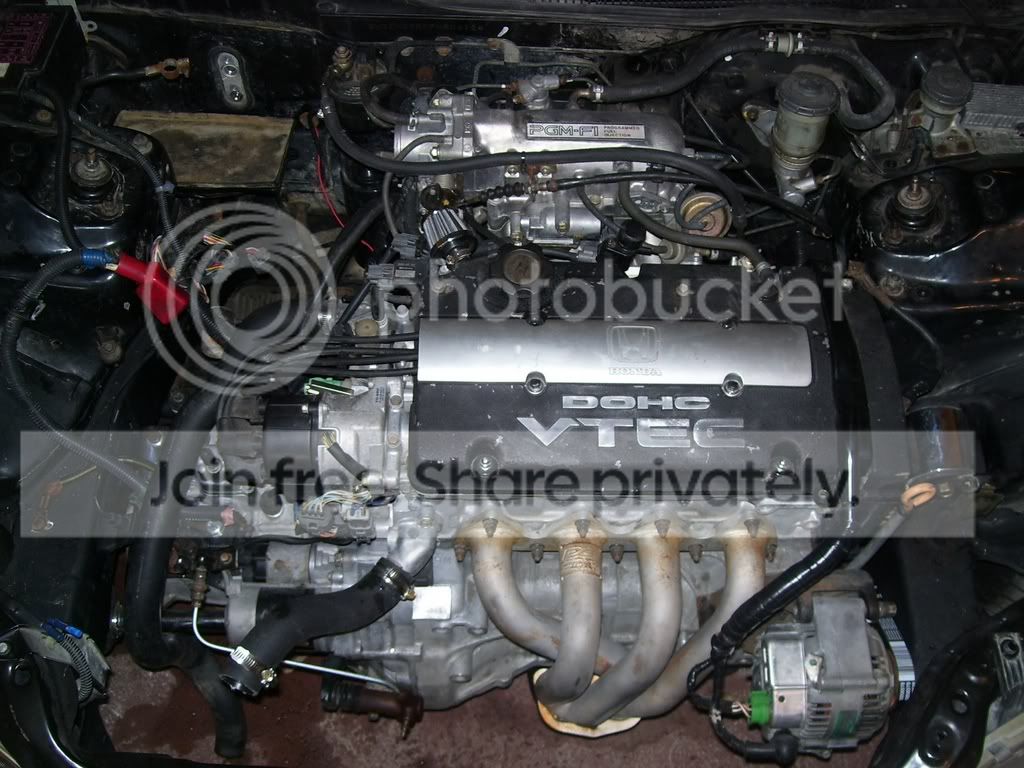
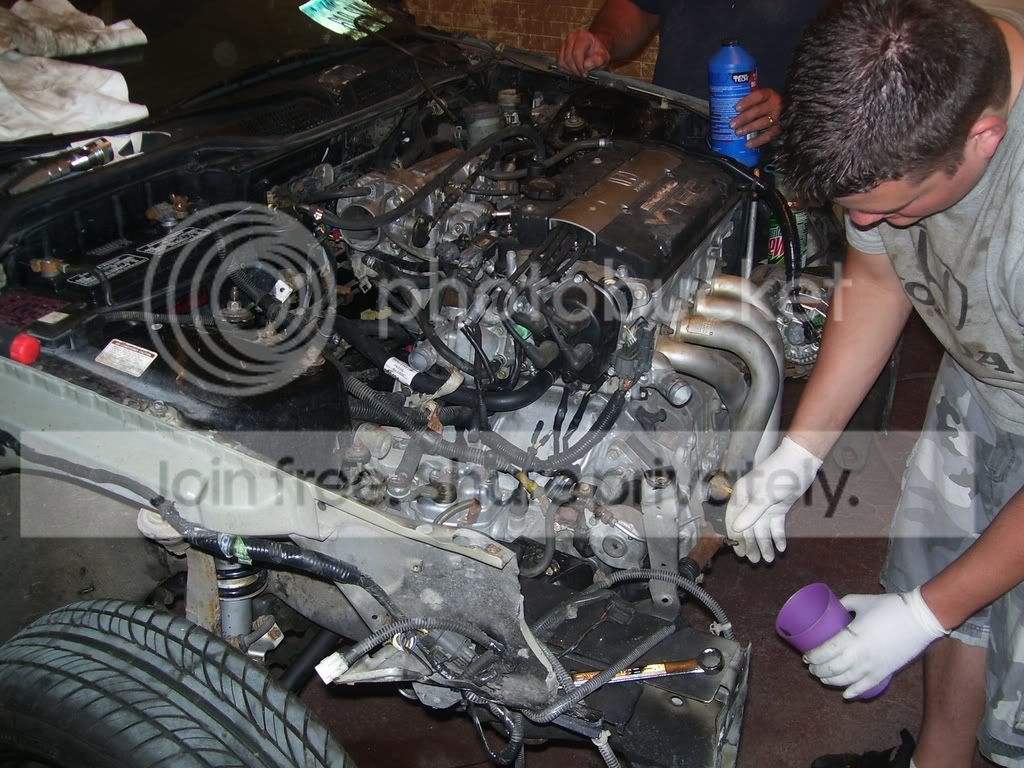
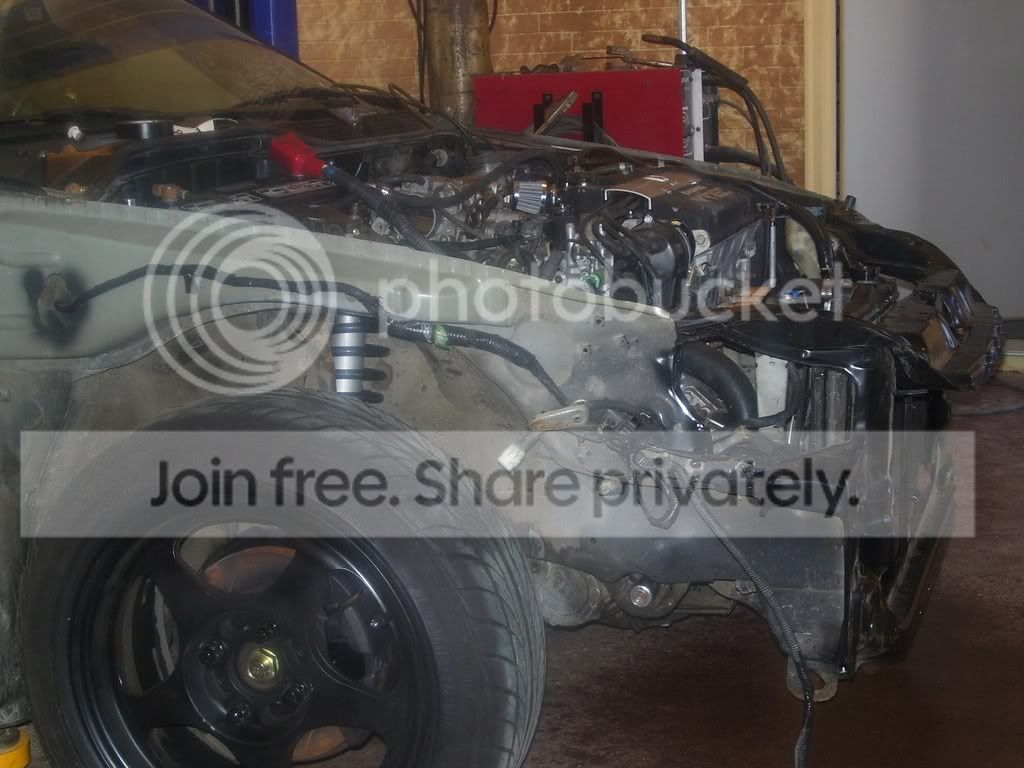
Time to bolt in the engine, pretty self explanitory.


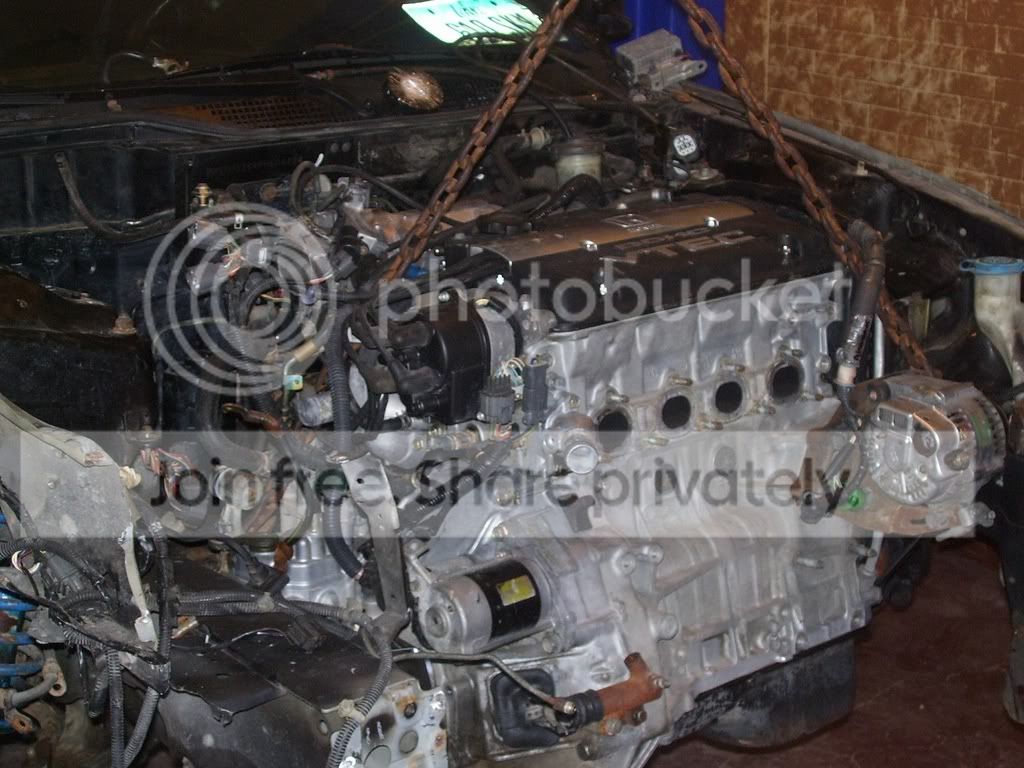
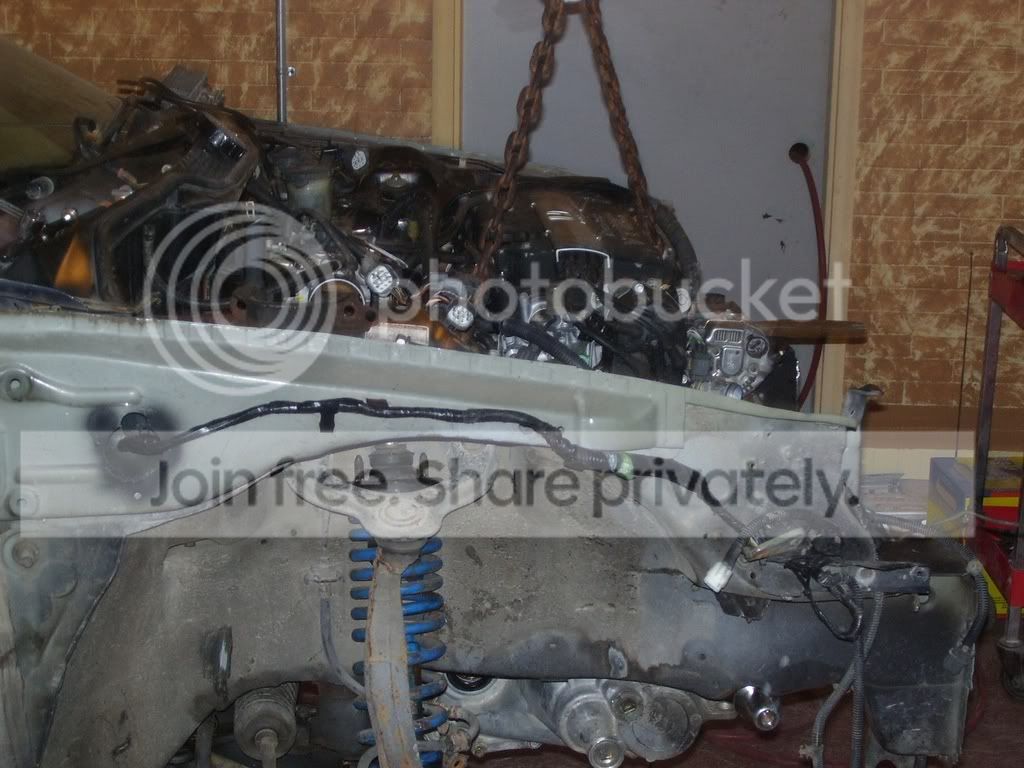
Kind of nice not having the core support on the car
STEP 9:
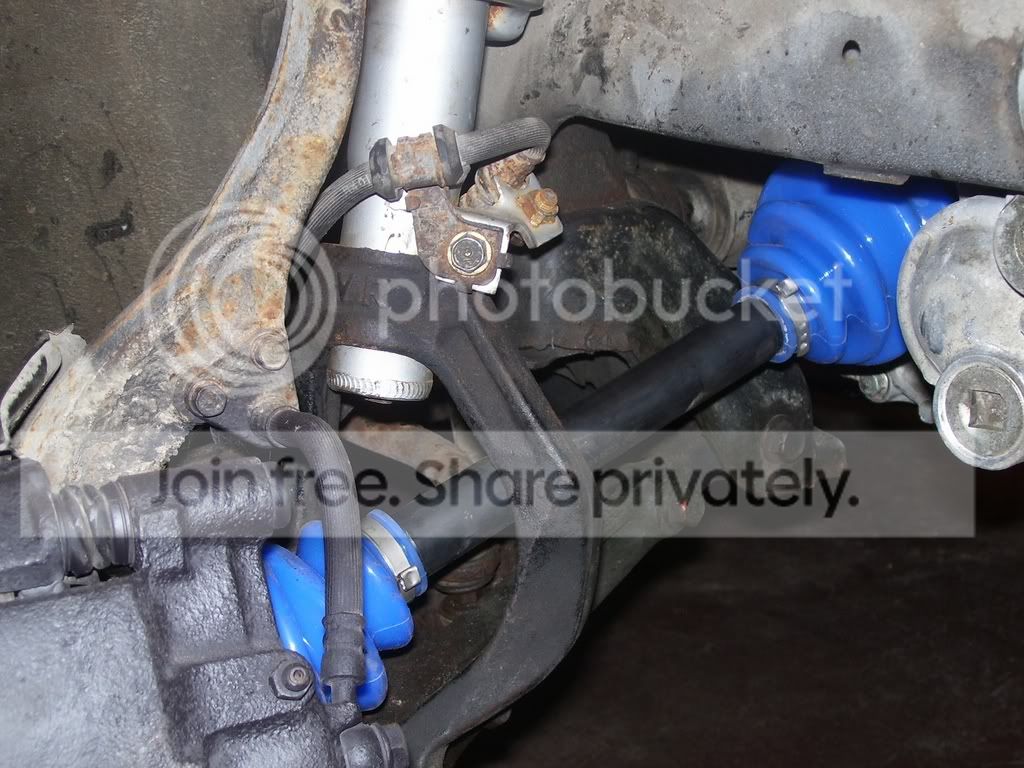
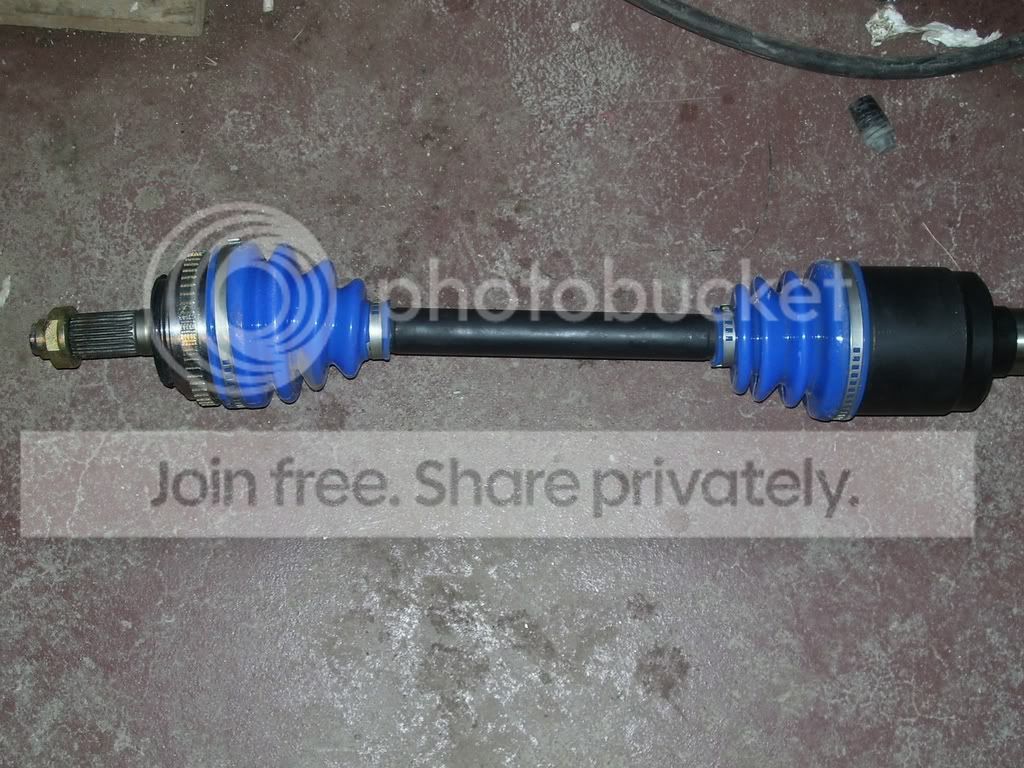
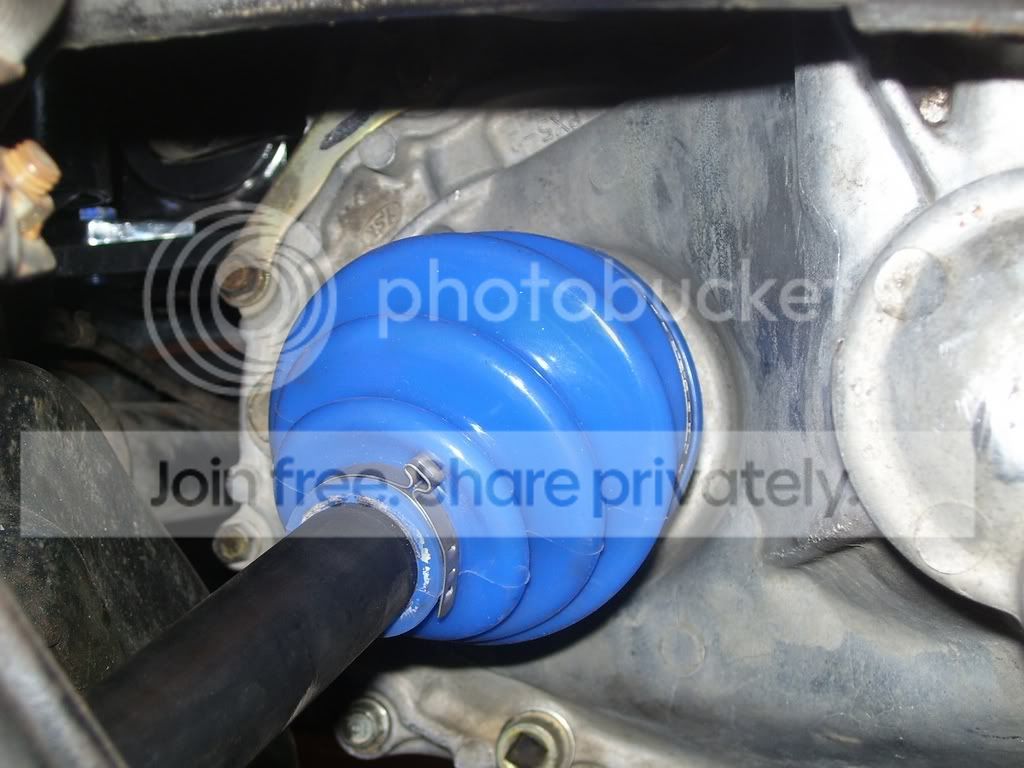
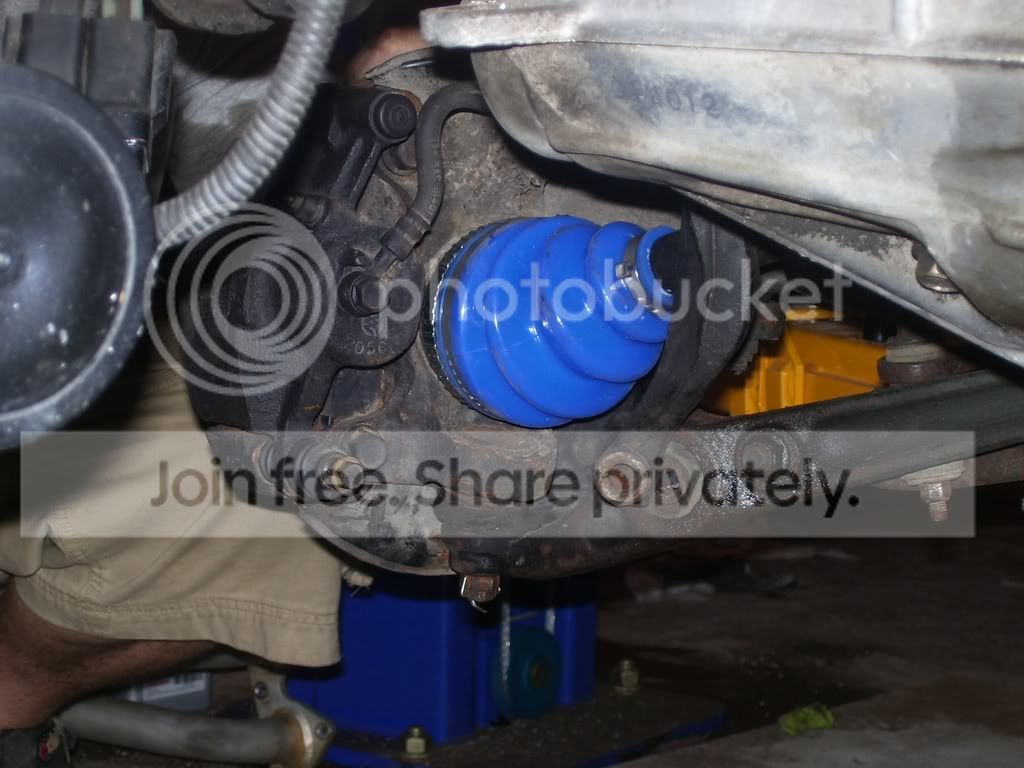
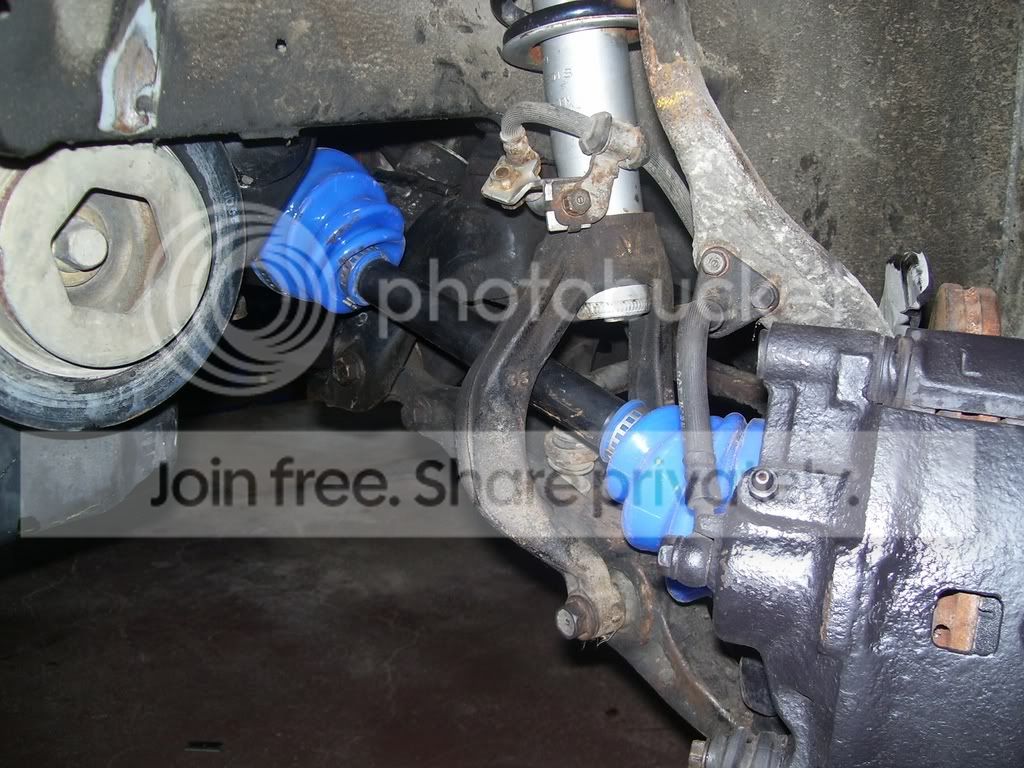
Installing the axles, these arent the ones in the car currently, they have since been replaced with DSS.
STEP 10:
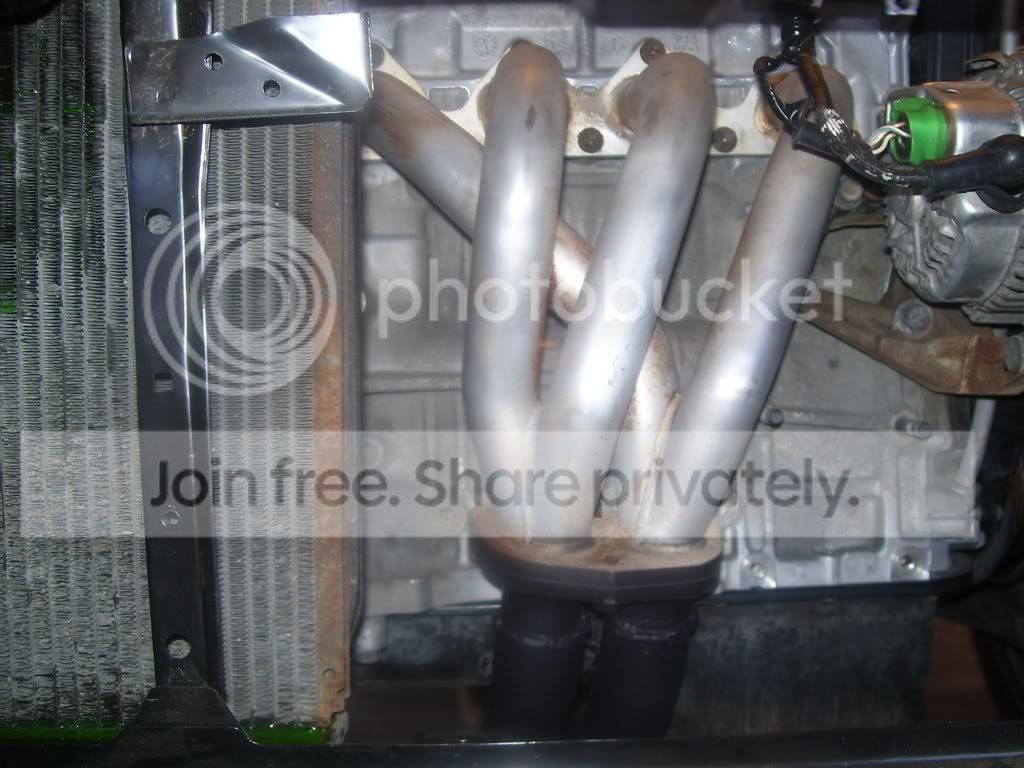
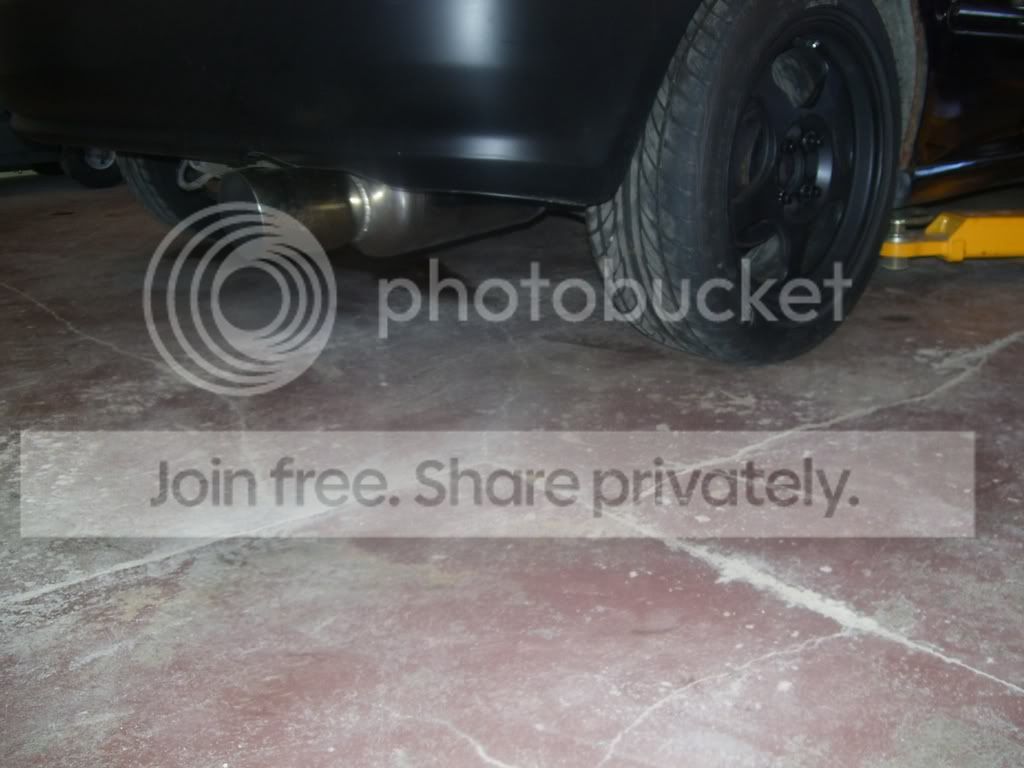
Header and exhaust, header had to be repared on the bottom, was previously on a buddys car that sat too low.
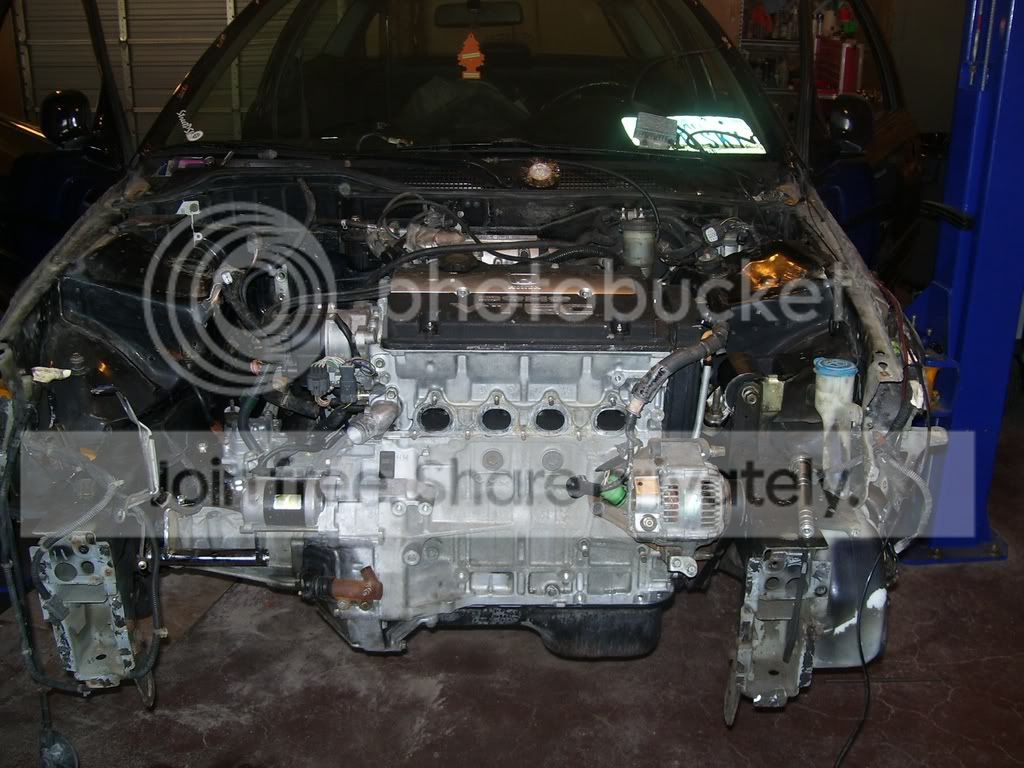
STEP 11:
Plug everything in and hook everything up
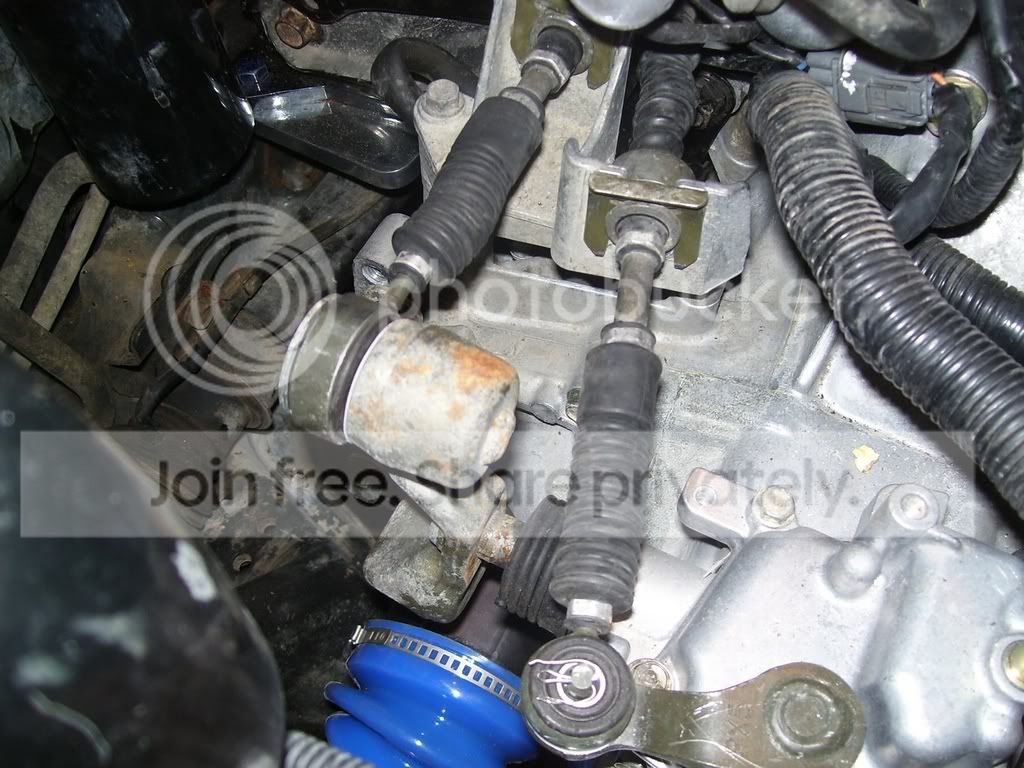
Shifter cables:
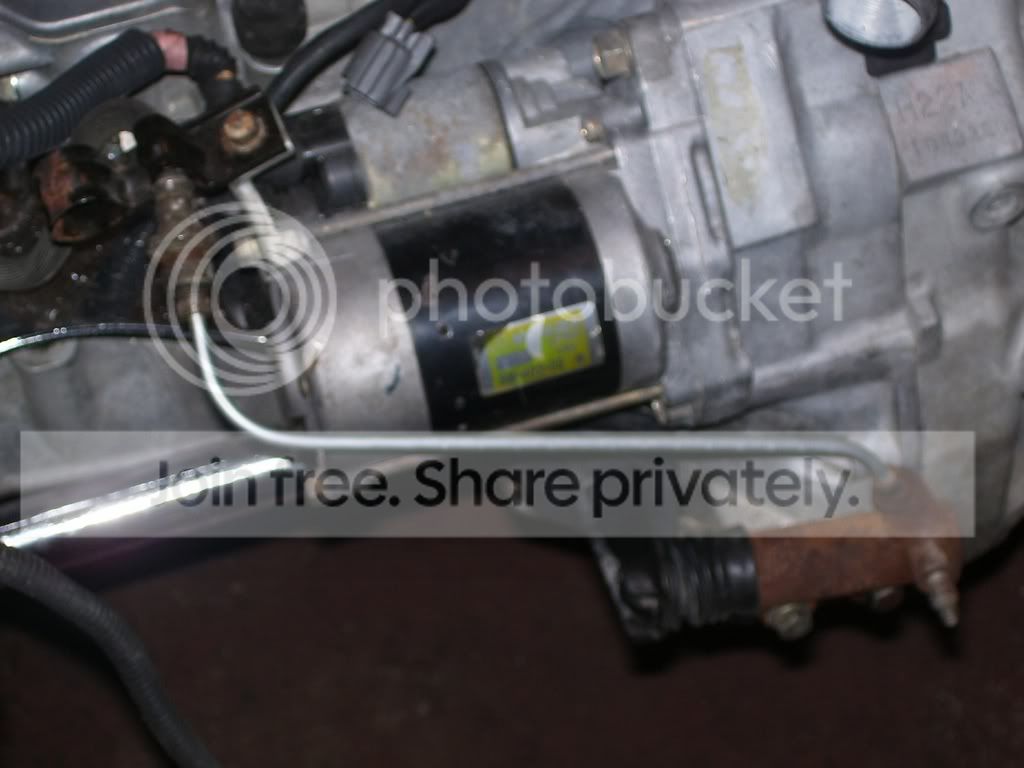
Custom clutch line thanks to Derek, the old one had some funky bends and didnt look very nice:
Bleeding the clutch:
Step 12:
New core support goes on. I picked it up from a local guy for 20 bucks new in box You can see it in some of the above pictures (some of those were taken later on showing things that were done earlier). But after the engine went in and the wiring was done on she went. Again thanks to Derek for the welding and alignment of the new front end:


STEP 13:
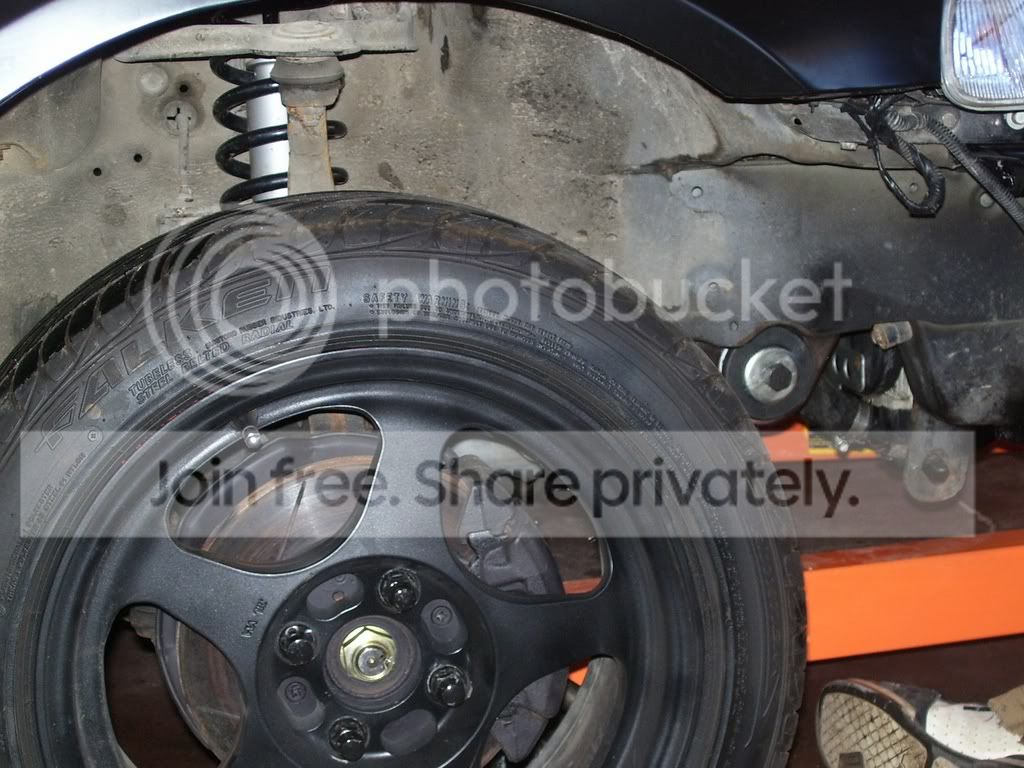
All new brakes all around, Brembo front rotors:
Step 14:
Small wire tuck:
STEP 15:
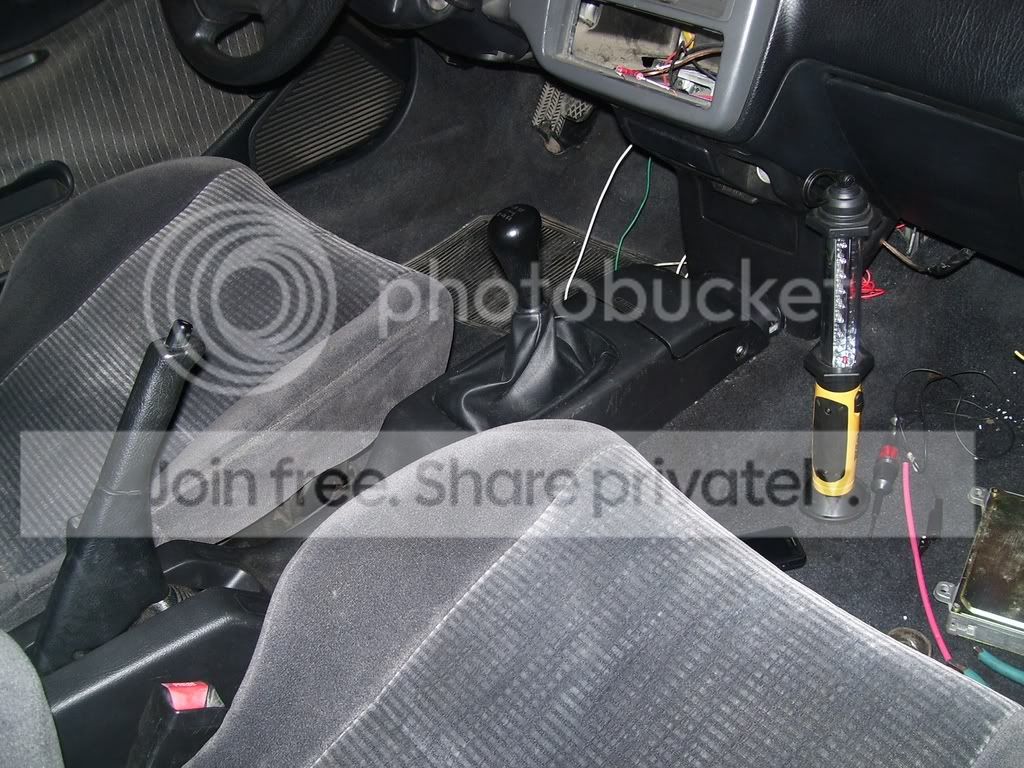
Put the interior back together:
Ready for a test drive:
The only real problems we ran into were the knock sensor and the secondary butterflys. I had to order a plug for those two things and pin it into the ECU.
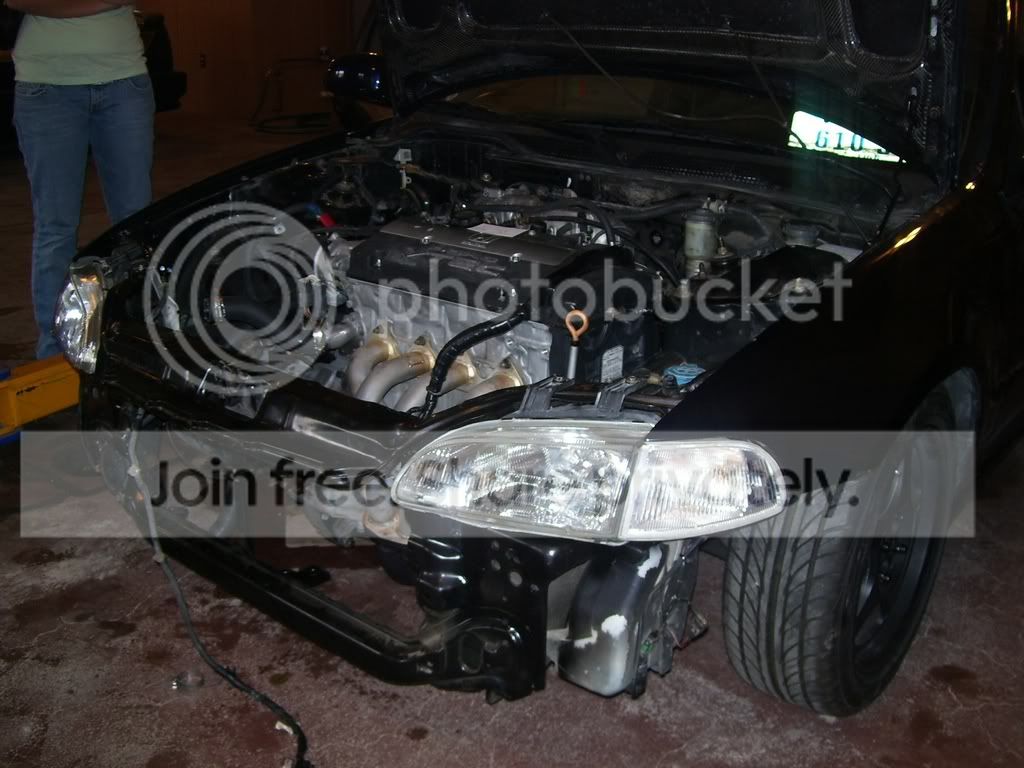
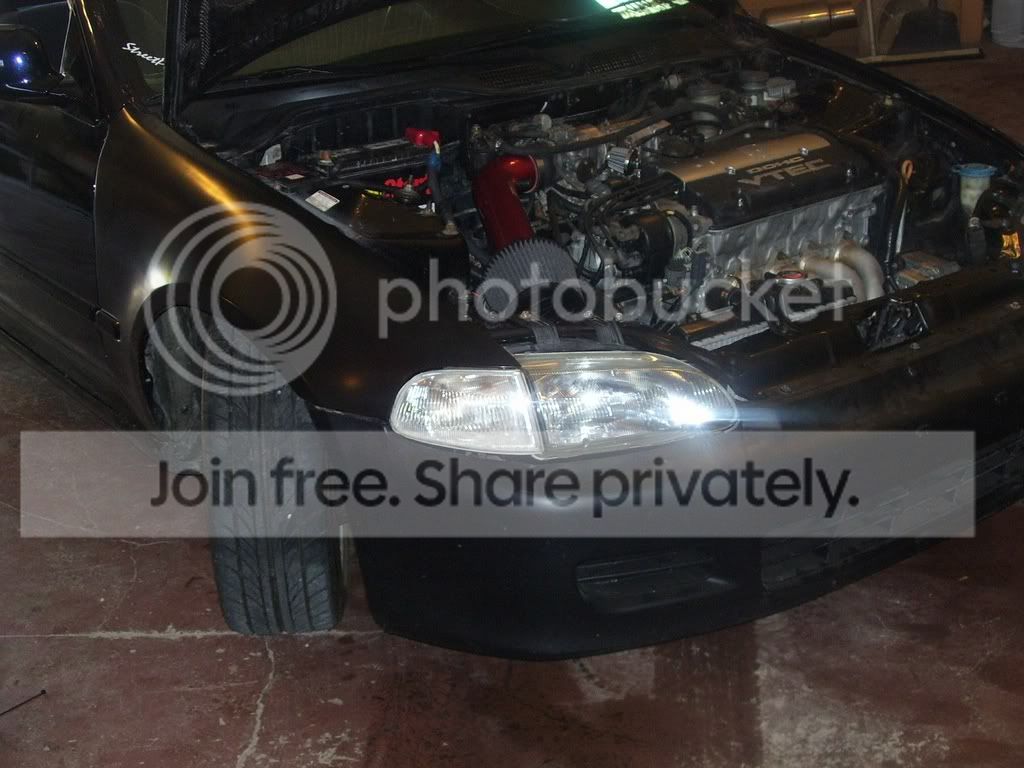
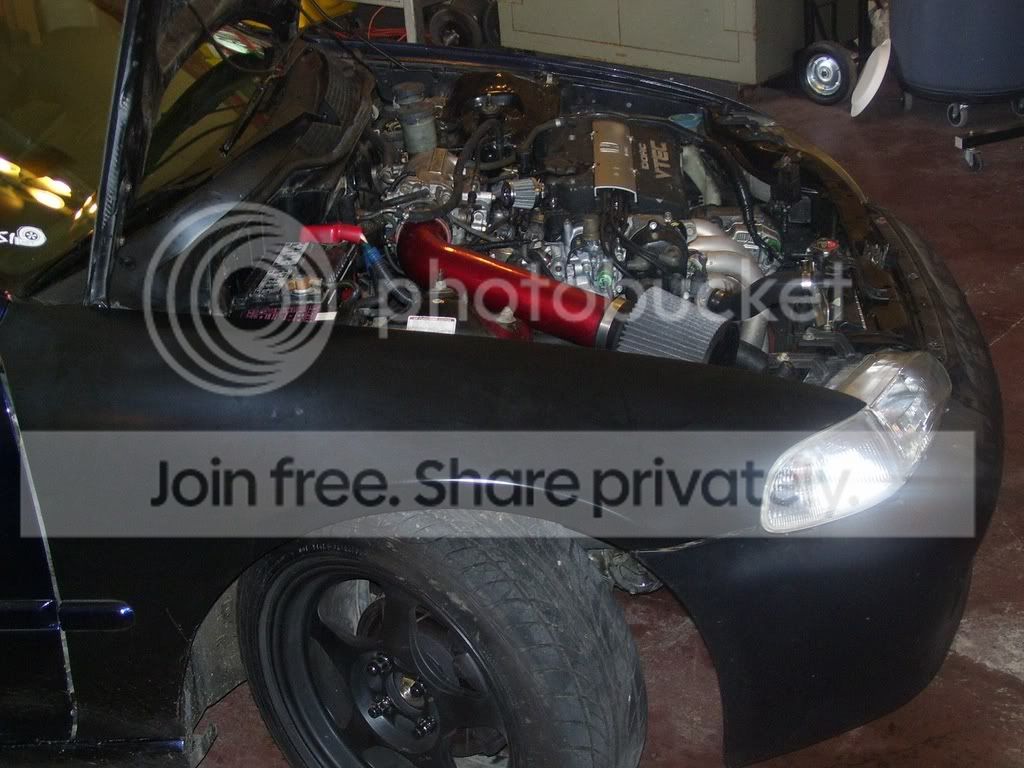
Here is the car as it sits now, after I cleaned everything up a little:
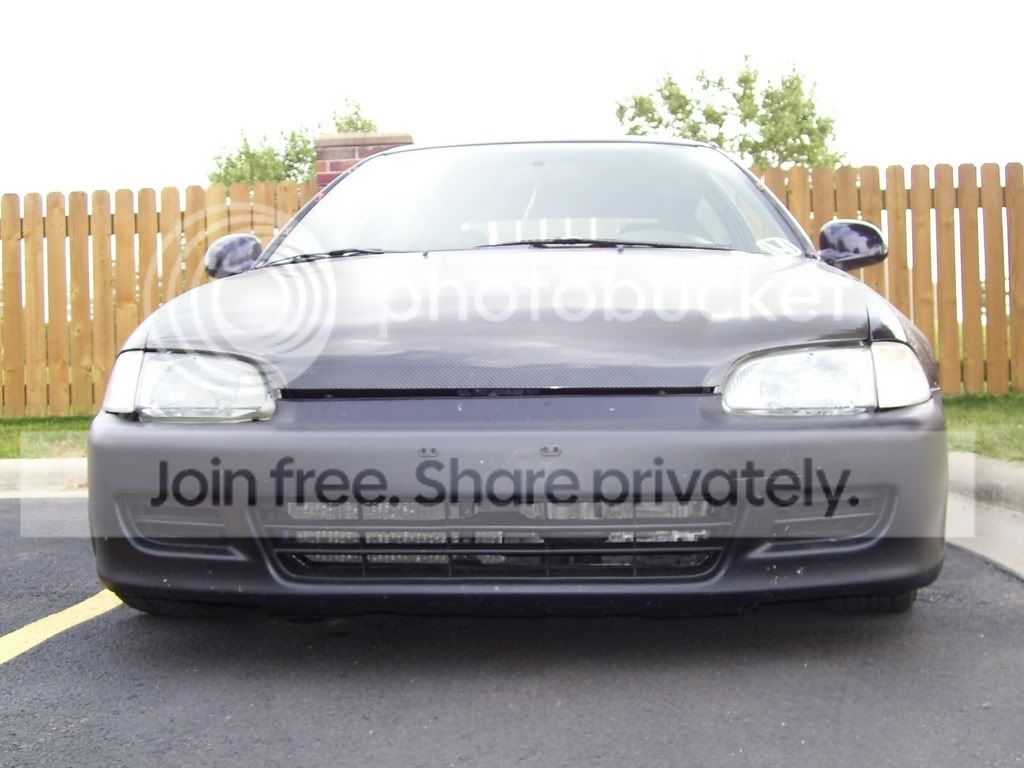

In the near future I plan to add some Progress springs, the car sits way too low in the front. Cams, Chipped P28 and a new oil pan as well (little dinged up )
Thanks again to Derek Banks of The Chop Shop here in IOWA, great shop and even better work, glad to have the oppertunity to work with you.
Maybe this will be helpful to someone looking to do a swap in the future, figured I would share my experience. Comments welcome, thanks for looking.
Modified by LShatchboy at 9:51 PM 9/18/2007
Modified by LShatchboy at 9:54 PM 9/18/2007
Modified by LShatchboy at 10:22 PM 9/18/2007
Modified by LShatchboy at 2:20 PM 9/19/2007
First of all I must thank Derek Banks for use of tools, providing us with a nice air conditioned shop, and knowledge/ experience that made this car what it is now. Derek, my friend Blake, and myself put this project together in a couple weeks, working off and on sometimes because we were waiting for parts. The axles have been switched out for Driveshaft shop since the pictures.
Here are the specs:
JDM H22A engine and transmission
Hasport engine harness
Pro-Grip mounts
ACT clutch/ Flywheel
DC header
Apexi Dunk megaphone exhaust
AEM short ram intake
Brembo front brakes
KYB gr2 struts
RS*R springs
15 inch Rotas
Falken 512's
Rear strut bar
The engine was swapped into my 93 SI. Car was hit in the front at some point in its life so we also replaced the front core support at the time of the swap along with the passenger fender. A small wire tuck was done mainly to get things out of the way and not so much clutter, we ran the headlight wiring on the inside of the fenders as you will see in the picures. We used PRO-GRIP motor mounts, they arent the cheapest but they sure arent Hasports either. I didnt feel like spending near 700 on mounts, although I probably would have if hasport still made the tourque mount design. We contacted Hasport on this issue and a rep told us that setup had been discontinued and they were now using the plate that bolts to the frame instead.
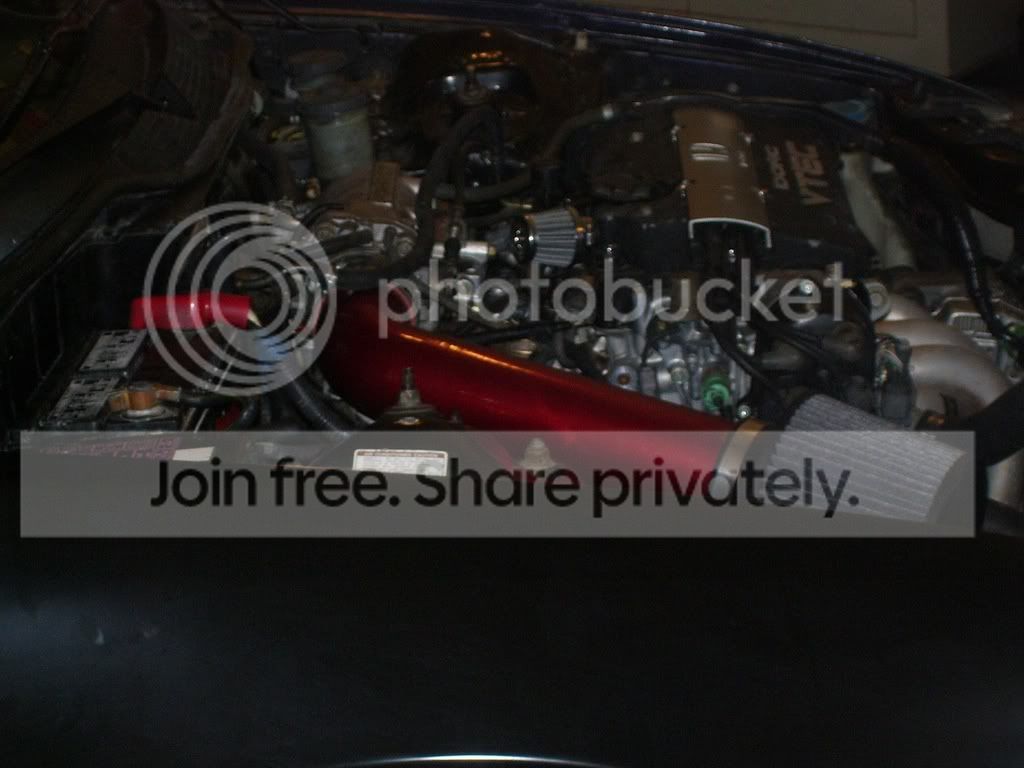
The Motor:
FAL Fan:
STEP 1
Removal of old core support
New core support. We installed this later on in the swap.
STEP 2:
Fill the rack and loop the power steering lines. Also at this time the Air Condition and cruise control were removed.
STEP 3:
Removal of the passenger side mount entirely
STEP 4:
We decided next to gut the interior early on in the project to save time later and also to reduce the risk of damage as the project continues.
STEP 5:
Some people like to wait until the engine is installed to cut the holes in the body which is fine, but we got measurements elseware and after a test fit of the engine started to mark and cut the holes.
Shifter plate assembly that gets bolted to floor:
Shifter plate hole
Test fit, we wanted to cut the least amount possible and still have optimal clearance.
Cable hole before we cleaned it up
STEP 6:
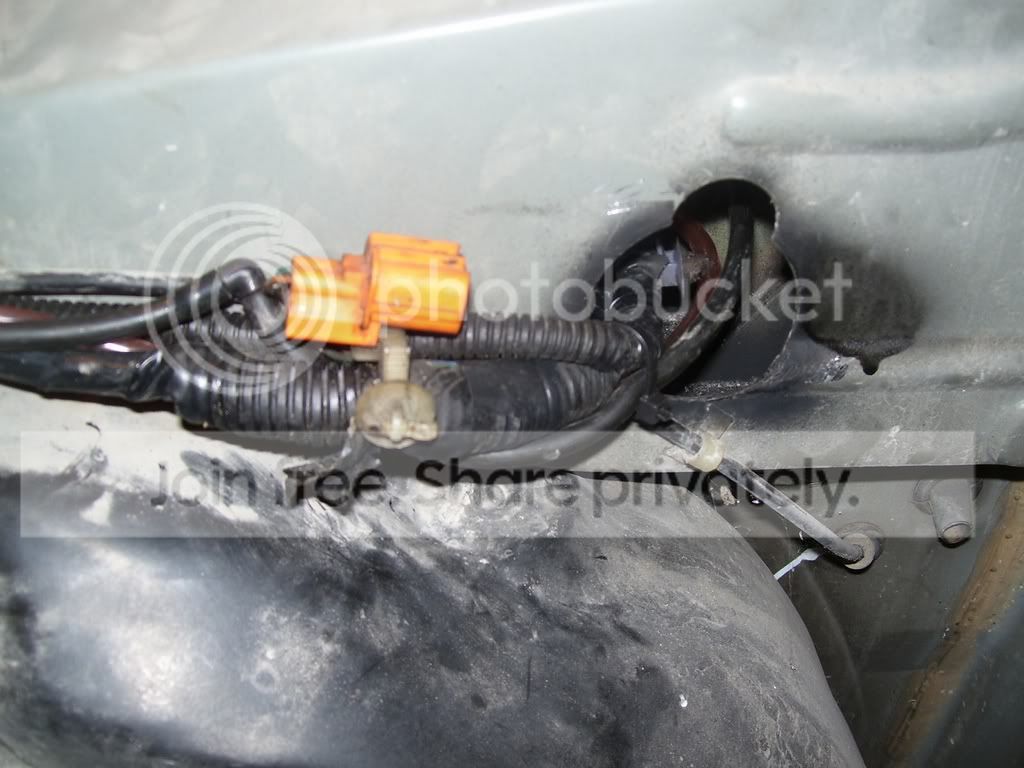
Hooking up the cables and routing them. The easiest way was to disconnect the swaybar on one side and run them up from the bottom, connect them at the shifter. Then we ran them up into the engine bay next to the rear motor mount.
Shot of Blake, yes it was a long day:
STEP 7:
Test fitting the motor mounts
STEP 8:
Time to bolt in the engine, pretty self explanitory.
Kind of nice not having the core support on the car
STEP 9:
Installing the axles, these arent the ones in the car currently, they have since been replaced with DSS.
STEP 10:
Header and exhaust, header had to be repared on the bottom, was previously on a buddys car that sat too low.
STEP 11:
Plug everything in and hook everything up
Shifter cables:
Custom clutch line thanks to Derek, the old one had some funky bends and didnt look very nice:
Bleeding the clutch:
Step 12:
New core support goes on. I picked it up from a local guy for 20 bucks new in box
You can see it in some of the above pictures (some of those were taken later on showing things that were done earlier). But after the engine went in and the wiring was done on she went. Again thanks to Derek for the welding and alignment of the new front end:STEP 13:
All new brakes all around, Brembo front rotors:
Step 14:
Small wire tuck:
STEP 15:
Put the interior back together:
Ready for a test drive:
The only real problems we ran into were the knock sensor and the secondary butterflys. I had to order a plug for those two things and pin it into the ECU.
Here is the car as it sits now, after I cleaned everything up a little:
In the near future I plan to add some Progress springs, the car sits way too low in the front. Cams, Chipped P28 and a new oil pan as well (little dinged up
)Thanks again to Derek Banks of The Chop Shop here in IOWA, great shop and even better work, glad to have the oppertunity to work with you.
Maybe this will be helpful to someone looking to do a swap in the future, figured I would share my experience. Comments welcome, thanks for looking.
Modified by LShatchboy at 9:51 PM 9/18/2007
Modified by LShatchboy at 9:54 PM 9/18/2007
Modified by LShatchboy at 10:22 PM 9/18/2007
Modified by LShatchboy at 2:20 PM 9/19/2007

Junior Member
Joined: Jul 2004
Posts: 135
Likes: 0
From: Lost
<TABLE WIDTH="90%" CELLSPACING=0 CELLPADDING=0 ALIGN=CENTER><TR><TD>Quote, originally posted by LShatchboy »</TD></TR><TR><TD CLASS="quote">
Thanks again to Derek Banks of The Chop Shop here in IOWA, great shop and even better work, glad to have the oppertunity to work with you. </TD></TR></TABLE>
There's a place in Iowa called "The Chop Shop"?
Is this a tuner / import kind of shop?
Where is this place?
Clean swap BTW!!
Thanks again to Derek Banks of The Chop Shop here in IOWA, great shop and even better work, glad to have the oppertunity to work with you.
</TD></TR></TABLE>There's a place in Iowa called "The Chop Shop"?
Is this a tuner / import kind of shop?
Where is this place?
Clean swap BTW!!
Honda-Tech Member
Joined: Jul 2004
Posts: 64
Likes: 0
From: Cedar Rapids, IA, US
Yes there is. It's a new shop. Its in Anamosa, it is about 25 min east of Cedar Rapids. We do a little of everything, my dad has been doing body work for a 20 some years and i have been tuning my own and friends imports for about for about 6 years and am now starting my own buisness with it.
Joined: Sep 2007
Posts: 15
Likes: 0
From: Red Deer, AB, Canada
Nice job. I'll be doing a swap over the winter and i'm still debating on which motor to go with. Yours looks like a pretty clean install.
Trending Topics
Honda-Tech Member

Joined: Jul 2004
Posts: 1,348
Likes: 1
From: Central, NY, USA
Good $^*% man! The pics of the holes for the shifter/shiftlinkage are the best I've seen around the net, will definitely be helpful to people doing the swap

Joined: Jan 2007
Posts: 531
Likes: 0
From: MIAMI, FL, USA
<TABLE WIDTH="90%" CELLSPACING=0 CELLPADDING=0 ALIGN=CENTER><TR><TD>Quote, originally posted by sleepyH22 »</TD></TR><TR><TD CLASS="quote">i am currently doing the h22 swap in my 92 vx... What intake pipe do i need to buy to have a short ram? i have a 92-96 prelude one but i doubt it'll fit...</TD></TR></TABLE>
jus a short ram that fits the 92 95 civic not the engine
jus a short ram that fits the 92 95 civic not the engine

Honda-Tech Member
Joined: Jul 2004
Posts: 64
Likes: 0
From: Cedar Rapids, IA, US
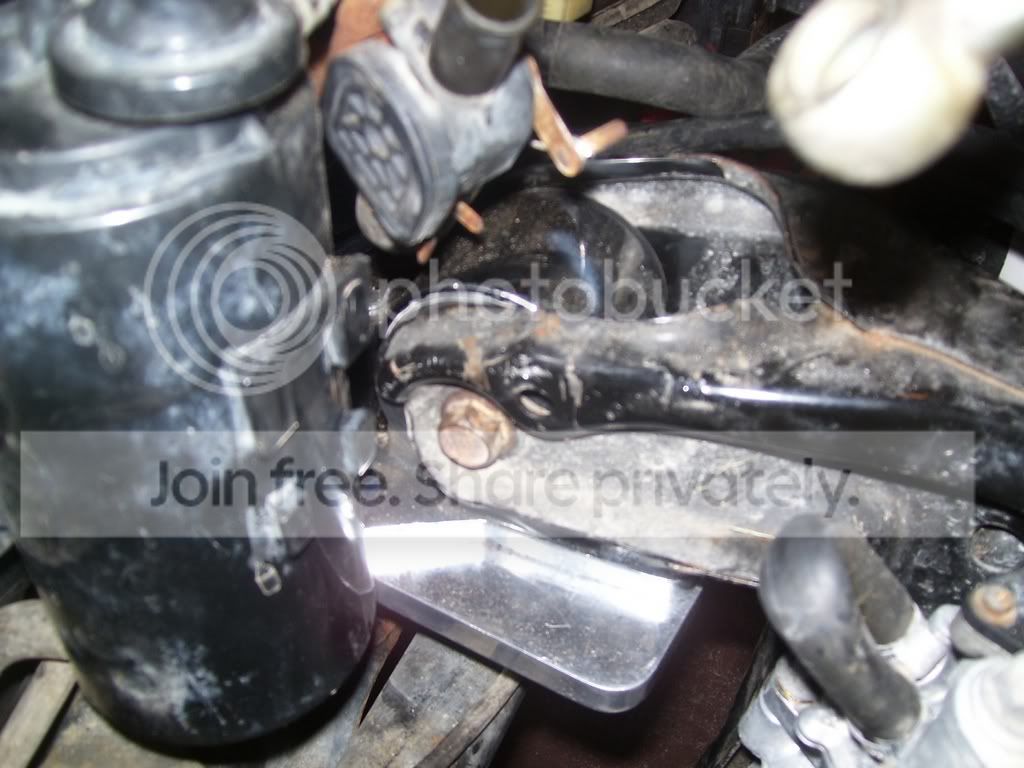
the pic is up there. it is like the old hasport mount, it bolts to the tranny and then into where the torc mount on the fram rail is and gets rid of the other passenger mount.
Joined: Sep 2006
Posts: 260
Likes: 0
From: Beaver Falls, PA, USA
Bro that is sick. I wish I could have afforded the H22 swap. But I went "po' pimpin" and got the D15B for my EG8. Really though man, great job. You have to post vids sometime.
Member
Joined: Jun 2007
Posts: 2,726
Likes: 1
From: LA, CA
nice write up..nice swap too...it would e so much easier when radiator support is disconnected...when i did my swap..it was a pain in the butt with all the hand tools only...
anyways...nice car ..nice swap
anyways...nice car ..nice swap
Honda-Tech Member
Joined: Sep 2006
Posts: 129
Likes: 0
From: Plano, tx, us
How long would you say it took yall to do this swap?? Planning to help a freind do this swap into a 94 civic coupe, with a d15b2 in it. O and how much total do you think you it costed you??


Thread
Thread Starter
Forum
Replies
Last Post
slo_hatch
Honda Civic / Del Sol (1992 - 2000)
4
Mar 31, 2008 04:27 PM
LShatchboy
Mid-West (Sales)
6
Oct 4, 2007 02:40 PM