

My $50 (more like $452.63) paint job writeup thread - TONS of pictures.

Thread Starter
Honda-Tech Member
iTrader: (1)
Joined: Dec 2003
Posts: 11,128
Likes: 4
From: Alexandria, VA
when i first went into the $50 paint job thread, everyone was using Rustoleum and was getting mediocre results (dull finishes). i read about someone using boat paint as an alternative which yielded a greater shine which in the end would provide me with that OEM finish that i was looking for. i made this thread to answer any specific questions that people may have - the '$50 paint job' thread is full of everything that you need to know about this paint process, except it's scattered in about 100 pages of stuff.
here is a direct link to my photobucket which you can look through all my pictures that i've taken in an attempt to document my whole process. http://s140.photobucket.com/albums/r35/fventura04/
when i went into this, i didn't know ANYTHING about body work and painting a car. i browsed through tons and tons of threads on autobody101.com and honda-tech.com when i found the '$50 paint job' thread - i knew i wanted to do a FULL color change, except i didn't want to spend $4000-6000 doing so, this is an all motor k24 frank project i'm working on and i'm on a budget so i wanted to attempt this paint and learn about body work at the same time, i didn't have anything to lose except a couple of dollars.
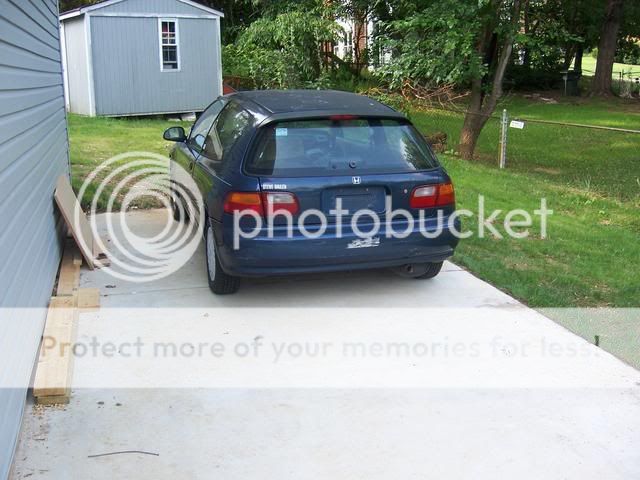
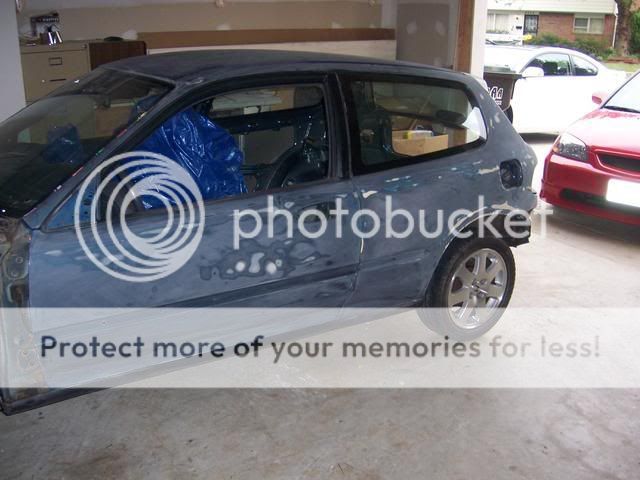
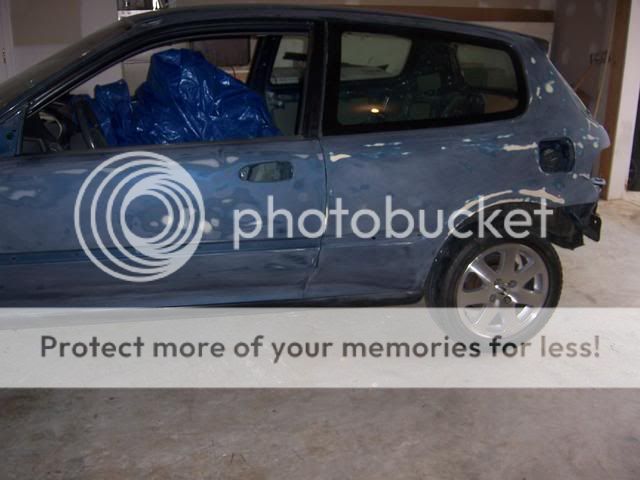
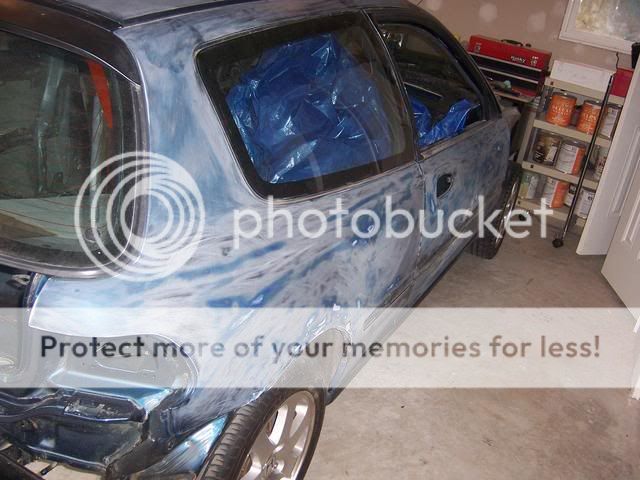
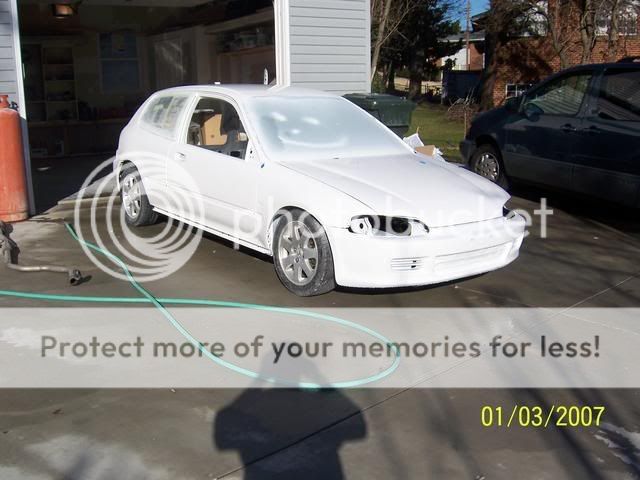
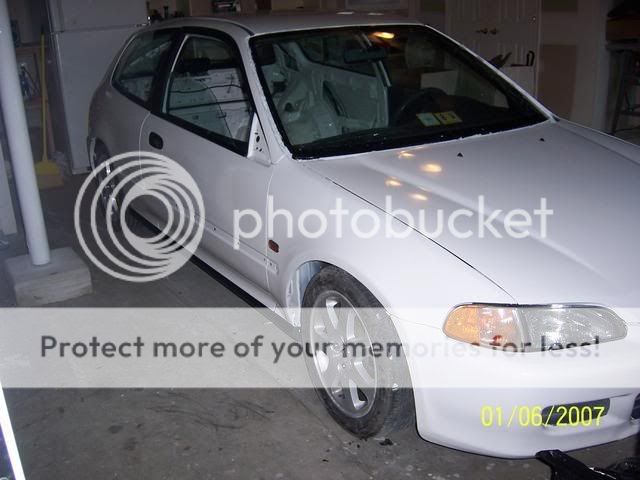
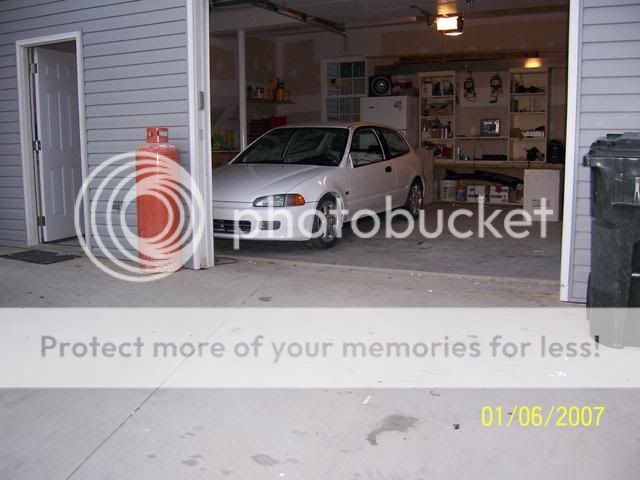
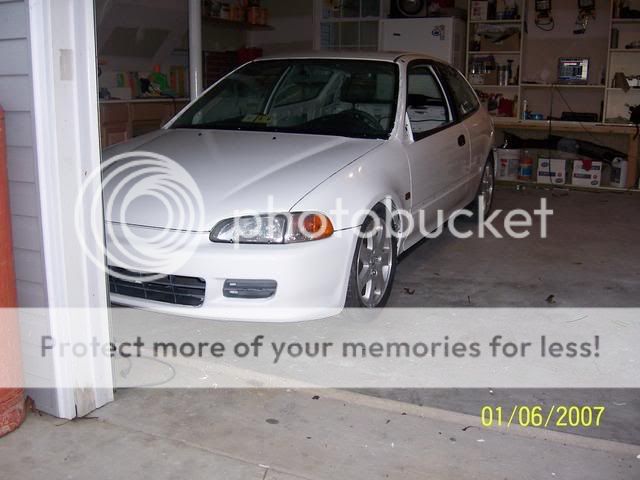
when i purchased the car, it had overspray all over the entire passenger side from the previous owner painting something with orange paint, the entire passenger side had orange specs of paint. the original paint was faded and tired after 14yrs.
i'm going to try and document everything from the beginning to the end as best i can, so the dates on the pictures won't be in chronological order. sorry about that.
here's a couple of pictures when i first got the car:

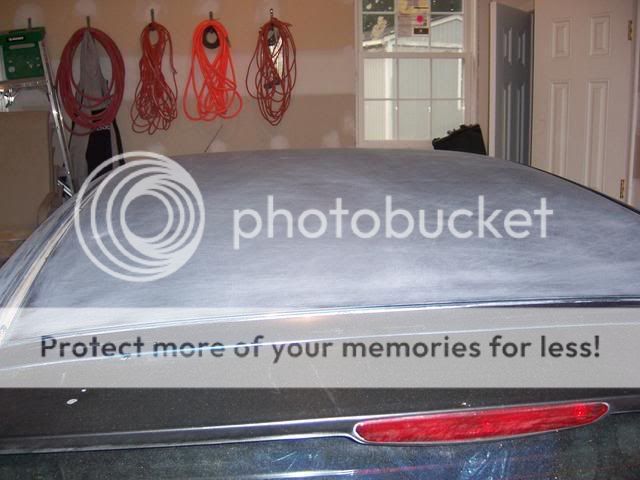
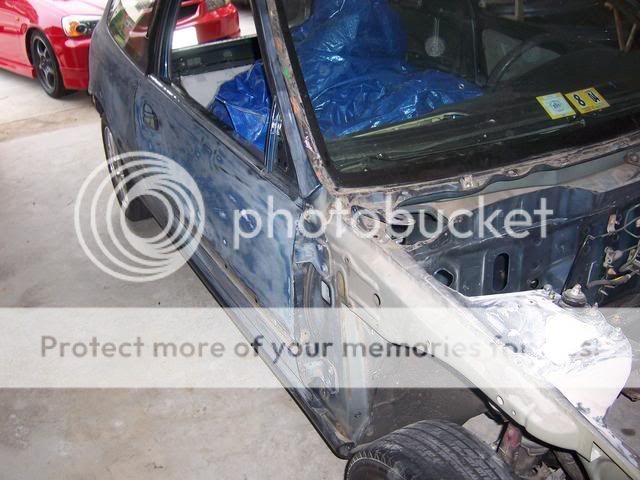
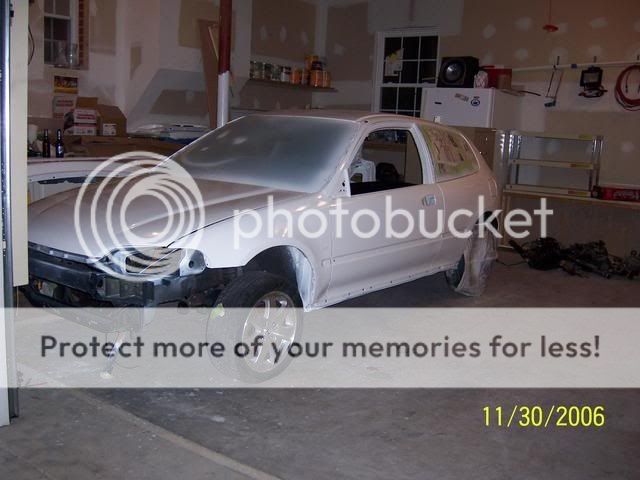
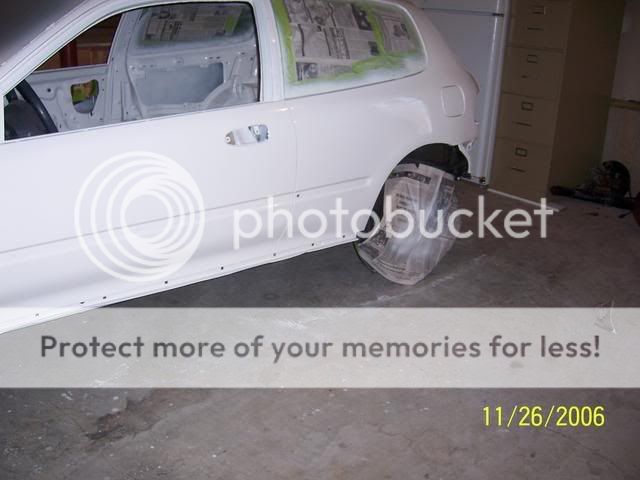
i started the work by sanding the entire car down with 100grit (depending on how bad your paint is, you can sand down the car with up to 600grit), working in an x-pattern - this will get the clearcoat down and will show low spots(dents) in the paint that will need to be filled. the body on my car was rust free, and it was pretty straight when i got it - i didn't need much body work. if i were to do this again, i would wetsand with 100grit instead of drysanding the car like i did, wetsanding is way faster and saves a lot of sandpaper. in my case, i sanded down the clear coat, and some of the blue previous paint. i didn't feel i needed to go down further to the primer, i did in some parts though.
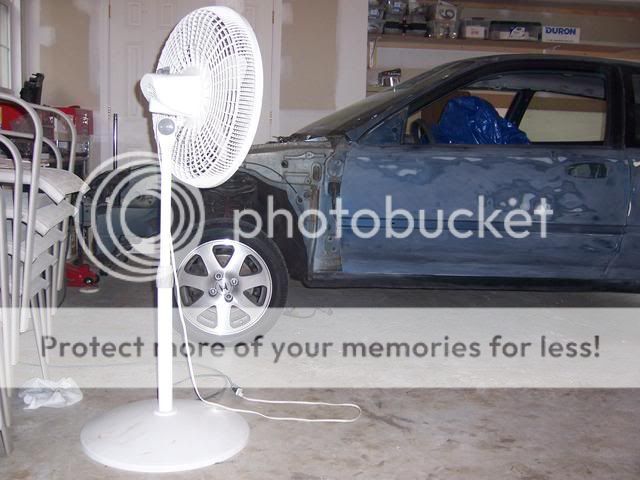
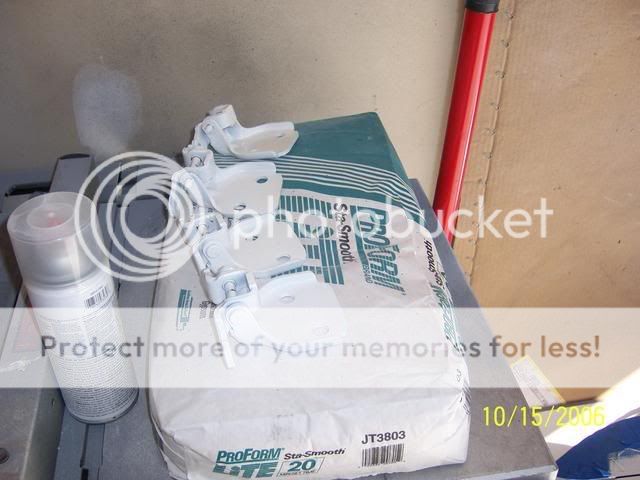
pic of supplies from when i first started:
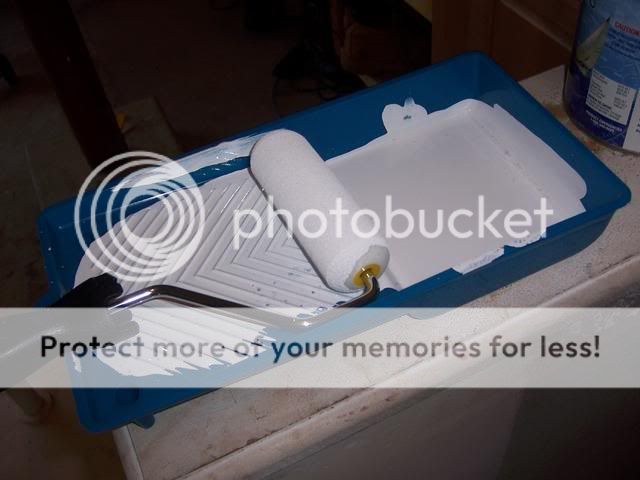
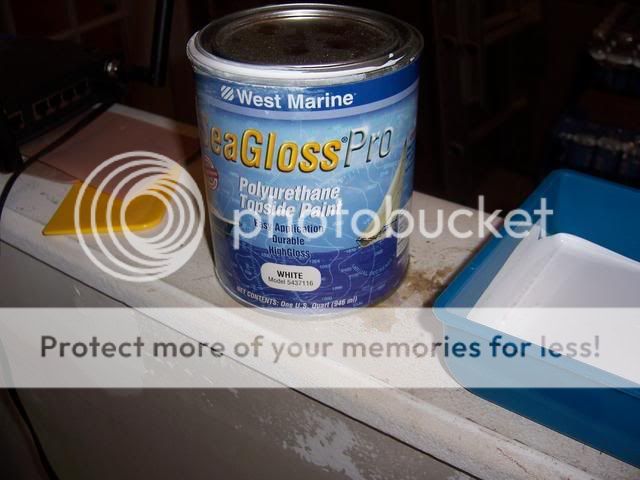
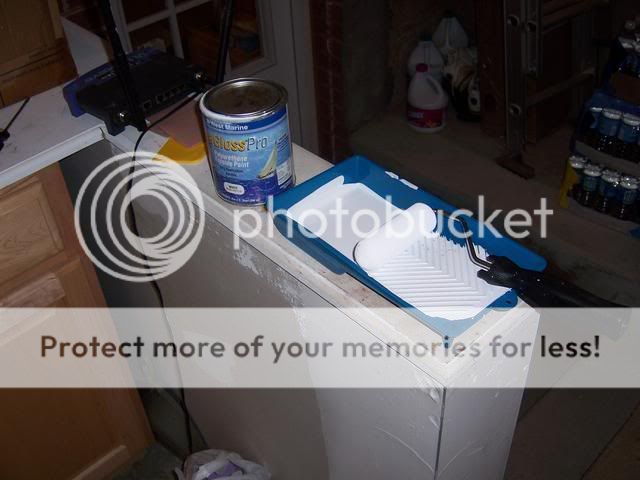
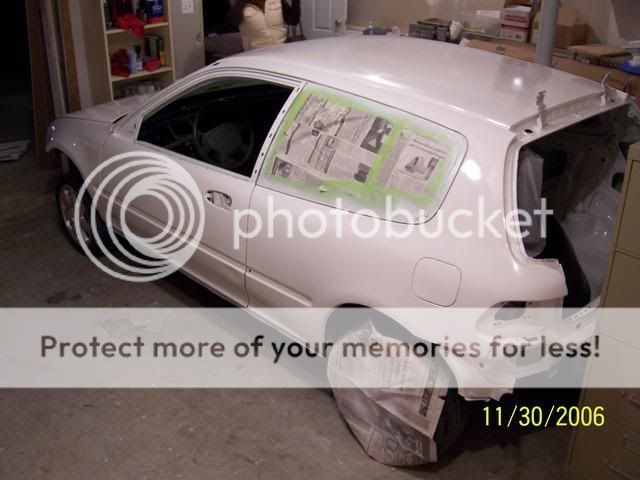
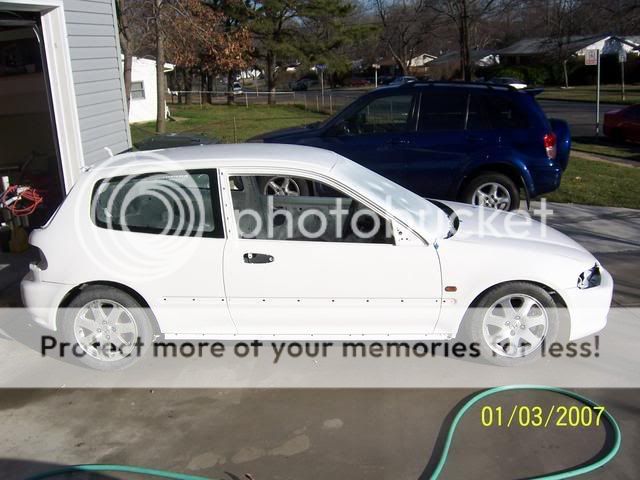
i started off rolling the paint with a 4" roller, west marine sea gloss pro topside paint in gloss white (you can goto yachtpaint.com for a list of different colors. the paint i used i was told was interlux brightside except repackaged and sold at a cheaper price. i used a paint brush to do the jams. i didn't do any mixing, i just rolled it onto the car, straight from the can. i wetsanded in between each layer with 800grit to get the paint smooth and get all the dust that got stuck on the paint. it usually takes about 12hrs for the paint to completely dry - just depends on the weather. depending on your working conditions (garage or outside) and the amount of debris you get on the paint after it's dry, you probably don't need to wetsand the paint in between layers. i did, and it just made the process much longer then it had to be - you're basically sanding off most of the layer you just applied by wetsanding, each layer is really THIN.
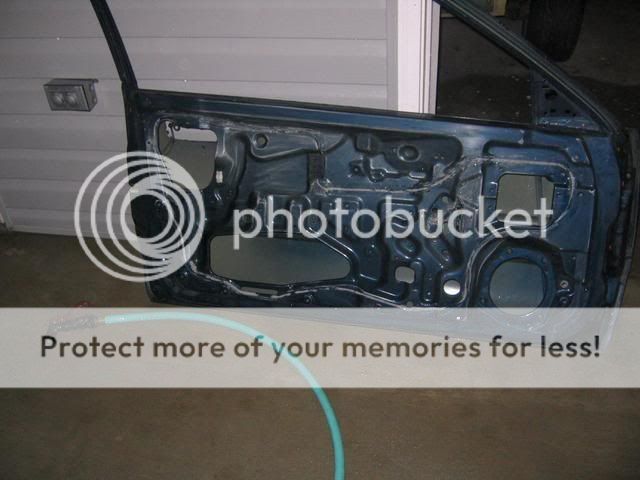
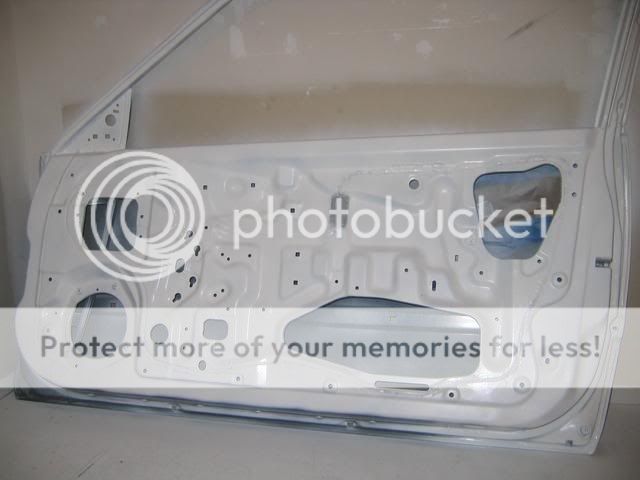
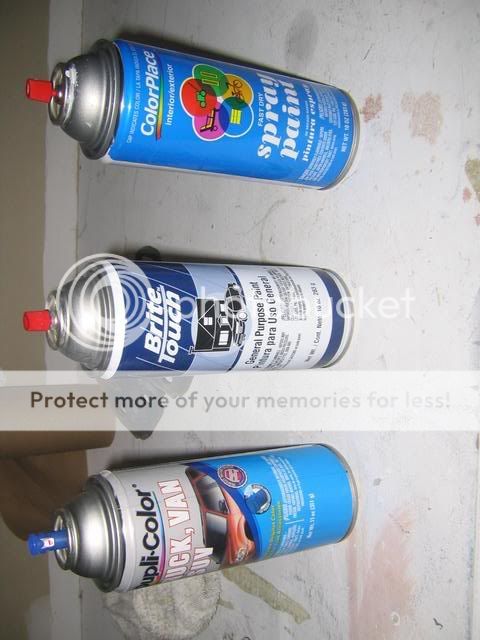
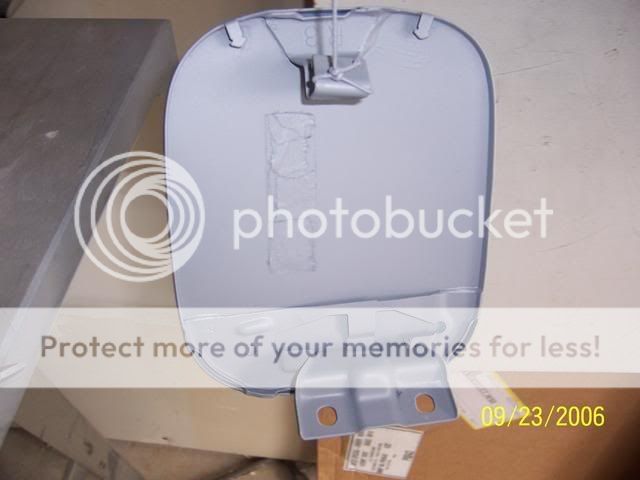
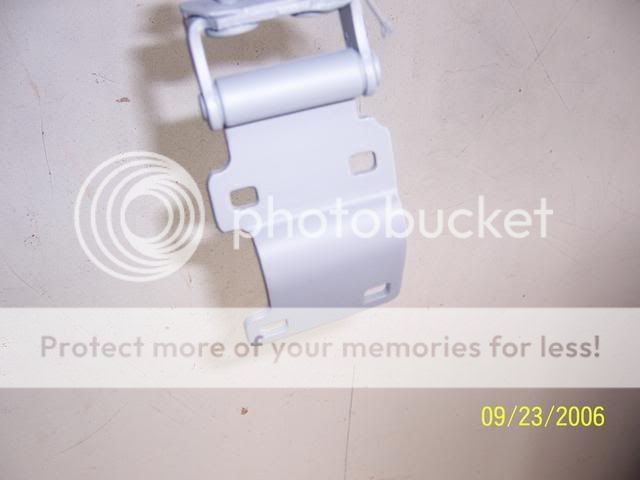
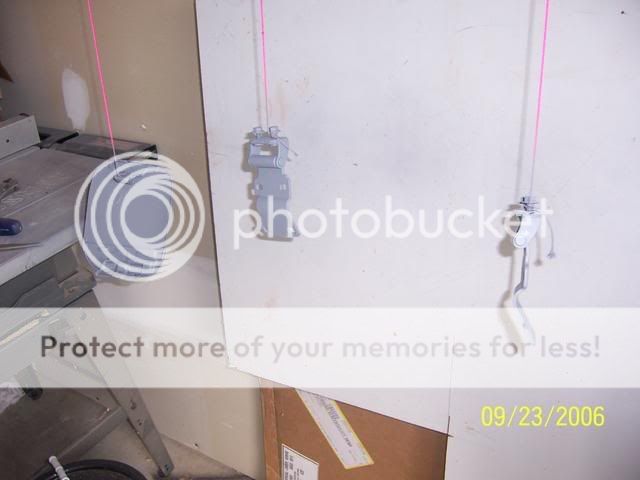
i wasn't going to be able to roll the paint on the interior so i attempted to rattle can the paint, i spent about $200 on spray paint for the enterior (this is the reason my paint cost so much.) the problem i had with this was that i purchased different brands of paints and when these paints were mixed together when i sprayed them on the car they wrinkled (the paints were made of different materials) - basically one paint ate the other and i never got to spray a clear coat as i was scared to have any more problems. i also used spray paint for the inside of the doors and small miscellaneous brackets. this left me with a dull, white finish which got dirty really easily.
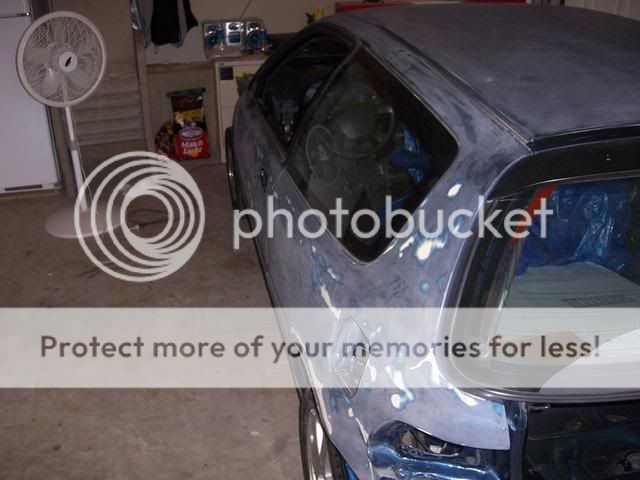
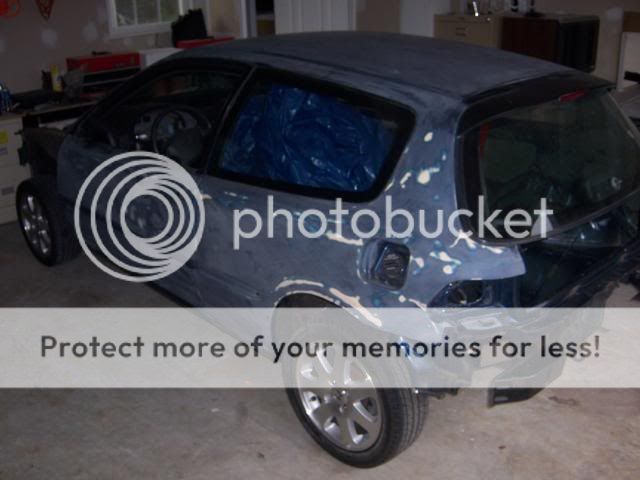
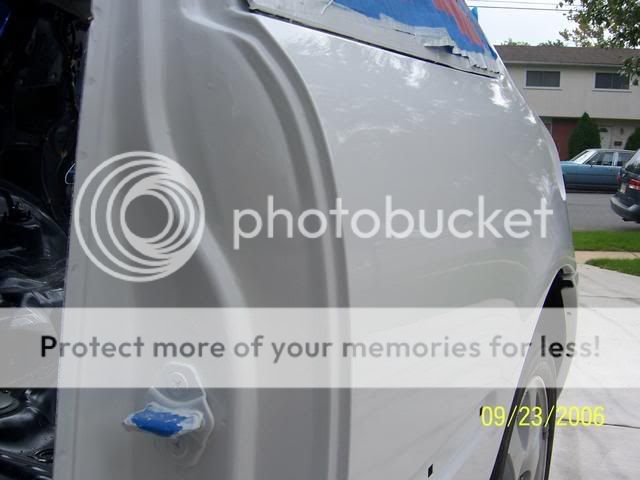
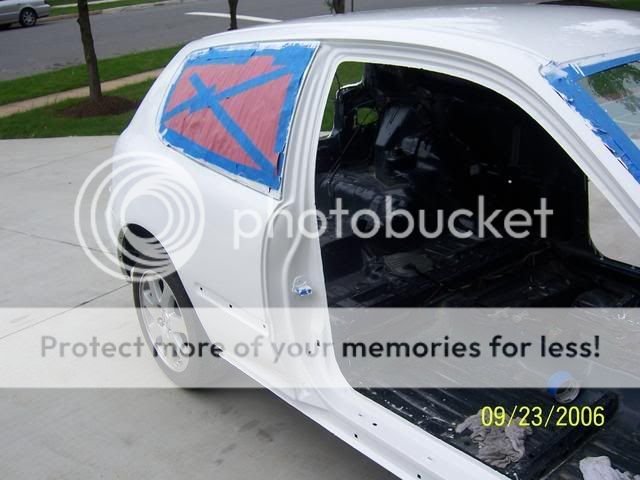
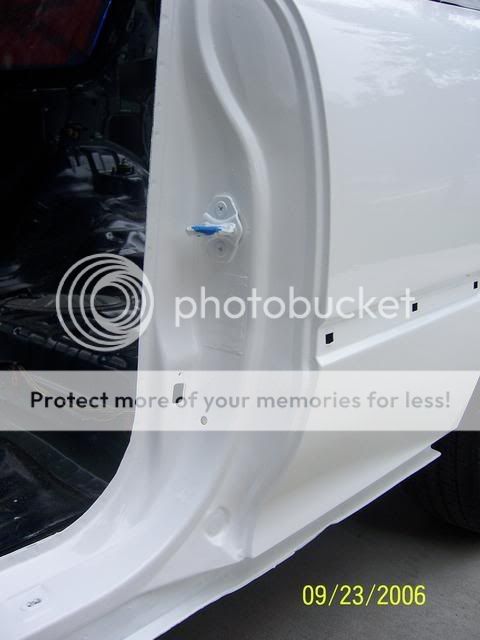
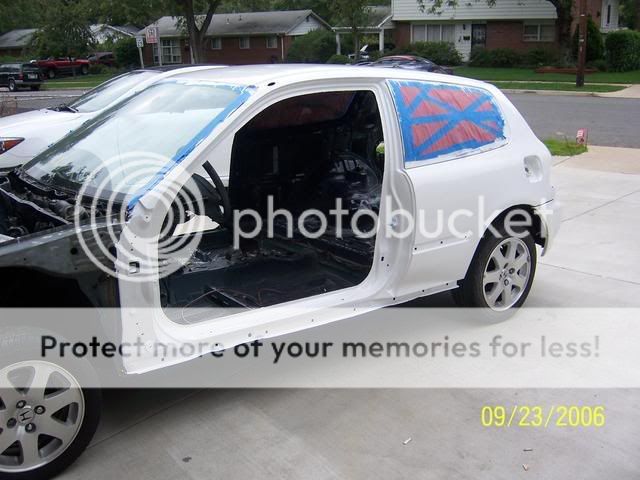
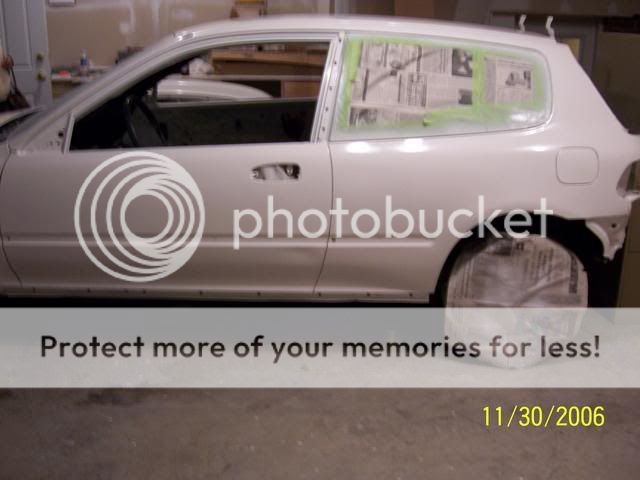
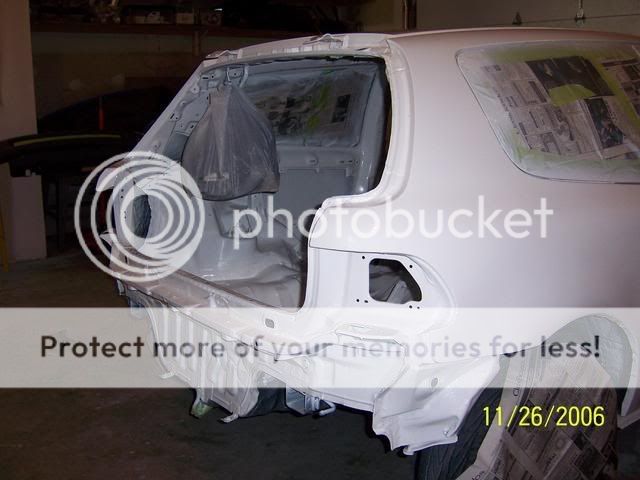
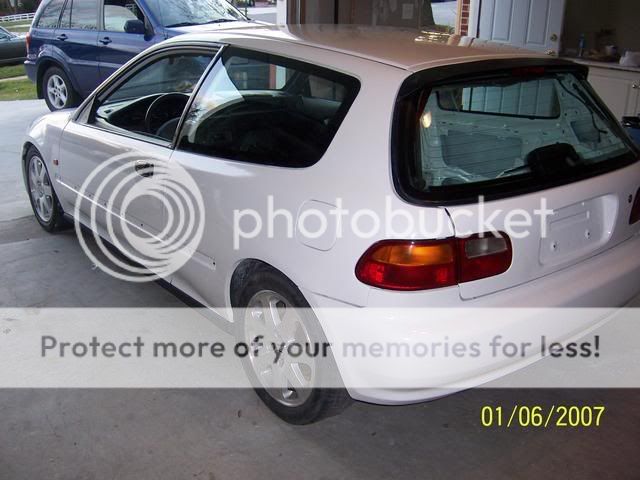
i had about 5 coats on the entire car when i decided to use an HVLP gun that i purchased on ebay for $35, i had a small 2 gallon compressor that i used. the reason i went with a spray gun instead of rolling it was because i wanted to have even coverage all over the car, it made the whole process much easier, i only had to spray it once and i had full coverage of the whole car, didn't have to keep painting. i even did the interior with it since i wasn't happy with the flat looking spray paint i had on there - what a waste of $200 . these are pics of when i sprayed the entire car with the spray gun and the marine paint mixed with mineral spirits about 10%.

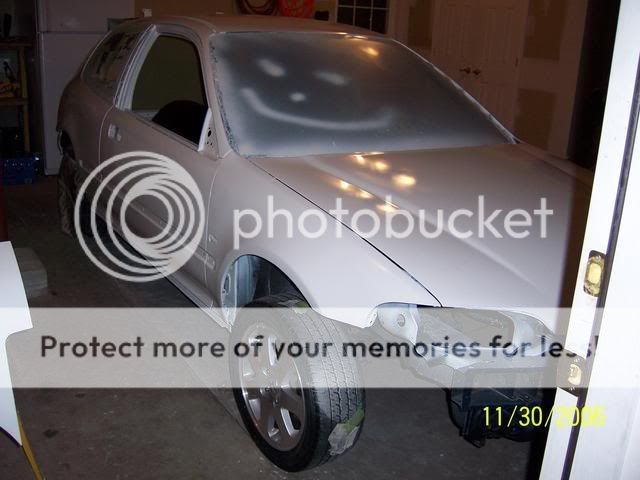
i let it sit for about a week or so before doing the final wetsand and polish. i wetsanded with 1000, 1200, 1500, then 2000.
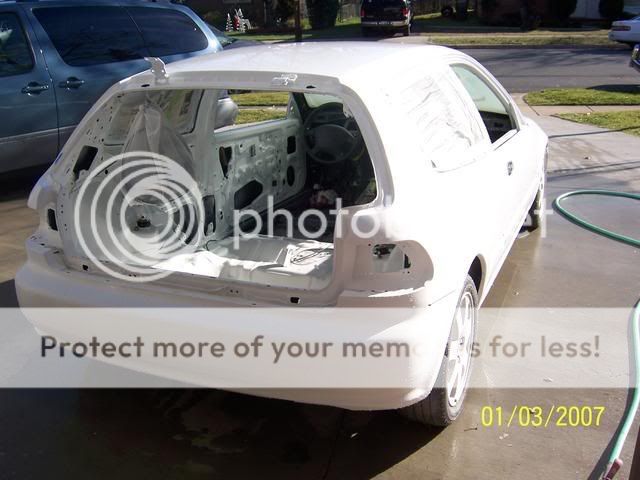
here's pics of the final polish - i used rubbing compound first, then some cleaner/polishing wax from maguiars. i used a buffer to apply both.
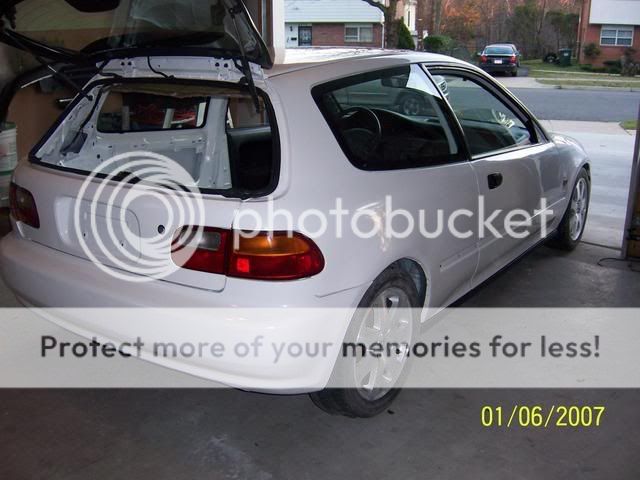
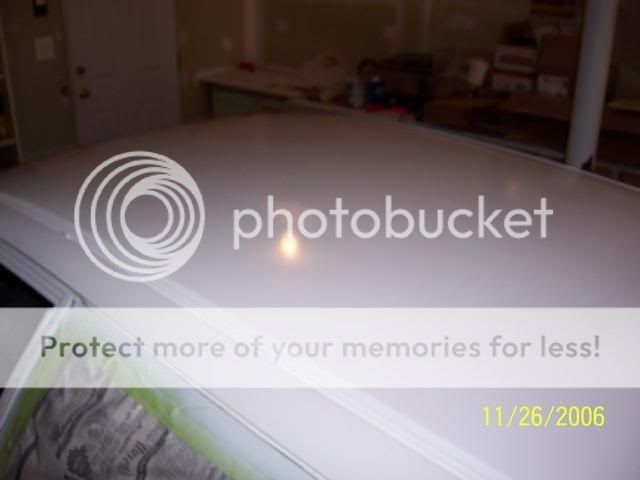
 hope you enjoy. IMO, this paint is going to be comparable to an oem paint job, there's barely any orange peel and there's a really nice shine to the paint. after rolling the paint, and spraying it - the only difference is that rolling the paint will lead you to 2-3x more work if you're wetsanding with 800grit in between coats. i recommend you do about 3-4 coats before wetsanding with 800, let the paint sit for about 12hrs to dry completely before doing another coat. if after you do the 3-4 layers and you wetsand you need better coverage, do a couple more layers. the last layer is when you take care of all the orange peel.
i hope to have answered some of your questions - browse the mopar thread - they have even better results then what is posted in our '$50 paint job' thread. depending on how you work and how much you wetsand, this paint will cost you from anywhere between 50-$400. compare that with a complete makeover. i'm not saying this paint is way better then paying a professional to paint your car for $3000 but for the amount of money spent on this paint, it's definitely the best bang for your buck.
CLIFFNOTES/RECOMMENDATIONS:
-wetsand the car with 100-600grit depending on your old paint, try not to get to the metal or you'll need to primer these parts to prevent rusting.
-wetsand in an X pattern to show low spots/dents.
-no need to primer the car when applying this paint (although it wouldn't hurt), it sticks really good to your previous paint, if you're painting a new bumper, primer the bumper first, then paint.
-fix any dents/imperfections you want with any type of filler, USC Icing works really good. it's recommended not to wet the filler as it may absorb moisture and may cause your paint to flake/crack.
-before applying the paint, use de-naturalized alcohol or mineral spirits to wipe down the car and remove any dust or oils from your skin.
-remove trim parts or weatherstripping or mask them with painters tape (blue) or green, green works best IMO. don't rush through this step as it will be harder to remove the paint from these pieces once you get to that stage if you don't mask it well enough.
-if you're rolling the paint, roll the paint to provide a really good layer on the paint, i rolled in ///// patterns, then i went back and did \\\\ a couple of minutes later. don't apply more paint the 2nd time around when you're doing \\\\ as you may risk getting runs in the paint. the paint will level itself out and should leave you with a good clean layer.
-wait about 12-24hrs before applying another layer, depending on the weather. -wetsand in between layers with 600-800grit if you have any bugs/big dust particles in the paint, do about 3-5 layers and wetsand with 1000, if you're satisfied with the coverage on the paint, go ahead and wetsand with 1500 and 2000 to finish it off. always remember to wetsand in X patterns.
-you don't really have to worry about how many layers you do because everyone wetsands with different techniques, when you're wetsanding, you're pretty much taking down a layer or two, depending on how hard you wetsand. you dont' really have to force the sand paper against the paint, let the paper do the work. if you have any runs, take care of those with a lower grit (~320grit) before applying more paint.
-buy a small $20 buffer to apply the rubbing compound and wax, i used 3m marine rubbing compound, and some maguiar cleaner wax to wax the car. you can use your hand, but it'll take a lot longer.
Modified by fventura03 at 4:40 PM 1/8/2007
here is a direct link to my photobucket which you can look through all my pictures that i've taken in an attempt to document my whole process. http://s140.photobucket.com/albums/r35/fventura04/
when i went into this, i didn't know ANYTHING about body work and painting a car. i browsed through tons and tons of threads on autobody101.com and honda-tech.com when i found the '$50 paint job' thread - i knew i wanted to do a FULL color change, except i didn't want to spend $4000-6000 doing so, this is an all motor k24 frank project i'm working on and i'm on a budget so i wanted to attempt this paint and learn about body work at the same time, i didn't have anything to lose except a couple of dollars.
when i purchased the car, it had overspray all over the entire passenger side from the previous owner painting something with orange paint, the entire passenger side had orange specs of paint. the original paint was faded and tired after 14yrs.
i'm going to try and document everything from the beginning to the end as best i can, so the dates on the pictures won't be in chronological order. sorry about that.
here's a couple of pictures when i first got the car:
i started the work by sanding the entire car down with 100grit (depending on how bad your paint is, you can sand down the car with up to 600grit), working in an x-pattern - this will get the clearcoat down and will show low spots(dents) in the paint that will need to be filled. the body on my car was rust free, and it was pretty straight when i got it - i didn't need much body work. if i were to do this again, i would wetsand with 100grit instead of drysanding the car like i did, wetsanding is way faster and saves a lot of sandpaper. in my case, i sanded down the clear coat, and some of the blue previous paint. i didn't feel i needed to go down further to the primer, i did in some parts though.
pic of supplies from when i first started:
i started off rolling the paint with a 4" roller, west marine sea gloss pro topside paint in gloss white (you can goto yachtpaint.com for a list of different colors. the paint i used i was told was interlux brightside except repackaged and sold at a cheaper price. i used a paint brush to do the jams. i didn't do any mixing, i just rolled it onto the car, straight from the can. i wetsanded in between each layer with 800grit to get the paint smooth and get all the dust that got stuck on the paint. it usually takes about 12hrs for the paint to completely dry - just depends on the weather. depending on your working conditions (garage or outside) and the amount of debris you get on the paint after it's dry, you probably don't need to wetsand the paint in between layers. i did, and it just made the process much longer then it had to be - you're basically sanding off most of the layer you just applied by wetsanding, each layer is really THIN.
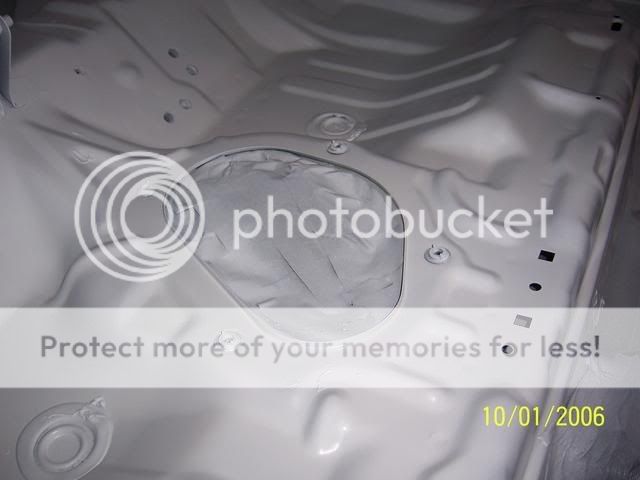
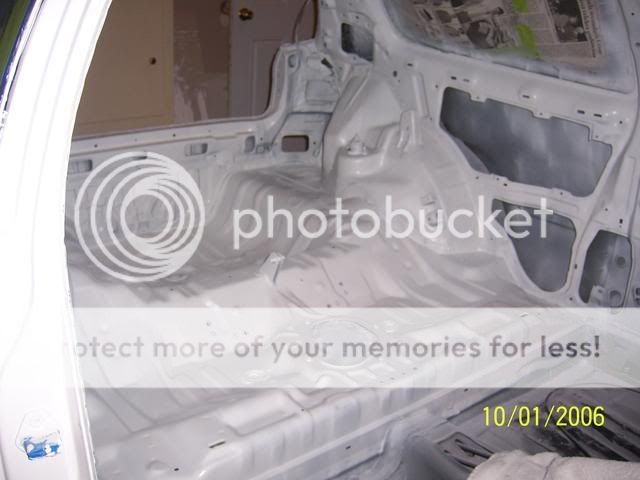
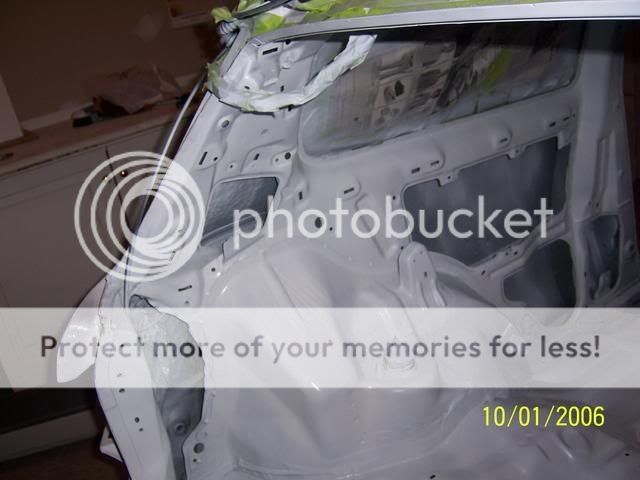
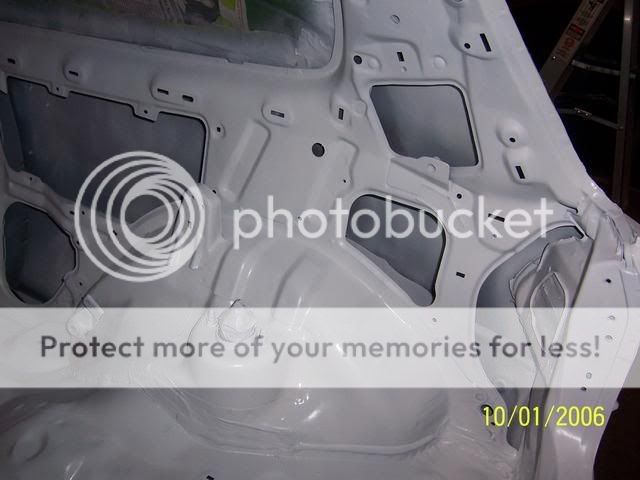
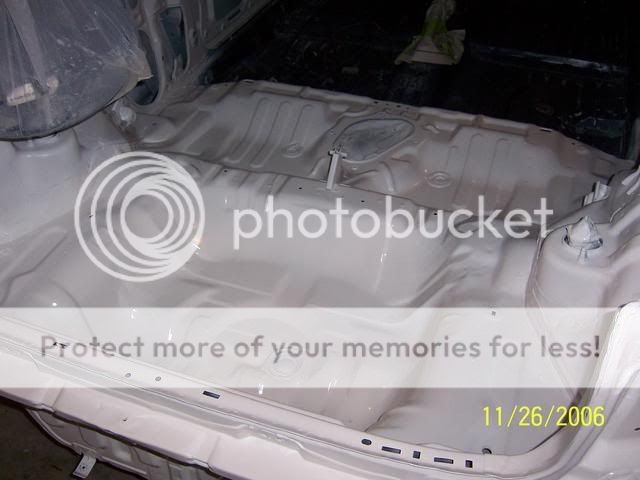
i wasn't going to be able to roll the paint on the interior so i attempted to rattle can the paint, i spent about $200 on spray paint for the enterior (this is the reason my paint cost so much.) the problem i had with this was that i purchased different brands of paints and when these paints were mixed together when i sprayed them on the car they wrinkled (the paints were made of different materials) - basically one paint ate the other and i never got to spray a clear coat as i was scared to have any more problems. i also used spray paint for the inside of the doors and small miscellaneous brackets. this left me with a dull, white finish which got dirty really easily.
i had about 5 coats on the entire car when i decided to use an HVLP gun that i purchased on ebay for $35, i had a small 2 gallon compressor that i used. the reason i went with a spray gun instead of rolling it was because i wanted to have even coverage all over the car, it made the whole process much easier, i only had to spray it once and i had full coverage of the whole car, didn't have to keep painting. i even did the interior with it since i wasn't happy with the flat looking spray paint i had on there - what a waste of $200
. these are pics of when i sprayed the entire car with the spray gun and the marine paint mixed with mineral spirits about 10%.i let it sit for about a week or so before doing the final wetsand and polish. i wetsanded with 1000, 1200, 1500, then 2000.
here's pics of the final polish - i used rubbing compound first, then some cleaner/polishing wax from maguiars. i used a buffer to apply both.
hope you enjoy. IMO, this paint is going to be comparable to an oem paint job, there's barely any orange peel and there's a really nice shine to the paint. after rolling the paint, and spraying it - the only difference is that rolling the paint will lead you to 2-3x more work if you're wetsanding with 800grit in between coats. i recommend you do about 3-4 coats before wetsanding with 800, let the paint sit for about 12hrs to dry completely before doing another coat. if after you do the 3-4 layers and you wetsand you need better coverage, do a couple more layers. the last layer is when you take care of all the orange peel. i hope to have answered some of your questions - browse the mopar thread - they have even better results then what is posted in our '$50 paint job' thread. depending on how you work and how much you wetsand, this paint will cost you from anywhere between 50-$400. compare that with a complete makeover. i'm not saying this paint is way better then paying a professional to paint your car for $3000 but for the amount of money spent on this paint, it's definitely the best bang for your buck.
CLIFFNOTES/RECOMMENDATIONS:
-wetsand the car with 100-600grit depending on your old paint, try not to get to the metal or you'll need to primer these parts to prevent rusting.
-wetsand in an X pattern to show low spots/dents.
-no need to primer the car when applying this paint (although it wouldn't hurt), it sticks really good to your previous paint, if you're painting a new bumper, primer the bumper first, then paint.
-fix any dents/imperfections you want with any type of filler, USC Icing works really good. it's recommended not to wet the filler as it may absorb moisture and may cause your paint to flake/crack.
-before applying the paint, use de-naturalized alcohol or mineral spirits to wipe down the car and remove any dust or oils from your skin.
-remove trim parts or weatherstripping or mask them with painters tape (blue) or green, green works best IMO. don't rush through this step as it will be harder to remove the paint from these pieces once you get to that stage if you don't mask it well enough.
-if you're rolling the paint, roll the paint to provide a really good layer on the paint, i rolled in ///// patterns, then i went back and did \\\\ a couple of minutes later. don't apply more paint the 2nd time around when you're doing \\\\ as you may risk getting runs in the paint. the paint will level itself out and should leave you with a good clean layer.
-wait about 12-24hrs before applying another layer, depending on the weather. -wetsand in between layers with 600-800grit if you have any bugs/big dust particles in the paint, do about 3-5 layers and wetsand with 1000, if you're satisfied with the coverage on the paint, go ahead and wetsand with 1500 and 2000 to finish it off. always remember to wetsand in X patterns.
-you don't really have to worry about how many layers you do because everyone wetsands with different techniques, when you're wetsanding, you're pretty much taking down a layer or two, depending on how hard you wetsand. you dont' really have to force the sand paper against the paint, let the paper do the work. if you have any runs, take care of those with a lower grit (~320grit) before applying more paint.
-buy a small $20 buffer to apply the rubbing compound and wax, i used 3m marine rubbing compound, and some maguiar cleaner wax to wax the car. you can use your hand, but it'll take a lot longer.
Modified by fventura03 at 4:40 PM 1/8/2007

Night Owl
Joined: Dec 2005
Posts: 4,199
Likes: 1
From: the restaurant at the end of the universe
Cool
It's kinda hard to find a clear writeup in the $50 paint job thread- thanks for creating this write-up. Bookmarked.
It's kinda hard to find a clear writeup in the $50 paint job thread- thanks for creating this write-up. Bookmarked.


Trending Topics

Thread Starter
Honda-Tech Member
iTrader: (1)
Joined: Dec 2003
Posts: 11,128
Likes: 4
From: Alexandria, VA
thank guys, yeah all the work was done by me. took me about 3 months because i only got to work on it on my free time which was on weekends, i finished it and am 100% satisfied with it

New User
Joined: Oct 2001
Posts: 692
Likes: 0
$452.63? Damn could have bought a 15-20 gal air compressor $120-$140, paint gun (decent) $50-$70, autopaint autozone $150, total $350'ish. Could have saved alot of time using a spray gun rather than rattle cans and saved a little bit of cash. Well, whatever method floats your boat. Looks ok I guess.
Thread Starter
Honda-Tech Member
iTrader: (1)
Joined: Dec 2003
Posts: 11,128
Likes: 4
From: Alexandria, VA
<TABLE WIDTH="90%" CELLSPACING=0 CELLPADDING=0 ALIGN=CENTER><TR><TD>Quote, originally posted by Tokyo_X-treme_Racer »</TD></TR><TR><TD CLASS="quote">$452.63? Damn could have bought a 15-20 gal air compressor $120-$140, paint gun (decent) $50-$70, autopaint autozone $150, total $350'ish. Could have saved alot of time using a spray gun rather than rattle cans and saved a little bit of cash. Well, whatever method floats your boat. Looks ok I guess. </TD></TR></TABLE>
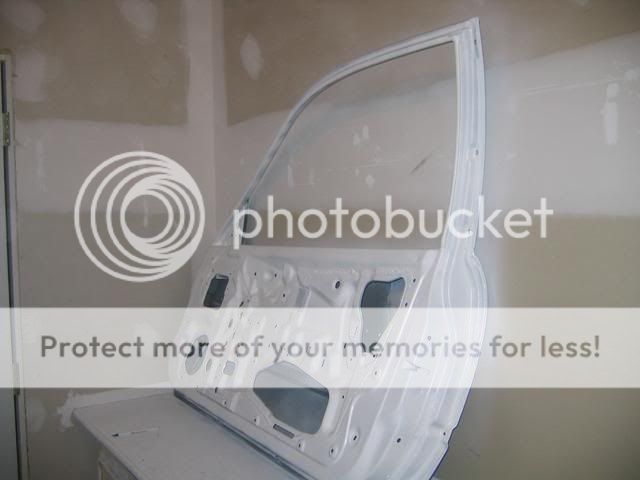
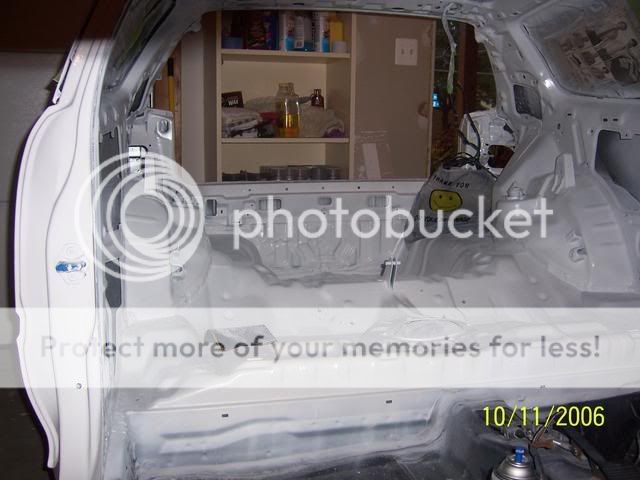
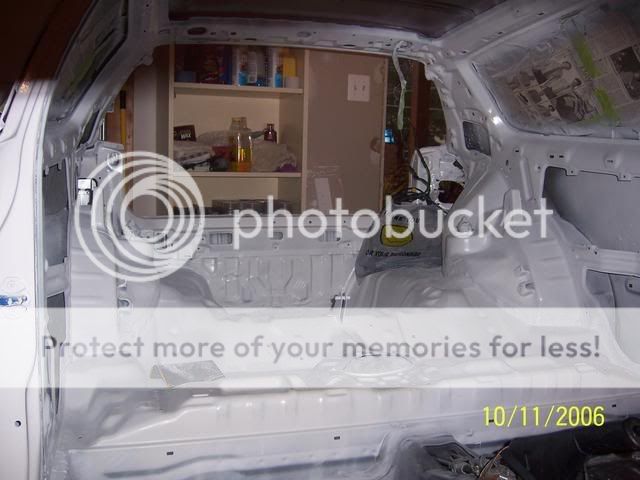
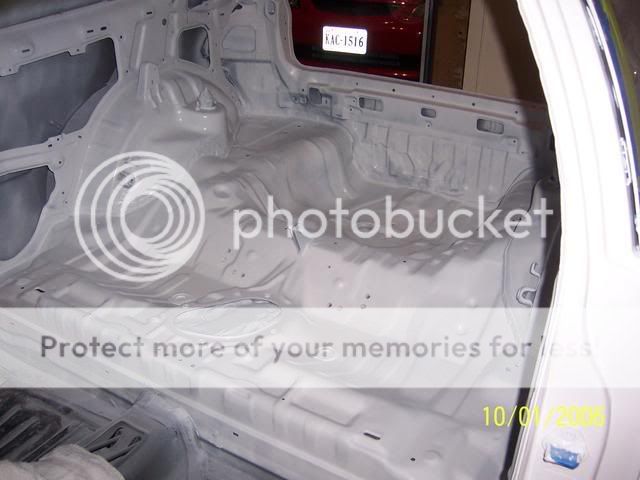
when i bought all that spray paint, i was rolling the exterior, i wasn't going to attempt to roll on the paint on the interior, so i used spray paint, i mixed different brands of paint causing it to wrinkle up. this was all a learning experience to me so i didn't care. i painted the interior again with marine paint and this is the final product:

if i were to have sprayed this paint from the beginning, i'm sure i would've spent well under $150 on everything ($35 hvlp gun, $115 in sandpaper and paint.)
when i bought all that spray paint, i was rolling the exterior, i wasn't going to attempt to roll on the paint on the interior, so i used spray paint, i mixed different brands of paint causing it to wrinkle up. this was all a learning experience to me so i didn't care. i painted the interior again with marine paint and this is the final product:
if i were to have sprayed this paint from the beginning, i'm sure i would've spent well under $150 on everything ($35 hvlp gun, $115 in sandpaper and paint.)


