

Another DIY Foglight Installation Guide 92-95 (EG) 30pics [56k ... Hi!]

Thread Starter
Joined: Jul 2004
Posts: 1,055
Likes: 1
From: Sitting In My EHTwo, CA

If I never told you, you would have never known!

Hi and welcome to my second write-up... Yes I know, it's been covered... But please, no flaming because you can always just click 'Back' on your browser. Well okay, this is yet another DIY on foglight installation on an (EG) but also using kaiba's Lamin-X trick. Which can be found here: https://honda-tech.com/zerothread?id=1268962 . Okay then, on with the write-up.
Obviously, you'll need some foglights and a 4"x8" Lamin-X Yellow Film.

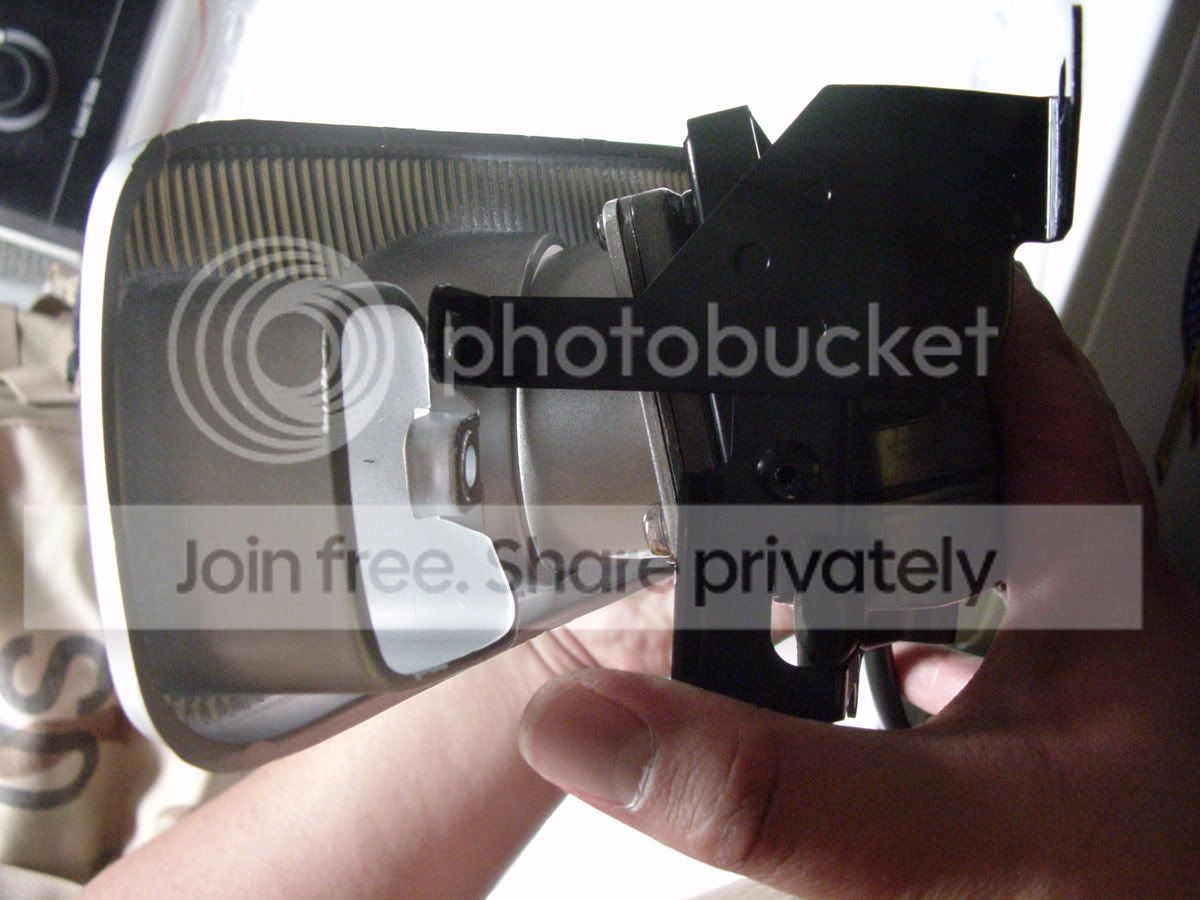
Take the foglight apart by unscrewing the three screws on the face (note only the three visible, the 4th is an adjusting screw)... flip the foglight over and removing the 4 smaller screws. Be gentle! As we all know these OEM-style (or DEPO) foglights' screws strip really easily! Now, with a flat head, pry the foglight apart resulting in two pieces.

Now cut the Lamin-X Film in half. Two 4"x4" sheets.

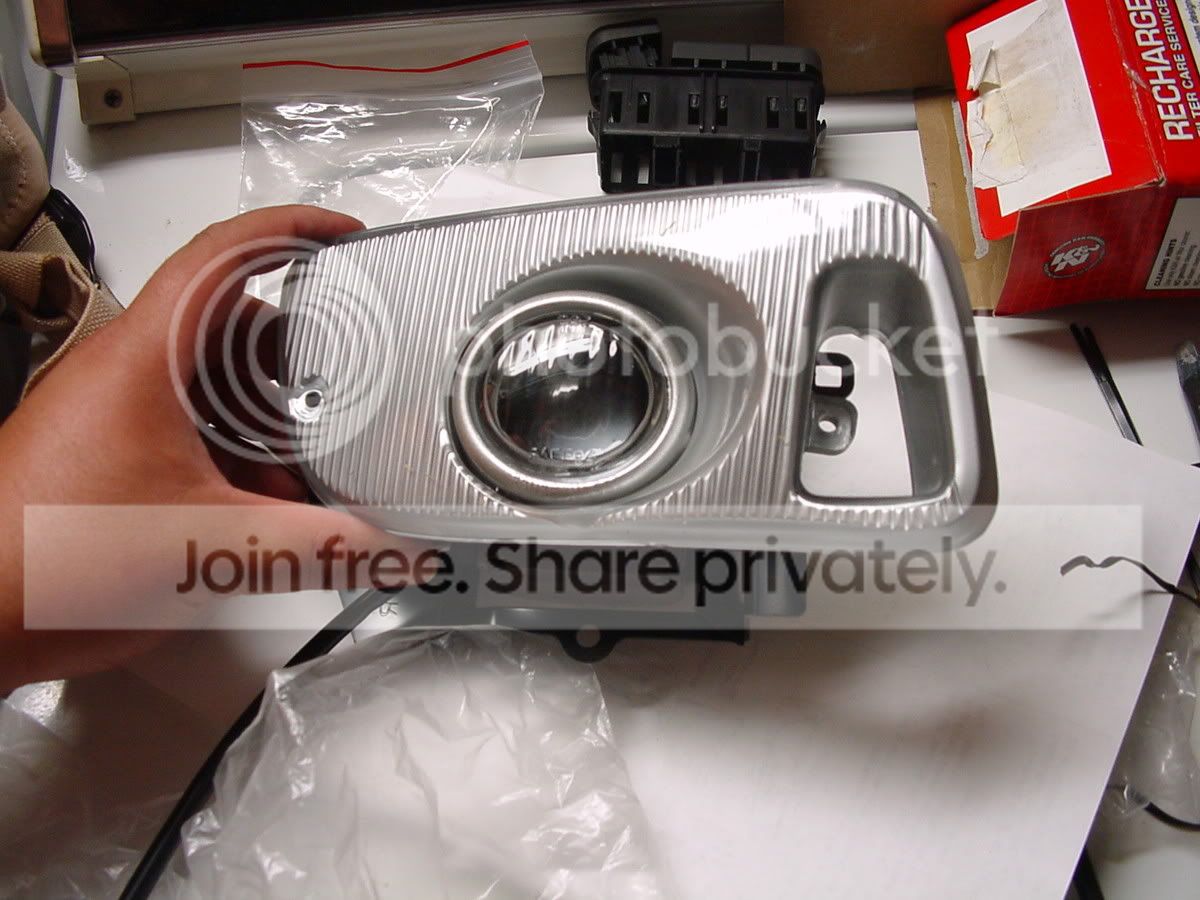
Place the film over the lense of the foglight.

Now push down to see where the excess film is and cut it away!

Now re-assembly the foglights by screwing back the 4 and then the 3 screws.

Oh come on! You would've never known!
Now let's head over to the car. Start by removing the dash, don't forget the screw behind the Hazard/Emergency Button.

Push the rear defroster switch out and remove the block-off one. Now put in the foglight button/switch that came with the foglights.

Now grab the wire with the green plug (also has like 3 other outputs) and plug it into the switch.

Here's an alternative place to put it (it's also where 'I' put it).

Next, we remove the cover under the steering column (3 screws).

And then the knee bolster (is that what it's called?) (1 bolt on each side).

Now we'll talk about the wire that plugged into the foglight switch, it had like 3 other outputs as I mentioned before. One of them is brown and goes into the fuse box. In the picture, from left to right, I placed it into the 4th one. It turns on with your parking lights.

The next output is a grounding wire. I grounded it to a bolt next to the fusebox.

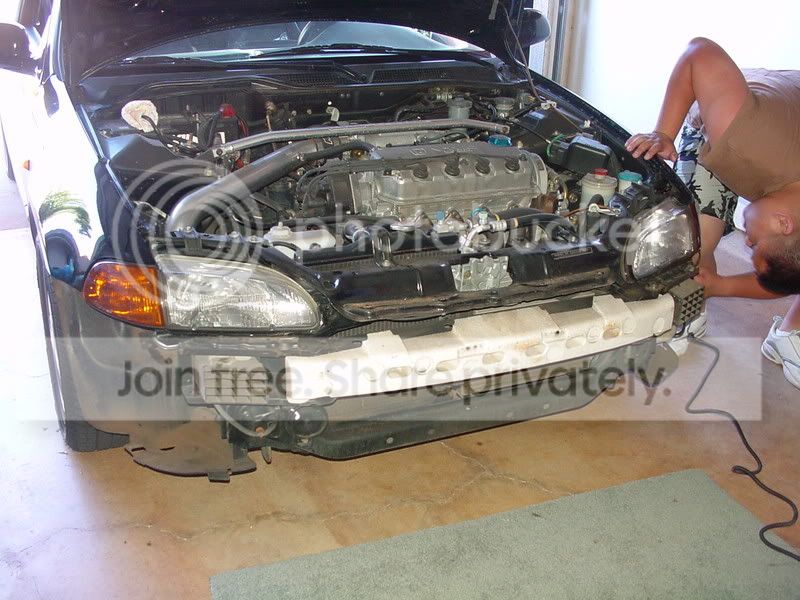
Now with the longest wiring that came witht he foglights, it's for the outside, remove the bumper and stick the side with the "relay switch and fuse" into the engine bay from the passenger corner lense.

The foglights came with a couple of bolts that I found no purpose for, so I used one to tighten the relay switch down.

If you tucked the relay and fuse into the engine bay, you should know that there was a red wire that went with it, that wire goes directly onto the battery's POSITIVE bolt.

Now head back to the front of the car and bring the thick black wiring to the driver side.


Channel this end of the thick black wiring into the engine bay now and connect the end (which should be a red wiring with a brass tip) to the tip of another red wire (this should be the final wire left that came with the foglights. its an all red wiring with brass ends).

With that connected, channel the all red wiring into the cabin through the grommet near the brake booster (to the right of the gas pedal if looking from the inside).

Now back under the steering wheel, remember the first wire had like 3 outputs? and we only covered the ground and fusebox plug? the last is a red with brass tip that connects with the wire you just brought into the cabin from the engine bay. connect them!

Now bunch up the loose wiring so it looks less messy. I had no time so it still looks messy but atleast it doesn't dangle!

Re-assembly the knee bolster and cover. Looks as if I never did anything to it!

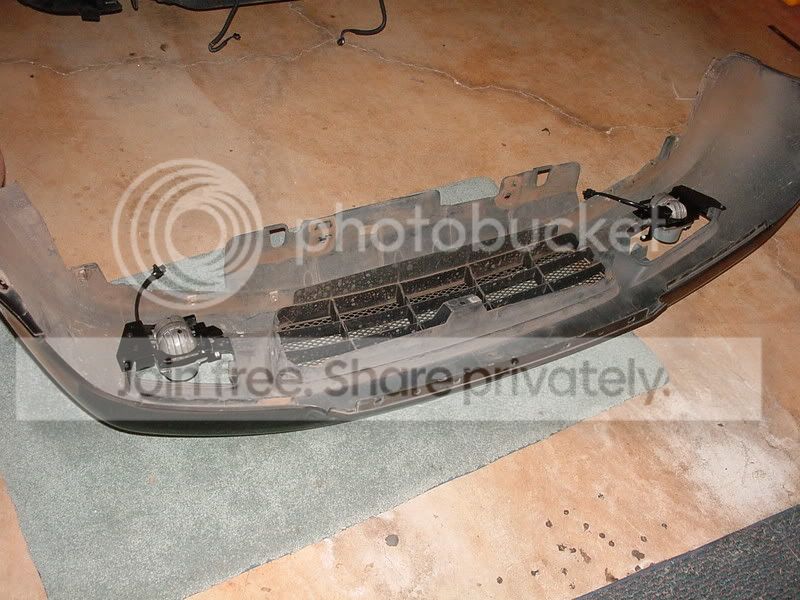
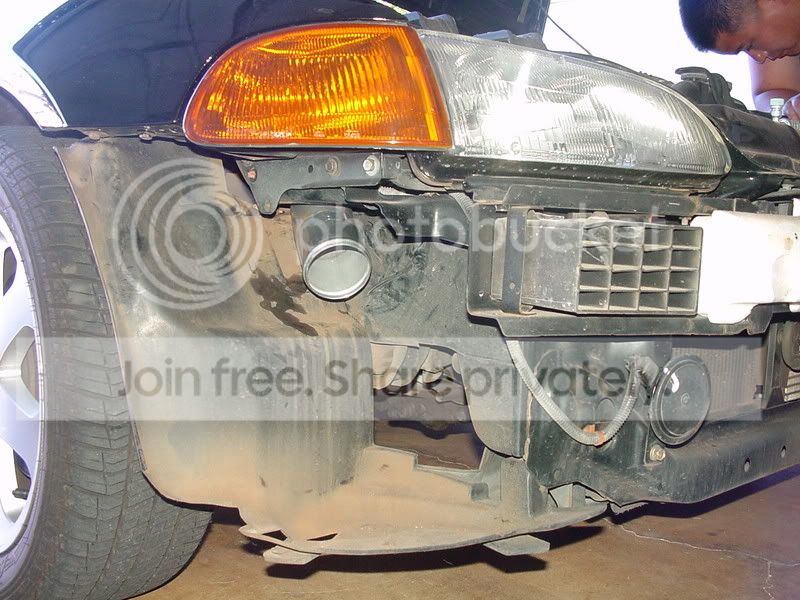
Okay, I hope you guys know how to cut the bumper and all because it was getting late and I had my dad cut it after I marked where to cut. We rushed the end so I didn't take any snaps. Basically, there's almost an outline which you can cut along, just make sure you don't cut the three places where the screws are supposed to be at. Next, just put the foglights in and screw it down. Re-assembly the bumper and place your garnishes over the foglights. Here's my results....
A little alteration to the garnishes.

And here are snaps of the finished product.


To finish off the day, why not freshen up with some Glade Refills.


Thanks for viewing all.

Modified by fms1day at 9:00 AM 10/6/2005

Honda-Tech Member
Joined: May 2002
Posts: 4,306
Likes: 0
From: Why so you can pretend like youre interested, FL/OK
Saw this DIY, then looked at the other link in your sig. Good work . I've done it, but everything is nice and detailed for those that need to do this in the future. Keep them coming I'm sure others will appreciate your efforts as well.
. I've done it, but everything is nice and detailed for those that need to do this in the future. Keep them coming I'm sure others will appreciate your efforts as well.
Honda-Tech Member

Joined: Feb 2003
Posts: 9,682
Likes: 88
From: Rancho Relacso, CA, USA
What's the reason for taking the top dash out? Just wondering since all the 5G Civic OEM/style fog installs I've done/helped out on did not require the top dash to be removed.
Trending Topics
Honda-Tech Member
Joined: May 2002
Posts: 4,306
Likes: 0
From: Why so you can pretend like youre interested, FL/OK
<TABLE WIDTH="90%" CELLSPACING=0 CELLPADDING=0 ALIGN=CENTER><TR><TD>Quote, originally posted by Outrun »</TD></TR><TR><TD CLASS="quote">What's the reason for taking the top dash out? Just wondering since all the 5G Civic OEM/style fog installs I've done/helped out on did not require the top dash to be removed.</TD></TR></TABLE>
You seeing some pictures no one else saw. He removed the knee bolster and the cluster surround to get to the blank next to the defroster.
You seeing some pictures no one else saw. He removed the knee bolster and the cluster surround to get to the blank next to the defroster.
Thread Starter
Joined: Jul 2004
Posts: 1,055
Likes: 1
From: Sitting In My EHTwo, CA
<TABLE WIDTH="90%" CELLSPACING=0 CELLPADDING=0 ALIGN=CENTER><TR><TD>Quote, originally posted by Outrun »</TD></TR><TR><TD CLASS="quote">What's the reason for taking the top dash out? Just wondering since all the 5G Civic OEM/style fog installs I've done/helped out on did not require the top dash to be removed.</TD></TR></TABLE>
It was my way of getting to the blank buttons. I know there's other ways but it was just my way.
<TABLE WIDTH="90%" CELLSPACING=0 CELLPADDING=0 ALIGN=CENTER><TR><TD>Quote, originally posted by hazard_one »</TD></TR><TR><TD CLASS="quote">did they shine bright yellow on the road? the lens dont seem yellow enough? </TD></TR></TABLE>
Yeah it didn't seem as bright as my old ones, I plan on buying some yellow h3 bulbs in the future.. but for now, it'll do.
Honda-Tech Member
Joined: Feb 2003
Posts: 9,682
Likes: 88
From: Rancho Relacso, CA, USA
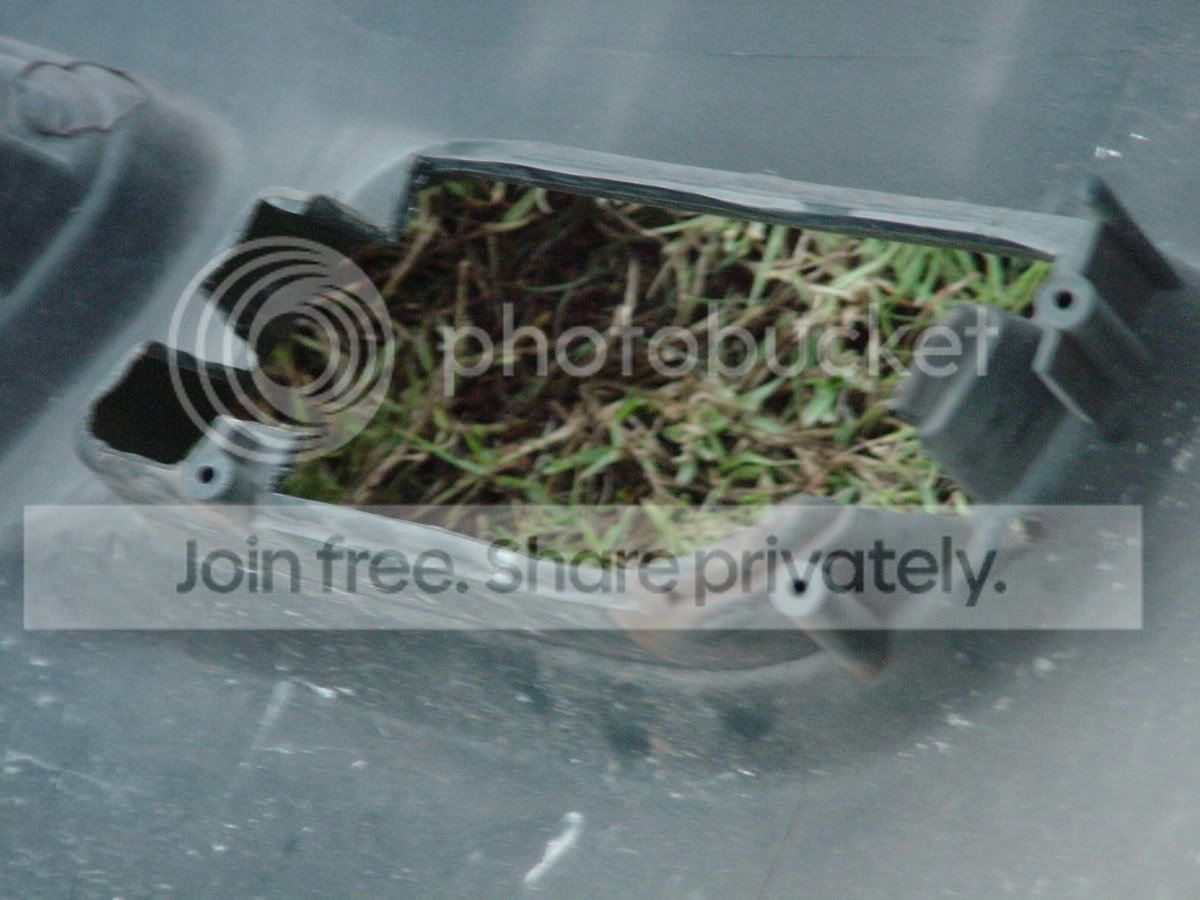
fms1day, I have pics of how the foglight "caves" look like after they are cut but before the lights are installed. I can email them to you and if you think they can help your excellent writeup you can post them.
Thread Starter
Joined: Jul 2004
Posts: 1,055
Likes: 1
From: Sitting In My EHTwo, CA
<TABLE WIDTH="90%" CELLSPACING=0 CELLPADDING=0 ALIGN=CENTER><TR><TD>Quote, originally posted by Outrun »</TD></TR><TR><TD CLASS="quote">fms1day, I have pics of how the foglight "caves" look like after they are cut but before the lights are installed. I can email them to you and if you think they can help your excellent writeup you can post them.</TD></TR></TABLE>
hey man, if you have a photobucket account, just upload them and add em on man... im sure others who are interested in installing foglights will find that part useful...
hey man, if you have a photobucket account, just upload them and add em on man... im sure others who are interested in installing foglights will find that part useful...


Honda-Tech Member
Joined: Feb 2003
Posts: 9,682
Likes: 88
From: Rancho Relacso, CA, USA
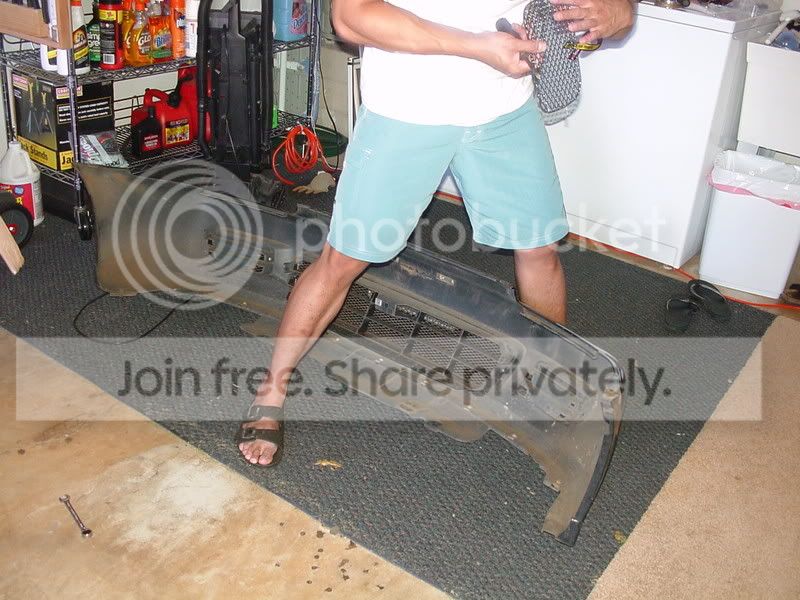
Pics from the last install I helped out on. All I did was help cut the bumper while taking turns with my sister babysitting an infant. Otherwise I would have taken a whole bunch of detailed step by step pics.
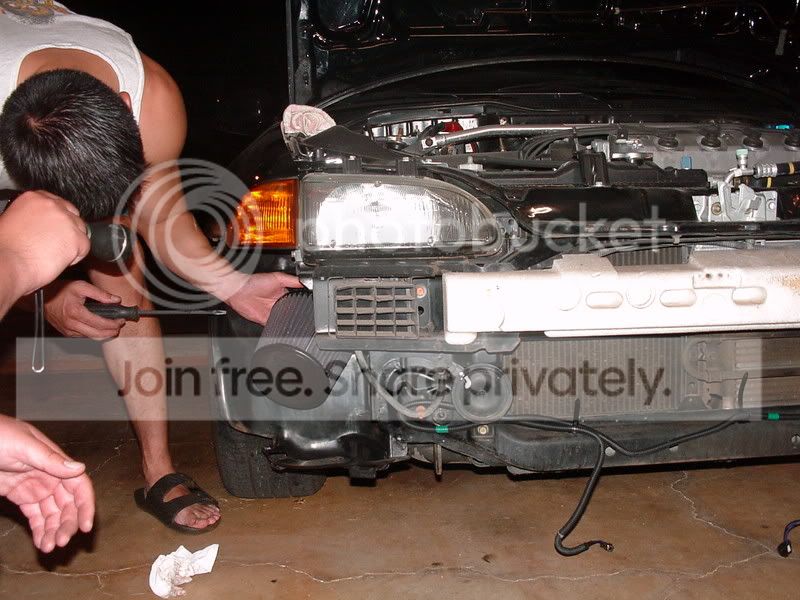


Modified by Outrun at 2:58 AM 7/11/2005
Modified by Outrun at 2:58 AM 7/11/2005
Thread Starter
Joined: Jul 2004
Posts: 1,055
Likes: 1
From: Sitting In My EHTwo, CA
<TABLE WIDTH="90%" CELLSPACING=0 CELLPADDING=0 ALIGN=CENTER><TR><TD>Quote, originally posted by Outrun »</TD></TR><TR><TD CLASS="quote">Pics from the last install I helped out on. All I did was help cut the bumper while taking turns with my sister babysitting an infant. Otherwise I would have taken a whole bunch of detailed step by step pics.
</TD></TR></TABLE>
awesome add on.. you just made my DIY complete... thanks
</TD></TR></TABLE>
awesome add on.. you just made my DIY complete...
thanks
Honda-Tech Member
Joined: Feb 2003
Posts: 9,682
Likes: 88
From: Rancho Relacso, CA, USA
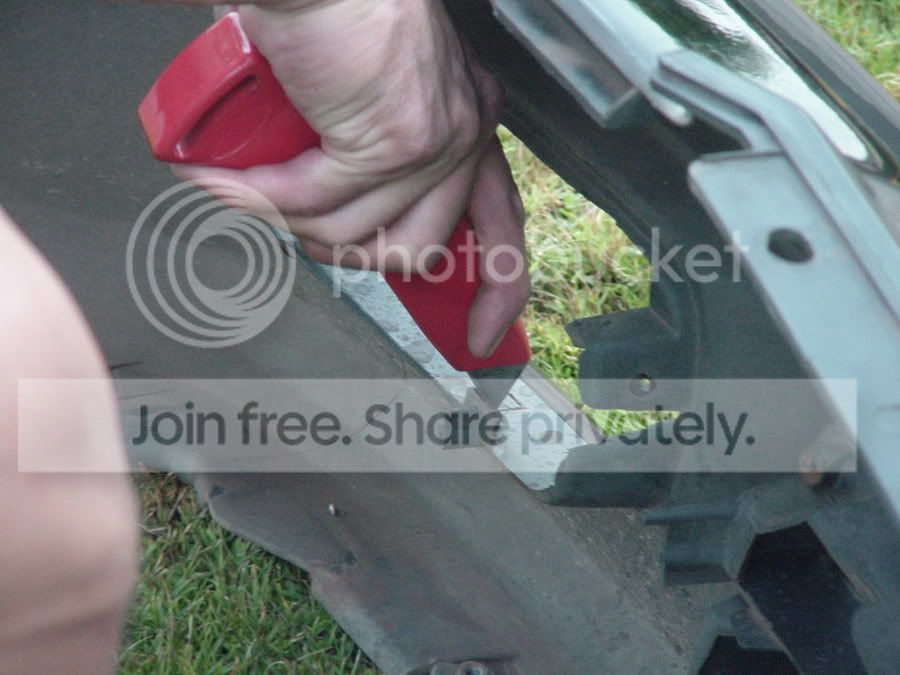
How did your dad cut the bumper? From experience, a sharp/strong utility knife and a Dremel work wonders.
Honda-Tech Member
Joined: Jan 2005
Posts: 4,505
Likes: 1
From: NOOOOOOOooooo, Ooo
<TABLE WIDTH="90%" CELLSPACING=0 CELLPADDING=0 ALIGN=CENTER><TR><TD>Quote, originally posted by fms1day »</TD></TR><TR><TD CLASS="quote">[img]
 </TD></TR></TABLE>
Take a look at my signature. Difference between H3 bulb w/lamin-x.
</TD></TR></TABLE>Take a look at my signature. Difference between H3 bulb w/lamin-x.
Thread Starter
Joined: Jul 2004
Posts: 1,055
Likes: 1
From: Sitting In My EHTwo, CA
<TABLE WIDTH="90%" CELLSPACING=0 CELLPADDING=0 ALIGN=CENTER><TR><TD>Quote, originally posted by Outrun »</TD></TR><TR><TD CLASS="quote">How did your dad cut the bumper? From experience, a sharp/strong utility knife and a Dremel work wonders.</TD></TR></TABLE>
i marked the outline over with a permanent marker for him and he just hacksawed it away.. he likes doing hands on things... so i guess he was a bit experienced ...
<TABLE WIDTH="90%" CELLSPACING=0 CELLPADDING=0 ALIGN=CENTER><TR><TD>Quote, originally posted by kaiba »</TD></TR><TR><TD CLASS="quote">
Take a look at my signature. Difference between H3 bulb w/lamin-x.</TD></TR></TABLE>
PIAA looks 100% brighther and better... but i heard PIAA's are really expensive... anywhere to get these at a discounted price?
i marked the outline over with a permanent marker for him and he just hacksawed it away..
he likes doing hands on things... so i guess he was a bit experienced ...<TABLE WIDTH="90%" CELLSPACING=0 CELLPADDING=0 ALIGN=CENTER><TR><TD>Quote, originally posted by kaiba »</TD></TR><TR><TD CLASS="quote">
Take a look at my signature. Difference between H3 bulb w/lamin-x.</TD></TR></TABLE>
PIAA looks 100% brighther and better... but i heard PIAA's are really expensive... anywhere to get these at a discounted price?
Honda-Tech Member
Joined: Jan 2005
Posts: 4,505
Likes: 1
From: NOOOOOOOooooo, Ooo
This is where i brought my piaa. http://store.yahoo.com/ltbmotorsport/pih3sebu.html