Honda Civic: How to Install New Shifter and Bushings
Does your Civic shifter have too much play in it, even when moving through the gears? The problem could be right underneath your center console. This article will show you how to replace or install your shifter and bushings.
This article applies to the Honda Civic/Del Sol (1992-2000).
When you shift your manual transmission, does it feel as though the shifter is searching for a gear, and once it finds it, it still has a lot of "play?" This may indicate that the bushings in your shift linkages need to be replaced. Your Civic's transmission has over a hundred parts. The failure of a few inexpensive ones can seriously impact your accelerating through the gears.
This article will show you how to replace the shift bushings. It will also show you how to install a new shifter in your console. You might be thinking of installing a short-throw shifter instead of a stock one. The short-throw shifter allows you to move through the gears more rapidly as the shifting linkage doesn't have to travel far.

Materials Needed
- Jacks, and two jack stands
- Ratcheting wrench
- 12mm, and 10mm socket
- Phillips head screwdriver
- Vise clamps/pliers
- Needle nose pliers
- WD-40
Pro Tip
Before beginning, make sure that the car is cool and has not been driven recently. You will be working near the exhaust, and getting underneath the vehicle. Also, slide the front seats back. This will give you extra room to remove the center console.
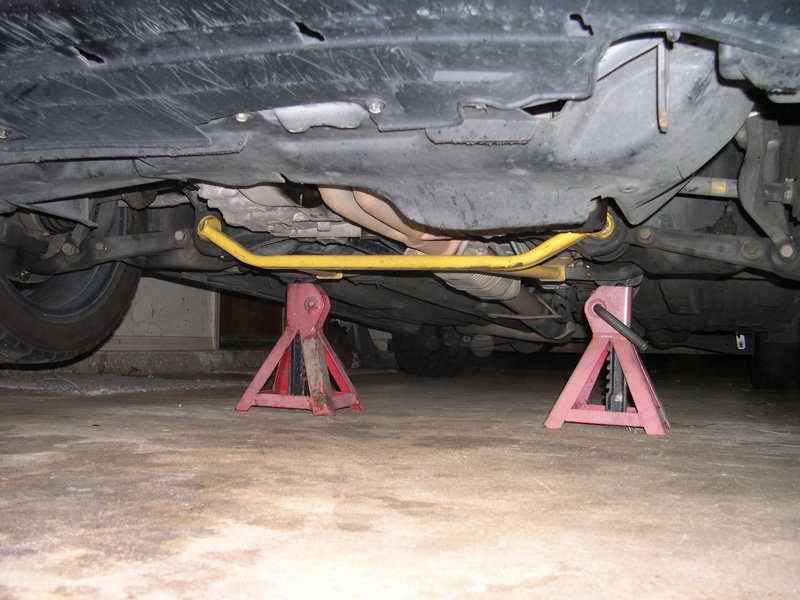
Step 1 – Jack the vehicle up and secure the front end on stands
Using the front jacking points (either the central point, in front of the engine, or the side pinch welds), hoist the vehicle up and secure it with jack stands on either side. Leave the jack propped up under the jack point for added security.
(Related Article: How to Jack Up Your Civic - Honda-Tech.com)
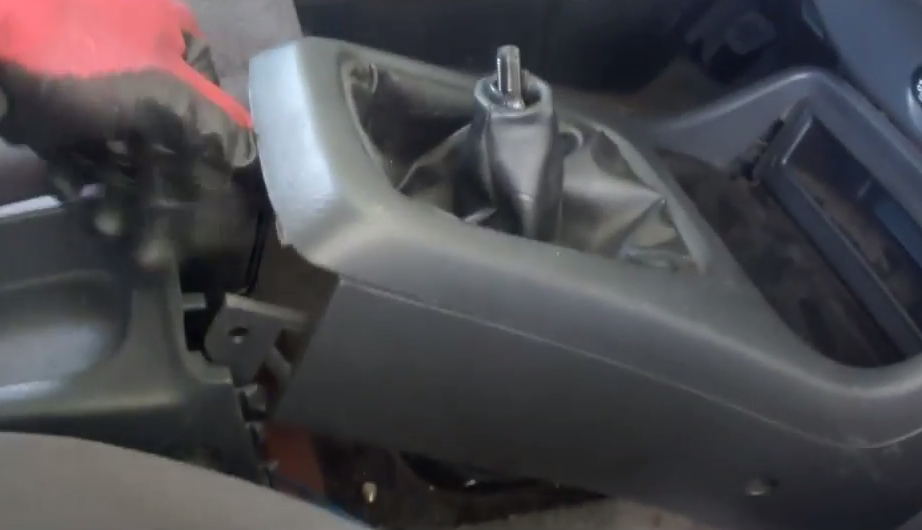
Step 2 – Remove the center console
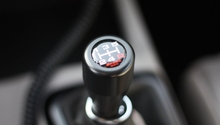
- Unscrew and remove the shifter knob.
- Remove the six screws securing the center console.
- Remove the portion of the console surrounding the shifter.
- Remove the rubber seal around the base of the shifter.
Step 3 – Remove the shift linkage rod
To remove the shifter stick, you will have to go under the car to the shift stick linkage. Using a 12mm socket and ratchet, remove the bolt at the base of the shifter. You may have to secure the other end of the bolt with another 12mm wrench or a vise grip to hold the nut. Once the bolt is out, gently lower the shift rod that was attached.
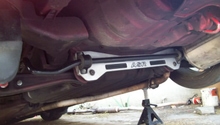
You now have to remove the two 12mm bolts from the bracket, holding the extension rod and shifter assembly. This is where the WD-40 will come in handy.
The entire link (as one piece) can now be moved to a place where you can work on it. The remaining link can remain attached at one end.
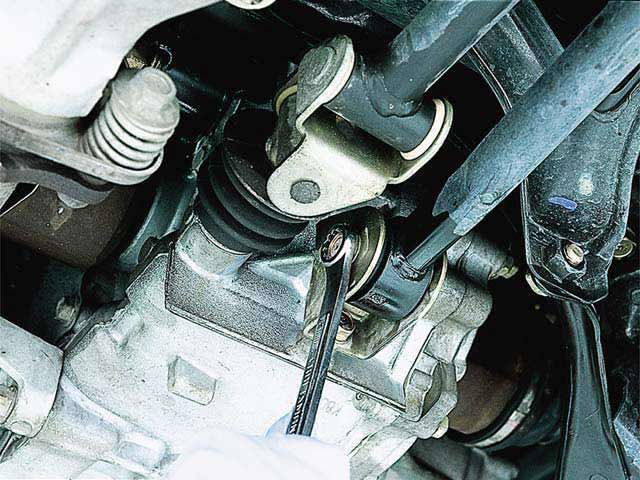
Figure 3. Remove the 12mm bolts. 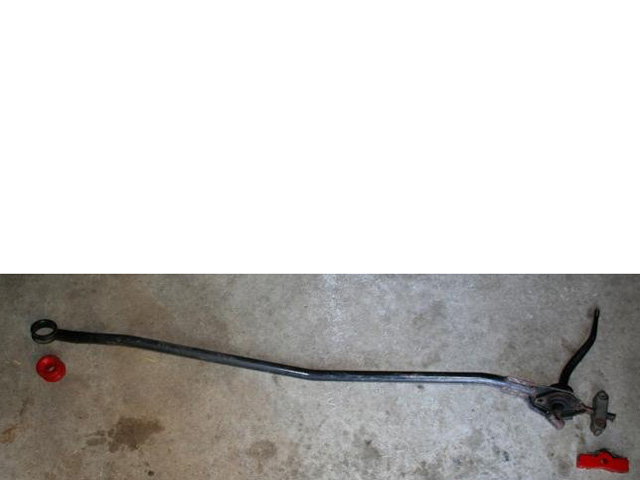
Figure 4. The link moved to a workable area.
Step 4 – Replacing the shifter
Now that you have the entire rod out, you can begin to replace the shifter. Remove the bolts holding the shifter plate to the rod. You will have to grip the other end of the bolts with a vise grip because they will turn freely. Once these two bolts are out, the shifter will slide out of the rod assembly.
Carefully pull the dust cover and gasket down to remove them. Take this opportunity to clean them of dust and grime. Lubricate the pivot ball on the new shifter with lithium grease. Careful slide the dust cover and gasket up on the new shifter to seat it securely over the pivot ball.
Put the metal plate back over the bottom of the shifter, and seat it onto the bottom of the dust cover.
Put the shifter back up through the holding plate on the shifter rod, and quickly re-install the two bolts to hold the entire shifter assembly.
Step 5 – Replacing the shifter bushings
For this installation, ES Polyurethane Bushings (part #16.1102R) will be used.
At the other end of the rod, push the old bearing out of the connector. You will see that it has two parts: the bearing itself, and a sleeve. You will be replacing the sleeve, and attaching the two bushings to either side of the OEM bearing. Be sure to generously lubricate the bushings and sleeve with the grease that comes with the kit. Remove the OEM sleeve (use needle nose pliers if needed), grease the parts to insert the new sleeve into the OEM bearing, and put the bearing with the new bushings back in the connector.
Remove the OEM bracket from the other end of the rod by working it off of the splayed end. Remove the OEM sleeves. (NOTE: You will be reusing them.) Grease the sleeves and the openings in the new bushing. Insert the original sleeves into the new bushing. Work the new bushing back over the splayed end of the rod.
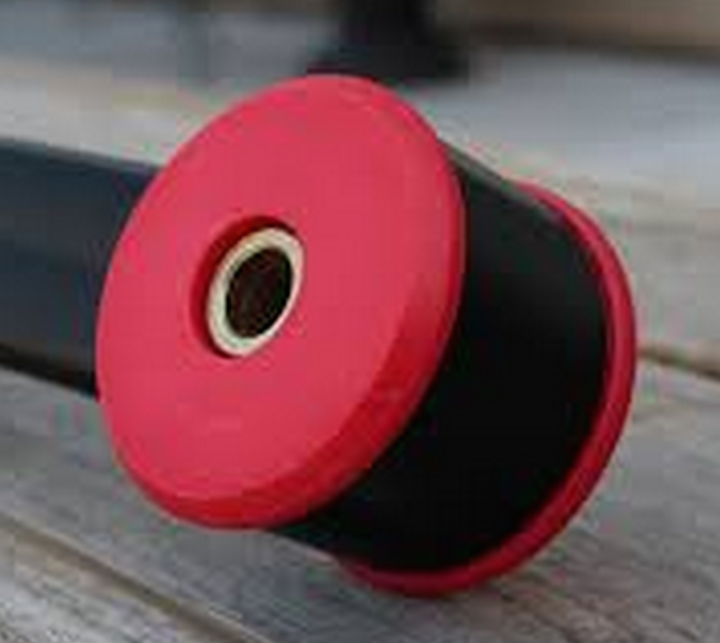
Figure 5. Shifter bushings pressed into the rod. 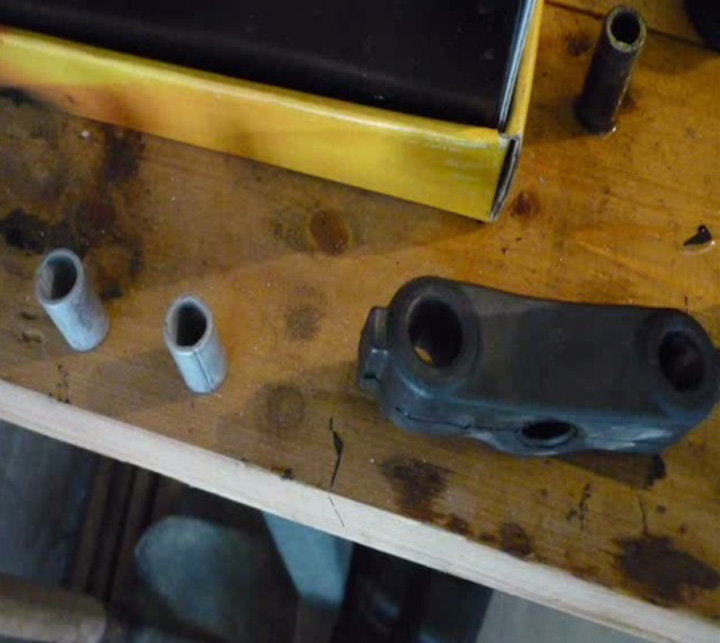
Figure 6. The original rubber shifter bushing with the bearings pressed out. 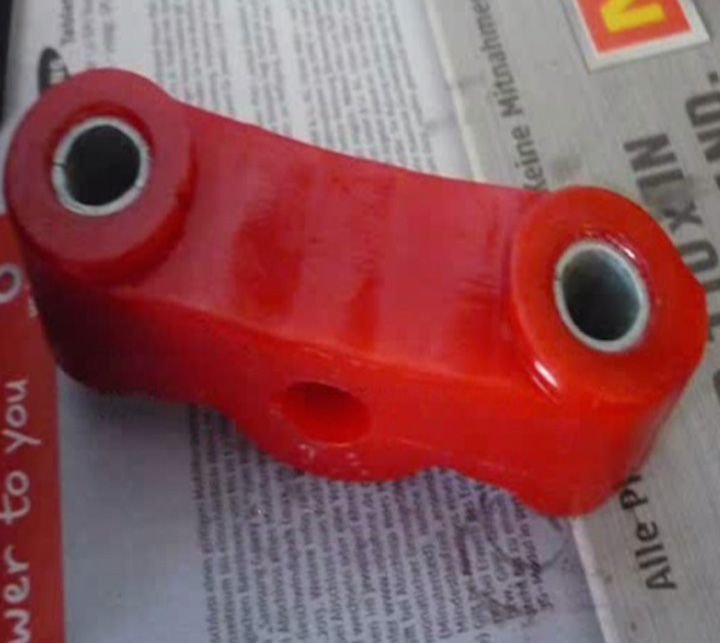
Figure 7. The new shifter bushing with the original bearings pressed in.
Step 6 – Re-installing the shifter rods and stick
Re-install the completed rod under the car. First, place the end with new bushings in the bracket behind the transmission with the 12mm wrench. Slide the top of the new shifter up through the floor pan and into the console area. Place the rear bushing over the floor pan holes, cover with the holding plate, and attach with the two 12mm bolts.
With the new polyurethane bushings, it may be tough to squeeze the rod back into its attachment point. Consider using lithium grease, a comparable rubber, or bearing grease on the bushings to help it slide into place more easily.
Reattach the remaining rod to the bottom of the shifter. Make sure all bolts are secure. Replace the rubber gasket, the boot, and console over the top end of the new shifter stick. Put the screws back into the console. Screw the shifter knob back on, and you are done!
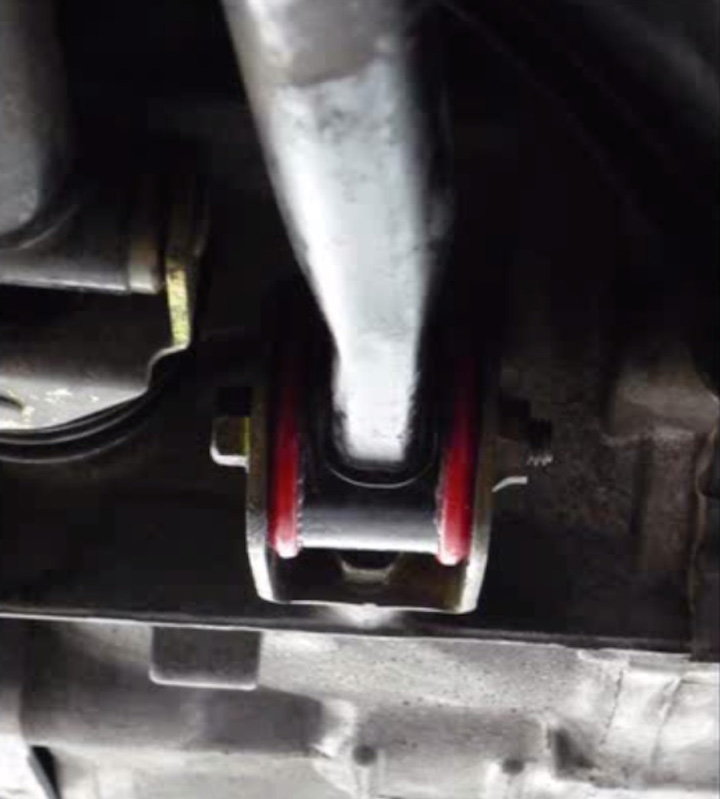
Figure 8. The rod reassembled into the chassis. 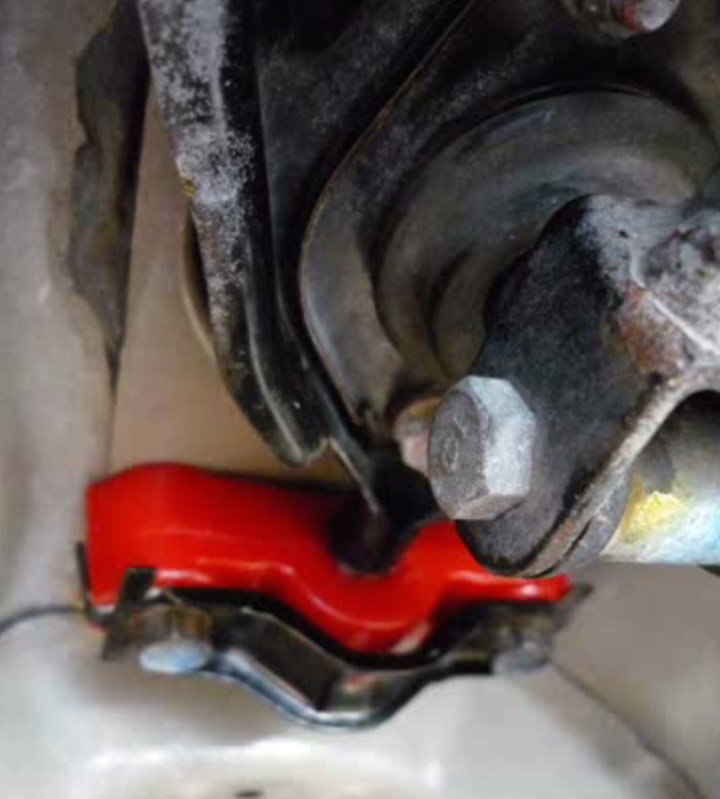
Figure 9. The new poly shifter bushing installed on the chassis.
Pro Tips
- Remember to clean and grease any parts or bushings that will be moving a lot.
- Don't try to force any bolts that are rusted and/or stuck. You could strip it or break the head off. Use the WD-40 or rust remover to help loosen it.
Featured Video: Shifter and Bushing Installation
Related Discussions
- Shifter Feels Loose - Honda-Tech.com
- Civic Shifter Install - Honda-Tech.com