

And it began...


Thread Starter
Honda-Tech Member
Joined: Dec 2012
Posts: 40
Likes: 0
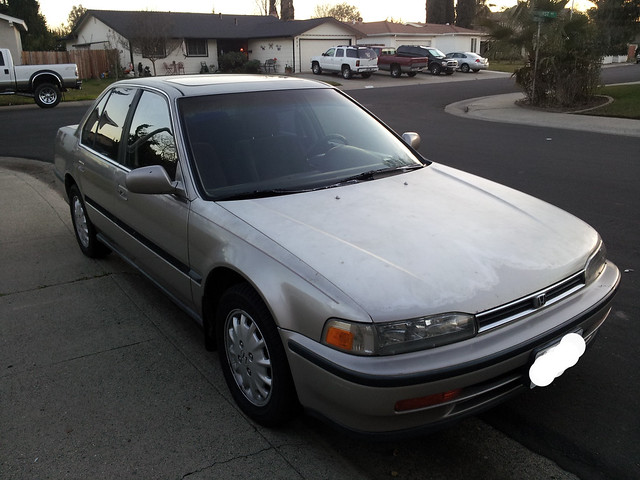
So this is my buddy's(and my own I suppose) '92 EX Sedan. Since I can't start a "Member's Build" thread yet, I'll post here. I'm the only one who drives it, and I'm the mechanic. :wavy:


Then started the mods.
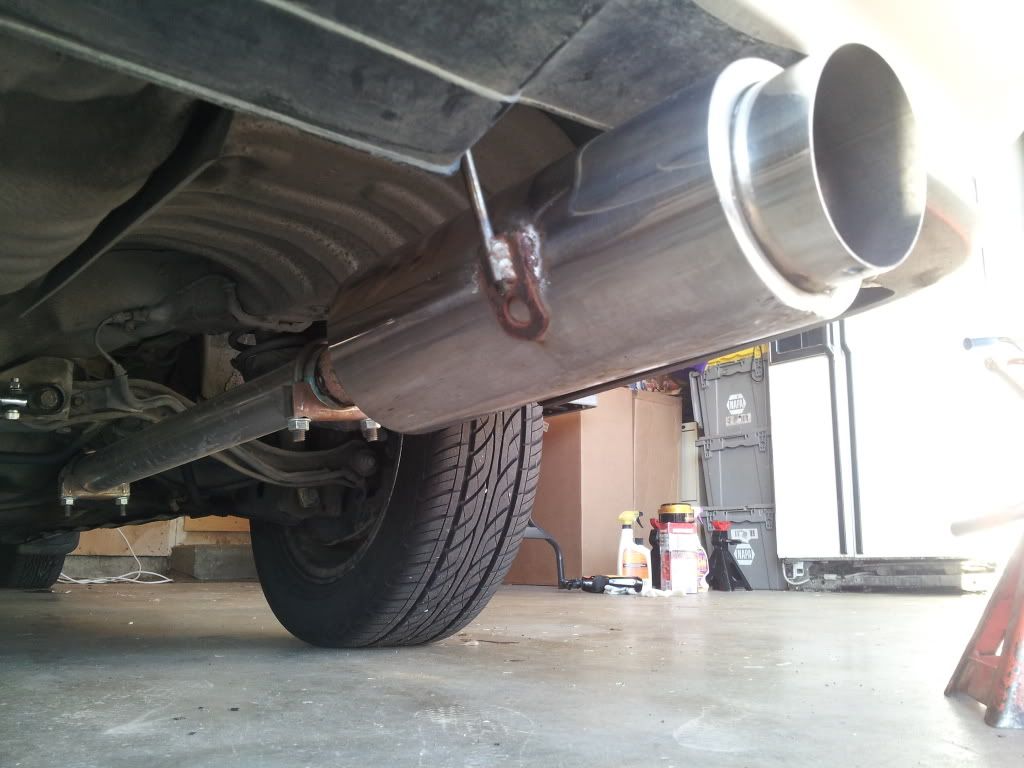
We found a universal muffler at Pick'n'Pull and decided, what the hell.


So that happened. Yes, I know, rice. Plans call for a full Skunk2 cat-back. This will do for now. :tu:
Other plans include, red and clear taillights, convert the burg interior to standard black (including new carpet!), 2002 Celica GT black leather seats (hopefully including the rears), Spec-D grill, Red, under dash+under seats, accent lighting, NRG pedals, B&M shift ****, Drag DR44 wheels, Tein coil overs(before though, we are putting in Koni Yellow shocks and Neuspeed Sport springs), Skunk2 cat-back, New paint (black or dark grey), Strut bars (front and rear), Injen Short Ram intake, Accel distributor cap and rotor, Paint the valve cover, clean up the engine bay (wire tucking, clean, polishing, etc.), and Kenwood audio. I'm sure I'm missing a crap ton, but that's the start.
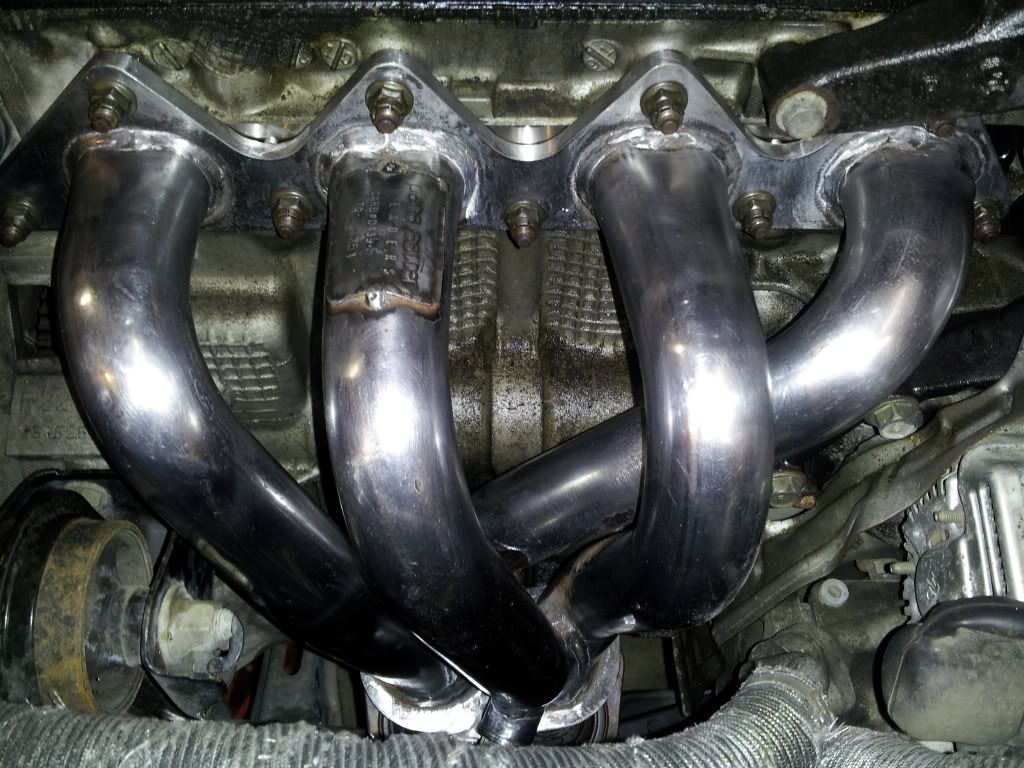
Then the header!
Going on!
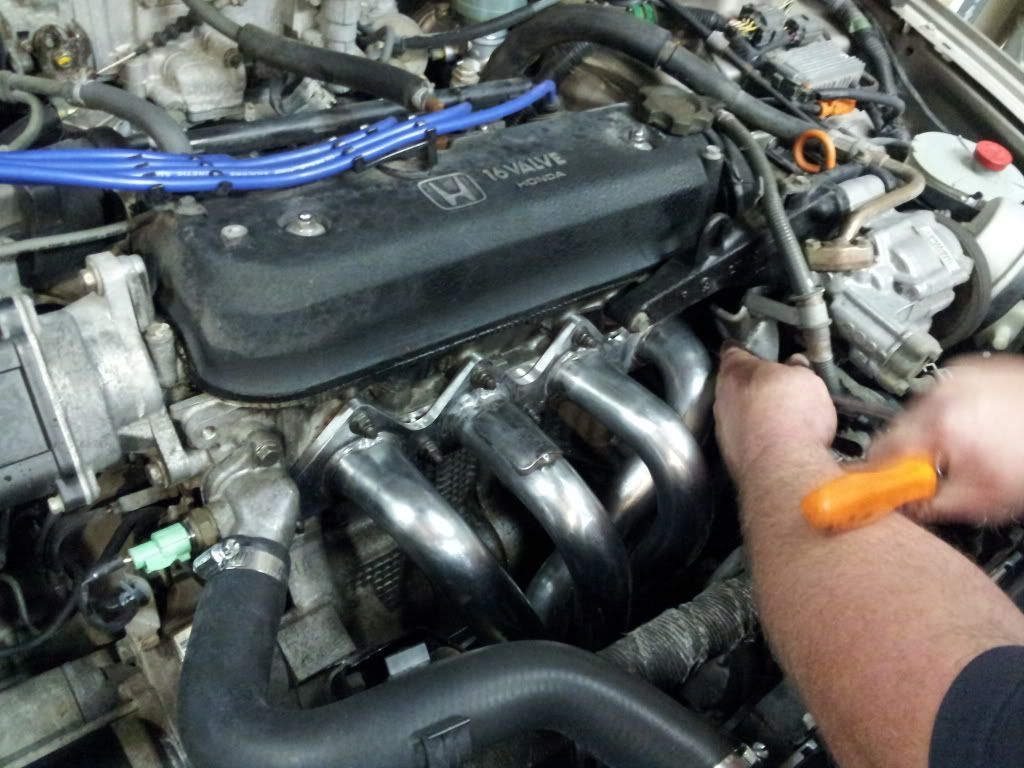
Then, blast! The OEM down pipe comes up too high.
Not to worry, just unbolt the hanger in front of the O2 sensor, and it lined right up!
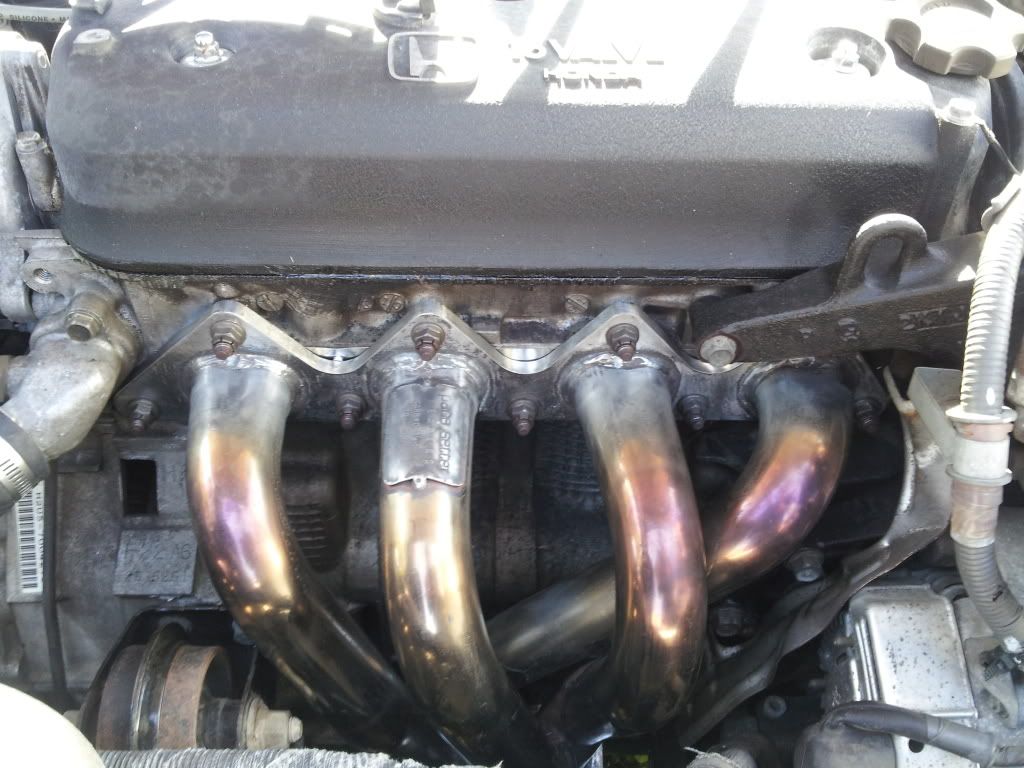
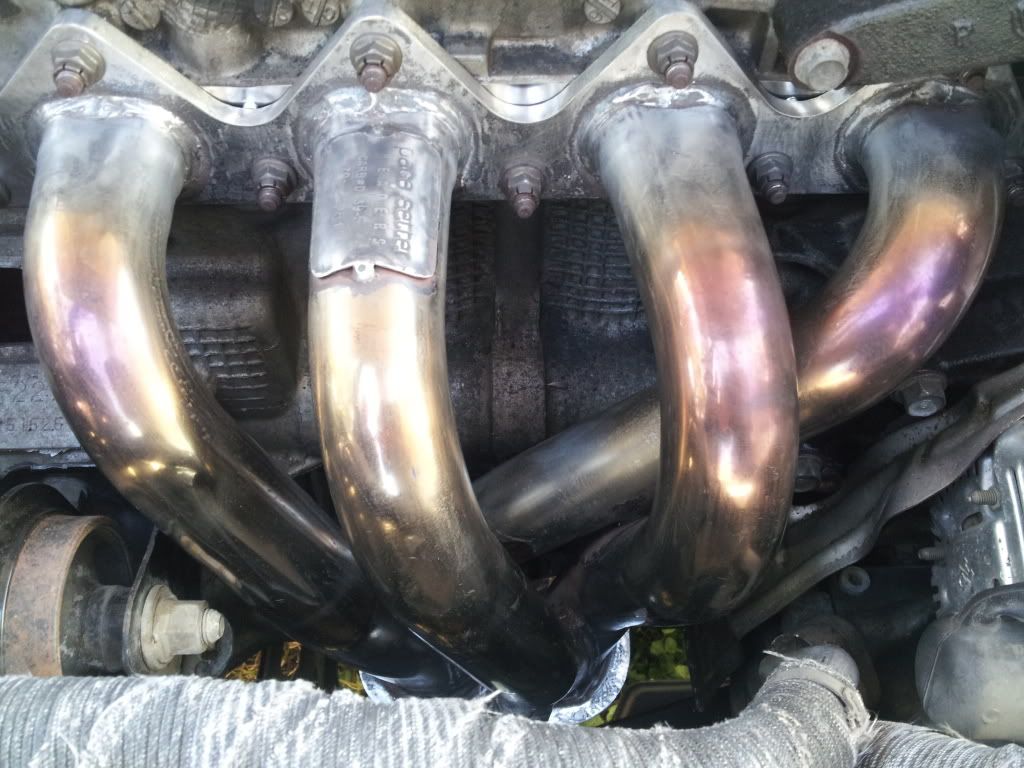
Now, they are heating up!
Wish I could have kept that blue. :tu:
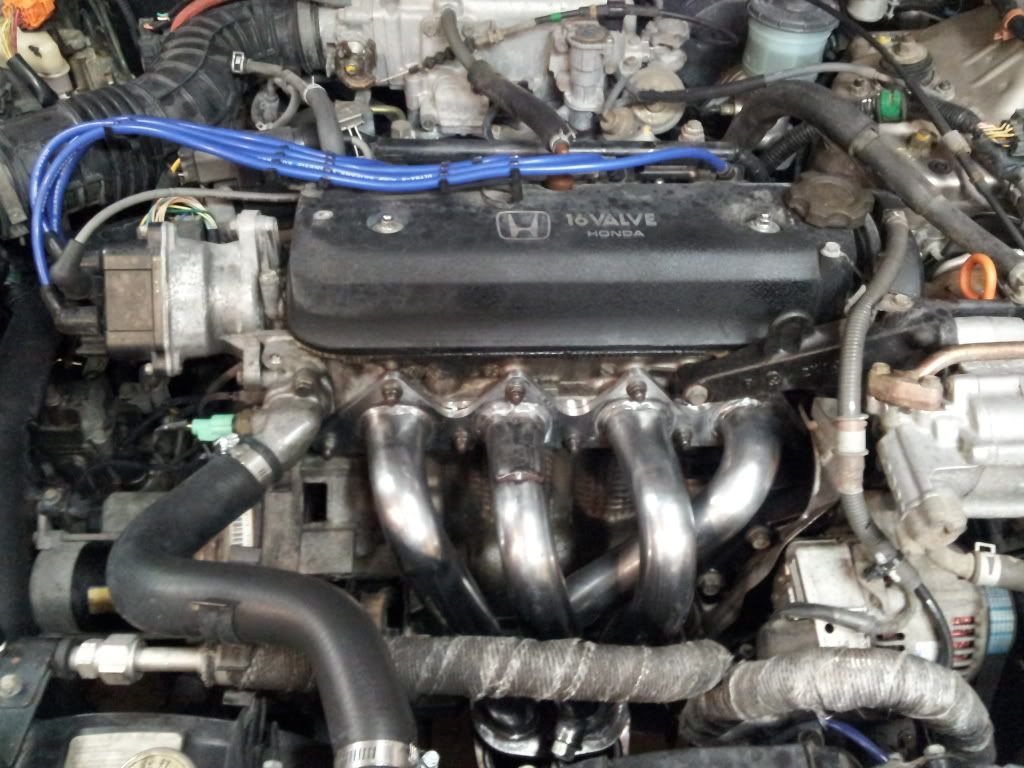
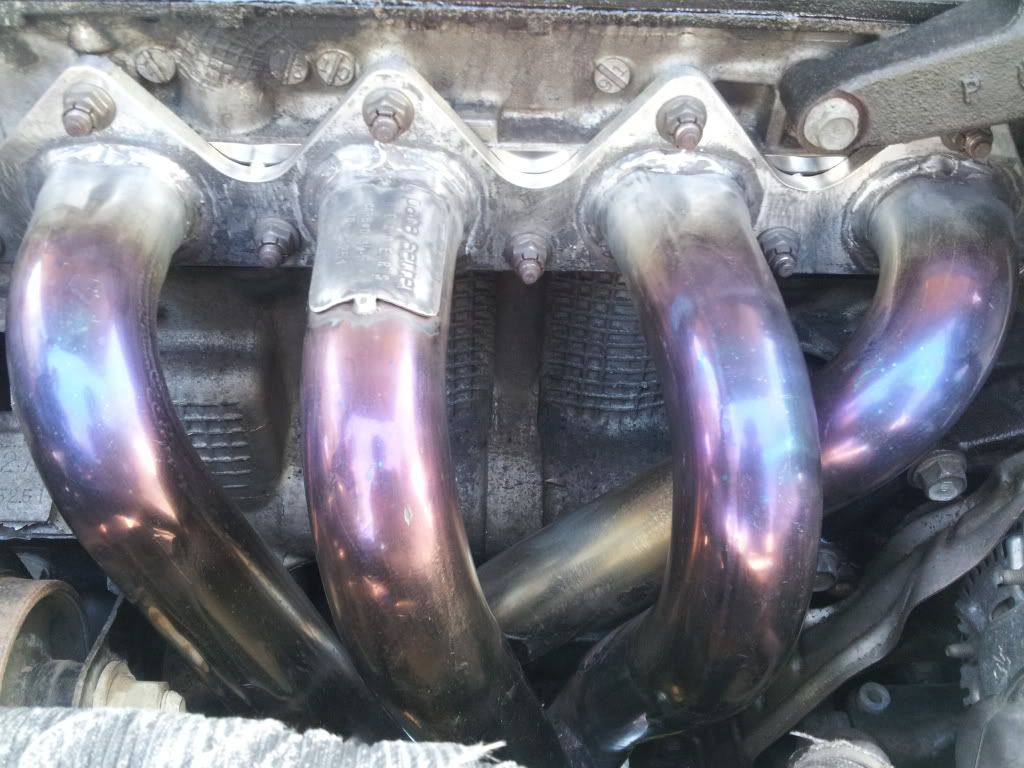
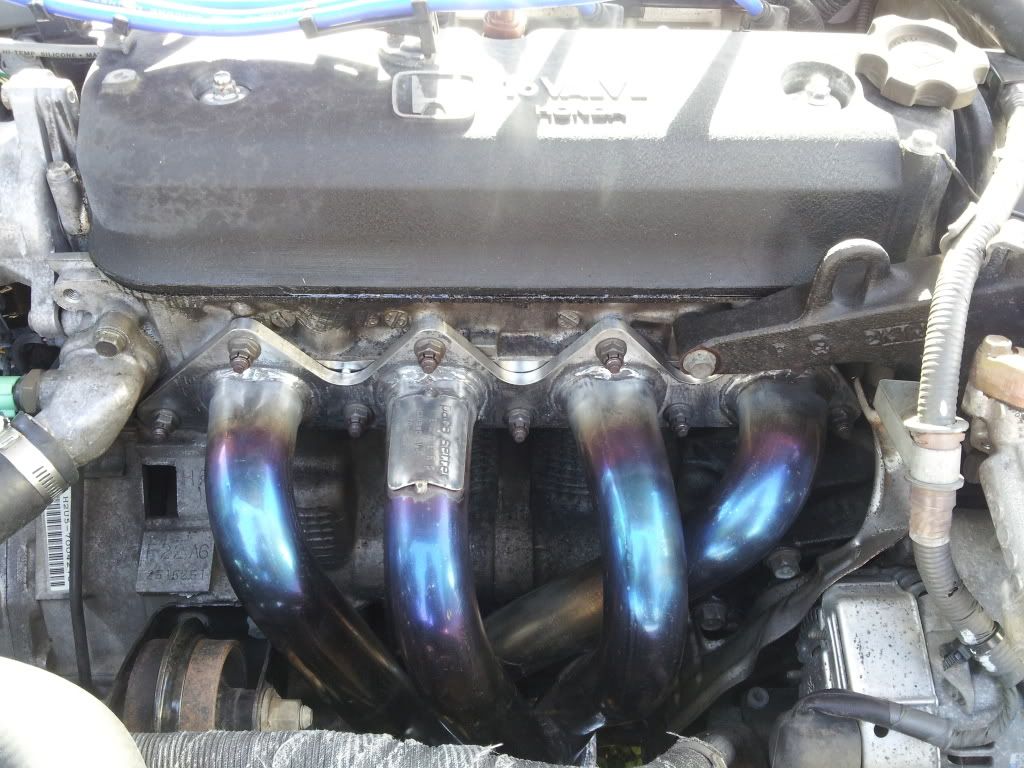
And the finished color.
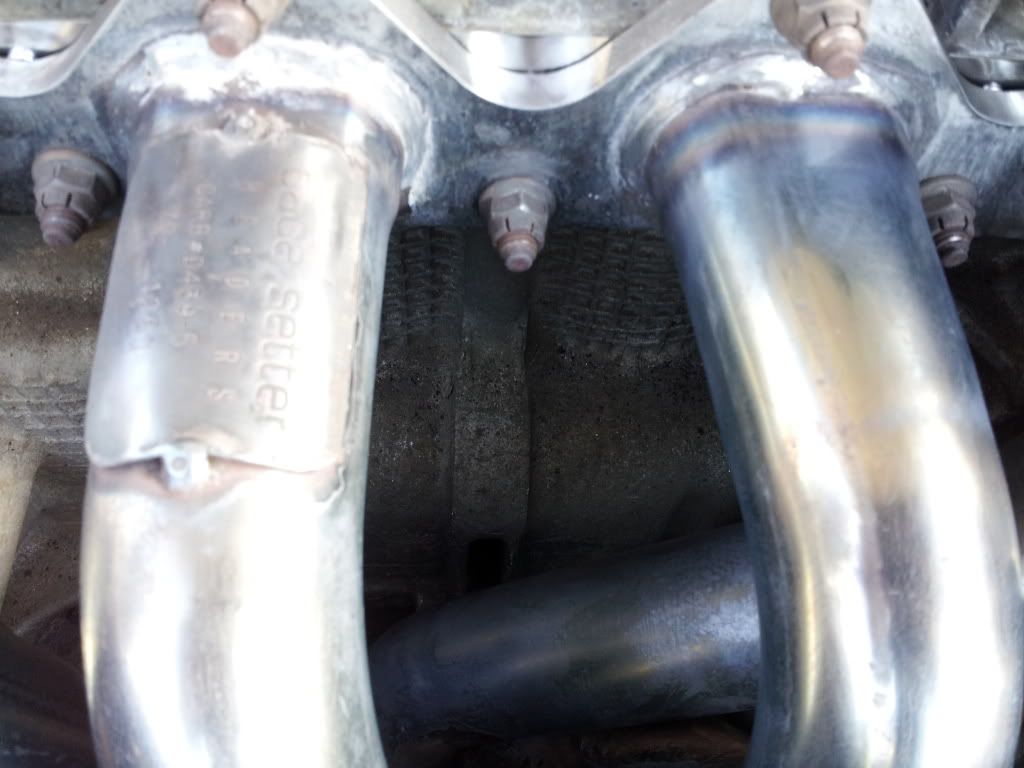
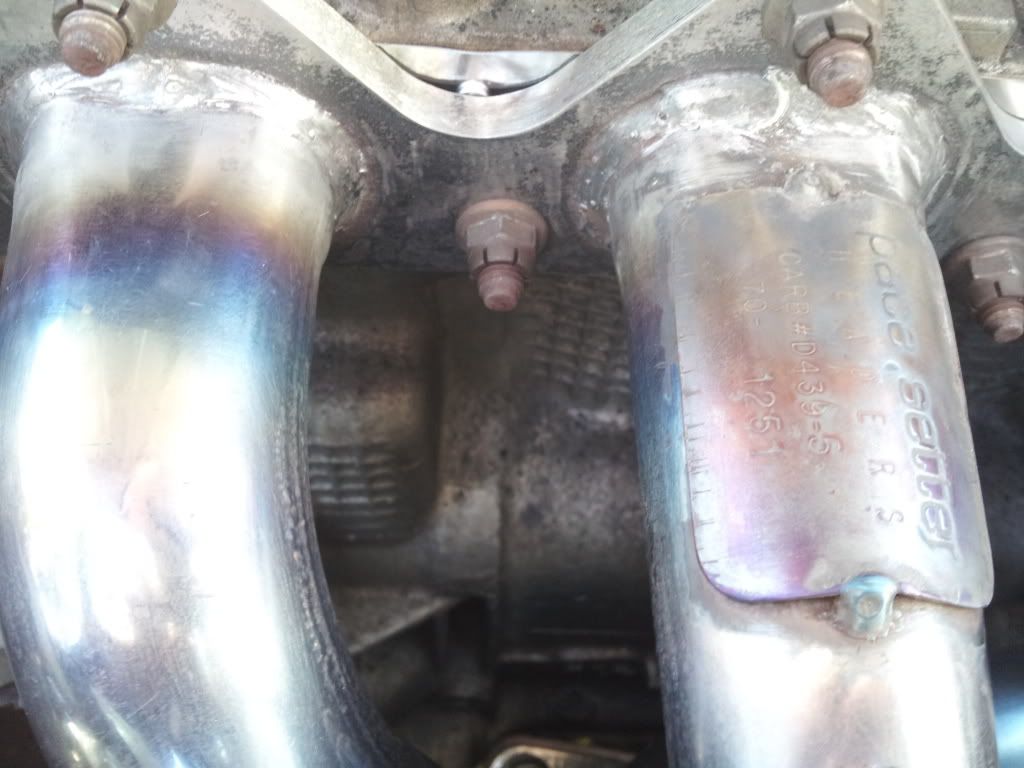
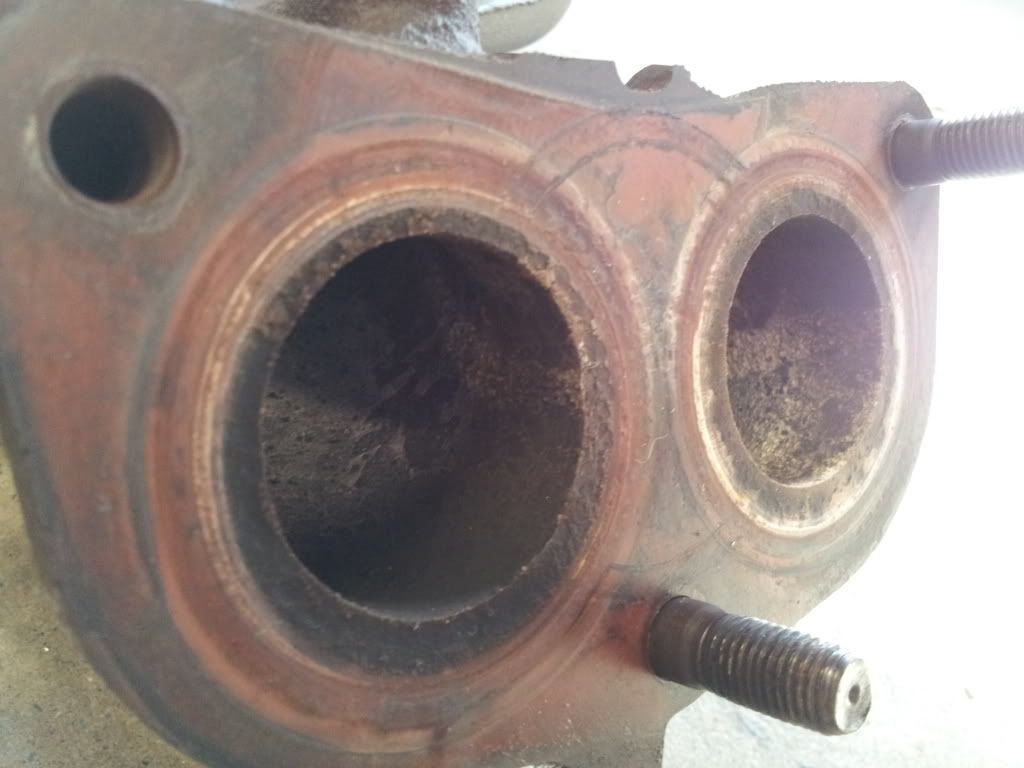
Now, my stress over this was cause by the lack of pictures of the OEM header and down pipe flanges. So here ya' go.
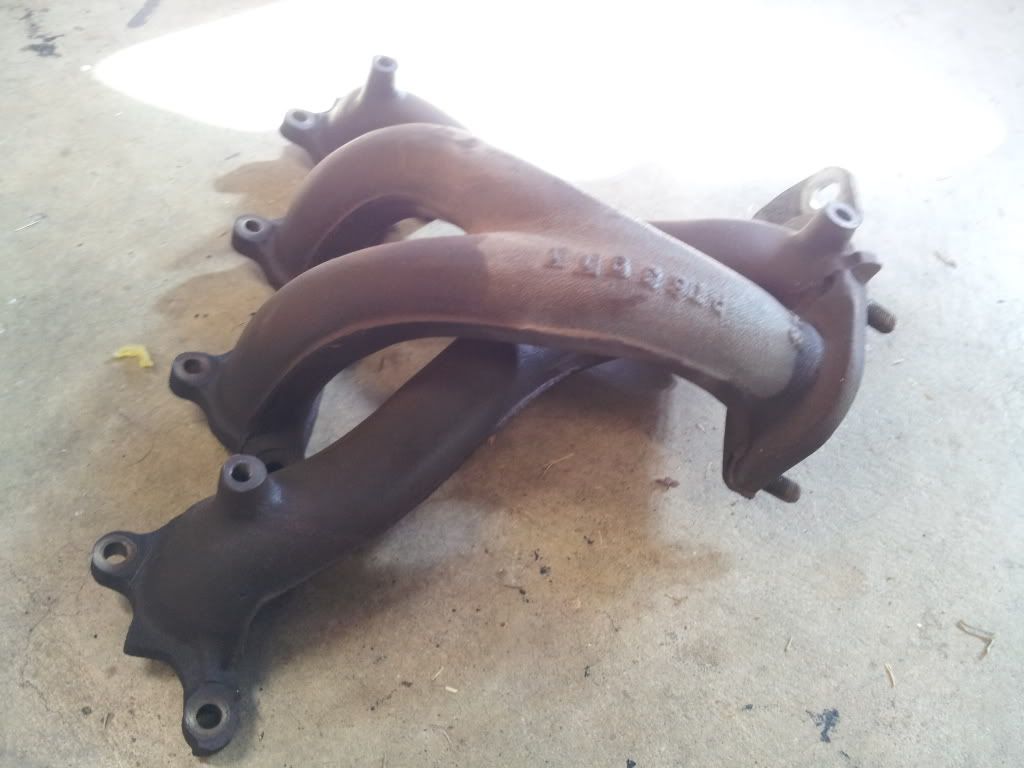
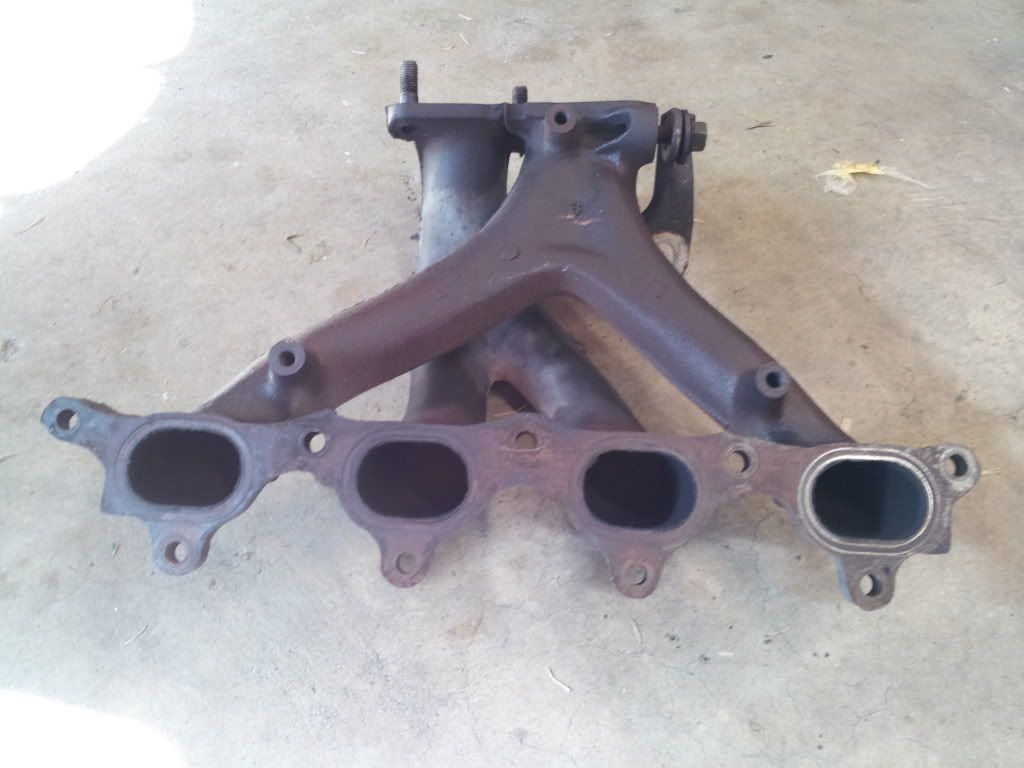

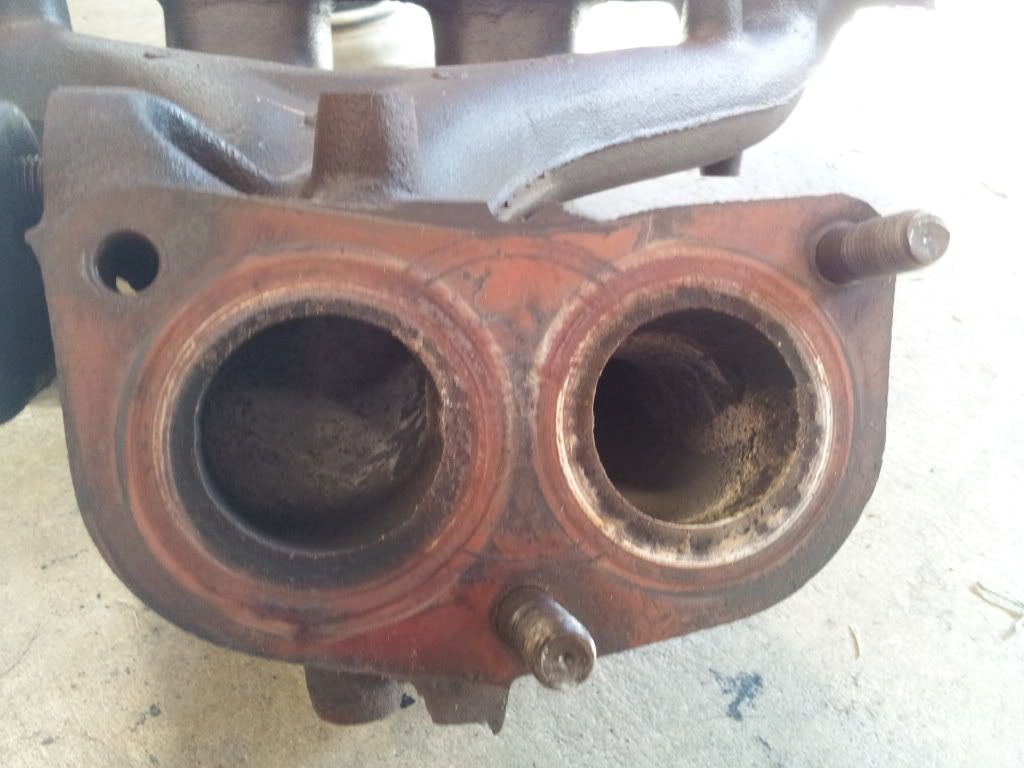
I love the Pacesetter! Believe what you will, but I definitely notice a difference in power. And sound! I love it, not to mention it weighs about 10-15lbs. and the OEM WITH shield weighs about 25-30lbs.
Then started the mods.
We found a universal muffler at Pick'n'Pull and decided, what the hell.
So that happened. Yes, I know, rice. Plans call for a full Skunk2 cat-back. This will do for now. :tu:
Other plans include, red and clear taillights, convert the burg interior to standard black (including new carpet!), 2002 Celica GT black leather seats (hopefully including the rears), Spec-D grill, Red, under dash+under seats, accent lighting, NRG pedals, B&M shift ****, Drag DR44 wheels, Tein coil overs(before though, we are putting in Koni Yellow shocks and Neuspeed Sport springs), Skunk2 cat-back, New paint (black or dark grey), Strut bars (front and rear), Injen Short Ram intake, Accel distributor cap and rotor, Paint the valve cover, clean up the engine bay (wire tucking, clean, polishing, etc.), and Kenwood audio. I'm sure I'm missing a crap ton, but that's the start.
Then the header!
Going on!
Then, blast! The OEM down pipe comes up too high.
Not to worry, just unbolt the hanger in front of the O2 sensor, and it lined right up!
Now, they are heating up!
Wish I could have kept that blue. :tu:
And the finished color.
Now, my stress over this was cause by the lack of pictures of the OEM header and down pipe flanges. So here ya' go.
I love the Pacesetter! Believe what you will, but I definitely notice a difference in power. And sound! I love it, not to mention it weighs about 10-15lbs. and the OEM WITH shield weighs about 25-30lbs.
MM Gruppe B

Joined: Feb 2009
Posts: 7,016
Likes: 108
From: 94577/Gaillimh
'89 Celica GT, header flange and exhaust flange lined up, bolt holes clocked correctly, but with the hanger attached there was a ~20� difference in mating surfaces.
F that noise, returned it.
90's 626 2.2 header, this time the connectors lined up, but the flange was clocked 180* the wrong way.
F that noise, returned it too.
They all came with an additional flanged pipe and a note that said something to the effect of 'may require fabrication' or some such nonsense.
I could never understand how a company could make a product that fit 95% of the way, and then got to exhaust flange and they threw up their arms with a big ole '**** it, you finish it, here's the piece you might be able to use'.
Honda-Tech Member
Joined: Oct 2012
Posts: 2,000
Likes: 3
From: Minnesota

Thread Starter
Honda-Tech Member
Joined: Dec 2012
Posts: 40
Likes: 0
Yeah, I had the same problem. I am using the OEM downpipe, the downpipe is longer than it should be to fit. I just left the bracket that connects to the block undone for now. The downpipe will ba a bit low, but it's necessary without custom fab. I am planning in getting another OEM downpipe and trimming the 2 until it fits, then vand clamping it back together, or having a buddy weld it.
Thread Starter
Honda-Tech Member
Joined: Dec 2012
Posts: 40
Likes: 0
Update!
Got the front and rear strut bars in the mail yesterday. :bouncy:
Went right to it, and got 'em put on.
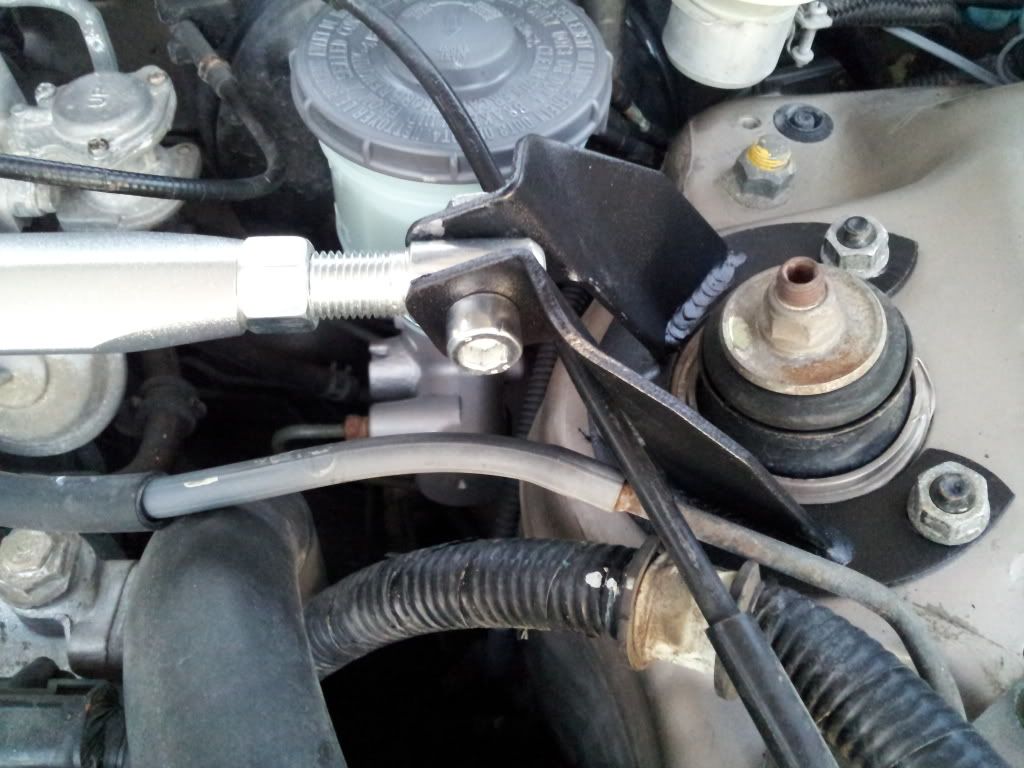
Front:
The towers:

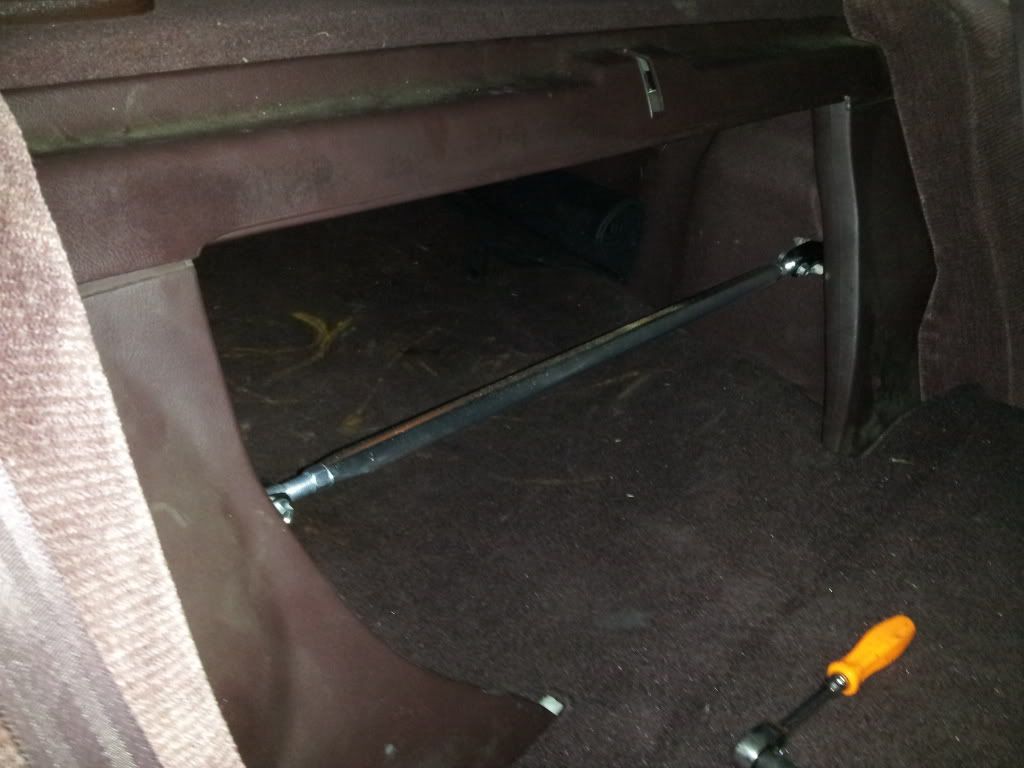
Then the rear!
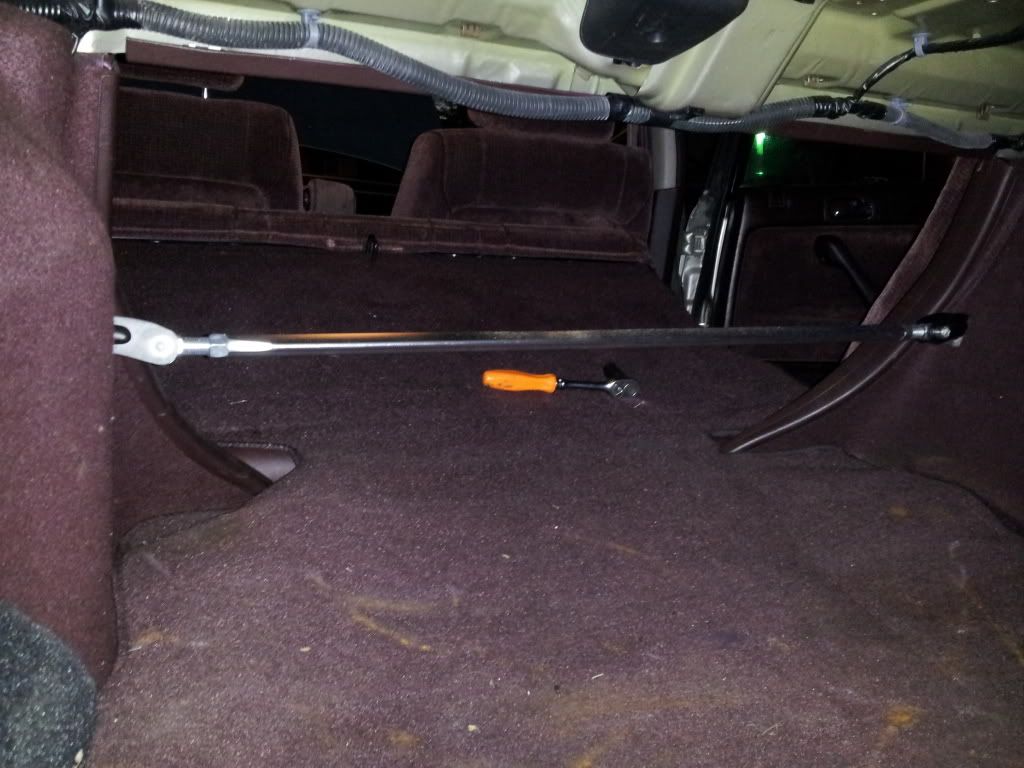
The ends, which come through holes I cut in the trim:
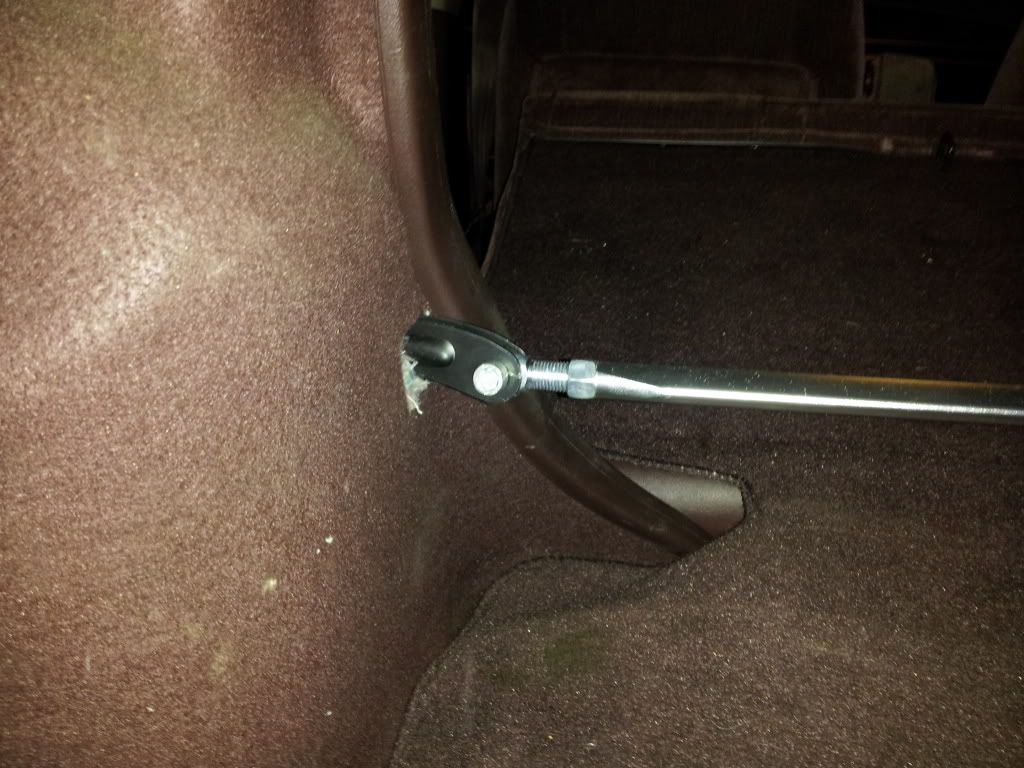
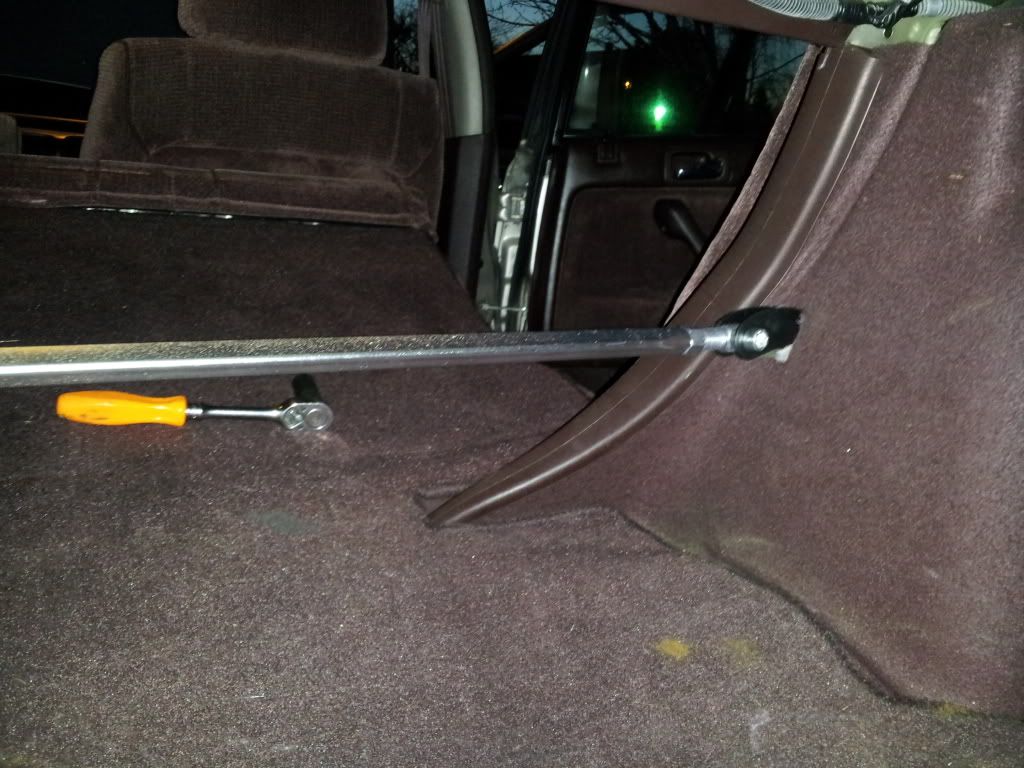
And the view from the interior:
So, the write up. These were purchased on Ebay. Total was about $47 and some change. The quality, well you get what you pay for. They are very light. Not exactly what I was expecting as far as material, but aluminum none the less. The installation was simple enough. The ends come off of the bar, so just remove the strut nuts and slide on the tower ends. Place the nuts back on and tighten them down. For me, it took removing a couple of the plugs from their hangers. A few will go back into place, but the orange one above the reservoir on the passenger side, ended up being left under the bar. Also, there is a little bracket that simply holds a tube of wires in one place, on the drivers side, that has to be removed or flipped upside down, which I am gonna do tomorrow. Other than that, the front was just that simple. Once the tower ends are bolted down, adjust the bar to lines up to the bolting holes just right, and bolt it on.
Now the rear. I managed to simply pull the plastic pieces on either side of the hole behind the seats, right off by hand. Once those are off, pull the trunk carpet up onto the back seat, and fold the carpeted sides towards the center until they stick in place, out of the way. Now, I discovered after I was done, that you can remove the little metal strips the block your view of the strut towers by removing four simple bolts. I did it without. Remove the 14mm nuts from the top, there being two, and do the same thing as the front. Slide in the tower ends, and bolt them in. Line the side trim back up, cut out the square shaped, as I did, holes and place the sides back into place. I put all the plastic and carpet back in place at this point. Once all that was done, I adjusted the bar and bolted it in place. Ta da!
I am getting the lower rear strut bar in the mail, hopefully tomorrow! Let you know how that goes.
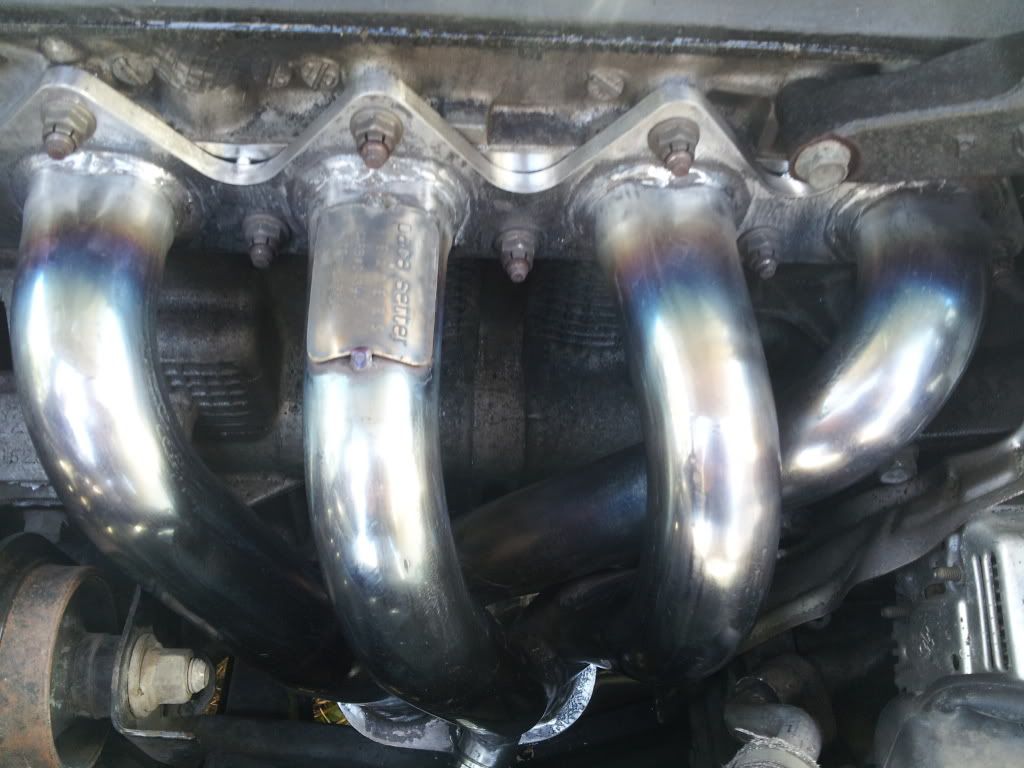
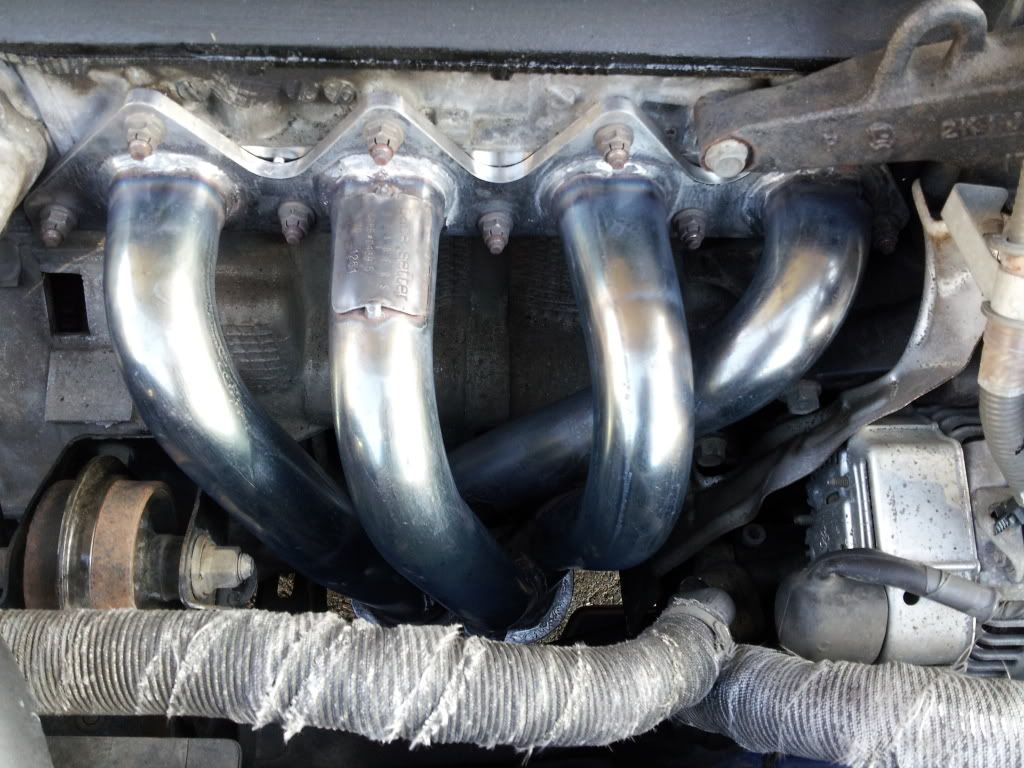
Here is an update picture of the header.
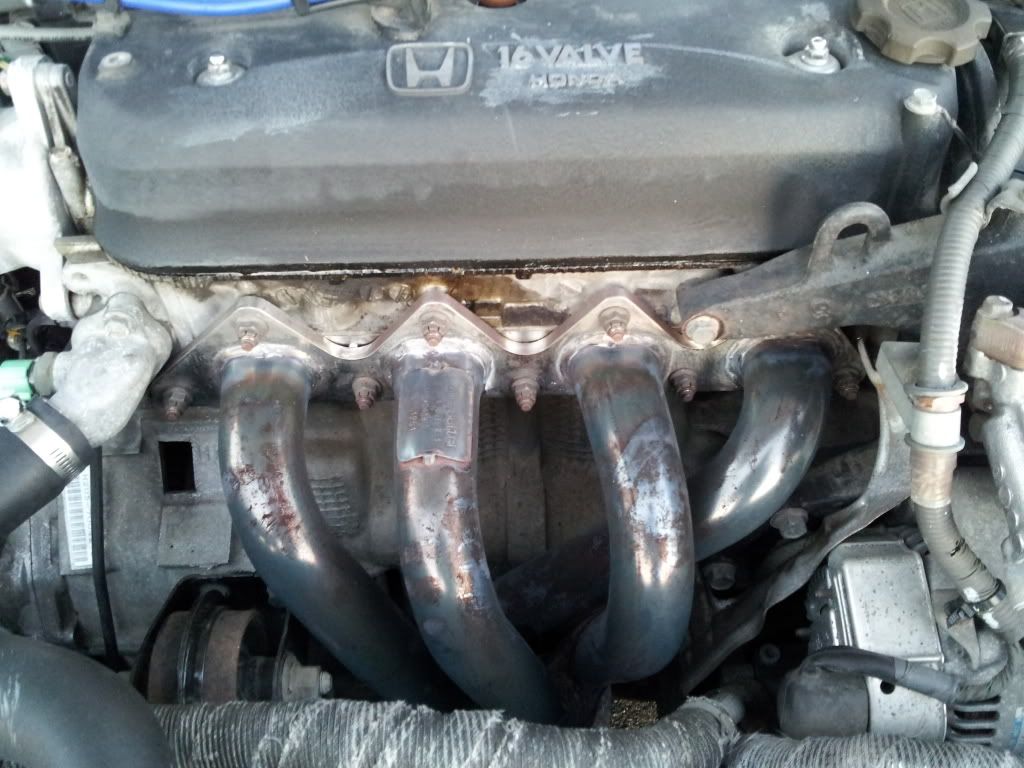
Some heat spots, and a little rust, but still looks pretty good.
Got the front and rear strut bars in the mail yesterday. :bouncy:
Went right to it, and got 'em put on.
Front:
The towers:
Then the rear!
The ends, which come through holes I cut in the trim:
And the view from the interior:
So, the write up. These were purchased on Ebay. Total was about $47 and some change. The quality, well you get what you pay for. They are very light. Not exactly what I was expecting as far as material, but aluminum none the less. The installation was simple enough. The ends come off of the bar, so just remove the strut nuts and slide on the tower ends. Place the nuts back on and tighten them down. For me, it took removing a couple of the plugs from their hangers. A few will go back into place, but the orange one above the reservoir on the passenger side, ended up being left under the bar. Also, there is a little bracket that simply holds a tube of wires in one place, on the drivers side, that has to be removed or flipped upside down, which I am gonna do tomorrow. Other than that, the front was just that simple. Once the tower ends are bolted down, adjust the bar to lines up to the bolting holes just right, and bolt it on.
Now the rear. I managed to simply pull the plastic pieces on either side of the hole behind the seats, right off by hand. Once those are off, pull the trunk carpet up onto the back seat, and fold the carpeted sides towards the center until they stick in place, out of the way. Now, I discovered after I was done, that you can remove the little metal strips the block your view of the strut towers by removing four simple bolts. I did it without. Remove the 14mm nuts from the top, there being two, and do the same thing as the front. Slide in the tower ends, and bolt them in. Line the side trim back up, cut out the square shaped, as I did, holes and place the sides back into place. I put all the plastic and carpet back in place at this point. Once all that was done, I adjusted the bar and bolted it in place. Ta da!
I am getting the lower rear strut bar in the mail, hopefully tomorrow! Let you know how that goes.
Here is an update picture of the header.
Some heat spots, and a little rust, but still looks pretty good.
Honda-Tech Member
Joined: Mar 2012
Posts: 197
Likes: 0
That describes every Pace Setter header ever.
'89 Celica GT, header flange and exhaust flange lined up, bolt holes clocked correctly, but with the hanger attached there was a ~20� difference in mating surfaces.
F that noise, returned it.
90's 626 2.2 header, this time the connectors lined up, but the flange was clocked 180* the wrong way.
F that noise, returned it too.
They all came with an additional flanged pipe and a note that said something to the effect of 'may require fabrication' or some such nonsense.
I could never understand how a company could make a product that fit 95% of the way, and then got to exhaust flange and they threw up their arms with a big ole '**** it, you finish it, here's the piece you might be able to use'.
Trending Topics
Thread Starter
Honda-Tech Member
Joined: Dec 2012
Posts: 40
Likes: 0
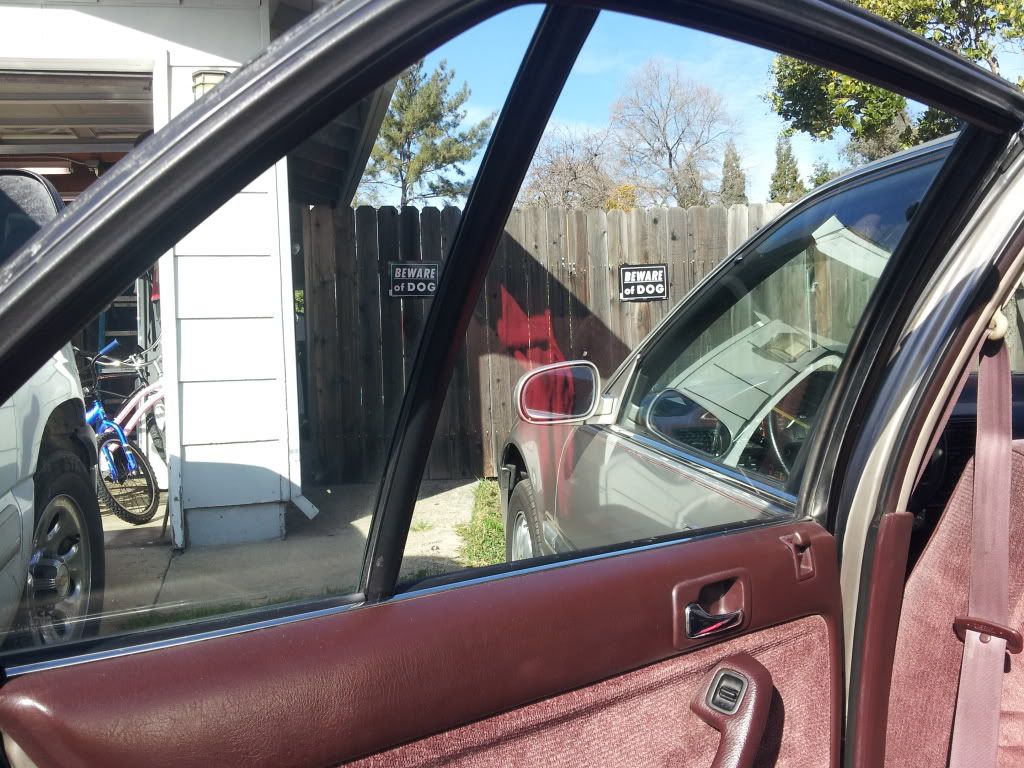
Forgot to mention I removed the tint from the back window and the back doors.
Some pics:
After removing the first layer of film.
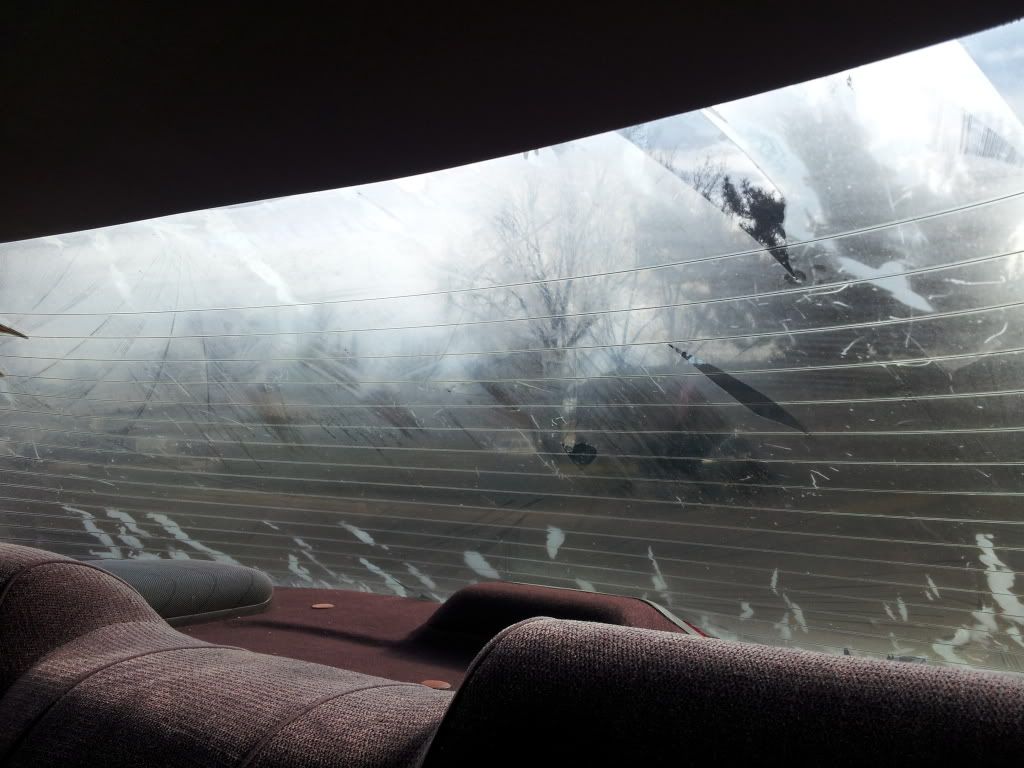
Scraping, razor blades FTW!
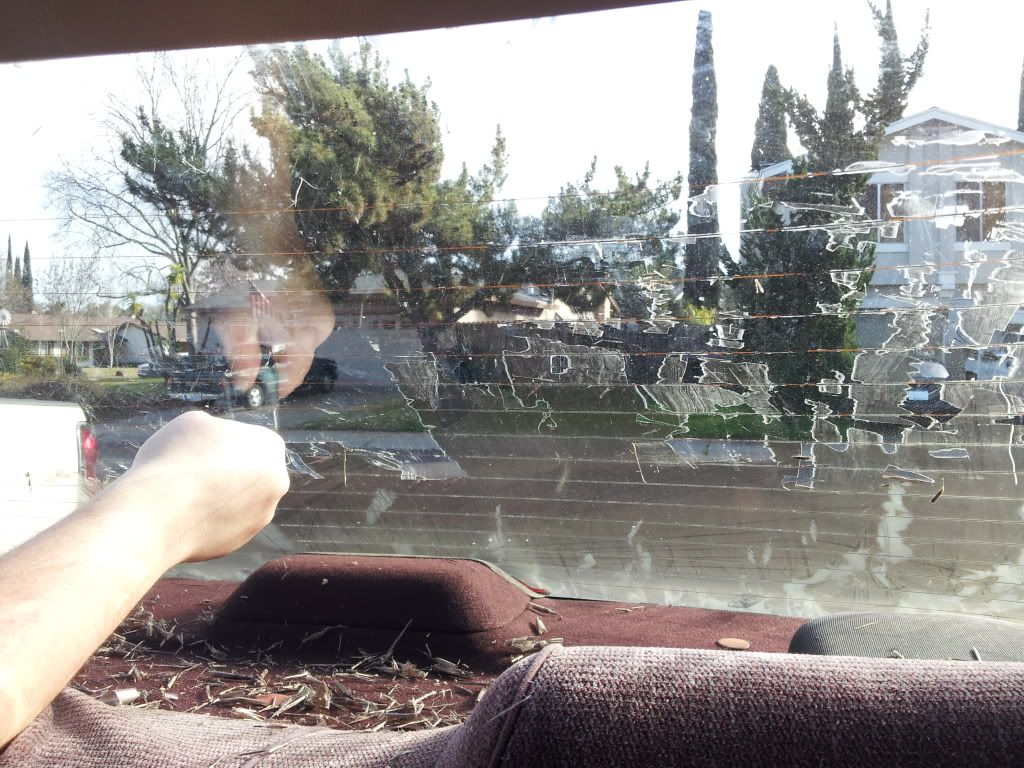
Before scrape and after.
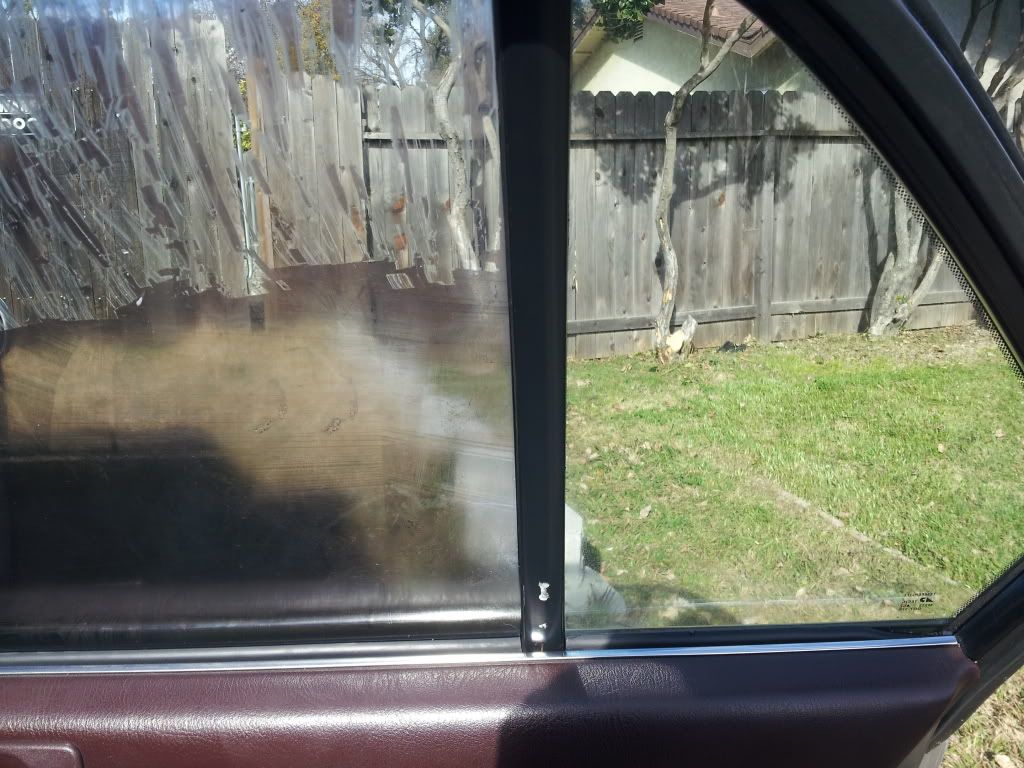
All clean!
Some pics:
After removing the first layer of film.
Scraping, razor blades FTW!
Before scrape and after.
All clean!
Thread Starter
Honda-Tech Member
Joined: Dec 2012
Posts: 40
Likes: 0
Today's pull!
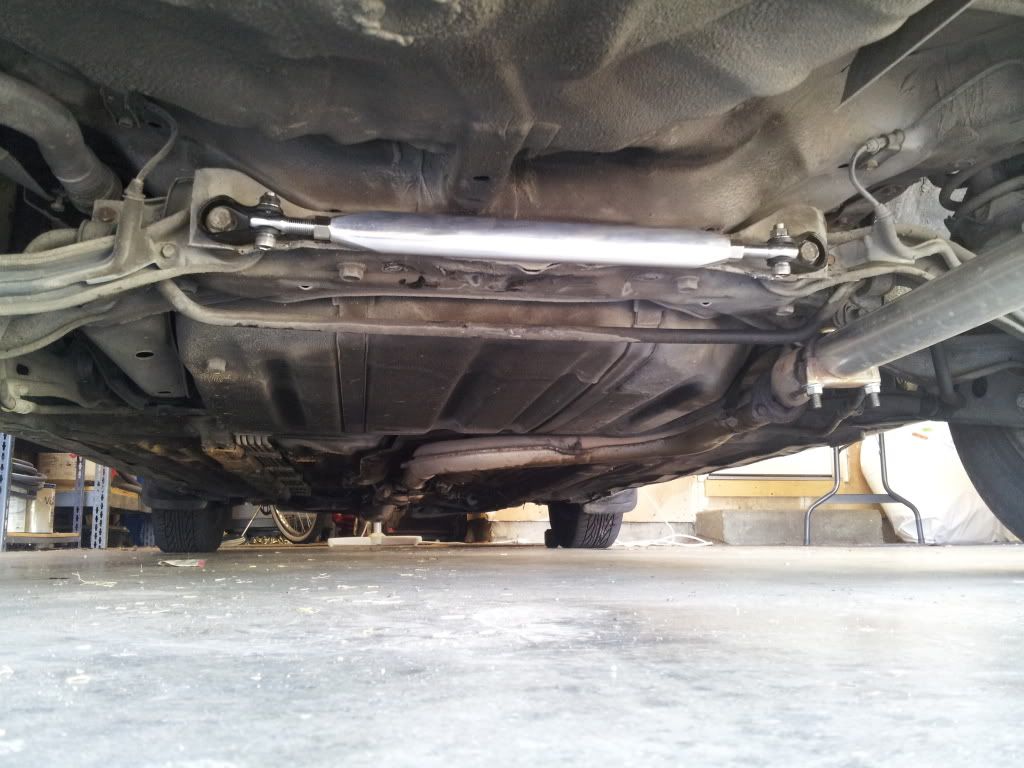
Got my rear lower strut bar in the mail today, finally! Completely happy with the materials, and craftsmanship. It was straight forward. Remove the two bolts, adjust the bar, then bolt it back up. So here it is.
Some front end mods.
Before:
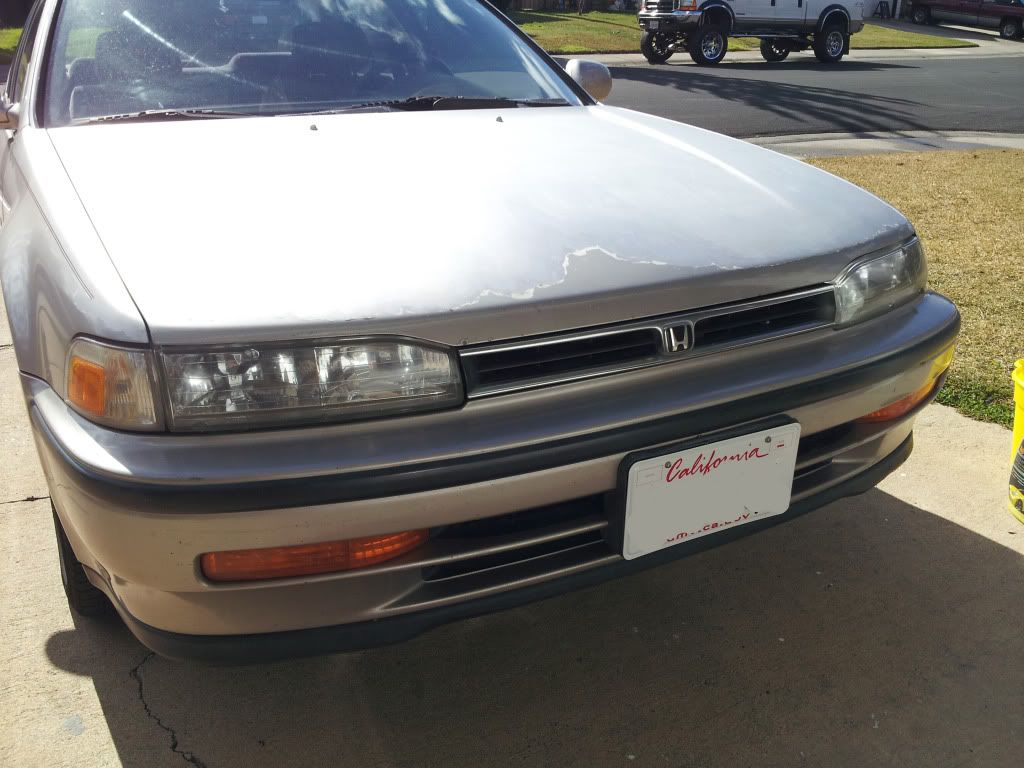
After:
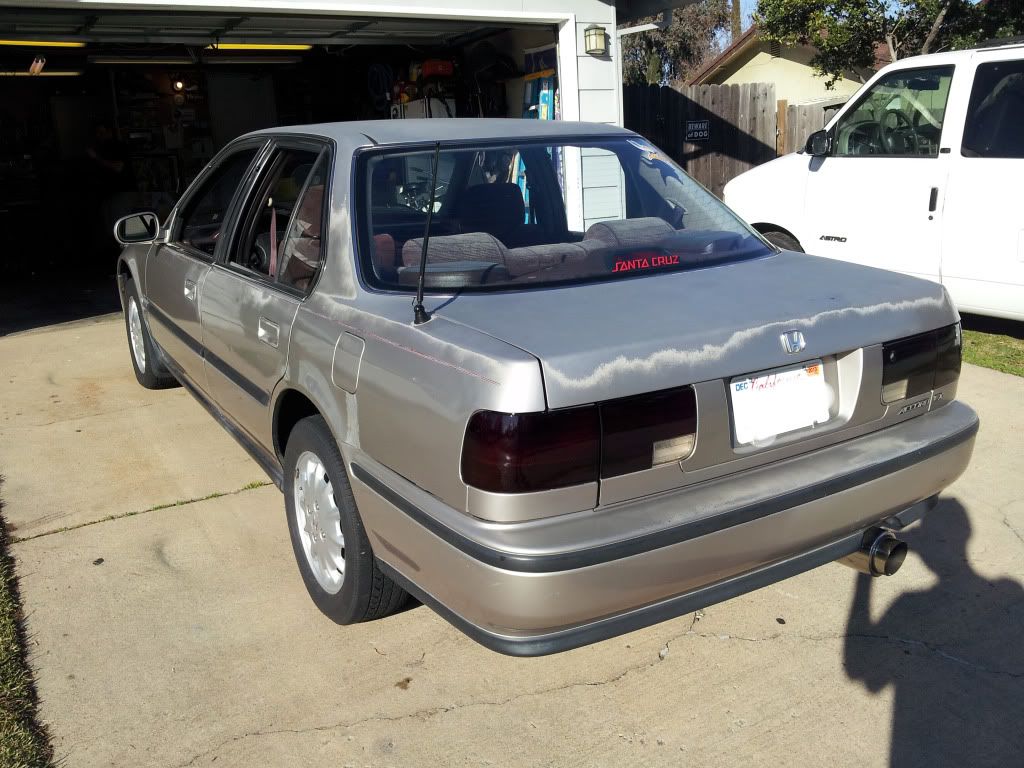
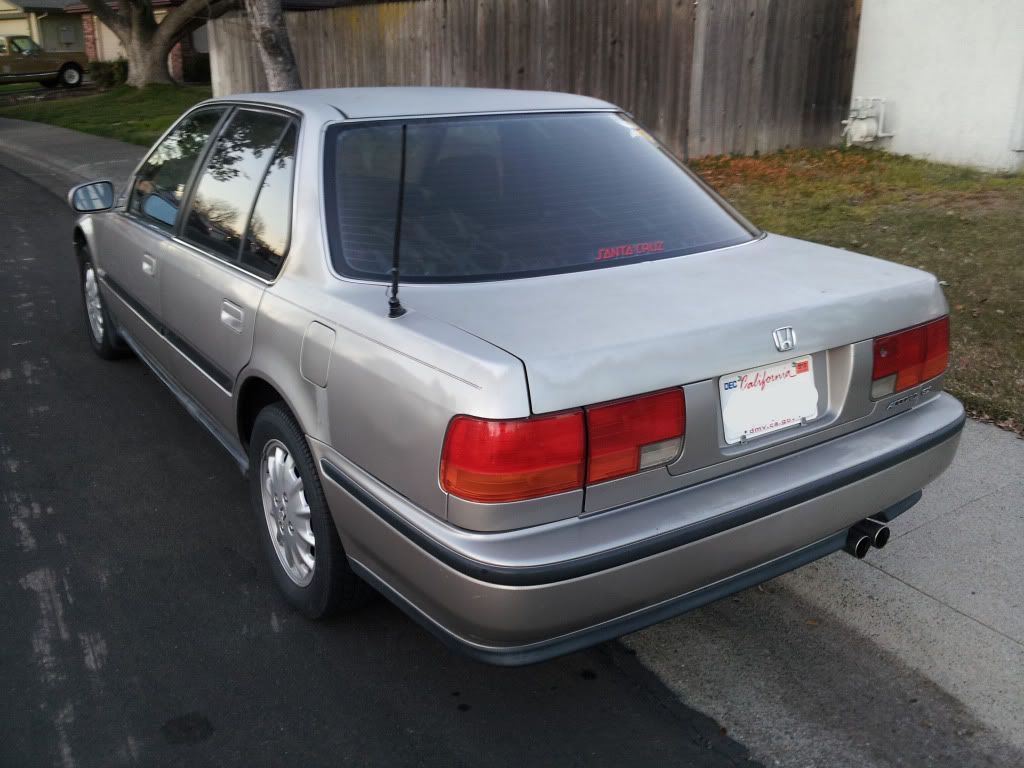
Rear mods.
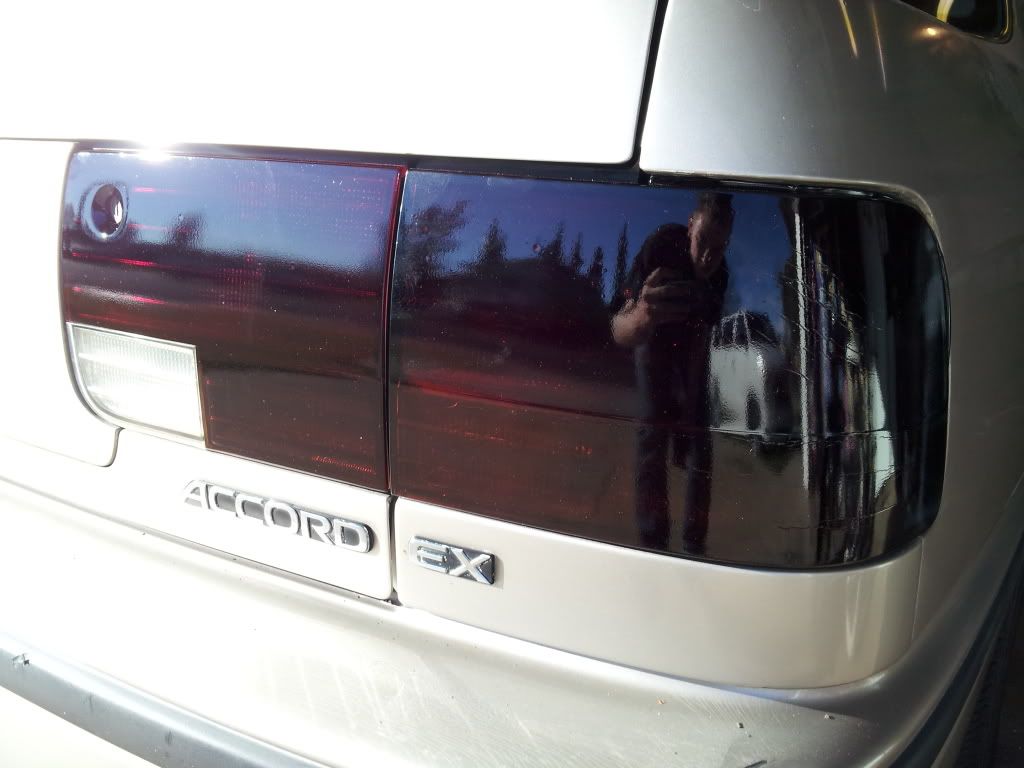
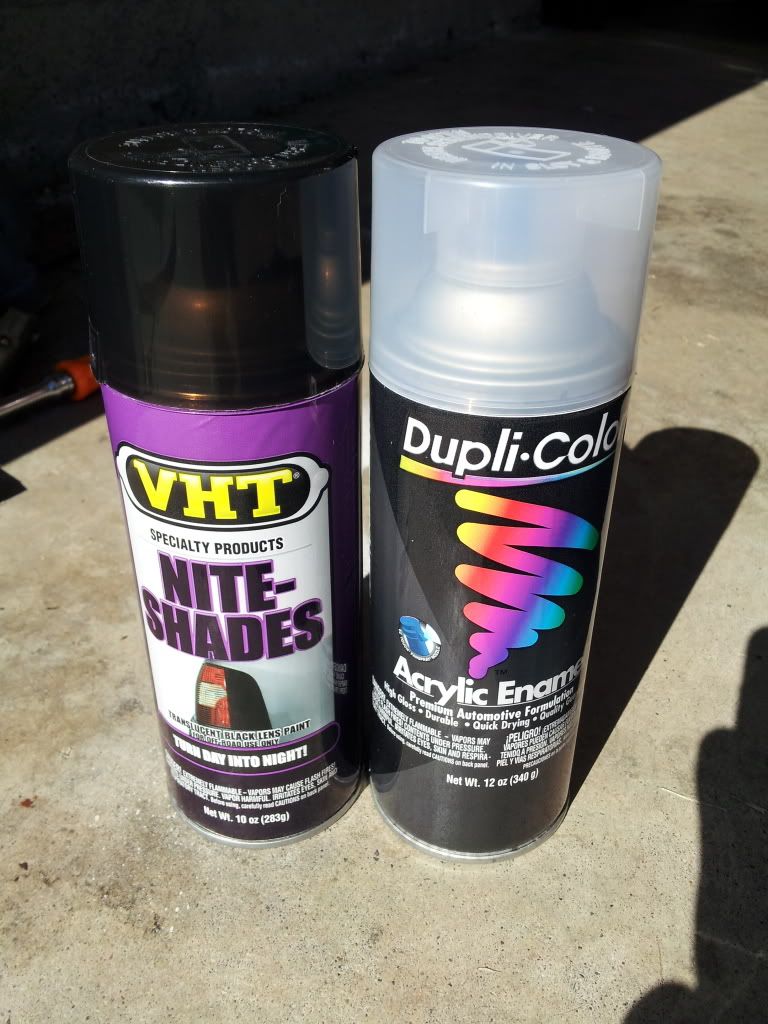
Tail lights!
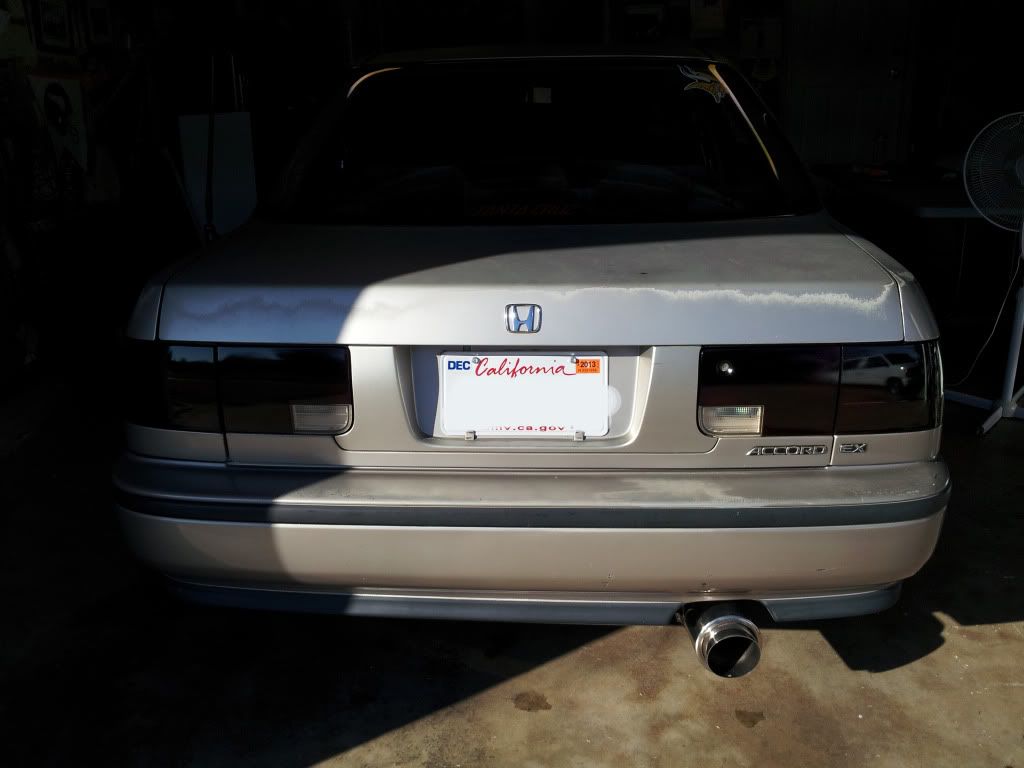
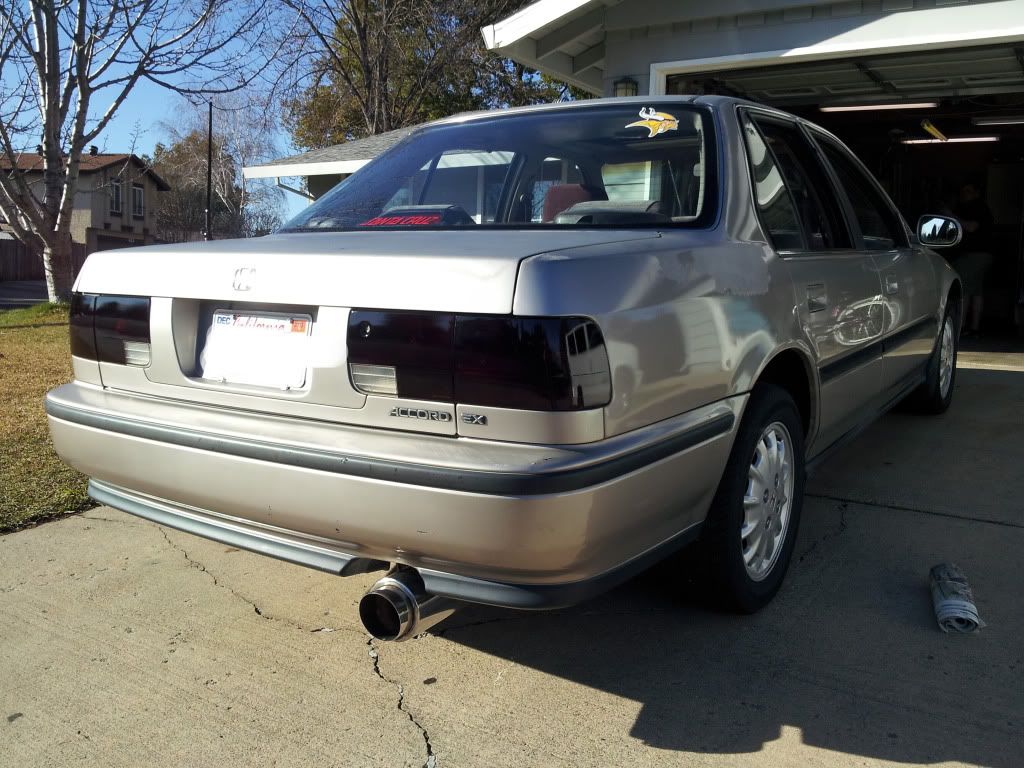
Came out really nice. Two coats of VHT Nite-Shades, which cost $13.99 at Oreillys, on the outside of the lense. Then three coats of Dupli-Color Clear Coat. I got some weird seam/cracking in the VHT when I first sprayed it on.

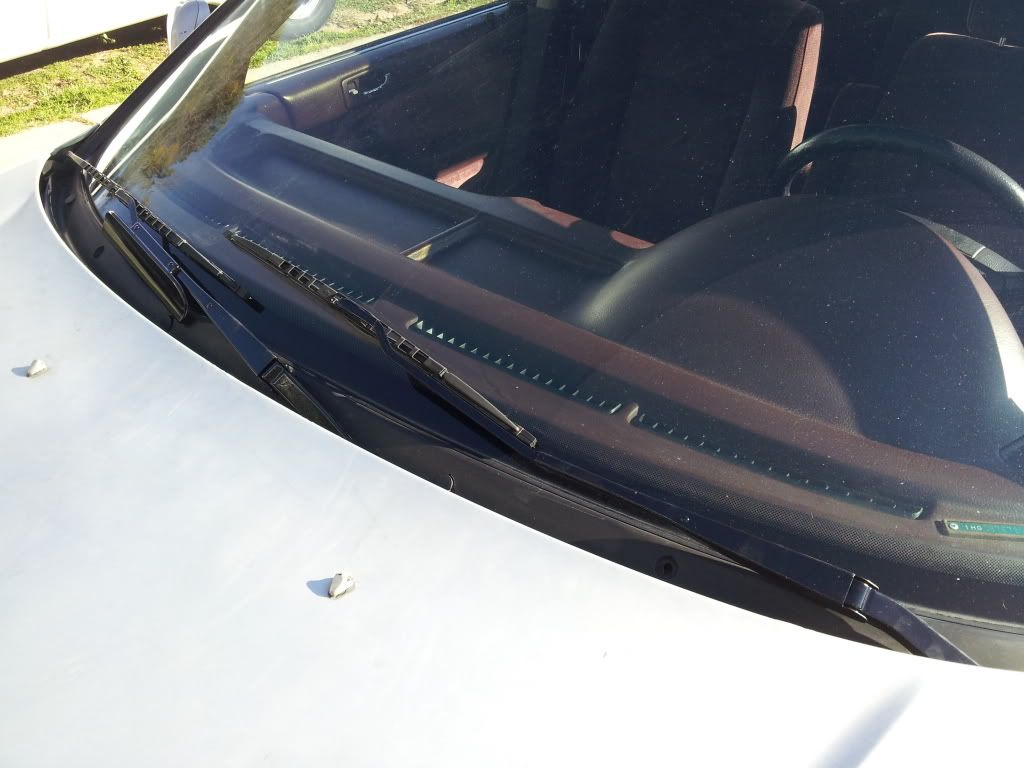
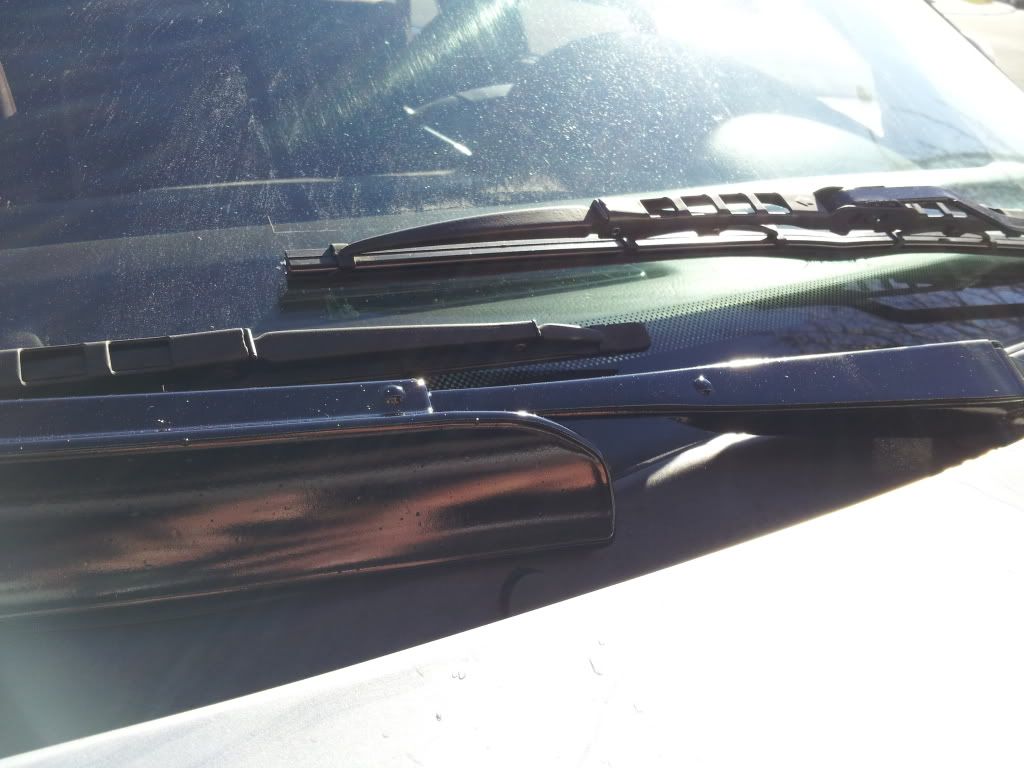
Also painted the windshield wiper arms.
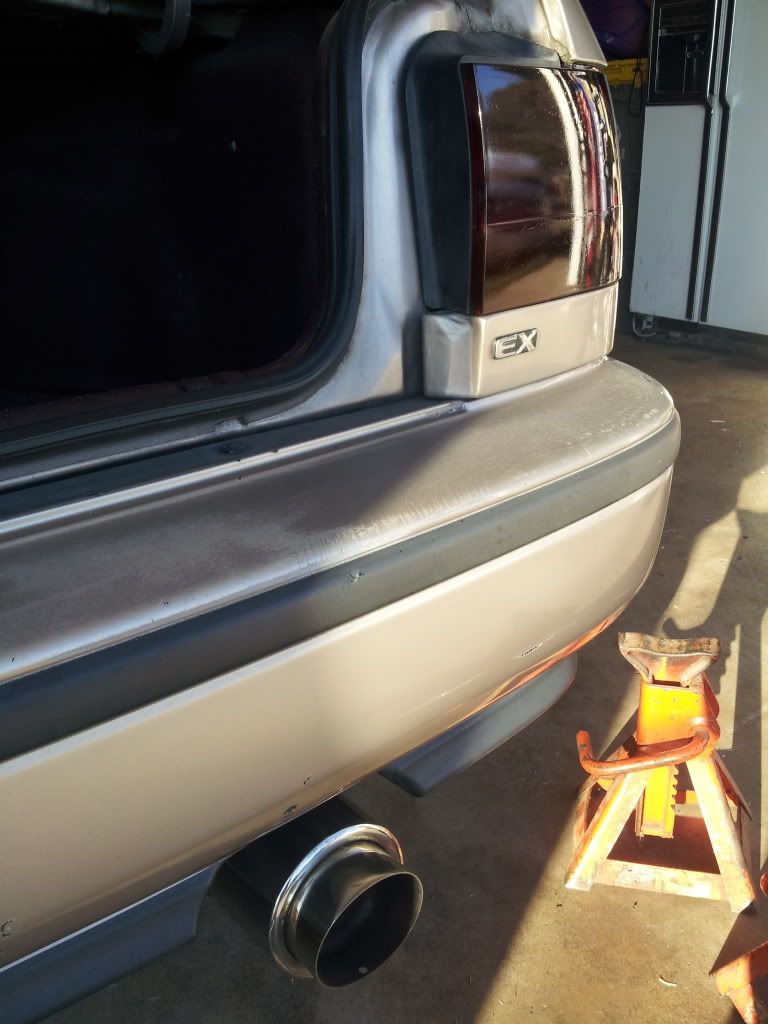
A more-clear picture of the muffler set up.
And one last nice picture for you guys. :tu:
Got my rear lower strut bar in the mail today, finally! Completely happy with the materials, and craftsmanship. It was straight forward. Remove the two bolts, adjust the bar, then bolt it back up. So here it is.
Some front end mods.
Before:
After:
Rear mods.
Tail lights!
Came out really nice. Two coats of VHT Nite-Shades, which cost $13.99 at Oreillys, on the outside of the lense. Then three coats of Dupli-Color Clear Coat. I got some weird seam/cracking in the VHT when I first sprayed it on.
Also painted the windshield wiper arms.
A more-clear picture of the muffler set up.
And one last nice picture for you guys. :tu:
Thread Starter
Honda-Tech Member
Joined: Dec 2012
Posts: 40
Likes: 0
Funny you should ask.... Lol
Update!
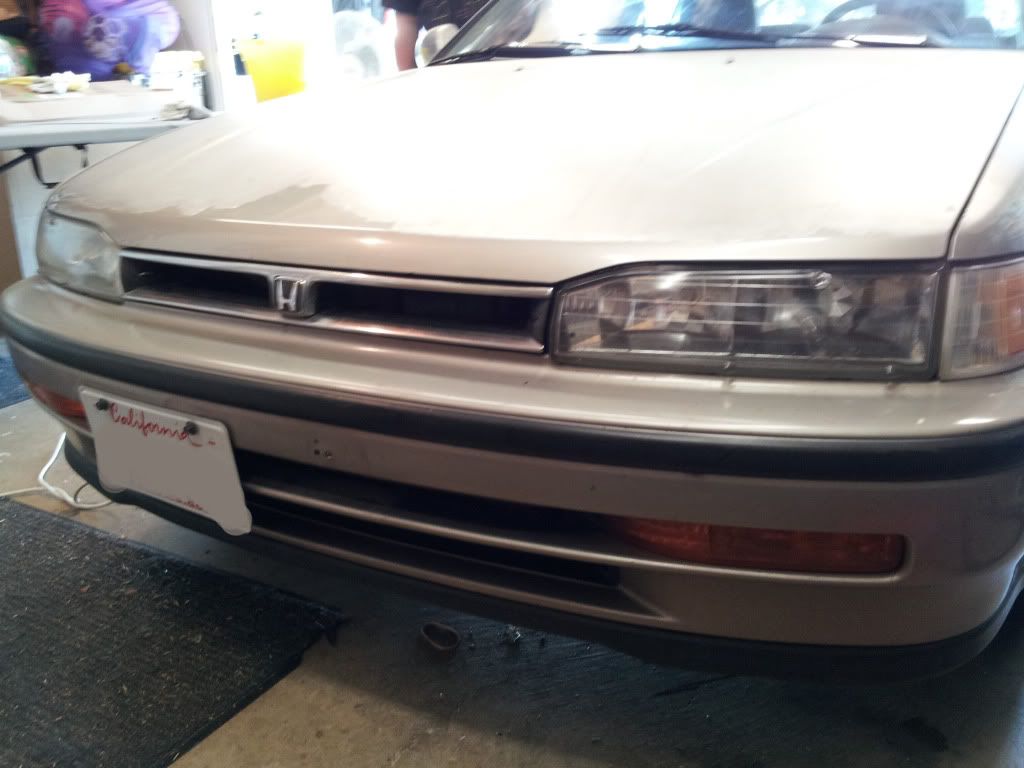
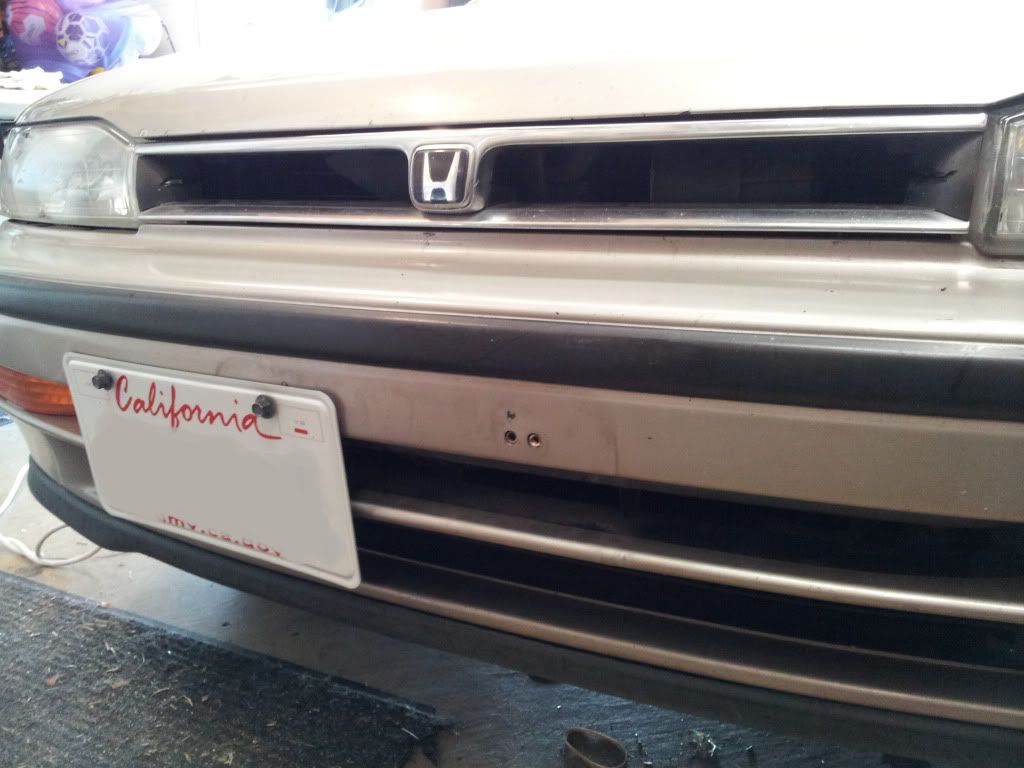
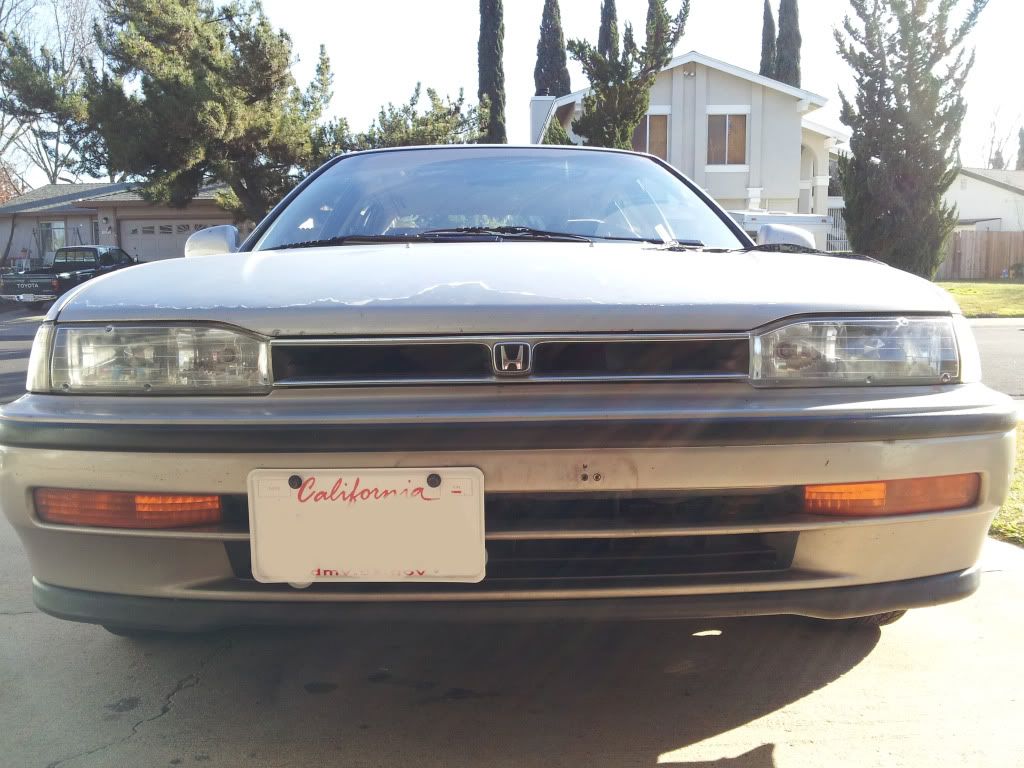
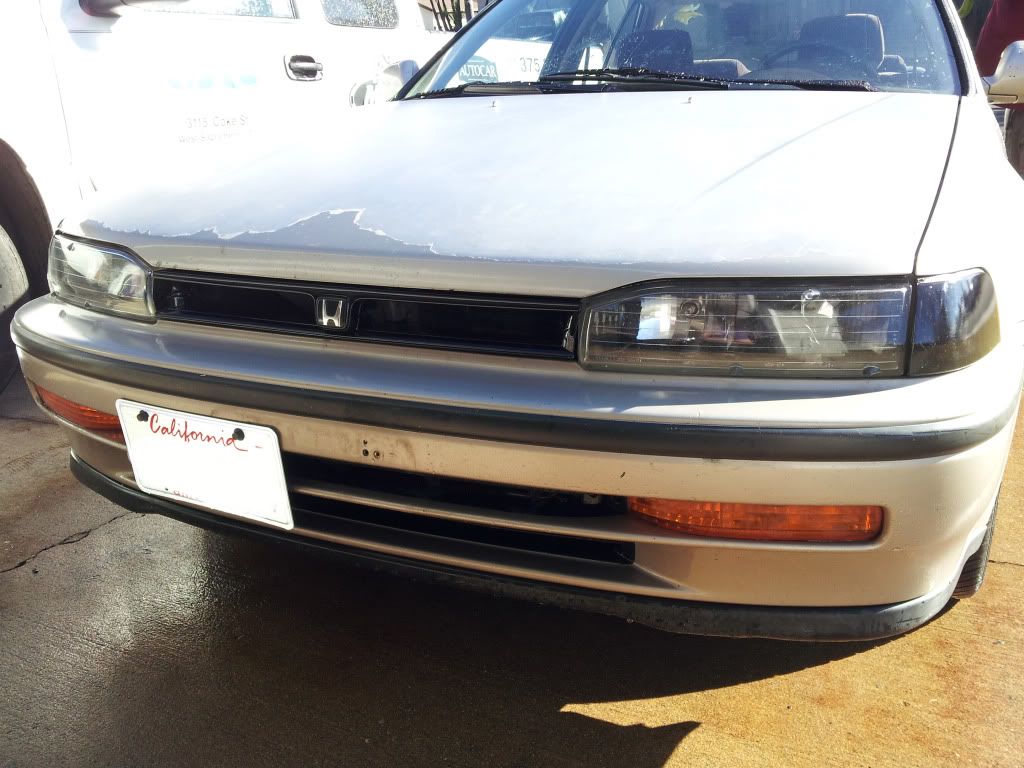
Blacked out the front headlights and smoked the corner lenses yesterday!
Some pics of the masking.
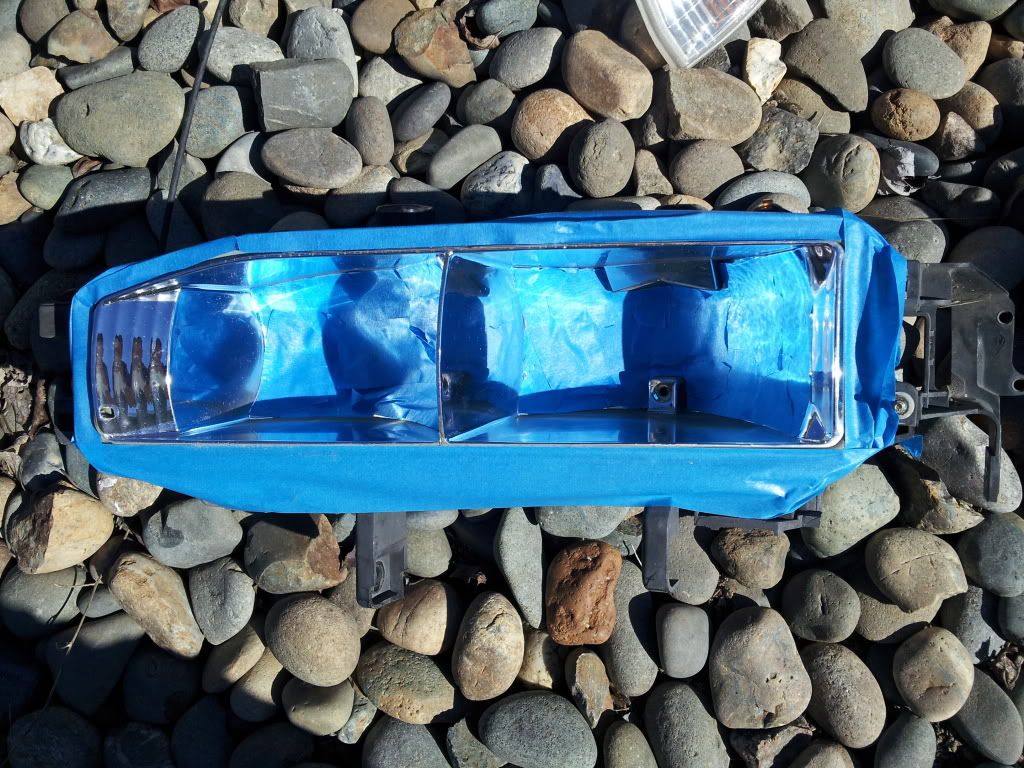
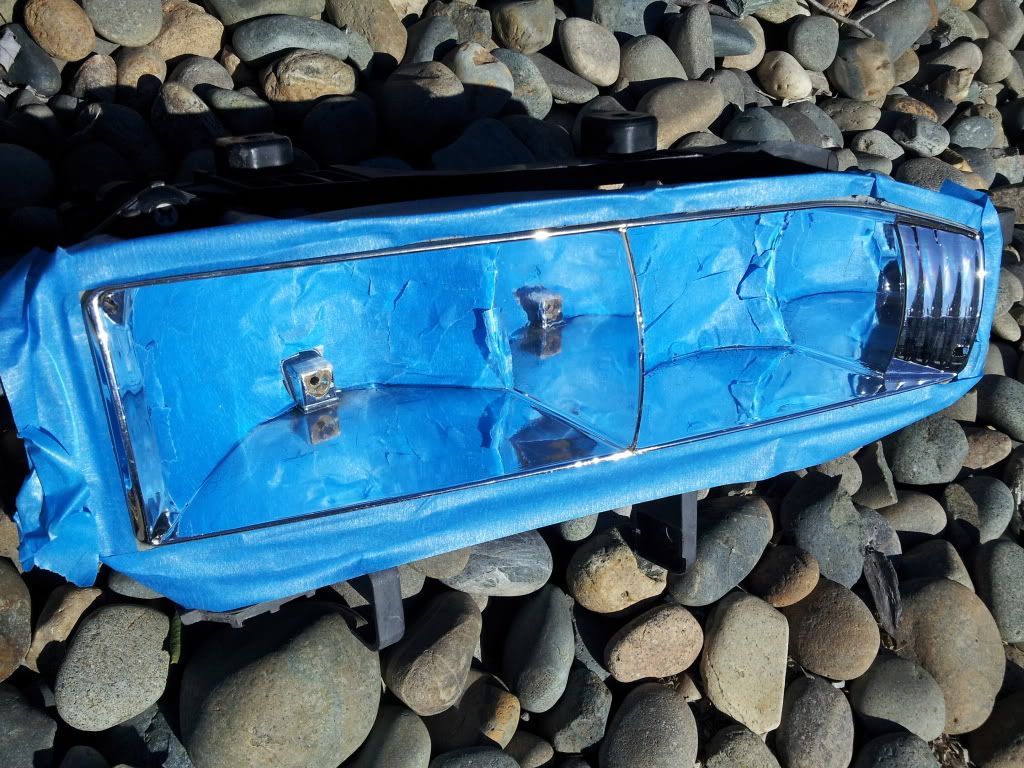
Painted.

Close ups.
No flash.
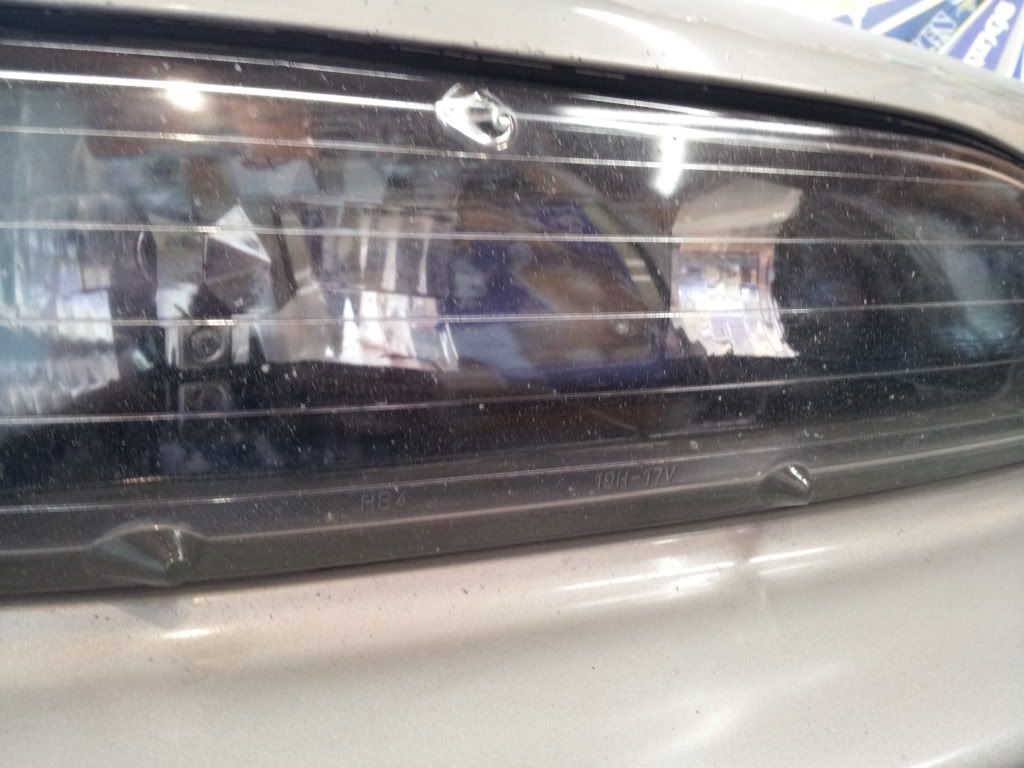
Flash.
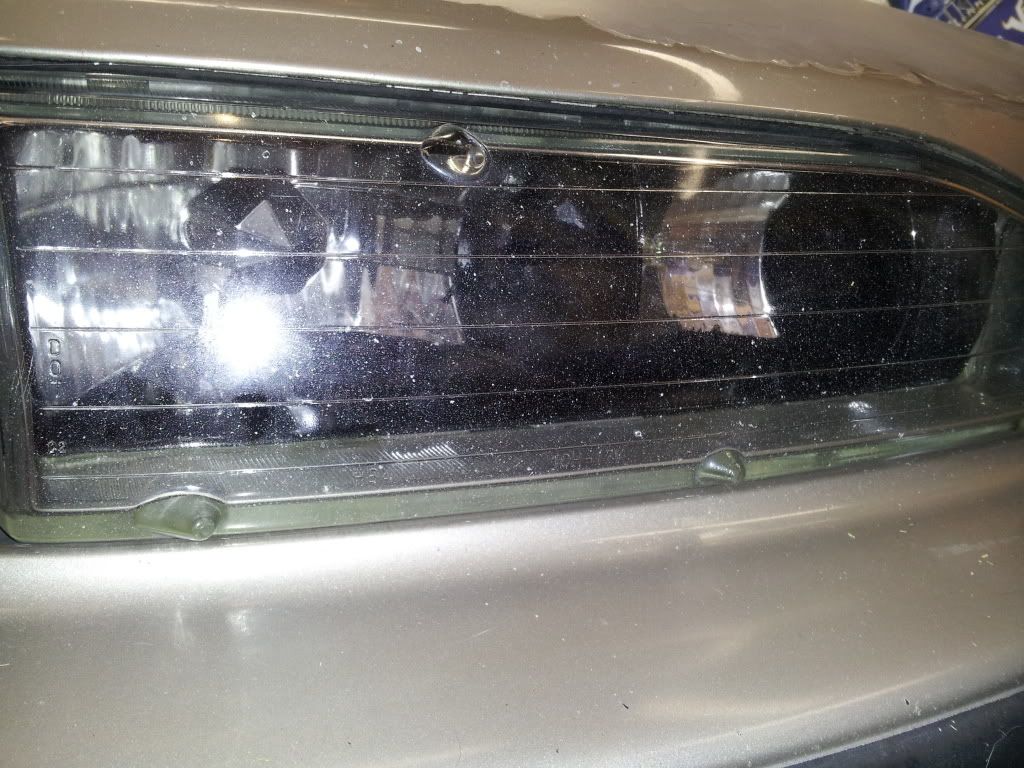
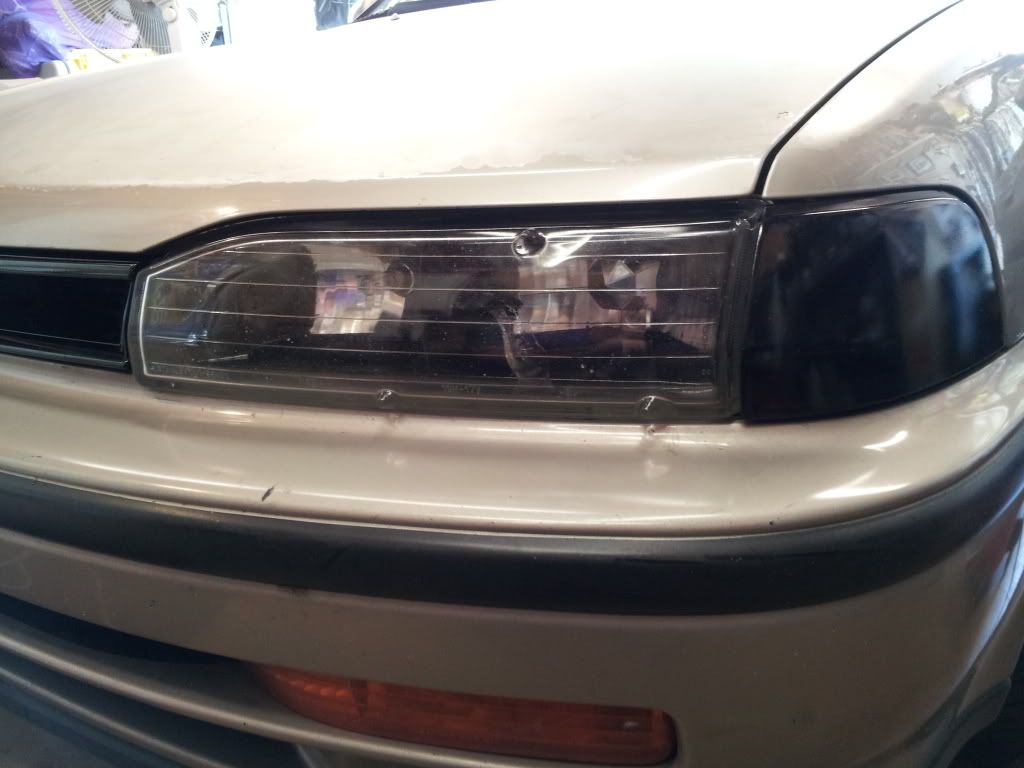
All put back together.
Also painted the OEM grill black. Not a very good picture. The reflection makes it look almost red.
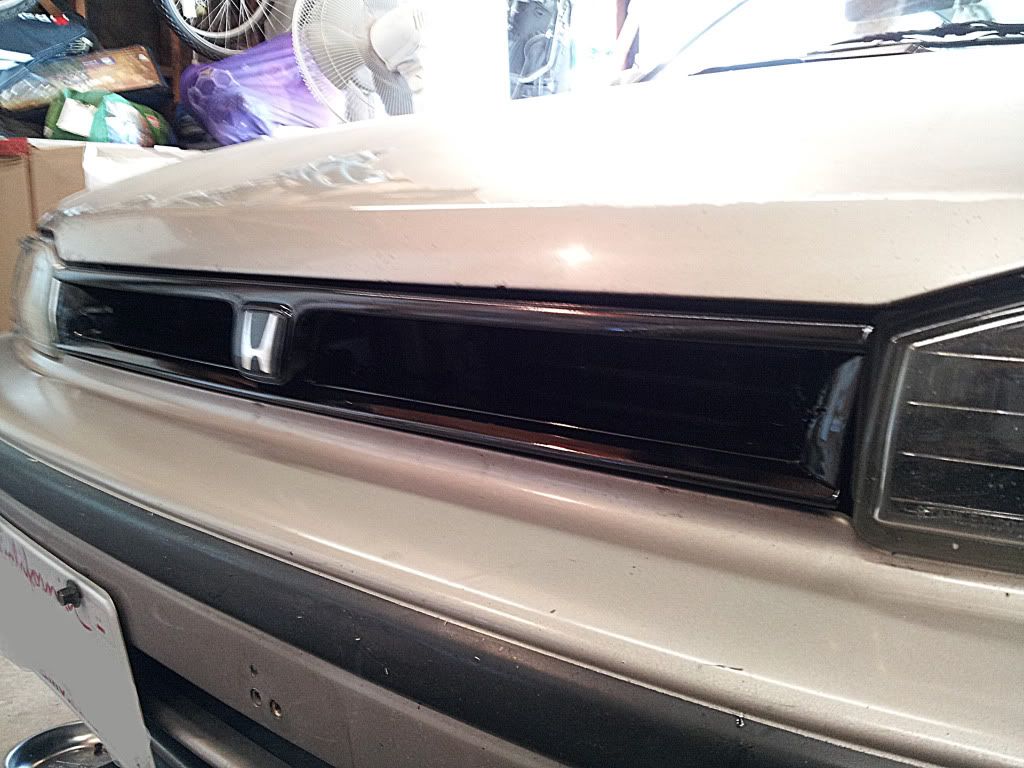
Not sure how I feel about the corners, but I love the black housings. Just need new lenses, Cali roads have been rough on these. Also planning on replacing glass too at some point. The windshield is especially rough.
So, As far as front end plans, new grill (just a blacked out mesh, generic Ebay, most likely), a Legend coupe lip, new headlight glass lenses, have to replace the passenger side corner lamp (it's not the right one I came to find out yesterday), And possibly move the license plate again. Considering a carbon hood at some point, still considering. Also not sure whether I am going to leave the new corners clear and amber, smoked, or blacked out. We'll see!
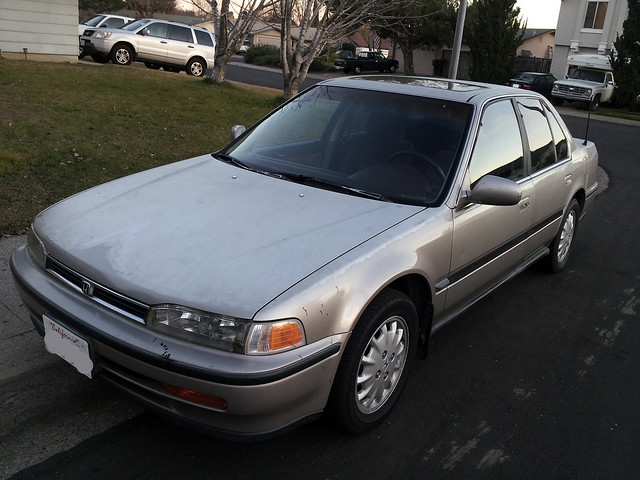
I just want to do a start and current really quick.
Before.
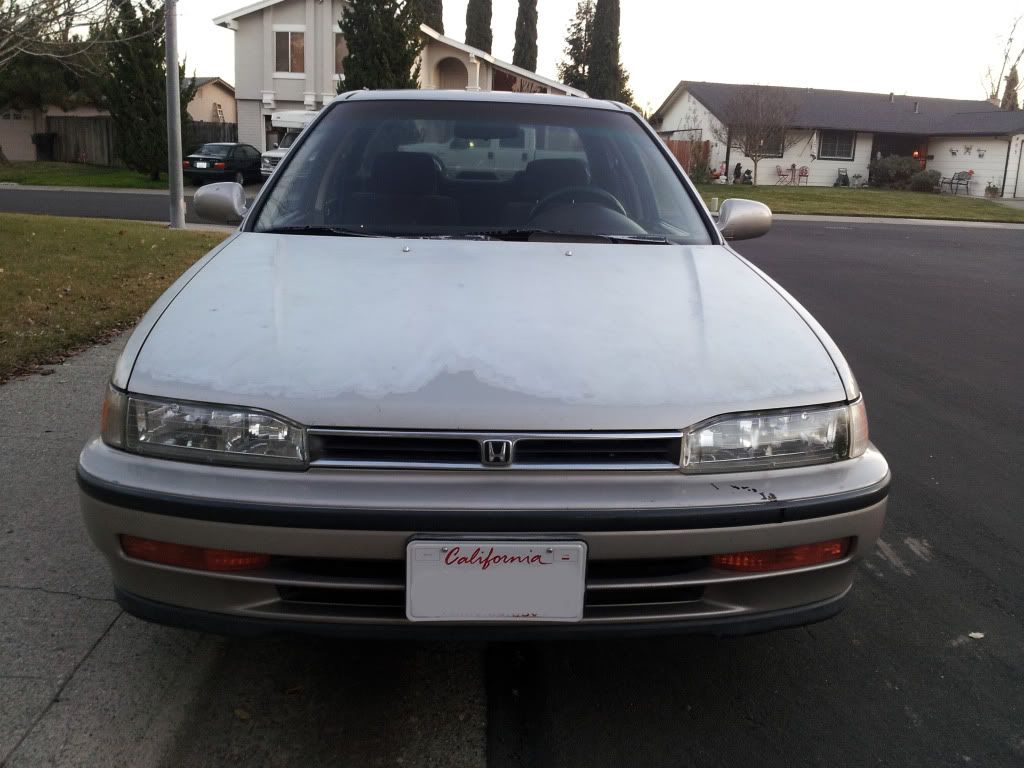
Now.
Before.
Now.
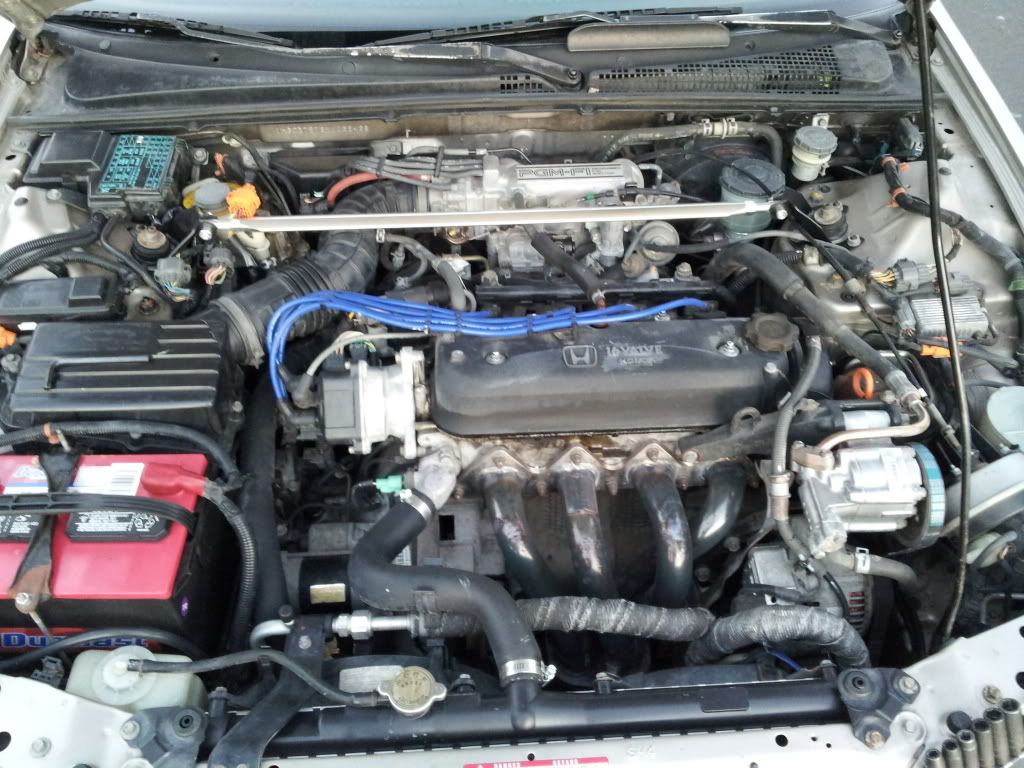
Before (Minus the blue plug wires).
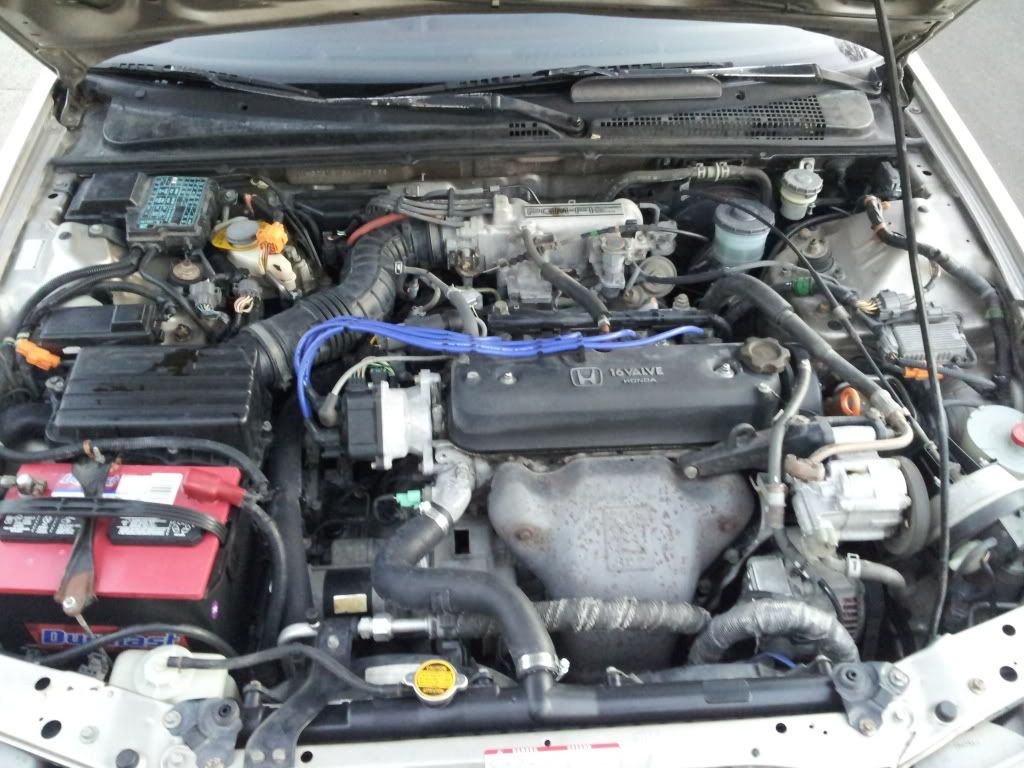
Now (with a few small differences being actually current).
Nothing planned this week, waiting on funds for the SRI, then the grill and lip! Decided last night that next up is suspension, wheels and tires, paint, then that whole interior color swap which will be accompanied by new seats, harnesses, and steering wheel.
Update!
Blacked out the front headlights and smoked the corner lenses yesterday!
Some pics of the masking.
Painted.
Close ups.
No flash.
Flash.
All put back together.
Also painted the OEM grill black. Not a very good picture. The reflection makes it look almost red.
Not sure how I feel about the corners, but I love the black housings. Just need new lenses, Cali roads have been rough on these. Also planning on replacing glass too at some point. The windshield is especially rough.
So, As far as front end plans, new grill (just a blacked out mesh, generic Ebay, most likely), a Legend coupe lip, new headlight glass lenses, have to replace the passenger side corner lamp (it's not the right one I came to find out yesterday), And possibly move the license plate again. Considering a carbon hood at some point, still considering. Also not sure whether I am going to leave the new corners clear and amber, smoked, or blacked out. We'll see!
I just want to do a start and current really quick.
Before.
Now.
Before.
Now.
Before (Minus the blue plug wires).
Now (with a few small differences being actually current).
Nothing planned this week, waiting on funds for the SRI, then the grill and lip! Decided last night that next up is suspension, wheels and tires, paint, then that whole interior color swap which will be accompanied by new seats, harnesses, and steering wheel.

Thread
Thread Starter
Forum
Replies
Last Post