

96 Civic Project K Swap (lots of Photos)

Thread Starter
Honda-Tech Member
iTrader: (2)
Joined: May 2002
Posts: 260
Likes: 0
From: Richmond, Canada
This all start back in 2000 with my first 96 Civic Hatch
A year after I bought the car....and through out the 2.5 years I owned that hatch before it's totalled in a stupid accident


before the accident

after the accident

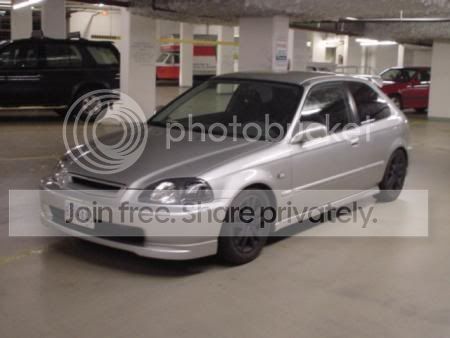
after a few years in the fall of 2008 I came across another 96 Civic Hatch for a good price, so I decided to do a complete build with a K20a Swap.
Here's what it looks like when I first got the car.


see how it's red inside and white outside, I guess the previous own like the two tone

A year after I bought the car....and through out the 2.5 years I owned that hatch before it's totalled in a stupid accident
before the accident
after the accident
after a few years in the fall of 2008 I came across another 96 Civic Hatch for a good price, so I decided to do a complete build with a K20a Swap.
Here's what it looks like when I first got the car.
see how it's red inside and white outside, I guess the previous own like the two tone


Thread Starter
Honda-Tech Member
iTrader: (2)
Joined: May 2002
Posts: 260
Likes: 0
From: Richmond, Canada
I thought it looks bored with two tone, so I add some black


then I put the carpet and driver seat back in so I can drive around for a bit


I upgrade the front and rear disc brakes convertion + some APEXi N1 Coilover(which were sold few days ago^^)

before brake upgrade


after the upgrade


then I put the carpet and driver seat back in so I can drive around for a bit
I upgrade the front and rear disc brakes convertion + some APEXi N1 Coilover(which were sold few days ago^^)
before brake upgrade
after the upgrade
Thread Starter
Honda-Tech Member
iTrader: (2)
Joined: May 2002
Posts: 260
Likes: 0
From: Richmond, Canada
i finally save enough money for the K20a (06 JDM DC5 w/ 17000km) money was kinda tight, so stay with EKK1 Hasport Mount where I don't have to do the subframe swap.

add a bit of black to the bay to match the interior of the car

the NEW HEART!!


IT's ALIVE....:burn:


add a bit of black to the bay to match the interior of the car
the NEW HEART!!
IT's ALIVE....:burn:
Thread Starter
Honda-Tech Member
iTrader: (2)
Joined: May 2002
Posts: 260
Likes: 0
From: Richmond, Canada
Fall 2009 I decided to do a bit more upgrade, and got sick of the 3 colour tone. Strip the whole car down once again and get it right the the one last time.


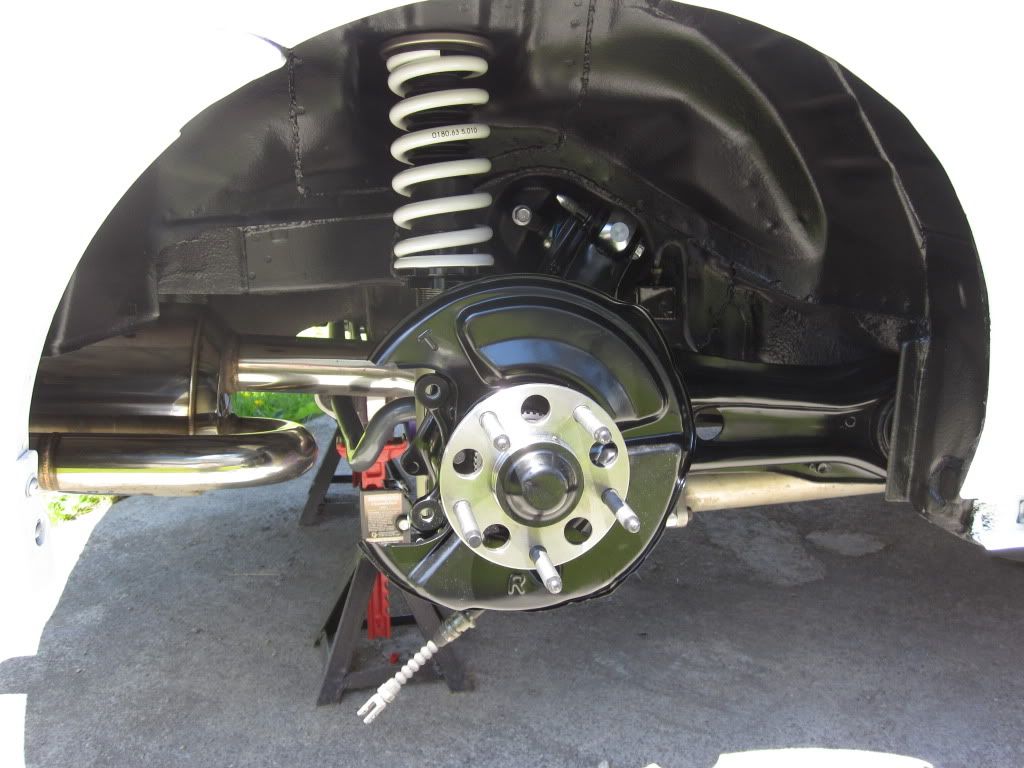
also did a 5 lugs convertion w/ CTR proportional valve, and 2inch brake master, since those old brakes can't stop good enough.


also did a 5 lugs convertion w/ CTR proportional valve, and 2inch brake master, since those old brakes can't stop good enough.
Trending Topics
Thread Starter
Honda-Tech Member
iTrader: (2)
Joined: May 2002
Posts: 260
Likes: 0
From: Richmond, Canada
here are some of the parts I collected while the car was away
cosmetic parts:
JDM EK4 Front lip

JDM fog light

JDM Overhead storage

CTR climate control trim

JDM Vend Pocket

my suspension set up:
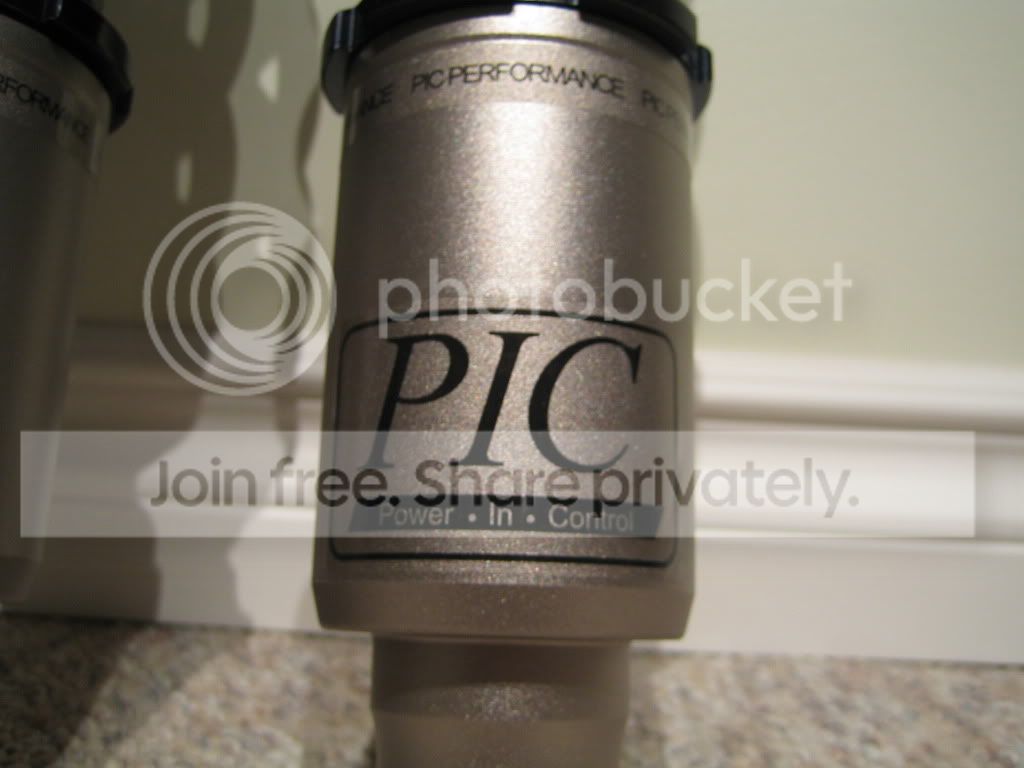
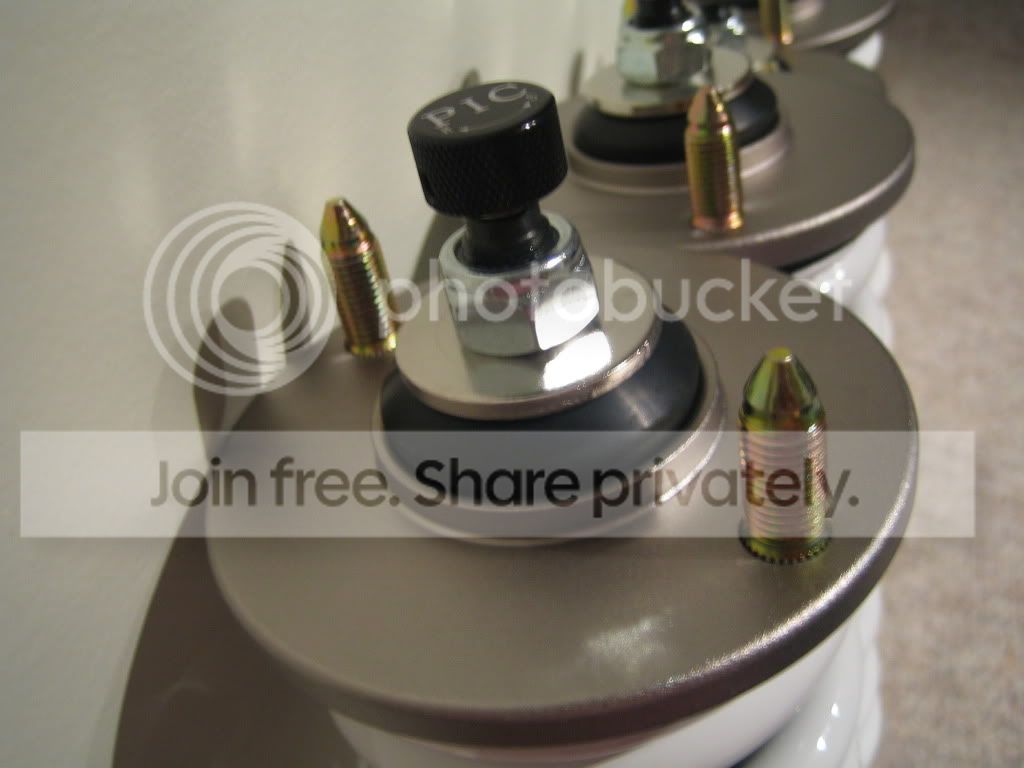
PIC Select Coilovers
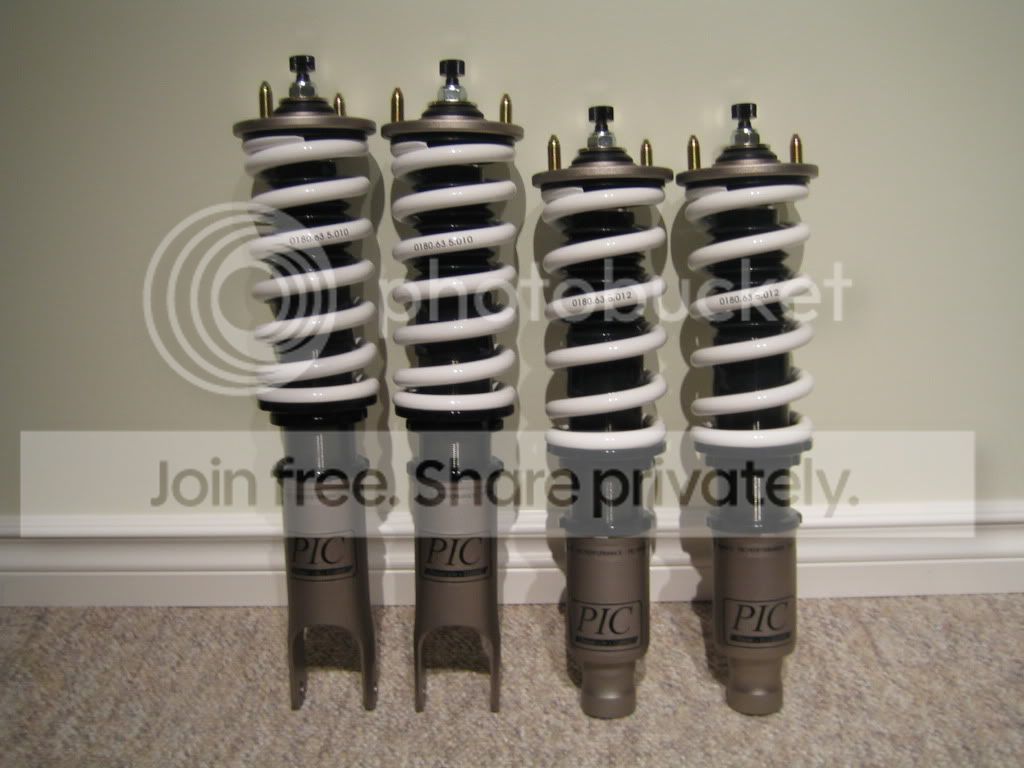
Skunk 2 Front Upper camber kit (don't mind the writing over it, cos' it's a b-day present)

ASR 24mm Swaybar kit w/ Reinforcement kit

after waiting for 5 weeks while the car is still in the Bodyshop


cosmetic parts:
JDM EK4 Front lip
JDM fog light
JDM Overhead storage
CTR climate control trim
JDM Vend Pocket
my suspension set up:
PIC Select Coilovers
Skunk 2 Front Upper camber kit (don't mind the writing over it, cos' it's a b-day present)
ASR 24mm Swaybar kit w/ Reinforcement kit
after waiting for 5 weeks while the car is still in the Bodyshop


Thread Starter
Honda-Tech Member
iTrader: (2)
Joined: May 2002
Posts: 260
Likes: 0
From: Richmond, Canada
Made a few trips to Langney U-blast, where I clean up some of my EG Subframe, control arms
First try using the Sandblasting myself....before and after
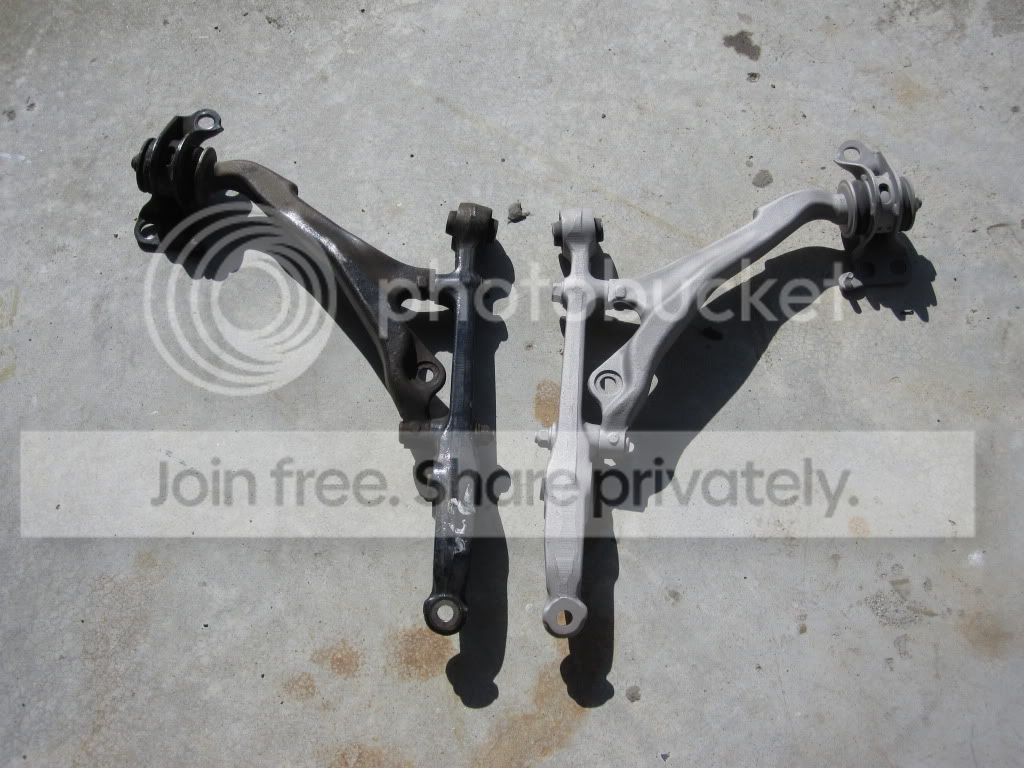
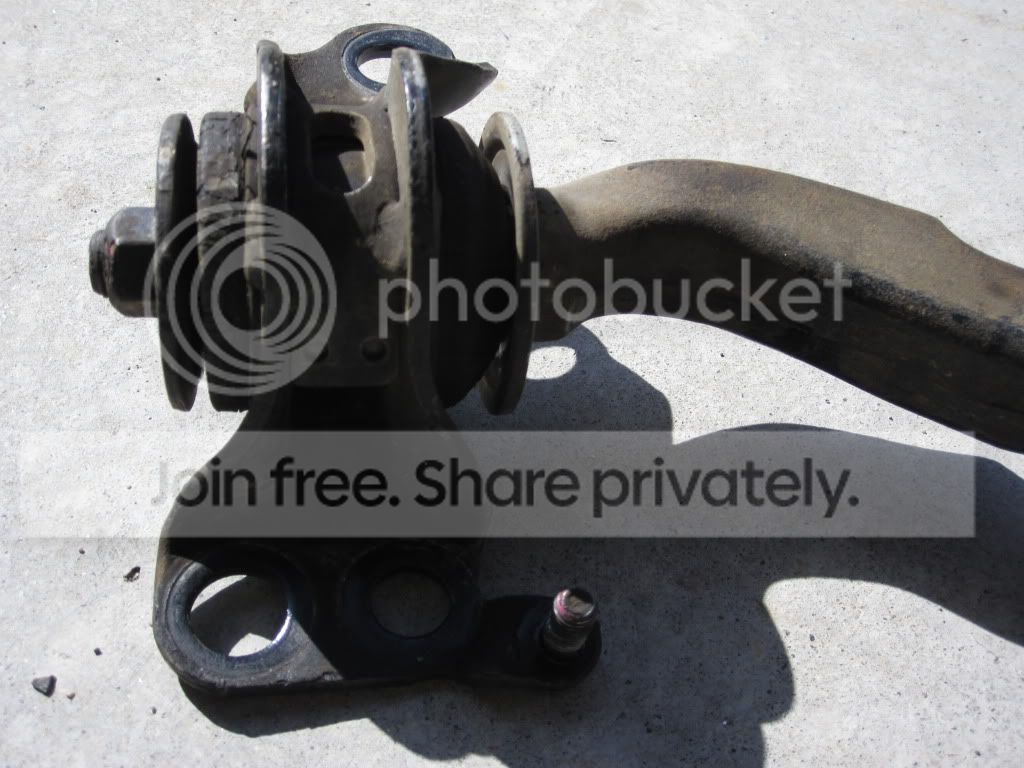

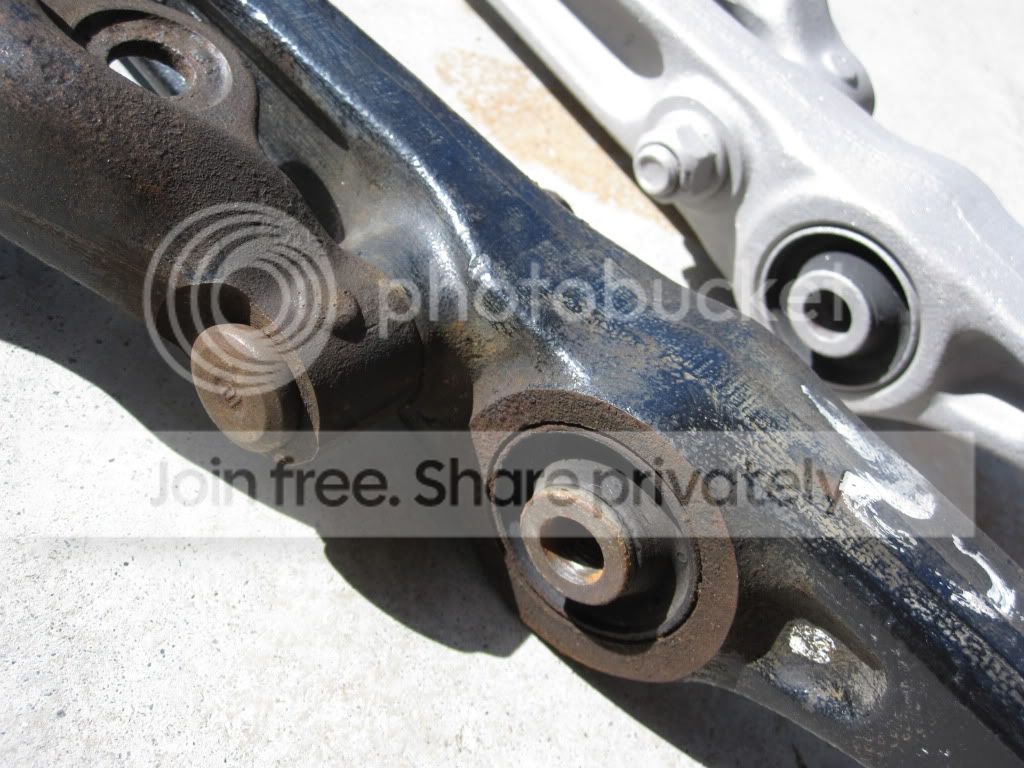


First try using the Sandblasting myself....before and after


Thread Starter
Honda-Tech Member
iTrader: (2)
Joined: May 2002
Posts: 260
Likes: 0
From: Richmond, Canada
finished cleaning up the wheel wells, will apply undercoat tomorrow.


I also picked up all the suspension parts I sent for powder coated, I love how it turns out.


will press racing bushing back in this weekend
I also picked up all the suspension parts I sent for powder coated, I love how it turns out.
will press racing bushing back in this weekend
Thread Starter
Honda-Tech Member
iTrader: (2)
Joined: May 2002
Posts: 260
Likes: 0
From: Richmond, Canada
I was a bit busy with work, didn't get a chance to post some progress I made last week.
This is the engine bay after I grind off those studs on the fire wall

I decided to shave the engine bay again, and repaint it.

I also manage to apply under coat to the wheel wells


This is the engine bay after I grind off those studs on the fire wall
I decided to shave the engine bay again, and repaint it.
I also manage to apply under coat to the wheel wells
Thread Starter
Honda-Tech Member
iTrader: (2)
Joined: May 2002
Posts: 260
Likes: 0
From: Richmond, Canada
Completed the brake line tucks, mounted the Odyssey Slim Battery, reinstalled the heat core, Dash, and carpet.


Thread Starter
Honda-Tech Member
iTrader: (2)
Joined: May 2002
Posts: 260
Likes: 0
From: Richmond, Canada
More pics of the parts awaiting to be install.
My Hondata K-Pro ECU, the old metal cover was dented so I made myself a plexiglass and the Hondata sticker. Look so much better


Front Bumper, with Passwordjdm Fog light, JDM CTR Grill with RS Bage, JDM SiR Front lip all mounted


JDM DC5 Recaro (Brand new Condition, except that small weird indentation)


HASport EKK2 Engine Mount


Hawk HP + Pads

Slim Radiator Fan

T1R Rear Camber Kit

HyTech 4-2-1 Header (I wet sand it, so much cleaner)
Before


After


My Hondata K-Pro ECU, the old metal cover was dented so I made myself a plexiglass and the Hondata sticker. Look so much better
Front Bumper, with Passwordjdm Fog light, JDM CTR Grill with RS Bage, JDM SiR Front lip all mounted
JDM DC5 Recaro (Brand new Condition, except that small weird indentation)
HASport EKK2 Engine Mount
Hawk HP + Pads
Slim Radiator Fan
T1R Rear Camber Kit
HyTech 4-2-1 Header (I wet sand it, so much cleaner)
Before
After
Thread Starter
Honda-Tech Member
iTrader: (2)
Joined: May 2002
Posts: 260
Likes: 0
From: Richmond, Canada
I managed to test fit the headlight, and front bumper, will need to do some adjustment after I install the fender


Thread Starter
Honda-Tech Member
iTrader: (2)
Joined: May 2002
Posts: 260
Likes: 0
From: Richmond, Canada
31 May 2010
It was raining outside, so I got my Canopy out so I won't get too wet


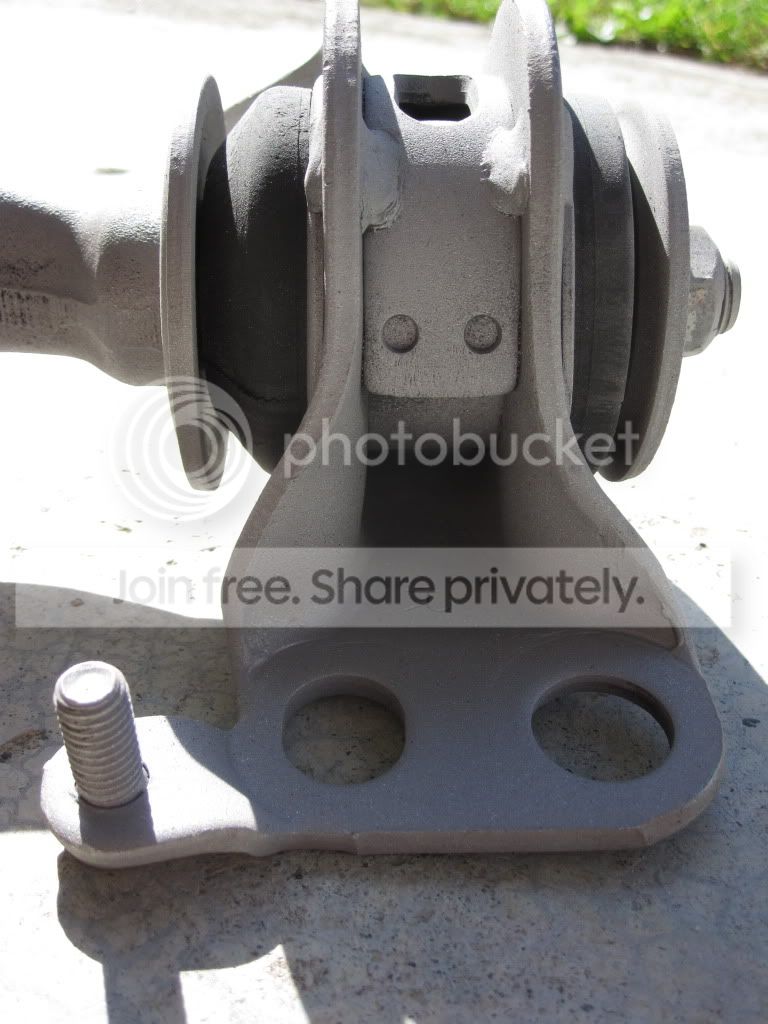
installed the EG Subframe

Front Skunk 2 Camber kit


SRR rear lower control Arm, T1R Rear Camber Kit, Blox Solid Swaybar Endlink, PIC Select Coilover, and Spoon Rear Tower bar


It was raining outside, so I got my Canopy out so I won't get too wet
installed the EG Subframe
Front Skunk 2 Camber kit
SRR rear lower control Arm, T1R Rear Camber Kit, Blox Solid Swaybar Endlink, PIC Select Coilover, and Spoon Rear Tower bar
Thread Starter
Honda-Tech Member
iTrader: (2)
Joined: May 2002
Posts: 260
Likes: 0
From: Richmond, Canada
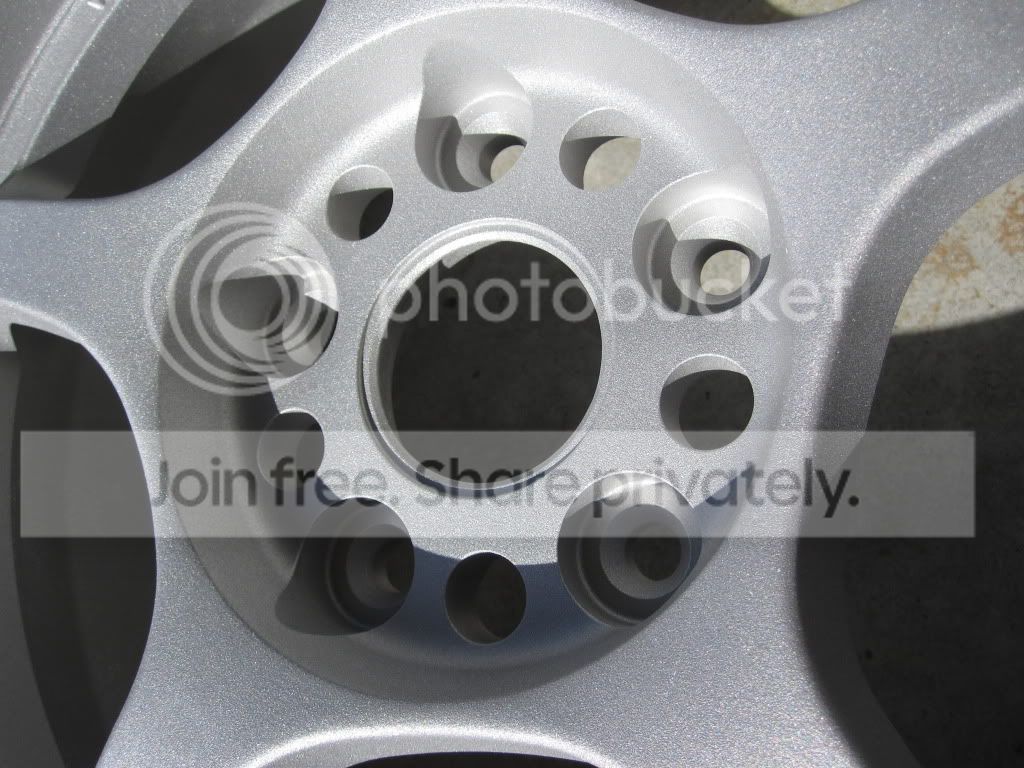
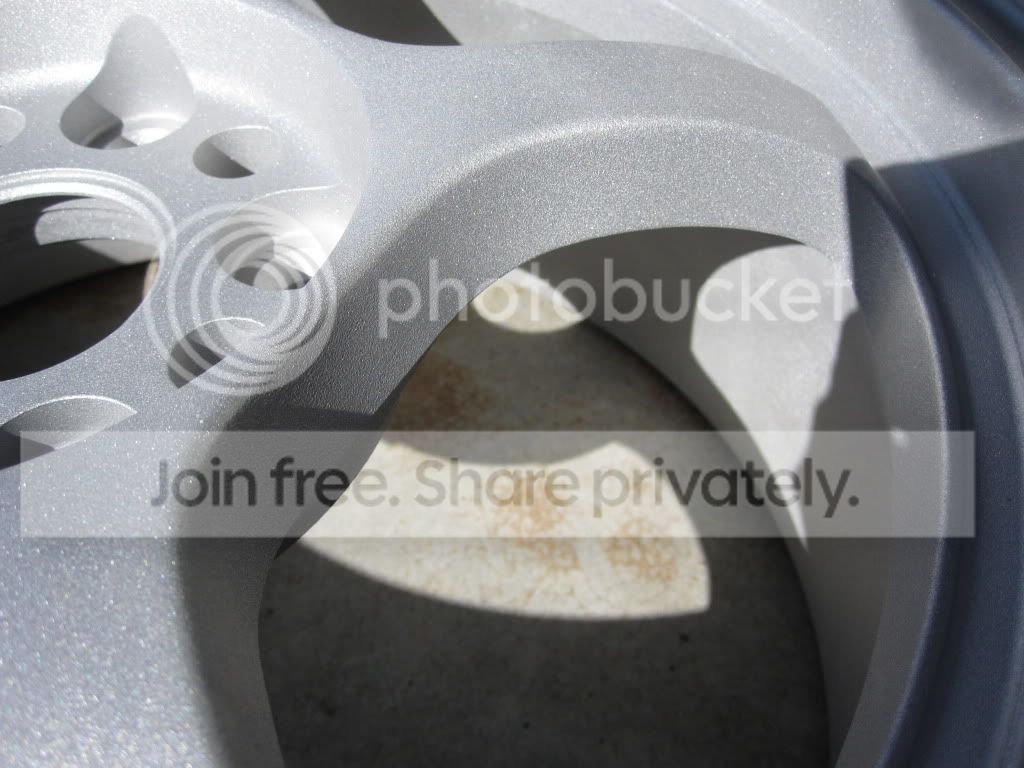
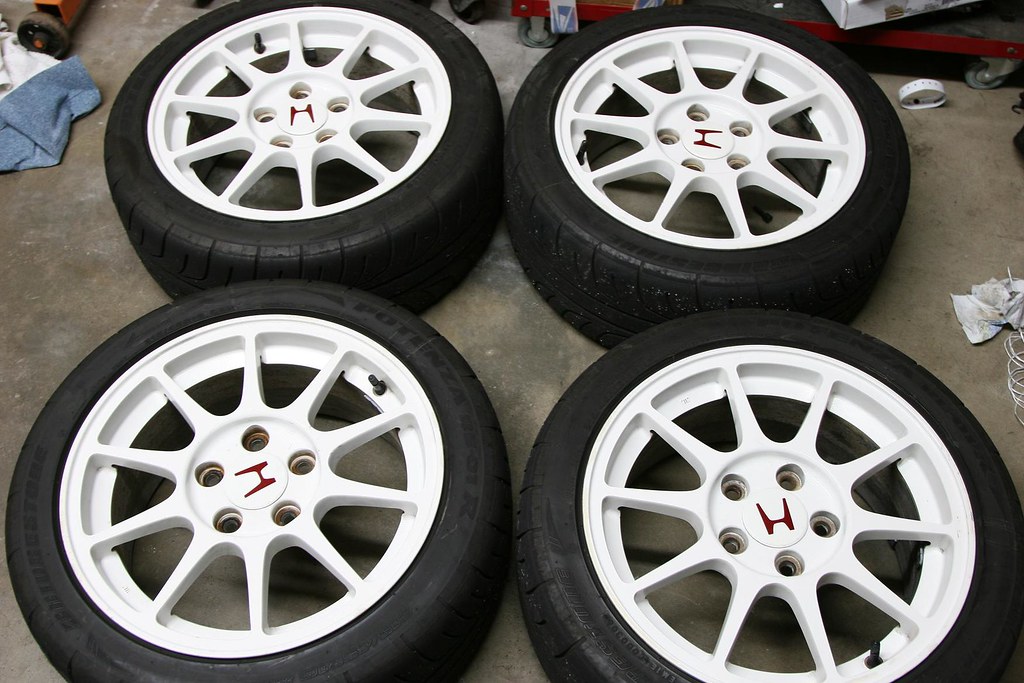
I have 3 sets of rims
#1 USDM 15" ITR Gunmetal rims

#2 JDM 16" ITR White rims
#3 Sandblasted 16" Gramlight 57C

I just can't make up my mind on the colour for the Gramlight
but I think I might sell all 3 set and get a set of 16" Regamaster EVO, or 16" Mugen MF10
#1 USDM 15" ITR Gunmetal rims
#2 JDM 16" ITR White rims
#3 Sandblasted 16" Gramlight 57C
I just can't make up my mind on the colour for the Gramlight
but I think I might sell all 3 set and get a set of 16" Regamaster EVO, or 16" Mugen MF10
Thread Starter
Honda-Tech Member
iTrader: (2)
Joined: May 2002
Posts: 260
Likes: 0
From: Richmond, Canada
15 Jun 2010
Since I have a bit of time I will post some update
installed the rear trailing arms and test fit my rims


test fitted the Blox radiator stay


and my new TOY thanks to topekoms


Since I have a bit of time I will post some update
installed the rear trailing arms and test fit my rims
test fitted the Blox radiator stay
and my new TOY thanks to topekoms
Thread Starter
Honda-Tech Member
iTrader: (2)
Joined: May 2002
Posts: 260
Likes: 0
From: Richmond, Canada
01 Jul 2010
New Rear Brake Caliper


Did Valve Adjustment

Replaced Stock Tensioner with Skunk 2 Tensioner


Replaced Stock Lever Springs with Alex Reinforced Change Lever Springs


Chasebay Engine Harness


10 July 2010
Finally Starting to put the engine back into the car


Spoon Caliper Installed with 3mm Spacer


how the car looks at the end of the day


New Valve Cover plus Mugen Oil Cap


New Rear Brake Caliper
Did Valve Adjustment
Replaced Stock Tensioner with Skunk 2 Tensioner
Replaced Stock Lever Springs with Alex Reinforced Change Lever Springs
Chasebay Engine Harness
10 July 2010
Finally Starting to put the engine back into the car
Spoon Caliper Installed with 3mm Spacer
how the car looks at the end of the day
New Valve Cover plus Mugen Oil Cap
Last edited by Kei-EF8; Jan 27, 2013 at 09:19 PM.


Thread Starter
Honda-Tech Member
iTrader: (2)
Joined: May 2002
Posts: 260
Likes: 0
From: Richmond, Canada


Thread Starter
Honda-Tech Member
iTrader: (2)
Joined: May 2002
Posts: 260
Likes: 0
From: Richmond, Canada
got some new tires for my MF10

17 Jul 2011
First day I get drove my Civic since Jun 2009 (2 years and a month)


17 Jul 2011
First day I get drove my Civic since Jun 2009 (2 years and a month)

