

What I did to my Civic today

Thread Starter
Honda-Tech Member
Joined: Apr 2012
Posts: 83
Likes: 0
From: Oregon
This will be an ongoing thread, but today it starts with my first real project.
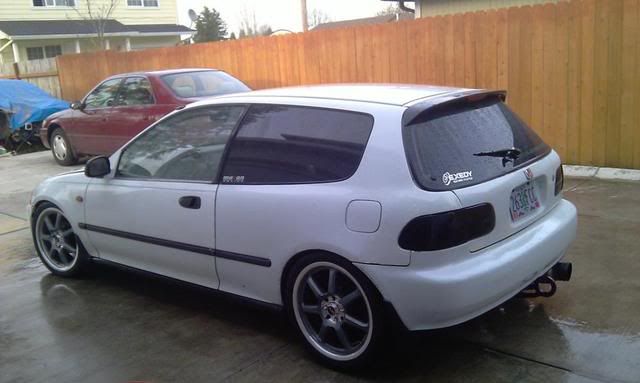
I got the car last month, and I've been in the process of fixing the dumb **** the previous owner did to it. I've already removed the 17" wheels w/ lo-pros it came with(replaced w/ 14's on 60 series sidewalls), and tuned up the suspension a bit. It has Megan Racing coil-overs, but the toe was out of wack in a ridiculous way (car wasn't level from side to side either)... could barely stay on the road. He'd also found a can of gold spray paint that he then used on the calipers, intake, valve cover, shift ****... you get the idea. Anyway...
I've got 2 JL Audio 12W7's that need to go in soon, and to make way for the enclosure, amp rack, and second battery, I've decided to do a rear-seat delete. A little controversial from most people watching, but I'm going to do this right and not cut any corners - it'll look sick.
Here goes.

Removed the seat bottom, and backrests. This took less than five minutes and in retrospect was the worst part of the project because it gave me an unrealistic expectation of how the rest would play out.
Seat belts buckles were secured by one bolt each and were relatively easy to get out as well.
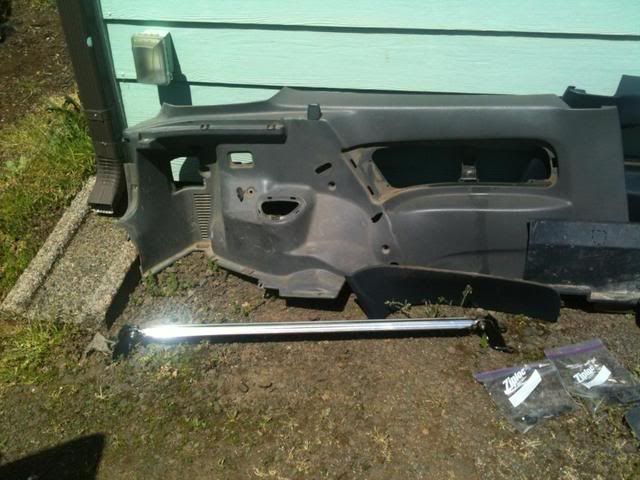
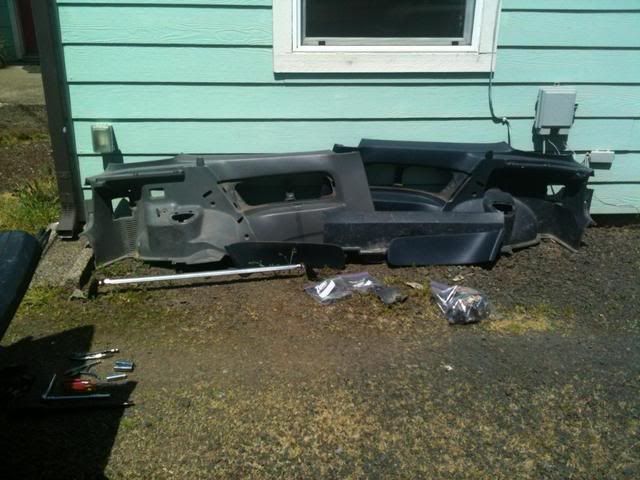
Next to come out was the rear strut-brace & plastics. If you're contemplating this project, take your time - there are a lot of clips and screws and the plastic is pretty flimsy. If you miss one and start tugging you could break **** fairly easy.
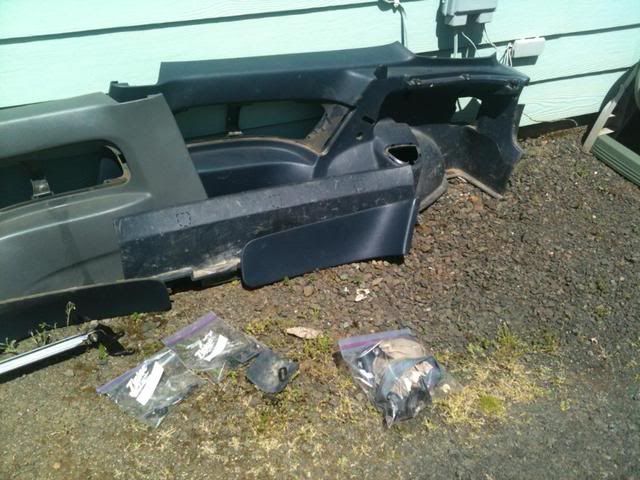
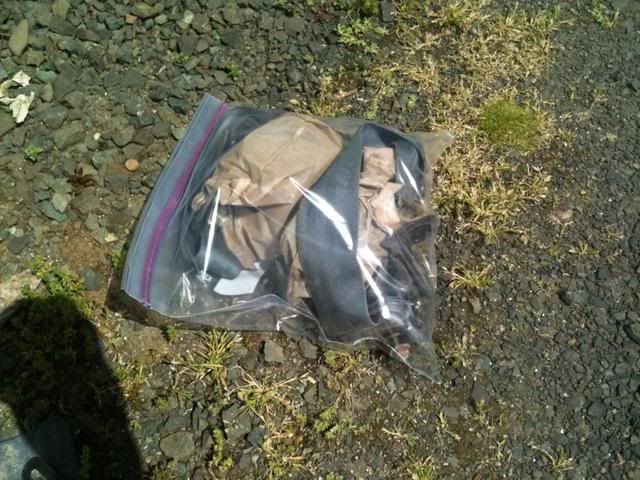
This is the rear seat belts w/ all hardware. Held up in the C pillar by three bolts; 2 large and 1 smaller bolt.
Okay, moving along...
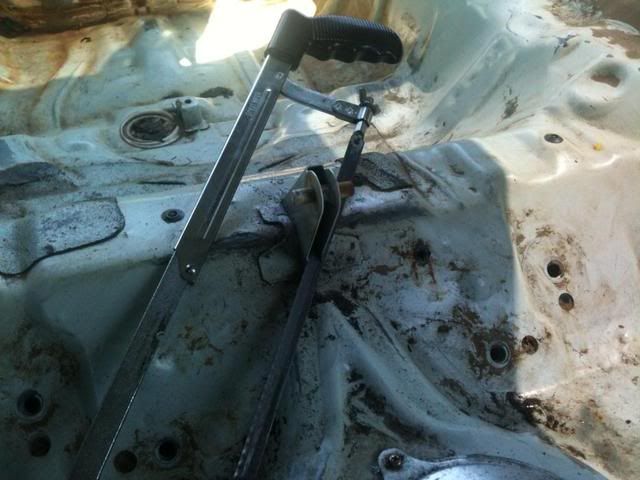
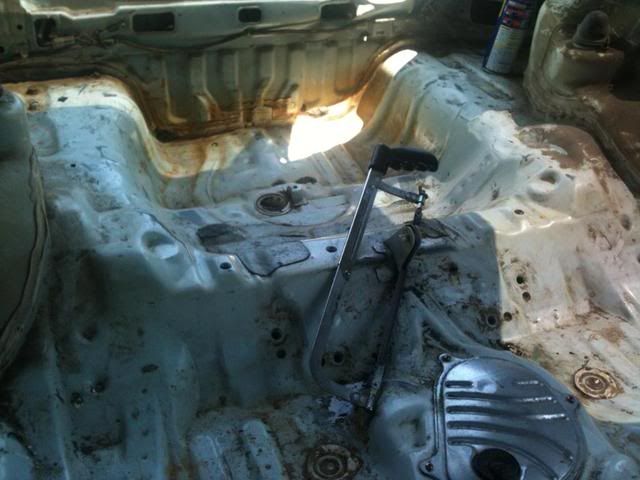
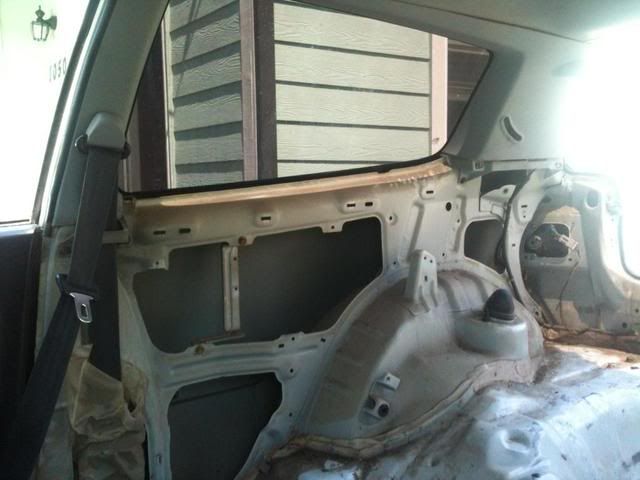
After you get the seats out, you're left with this big bracket sticking up out of the middle of the floor. If you choose to remove this, this is the 'point of no return'; remove it, and seats can never safely be put back in.
As for the hacksaw - my only other alternative was a Sawzall with a wood-cutting blade. But I took my time (used a lot of WD40 for lubrication) and ended up with a very clean cut, very close to the edge of the floor. I'm quite happy with how it turned out.

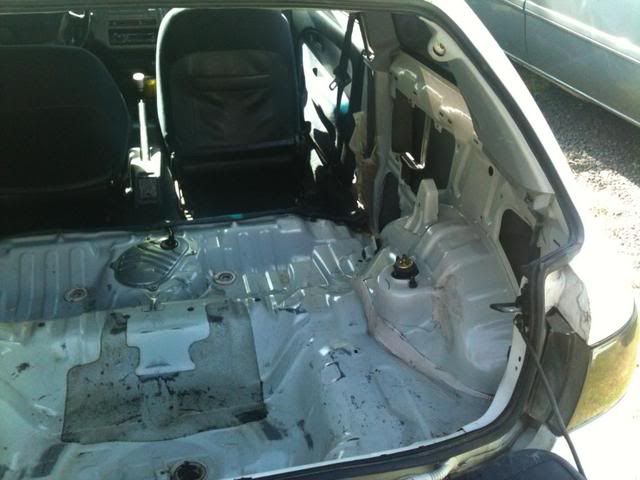
Nothing really relevant here, except the 1st Gen RX-7 in the background and large amounts of dirt EVERYWHERE.
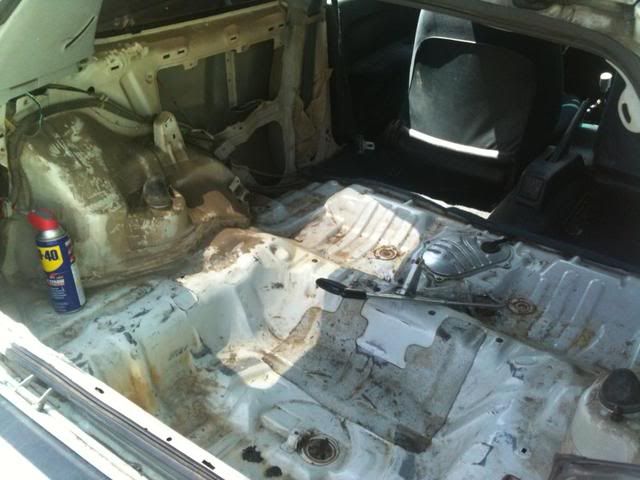
COPIOUS amounts of dirt. Copious; that's your word of the day.
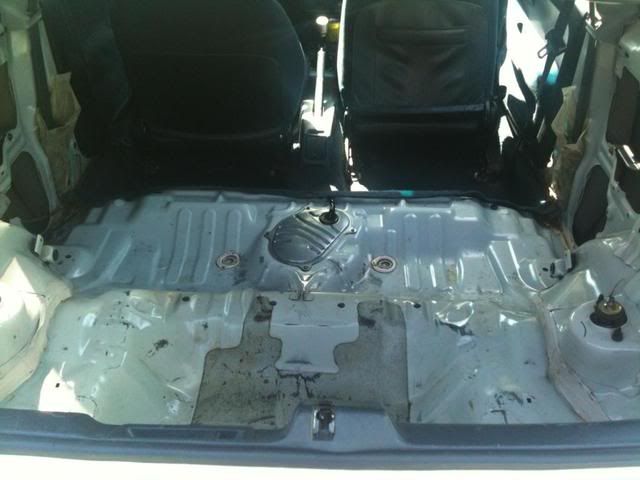
With the bracket gone, the delete was officially finished. The next step was to start cleaning up - which took almost as much time as everything I'd done so far.
All said and done, the whole project took about 8 hours. Started at about 9:30, and finished about 6pm (this includes giving the car a bath).
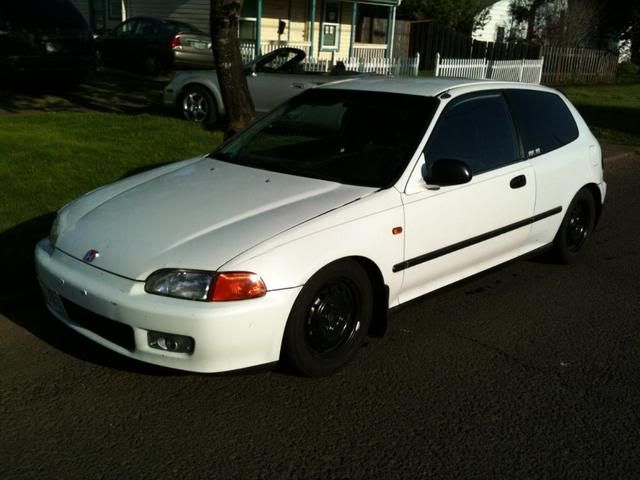
Here's the results.
I got the car last month, and I've been in the process of fixing the dumb **** the previous owner did to it. I've already removed the 17" wheels w/ lo-pros it came with(replaced w/ 14's on 60 series sidewalls), and tuned up the suspension a bit. It has Megan Racing coil-overs, but the toe was out of wack in a ridiculous way (car wasn't level from side to side either)... could barely stay on the road. He'd also found a can of gold spray paint that he then used on the calipers, intake, valve cover, shift ****... you get the idea. Anyway...
I've got 2 JL Audio 12W7's that need to go in soon, and to make way for the enclosure, amp rack, and second battery, I've decided to do a rear-seat delete. A little controversial from most people watching, but I'm going to do this right and not cut any corners - it'll look sick.
Here goes.
Removed the seat bottom, and backrests. This took less than five minutes and in retrospect was the worst part of the project because it gave me an unrealistic expectation of how the rest would play out.
Seat belts buckles were secured by one bolt each and were relatively easy to get out as well.
Next to come out was the rear strut-brace & plastics. If you're contemplating this project, take your time - there are a lot of clips and screws and the plastic is pretty flimsy. If you miss one and start tugging you could break **** fairly easy.
This is the rear seat belts w/ all hardware. Held up in the C pillar by three bolts; 2 large and 1 smaller bolt.
Okay, moving along...
After you get the seats out, you're left with this big bracket sticking up out of the middle of the floor. If you choose to remove this, this is the 'point of no return'; remove it, and seats can never safely be put back in.
As for the hacksaw - my only other alternative was a Sawzall with a wood-cutting blade. But I took my time (used a lot of WD40 for lubrication) and ended up with a very clean cut, very close to the edge of the floor. I'm quite happy with how it turned out.
Nothing really relevant here, except the 1st Gen RX-7 in the background and large amounts of dirt EVERYWHERE.
COPIOUS amounts of dirt. Copious; that's your word of the day.
With the bracket gone, the delete was officially finished. The next step was to start cleaning up - which took almost as much time as everything I'd done so far.
All said and done, the whole project took about 8 hours. Started at about 9:30, and finished about 6pm (this includes giving the car a bath).
Here's the results.
Last edited by childishthing; May 12, 2012 at 10:09 PM.

Thread Starter
Honda-Tech Member
Joined: Apr 2012
Posts: 83
Likes: 0
From: Oregon
Thread Starter
Honda-Tech Member
Joined: Apr 2012
Posts: 83
Likes: 0
From: Oregon
Today was a bit bust, I should have chose something else to do. 
Okay, so I mentioned the PO went berserk with a can of gold spray paint... it's so embarrassing, I put off changing the oil just to keep from looking at it. Kidding (sort of).
Here's the damage.
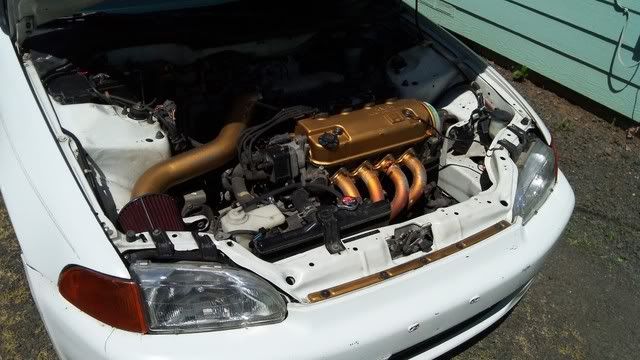
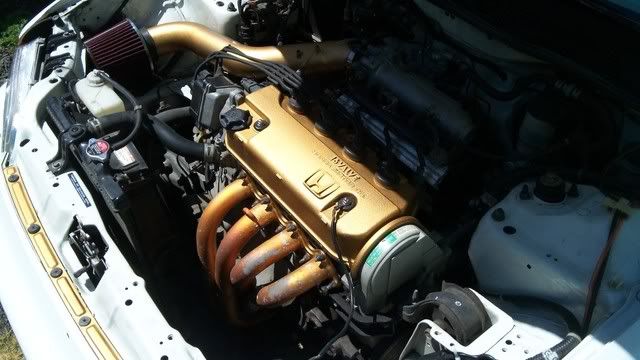
Okay, so the PLAN was to remove the gold paint from the CAI & valve cover, and repaint each. Gold to blue for the CAI, and gold to white for the valve cover.
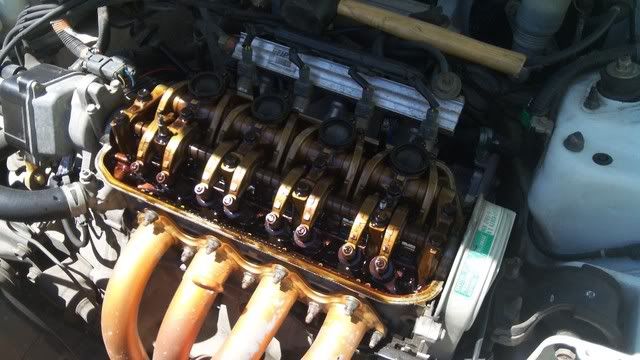
Took the CAI out and the valve cover off - nice opportunity to check for issues w/ valves. Looked alright actually, I was surprised to not find gold paint there too.
I also adjusted my throttle cable and cleaned the throttle-body while I was in there.
Anyways...
After scuffing at the valve cover with sandpaper for a while, I eventually had to call it quits. Despite the fact it was cracking in some areas, it was baked on pretty good on the rest. I was really hoping to repaint it today. Oh well, have to wait til I have access to a sandblaster. I was thinking about using paint-stripper, but I have qualms about getting corrosive chemicals so close to where my engine oil is. Maybe I'll do it anyway.
BUT - I still got to repaint the CAI.
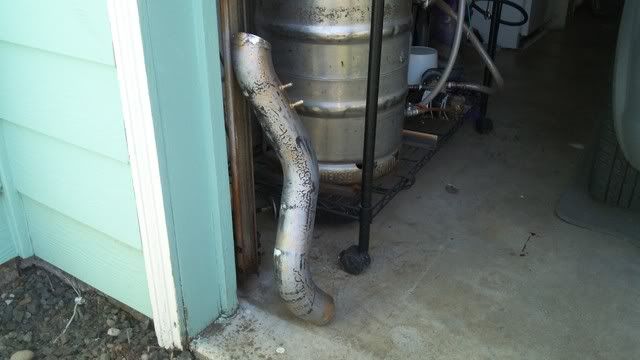
Sanded

Tied up
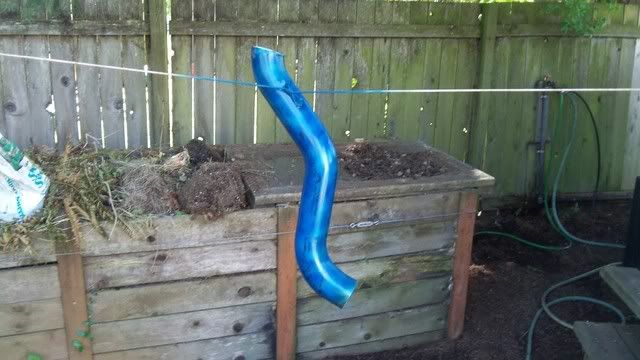
This is after two light coats.
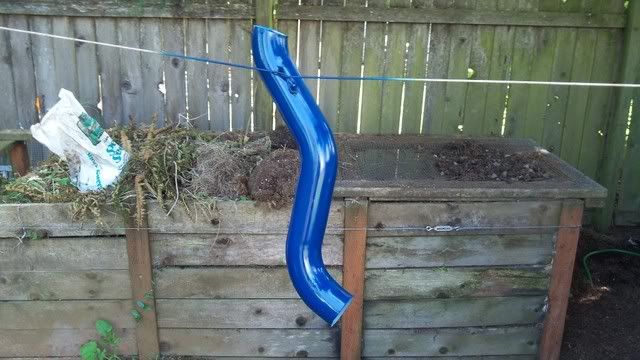
About five coats.
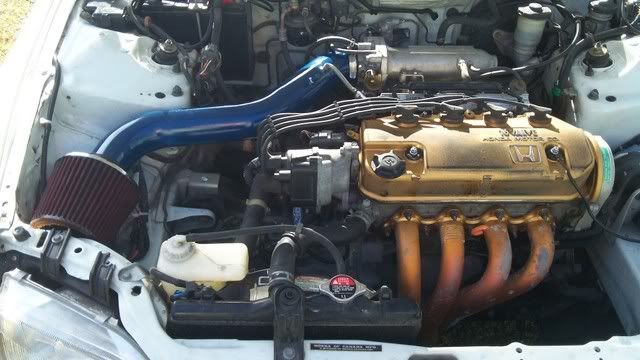
Finished product, with the scuffed but still gold valve cover.
Okay, so I mentioned the PO went berserk with a can of gold spray paint... it's so embarrassing, I put off changing the oil just to keep from looking at it. Kidding (sort of).
Here's the damage.
Okay, so the PLAN was to remove the gold paint from the CAI & valve cover, and repaint each. Gold to blue for the CAI, and gold to white for the valve cover.
Took the CAI out and the valve cover off - nice opportunity to check for issues w/ valves. Looked alright actually, I was surprised to not find gold paint there too.
I also adjusted my throttle cable and cleaned the throttle-body while I was in there.
Anyways...
After scuffing at the valve cover with sandpaper for a while, I eventually had to call it quits. Despite the fact it was cracking in some areas, it was baked on pretty good on the rest. I was really hoping to repaint it today. Oh well, have to wait til I have access to a sandblaster. I was thinking about using paint-stripper, but I have qualms about getting corrosive chemicals so close to where my engine oil is. Maybe I'll do it anyway.
BUT - I still got to repaint the CAI.
Sanded
Tied up
This is after two light coats.
About five coats.
Finished product, with the scuffed but still gold valve cover.
Thread Starter
Honda-Tech Member
Joined: Apr 2012
Posts: 83
Likes: 0
From: Oregon
Thanks man! You stay tuned, and I'll keep it coming!
Speaking of which...
Day 1 of "Dynamat"
I've been waiting all week to start this, and I was pretty stoked to get going this morning. Started a little after 10am, and finished major coverage of the floor, and even crept up the walls a bit by about 5:30.
http://youtu.be/l7nU0xZ9J7Q

Here's your basic supplies. Peel & Seal, and a utility knife - extra blades are a good idea. You should also have a heat gun or a hair dryer. If there isn't a heat gun OR a hair-dryer in your house... then you are a sad, lonely individual. Stop working on your car right now and get a girlfriend.
You'll need 1 blade for every 2 rolls of Peel & Seal. You'll need two rolls to do the floor, one more roll if you want to go up the sides, and another roll to do your doors.
Peel & Seal is sold per 12.5 sq. feet. @ approx $17
I'm not doing my doors until next payday though - Peel & Seal is cheap, but not free.
The Dynamat Extreme Door Kit has 12 sq. feet - I've seen it sell for as much as $110, but if you buy it on eBay (and aren't getting scammed by a knockoff) you can get it as cheap as $60. Cheaper than that, and you're not getting real Dynamat.
Personally, I've been installing for years, used it all, and it's all the same. Get what you want though, just make sure you're getting a good deal
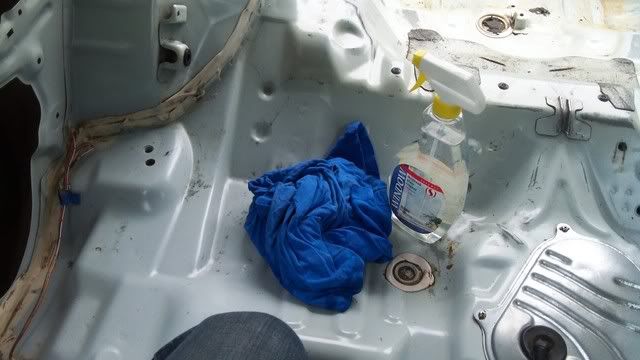
Even though I cleaned the back pretty good last weekend, there was still dust to clean off. Do not skip this step. Whether you're using Dynamat, FatMat, Hushmat, or Peel & Seal, if you don't clean well enough, it won't adhere properly.
I recommend a cleaner that has alcohol in it to help with drying. You can use straight alcohol if you want, but I used window cleaner (which I make myself). You can make your own window cleaner by mixing water, vinegar, and rubbing alcohol. I guess at what proportions to use and it works okay for me - so don't ask me for specifics.


Don't just start unrolling and sticking it to the floor!
Measure out a section you want to cover, and then cut some of your roll into PANELS that will fit that section. Don't guess at how long to make your panels should be, and don't cut your entire roll into the same length either.
Get out a tape measure and figure it out properly, leaving yourself an extra inch or so than you will need. If you nake your panels too long, and you'll have too much scraps and will have to buy more material. If you make your panels too short, you'll have to use lots of small pieces to fill the gaps you created by being lazy - your turnout will look like a patchwork quilt.
Just take your time, and do it right. Like most projects, your end product will depend mostly on your preparation.

This is not required, nor does it replace your heat-gun or hair-dryer. What I have going on is just a small space-heater keeping my pre-cut panels warm before I lay them. It's important that your panels be soft and pliable; they don't have to be hot to the touch, but they should be warm when you lay them down. I'll elaborate more later.

Laying the first panel down. It's important to start at one edge and work your way toward the other, peeling the paper backing off as you go. If you bought Dynamat, they give you a roller to help apply it to the metal - throw it out, it's useless. You'll need to press hard with your hands and fingers; I made a fist and beat on it like an angry ape pounding at the ground. This isn't easy work, especially if you have a lot of metal to cover. If you've ever laid carpet before, you know exactly what I'm talking about.
You will also run into air-bubbles. If you're careful, you'll have less bubbles. Use your utility knife to make a small incision, and press the air out with your fingers. Take the bubbles seriously for two reasons.
1. A bubble means the product is not making contact with metal - this means it won't do ANY GOOD at stopping vibration in that spot.
2. A bubble means the product is not making contact with metal - this also means there is oxygen between the product and the metal, and oxygen will cause problems to the product.
Don't worry about patching the areas where you cut to get the bubbles out, you're not patching a roof - it doesn't have to be waterproof. You can patch it if you want to, it's just cosmetic at that point. The most important part is that THE PRODUCT IS MAKING CONTACT WITH THE METAL.

As you get toward the end, slow down and if you need to make cuts, do it carefully so you have a nice edge at the end. If you have scraps, make sure to save them. I stuck my scraps back onto the paper backing and set them aside.

Here, you can see the corner I'm about to put this into at the edge of the wheel well.

This is the same panel after it went in.

This is what I meant about having your panels being pliable - if you can do this, you're doing it wrong.

If it's warm enough, it should do this. [if you want to giggle, now is the time]

I also wanted to point out that there will be some gaps that are unavoidable in your install - don't worry about it. Cut your panels smart, and do the best you can to get the most coverage out of each one. When you're ALL DONE with the project, this is what your scraps are for. Also, your roll of Peel & Seal will yield three 2" strips - I suggest making about a dozen of these for when you're working around difficult parts of the wheel wells, as well as the back wall of the hatch. These are also handy for narrow sections, or other large gaps if you screwed up somewhere else. As I said, cut your panels smart, and get the most out of each one.

My girly caught me werkin'


This is where she's at right now. Got the floor covered except for a few very small gaps, and started to go up the wheel-wells toward the sides.
Tomorrow I'll get the project finished and have even more pics to share.
Speaking of which...
Day 1 of "Dynamat"
I've been waiting all week to start this, and I was pretty stoked to get going this morning. Started a little after 10am, and finished major coverage of the floor, and even crept up the walls a bit by about 5:30.
http://youtu.be/l7nU0xZ9J7Q
Here's your basic supplies. Peel & Seal, and a utility knife - extra blades are a good idea. You should also have a heat gun or a hair dryer. If there isn't a heat gun OR a hair-dryer in your house... then you are a sad, lonely individual. Stop working on your car right now and get a girlfriend.
You'll need 1 blade for every 2 rolls of Peel & Seal. You'll need two rolls to do the floor, one more roll if you want to go up the sides, and another roll to do your doors.
Peel & Seal is sold per 12.5 sq. feet. @ approx $17
I'm not doing my doors until next payday though - Peel & Seal is cheap, but not free.
The Dynamat Extreme Door Kit has 12 sq. feet - I've seen it sell for as much as $110, but if you buy it on eBay (and aren't getting scammed by a knockoff) you can get it as cheap as $60. Cheaper than that, and you're not getting real Dynamat.
Personally, I've been installing for years, used it all, and it's all the same. Get what you want though, just make sure you're getting a good deal
Even though I cleaned the back pretty good last weekend, there was still dust to clean off. Do not skip this step. Whether you're using Dynamat, FatMat, Hushmat, or Peel & Seal, if you don't clean well enough, it won't adhere properly.
I recommend a cleaner that has alcohol in it to help with drying. You can use straight alcohol if you want, but I used window cleaner (which I make myself). You can make your own window cleaner by mixing water, vinegar, and rubbing alcohol. I guess at what proportions to use and it works okay for me - so don't ask me for specifics.
Don't just start unrolling and sticking it to the floor!
Measure out a section you want to cover, and then cut some of your roll into PANELS that will fit that section. Don't guess at how long to make your panels should be, and don't cut your entire roll into the same length either.
Get out a tape measure and figure it out properly, leaving yourself an extra inch or so than you will need. If you nake your panels too long, and you'll have too much scraps and will have to buy more material. If you make your panels too short, you'll have to use lots of small pieces to fill the gaps you created by being lazy - your turnout will look like a patchwork quilt.
Just take your time, and do it right. Like most projects, your end product will depend mostly on your preparation.
This is not required, nor does it replace your heat-gun or hair-dryer. What I have going on is just a small space-heater keeping my pre-cut panels warm before I lay them. It's important that your panels be soft and pliable; they don't have to be hot to the touch, but they should be warm when you lay them down. I'll elaborate more later.
Laying the first panel down. It's important to start at one edge and work your way toward the other, peeling the paper backing off as you go. If you bought Dynamat, they give you a roller to help apply it to the metal - throw it out, it's useless. You'll need to press hard with your hands and fingers; I made a fist and beat on it like an angry ape pounding at the ground. This isn't easy work, especially if you have a lot of metal to cover. If you've ever laid carpet before, you know exactly what I'm talking about.
You will also run into air-bubbles. If you're careful, you'll have less bubbles. Use your utility knife to make a small incision, and press the air out with your fingers. Take the bubbles seriously for two reasons.
1. A bubble means the product is not making contact with metal - this means it won't do ANY GOOD at stopping vibration in that spot.
2. A bubble means the product is not making contact with metal - this also means there is oxygen between the product and the metal, and oxygen will cause problems to the product.
Don't worry about patching the areas where you cut to get the bubbles out, you're not patching a roof - it doesn't have to be waterproof. You can patch it if you want to, it's just cosmetic at that point. The most important part is that THE PRODUCT IS MAKING CONTACT WITH THE METAL.
As you get toward the end, slow down and if you need to make cuts, do it carefully so you have a nice edge at the end. If you have scraps, make sure to save them. I stuck my scraps back onto the paper backing and set them aside.
Here, you can see the corner I'm about to put this into at the edge of the wheel well.
This is the same panel after it went in.
This is what I meant about having your panels being pliable - if you can do this, you're doing it wrong.
If it's warm enough, it should do this. [if you want to giggle, now is the time]
I also wanted to point out that there will be some gaps that are unavoidable in your install - don't worry about it. Cut your panels smart, and do the best you can to get the most coverage out of each one. When you're ALL DONE with the project, this is what your scraps are for. Also, your roll of Peel & Seal will yield three 2" strips - I suggest making about a dozen of these for when you're working around difficult parts of the wheel wells, as well as the back wall of the hatch. These are also handy for narrow sections, or other large gaps if you screwed up somewhere else. As I said, cut your panels smart, and get the most out of each one.
My girly caught me werkin'
This is where she's at right now. Got the floor covered except for a few very small gaps, and started to go up the wheel-wells toward the sides.
Tomorrow I'll get the project finished and have even more pics to share.
Last edited by childishthing; May 19, 2012 at 09:54 PM.

B*a*n*n*e*d
Joined: Sep 2011
Posts: 283
Likes: 0
From: fbgdd > htgdd
you're working entirely too hard with that stuff.. small air bubbles don't make one lick of difference to the end result. all you're doing is adding weight to the panel. you also don't need to worry about removing every spec of dust either, for the same reason.
looks good tho. been tempted to try that stuff for awhile now. maybe when i stop getting a vendor accommodation on dynamat..
looks good tho. been tempted to try that stuff for awhile now. maybe when i stop getting a vendor accommodation on dynamat..

Thread
Thread Starter
Forum
Replies
Last Post
childishthing
Honda Civic / Del Sol (1992 - 2000)
94
Apr 10, 2013 09:55 PM
onepoint6i
Honda / Acura
74
Sep 29, 2009 08:33 AM