

DIY headlight restoration

Thread Starter
Honda-Tech Member

Joined: Feb 2008
Posts: 332
Likes: 1
From: sacramento, CA, UNITED STATES
Heres a small project I did and I decided to take pictures of. Ive been wanting to do this restoration for a long time but was unsure of the outcome. A car just look nicer with clean headlights, and I didn�t want to buy new ones. CTR headlight aint cheap. Hahaa
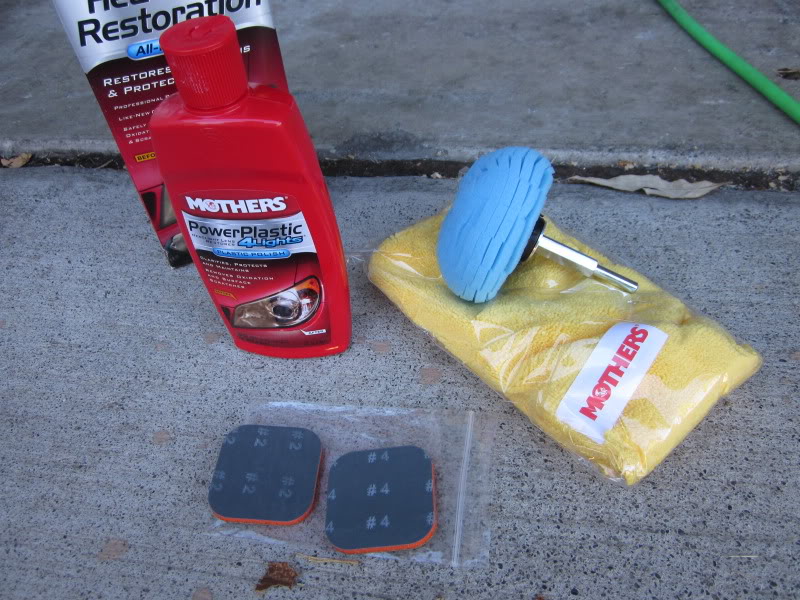
The kit I used was MOTHERS PowerBall 4lights Headlight Restoration all-in-one kit.
Whats included in the kit:
Power Plastic 4 lights polish
Power ball
Microfiber towel
Wet sand paper, 800, 1000, 1500, 2000 grit
What else youll need to have to start this small project:
Power drill
Painters tape
Bucket of water
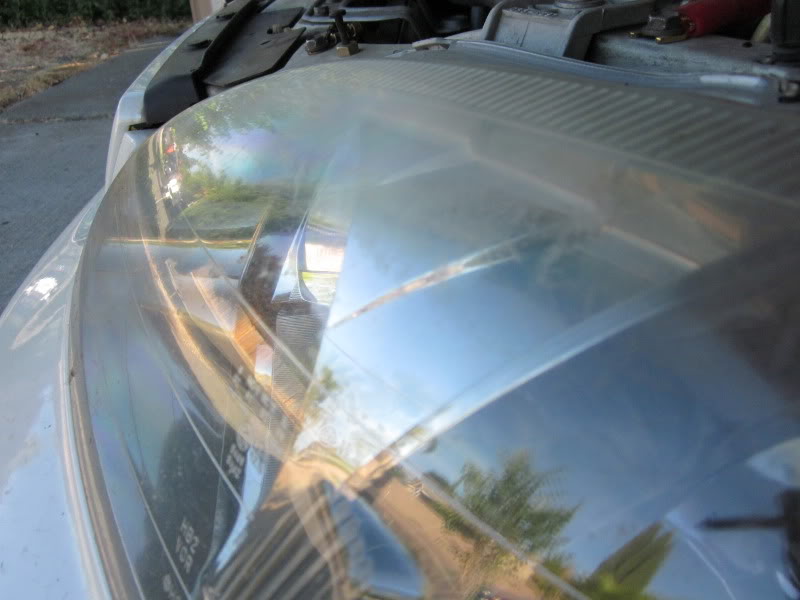
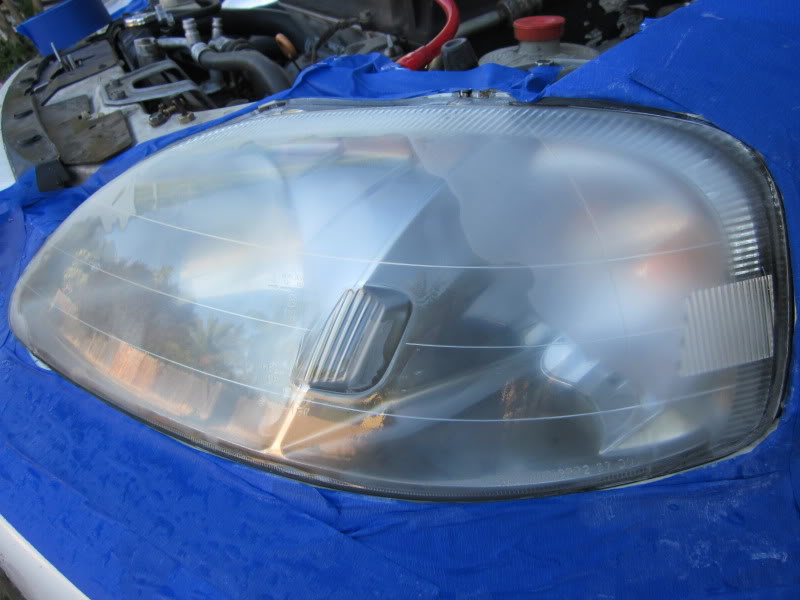
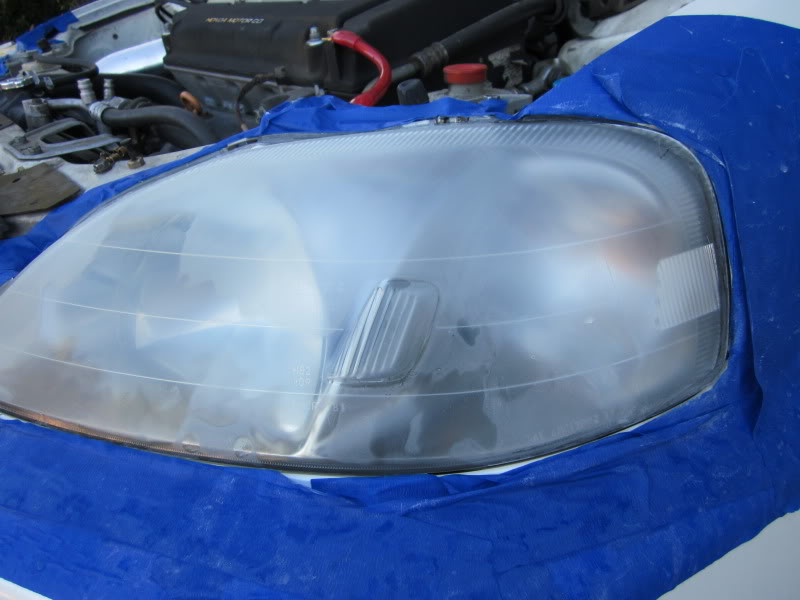
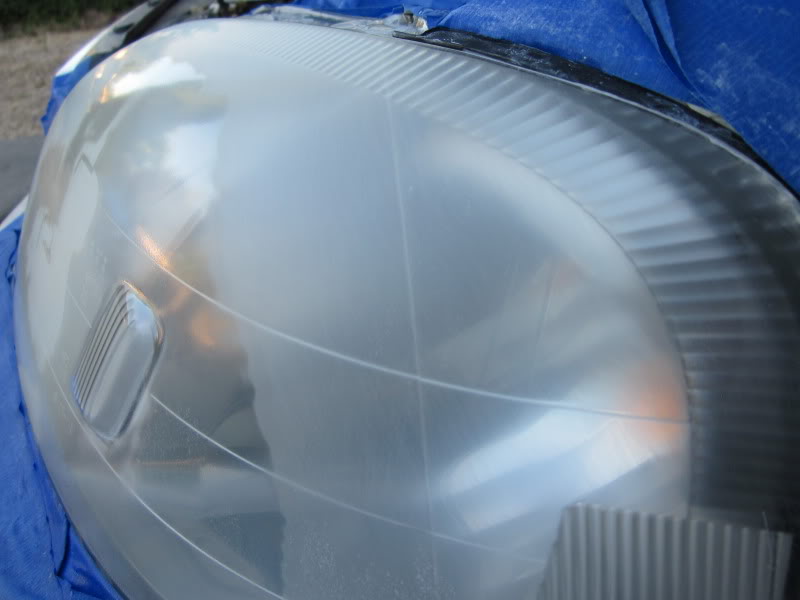
Heres how my headlights looked like before I started. It was starting to fade and turn yellow on the top. Plus I had some scratches and small rock chips. It wasn�t that bad, but I hate it.

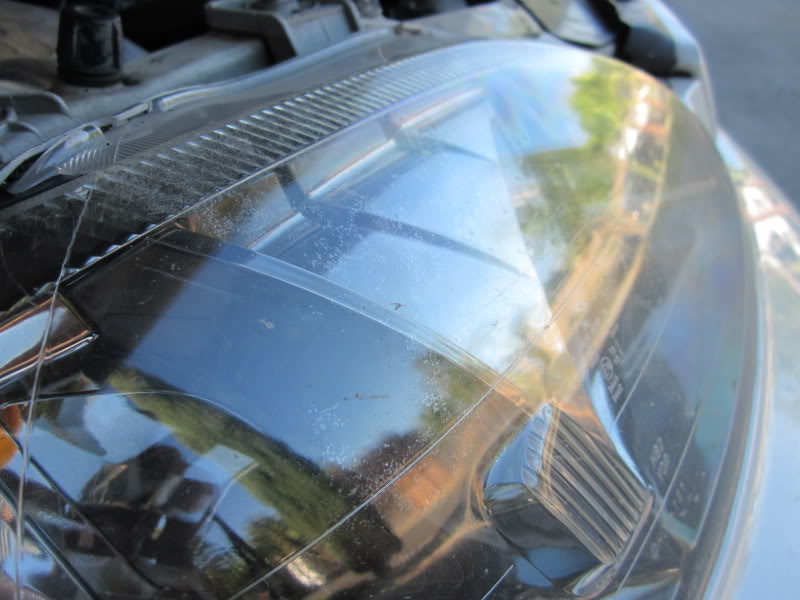
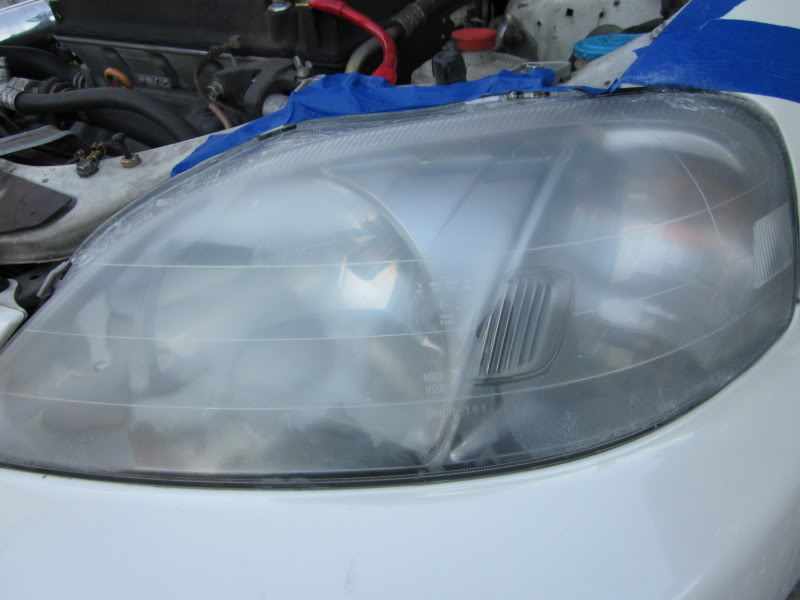
Passenger side wasn�t as bad
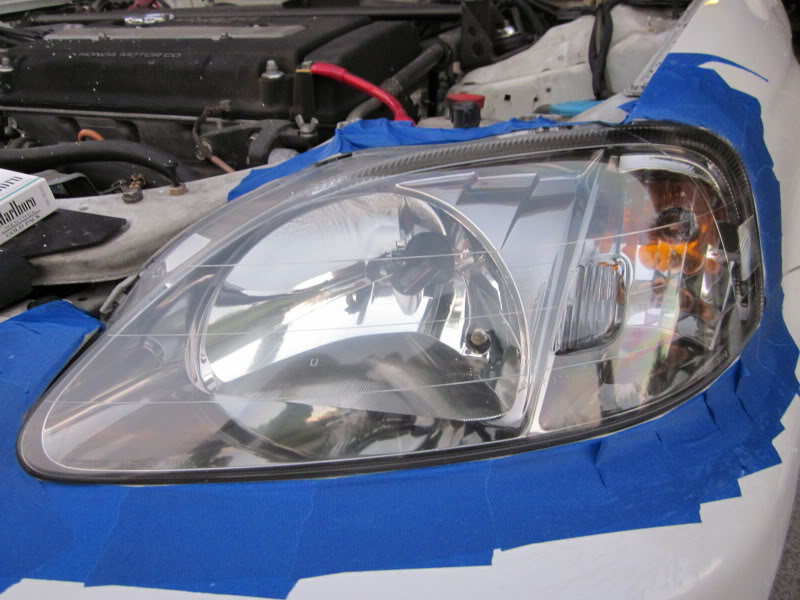
PREP
Mask off around your headlights with painters tape.

POLISH
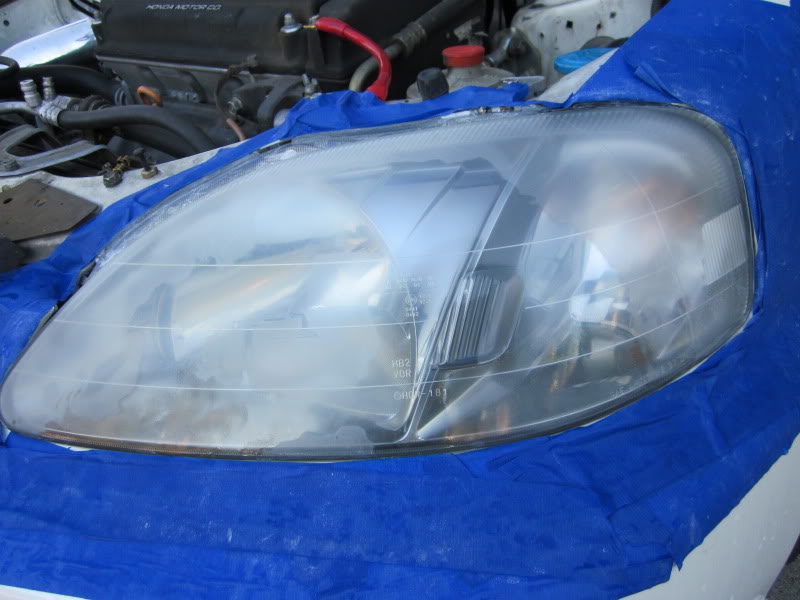
I wanted to see if polishing would be enough so I didn�t have to sand. It turned out pretty clean, but I still notice scratches and chips. So the sanding begins.
I started off with the 800 grit. Remember to keep the surface wet and rinse off the sand paper with water periodically. Start sanding using a back and forth, overlapping motion.
Moved on to 1000 grit. Start sanding in the opposite direction (90 degrees) of the 800 grit
1500 grit sand in the opposite direction (90 degrees) of the 1000 grit
2000 grit also sand in the opposite direction
Up close after sanding with 2000 grit. You can choose to sand with a finer sand paper if you like. But 2000 works just fine.
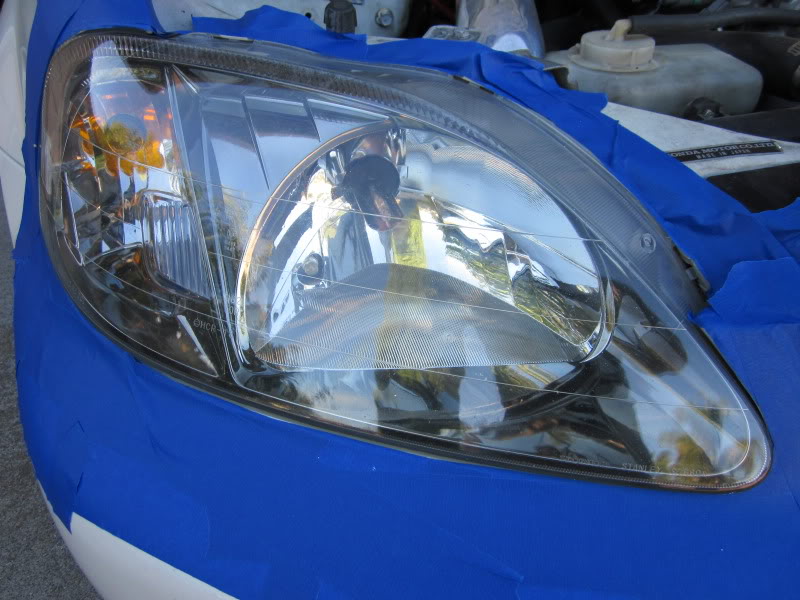
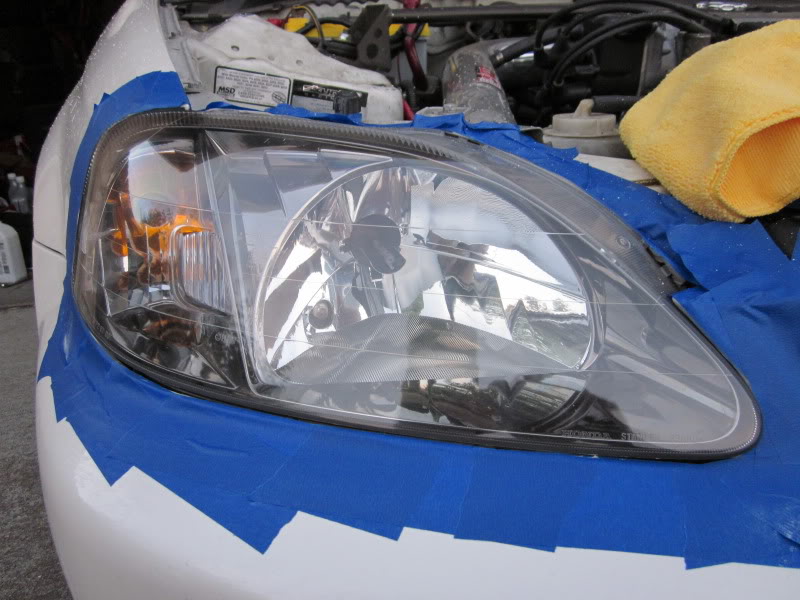
At this time I removed the painters tape because it was falling off from the sanding and the water. Applied new tape around the headlights. And the polishing begins. Wipe with micro fiber towel and youre done.
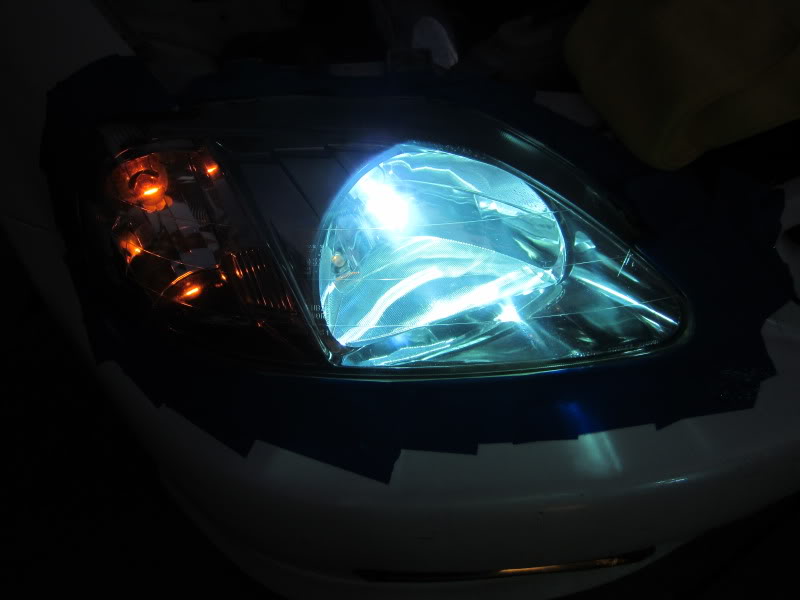
Sit back and admire your newly restored, crystal clear lenses. No more chips, no more scratches, no more faded yellow.
The kit I used was MOTHERS PowerBall 4lights Headlight Restoration all-in-one kit.
Whats included in the kit:
Power Plastic 4 lights polish
Power ball
Microfiber towel
Wet sand paper, 800, 1000, 1500, 2000 grit
What else youll need to have to start this small project:
Power drill
Painters tape
Bucket of water
Heres how my headlights looked like before I started. It was starting to fade and turn yellow on the top. Plus I had some scratches and small rock chips. It wasn�t that bad, but I hate it.
Passenger side wasn�t as bad
PREP
Mask off around your headlights with painters tape.
POLISH
I wanted to see if polishing would be enough so I didn�t have to sand. It turned out pretty clean, but I still notice scratches and chips. So the sanding begins.
I started off with the 800 grit. Remember to keep the surface wet and rinse off the sand paper with water periodically. Start sanding using a back and forth, overlapping motion.
Moved on to 1000 grit. Start sanding in the opposite direction (90 degrees) of the 800 grit
1500 grit sand in the opposite direction (90 degrees) of the 1000 grit
2000 grit also sand in the opposite direction
Up close after sanding with 2000 grit. You can choose to sand with a finer sand paper if you like. But 2000 works just fine.
At this time I removed the painters tape because it was falling off from the sanding and the water. Applied new tape around the headlights. And the polishing begins. Wipe with micro fiber towel and youre done.
Sit back and admire your newly restored, crystal clear lenses. No more chips, no more scratches, no more faded yellow.


Honda-Tech Member
Joined: Sep 2011
Posts: 1,137
Likes: 0
From: Western NYS
Trending Topics
Honda-Tech Member
Joined: Sep 2011
Posts: 1,137
Likes: 0
From: Western NYS
To each their own. A light that has been properly polished and protected with wax or film will last pretty well. I think I may try throwing some clearcoat on one light while polishing the other and see which shows defects first.
Honda-Tech Member
Joined: Aug 2011
Posts: 304
Likes: 0
From: Williamsport, PA
I think it makes more sense to just polish the headlight. Clear coat or not you need to sand and polish so the clear coat thing is just more effort and more potential to fail
Stuff like this reminds me of old days.. Everyone really needs to appreciate the time people take to do write-up's and hopefully we will see more in the near future..

Honda-Tech Member
Joined: Sep 2008
Posts: 595
Likes: 0
From: San Francisco, CA, USA
Very nice! Great write-up. But what are some ways to prevent it from oxidizing again? I just installed and polished my SiR headlights. I'm afraid it will oxidize really soon because I park on the street and my car is under direct sunlight most of the day at school and at home. I do wash my car once a week though and wax it if I ever have enough time.
I was thinking about clear-bra. Does anyone have experience with that?
I was thinking about clear-bra. Does anyone have experience with that?
Honda-Tech Member
Joined: Aug 2011
Posts: 304
Likes: 0
From: Williamsport, PA
Very nice! Great write-up. But what are some ways to prevent it from oxidizing again? I just installed and polished my SiR headlights. I'm afraid it will oxidize really soon because I park on the street and my car is under direct sunlight most of the day at school and at home. I do wash my car once a week though and wax it if I ever have enough time.
I was thinking about clear-bra. Does anyone have experience with that?
I was thinking about clear-bra. Does anyone have experience with that?
Honda-Tech Member


Joined: Jan 2002
Posts: 2,350
Likes: 154
From: Charlotte, NC
Very nice! Great write-up. But what are some ways to prevent it from oxidizing again? I just installed and polished my SiR headlights. I'm afraid it will oxidize really soon because I park on the street and my car is under direct sunlight most of the day at school and at home. I do wash my car once a week though and wax it if I ever have enough time.
I was thinking about clear-bra. Does anyone have experience with that?
I was thinking about clear-bra. Does anyone have experience with that?

Honda-Tech Member
Joined: Jul 2010
Posts: 34
Likes: 0
From: New Orleans, LA
add a clear coat on doesn't seem to be a good idea, a nice polish and wax layer will last pretty long and if it start fading you just need to redo it once every 4-5months, since you already know how to restore it, and it's easy and quick...
Honda-Tech Member
Joined: Jun 2007
Posts: 5,314
Likes: 3
From: ohio
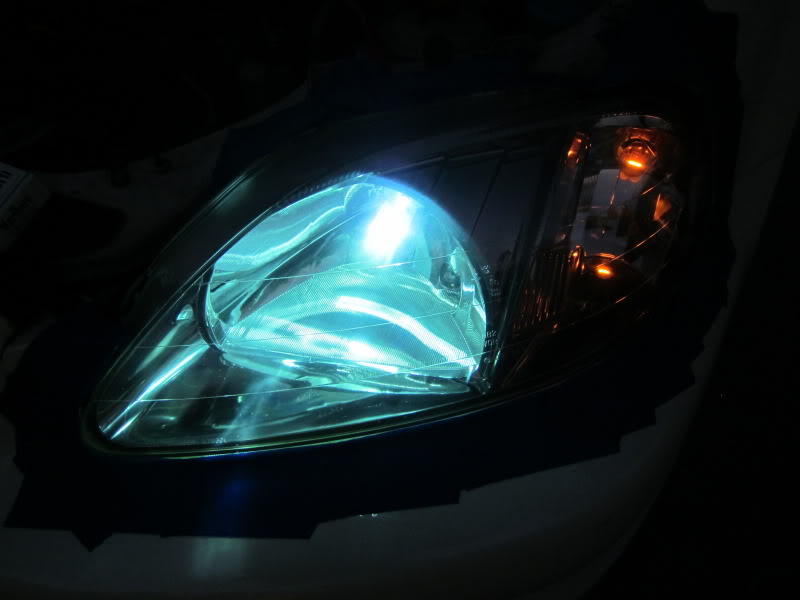
thumbs up for everything besides the hids in stock housings.. :p
i definitely think i will try this on my ek, it'd be much easier than re-retrofitting another set of lights lol
i definitely think i will try this on my ek, it'd be much easier than re-retrofitting another set of lights lol
bump!! for a good write up, i actually did this a couple of months back when i bought a set of used sir headlights ,they werent that bad but they did show some very slight discoloration on top, i used the turtle wax kit but same result!!


picked them up on ebay for 2 bills love the way it looks with the city lights (Raybrig bulbs!!) i'm looking for another set for my 99 but no luck yet
Honda-Tech Member
Joined: Mar 2010
Posts: 111
Likes: 0
From: Blakeslee, Pa
I did this a few weeks ago, just using 1500 grit sand paper and a quick hand polish afterwards (eventually ill get around to buffing them
Before:

After:

I'm sure with more buffing, they will look even better.
Before:
After:
I'm sure with more buffing, they will look even better.


Honda-Tech Member
Joined: Sep 2011
Posts: 22
Likes: 0
Got a lil question. Before I read this I followed another guide that said to wetsand 1500 then 2000, then spray a couple coats of clearcoat. His came out looking great but mine still look cloudy (though still an improvement) after the clearcoat. When I rinsed off the headlight after 2000, the water made it look crystal clear, but after drying it, it looked hazy and spraying clearcoat on it didn't help (the guide I followed said the clearcoat was supposed to make the headlight look clear by filling up the tiny spots from sanding).
What do you think?
What do you think?