

"The Whole Enchilada" 1997 Toyota Land Cruiser gets it all

Thread Starter
Honda-Tech Member
Joined: Apr 2005
Posts: 923
Likes: 0
From: Knoxville, TN, USA
This detail was done a few months ago, but I'm just now getting to the write up. This vehicle took me 32 hours in 3 days to complete. It was one of the biggest jobs I have taken on.
This is a 1997 Toyota Land Cruiser that has NEVER been detailed (or probably waxed) lol. This was scheduled for full exterior, Full interior, leatherique leather treatment, and engine degrease. The whole enchilada!
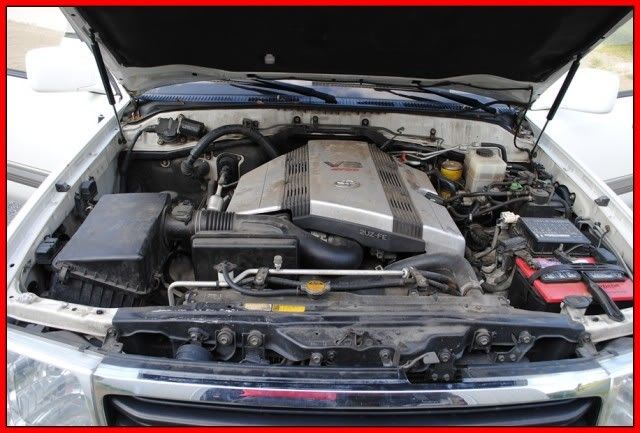
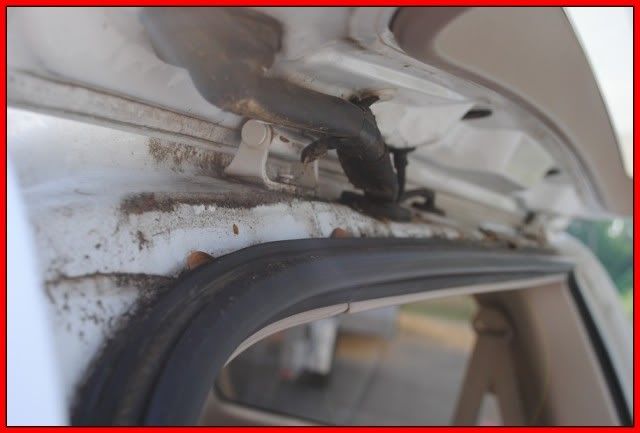
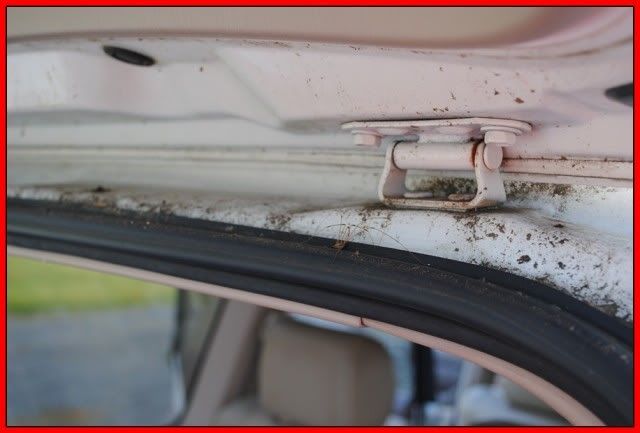
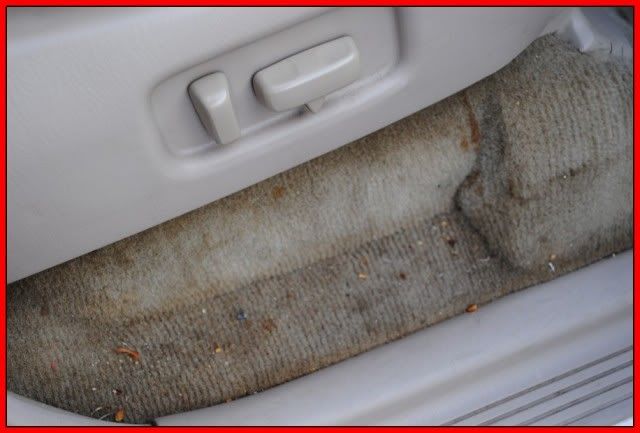
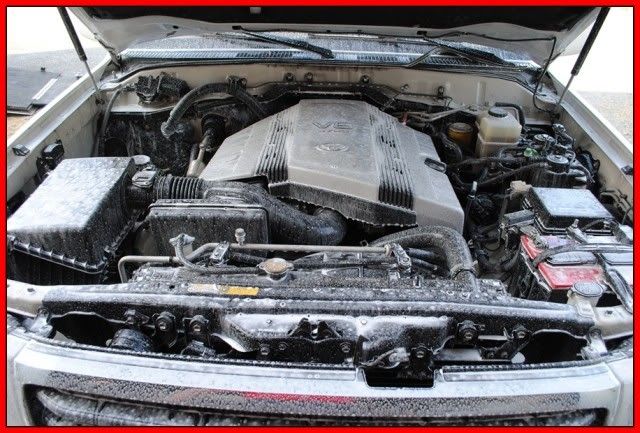
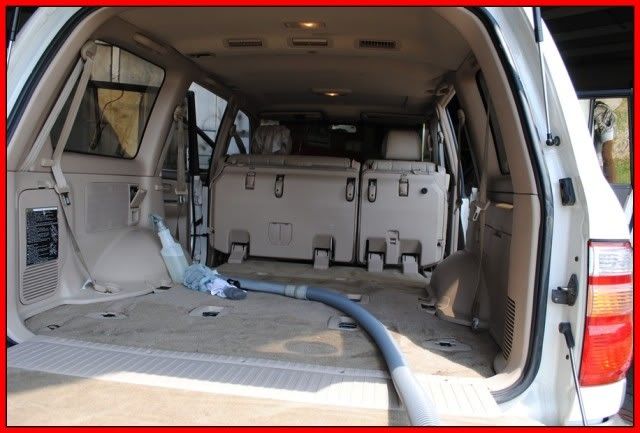
Let's begin by showing you what I had to work with. Sit back and enjoy
(I hope you have a strong stomach)

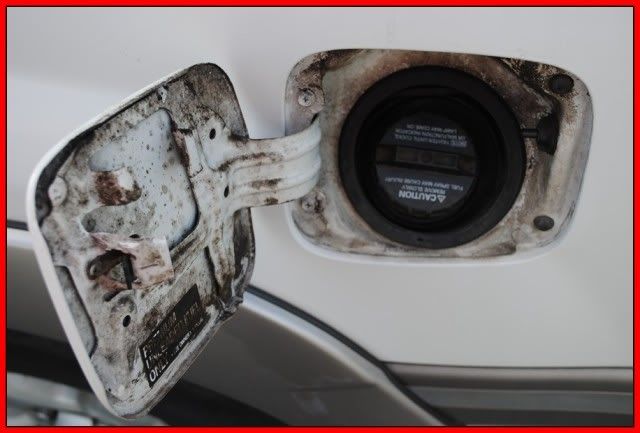

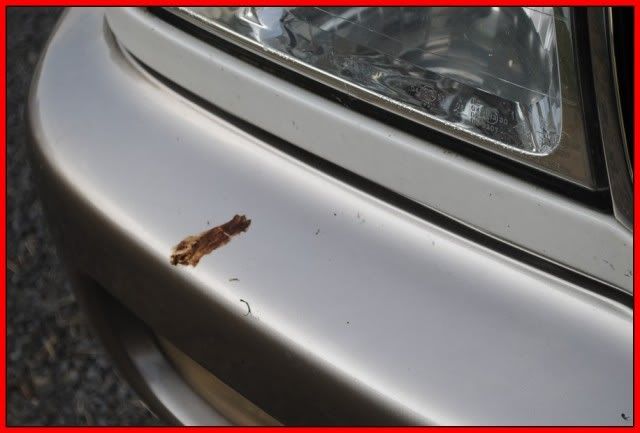
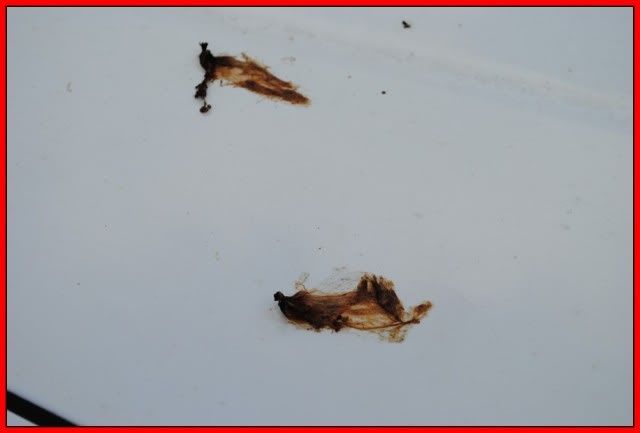
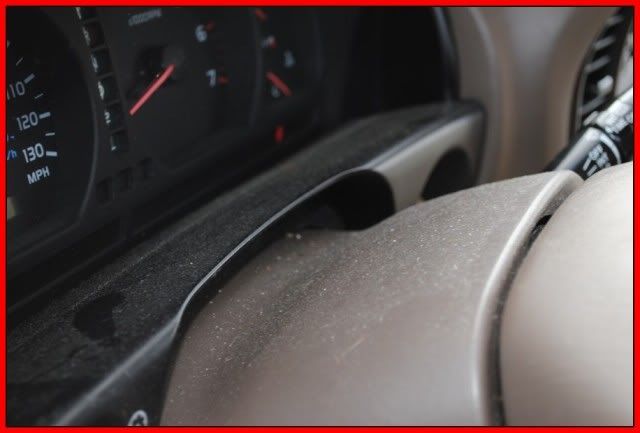
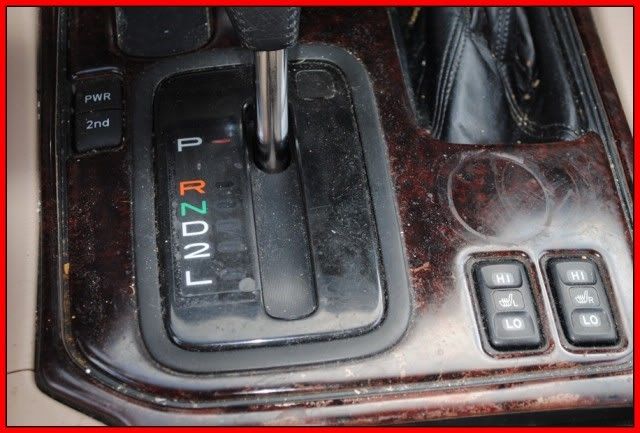
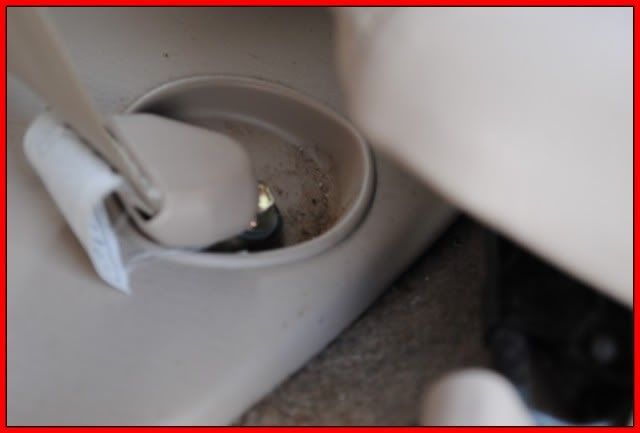
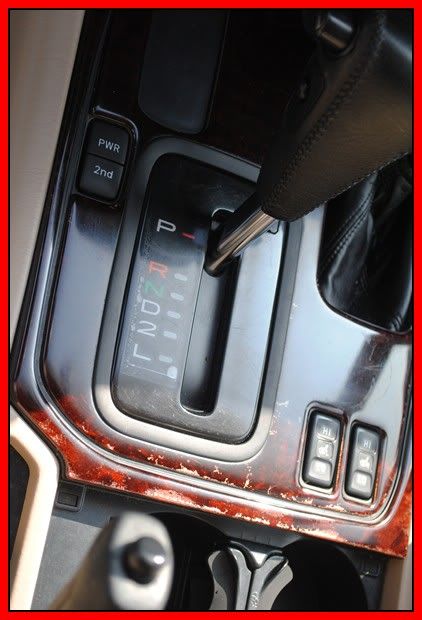
Dont even Ask?


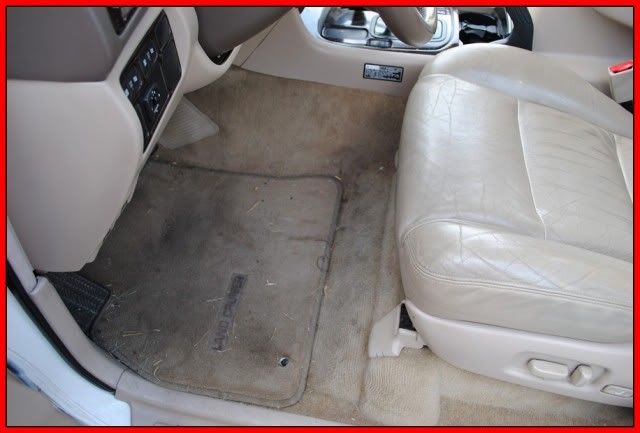
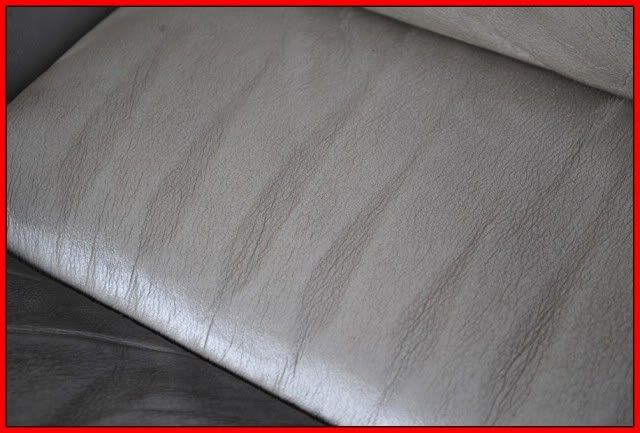
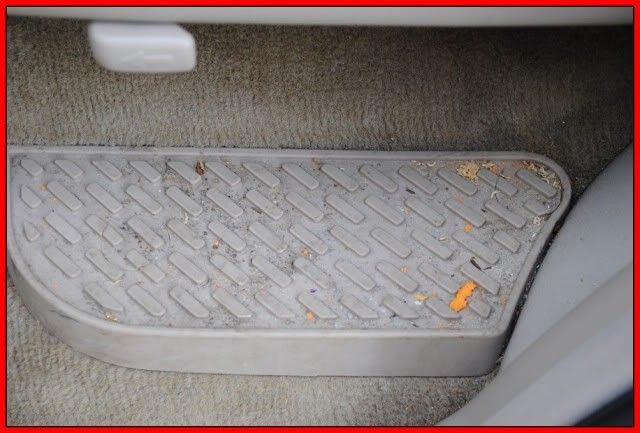
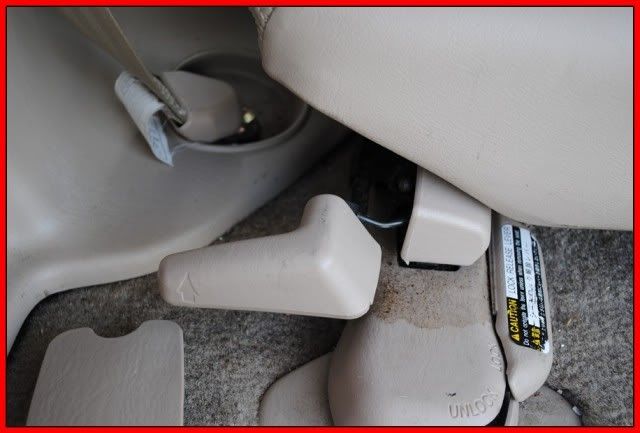
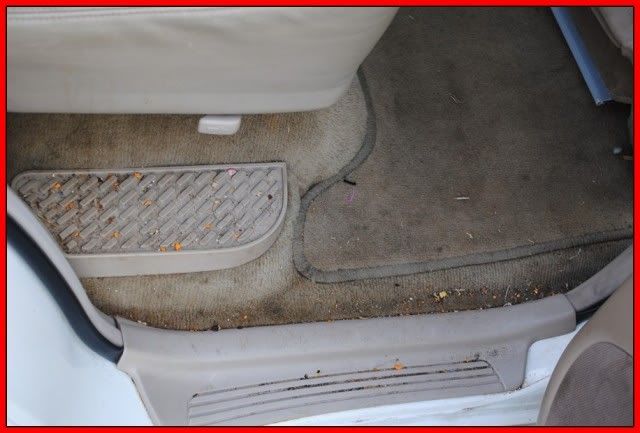
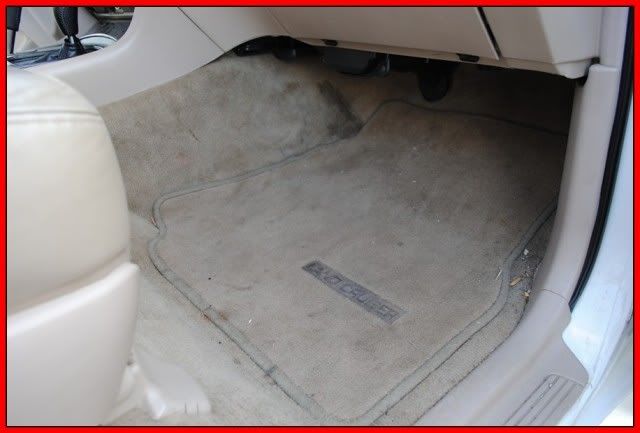
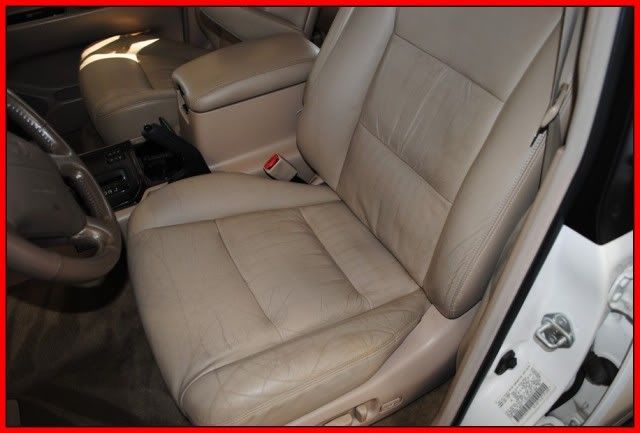
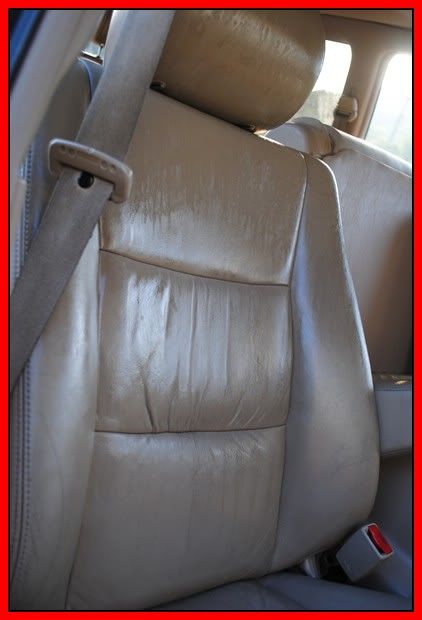
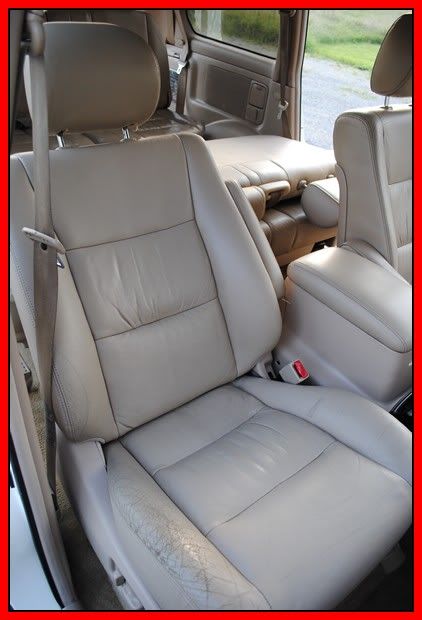
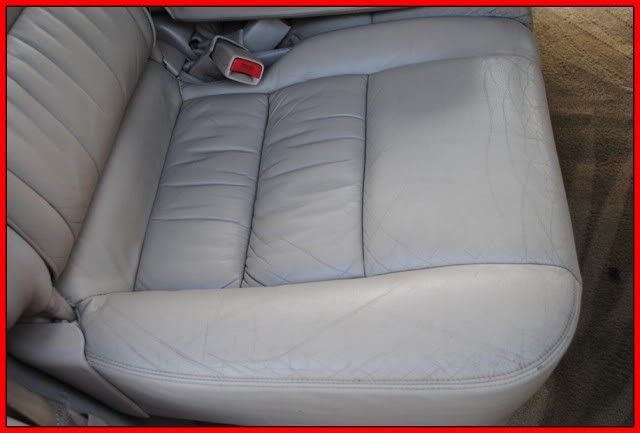
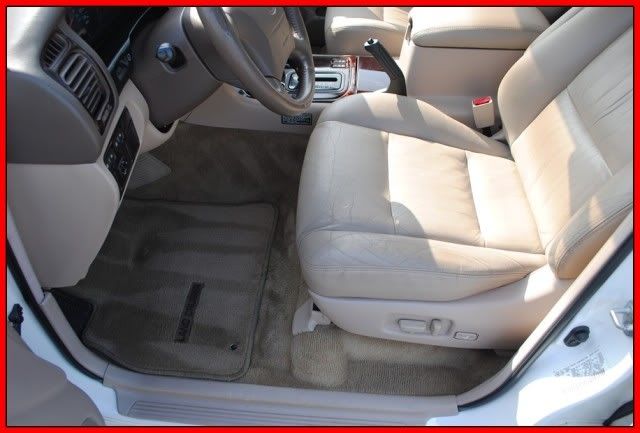
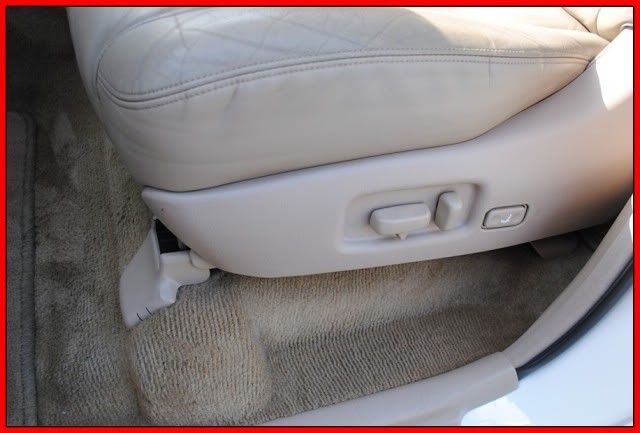
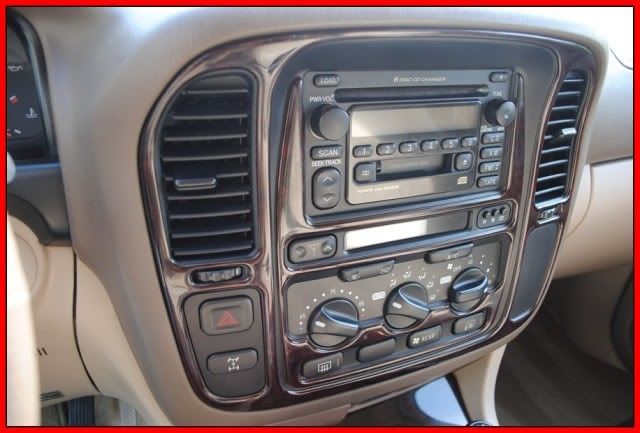
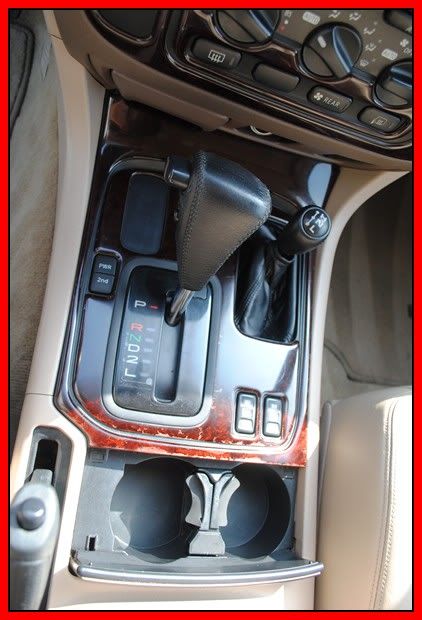
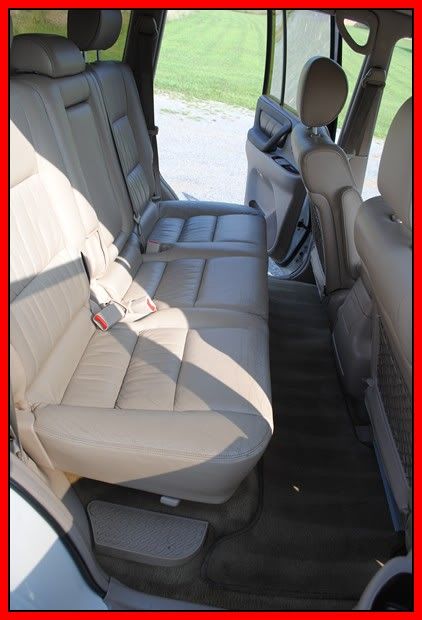
Now for the inside!
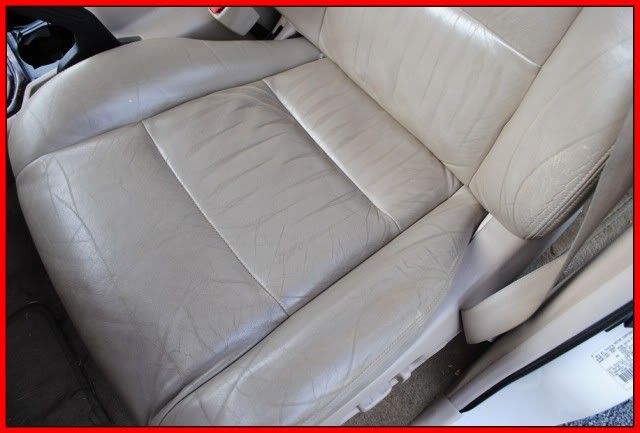
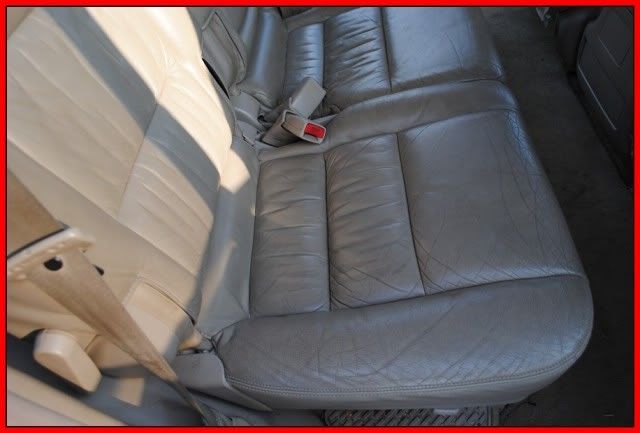
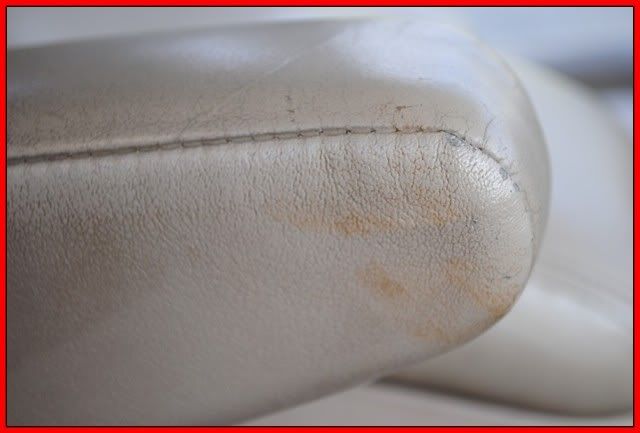
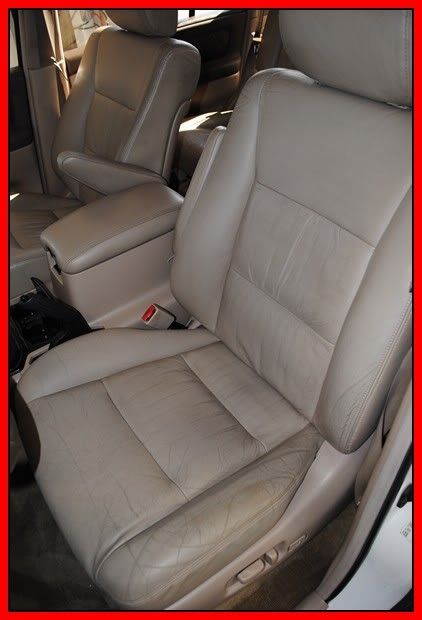
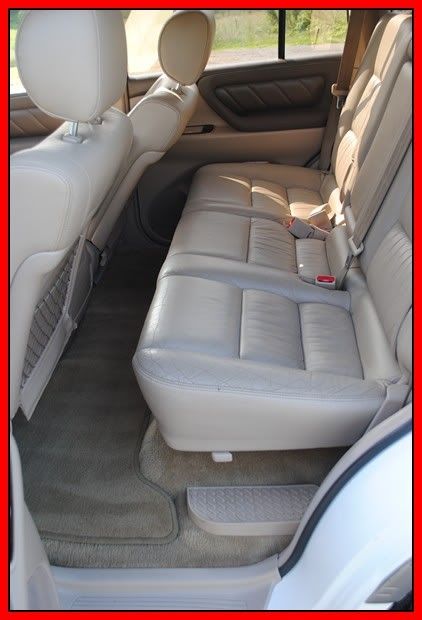
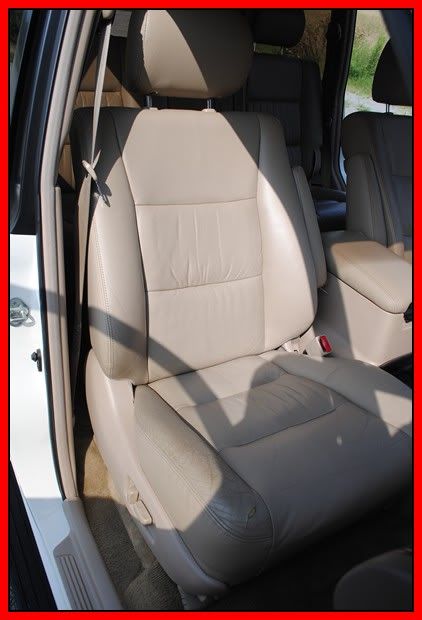
See how nasty and shiny and oily the seats are? also all of the cracks and creases.


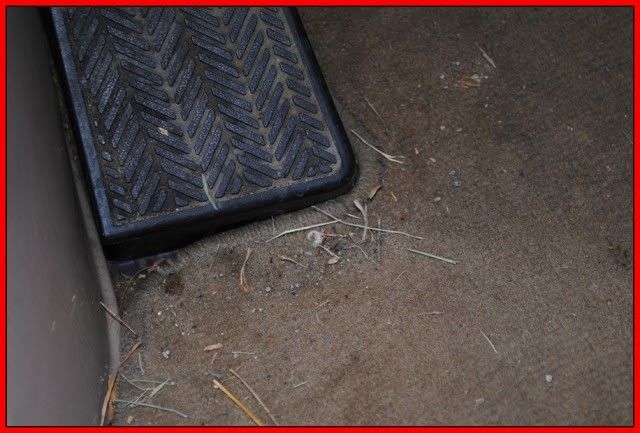
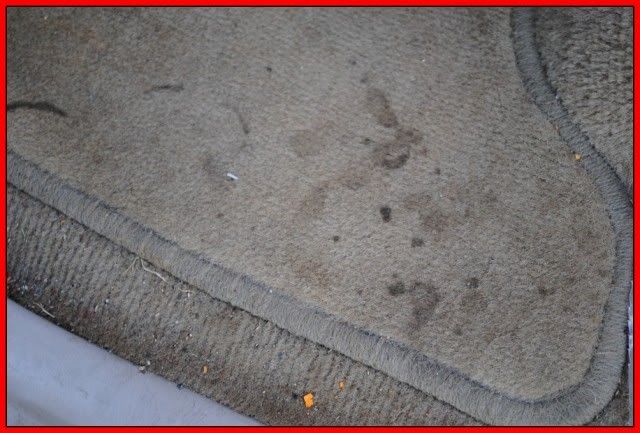
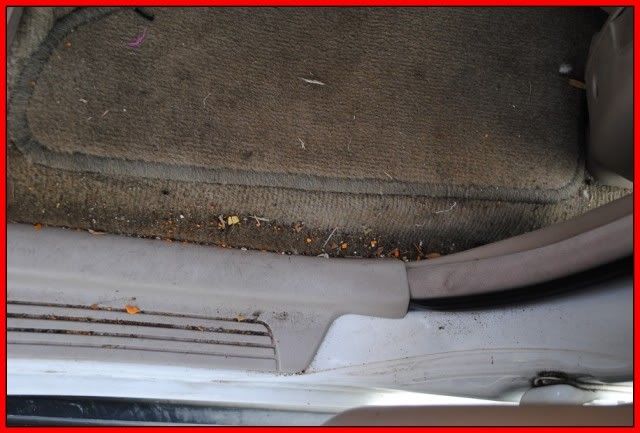
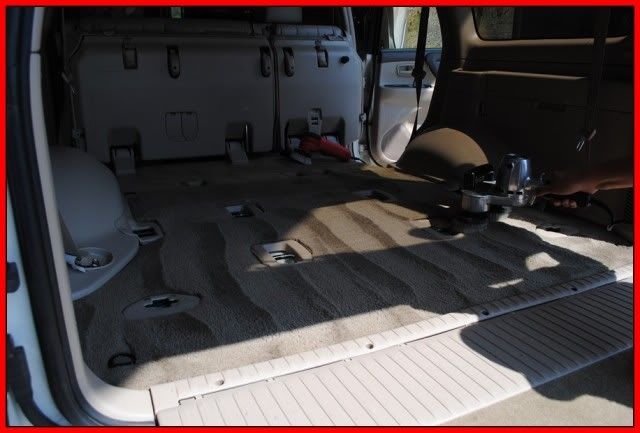
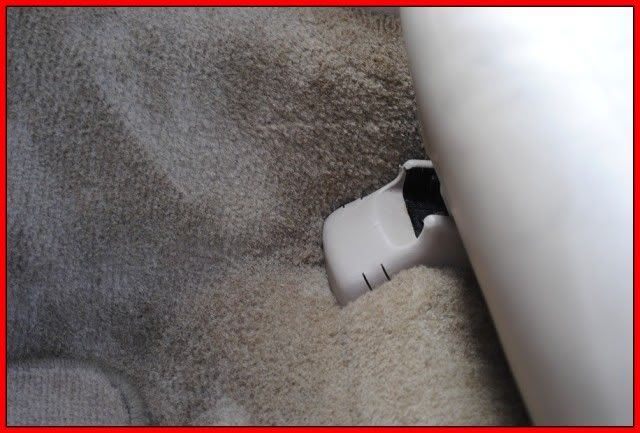
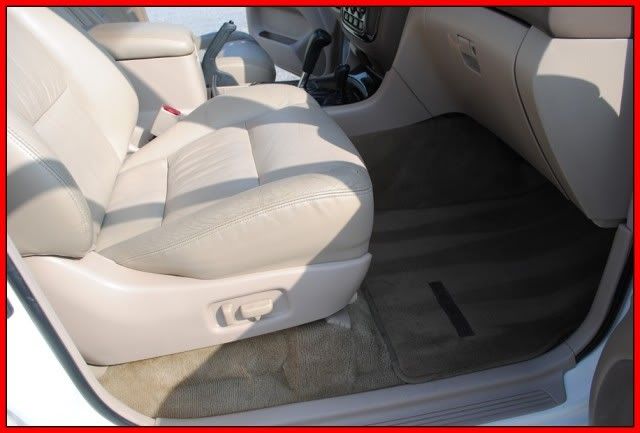
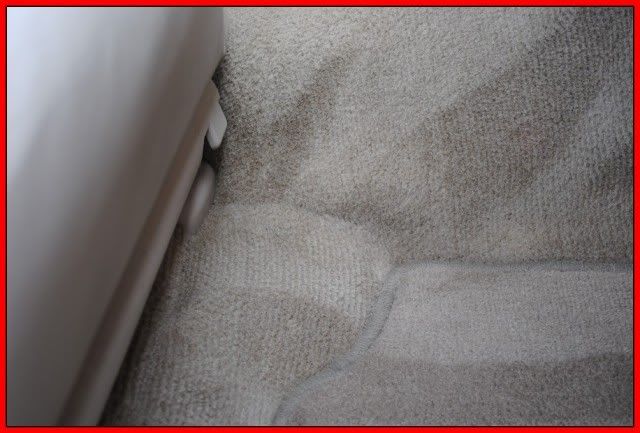
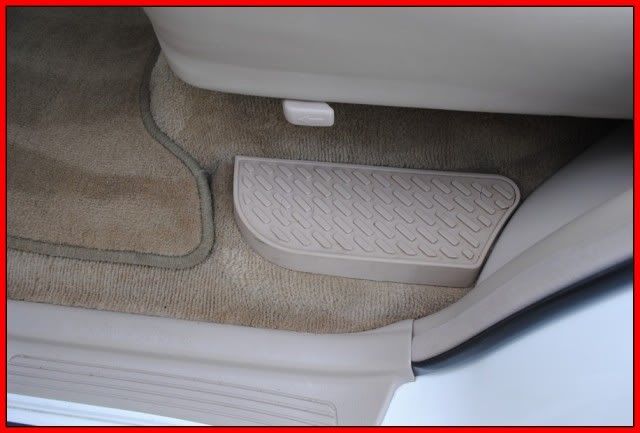
The carpet
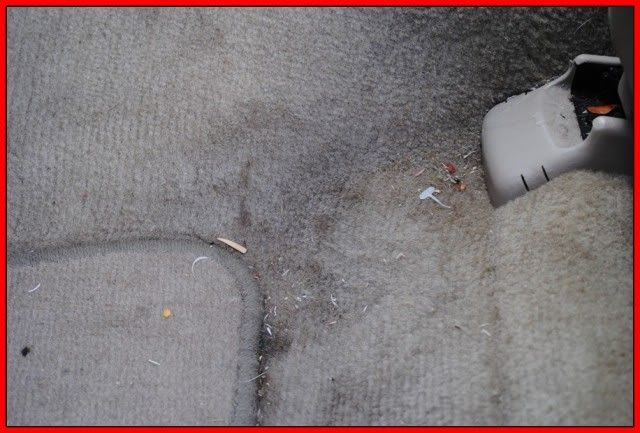
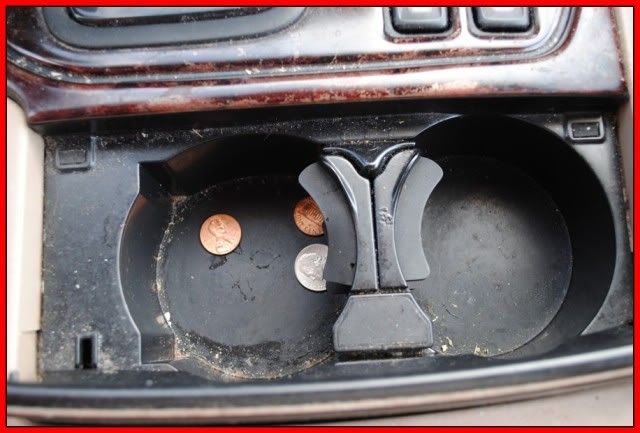
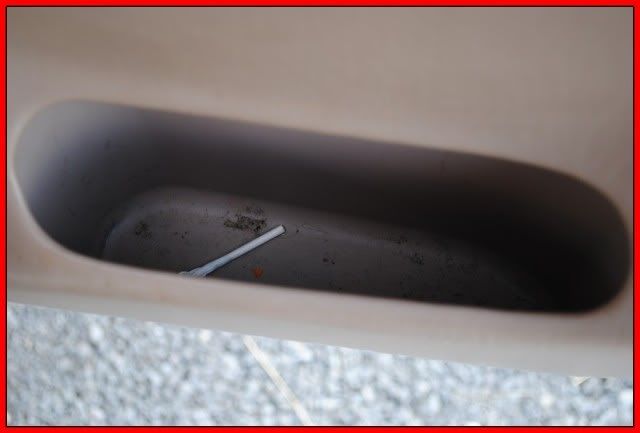
I think that's my tip?

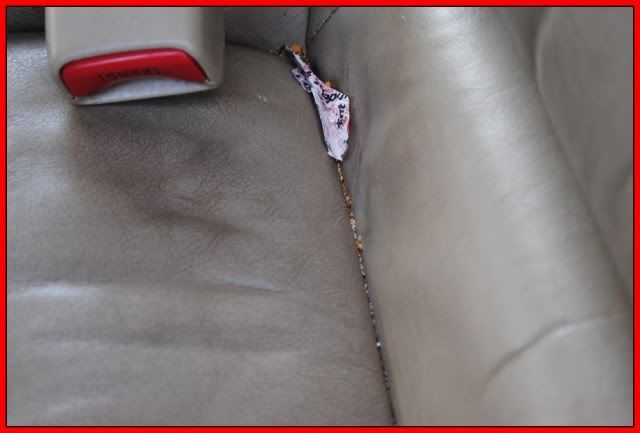
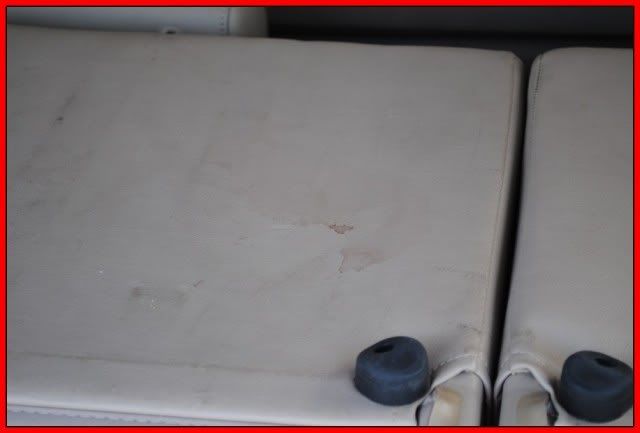
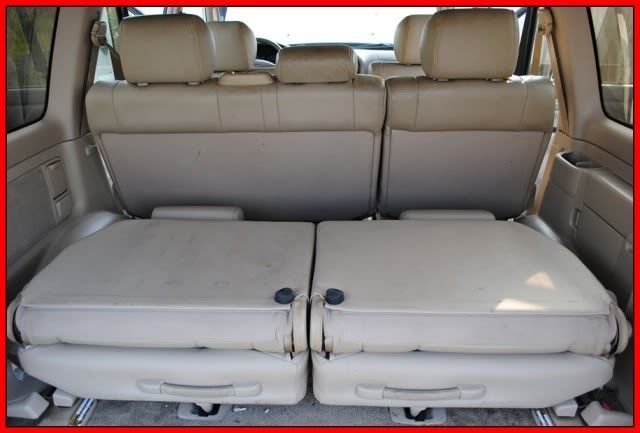
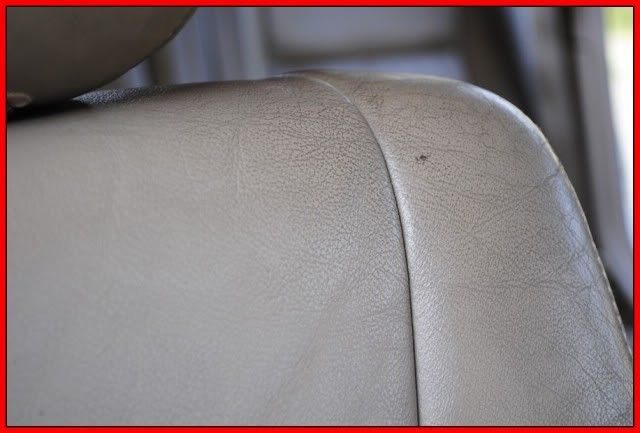
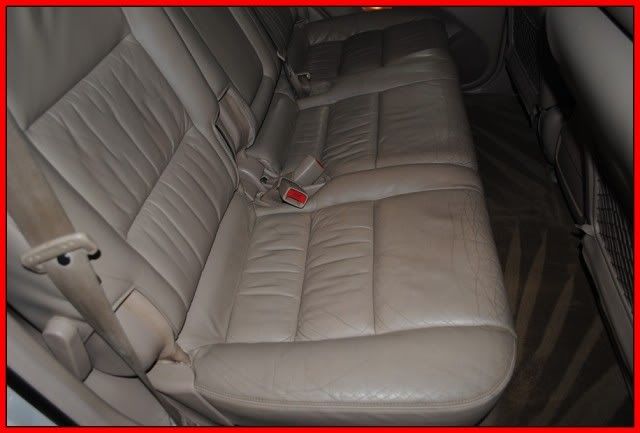
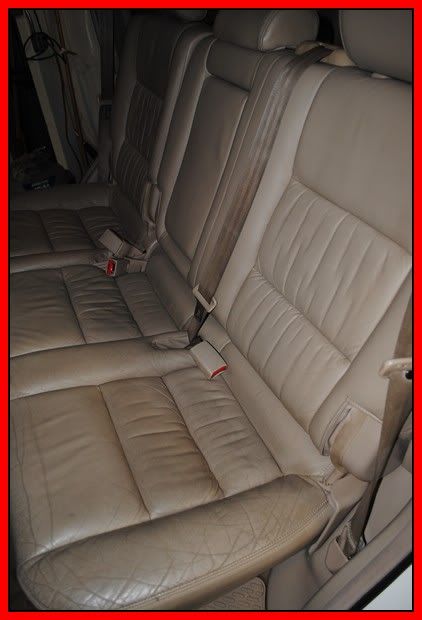
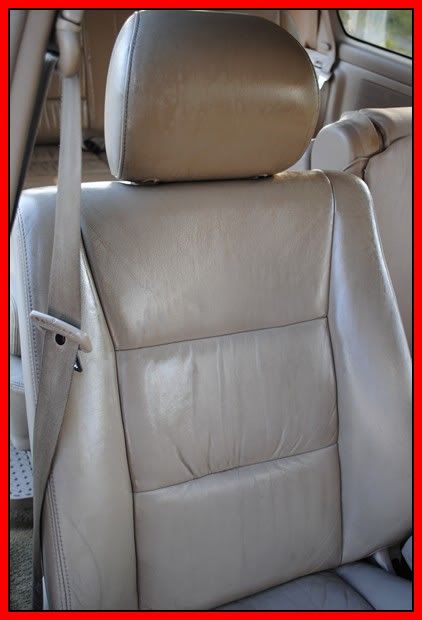
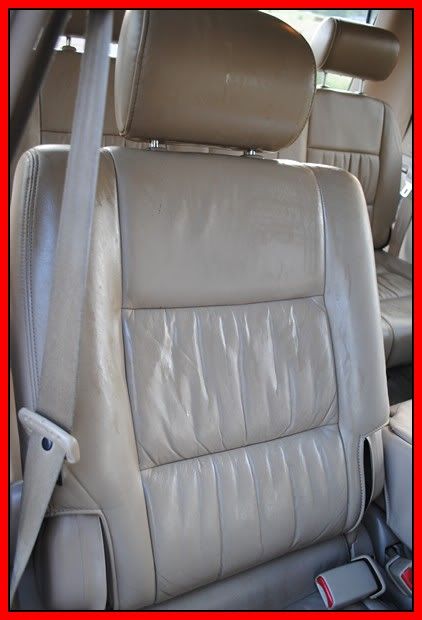
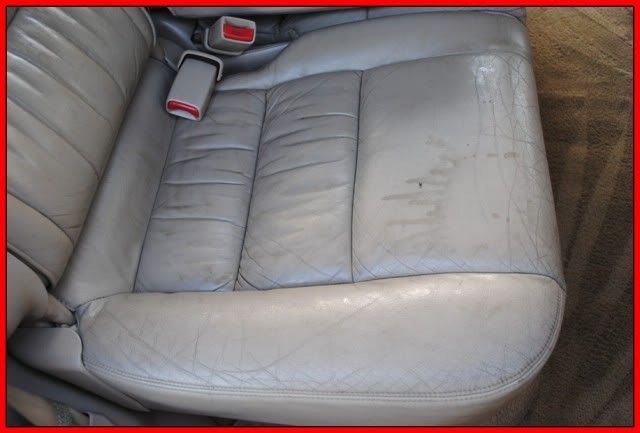
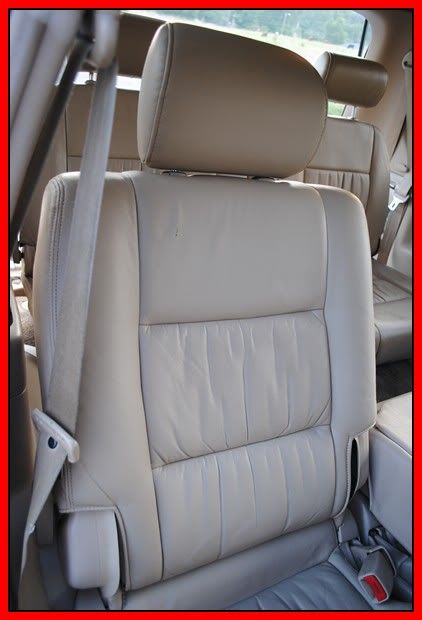
The back of the seats

So lets get to work!
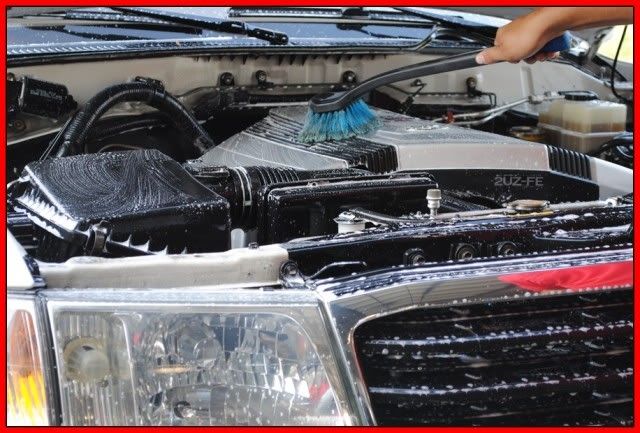
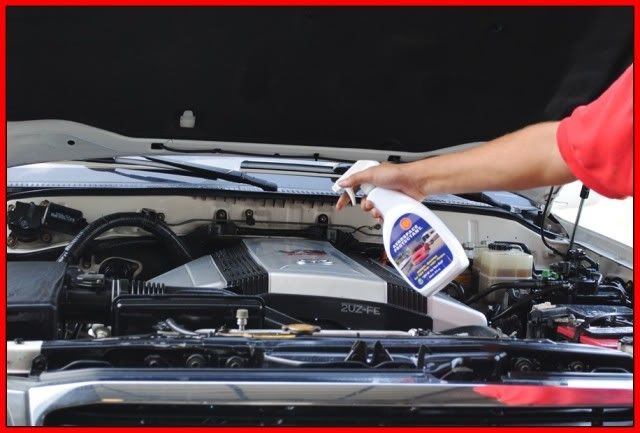
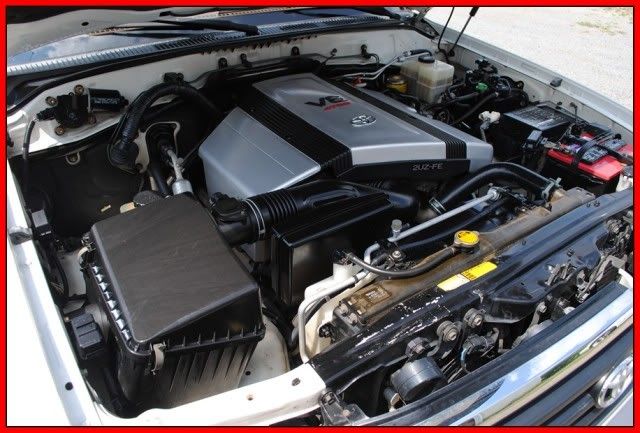
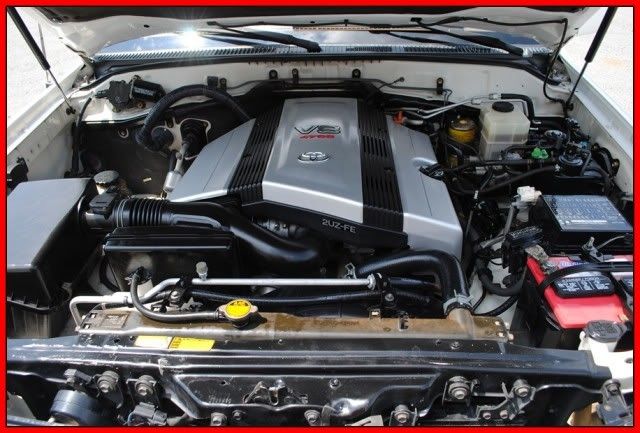
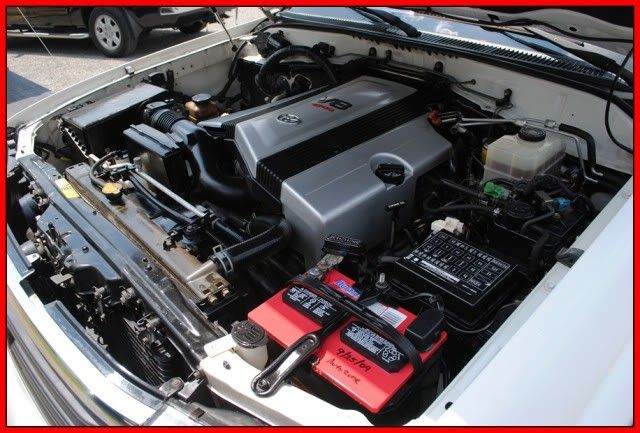
I began by degreasing the engine bay with APC and degreaser using my Karcher foam gun.

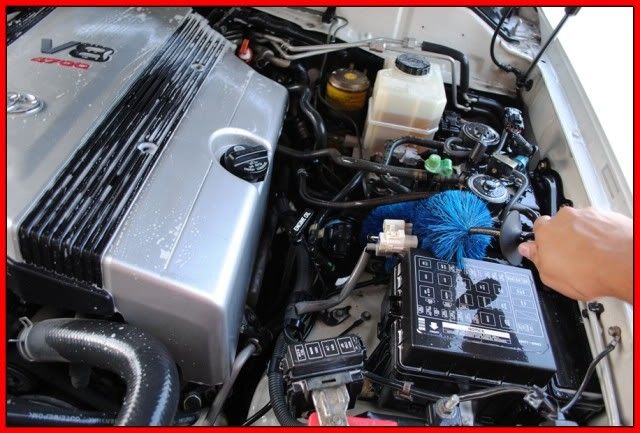
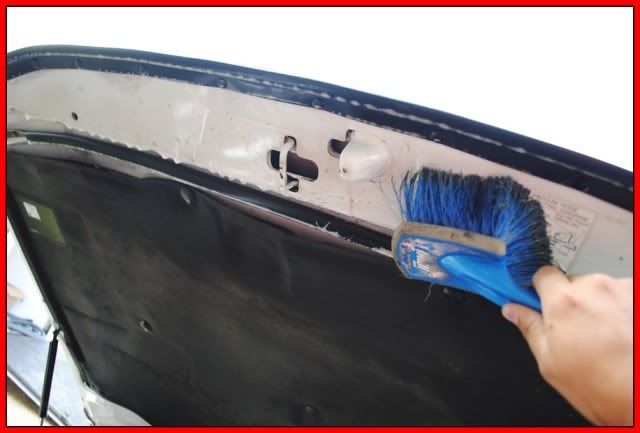
Then I agitated it with various brushes
then rinse

I hand dried all of the standing water
then applied the 303 protectant.
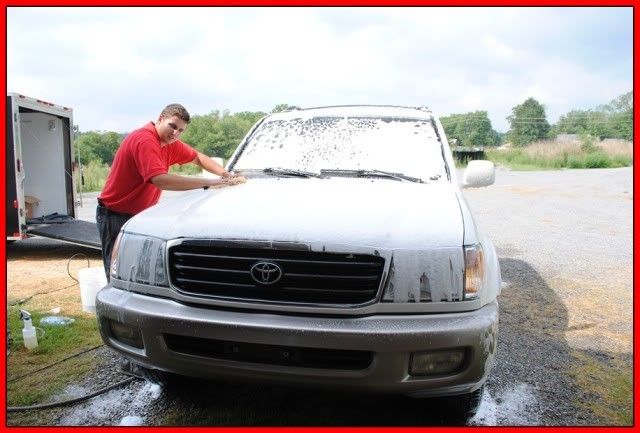
Next it was time for a bath, a foam bath that is, using Dawn detergent to strip off any and all waxes and oils and such.

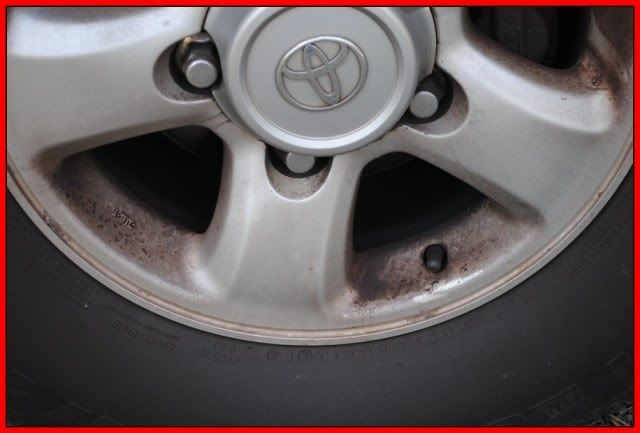
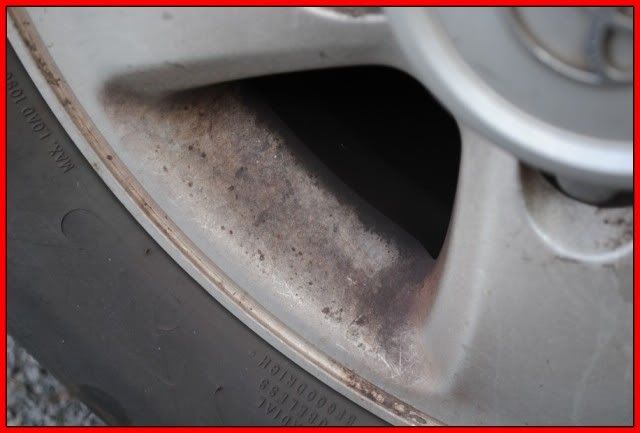
applying some P21s wheel gel to the wheel
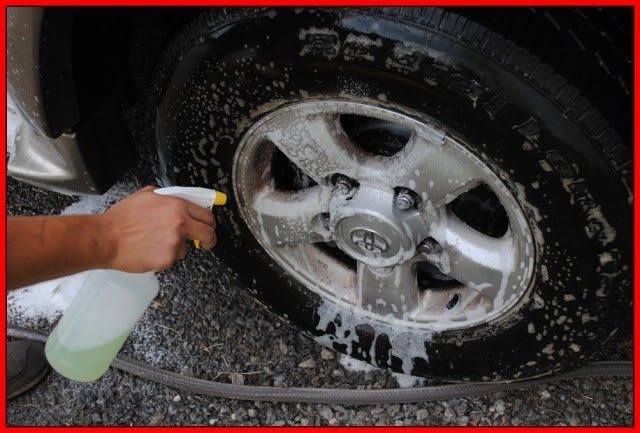
Then agitating them

I rinsed off the first foam bath and finished the wheels
Next I got out the real Foam cannon and applied some real foam.
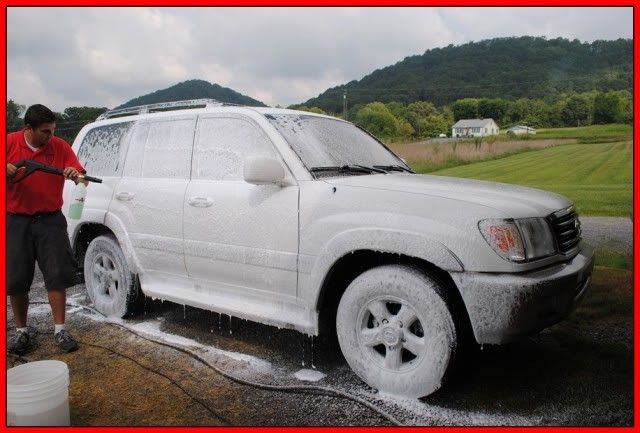
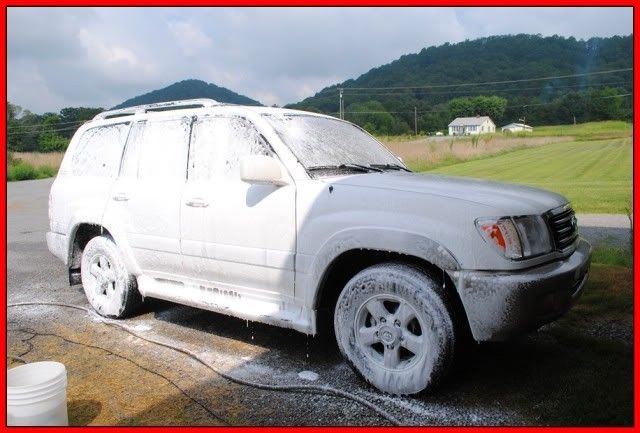
Then I washed it using two bucket method and 2 grit guards and a 100% sheep skin wash mitt.
Then another thorough rinse

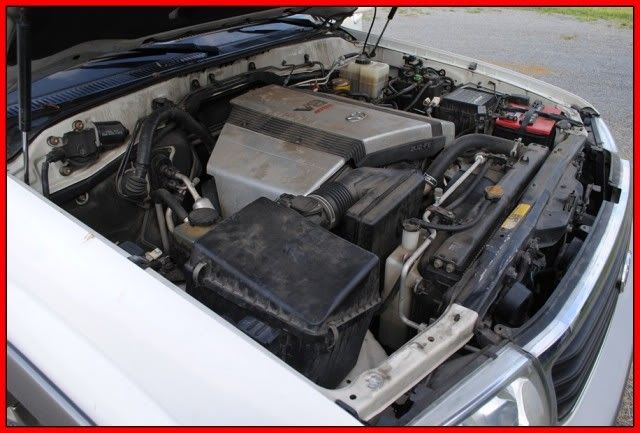
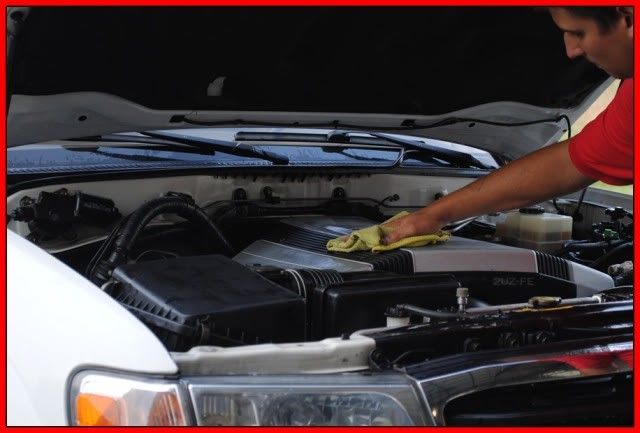
After I dried it off, I took some shots of the engine bay after the 303 soaked in real good.
Way better!
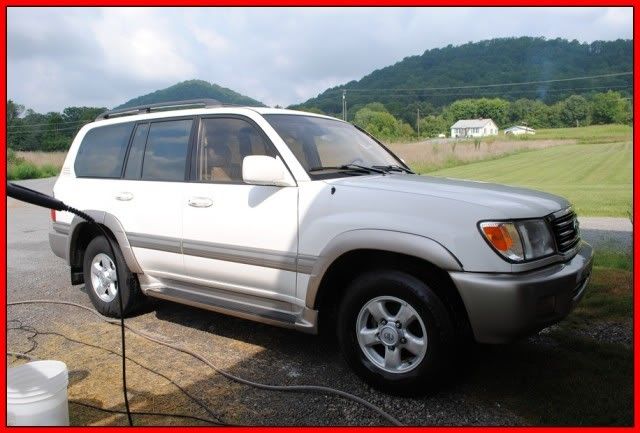
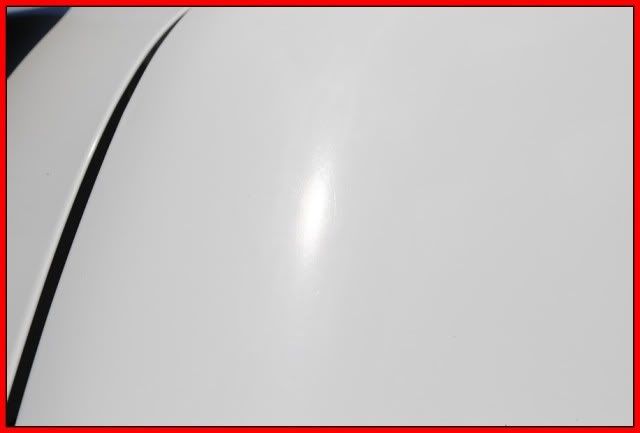
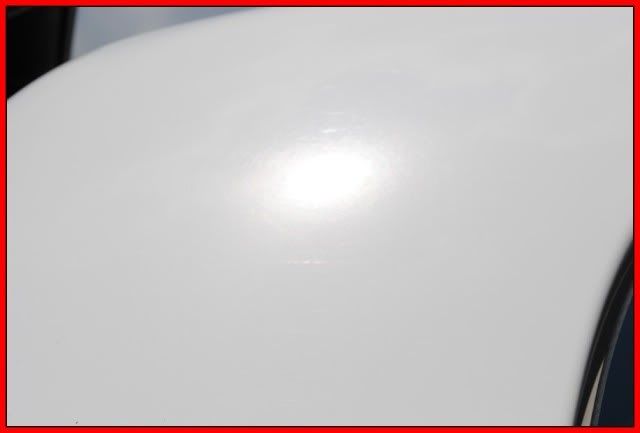
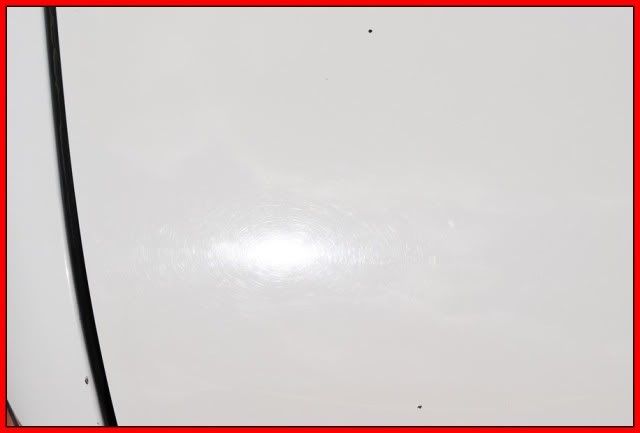
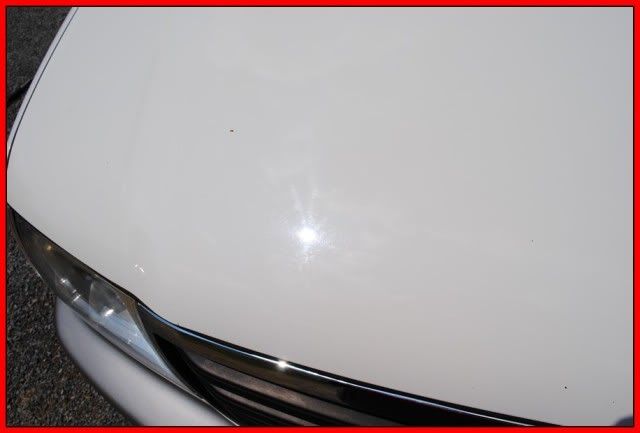
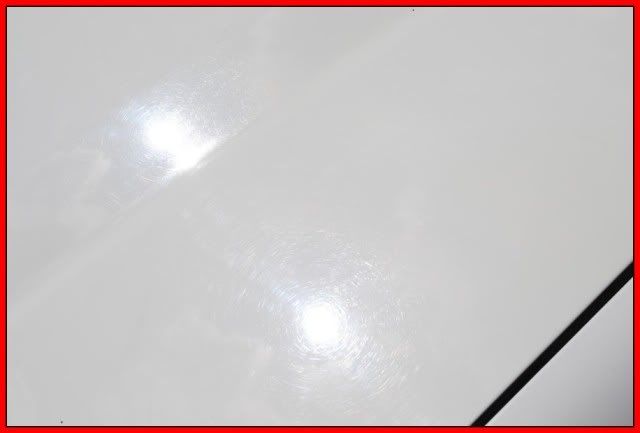
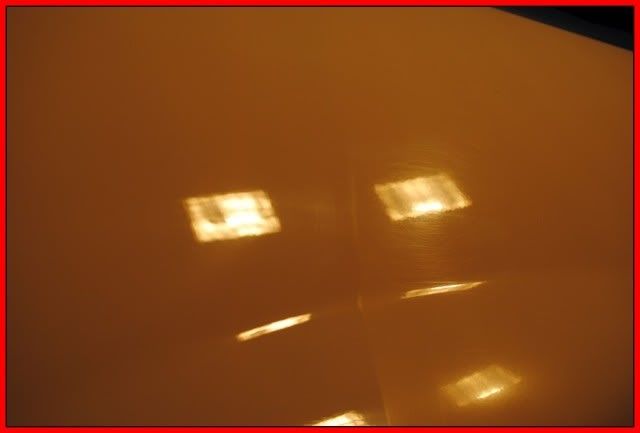
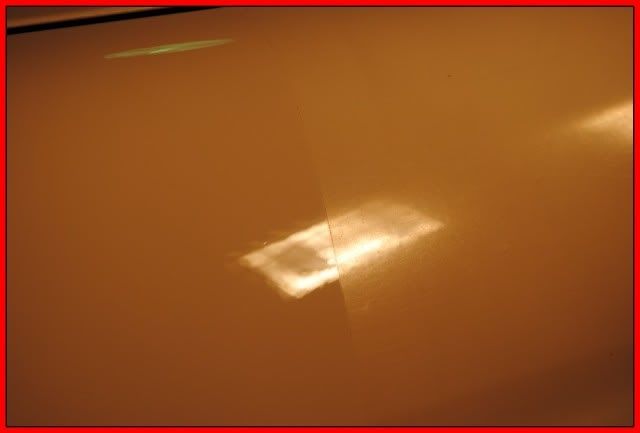
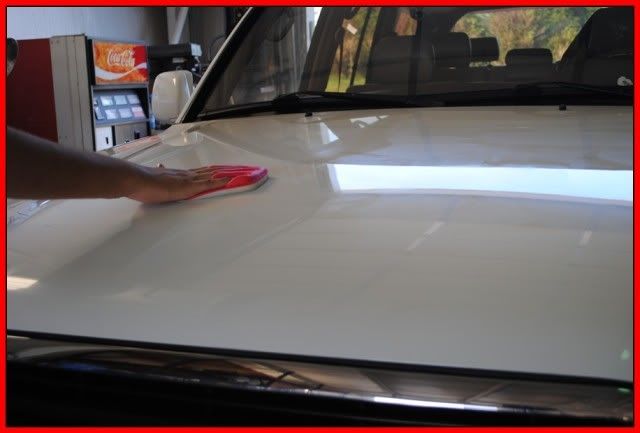
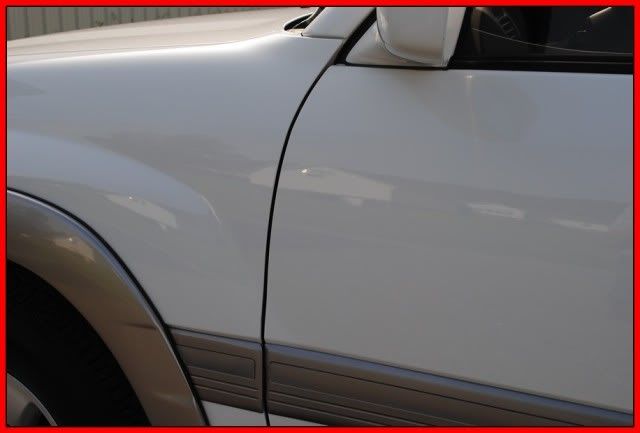
Now it's time to see the paint condition.


Very Dull and Faded!
 '
'
Day one I started the interior. I knew that the leatherique needed to dwell for 24-48 hours so I had to clean it up first.
here is a 50/50 of some APC and lots of scrubbing
Sorry for the lighting.......
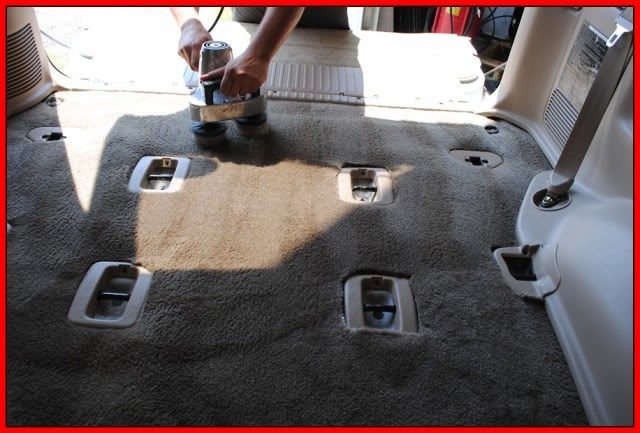
It was a long day of interior detailing. lots of APC and rags and brushes.
I used my Cyclo polisher with carpet brush backing plates to scrub the big areas.
So this is the seats after a full on scrubbing (not to bad, but not good enough)

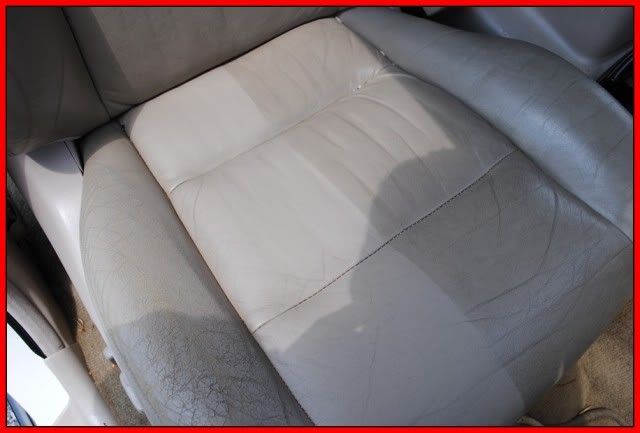
After this step I smeared the Leatherique Rejuvenator oil into every crack and crevice of the seats. and left it to dwell for 48 hours.
Sorry I didn't get any pics of these steps. but here is the seat after the 48 hours of dwell time.
The Rejuvenator oil soaks into the leather raising all of the oils and grim to the surface and softens the leather tremendously. causing a lot of the creases and cracks to go away.
In this picture you can see all of the Nasty Oils and grim that has risen to the surface of the leather.
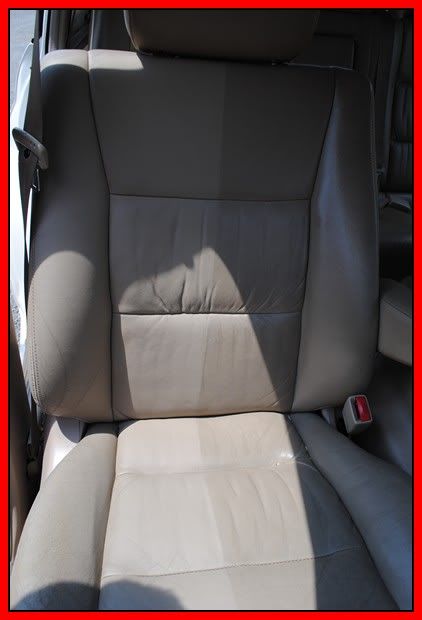
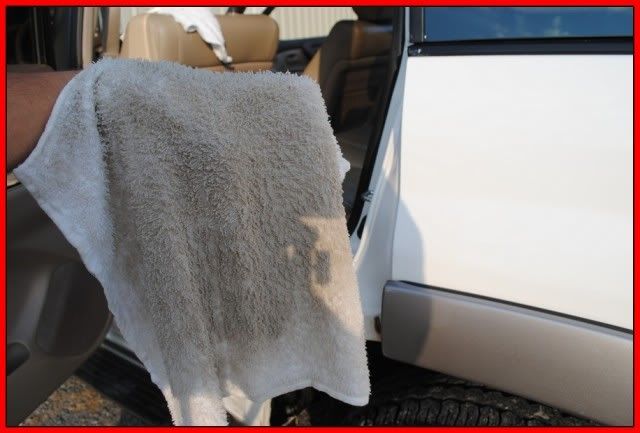
To Remove the Rejuvenator Oil, you take a bucket of water and a Damp towel and scrub the seats, rinsing the rag out as needed.
here are the the seats after
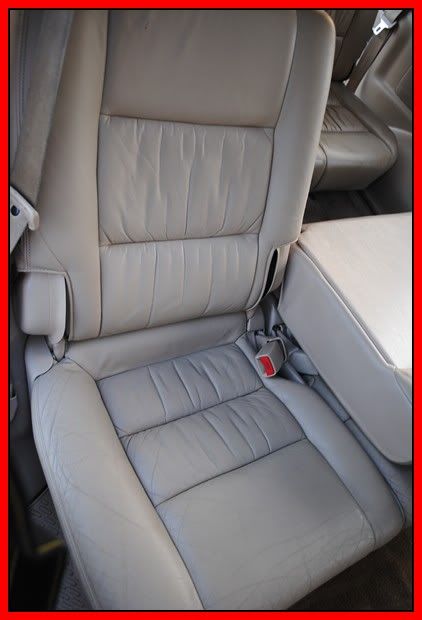
Here is a pic of the back seat before and after

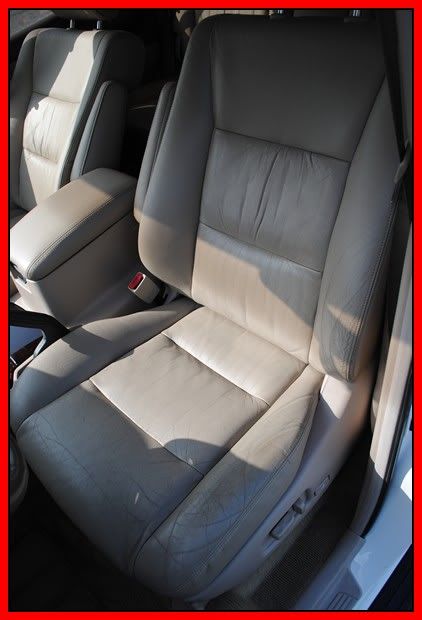
and now after cleaning off the Rejuvenator Oil, It's So plump and Soft
Here is the bucket of water after just a couple of seats (And Remember, these seats were already cleaned once before, that just goes to show how much nasty grim gets down into the leather)
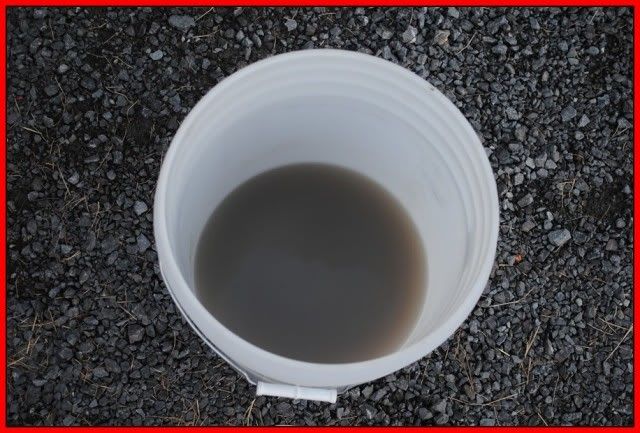
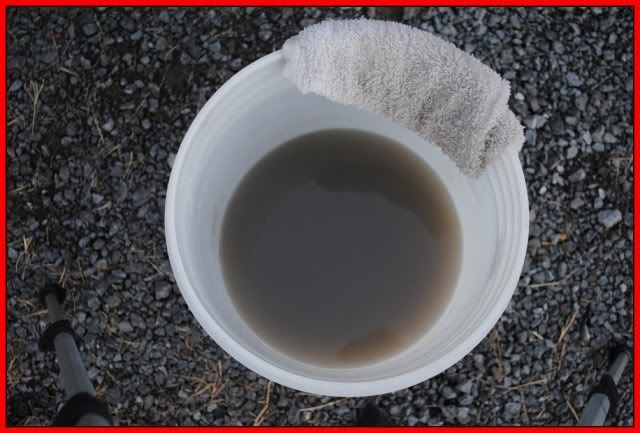
Ewww, just aftera couple of seats!
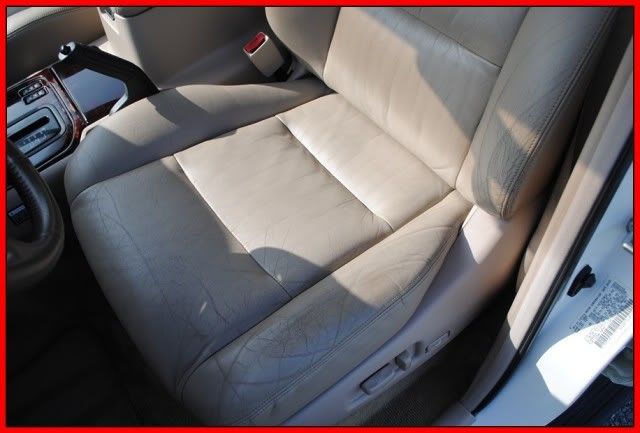
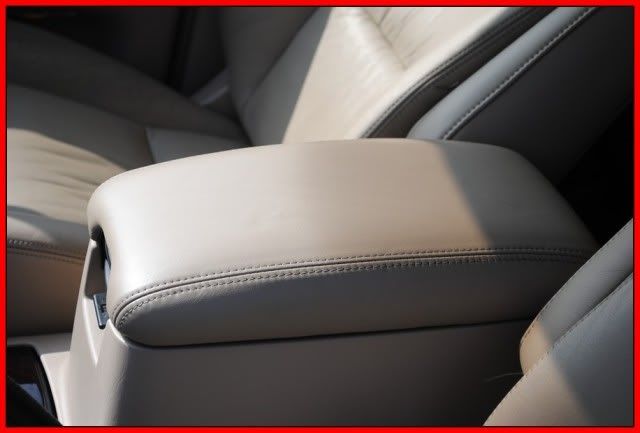
And here is the final Interior shots

Remember those Dirty Creases? BAM! this is what leatherique does!


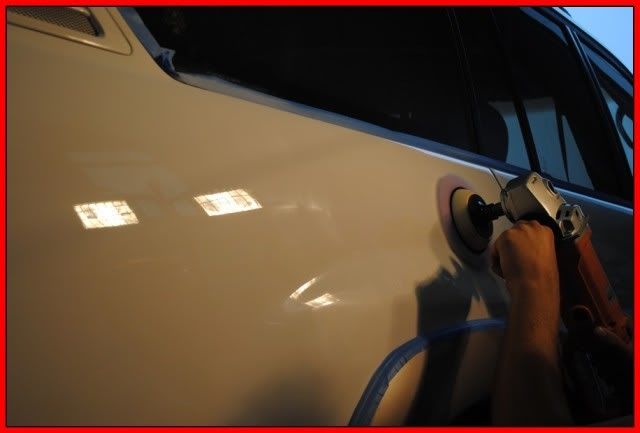
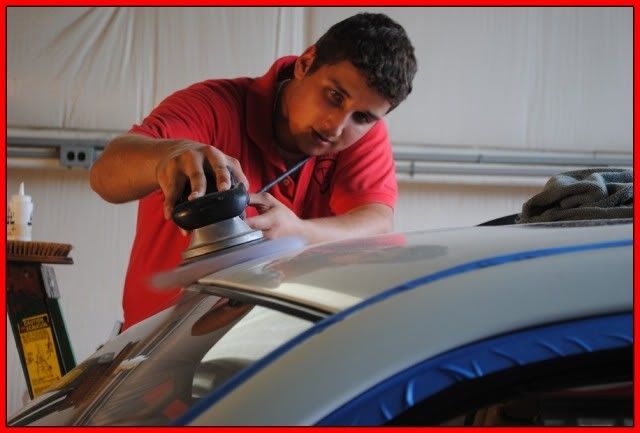
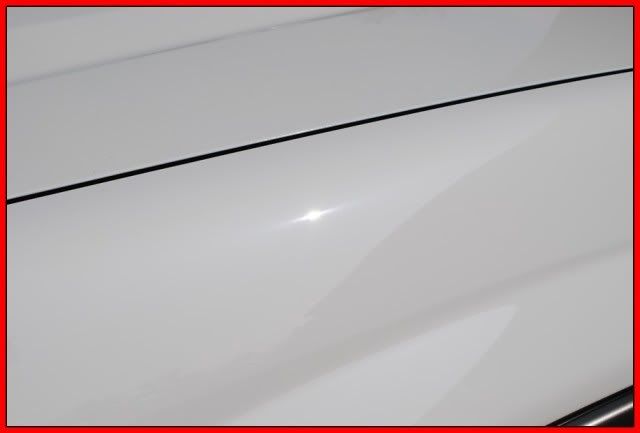
Now lets go back in time to Day 2 "the Paint correction"
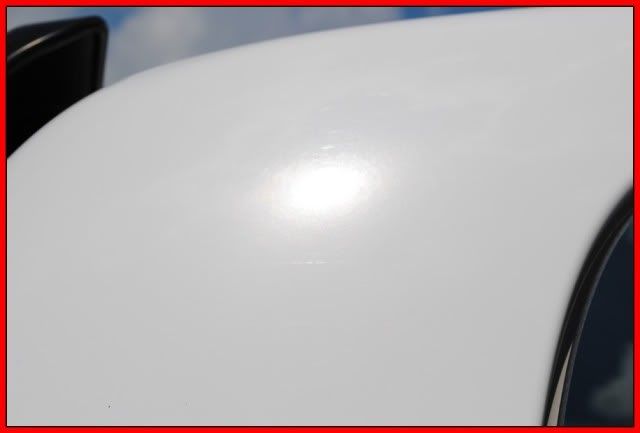
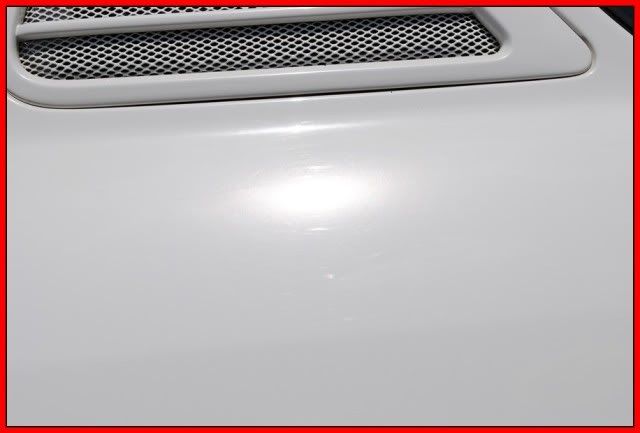
The paint was very dull and swirled. The correction was done using a FLEX 3401 and Harbor freight Rotary buffer with various backing plates and Lake country Purple Foamed wool pad and Hydrotech pads. all with Meguiars M105 & M205.
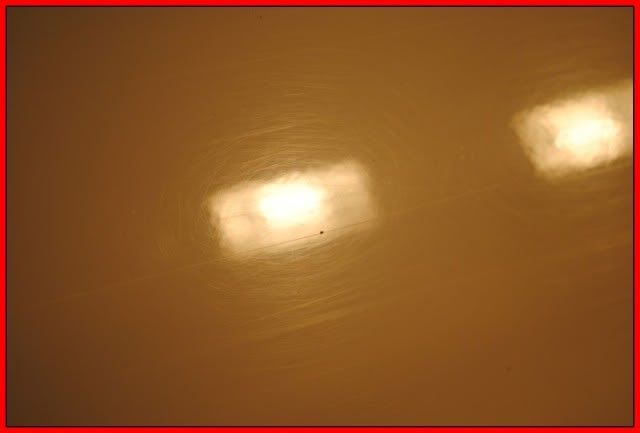
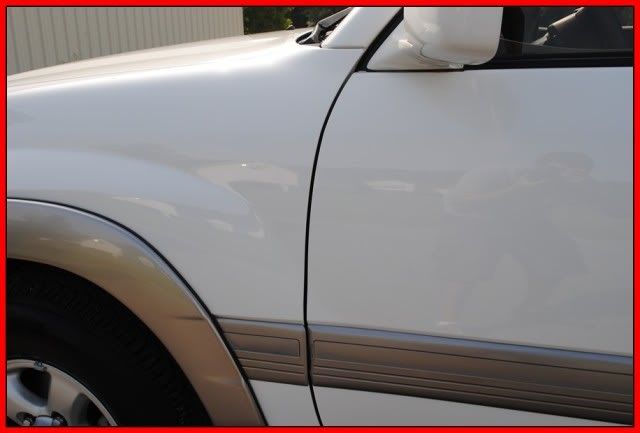
Here is a 50/50 shot.
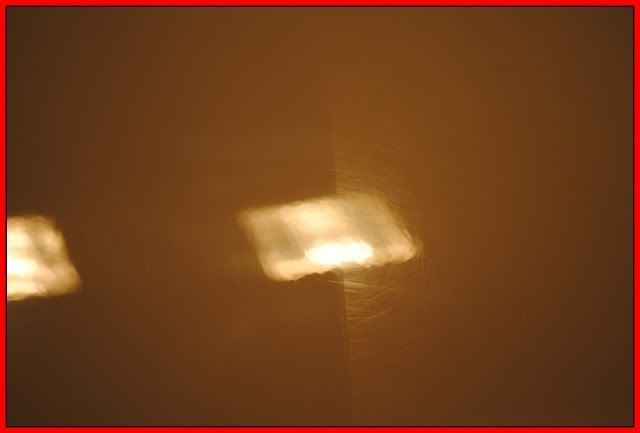
Wow!
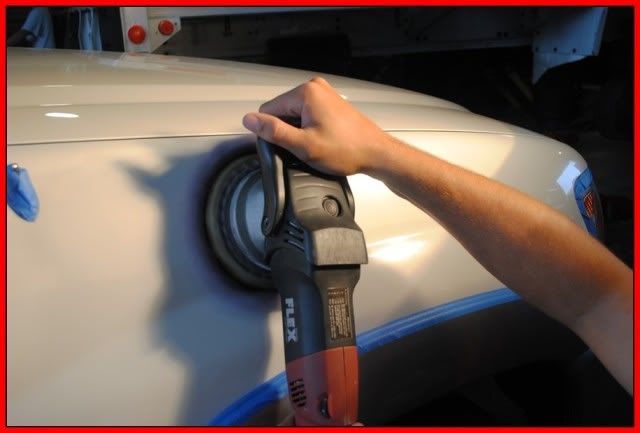
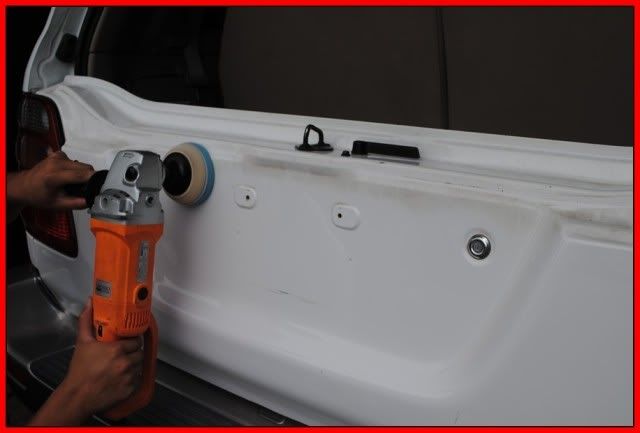
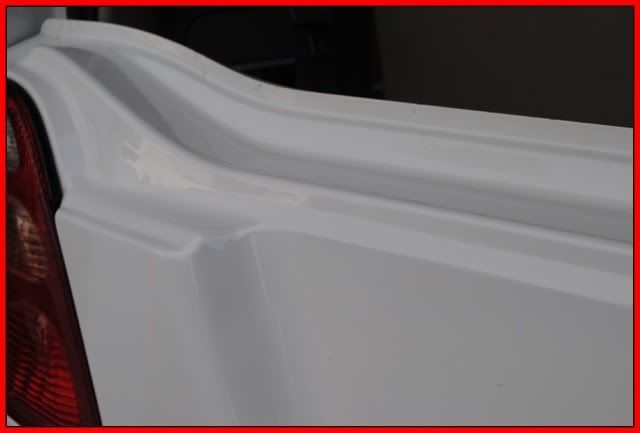
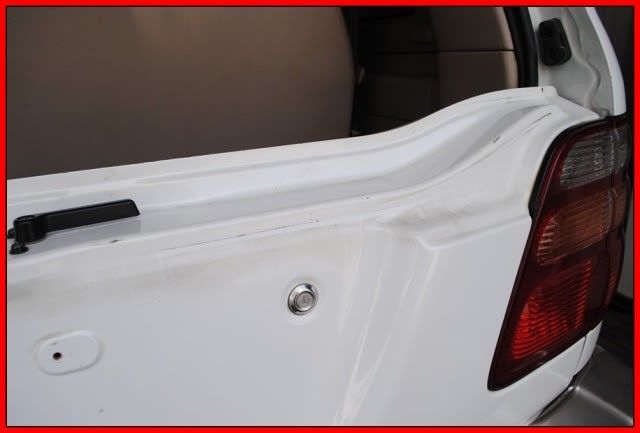
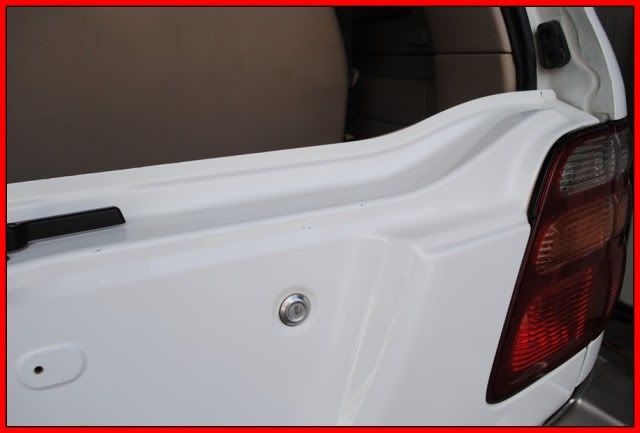
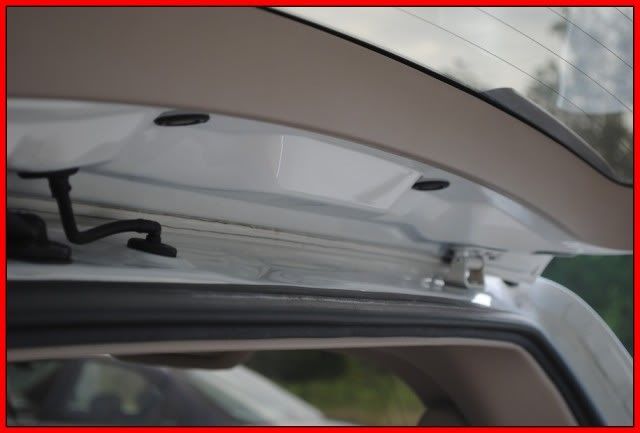
here I am Polishing the tailights using 4" Cyan hydrotech pad and M05 via Rotary

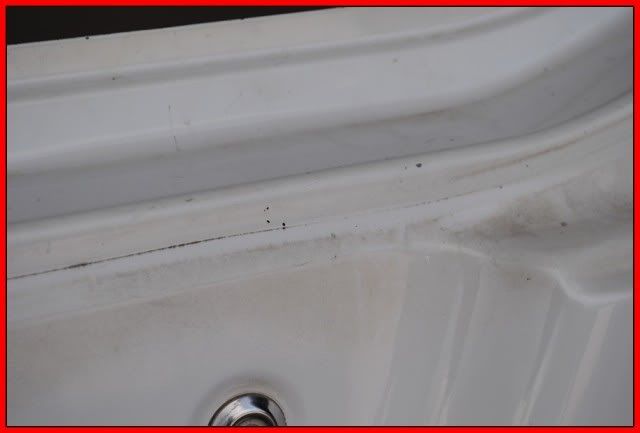
All of this clear coat on the back was faded and staind so I had to buff it to get it all out

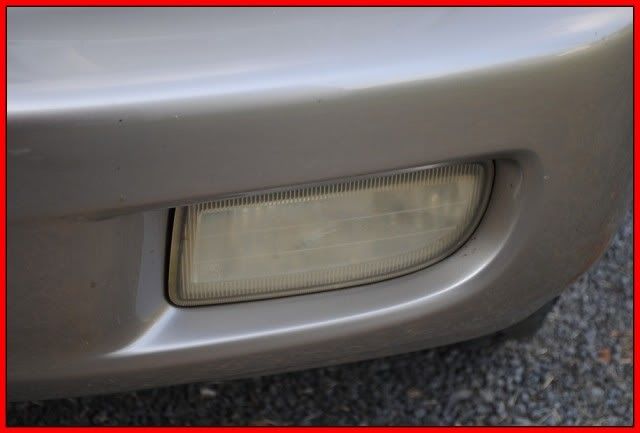
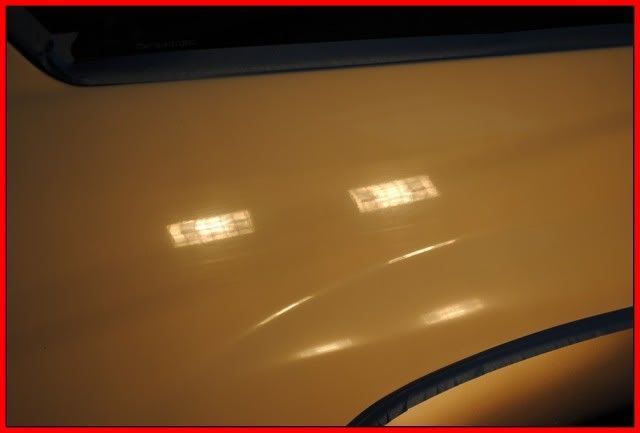
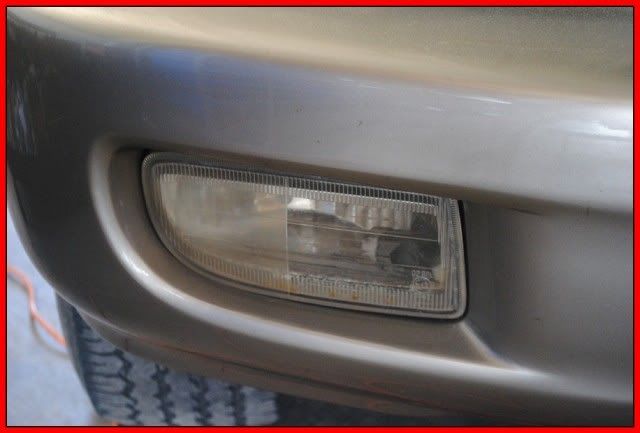
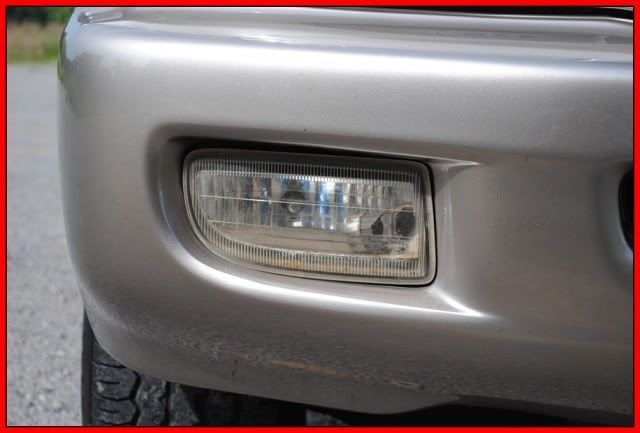
Here are the front fog lights.
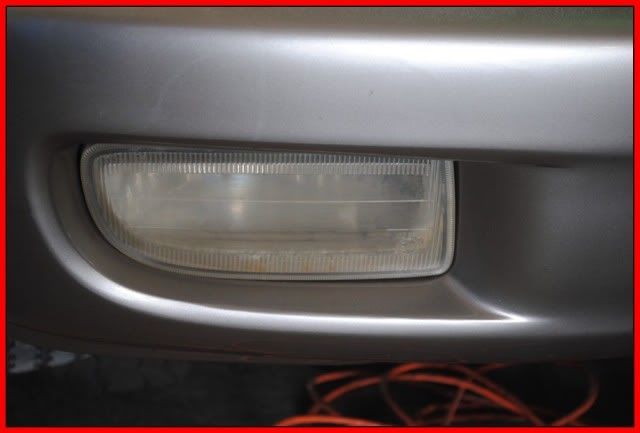
and here is a 50/50 of it

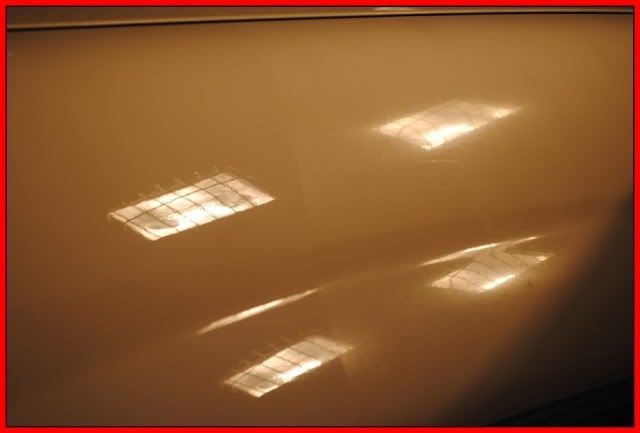
By the time day 3 rolls around I was almost finished. I applied some Black Fire Wet Diamond
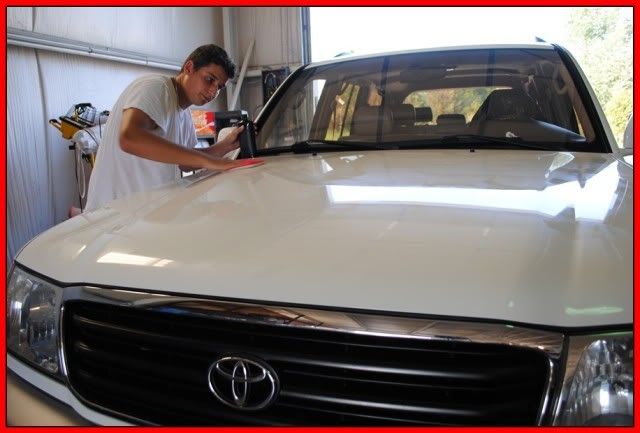
And finally, the Finished product.
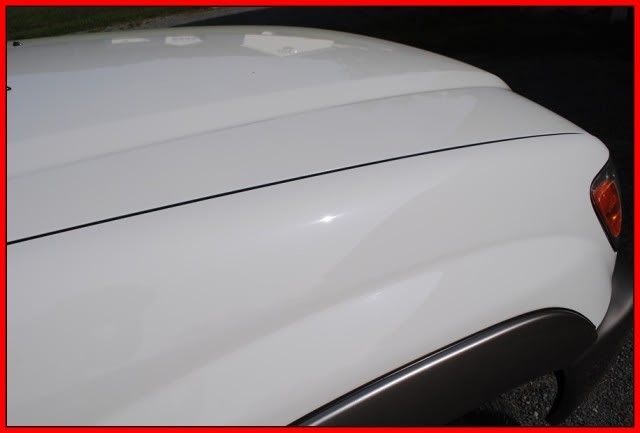
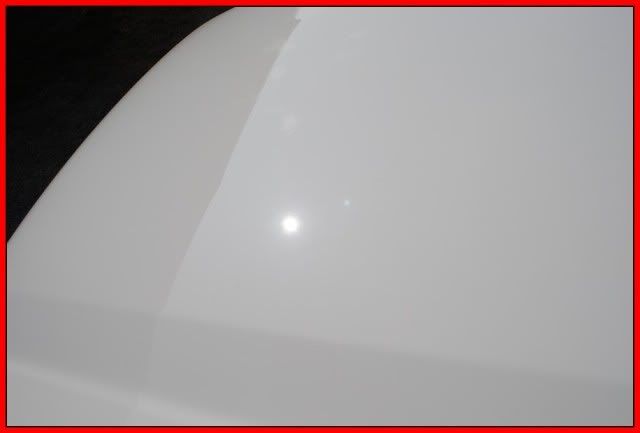


Thanks for viewing, Have a blessed day!
Honda-Tech Member

Joined: Apr 2004
Posts: 6,808
Likes: 4
From: OKC,OK
HOLY COW that interior was disgusting and you got it looking pretty darn good. Three days straight of detailing the same lame extremely dirty car has got to be pretty grueling.
Soldering Iron Wizardry
Joined: Sep 2006
Posts: 881
Likes: 1
Seemed like a pretty intimidating job in the beginning since the interior looked so nasty, results were awesome though. In the step where you applied the 303 protectant to the engine bay, do you just let it sit or do you wipe the excess off?
 but great work bro
Thread Starter
Honda-Tech Member
Joined: Apr 2005
Posts: 923
Likes: 0
From: Knoxville, TN, USA
thanks man, anything you need is in the link below in my sig.
Trending Topics
Honda-Tech Member
Joined: May 2008
Posts: 3,032
Likes: 0
From: Sykesville, MD, USA
idc about price if it works good. i hate seeing your threads...it makes me spend money on new things to detail with 
Honda-Tech Member
Joined: May 2005
Posts: 1,049
Likes: 0
From: Upper Midwest
MAD PROPS to you! You are FREAKIN PRO!! Love watching these threads!
Its like someone took a dump and then you come along and bling the "crap" out of it. hahhaha keep it up!
Its like someone took a dump and then you come along and bling the "crap" out of it. hahhaha keep it up!


Joined: Jan 2002
Posts: 30,236
Likes: 59
From: Nowhere and Everywhere
Man that is nuts.
I'm surprised the paint on the front end didn't have more chips and other imperfections, being a 13 year old vehicle. Or did it and you corrected it somehow, or the imperfections just don't show up in the pics?
I'm surprised the paint on the front end didn't have more chips and other imperfections, being a 13 year old vehicle. Or did it and you corrected it somehow, or the imperfections just don't show up in the pics?


Thread
Thread Starter
Forum
Replies
Last Post
street_racer_271
Honda Civic / Del Sol (1992 - 2000)
202
Jun 2, 2015 05:44 PM
Jet.
Honda / Acura
76
Aug 22, 2006 12:24 PM