

DIY Volvo Lip

Thread Starter
Honda-Tech Member
Joined: Sep 2003
Posts: 8,117
Likes: 1
From: Toronto, Canada but from Montreal
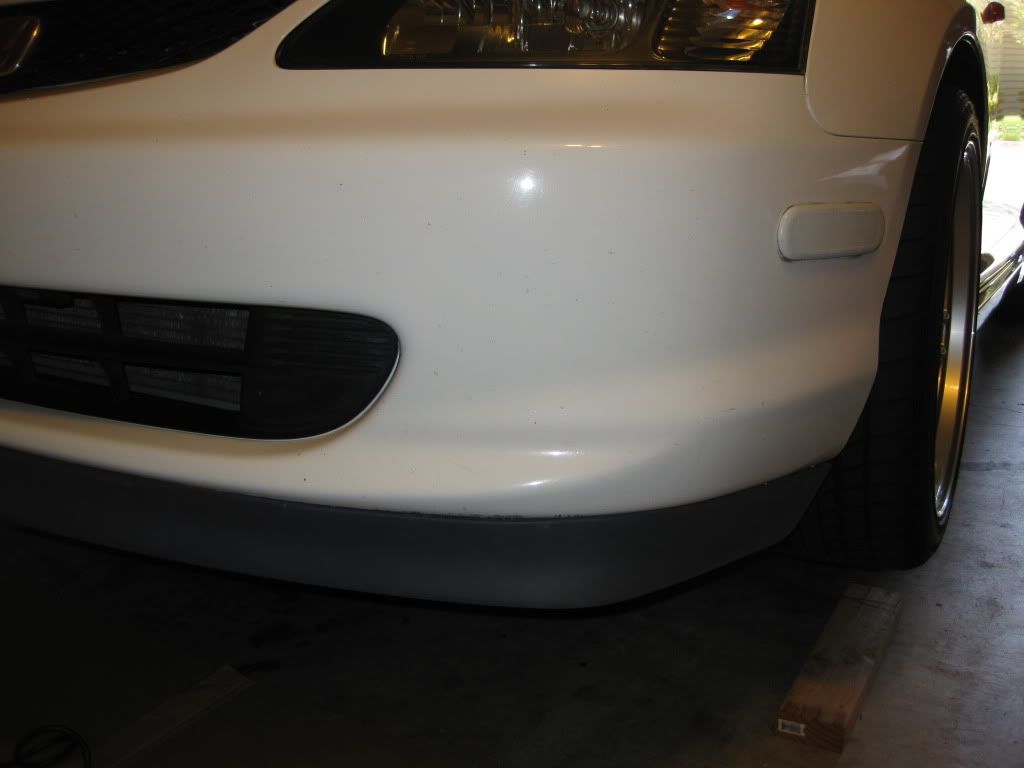
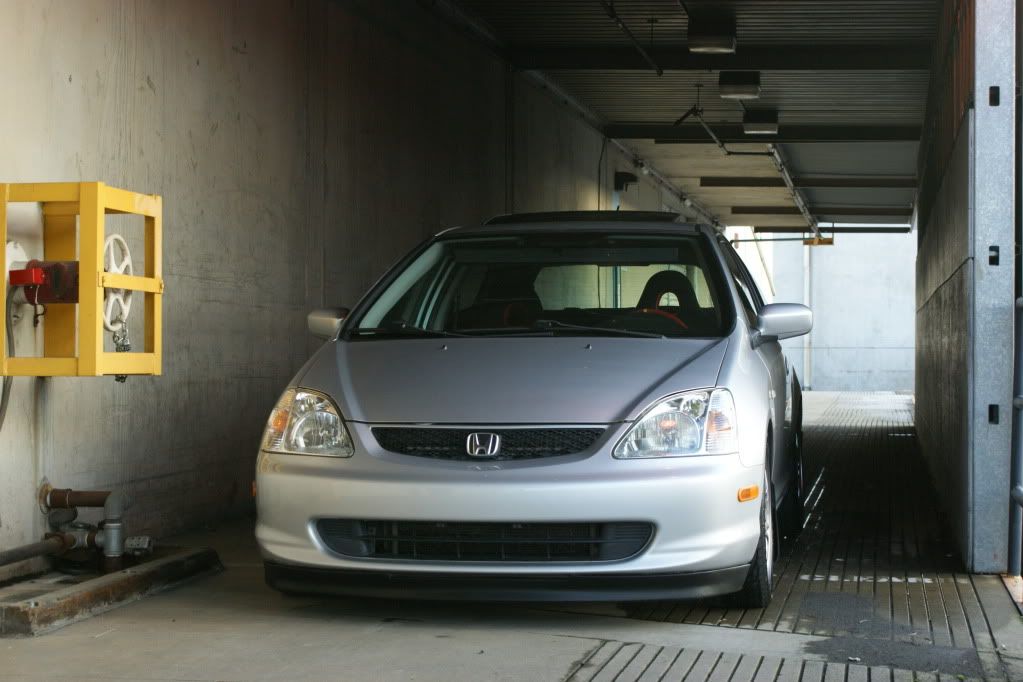
DIY Volvo Lip (1990-1994 VOLVO 740 N 940)
Full credit to k20EP3 for doing this write!
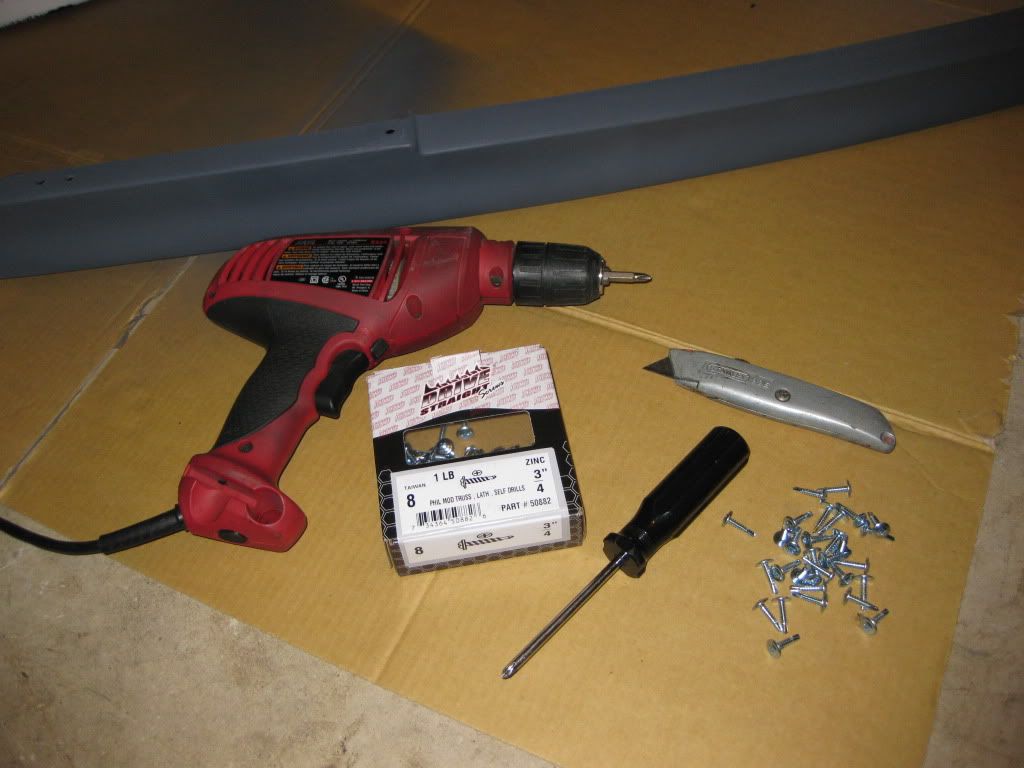
Tools Needed:
Screw gun
Screw Driver
Utility Knife
Sharpie
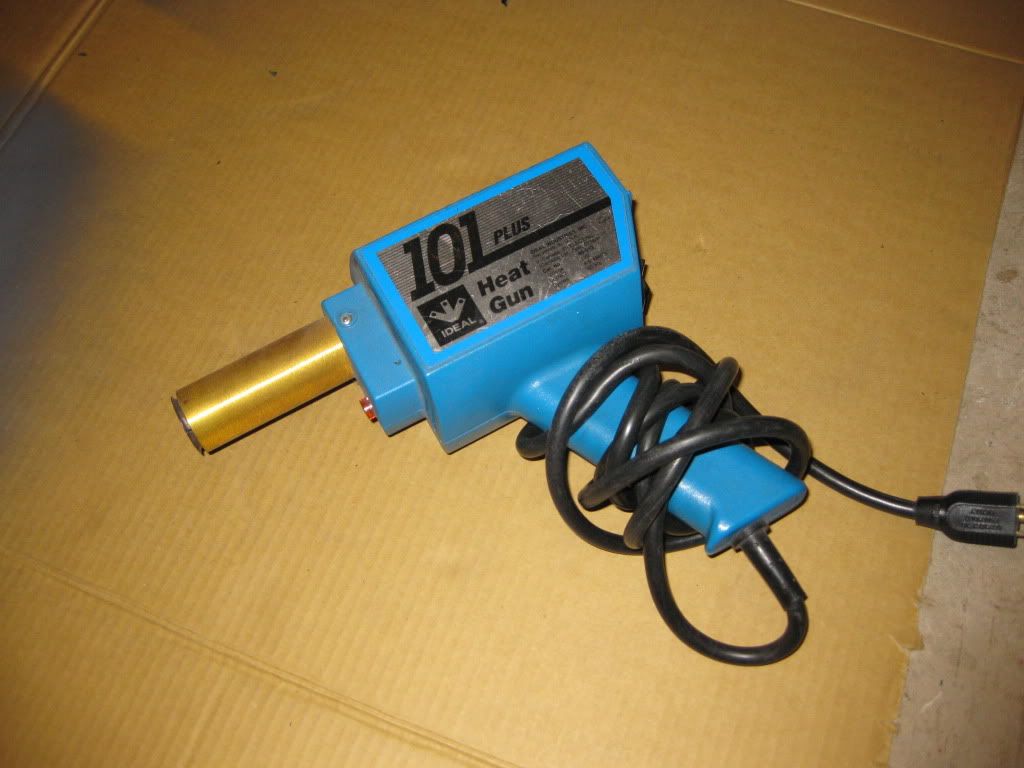
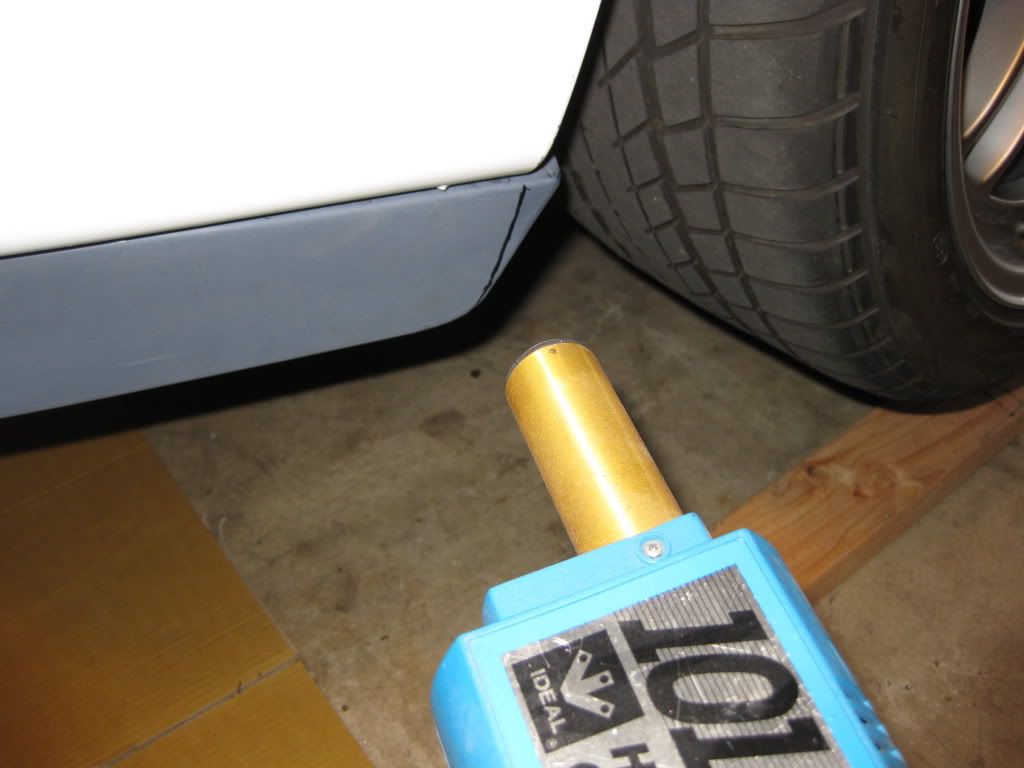
Heat Gun
3/4" Self Tapping Screws
Jack and Jack stands
Volvo Lip
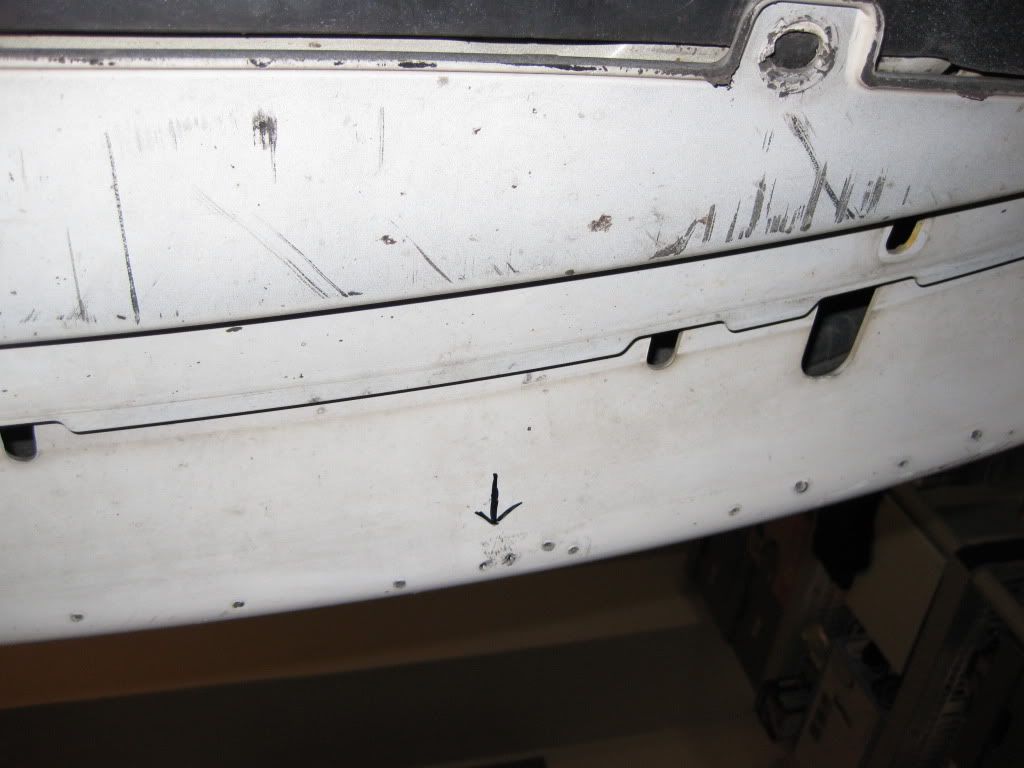
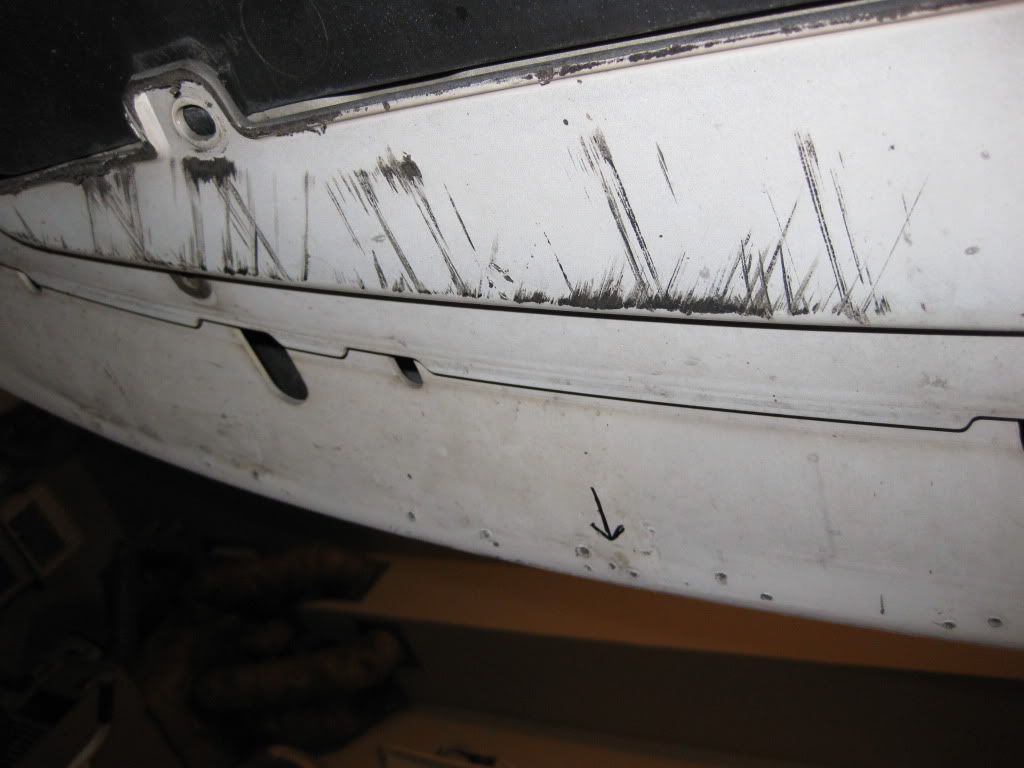
Step 1: By using the two original holes in the lip center on the bumper and mark with arrows.
Step 2:
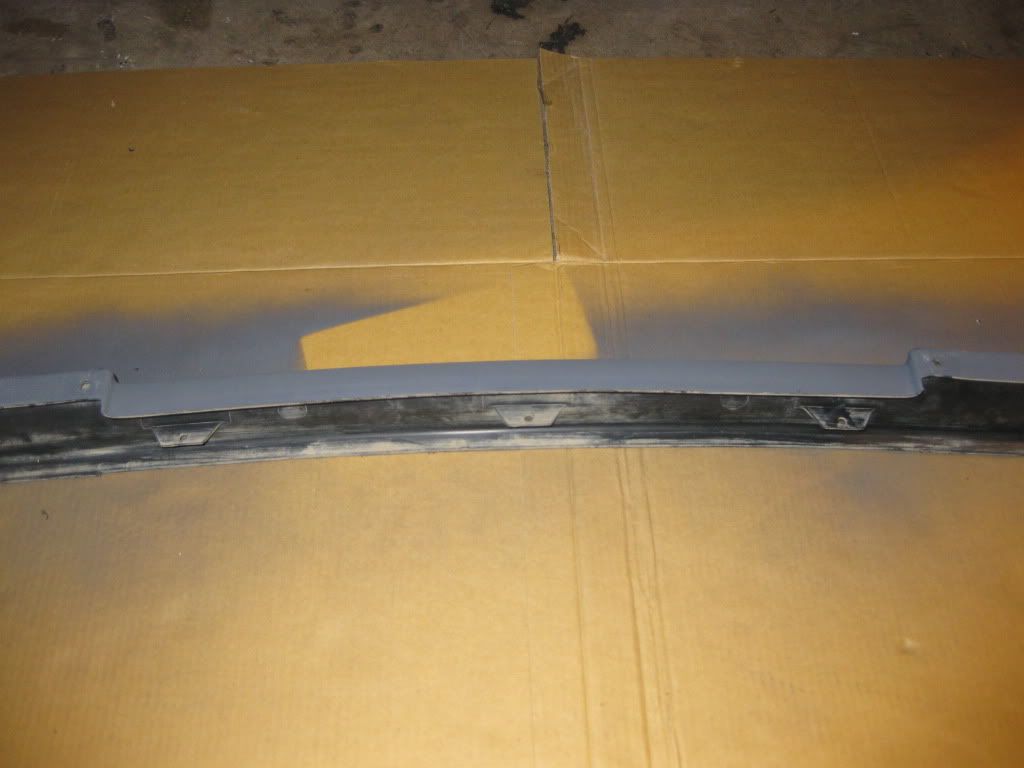
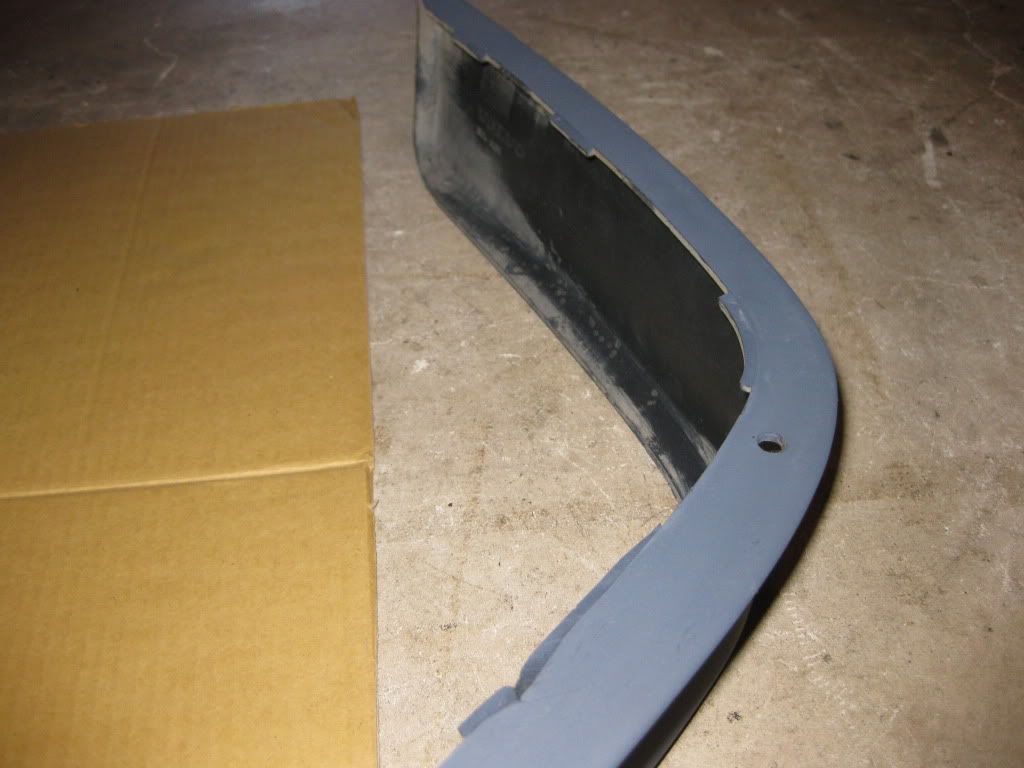
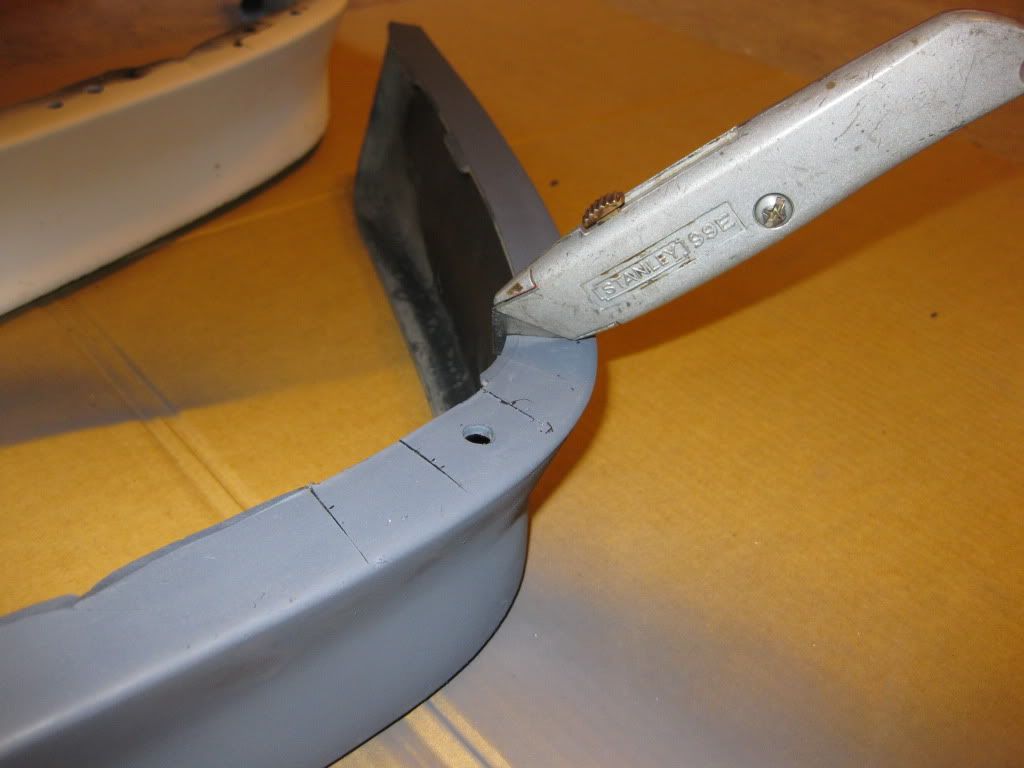
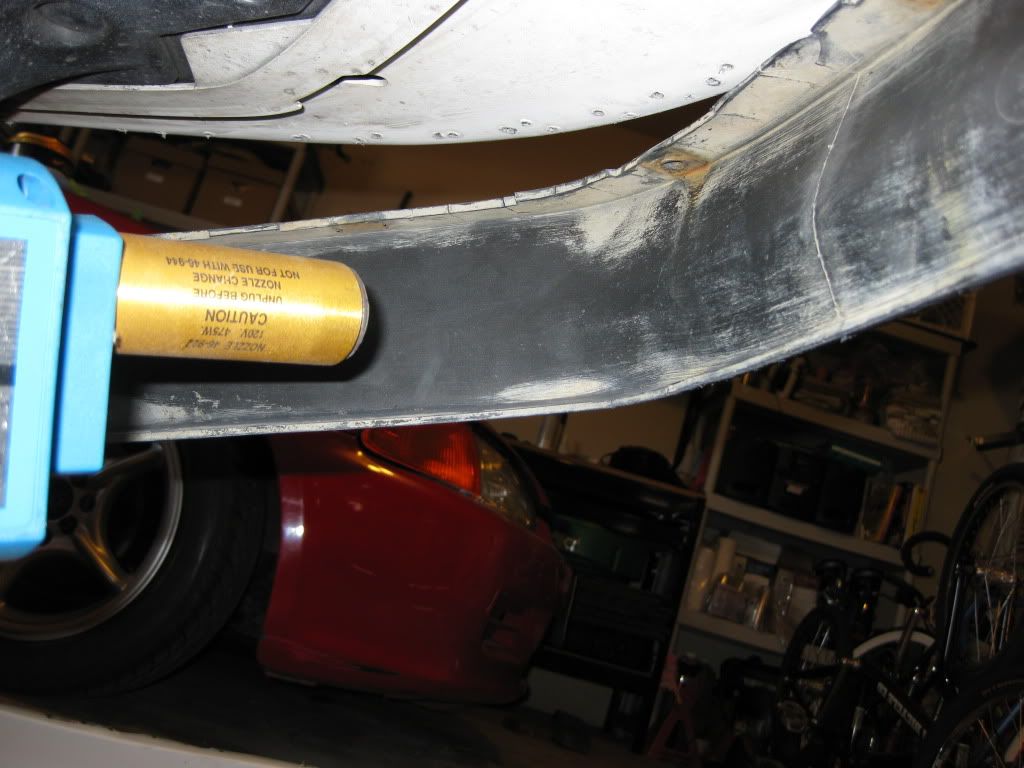
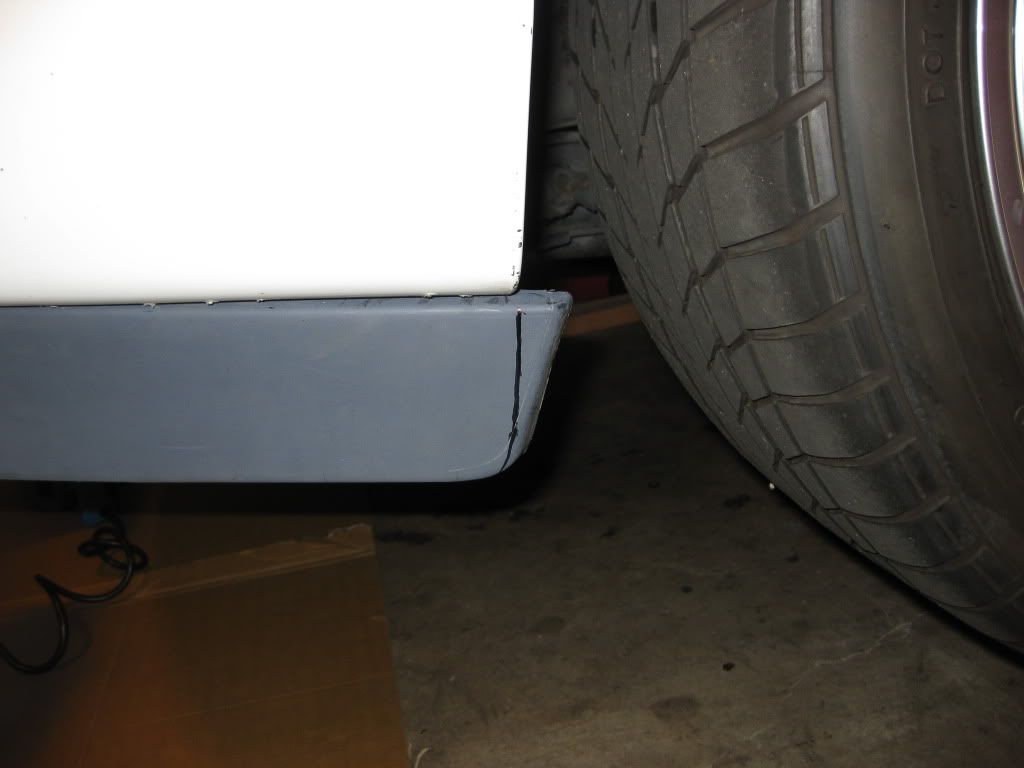
Cut off all the tabs and cut some slits so the lip will fit flush and bend easier.
Step 3:
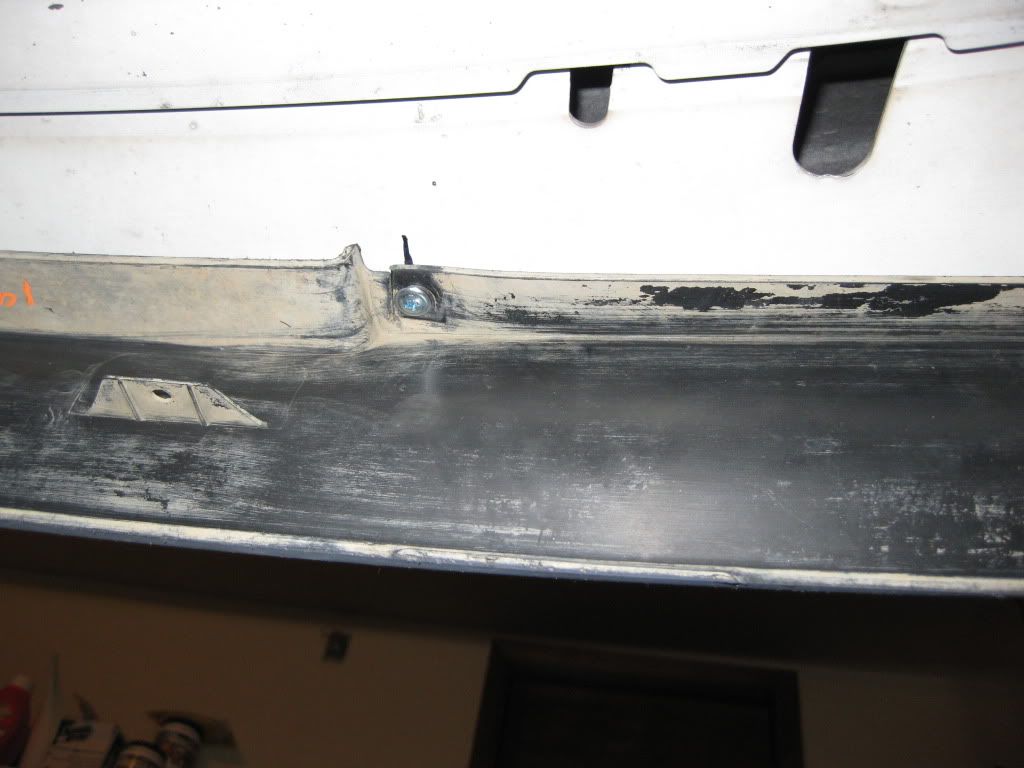
Use the two original holes in the lip and line it up with your marks. At this point you want to put a screw in each hole.
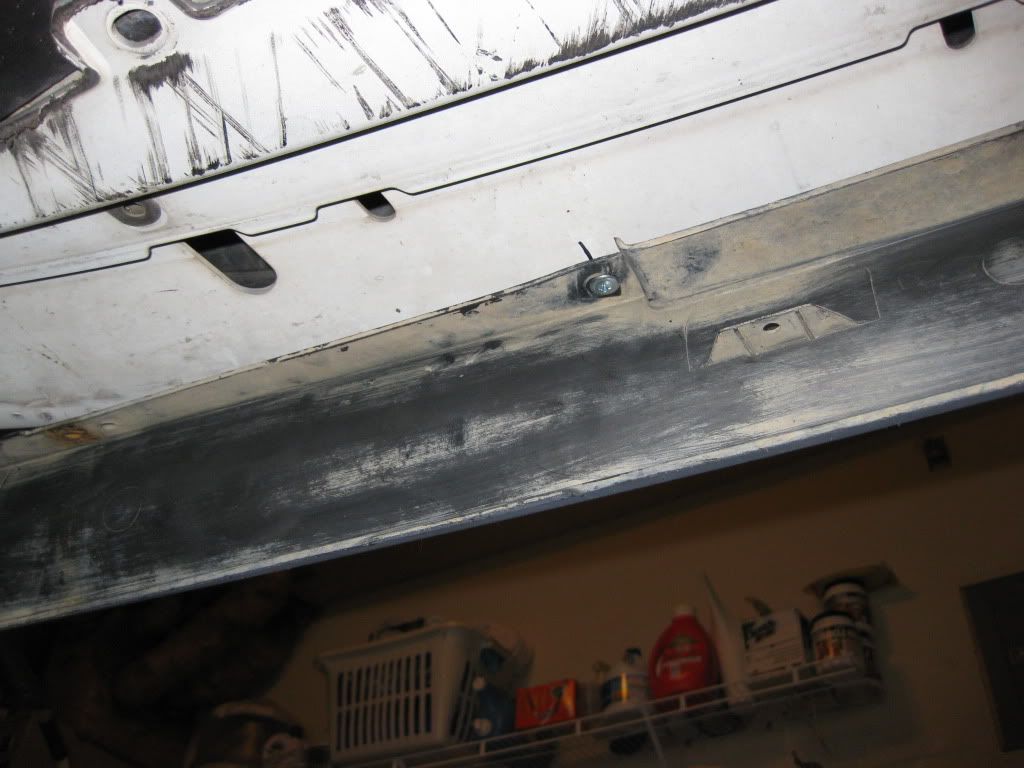
Step 4:
Now that the lip is centered slowly work your way down each side and screw off the lip (I did one side first then the other). Make sure the lip is even along the bumper before you screw it off. Also using a heat gun helps make the lip more flexible and easier to move around. You can use as many screws as you feel necessary.
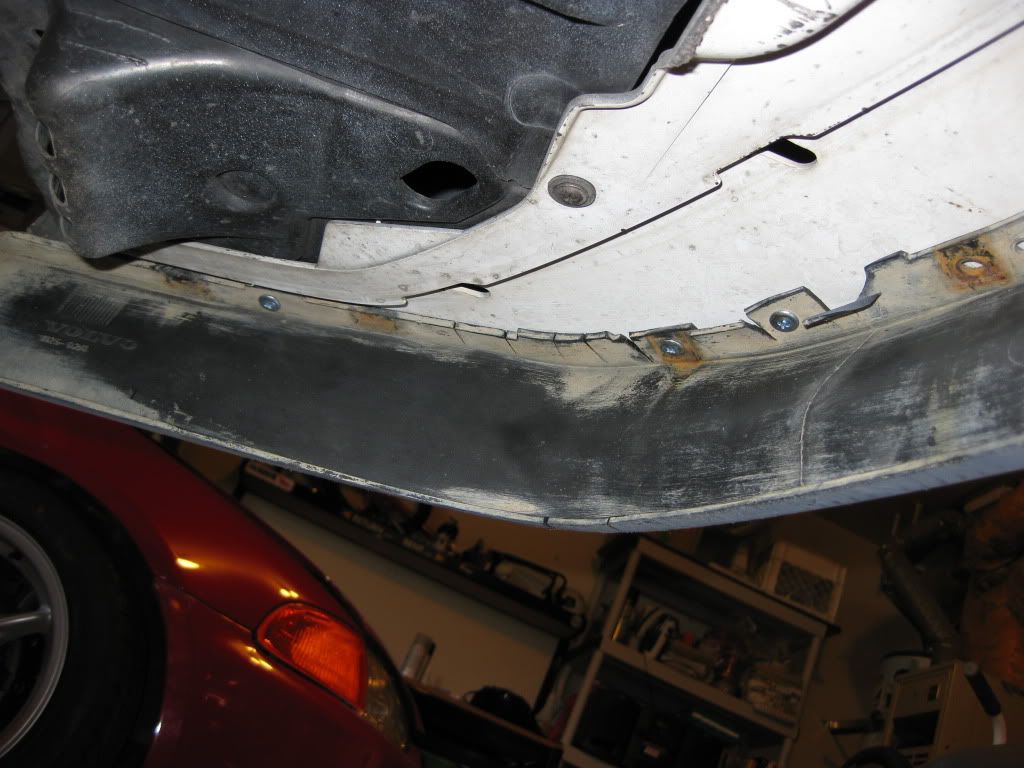
Step 5:
At this point the lip should all be screwed off and on the bumper. By using a sharpie, draw a line to your liking as a guide to cut along. Again using the heat gun here will make the cut go much more smoothly and easier.
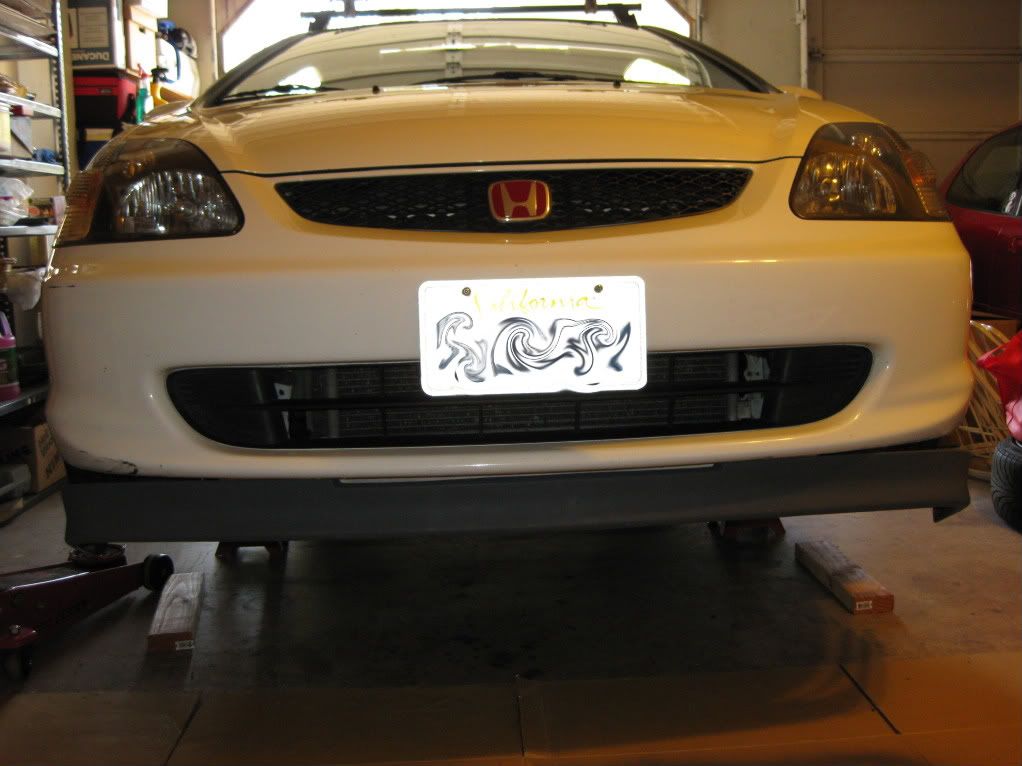
Step 6:
You are all done and this was a piece of cake. It took me about 45 min all by myself so if you have a friend help it can go a lot faster.
__________________
Full credit to k20EP3 for doing this write!
Tools Needed:
Screw gun
Screw Driver
Utility Knife
Sharpie
Heat Gun
3/4" Self Tapping Screws
Jack and Jack stands
Volvo Lip
Step 1: By using the two original holes in the lip center on the bumper and mark with arrows.
Step 2:
Cut off all the tabs and cut some slits so the lip will fit flush and bend easier.
Step 3:
Use the two original holes in the lip and line it up with your marks. At this point you want to put a screw in each hole.
Step 4:
Now that the lip is centered slowly work your way down each side and screw off the lip (I did one side first then the other). Make sure the lip is even along the bumper before you screw it off. Also using a heat gun helps make the lip more flexible and easier to move around. You can use as many screws as you feel necessary.
Step 5:
At this point the lip should all be screwed off and on the bumper. By using a sharpie, draw a line to your liking as a guide to cut along. Again using the heat gun here will make the cut go much more smoothly and easier.
Step 6:
You are all done and this was a piece of cake. It took me about 45 min all by myself so if you have a friend help it can go a lot faster.
__________________
Last edited by DaveSi677; Apr 19, 2010 at 11:56 AM.
Function > Form
Joined: Oct 2008
Posts: 2,862
Likes: 1
From: Seattle, WA
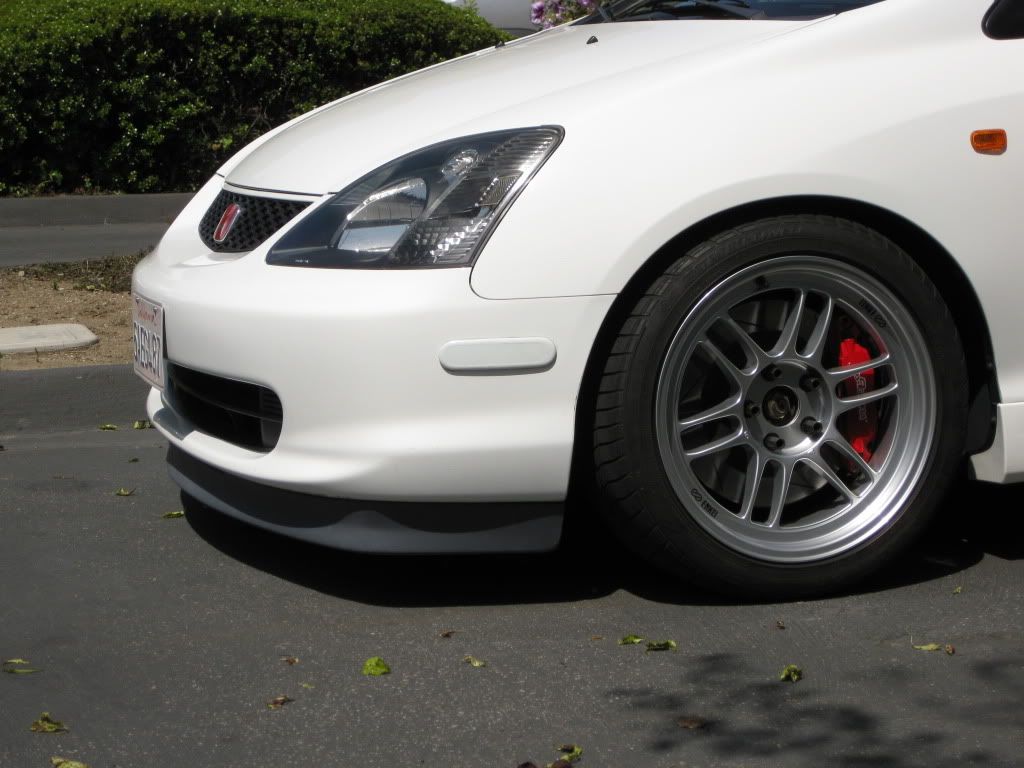
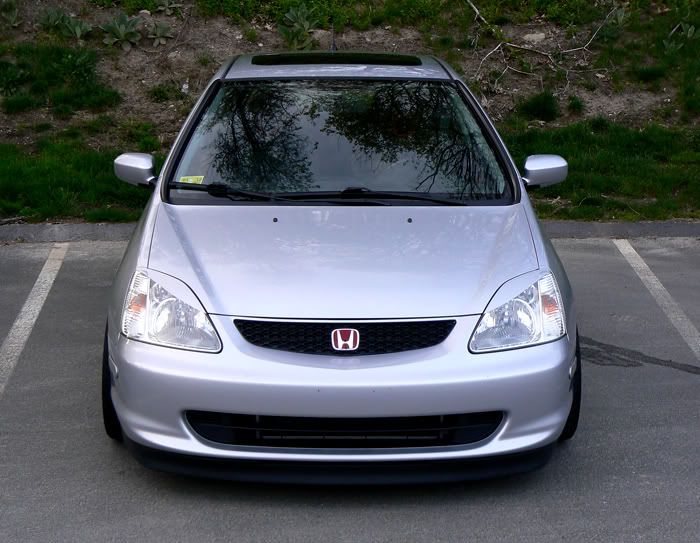
Also, depending how flush you mount it with the edge of the bumper, you might not have to trim anything off the ends. I didn't trim at all off the ends and it lines up perfectly with the edge of the bumper. I also used nuts and bolts instead of screws haha. The heatgun is definitely a must though!! Awesome write up!!
Honda-Tech Member
Joined: Jan 2004
Posts: 2,792
Likes: 0
From: Cincinnati, OH
Dave, it's DIY. Not DYI lol. (do it yourself vs. do yourself it??)
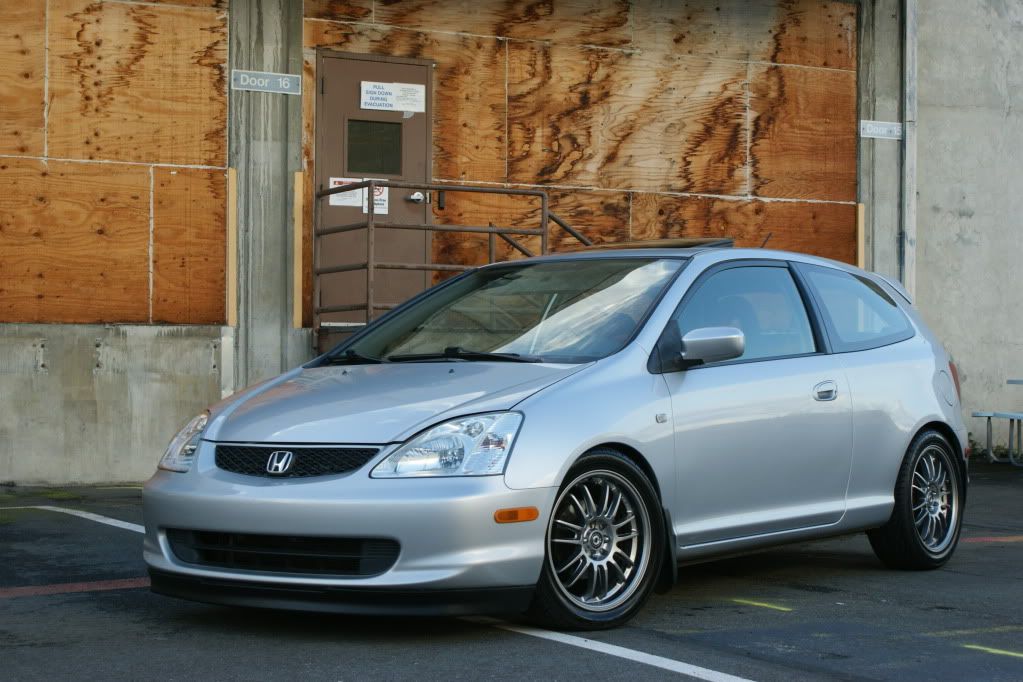
I still think this looks retarded, personally. At the very least, use Forever Black (plastic dye) to return the plastic to it's original shiney black luster.

The faded 80's style aerodynamics aren't cutting it for me, lulz.
I still think this looks retarded, personally. At the very least, use Forever Black (plastic dye) to return the plastic to it's original shiney black luster.
The faded 80's style aerodynamics aren't cutting it for me, lulz.

Honda-Tech Member
Joined: Apr 2006
Posts: 427
Likes: 0
From: Santa Cruz Ca.
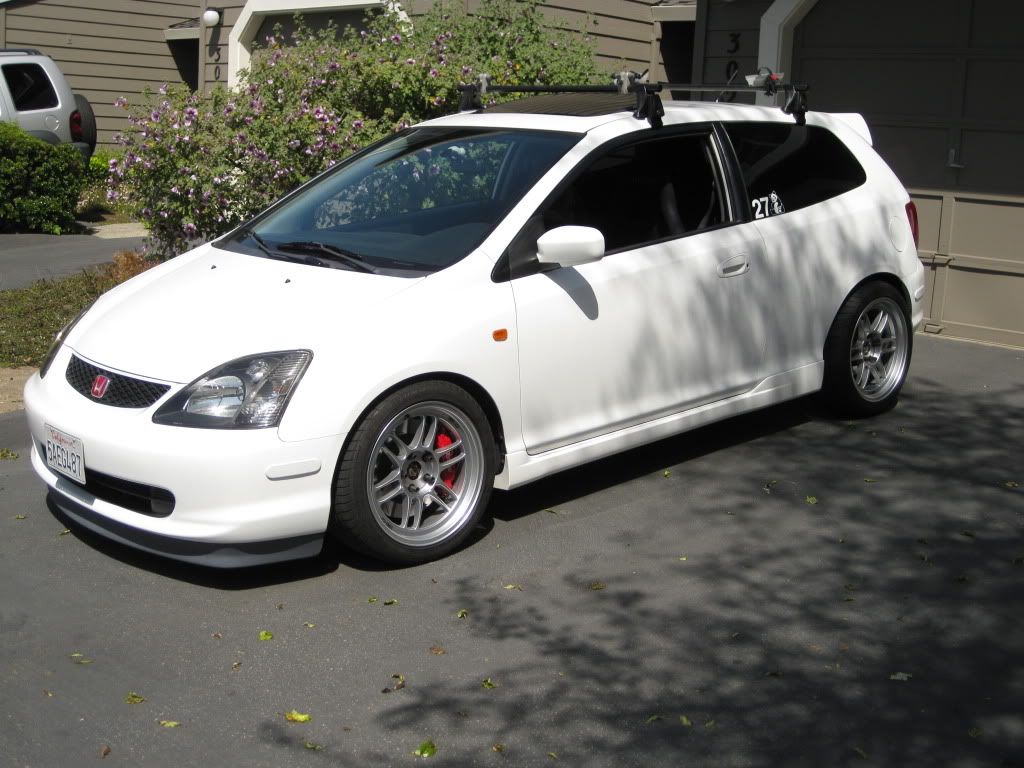
There were a few reasons i decided to do this. One my friend had one laying around and we were bored. Two my bumper is messed up from the previous owner so i can care less if i have holes in it. And third i am not about to pay $XXX for a replica lip that fits like **** and looks awkward because it's ripped off of a jdm bumper. But that's just me. It's different and i like it. And i think it came out pretty good considering it cost me $12 for another one and $10 for some primer and paint
Trending Topics


Function > Form
Joined: Oct 2008
Posts: 2,862
Likes: 1
From: Seattle, WA
Honda-Tech Member
Joined: Apr 2006
Posts: 427
Likes: 0
From: Santa Cruz Ca.
Honda-Tech Member
Joined: Dec 2003
Posts: 12,680
Likes: 1
From: True Honda Enthusiast
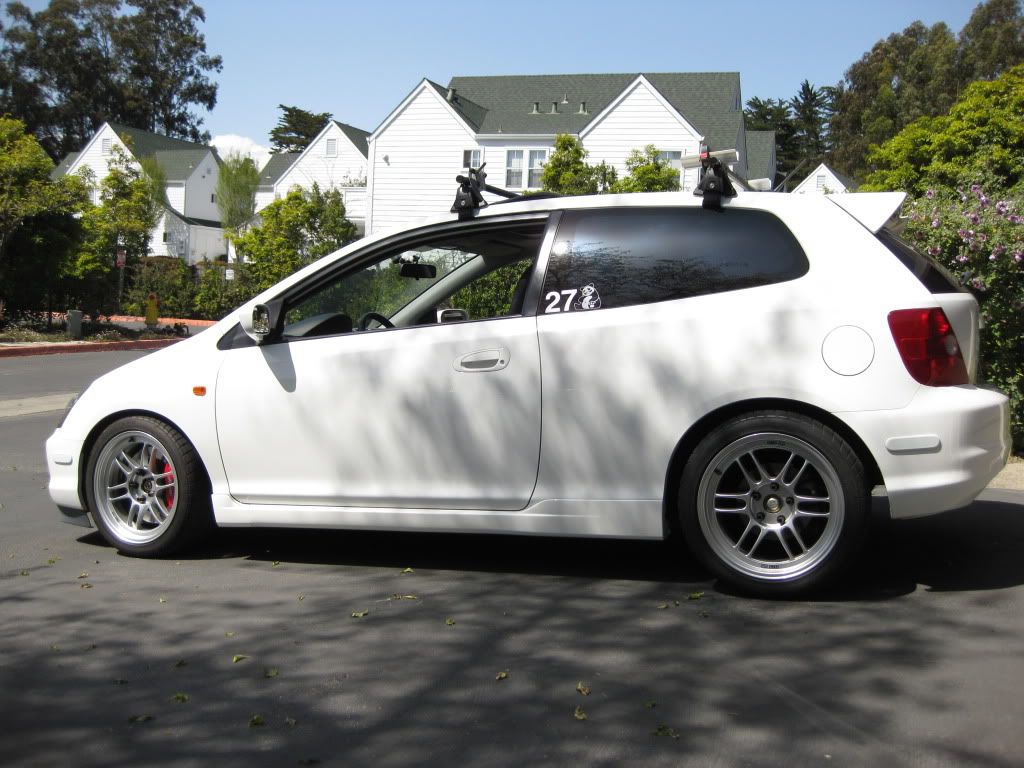
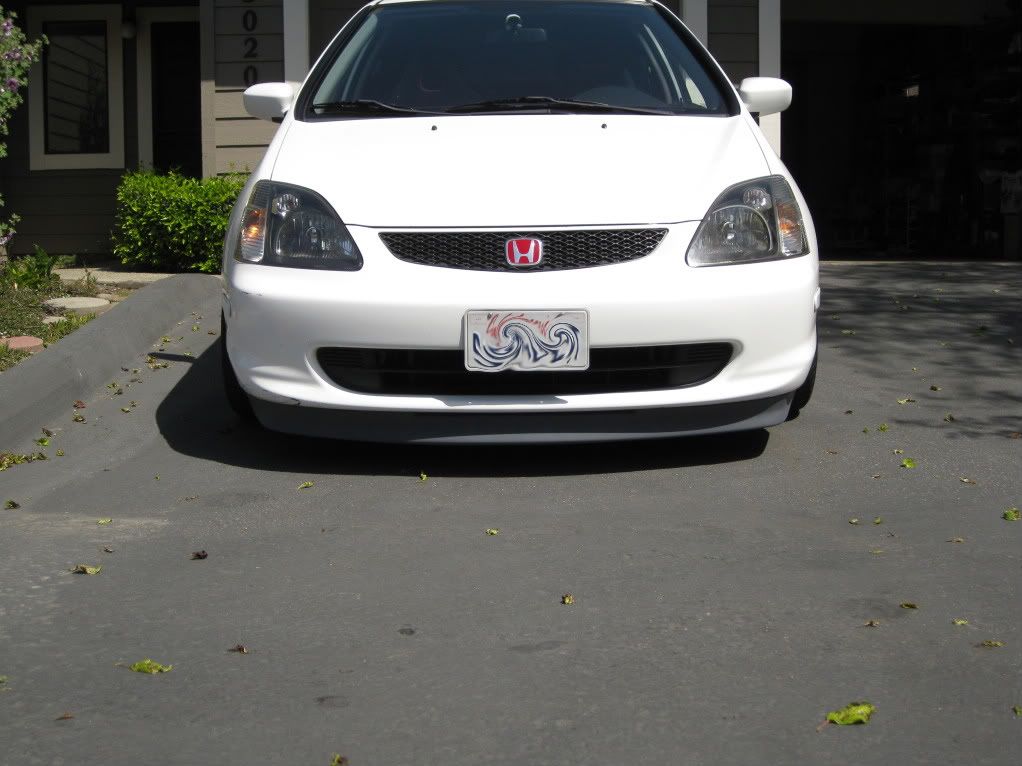
Nice write up! Like others said I used M8 nuts and bolts to holt it on and I think I used a total of 22 (11 each side). This lip is so grat because you can fold it basically completely under the car and it bounces right back. Great for those who are low and would otherwise destroy a fiberglass or carbon lip.
I have to give endless props to Rob for being the first to do this... what a great idea
I have to give endless props to Rob for being the first to do this... what a great idea

Honda-Tech Member
Joined: Jan 2003
Posts: 1,251
Likes: 0
From: Tampa, FL

B*a*n*n*e*d
Joined: Apr 2008
Posts: 263
Likes: 0
From: auburn, wa
http://www.autopartswarehouse.com/ba...em_id=13030400
if im not mistaken, the link above is for those who would like to order it new, $75 with free shipping
if im not mistaken, the link above is for those who would like to order it new, $75 with free shipping
