94 Turbo GSR Build Wire/ABS Tuck, Bay clean/shave/paint


Thread Starter
Honda-Tech Member
Joined: Mar 2010
Posts: 56
Likes: 0
Hey Guys,
So, I've been working on this for awhile now for a friend of mine. He started with a 94 LS, swapped in a 99 GSR with a GReddy turbo setup. All the paint, body work, body kit, ect was done before I started work on it.
Here's what I started with:
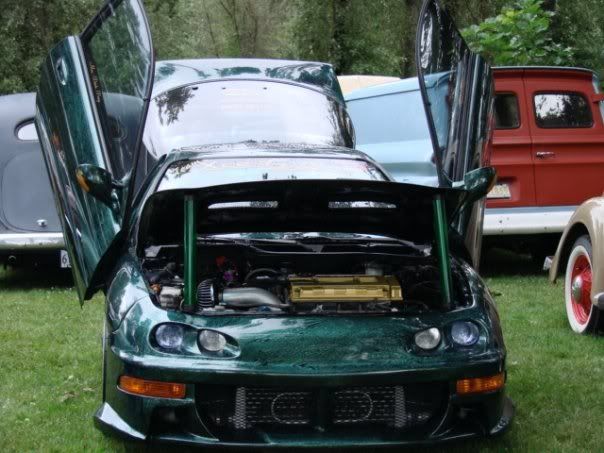
The job for me originally started when the owner got screwed over by a powdercoater. Took his car apart to coat it, went to jail, and that's how I got it...torn apart. Kinda busted looking engine bay.
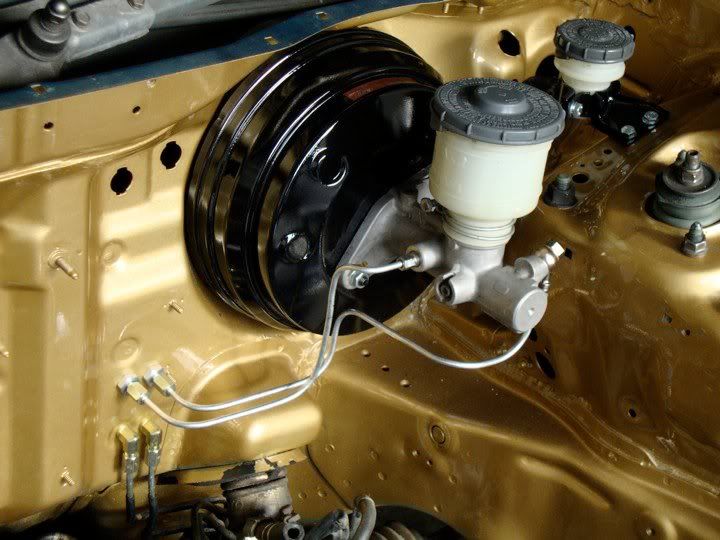
We had first just talked about putting it back together and getting it running again, with a little painting/coating here and there. This is what we did first.
But, I talked him into doing more...and more...and more. Turn into a wire tuck, then an ABS tuck (Yes, we decided to keep it, but went with a newer smaller pump), and cleaning/painting the engine, and also the bay.
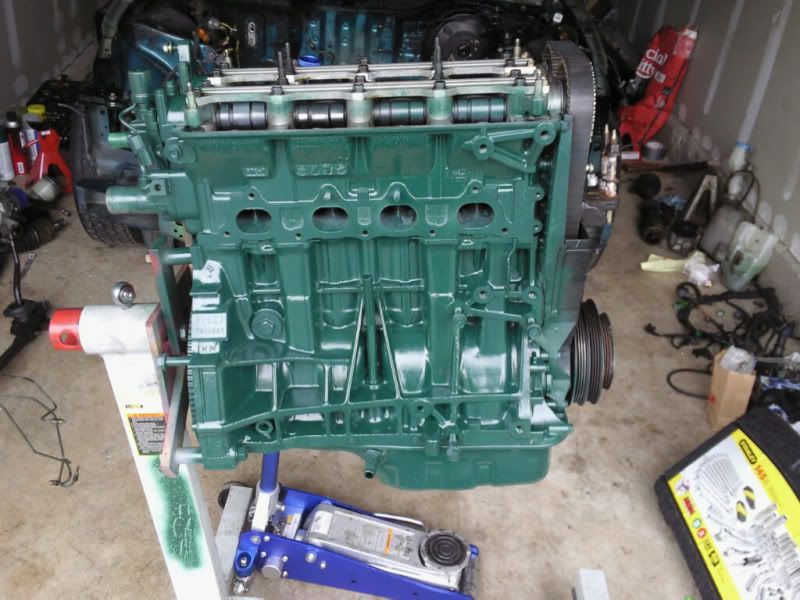
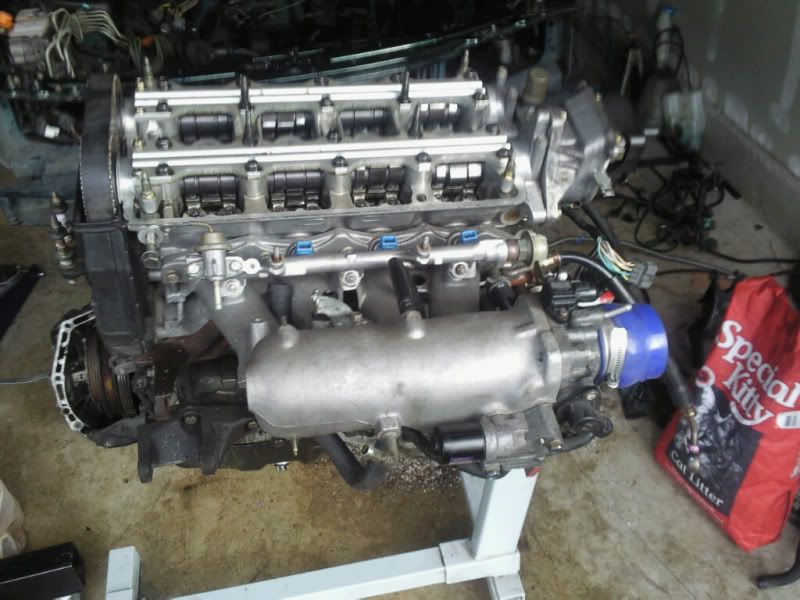
I'll post the pictures in the order I remember doing them. Well...the best I can. We started by pulling the motor.
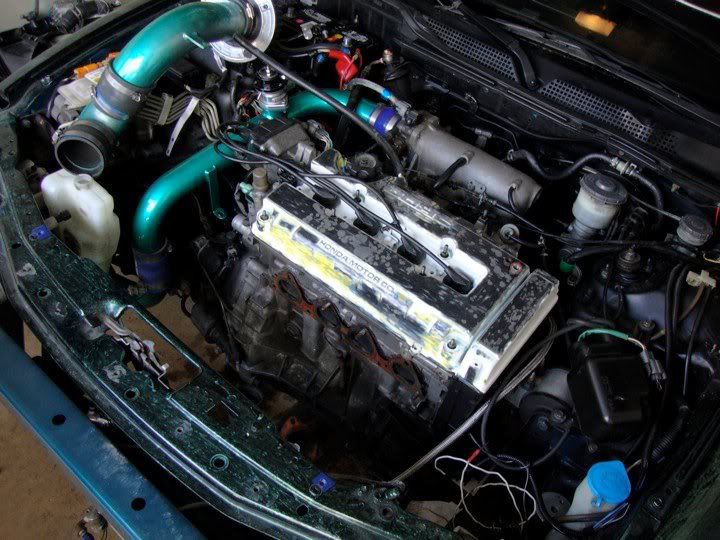
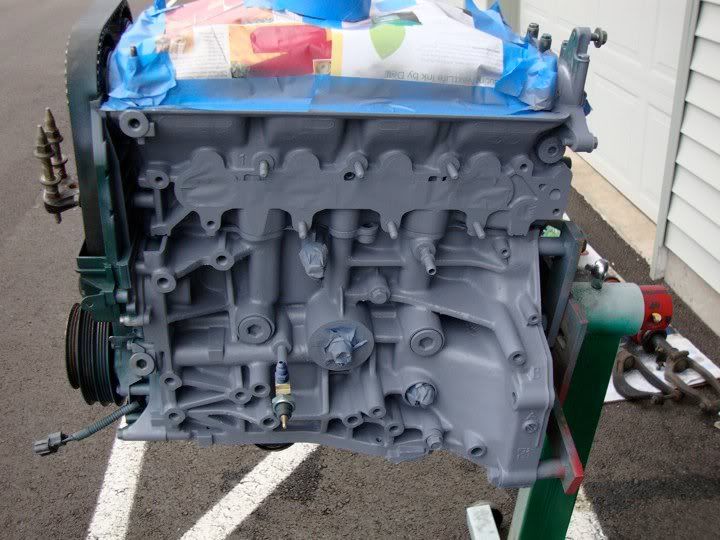
And cleaning, cleaning, cleaning. Since the color of the car is Marble Green from House of Kolors, we thought a nice dark green would look good on the motor. So, we cleaned it up and hastily painted it green. (Yeah, I know...we got paint on the cams*oops* all better now though)
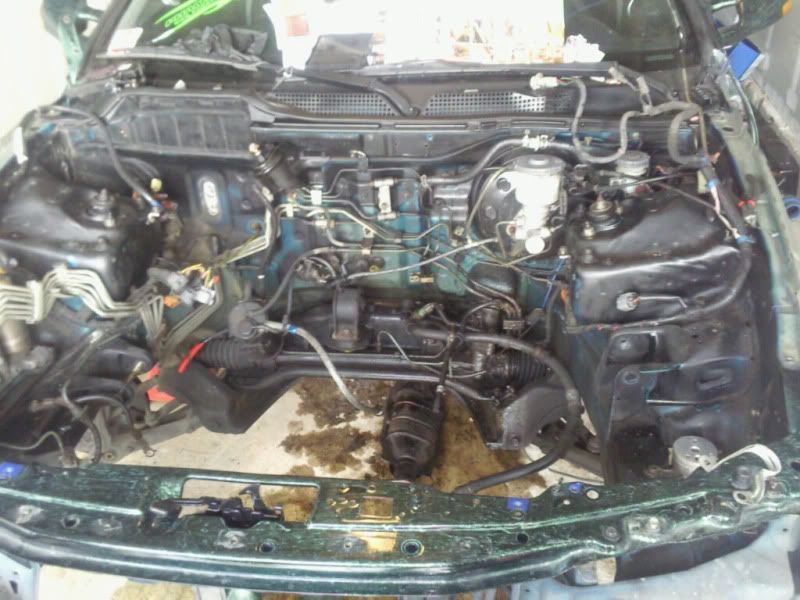
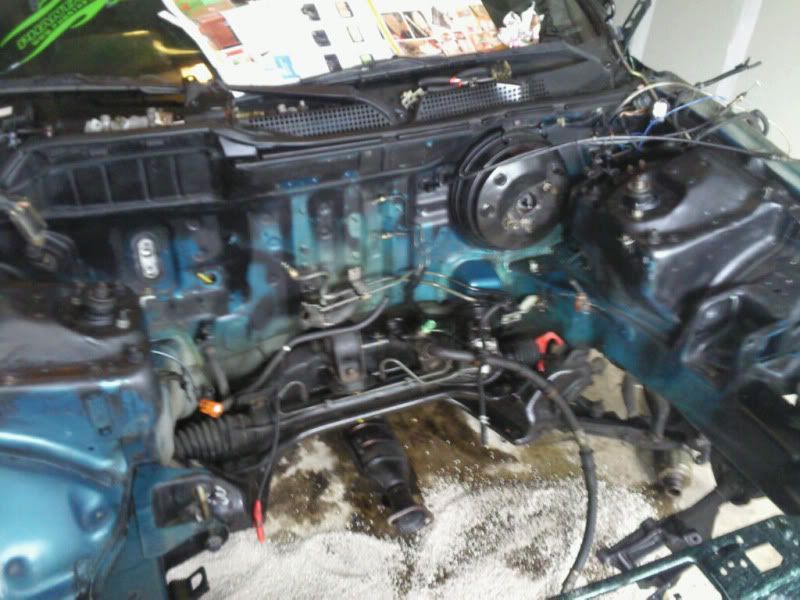
But...we didn't like it. More on that later. After that we decided to start work on the bay, we pulled all the wiring, ABS, Cruise and all that extra crap.
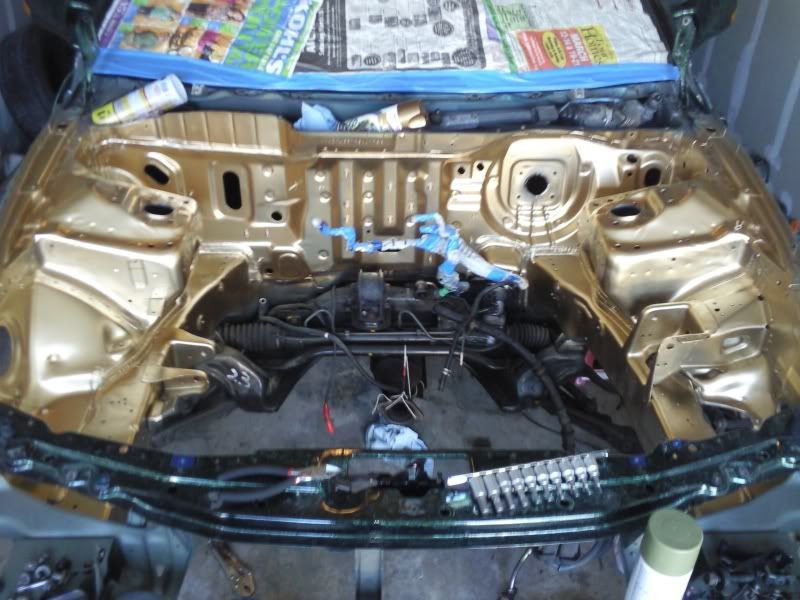
Cleaned and primed
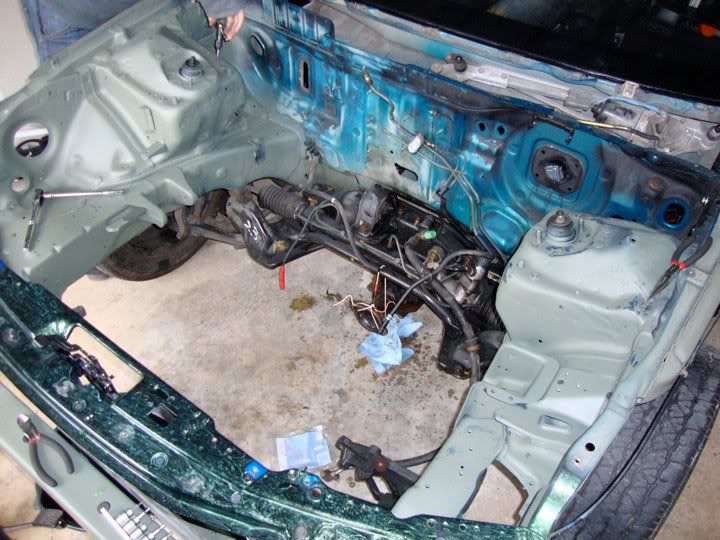
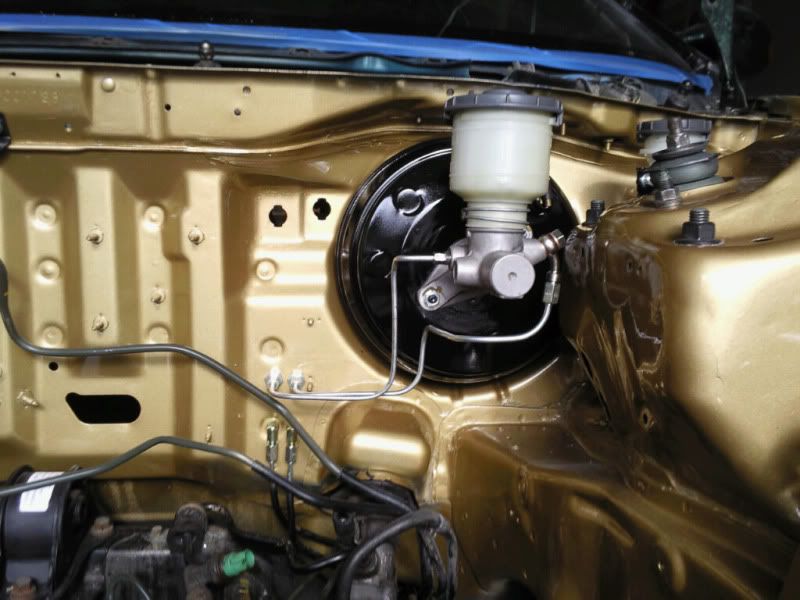
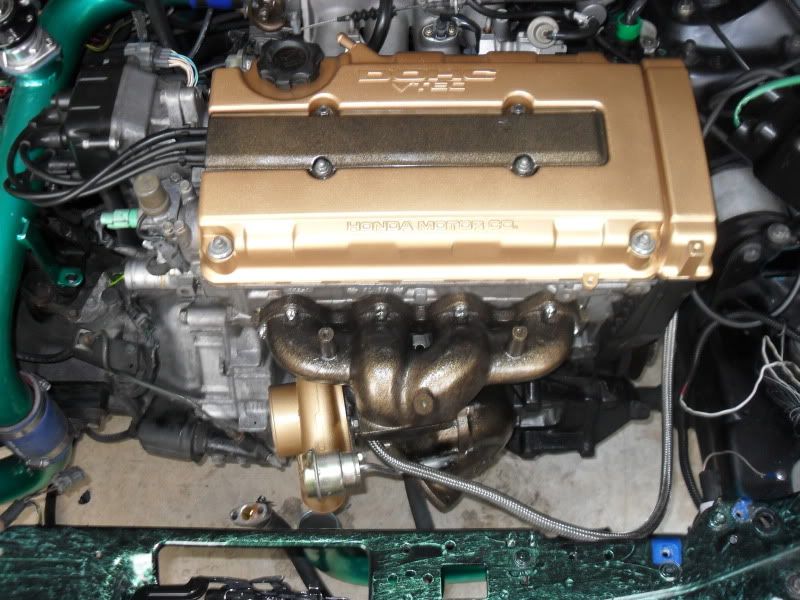
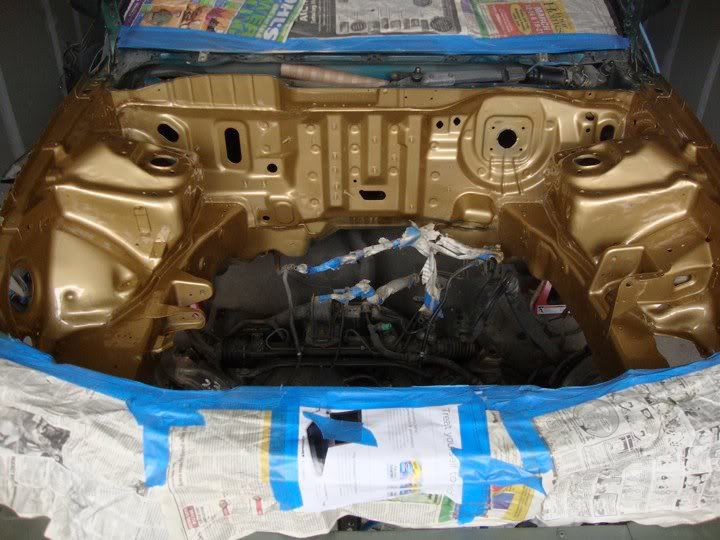
Thought it looked good, so we added some color. He's got a gold theme going throughout the rest of the car, so we decided to keep that in the engine bay.
So, I've been working on this for awhile now for a friend of mine. He started with a 94 LS, swapped in a 99 GSR with a GReddy turbo setup. All the paint, body work, body kit, ect was done before I started work on it.
Here's what I started with:
The job for me originally started when the owner got screwed over by a powdercoater. Took his car apart to coat it, went to jail, and that's how I got it...torn apart. Kinda busted looking engine bay.
We had first just talked about putting it back together and getting it running again, with a little painting/coating here and there. This is what we did first.
But, I talked him into doing more...and more...and more. Turn into a wire tuck, then an ABS tuck (Yes, we decided to keep it, but went with a newer smaller pump), and cleaning/painting the engine, and also the bay.
I'll post the pictures in the order I remember doing them. Well...the best I can. We started by pulling the motor.
And cleaning, cleaning, cleaning. Since the color of the car is Marble Green from House of Kolors, we thought a nice dark green would look good on the motor. So, we cleaned it up and hastily painted it green. (Yeah, I know...we got paint on the cams*oops* all better now though)
But...we didn't like it. More on that later. After that we decided to start work on the bay, we pulled all the wiring, ABS, Cruise and all that extra crap.
Cleaned and primed
Thought it looked good, so we added some color. He's got a gold theme going throughout the rest of the car, so we decided to keep that in the engine bay.
Thread Starter
Honda-Tech Member
Joined: Mar 2010
Posts: 56
Likes: 0
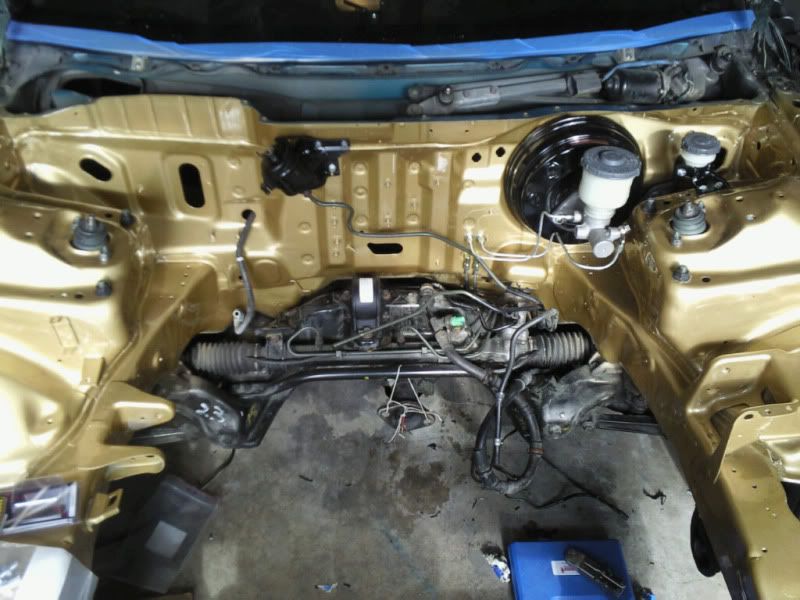
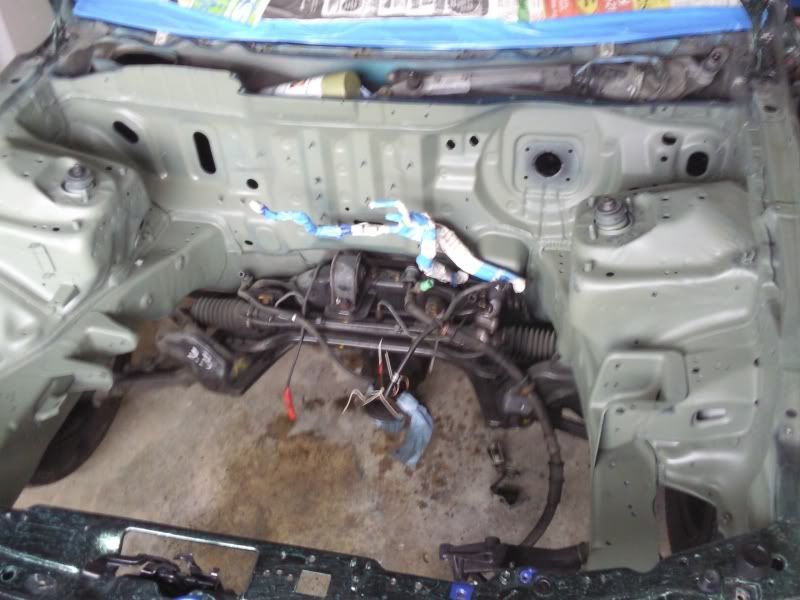
But...once again. I wasn't happy with how it turned out. I kept reading posts, and seeing shaved engine bays. And, I kinda wanted to do that. So, today we decided to start stripping the bay again. Getting rid of the excess seam sealer, and filling all the ripples, dents, dips and what nots.
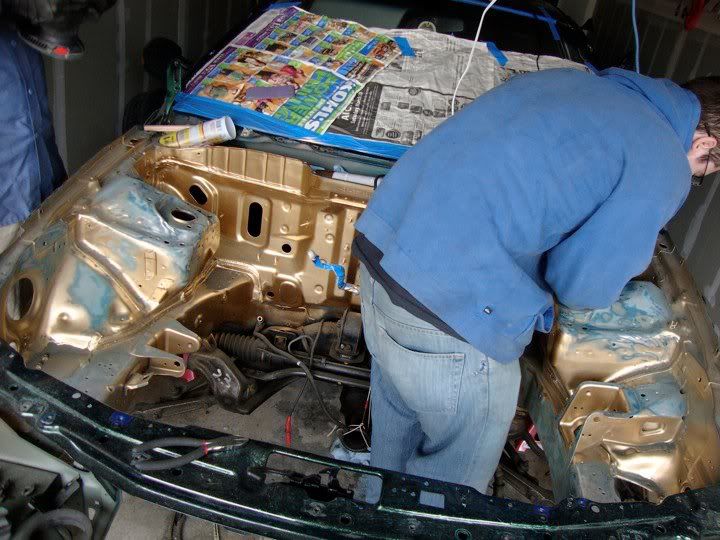
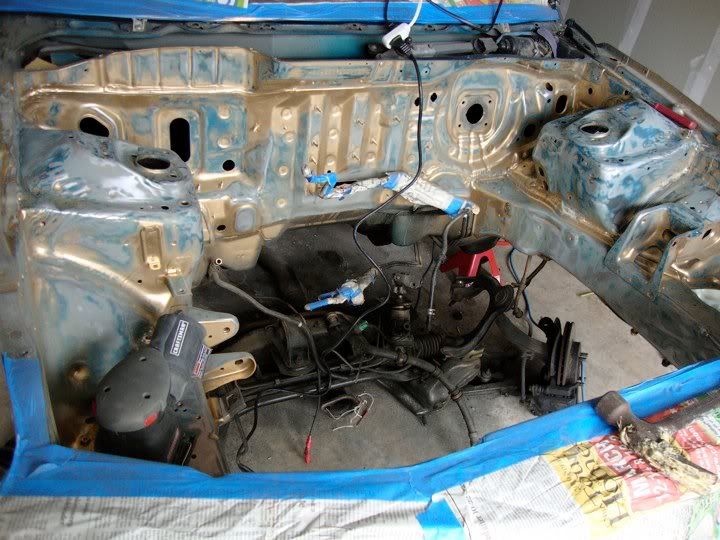
In the next couple days, we'll finish that up and get it call smooth. I'll post pictures of it once I do.
While all of this was happening, we were working inside too. Got the dash and everything out. Yanked the SRS/Airbag system(Complete system for sale if anyone wants it!!) Then the heater/AC(Going bye bye), pedals, etc.
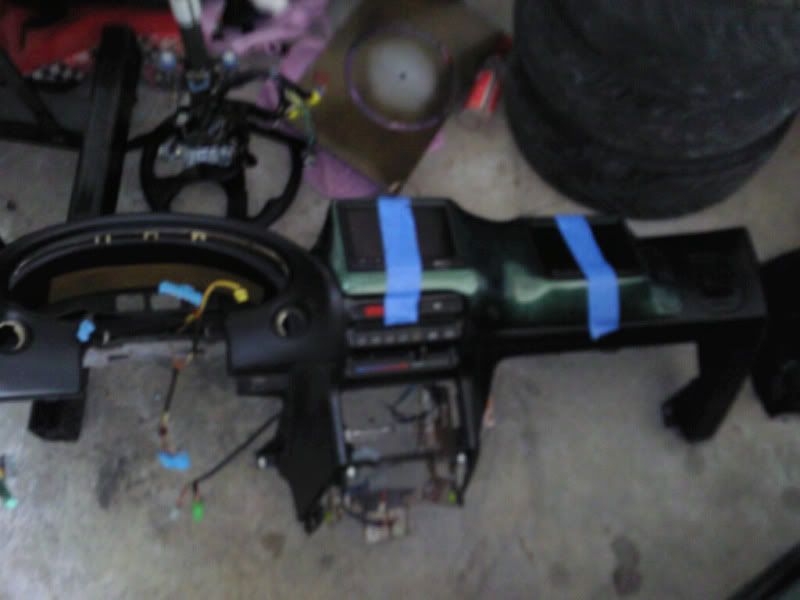

Then all the wiring! FUN FUN FUN!!!
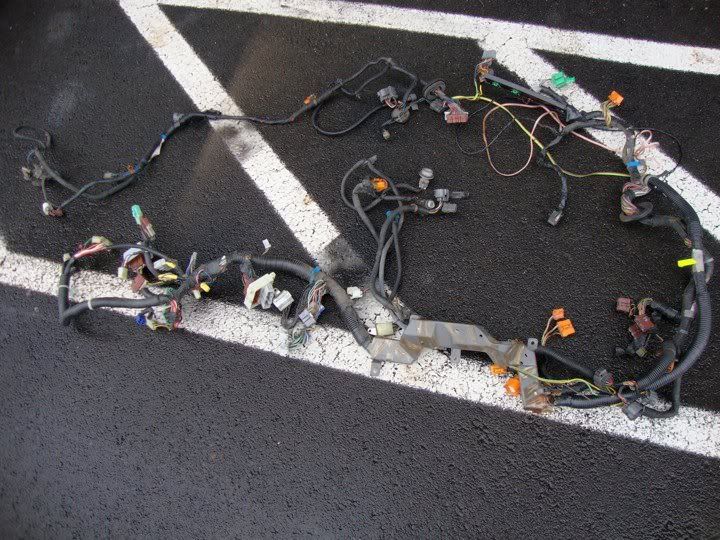
Wait....where does this go?

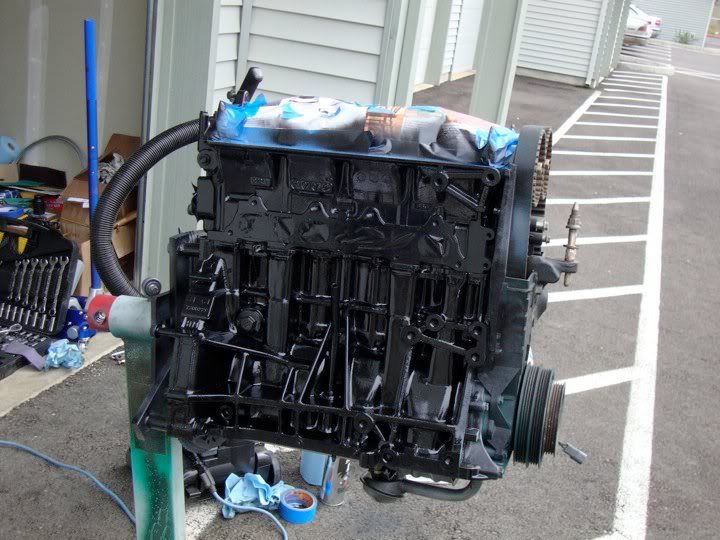
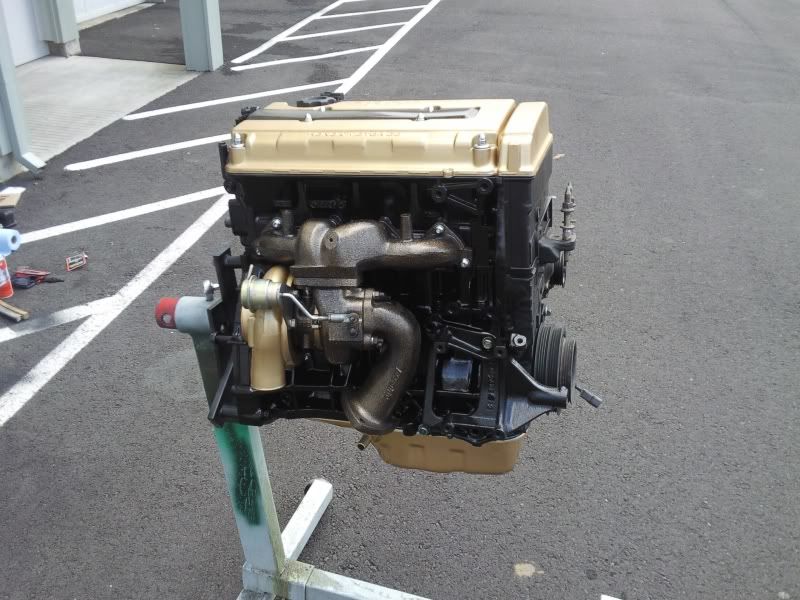
We also decided that the engine didn't look very good green. So we stripped it again, reprimed it.
and painted it black
So, that's where we're at now. I've done some more work on individual engine pieces that I'll post a few pictures of a little bit.
What do you guys think so far??
In the next couple days, we'll finish that up and get it call smooth. I'll post pictures of it once I do.
While all of this was happening, we were working inside too. Got the dash and everything out. Yanked the SRS/Airbag system(Complete system for sale if anyone wants it!!) Then the heater/AC(Going bye bye), pedals, etc.
Then all the wiring! FUN FUN FUN!!!
Wait....where does this go?
We also decided that the engine didn't look very good green. So we stripped it again, reprimed it.
and painted it black
So, that's where we're at now. I've done some more work on individual engine pieces that I'll post a few pictures of a little bit.
What do you guys think so far??
Thread Starter
Honda-Tech Member
Joined: Mar 2010
Posts: 56
Likes: 0
So, here are some random pictures of the stuff I've already painted for the engine.
But, before I show them...just a note...the car NO LONGER has Lambo hinges! Lol. It's been put back to stock. They were free for the owner, and he used them until he couldn't stand them any longer.")
Now...pictures...
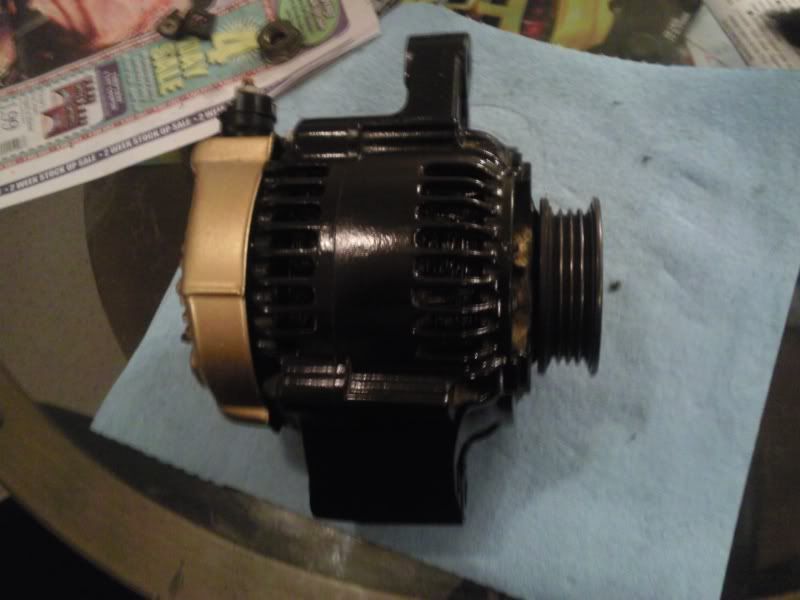
Alternator
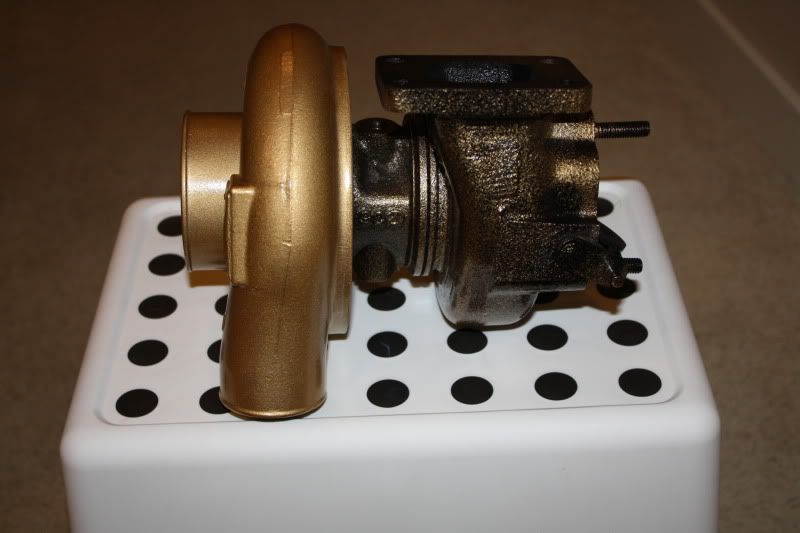
Turbo
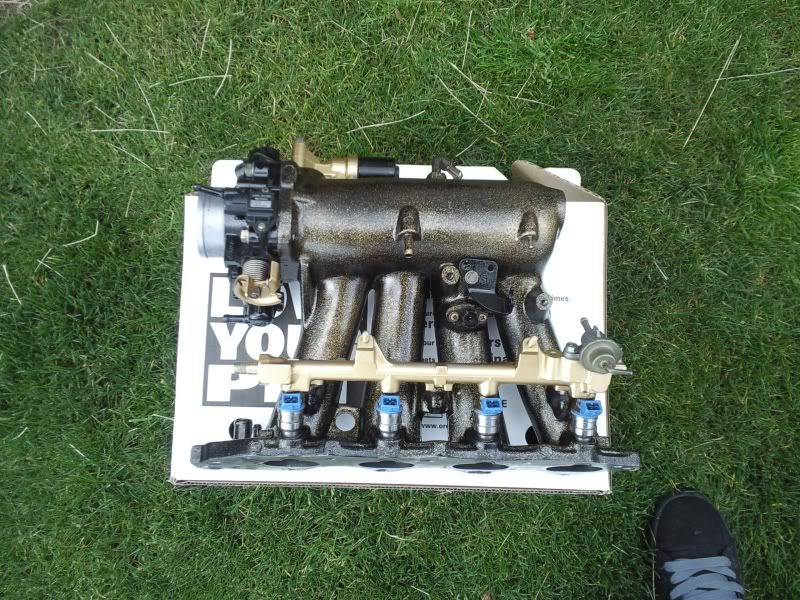
Intake Manifold and Throttle Body

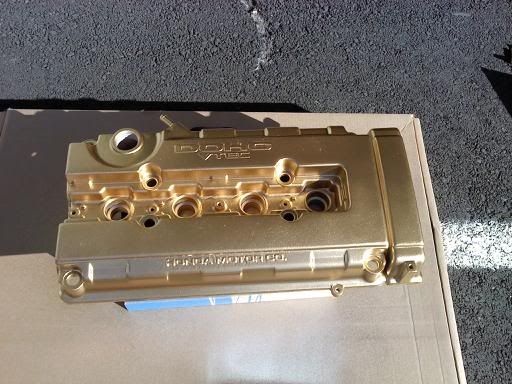
Valve Cover
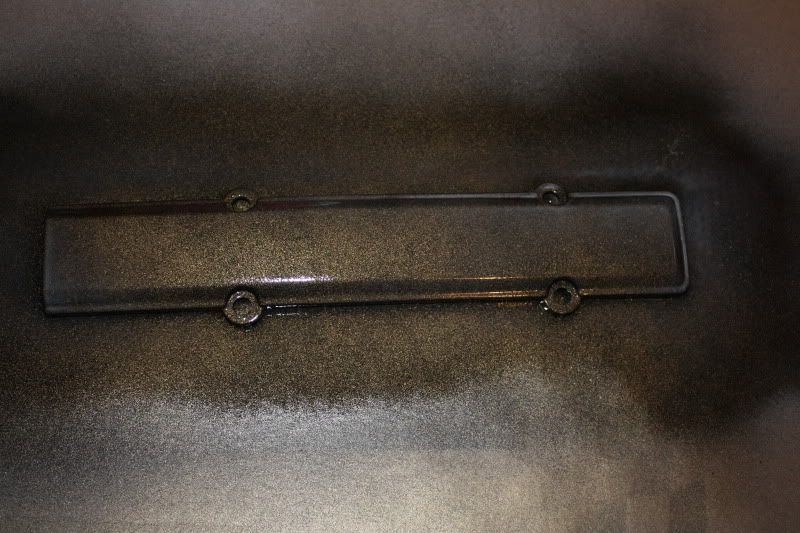
Plug Cover
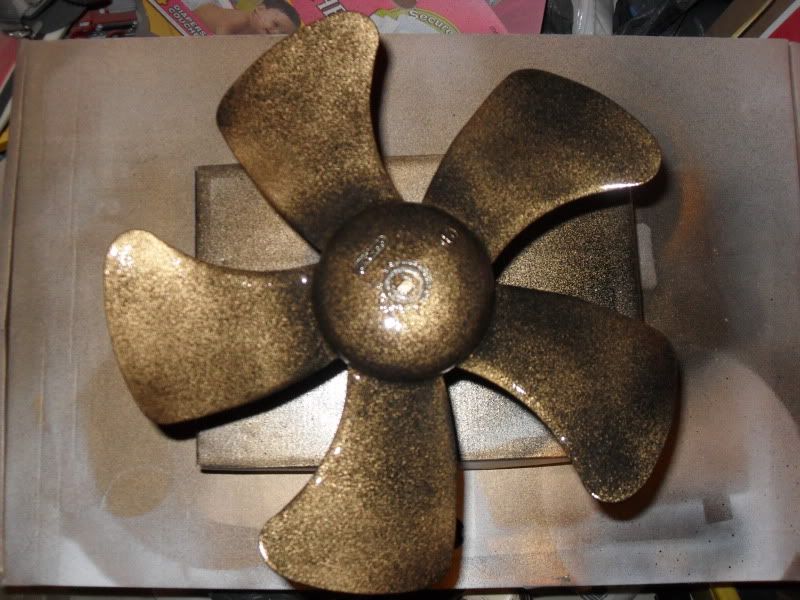
Radiator Fan
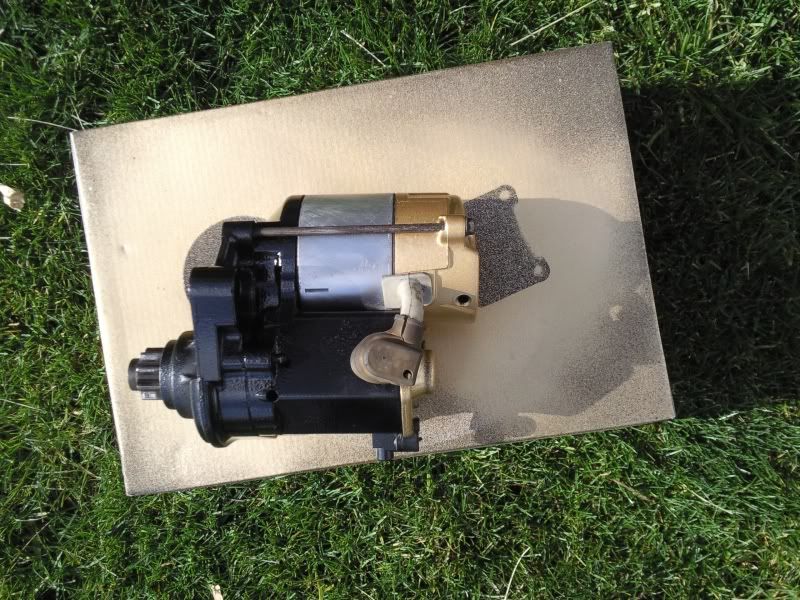
And...the starter
But, before I show them...just a note...the car NO LONGER has Lambo hinges! Lol. It's been put back to stock. They were free for the owner, and he used them until he couldn't stand them any longer.
Now...pictures...
Alternator
Turbo
Intake Manifold and Throttle Body
Valve Cover
Plug Cover
Radiator Fan
And...the starter
Honda-Tech Member
Joined: May 2003
Posts: 437
Likes: 0
From: 503/971/541
Im curious what the motor will look like when its put back together.
A few years ago i swapped an LS into my buddys EF hatch and before i put it in i painted the block gold, just because i was always curious to see what it looked like. I liked it.
Looks good so far. Glad he got rid of the lambo hinges, there nasty.
A few years ago i swapped an LS into my buddys EF hatch and before i put it in i painted the block gold, just because i was always curious to see what it looked like. I liked it.
Looks good so far. Glad he got rid of the lambo hinges, there nasty.


Joined: Jan 2002
Posts: 30,024
Likes: 59
From: Nowhere and Everywhere
omg, please tell me you're going to de-rice it and paint the exterior something else. 
Bringing the original BG-33P back to life would be excellent.
But really this needs to go in the Appearance Builds forum, since it's mostly paint and bodywork stuff.
Bringing the original BG-33P back to life would be excellent.
But really this needs to go in the Appearance Builds forum, since it's mostly paint and bodywork stuff.
for a second i thought this i was a post prob from 2005 or something. in the future, everything that is painted in the engine bay is going to just chip off and you'll have to repaint it again.
Trending Topics

Thread Starter
Honda-Tech Member
Joined: Mar 2010
Posts: 56
Likes: 0
Why would it chip off and have to be repainted? It may not end up being stripped down to bare metal, but I know how to prep existing finishes. We shouldn't have a problem with it. We may be using a "rattle can". But, it's actually a catalyzed single stage, mixed at an auto body shop.
Thread Starter
Honda-Tech Member
Joined: Mar 2010
Posts: 56
Likes: 0
Lol. The owner and I knew we would hear about the exterior color. It may be rice, but it'll stay rice for now. The company that painted the car, did a very nice job and did it for free as they are a sponsor of the car.
Thread Starter
Honda-Tech Member
Joined: Mar 2010
Posts: 56
Likes: 0
Im curious what the motor will look like when its put back together.
A few years ago i swapped an LS into my buddys EF hatch and before i put it in i painted the block gold, just because i was always curious to see what it looked like. I liked it.
Looks good so far. Glad he got rid of the lambo hinges, there nasty.
A few years ago i swapped an LS into my buddys EF hatch and before i put it in i painted the block gold, just because i was always curious to see what it looked like. I liked it.
Looks good so far. Glad he got rid of the lambo hinges, there nasty.

Thread Starter
Honda-Tech Member
Joined: Mar 2010
Posts: 56
Likes: 0
Thread Starter
Honda-Tech Member
Joined: Mar 2010
Posts: 56
Likes: 0
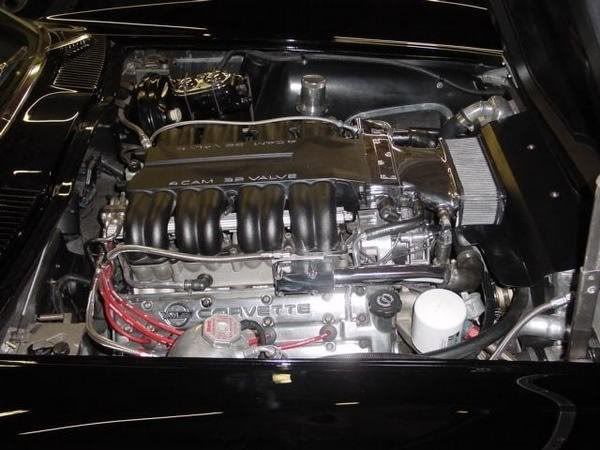
Believe it or not, everything on the motor is painted using Dupli-color engine enamel. Everything that could be was sandblasted or chemically stripped. Then grinded/sanded. Used an adhesion primer on that piece since it's kind of flexible and plastic. Then, went with the gloss black, then dusted it with the universal gold. And, then cleared it with the high heat clear. A lot of the parts I've done have been with the same method. Intake Manifold, Exhaust Manifold, etc. Once everything heats up, it'll fully cure and the gloss will come out a little more. I've had pretty good luck with this stuff. I used it a lot in the 64 'Vette ZR-1 and a ton of other projects I've done and never had any problems!

Thread Starter
Honda-Tech Member
Joined: Mar 2010
Posts: 56
Likes: 0
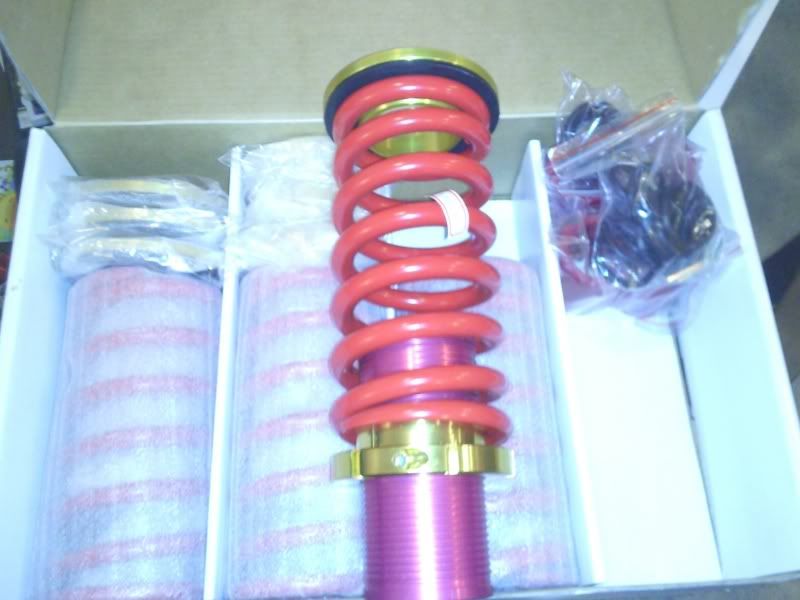
Why would they ride like ***? They're a set of Ground Control Coilover sleeves with EIBACH springs. Not a whole lot of difference. Also, it's widely agreed that the GC kits are one of the nicest rides. So...just curious why you think that?
Thread Starter
Honda-Tech Member
Joined: Mar 2010
Posts: 56
Likes: 0
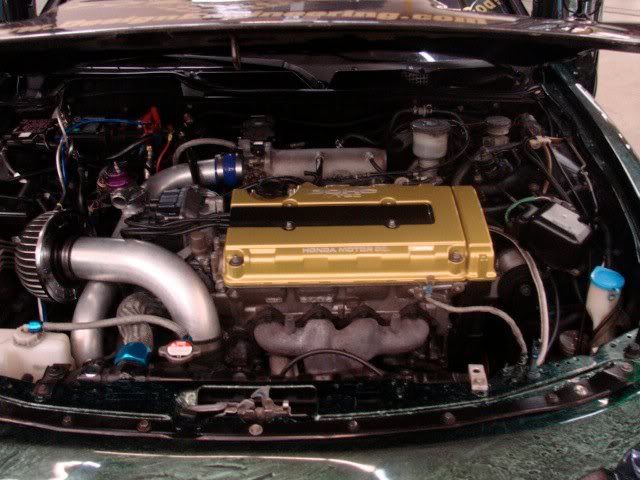
So, here's a couple quick pictures of then engine like I promised. I'll have more up soon. We're not finished with it quite yet. Still doing a timing belt and water pump. The cover will get painted when they're back off as well as the pulley.
So, we started with this.
And, ended with this.
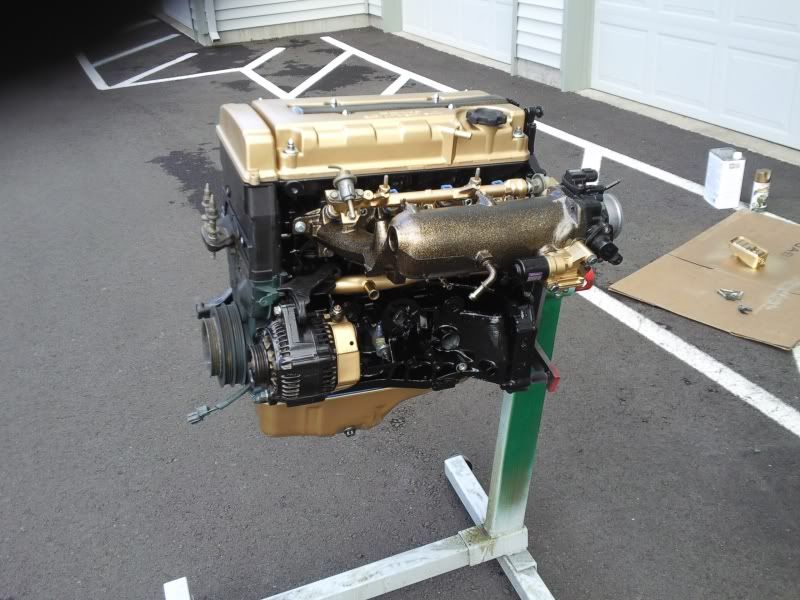
What do you guys think?
So, we started with this.
And, ended with this.
What do you guys think?
Joined: Jan 2002
Posts: 30,024
Likes: 59
From: Nowhere and Everywhere
Believe it or not, everything on the motor is painted using Dupli-color engine enamel. Everything that could be was sandblasted or chemically stripped. Then grinded/sanded. Used an adhesion primer on that piece since it's kind of flexible and plastic. Then, went with the gloss black, then dusted it with the universal gold. And, then cleared it with the high heat clear. A lot of the parts I've done have been with the same method. Intake Manifold, Exhaust Manifold, etc. Once everything heats up, it'll fully cure and the gloss will come out a little more. I've had pretty good luck with this stuff. I used it a lot in the 64 'Vette ZR-1 and a ton of other projects I've done and never had any problems!
This was on a D15 Civic engine BTW.
Thread Starter
Honda-Tech Member
Joined: Mar 2010
Posts: 56
Likes: 0
That is interesting. I've used this stuff a lot actually. As long as I've prepped it right, I haven't had any problems. I've also sprayed engines with standard automotive primer/base/clear with simliar results. It's all about the prep. Also, with the ceramic, when it's done "correctly" it's actually put on like powder coat. The spray cans that have that crap in them don't really do much of anything. You'll never get proper adhesion from a product that really needs to be electrically charged when coated. I've seen it work, but it doesn't usually last. Other people may have had different results, I guess I've been pretty lucky.
Thread Starter
Honda-Tech Member
Joined: Mar 2010
Posts: 56
Likes: 0
Finally got some more work done. Sprayed the engine bay today after a lot of filling and sanding.
Here's what we used
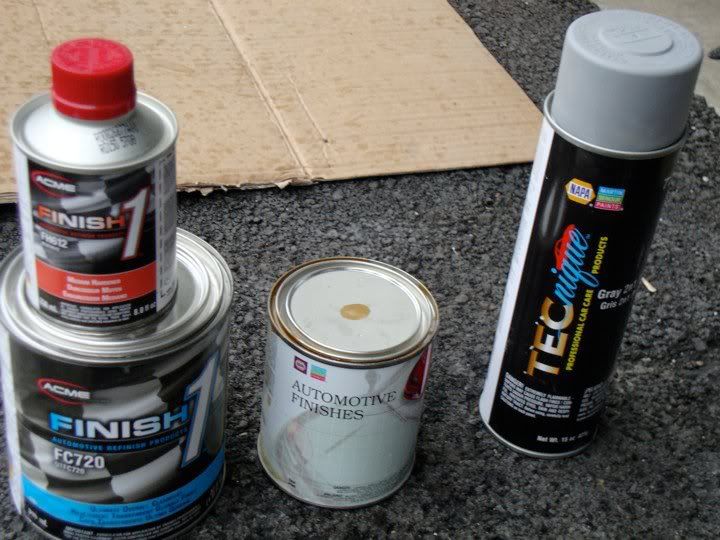
And, what we ended up with. More pictures to come soon!
Here's what we used
And, what we ended up with. More pictures to come soon!