

B&M fuel pressure gauge install...

Thread Starter
Reject Papi
iTrader: (1)
Joined: Oct 2007
Posts: 14,459
Likes: 0
From: chambersburg, pa 17202
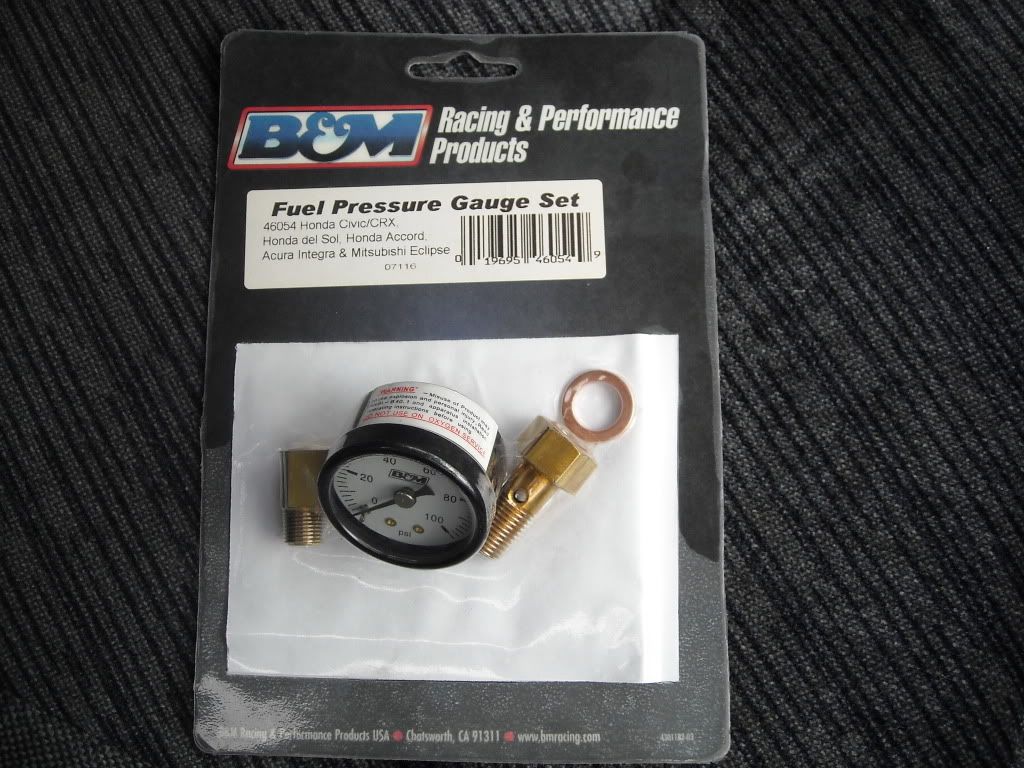
Didn't see anything in the faq on this, so I figured i'd post it up, might make it in there. The gauge cost me roughly $42, and took aproximately 10 mins to install. Enjoy!
First things first. Relieve some of the pressure in the fuel system. This did help.

The tools you will need for this are: 17mm socket/ratchet, 12mm wrench, 17mm wrench, and some teflon tape.
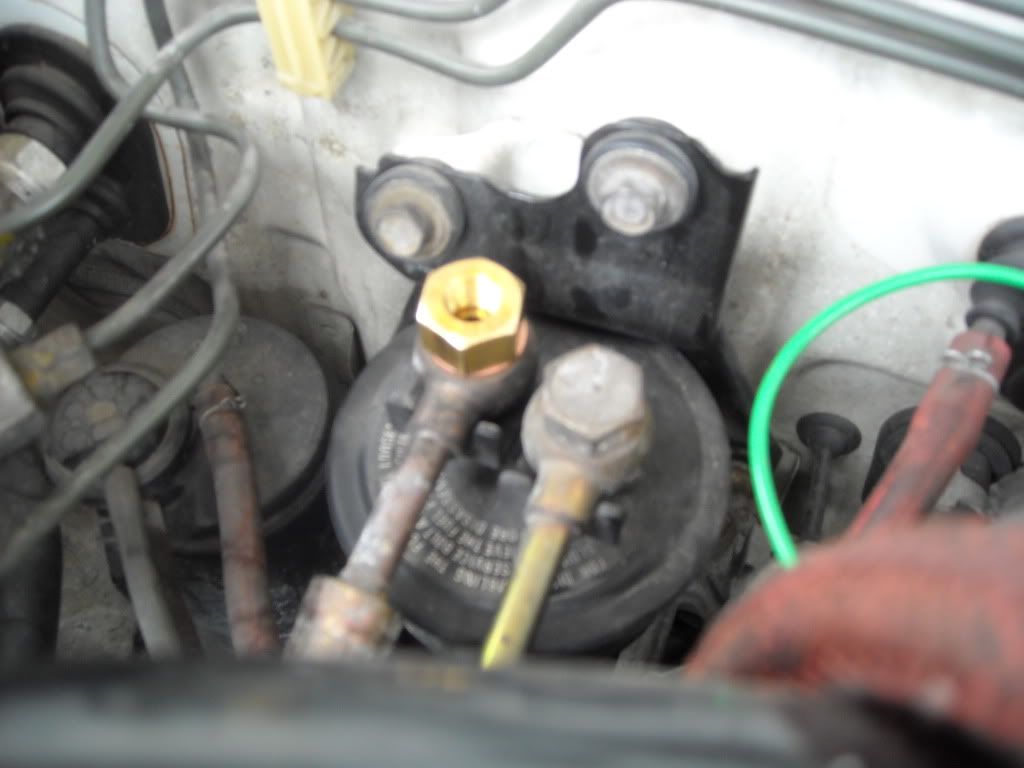
Then, begin by taking off the banjo bolt with the socket. (its the one on the passenger side) Be careful of the fuel leaking out, use a rag to catch the excess.


Here's what it should look like when you take it out.


Next, use some teflon tape on the gauge threads to help make the seal. Then, insert the NEW banjo bolt, and NEW washer through the fuel fitting on the car. But, be sure not to lose the old crush washers, you will need to reuse one of them. Install the old washer under the fuel line on top of the filter itself.
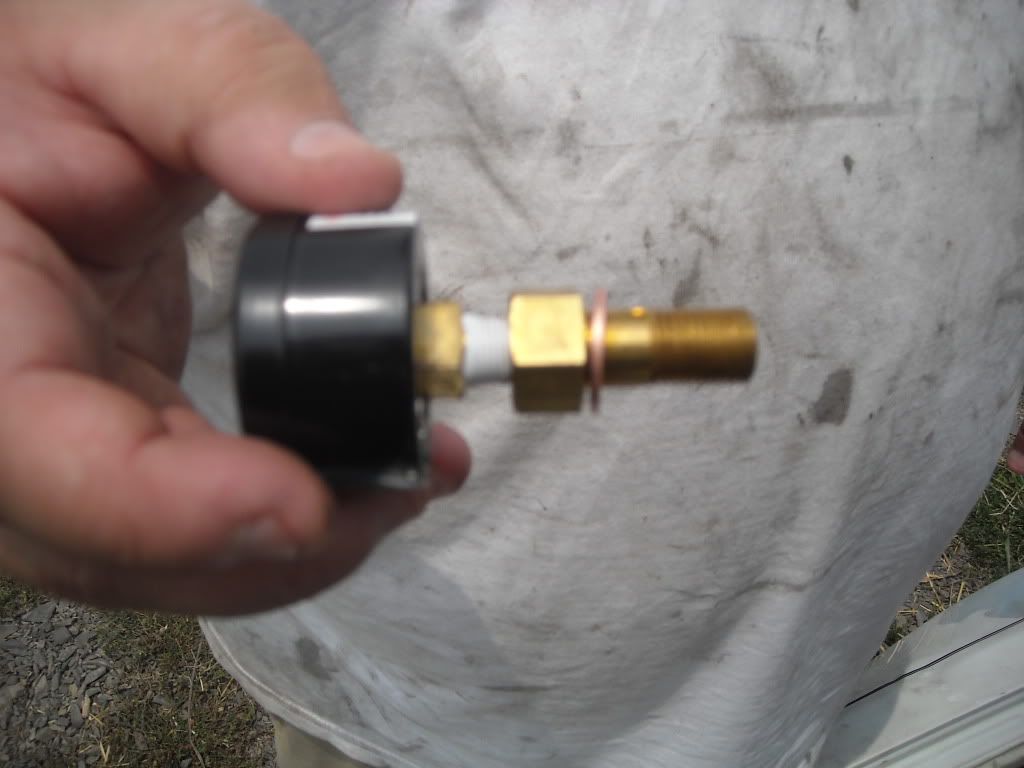
Next, spin the gauge onto the new banjo bolt, using a copper washer as a seal also. Tighten the gauge till it is tight, not till it breaks. You can then adjust the angle that the gauge sits to read it properly.

First things first. Relieve some of the pressure in the fuel system. This did help.
The tools you will need for this are: 17mm socket/ratchet, 12mm wrench, 17mm wrench, and some teflon tape.
Then, begin by taking off the banjo bolt with the socket. (its the one on the passenger side) Be careful of the fuel leaking out, use a rag to catch the excess.
Here's what it should look like when you take it out.
Next, use some teflon tape on the gauge threads to help make the seal. Then, insert the NEW banjo bolt, and NEW washer through the fuel fitting on the car. But, be sure not to lose the old crush washers, you will need to reuse one of them. Install the old washer under the fuel line on top of the filter itself.
Next, spin the gauge onto the new banjo bolt, using a copper washer as a seal also. Tighten the gauge till it is tight, not till it breaks. You can then adjust the angle that the gauge sits to read it properly.

Thread
Thread Starter
Forum
Replies
Last Post
ek-g6
Honda Civic / Del Sol (1992 - 2000)
8
Nov 15, 2007 10:29 PM
mike2016
Forced Induction
1
Jul 3, 2001 01:01 PM