

DIY Retro-Fit in 01-03 civic


Thread Starter
Junior Member
Joined: Jun 2002
Posts: 301
Likes: 0
From: Toronto, Ontario, Canada
First bake the set of lights in the oven,
I left mine in for 5 minz at 250 preheated.
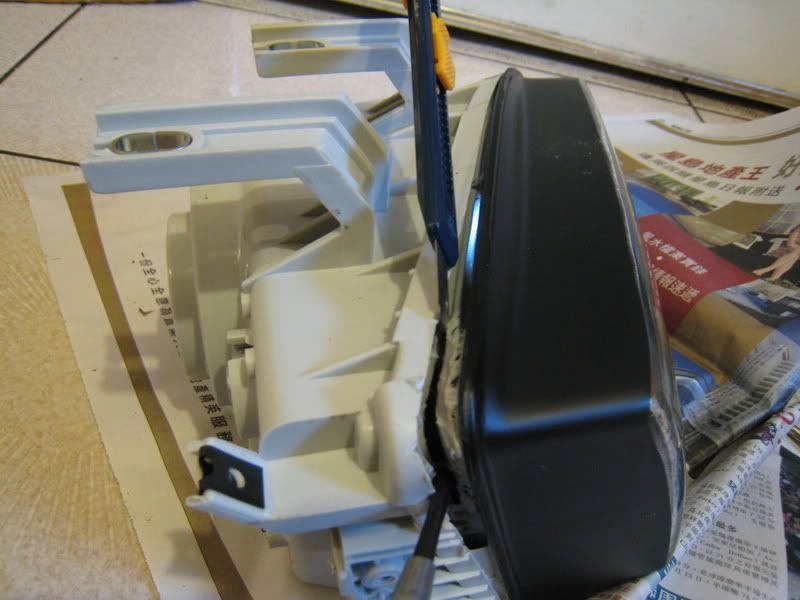
Pry open the lights carefully and use a razor blade if nessesary to cut the glue.
(these are my other headlights but you get the idea)
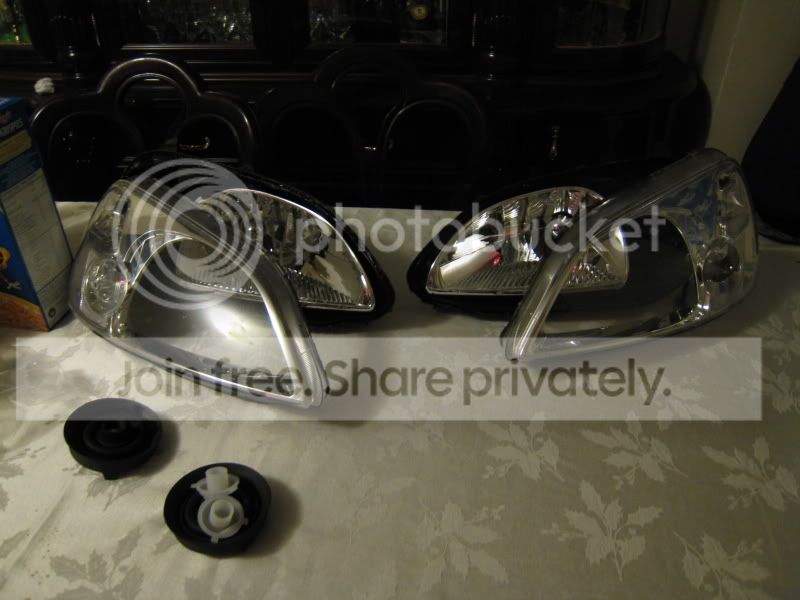
You'll get this after
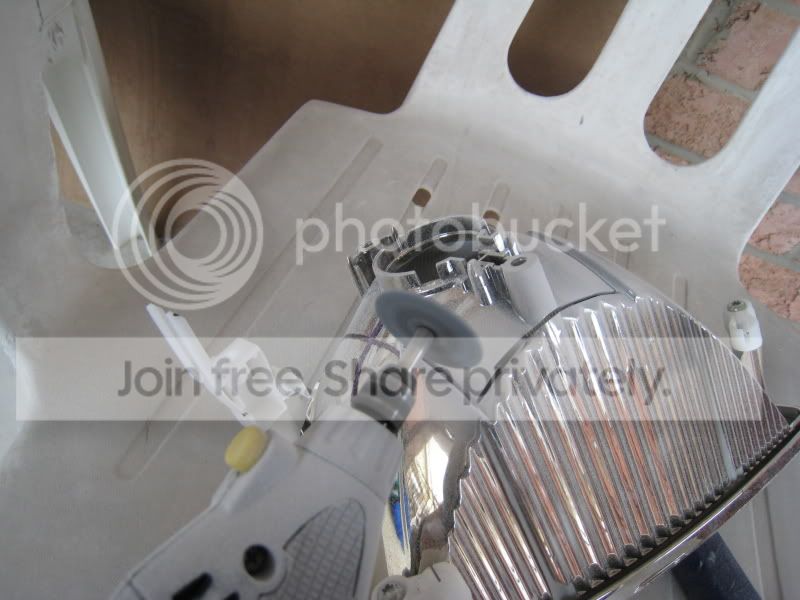
Now take apart the housing and for the back of the reflector part you want to mark out somthing like this

Now get your dremel out with a fiberglass re-enforced cutting disc and dremel away
Then you'll get this( i cut a litte more material off the lower part for ease of access later when i adjust the screws)


Test fit to see if you need to cut anymore material off.

Then get some L brackets and cut the corner like so

Put the L brackets on and mark the holes in the reflector part and drill the holes in the reflector.
then you'll get somthing like this

Then adjust your horizontal adjustments.
I used a lazer leveler and leveled the botton of the oval circle of the TSX projectors bowls till they lined up
I put 2 bolts at the bottom so if i want to adjust i just move the top bolt till it levels and tighten the 3rd nut on top.

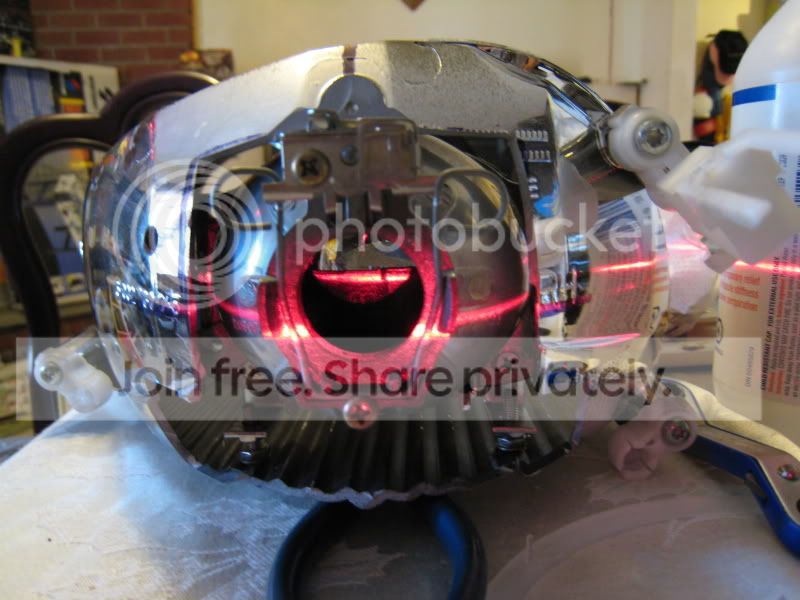
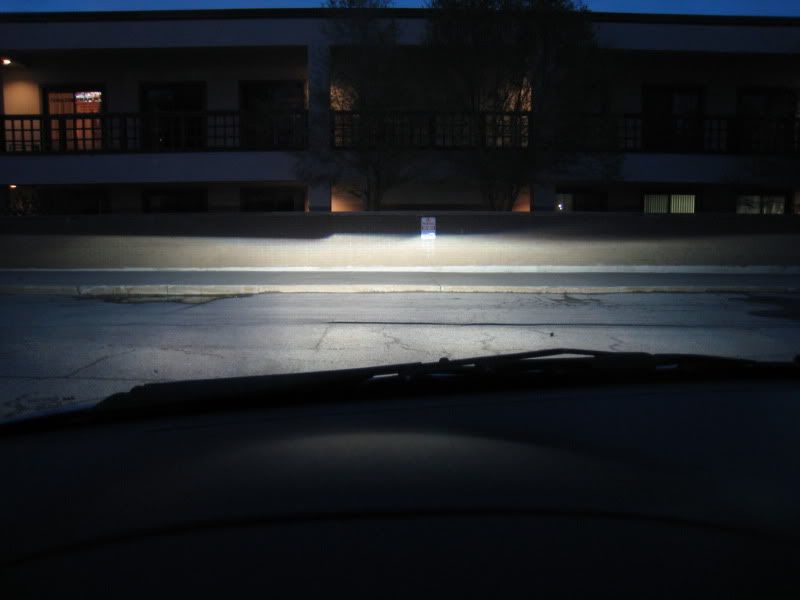
Time to test the horizontal cut off.
I used my flashlight and put it where the bulb socket is so i dont' have to use the hid bulb
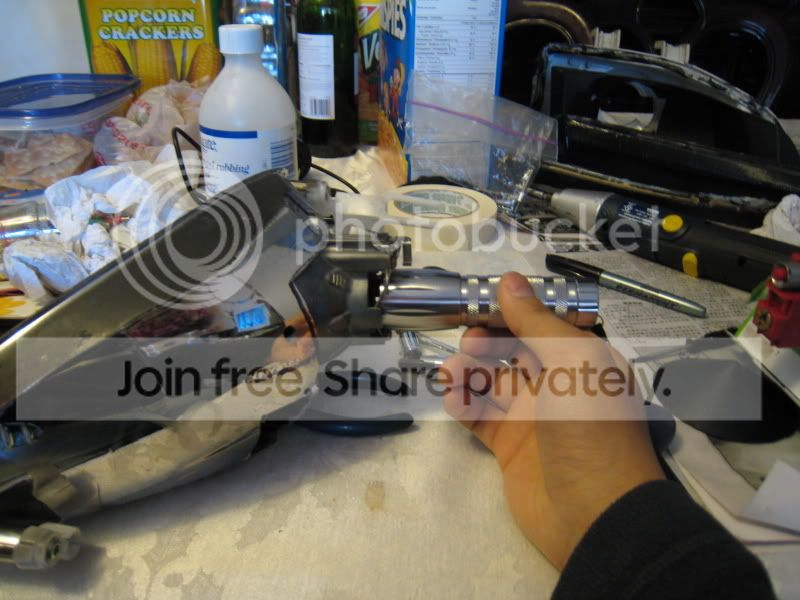


Perfect
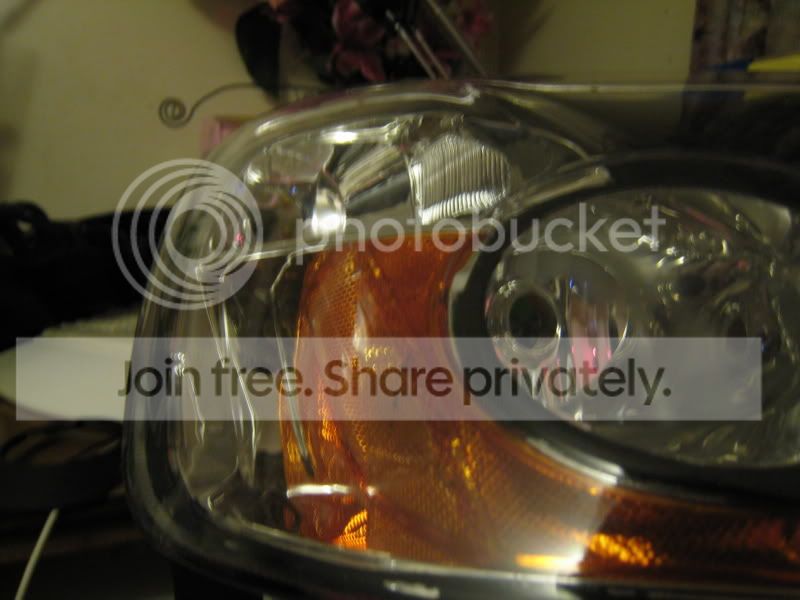
Now is the time if you want to black out your housing.
When i got my housing, the previous person had clear them.
For legal purposes i wanted the orange reflector in there so i get less hassel from cops in the future.
I poped out the white reflector and painted it with translousant orange glass paint which you can get at the hobbie store.
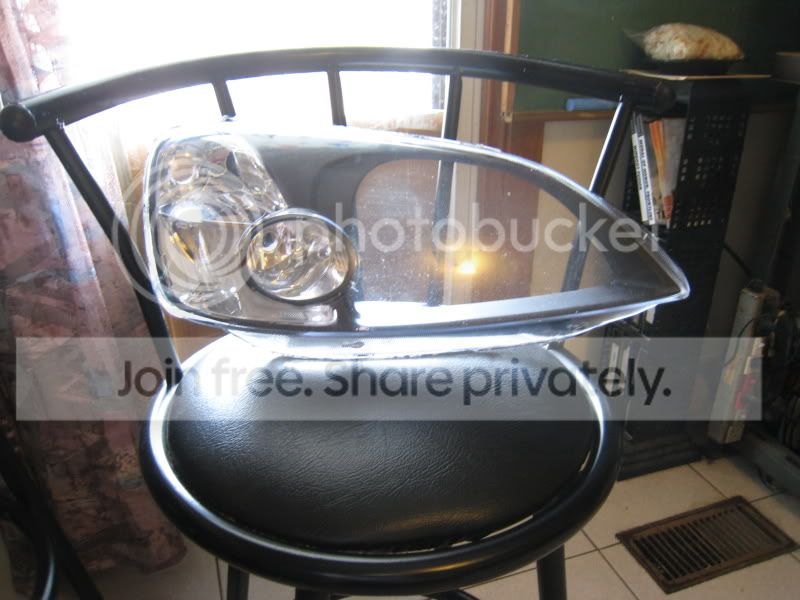
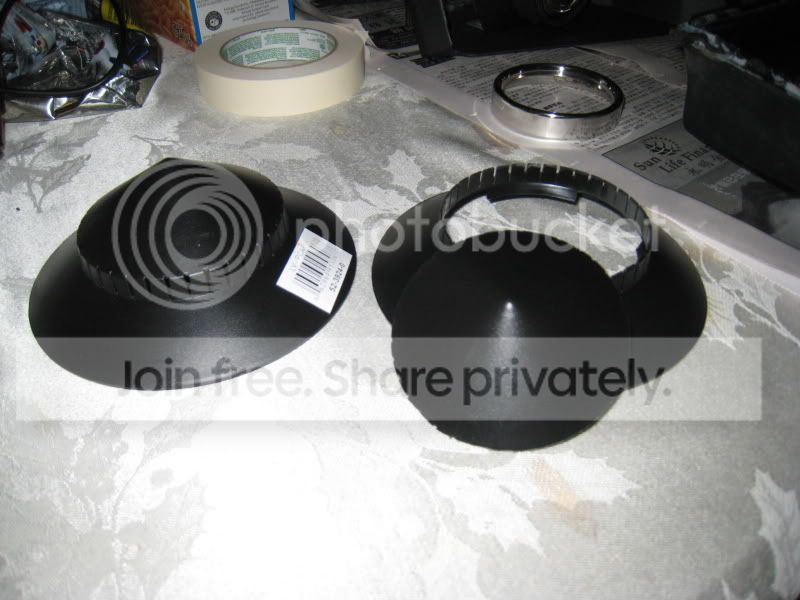
Now it's time for the shrouds
I used the top plastic peice for garden lamps from your local candian tire

Cut the top off with a razor blade

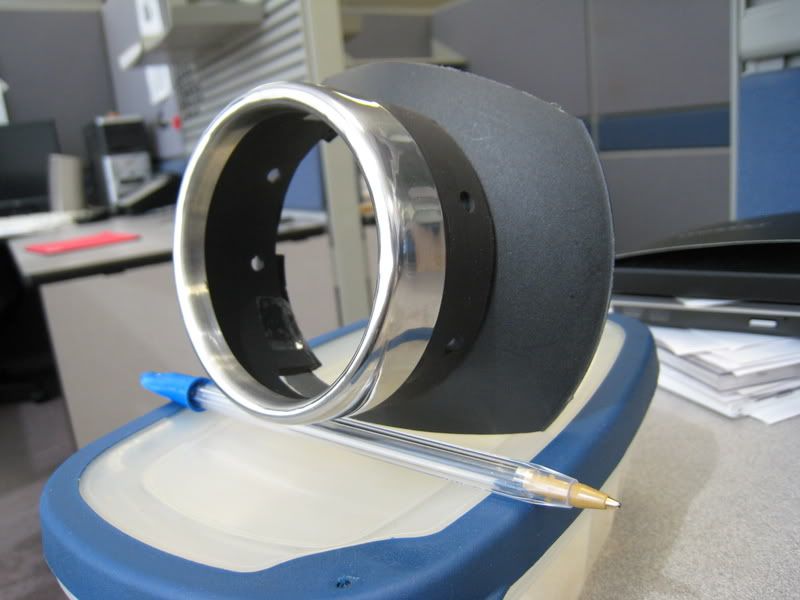
I used a pvc pipe with a thermos mug ring for the mid section

Then you'll get somthing like this when you put it all together
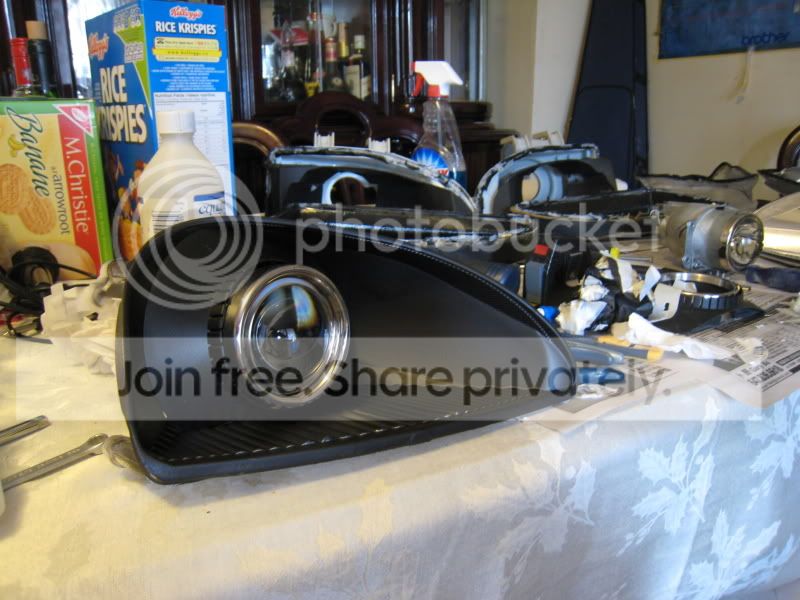


I just threw the peices together and see how it looks

Put them on the car now


Cut off line....still need some minor adjustments


I actually broke the adjustment screw from maxing out the "up" adjustment so i had to swap out some parts. I wanted it to be more stock so i threw on the stock reflector peice.
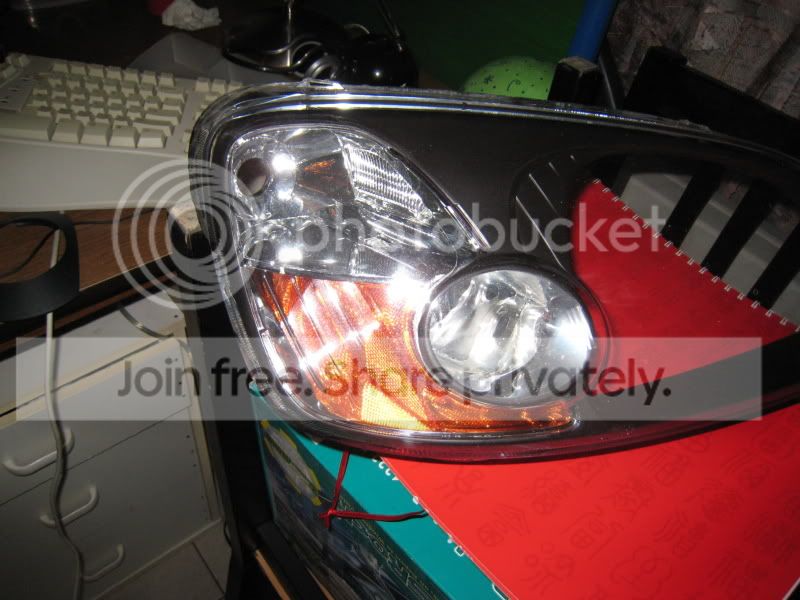
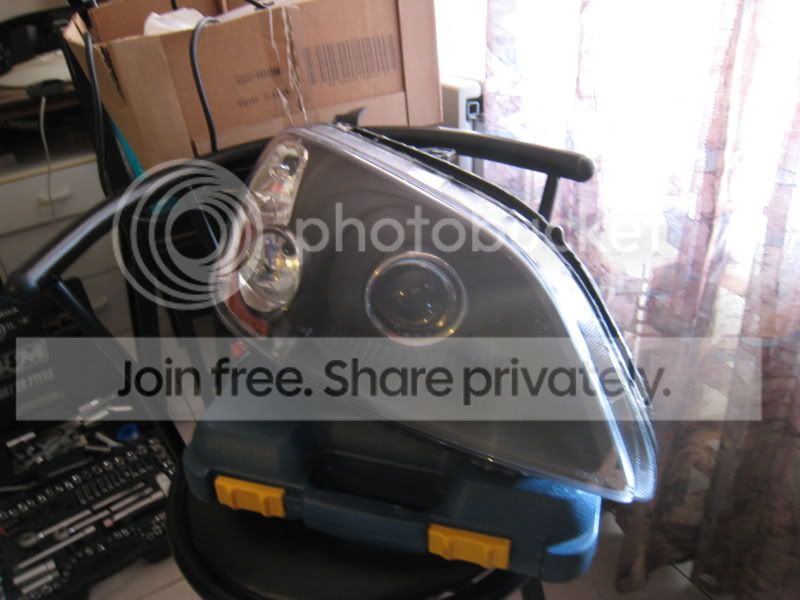
Here's what it looks like now.

More pics to come agian
come back soon!
I left mine in for 5 minz at 250 preheated.
Pry open the lights carefully and use a razor blade if nessesary to cut the glue.
(these are my other headlights but you get the idea)
You'll get this after
Now take apart the housing and for the back of the reflector part you want to mark out somthing like this
Now get your dremel out with a fiberglass re-enforced cutting disc and dremel away
Then you'll get this( i cut a litte more material off the lower part for ease of access later when i adjust the screws)
Test fit to see if you need to cut anymore material off.
Then get some L brackets and cut the corner like so
Put the L brackets on and mark the holes in the reflector part and drill the holes in the reflector.
then you'll get somthing like this
Then adjust your horizontal adjustments.
I used a lazer leveler and leveled the botton of the oval circle of the TSX projectors bowls till they lined up
I put 2 bolts at the bottom so if i want to adjust i just move the top bolt till it levels and tighten the 3rd nut on top.
Time to test the horizontal cut off.
I used my flashlight and put it where the bulb socket is so i dont' have to use the hid bulb
Perfect
Now is the time if you want to black out your housing.
When i got my housing, the previous person had clear them.
For legal purposes i wanted the orange reflector in there so i get less hassel from cops in the future.
I poped out the white reflector and painted it with translousant orange glass paint which you can get at the hobbie store.
Now it's time for the shrouds
I used the top plastic peice for garden lamps from your local candian tire
Cut the top off with a razor blade
I used a pvc pipe with a thermos mug ring for the mid section
Then you'll get somthing like this when you put it all together
I just threw the peices together and see how it looks
Put them on the car now
Cut off line....still need some minor adjustments
I actually broke the adjustment screw from maxing out the "up" adjustment so i had to swap out some parts. I wanted it to be more stock so i threw on the stock reflector peice.
Here's what it looks like now.
More pics to come agian
come back soon!
Last edited by denshu; May 12, 2009 at 09:50 AM.
Junior Member
Joined: Dec 2003
Posts: 143
Likes: 0
From: fresno, ca, u.s.a
It's looking pretty good so far from the pics! Great write up, I'm sure some of the guys who has these models and years would def appreciate this. Would love to see the cutoff lines once your're all done.


Thread
Thread Starter
Forum
Replies
Last Post
Need_for_speed
Lighting
37
Nov 5, 2008 07:55 PM
J1A1H
Honda Civic / Del Sol (1992 - 2000)
5
Apr 10, 2006 10:24 AM
tthomass
Honda Civic / Del Sol (1992 - 2000)
7
Oct 28, 2005 09:46 AM