

Presidential Detailed: 1991 Acura NSX - KBM

Thread Starter
Joined: Oct 2005
Posts: 1,470
Likes: 0
From: Tampa, FL
After a very fun weekend at Autogeeks Detail Fest, and a very informational class with Mike Phillips at the Meguiars training class it was time to get back to work on Monday morning. I had a beautiful black NSX waiting for me! I had just received my new G110 polisher earlier last week and was dying to give it a shot with the KBM and M105 and M205 as well! As with almost every other NSX I have seen, it had super soft paint so one or two passes with M105 on a 8207 Polishing Pad using the G110 on speed setting 5 with moderate pressure for the first couple passes and then lightening up for 1-2 more passes was good for full defect removal to my surprise, but who am I kidding, I used the KBM!! :chuckle:
I have never had anything but great results using M105 no matter what method or machine I used and I was eager to try out M205. I used this with Megs 9207 Finishing Pad. It did a great job at clearing up any marring from the previous polishing step and left a pretty good finish, but I wasnt convinced it was the best finish I could get. I could pull the car into the sun, shine the halogens and there was no signs of holograms or swirls, but I noticed by using the flash on my camera the finish just seemed a bit hazy to me. This was later confirmed with one more pass using 3m Ultrafina on a 3m Finishing pad using the G110 as well, this left the finish unbelievably deep and glossy and the haziness I saw was no longer apparent. I am not by any means knocking on M205, as I believe it would be a great finishing product on maybe a little harder clear. The NSX has one of the softest clears out there, and M205 may have been just a little too aggressive to finish down completely on this particular car. Who knows, it could have been my technique being it was my first car to ever use a DA on! :waxing:
Process:
M105/Megs 8207 Polishing Pad KBM
M205/Megs 9207 Finishing Pad MPM(Thats right, Mike Phillips method, a little something we learned last weekend )
)
3m UF/3m UK Finishing Pad
LSP:
Optimum Opti-Seal left to cure overnight
Dodo Juice Supernatural x2
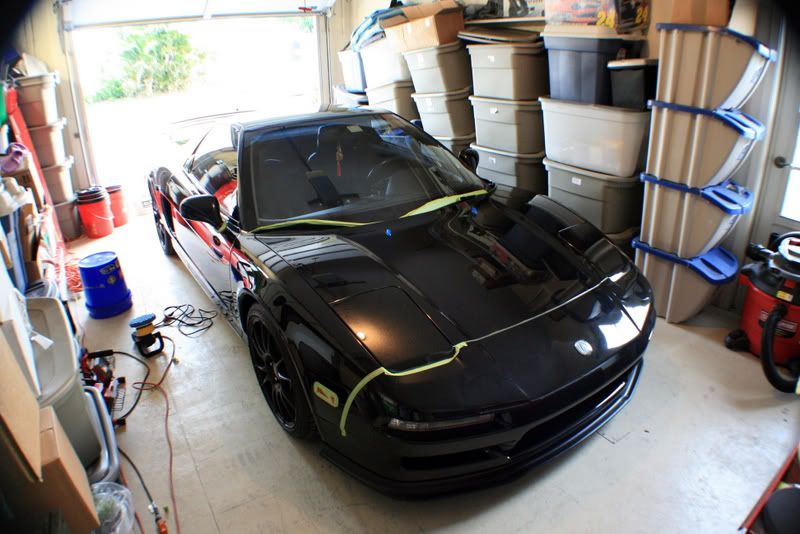
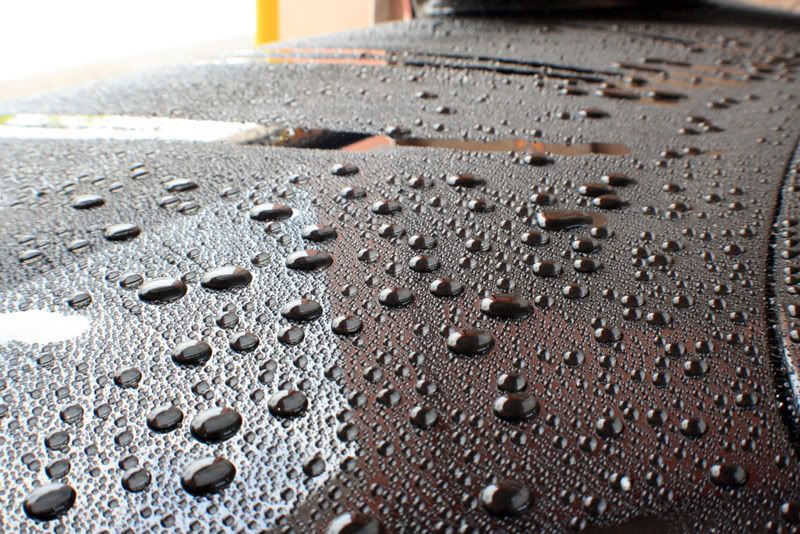
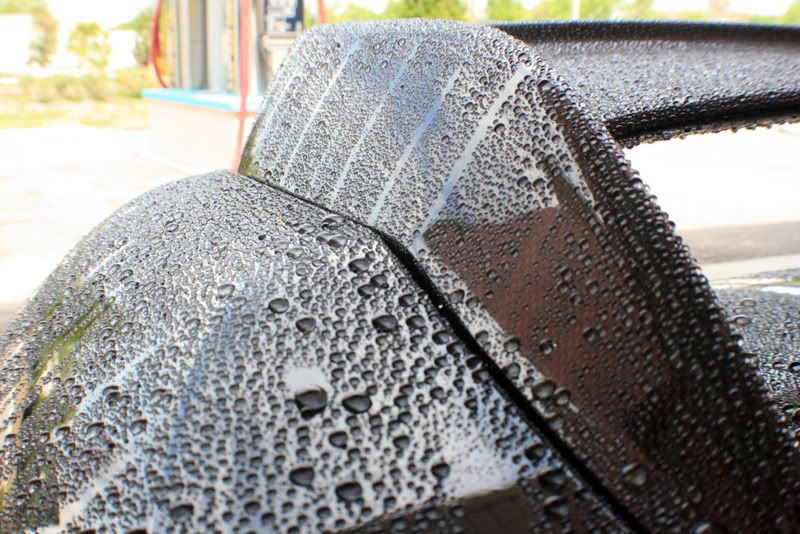
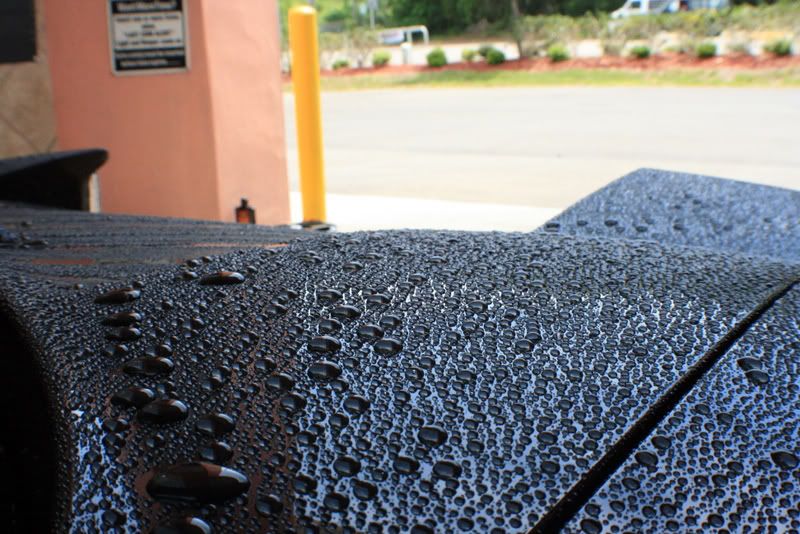
As soon as I pulled the car out it started to rain so I pulled out the EZ-UP tent and proceeded to prep the car for polishing.
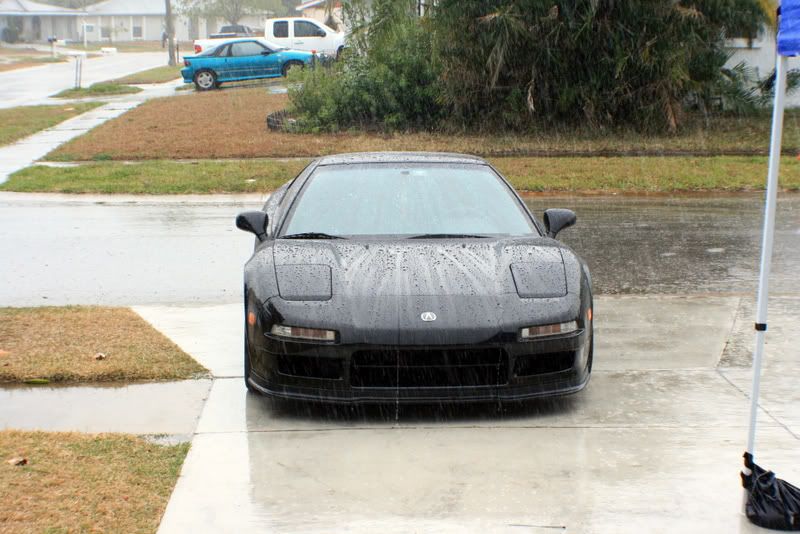
This did reveal one thing to me though, this car had a TON of wax on it as it was beading quite well.

I ended up washing the car three times with Dawn Soap, twice before clay, and once after to ensure the surface was completely clean. The car was no longer beading at this point so I was happy.

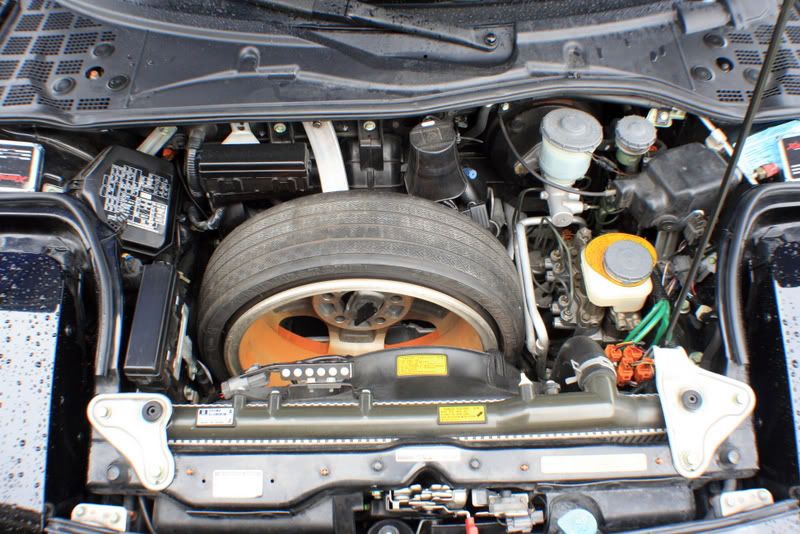
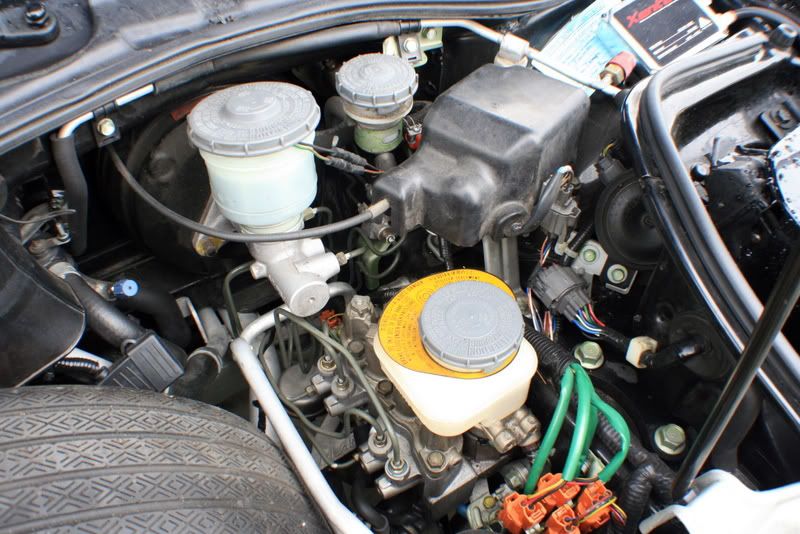
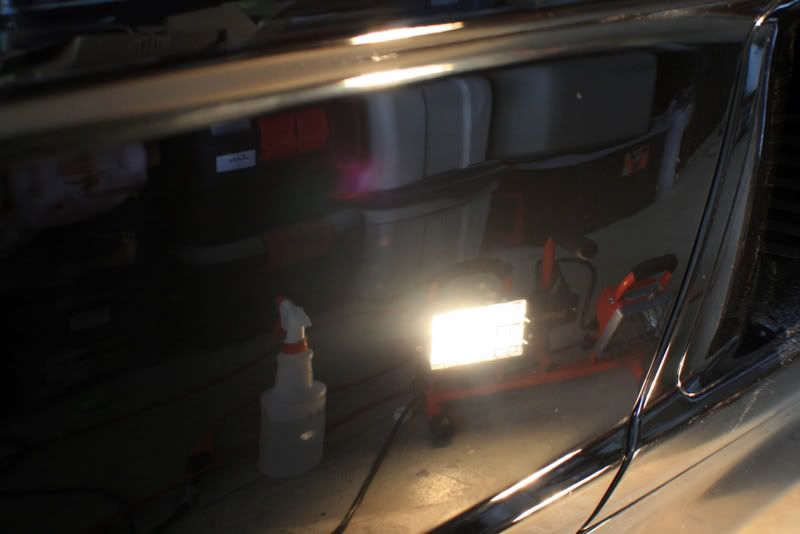
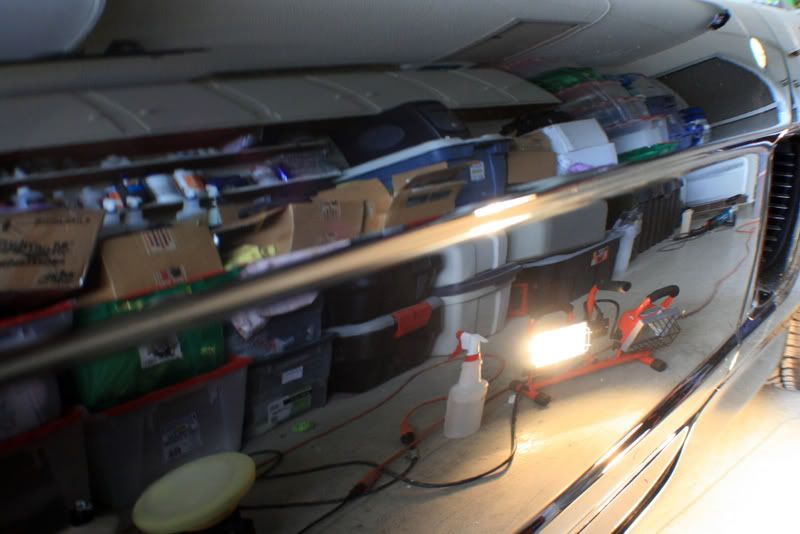
I removed the spare tire so that I could better access the front compartment..
AFTER:
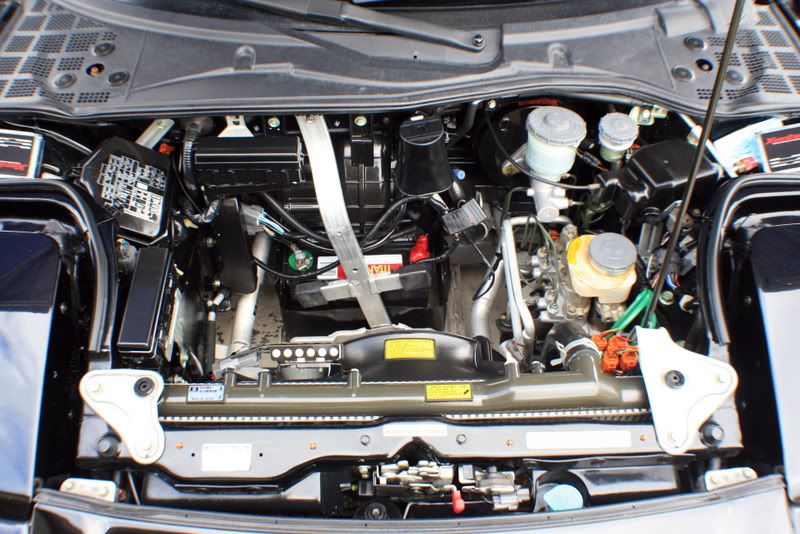

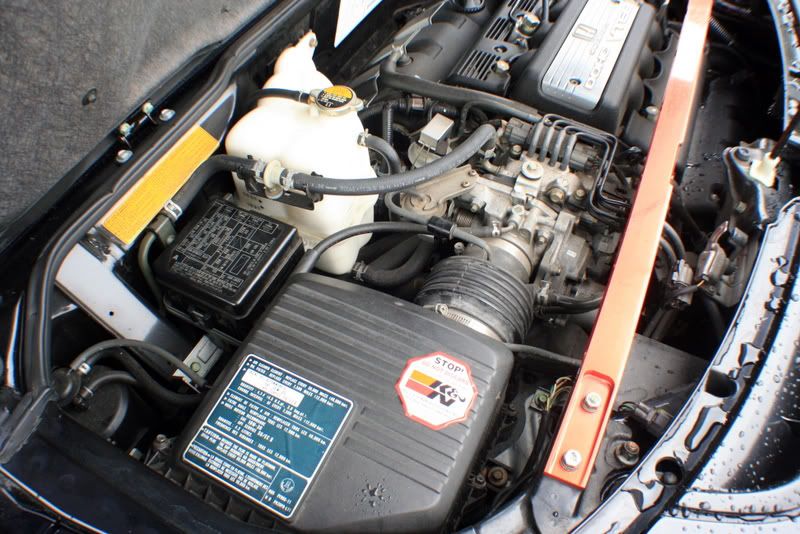
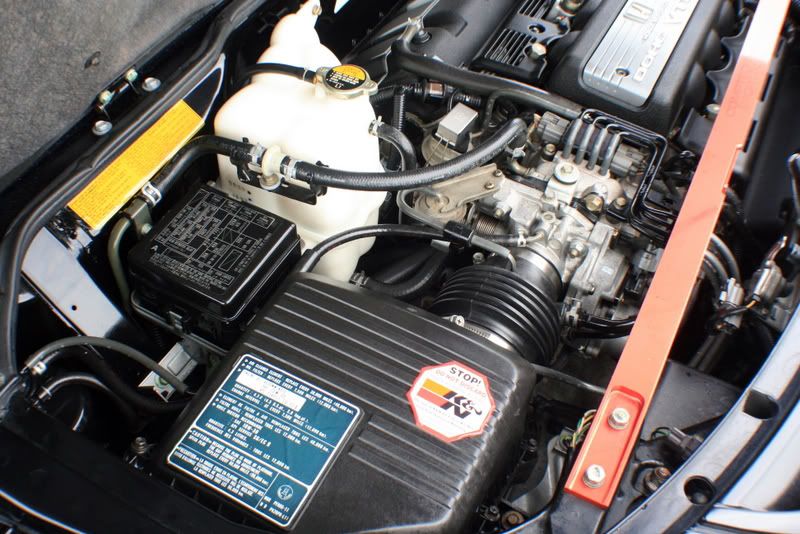
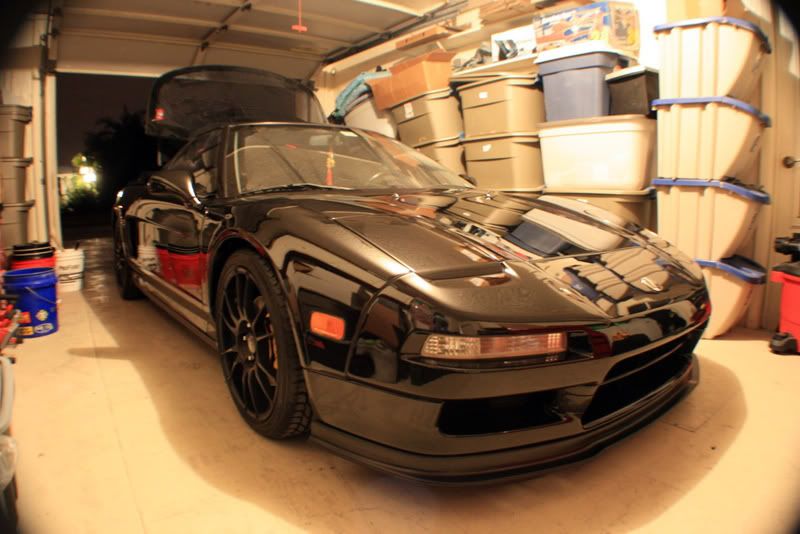
The engine was cleaned up as well..
Before:

After:
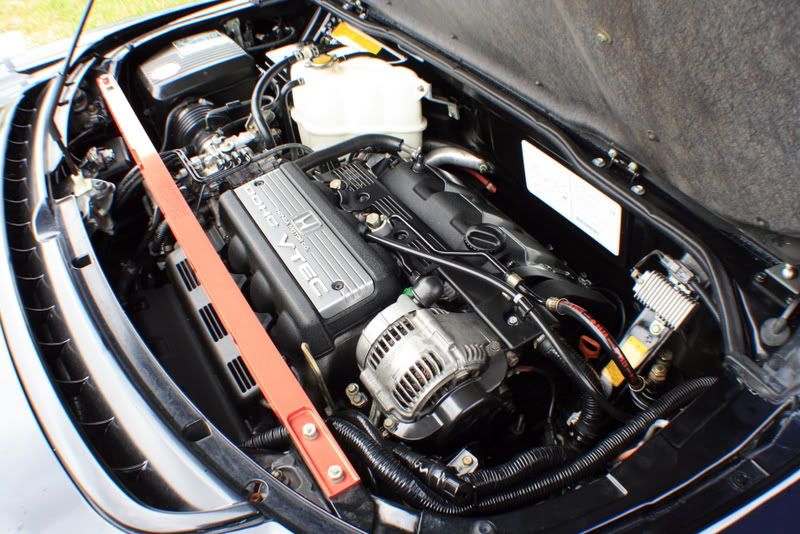
It was sprinkling still, which is why the airbox looks uneven, it was later touched up.
I have never had anything but great results using M105 no matter what method or machine I used and I was eager to try out M205. I used this with Megs 9207 Finishing Pad. It did a great job at clearing up any marring from the previous polishing step and left a pretty good finish, but I wasnt convinced it was the best finish I could get. I could pull the car into the sun, shine the halogens and there was no signs of holograms or swirls, but I noticed by using the flash on my camera the finish just seemed a bit hazy to me. This was later confirmed with one more pass using 3m Ultrafina on a 3m Finishing pad using the G110 as well, this left the finish unbelievably deep and glossy and the haziness I saw was no longer apparent. I am not by any means knocking on M205, as I believe it would be a great finishing product on maybe a little harder clear. The NSX has one of the softest clears out there, and M205 may have been just a little too aggressive to finish down completely on this particular car. Who knows, it could have been my technique being it was my first car to ever use a DA on! :waxing:
Process:
M105/Megs 8207 Polishing Pad KBM
M205/Megs 9207 Finishing Pad MPM(Thats right, Mike Phillips method, a little something we learned last weekend
) 3m UF/3m UK Finishing Pad
LSP:
Optimum Opti-Seal left to cure overnight
Dodo Juice Supernatural x2
As soon as I pulled the car out it started to rain so I pulled out the EZ-UP tent and proceeded to prep the car for polishing.
This did reveal one thing to me though, this car had a TON of wax on it as it was beading quite well.
I ended up washing the car three times with Dawn Soap, twice before clay, and once after to ensure the surface was completely clean. The car was no longer beading at this point so I was happy.
I removed the spare tire so that I could better access the front compartment..
AFTER:
The engine was cleaned up as well..
Before:
After:
It was sprinkling still, which is why the airbox looks uneven, it was later touched up.
Thread Starter
Joined: Oct 2005
Posts: 1,470
Likes: 0
From: Tampa, FL
The car was pretty rough after removing all the oils from the previous waxes, etc.
I started with a test spot on the hood to see how much work this thing would need, and pleasantly it only took a few passes with M105/8207 to correct.
I decided this area would be best to start with..
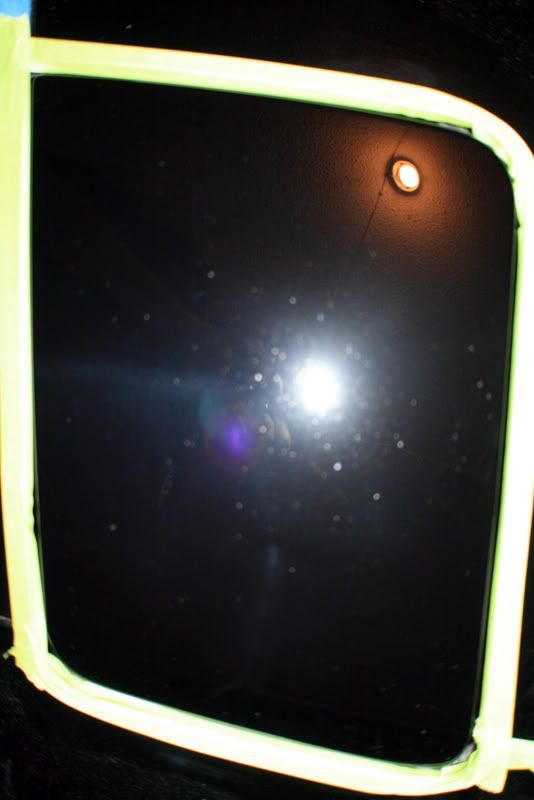
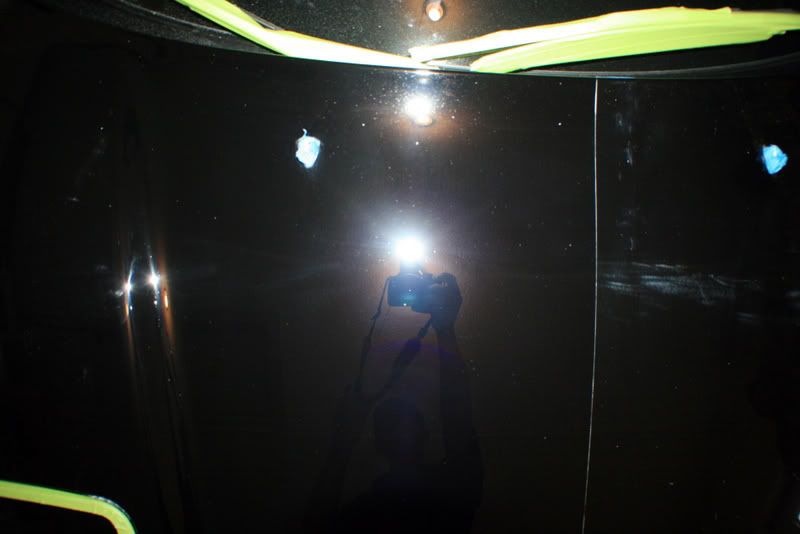
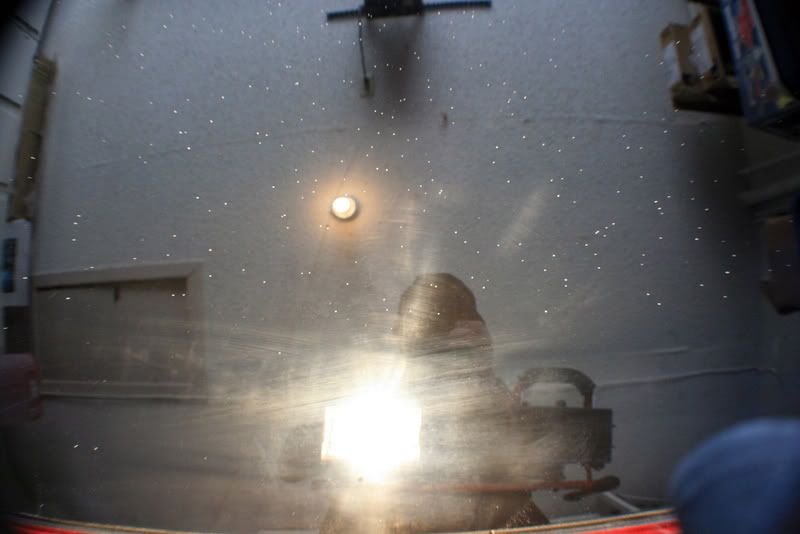
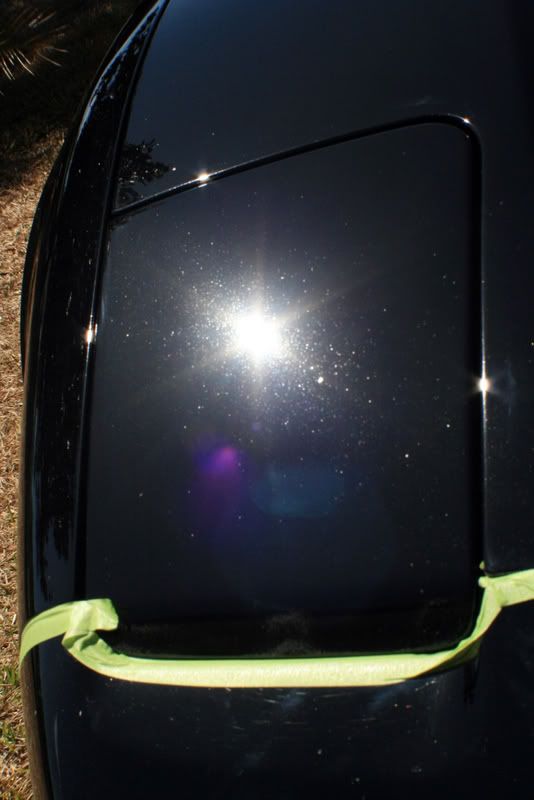
After M105/205..the lighting makes it look worse than it really was.
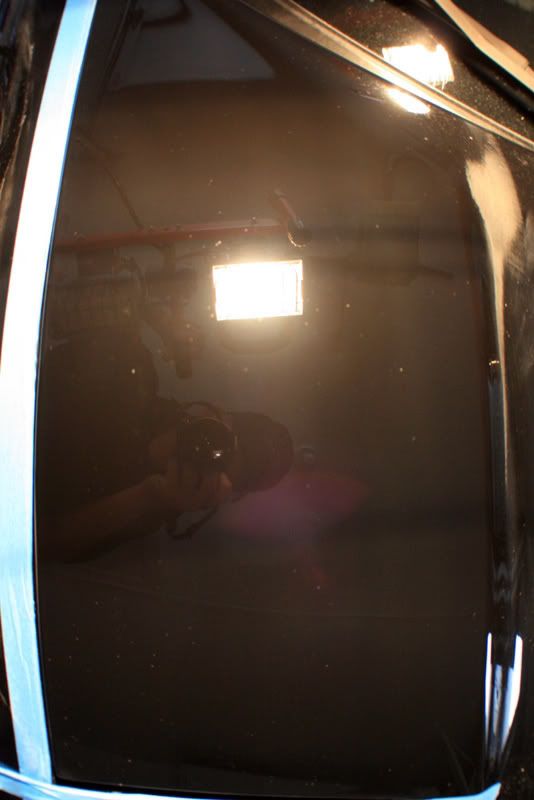
As you could see here, the finish is good, but not good enough!
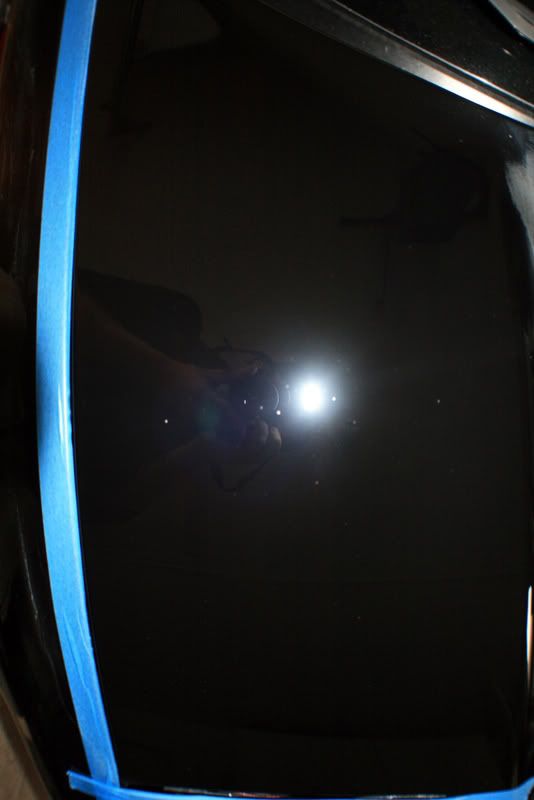
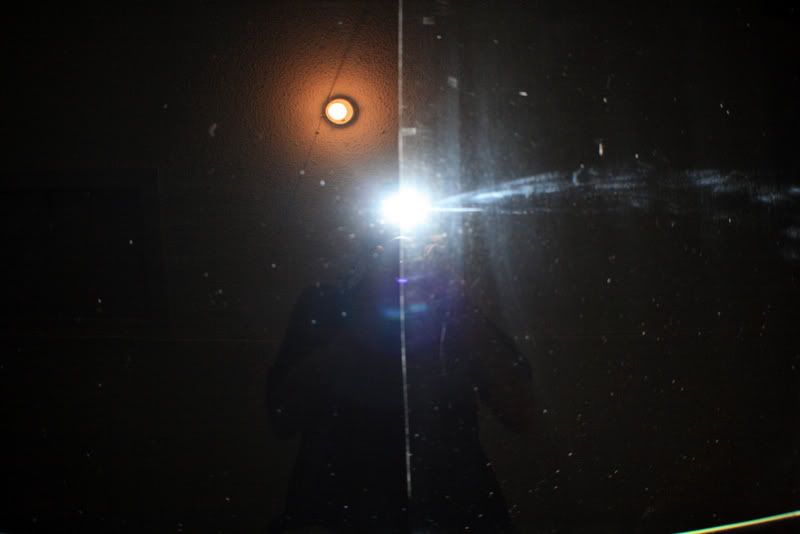
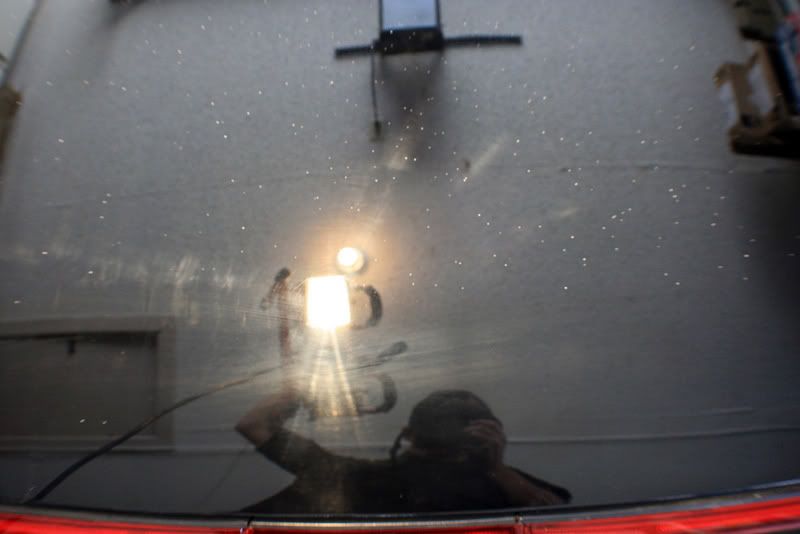
But after 3m UF, it looked MUCH better! You can notice the flash is more contained to itself.
So now that I had my process down, I could begin my way around the car.
Headlight Before..
After 105/205..
After 3m UF..

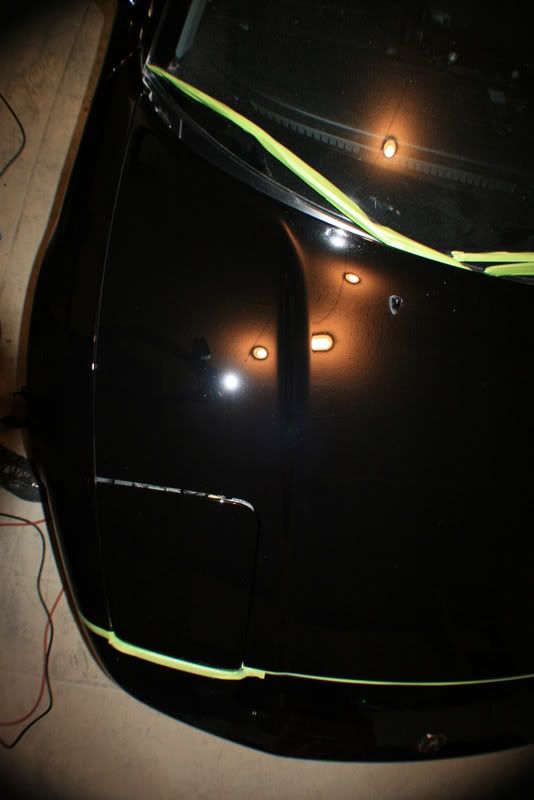
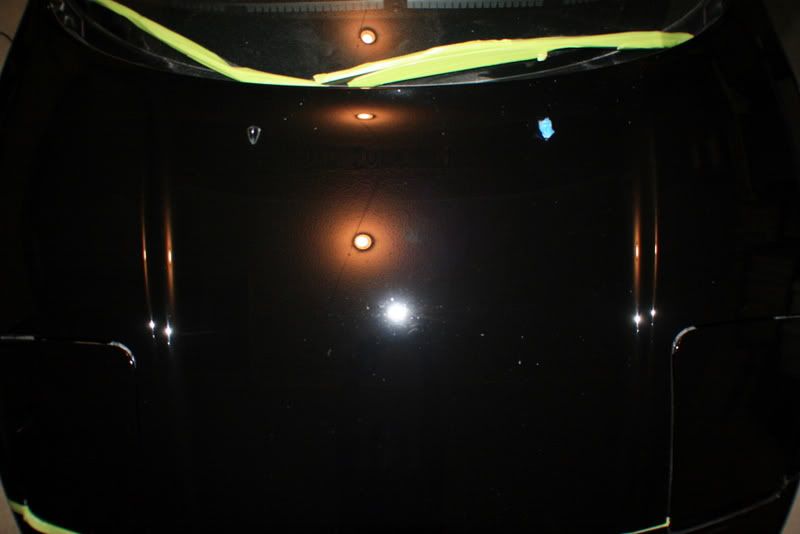
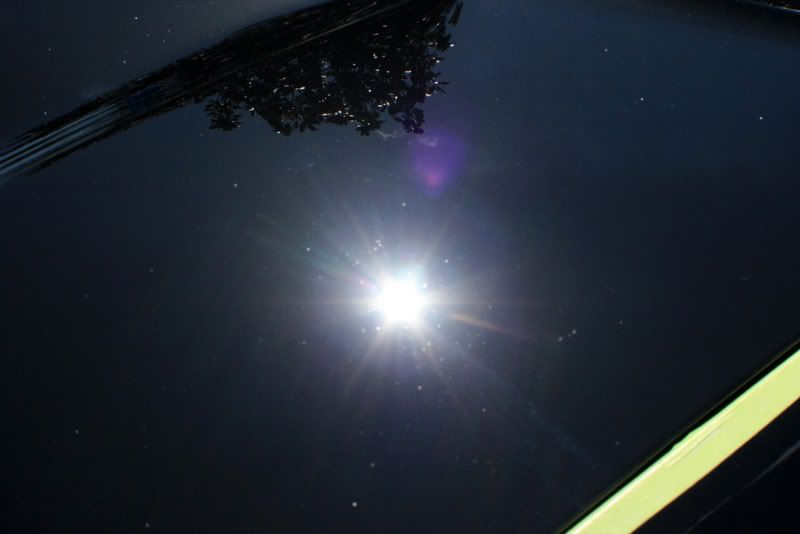
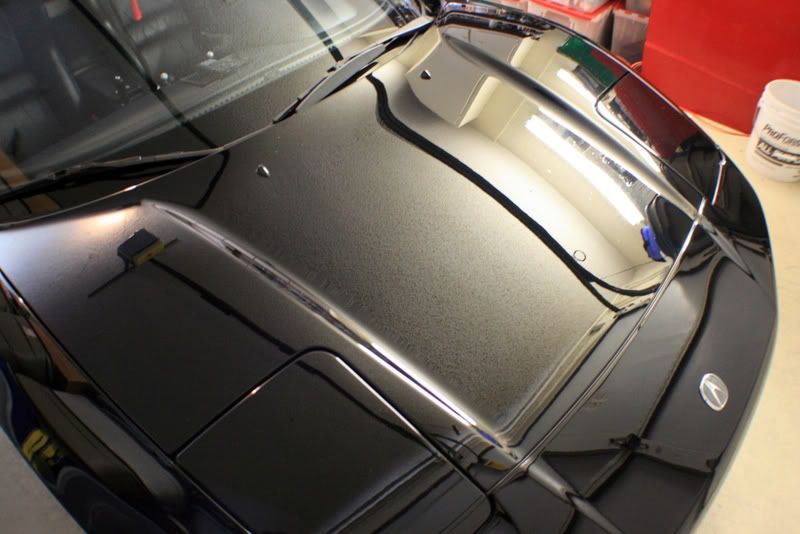
The center of the hood..
After 105/205..looks good right?
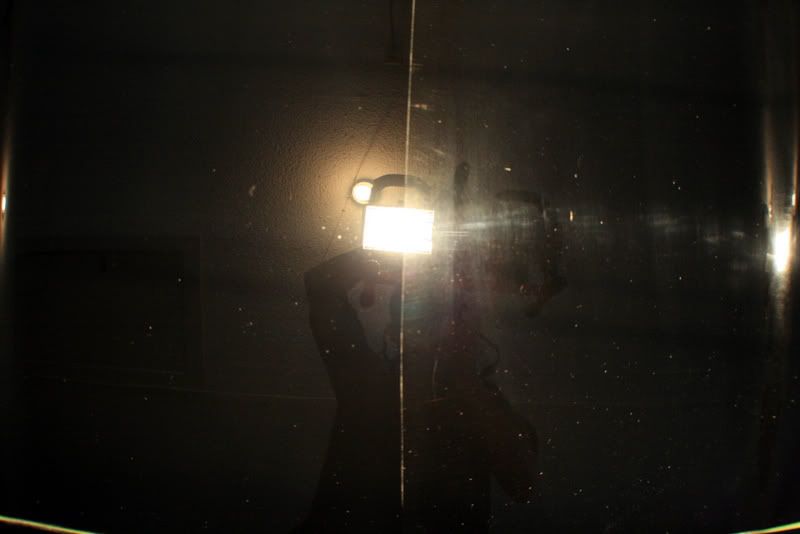
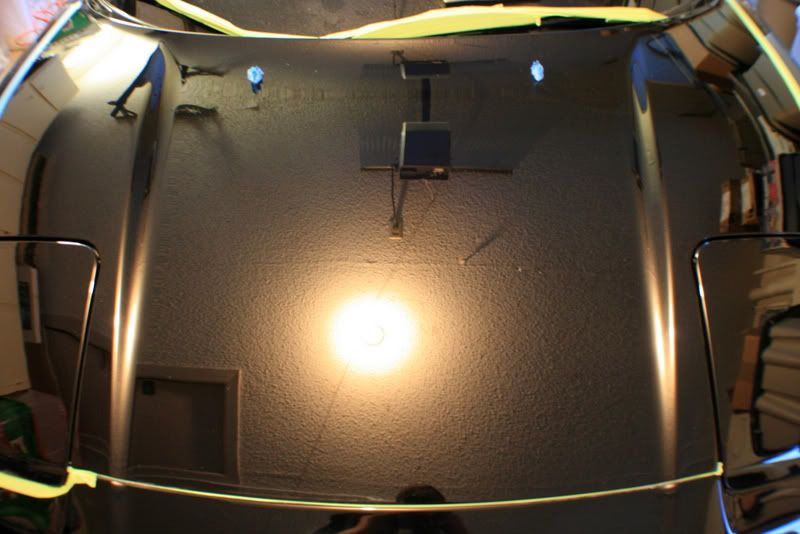
My camera flash tells me otherwise, I need one of those handy brinkman lights!
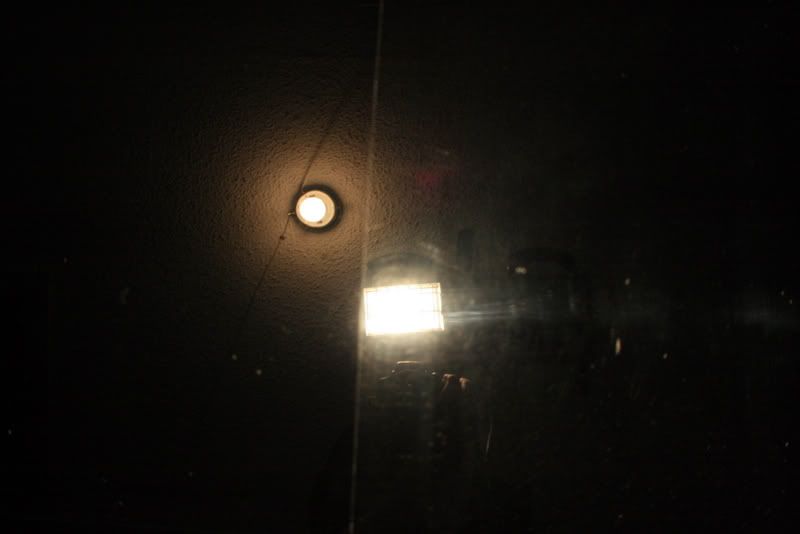
After 3m UF..
I started with a test spot on the hood to see how much work this thing would need, and pleasantly it only took a few passes with M105/8207 to correct.
I decided this area would be best to start with..
After M105/205..the lighting makes it look worse than it really was.
As you could see here, the finish is good, but not good enough!
But after 3m UF, it looked MUCH better! You can notice the flash is more contained to itself.
So now that I had my process down, I could begin my way around the car.
Headlight Before..
After 105/205..
After 3m UF..
The center of the hood..
After 105/205..looks good right?
My camera flash tells me otherwise, I need one of those handy brinkman lights!
After 3m UF..
Thread Starter
Joined: Oct 2005
Posts: 1,470
Likes: 0
From: Tampa, FL
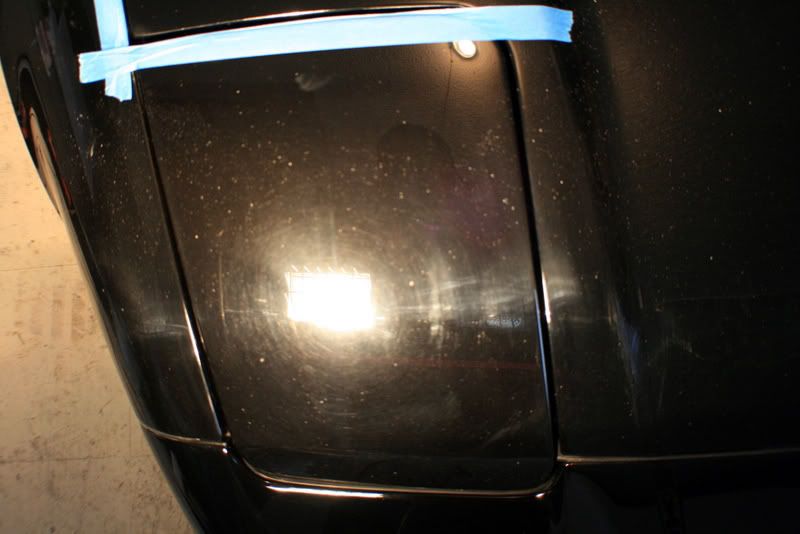
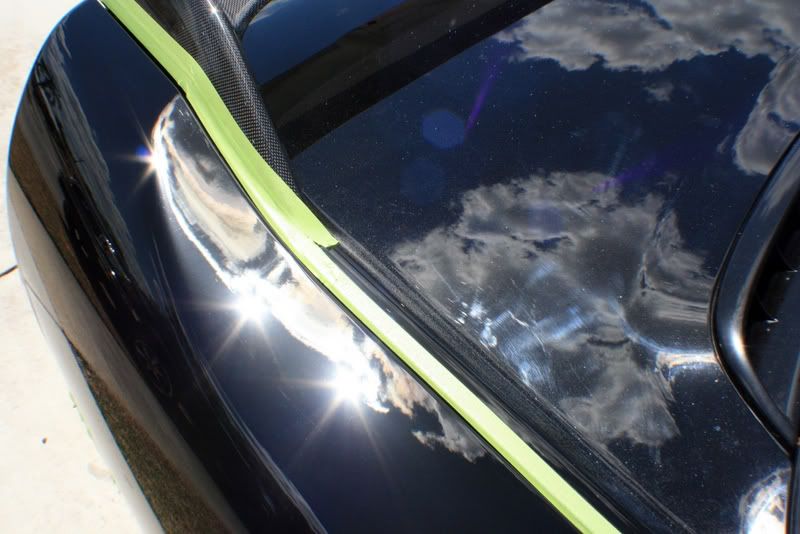
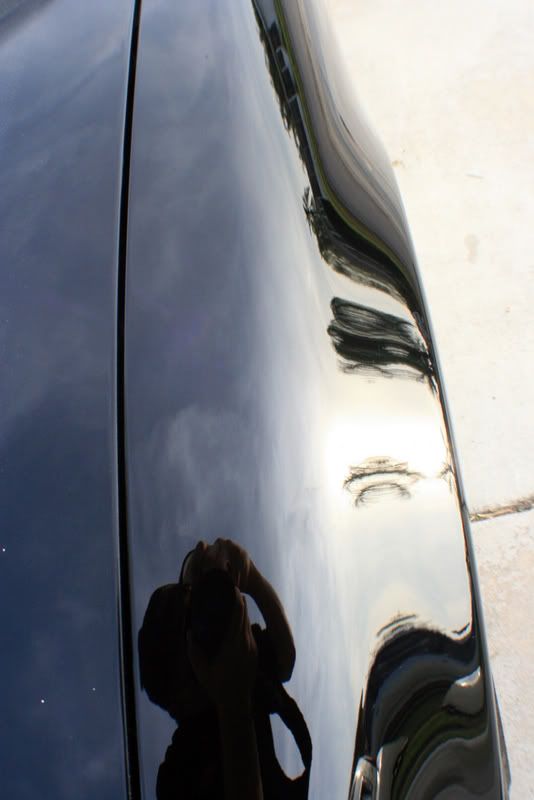
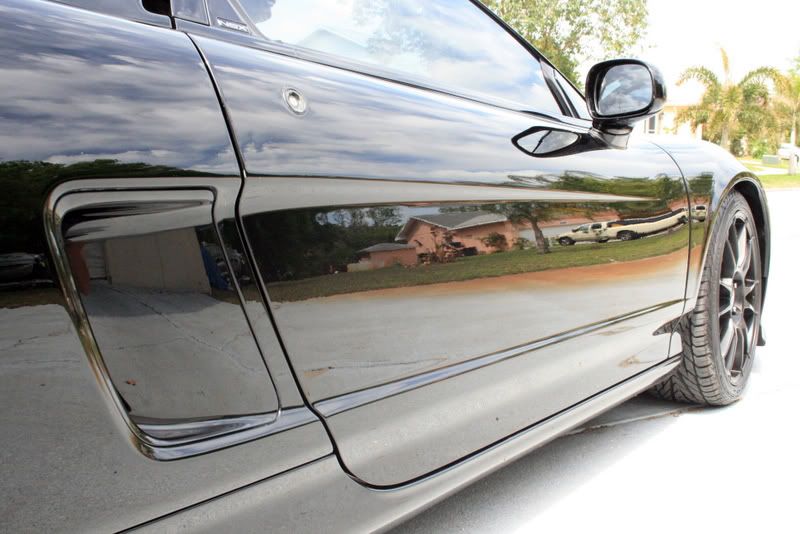
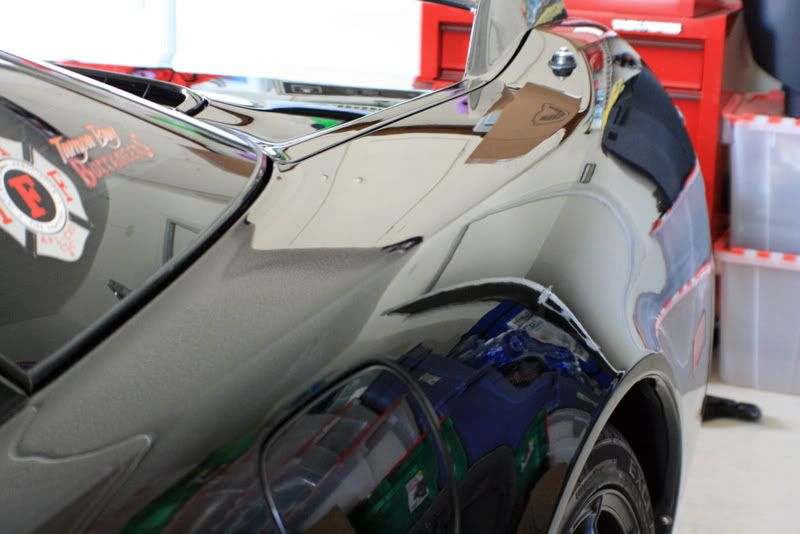
I thought this area would be difficult but found it to be rather easy using the G110.
Before..
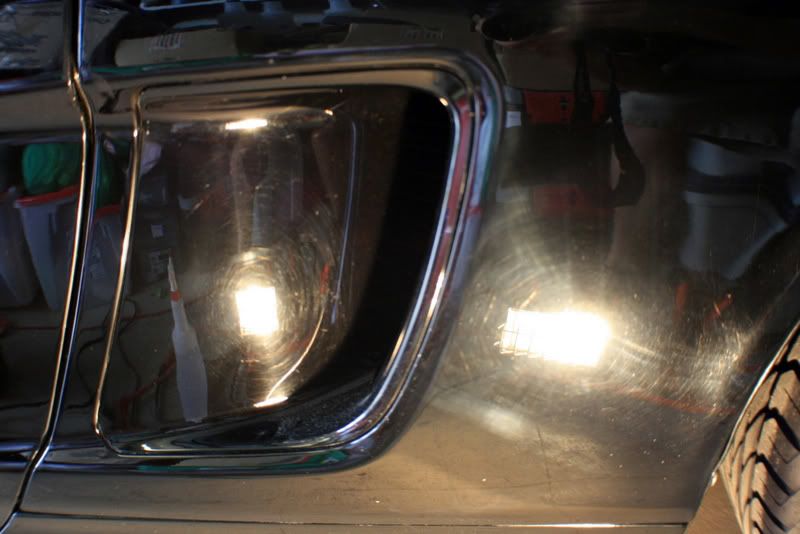
You can see the haze pretty good in this one..
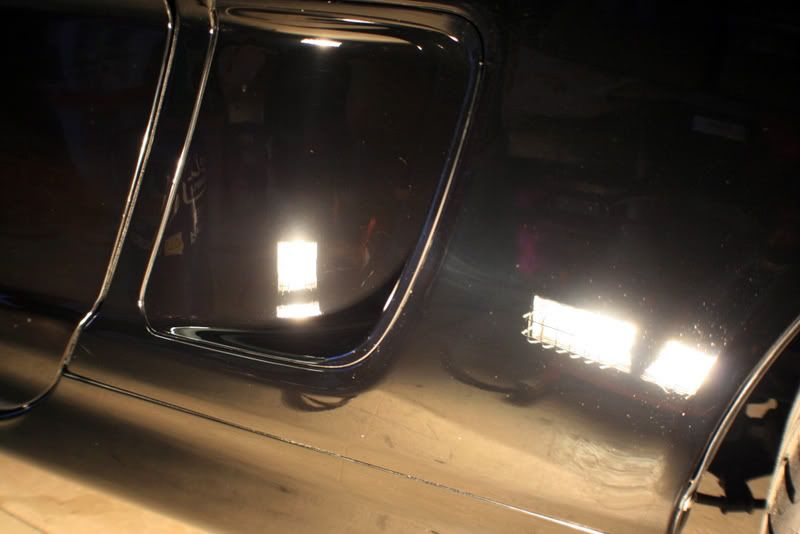
After 3m UF..
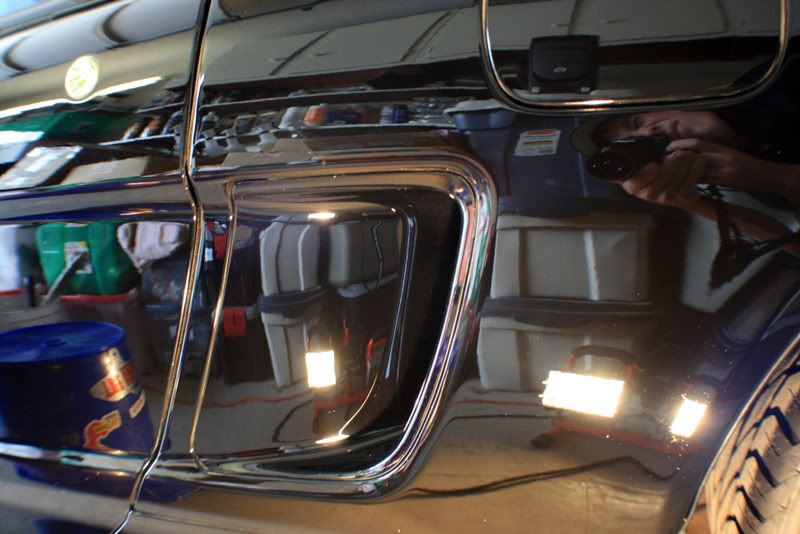
Door Before..
After M105/205..I didnt manage to get a picture after UF here.
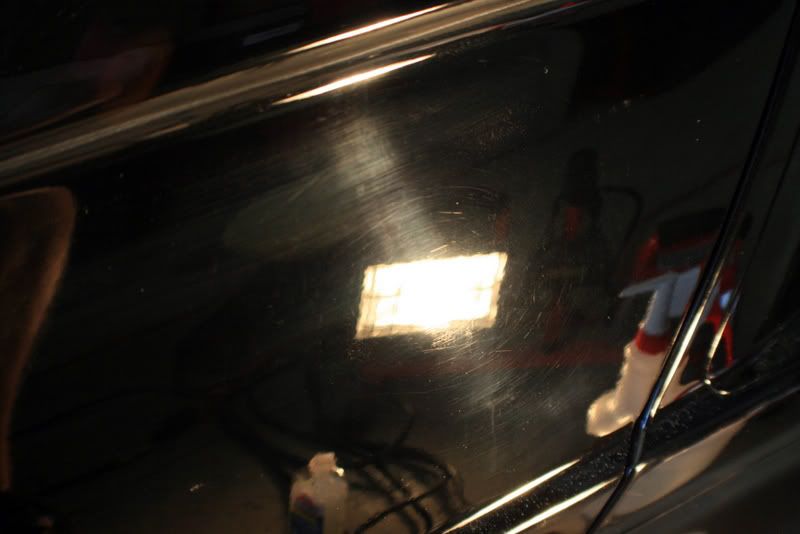
The rest of these I forgot to get pictures after UF..


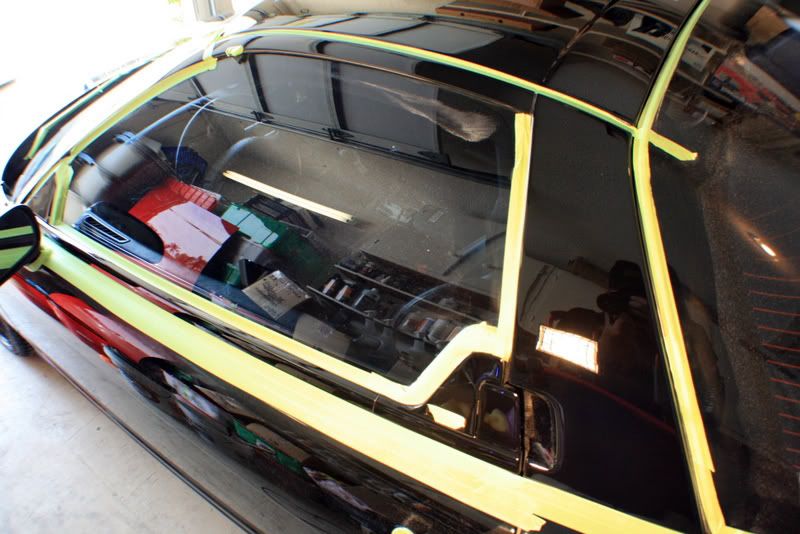
I also taped off all the painted moldings to make sure they were corrected as well.
Before..
You can see the haze pretty good in this one..
After 3m UF..
Door Before..
After M105/205..I didnt manage to get a picture after UF here.
The rest of these I forgot to get pictures after UF..
I also taped off all the painted moldings to make sure they were corrected as well.
Thread Starter
Joined: Oct 2005
Posts: 1,470
Likes: 0
From: Tampa, FL
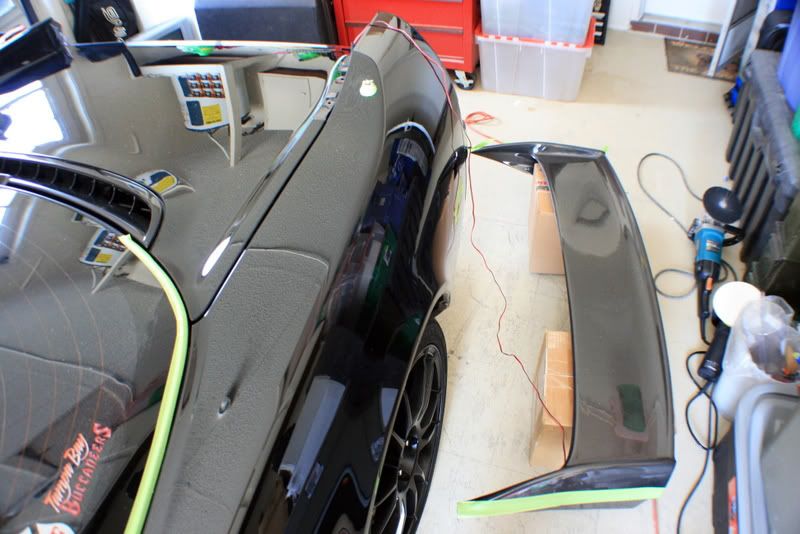
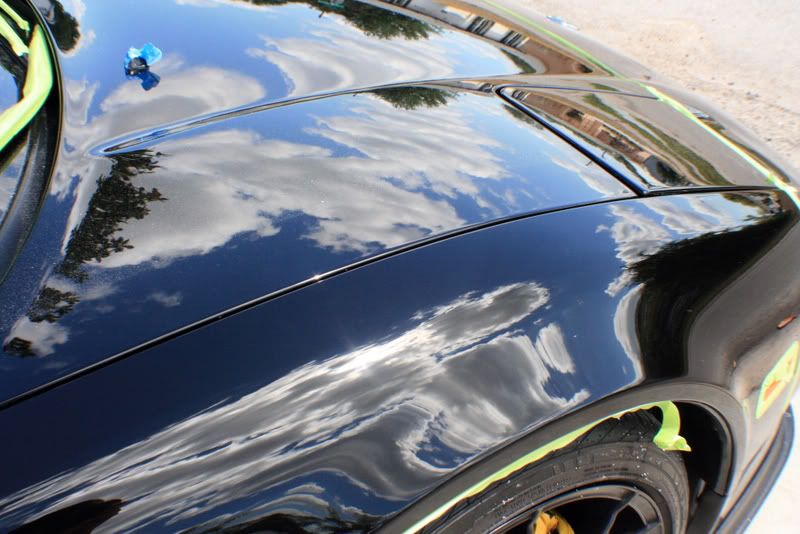
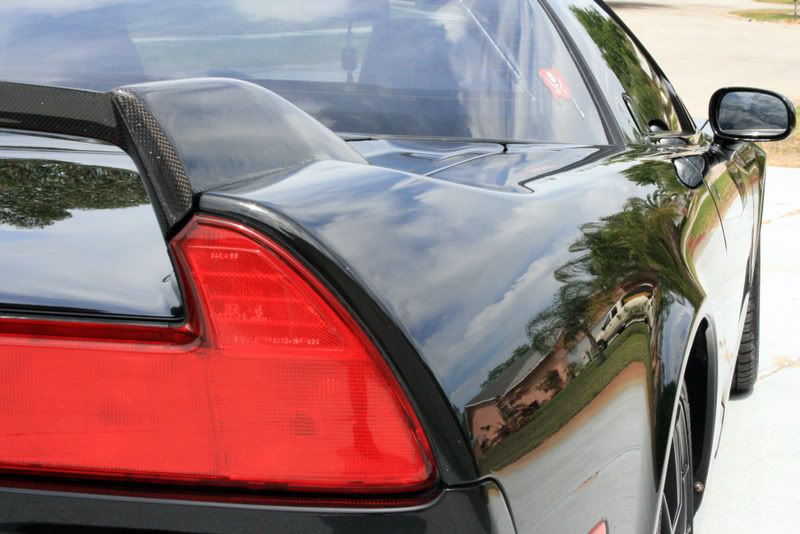
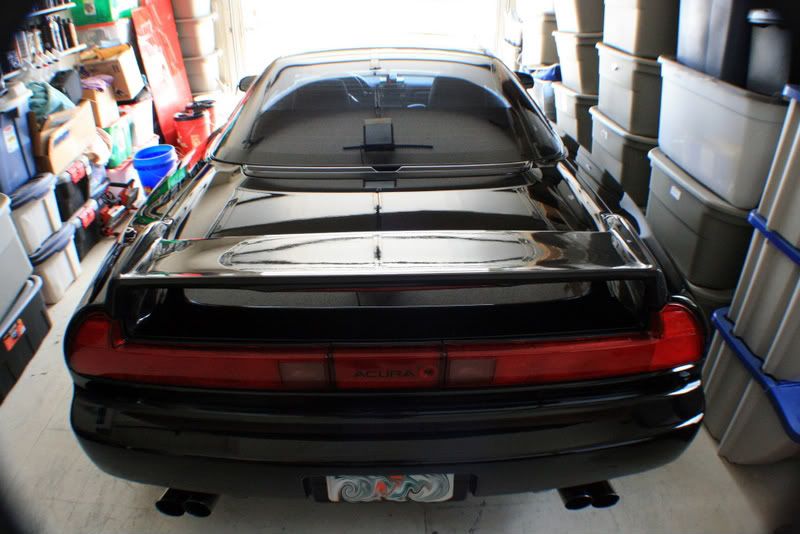
I removed the wing to get further access to the trunk panel..those empty Autogeek boxes sure come in handy!
As you can see here, its had its days of hand polishing.
After the 105/205/UF trio.
Camera flash says its good, well see what the sun says in a bit..
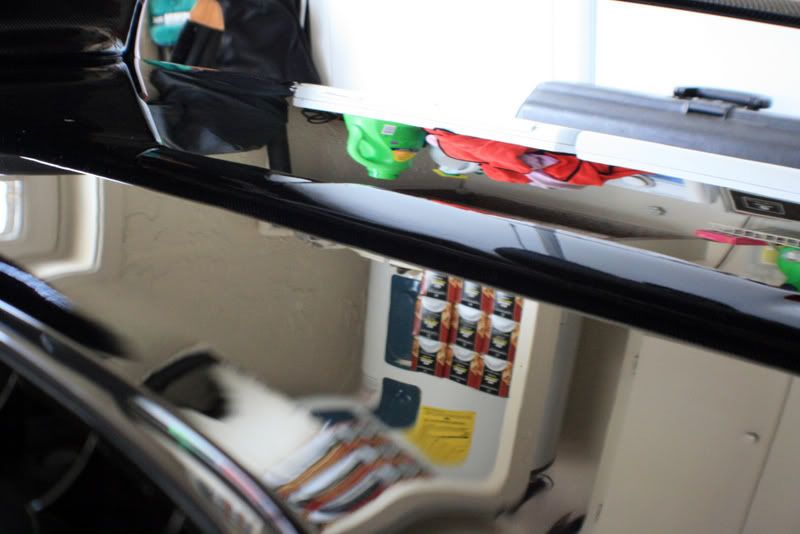
Coming to an end here, my workspace.
Oh yeah, whats this thing called again?? :grinno:

Polishing finally finished, letting the Opti-Seal cure overnight.
As you can see here, its had its days of hand polishing.
After the 105/205/UF trio.
Camera flash says its good, well see what the sun says in a bit..
Coming to an end here, my workspace.
Oh yeah, whats this thing called again?? :grinno:
Polishing finally finished, letting the Opti-Seal cure overnight.
Thread Starter
Joined: Oct 2005
Posts: 1,470
Likes: 0
From: Tampa, FL
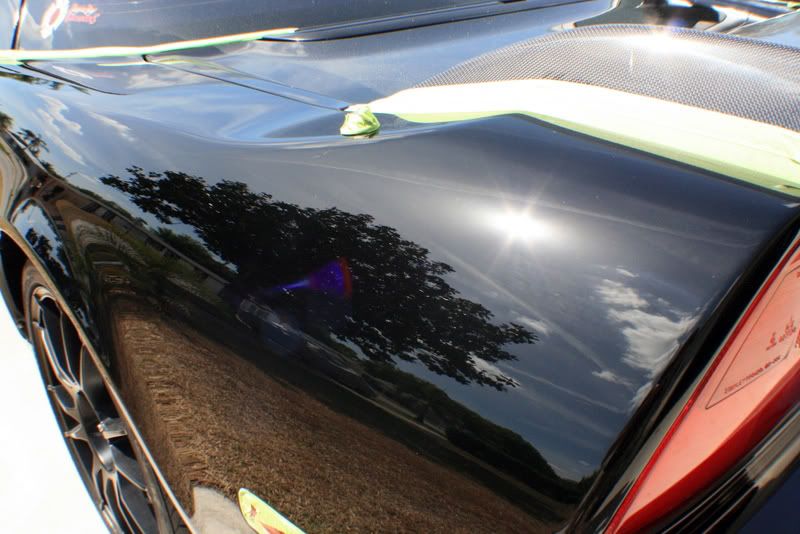
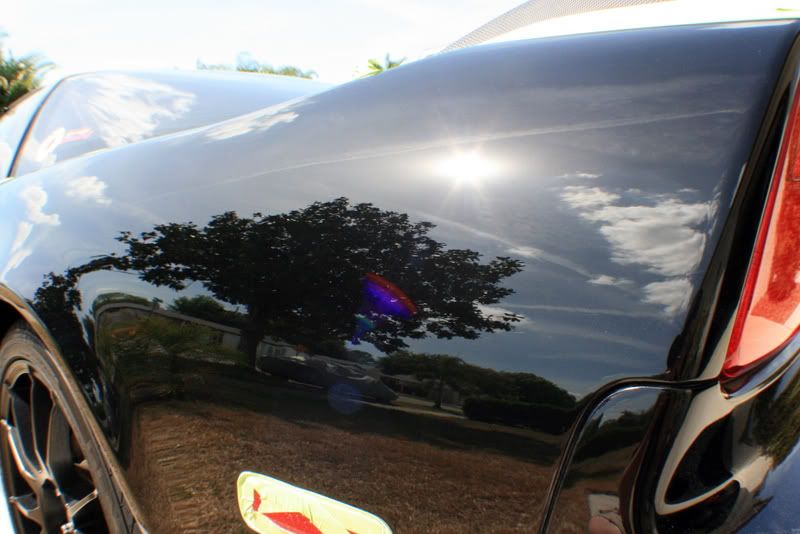
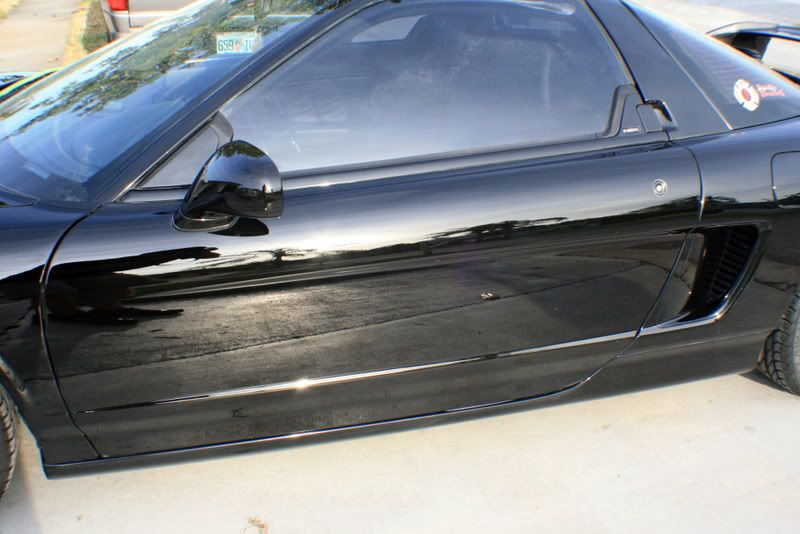
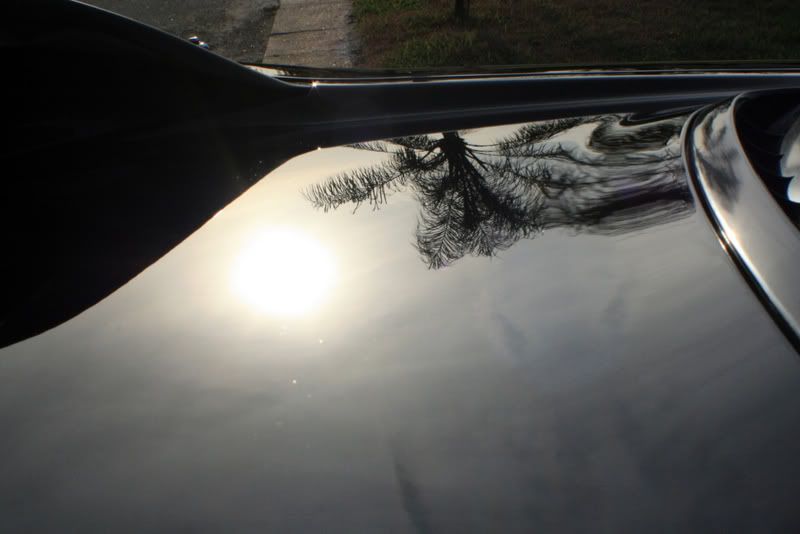
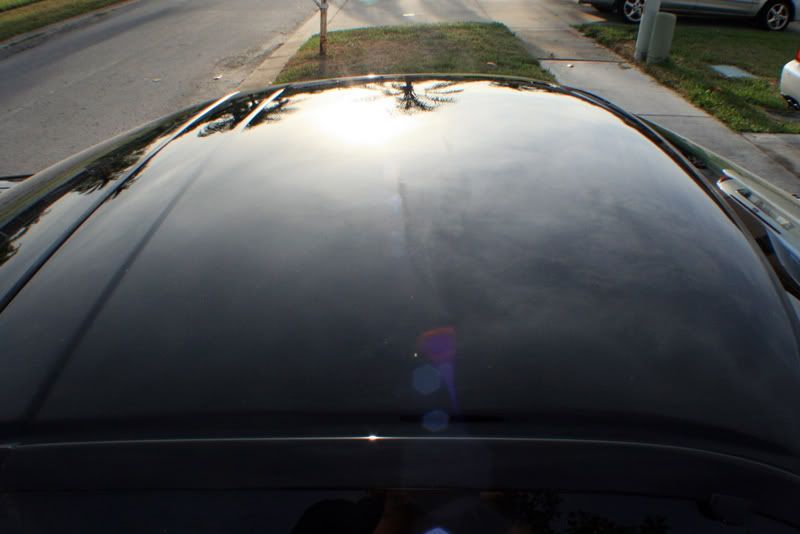
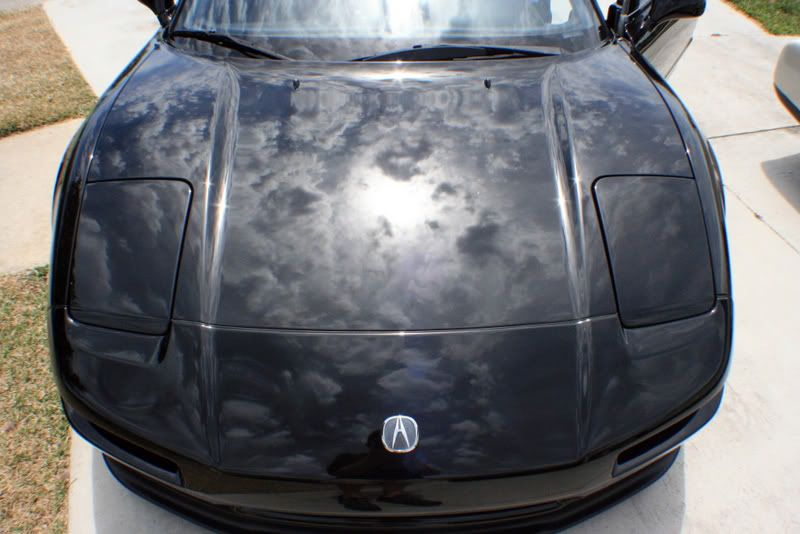
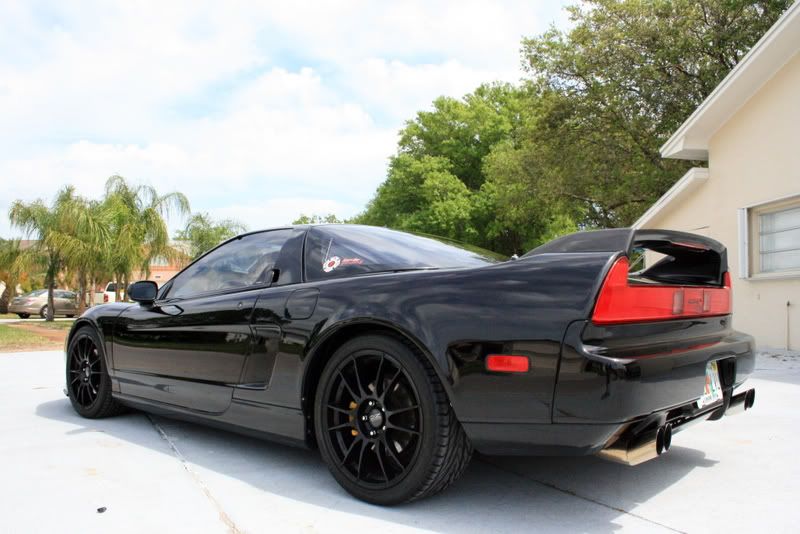
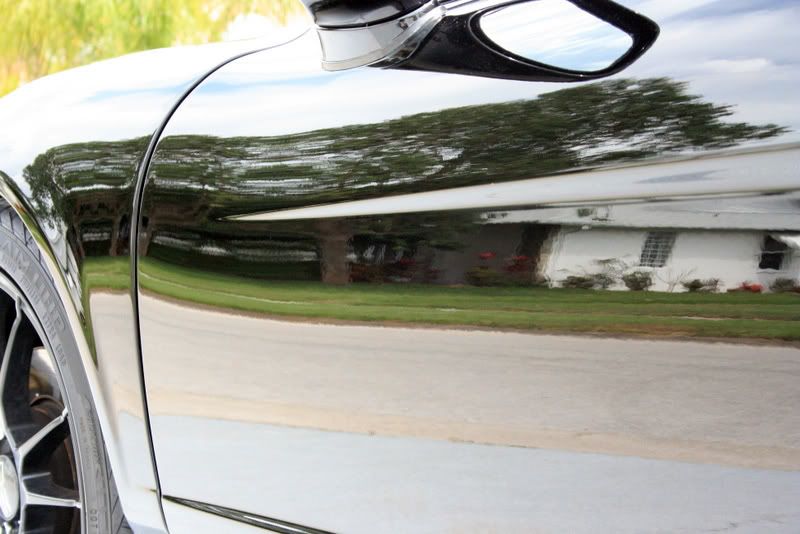
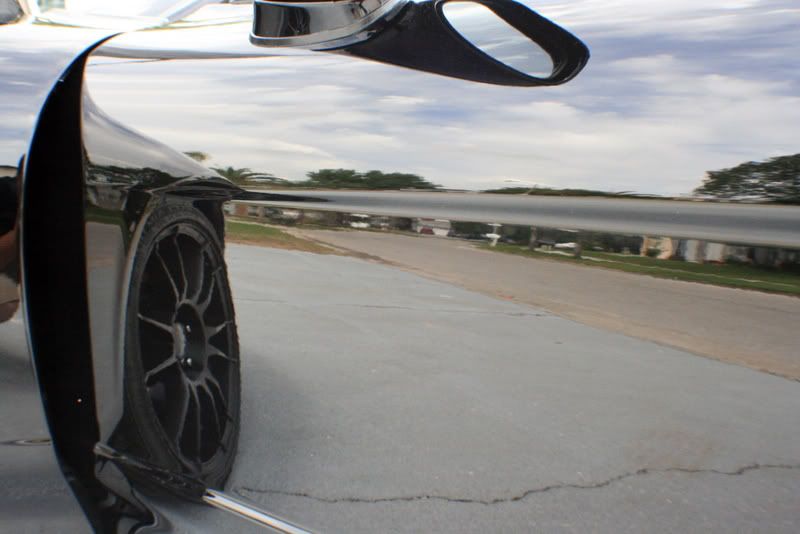
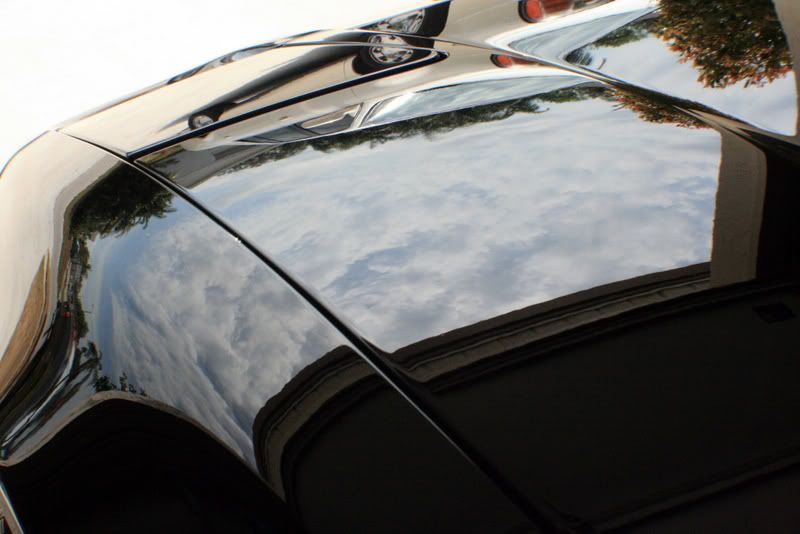
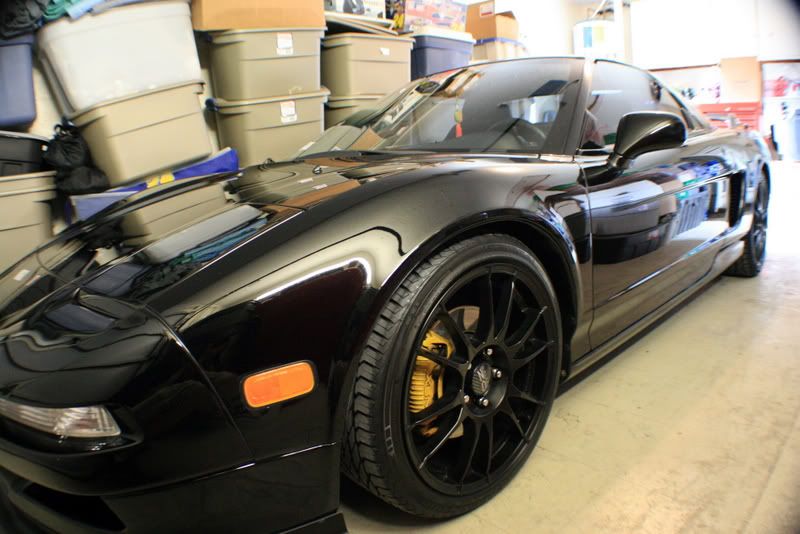
Out in the beautiful FL sun!
These pictures were taken before the final UF finishing step. Yeah, i still wasnt happy even at this point..its a weakness.

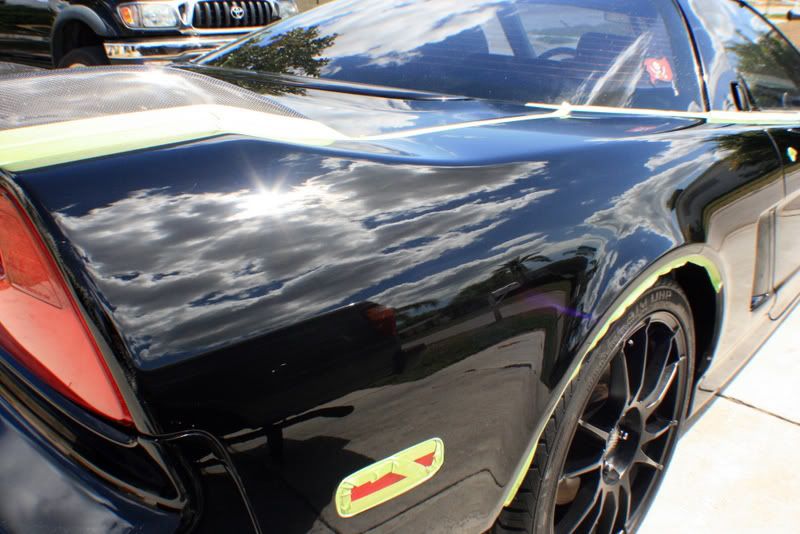
The following pictures were taken AFTER finishing with UF.
These pictures were taken before the final UF finishing step. Yeah, i still wasnt happy even at this point..its a weakness.
The following pictures were taken AFTER finishing with UF.
Thread Starter
Joined: Oct 2005
Posts: 1,470
Likes: 0
From: Tampa, FL
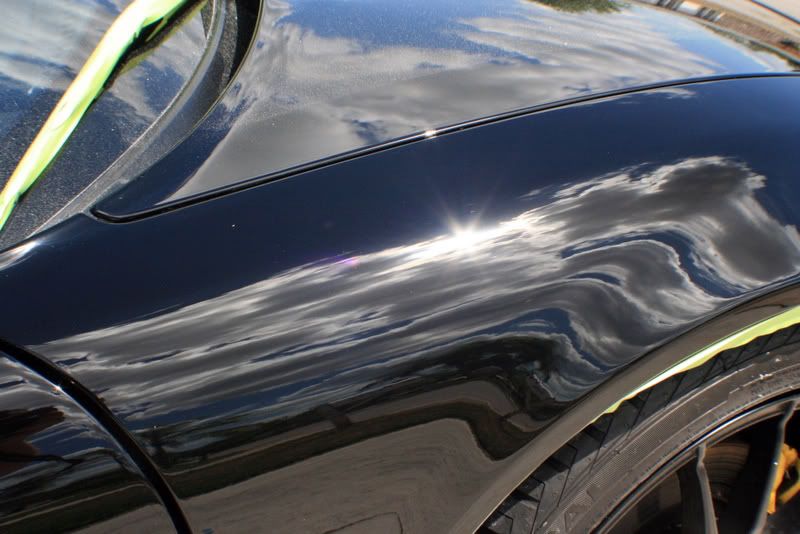
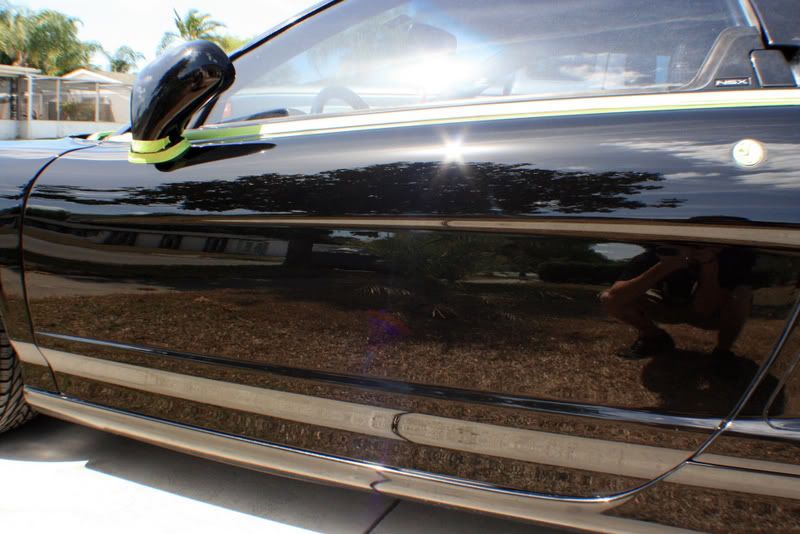
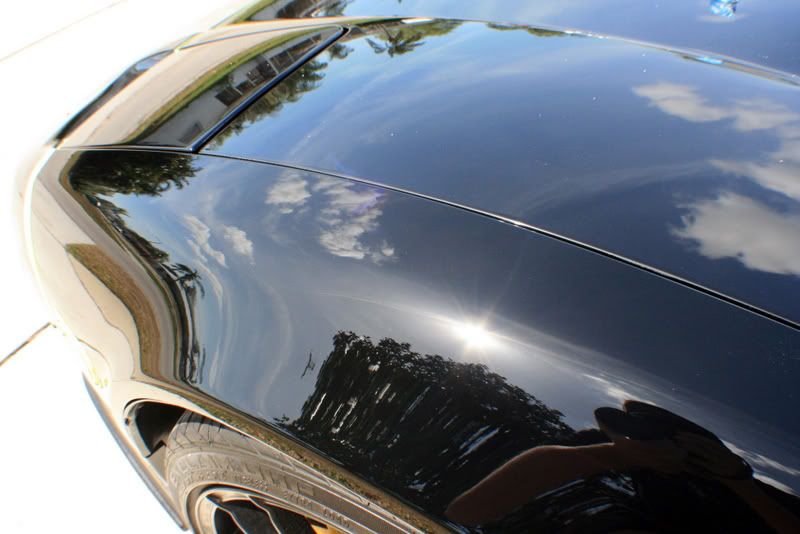
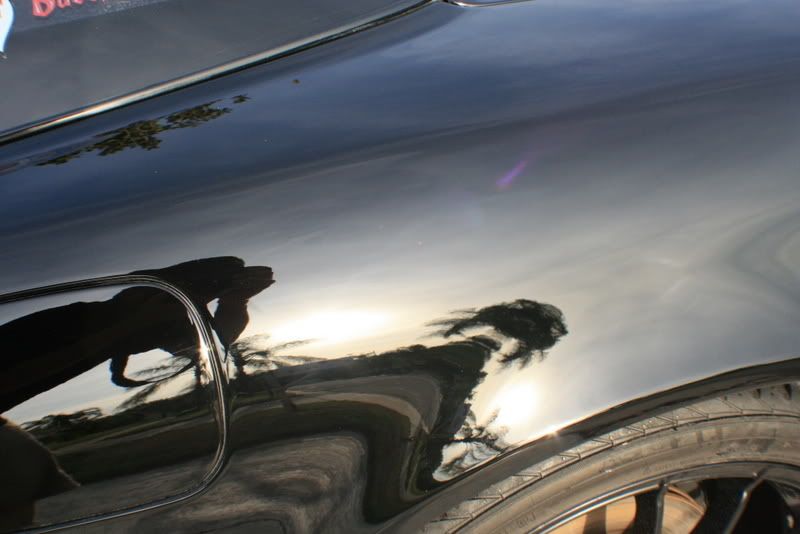
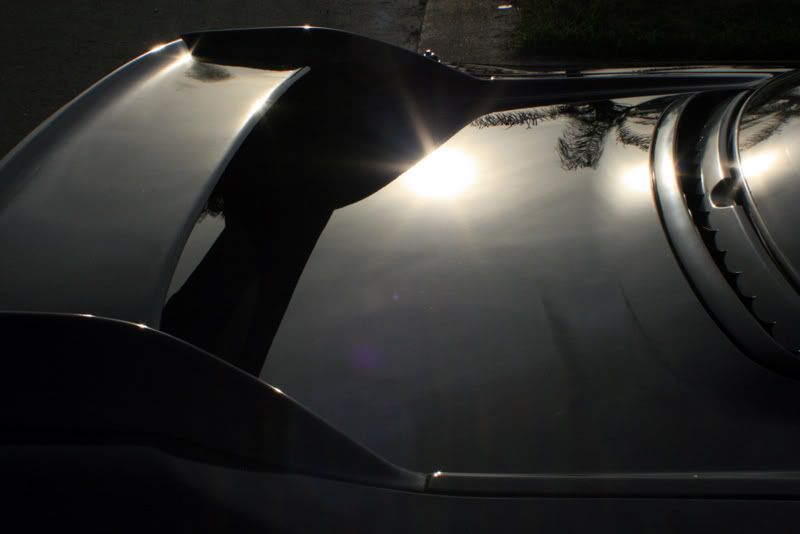
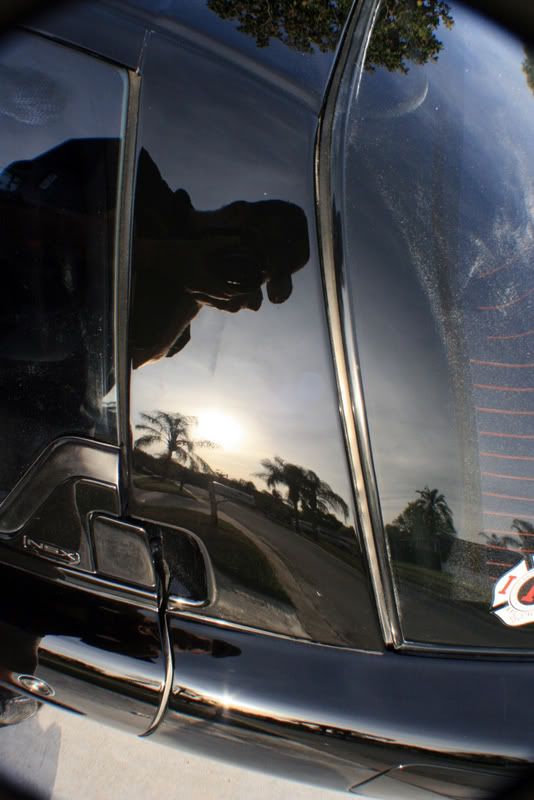
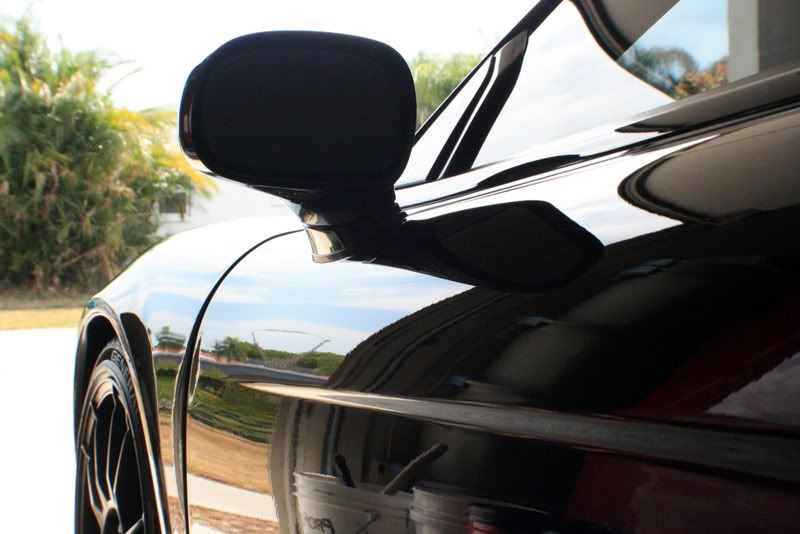
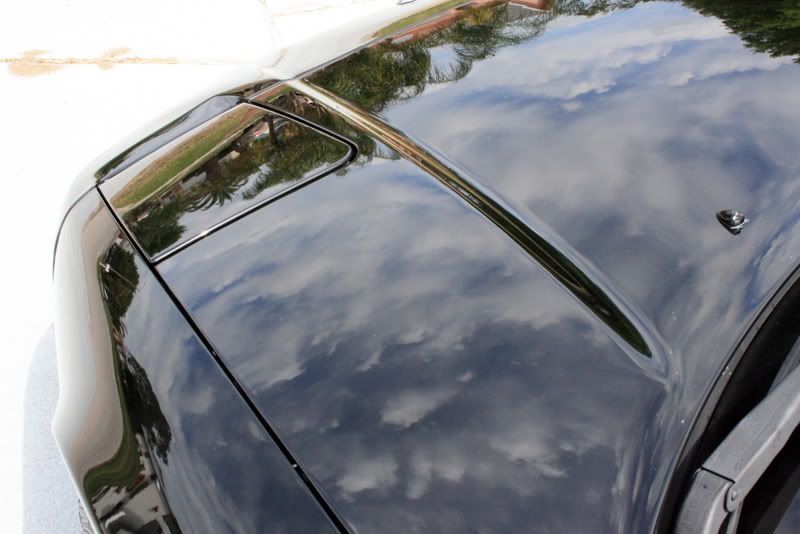
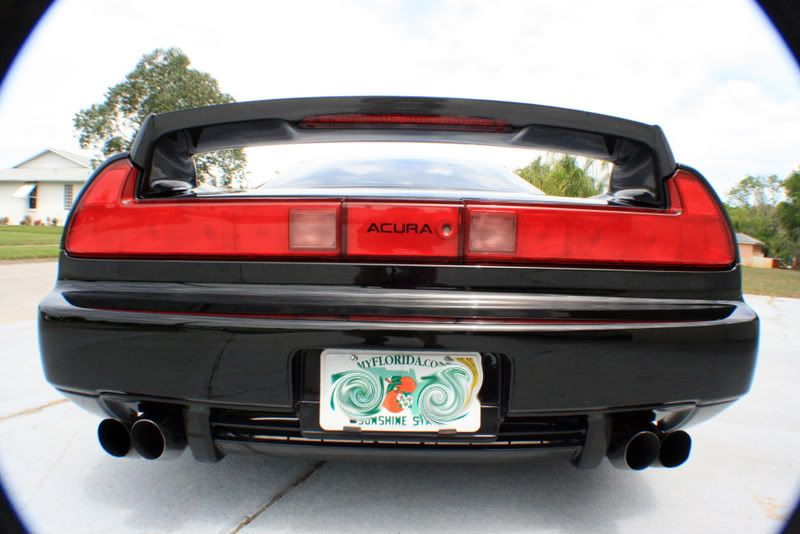
My favorite shot..
Oh yeah, Supernatural looks nice!!!
After the removing the dust from all the cracks/crevices and giving the car a final wash, I did a little mini photo shoot on my street.
Oh yeah, Supernatural looks nice!!!
After the removing the dust from all the cracks/crevices and giving the car a final wash, I did a little mini photo shoot on my street.
Trending Topics

Honda-Tech Member
Joined: Sep 2004
Posts: 2,912
Likes: 0
From: Newport NEws, VA, US
man i love looking at your work on cars makes me want to throw the car on the trailer and bring it down just to get cleaned by you.
Thread Starter
Joined: Oct 2005
Posts: 1,470
Likes: 0
From: Tampa, FL
Honda-Tech Member
Joined: Jan 2007
Posts: 1,202
Likes: 0
From: North Carolina
Nice as always...
Just wondering, im not where near you so I couldnt get something like that done (if i was close you bet your ***) but how much do you charge for something like done to the above NSX?
Just wondering, im not where near you so I couldnt get something like that done (if i was close you bet your ***) but how much do you charge for something like done to the above NSX?

Honda-Tech Member
Joined: Feb 2008
Posts: 430
Likes: 0
From: Houston, Tx, USA
Damn...looks like I'll be ordering the Meguairs D.A. polisher kit. If you say its better than using the rotary, I'm willing to take the $200 risk. I can't believe a few of those photos. You can't even tell what color the car is because its so reflective. I usually don't give too many comments about your details because the work speaks for itself better than I could compliment it. This.... this is better than anything you've posted on this website so far. Good job. I'll let you know how the kit works for me! M105 & 205 here I come lol!!!
Thread Starter
Joined: Oct 2005
Posts: 1,470
Likes: 0
From: Tampa, FL
Damn...looks like I'll be ordering the Meguairs D.A. polisher kit. If you say its better than using the rotary, I'm willing to take the $200 risk. I can't believe a few of those photos. You can't even tell what color the car is because its so reflective. I usually don't give too many comments about your details because the work speaks for itself better than I could compliment it. This.... this is better than anything you've posted on this website so far. Good job. I'll let you know how the kit works for me! M105 & 205 here I come lol!!!
MiG-21 superfan
Joined: Mar 2001
Posts: 8,628
Likes: 3
From: near the ocean, Moderator City, NJ
this is why i keep my PC around; a DA really is nice for soft stuff. makes quick work without worrying about trails or anything.
BTW, PD, Ghoudassi said in the past that the opti-seal doesn't need any special cure time. of course it doesn't hurt, but i'm just sayin'
fantastic work brah, as usual.
BTW, PD, Ghoudassi said in the past that the opti-seal doesn't need any special cure time. of course it doesn't hurt, but i'm just sayin'
fantastic work brah, as usual.
Thread Starter
Joined: Oct 2005
Posts: 1,470
Likes: 0
From: Tampa, FL
this is why i keep my PC around; a DA really is nice for soft stuff. makes quick work without worrying about trails or anything.
BTW, PD, Ghoudassi said in the past that the opti-seal doesn't need any special cure time. of course it doesn't hurt, but i'm just sayin'
fantastic work brah, as usual.
BTW, PD, Ghoudassi said in the past that the opti-seal doesn't need any special cure time. of course it doesn't hurt, but i'm just sayin'
fantastic work brah, as usual.
MiG-21 superfan
Joined: Mar 2001
Posts: 8,628
Likes: 3
From: near the ocean, Moderator City, NJ
You know, up until this car I never did let it "cure", I would just go straight to wax. For some reason I decided to get on the Optimum site and forums, and they recommend letting it cure for 12-24 hours before applying a second coat. So I gave it a shot, not sure if it made a difference or not though..
davidg AT optimumcarcare.com
y0- Q for ya: what is your process for engine bays such as this car? do you break out brushes and the spray bottle, towel off and then dress with hyperdressing or something? i'm curious what your typical process is for a low mileage car and/or newish vehicle.