

DIY: Integra Amber Lit Interior

Thread Starter
Honda-Tech Member
Joined: Dec 2003
Posts: 1,183
Likes: 0
From: Cincinnati, Ohio, USA
did this to my car about 3 and a 1/2 years and get still complimented on it a lot. if this is done correctly, it'll look exactly like the JDM climate controls, clock, etc.i saw a diy write-up on team-integra and it only included instructions to make the climate control amber. i did a few diffferent things and i made the climate control, gauge cluster, clock, and cruise control switch amber. unfortunately i do not have any pics to help you, so i'll describe everything the best i can. any questions? ask away. so, without further a do, on to the diy:
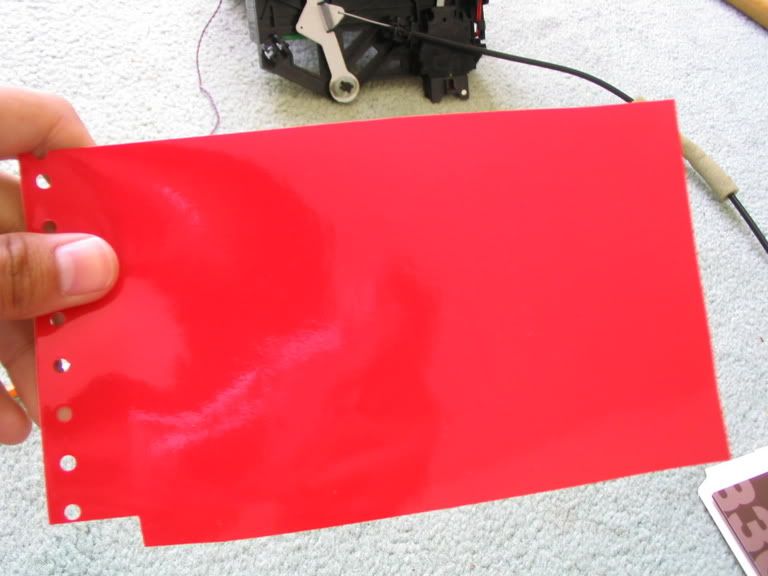
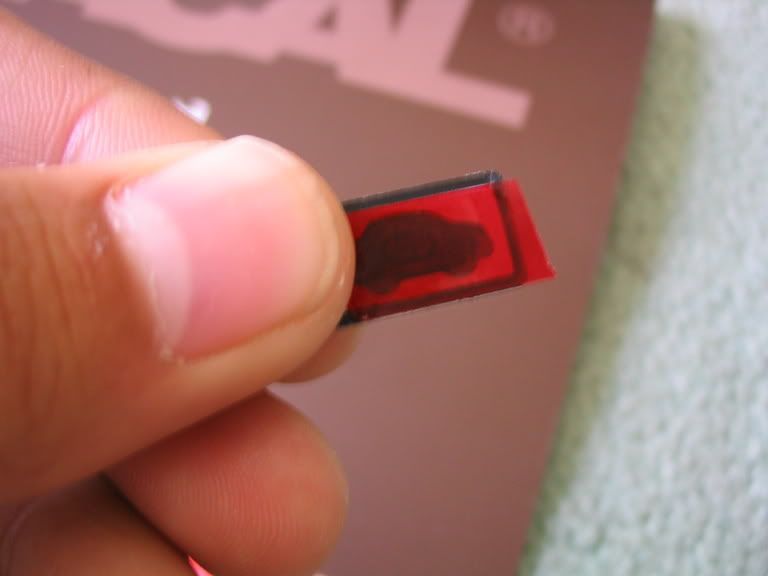
1. i used white spray paint, red transparent vinyl (available through mysticalstricker on Team-Integra or from a sign shop and possibly Staples or Office Depot), x-acto knife or razor blade, nail polish remover, masking tape, a few q-tips, and super glue.
2. carefully pop of all of the climate control buttons by gentley prying from the bottom of the button wiggling it side to side. you DO NOT need to pop off the defrost button! pry off the slider ***** that adjust temp and intensity of heat/a/c. to get the piece off that has the temp on it, use an x-acto knife to get one end loose then you can gentley pull it off.
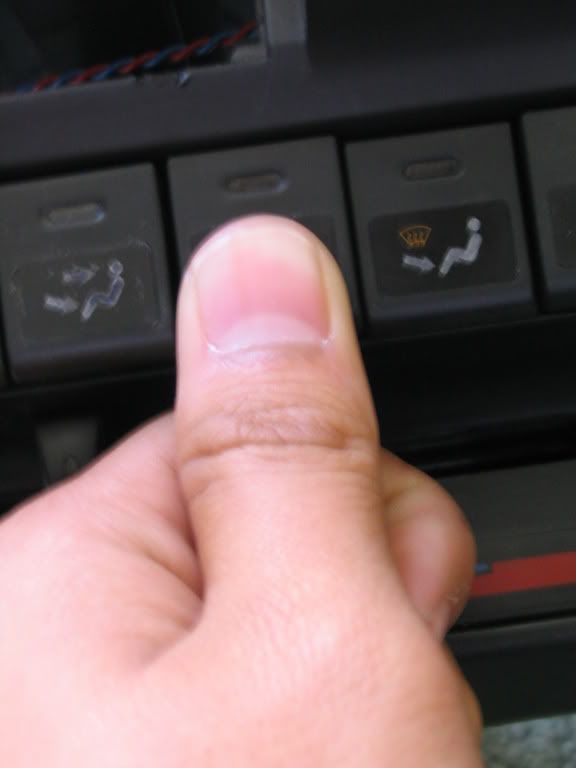
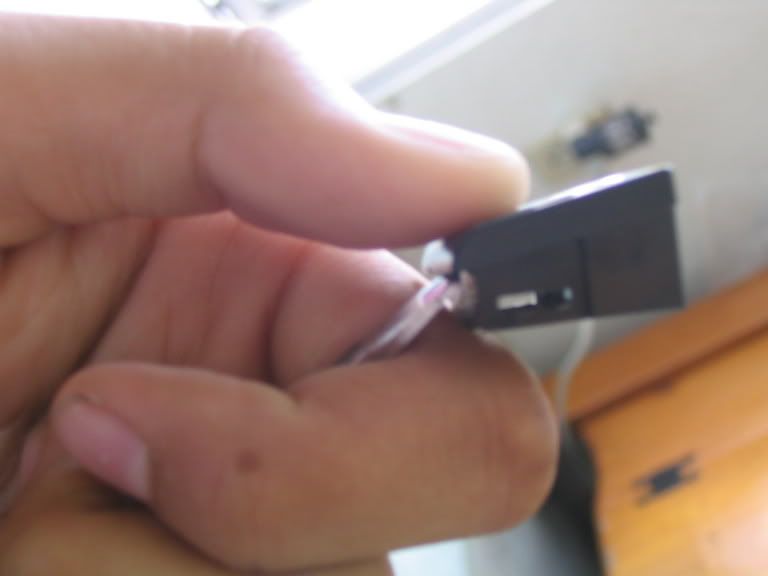
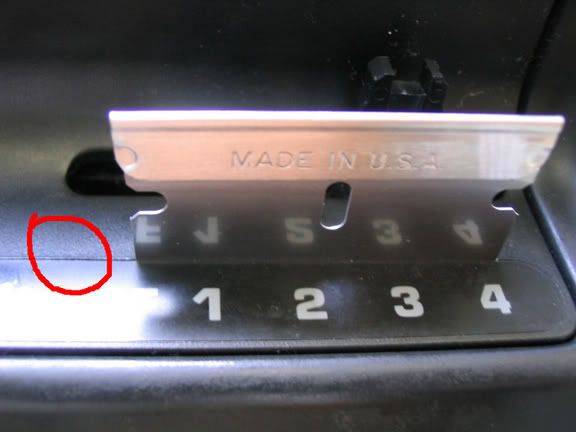
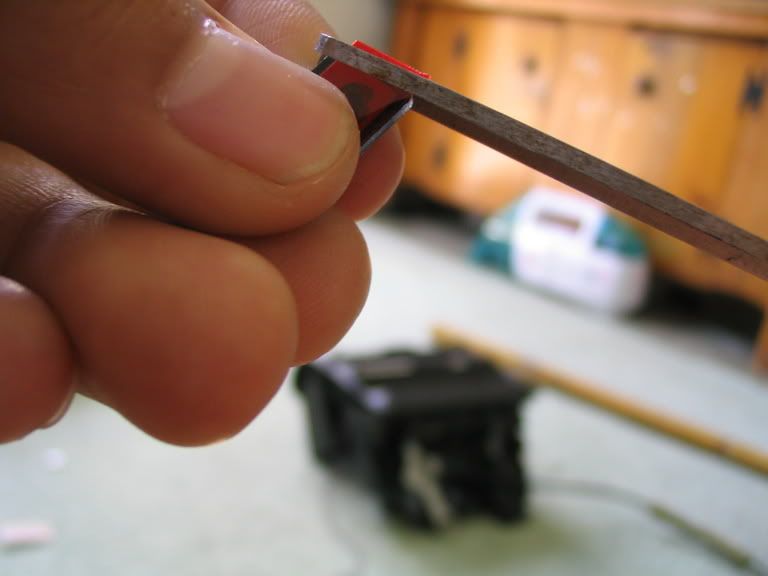
2a. on this step i used an x-acto knife to gently pry up on one end of this strip and you can peel this part out. if you dont have an x-acto blade, just use the corner of a razor blade like this one:
3. take out the clock (use the flat head scrw driver to pry it out easily), guage cluster (there two phillips screws on the top of the gauge bezel that need taken out. once they're out, the bezel pops out by pulling the bottom of it by the steering column first, the pull the top out. then there are 3 or 4 screws holding the gauge cluster in on the sides and on the top in the middle, once they're out pull the cluster out and unplug it), and cruise control switch (you can pry this out just like the clock). if you dont know how to do that...you probably shouldn't be doing this. the rear defrost switch also needs to come out. do this by prying with TWO flat head screw drivers on both sides of the switch. it' really hard to do, so be careful!!
4. on the climate control buttons, pop out the face of the button from the back with the pencil eraser. same goes for the cruise control switch and rear defroster once you've taken them apart.

5. disassemble the guage cluster. the clear plastic that protects the gauges unclips from the rim of the clear plastic. to take the guages out of the pod; there are phillips head screws on the back of the gauge cluster that hold the gauges in. take out the screws and the gauges easly slide out. carefully pull off the needles on each guage. then take the guage faces off. (i may missed a few things here becase its been 3 years since i've done this! sorry)
6. DO NOT do this step to the gauge faces!! use the nail polish remover on the back of the climate control buttons, cruise control switch and rear defroster faces. i dipped a q-tip in the polish remover and rubbed the back of the faces until the blue and white is gone. once the white is gone, you should be able to see through the face and the black will still be there. spray paint the back of the faces white. once the paint is dry, cut out a piece of red vinyl to cover what you just painted for each button. on the defrost/foot climate cntrl button, the polish remover should be rubbed on ONLY the white part. DO NOT rub polish remover on the tiny defrost symbol. once you have all off the faces done, use a SMALL amount of super glue to put them back in. if you use too much super glue, it will frost leaving a white haze around the glue that is near impossible to remove. OR you could use model glue. thats what i used so didn't get any frost.
***pics unfortunately only show everything being done to the climate control, not the cruise control, gauge cluster, rear defrost or clock***
the difference on the pics is that i used nail polish remover to take off that white and blue color on the BACK of the button. when you do this it will not remove any black and it will leave you with the little figure clear.
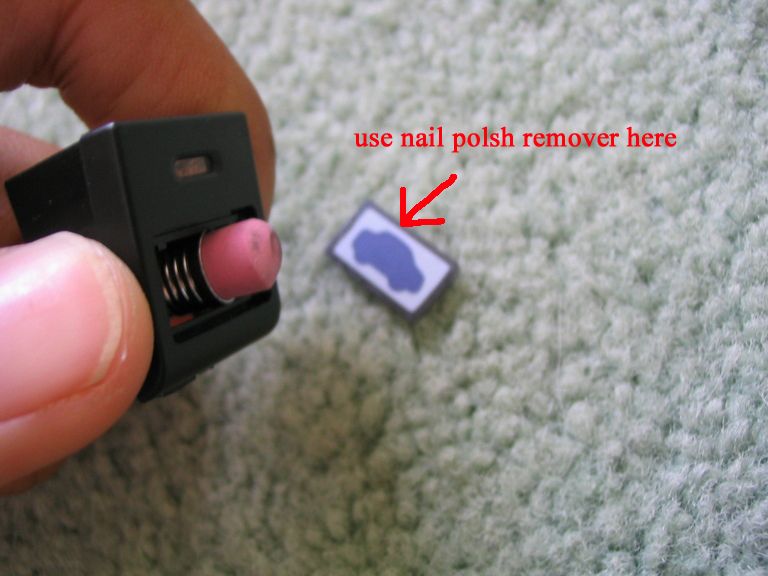
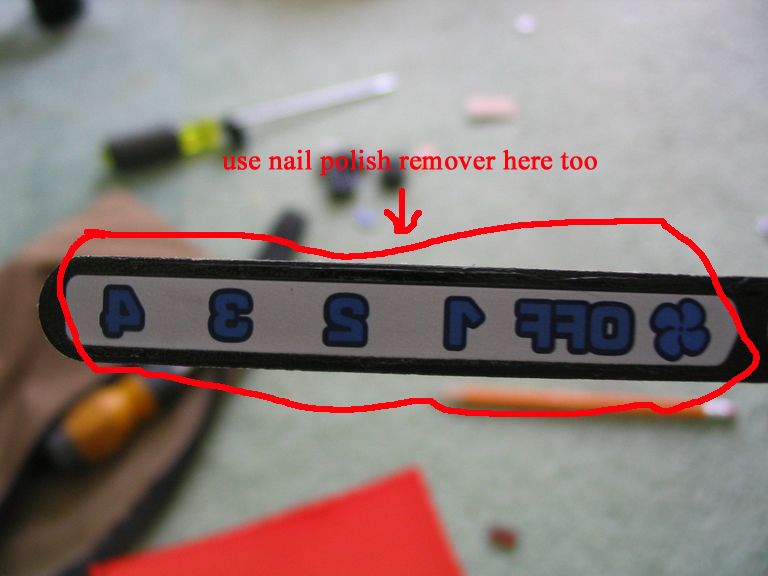
to paint white on the buttons, take a piece of masking tape and lay it sticky side up on the table. make sure the nail polish remover is gone and put the face of the button down onto the masking tape. then after you have the buttons and temp/fan selector strip all on the tape, spray a coat of white paint onto the buttons. make sure all of the buttons are down on the tape so no paint gets on the front of them! i imagine if paint does get on the front of them, you could use some nail polish remover to rub any paint off. AFTER the paint is dry, follow the rest of step 6!

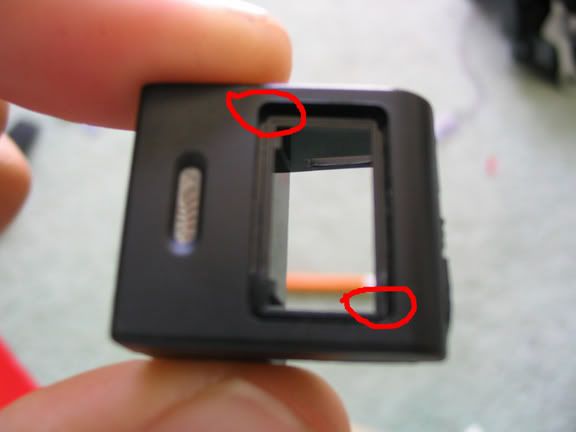
here's where you put the super glue:
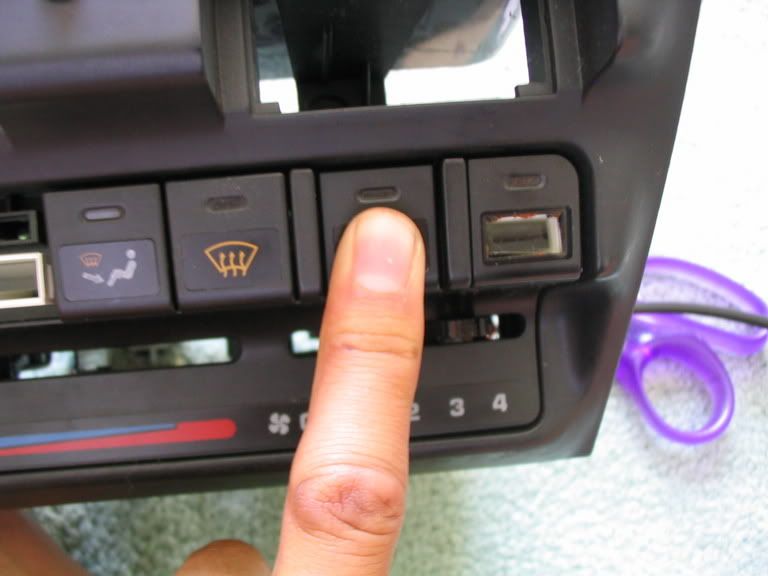
simply just put the buttons back on, they click when they're all the way back in:
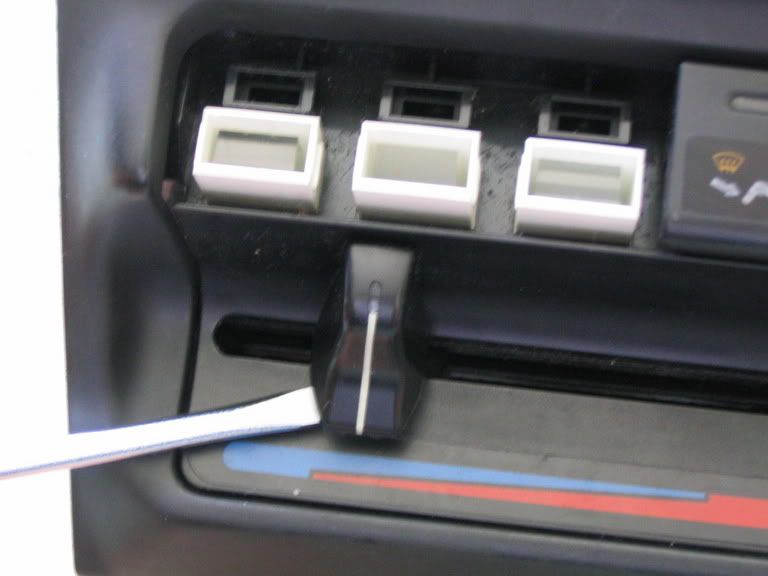
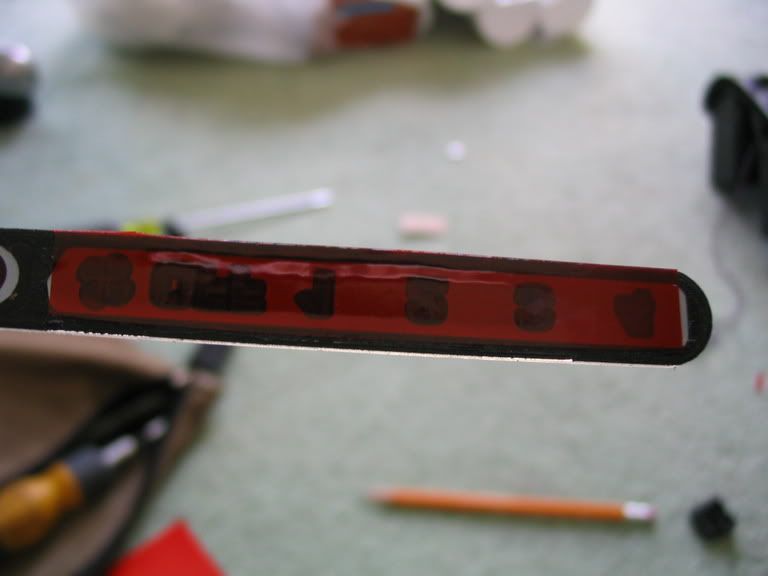
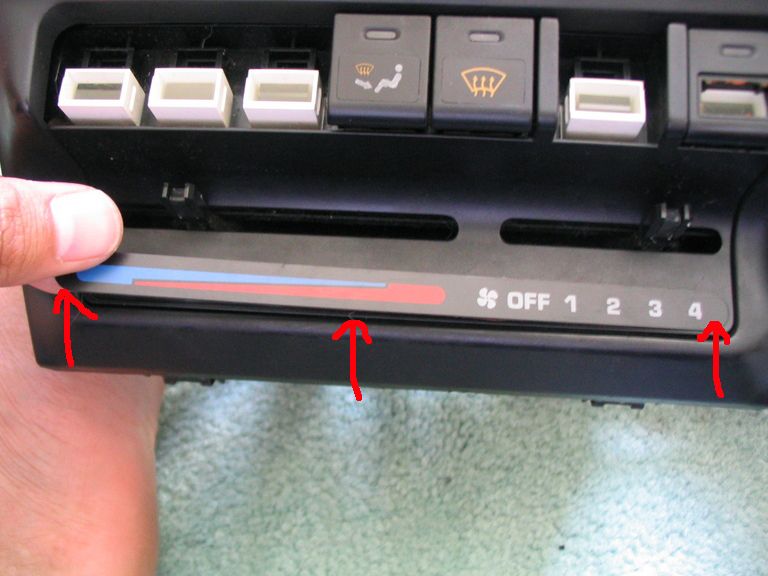
the strip will need TINY dabs of glue as well. put those dabs where the arrows are:
7. for the clock, take it apart. then simply cut out a piece of vinyl so it covers the lcd glass.
8. on the back of the guage faces, cut pieces of vinyl so that all numbers, dashes, letters etc. are covered. when you're done, pull the blue caps that cover the 3 big light bulbs off. pulling the needles off will cause them to be inaccurate when you put them back on. if you can find a way without taking the needles off...do that. duh.
***BEFORE YOU PUT THE NEEDLES BACK ON THE GAUGES, reassemble your gauge cluster and put it back into your car!!!! start your car and let it idle for a while so it is up to it's normal temp and idle rpm's. integra's idle right at 750rpm's, so point the needle at 750 and slide it back on gently. as for the temp gauge, point the needle at your cars normal operating temp and slide it back on. same thing with the gas gauge, EXCEPT you need to remember how much gas you had before the needle was taken off. or you can simply use a little piece of masking tape to mark where the needle was pointing to.***
there ya go!
here's what mine looks like:

some information and pics from:
*mystikalstriker* @ team-integra.net
here's the link
and it only included instructions to make the climate control amber. i did a few diffferent things and i made the climate control, gauge cluster, clock, and cruise control switch amber. unfortunately i do not have any pics to help you, so i'll describe everything the best i can. any questions? ask away. so, without further a do, on to the diy:1. i used white spray paint, red transparent vinyl (available through mysticalstricker on Team-Integra or from a sign shop and possibly Staples or Office Depot), x-acto knife or razor blade, nail polish remover, masking tape, a few q-tips, and super glue.
2. carefully pop of all of the climate control buttons by gentley prying from the bottom of the button wiggling it side to side. you DO NOT need to pop off the defrost button! pry off the slider ***** that adjust temp and intensity of heat/a/c. to get the piece off that has the temp on it, use an x-acto knife to get one end loose then you can gentley pull it off.
2a. on this step i used an x-acto knife to gently pry up on one end of this strip and you can peel this part out. if you dont have an x-acto blade, just use the corner of a razor blade like this one:
3. take out the clock (use the flat head scrw driver to pry it out easily), guage cluster (there two phillips screws on the top of the gauge bezel that need taken out. once they're out, the bezel pops out by pulling the bottom of it by the steering column first, the pull the top out. then there are 3 or 4 screws holding the gauge cluster in on the sides and on the top in the middle, once they're out pull the cluster out and unplug it), and cruise control switch (you can pry this out just like the clock). if you dont know how to do that...you probably shouldn't be doing this. the rear defrost switch also needs to come out. do this by prying with TWO flat head screw drivers on both sides of the switch. it' really hard to do, so be careful!!
4. on the climate control buttons, pop out the face of the button from the back with the pencil eraser. same goes for the cruise control switch and rear defroster once you've taken them apart.
5. disassemble the guage cluster. the clear plastic that protects the gauges unclips from the rim of the clear plastic. to take the guages out of the pod; there are phillips head screws on the back of the gauge cluster that hold the gauges in. take out the screws and the gauges easly slide out. carefully pull off the needles on each guage. then take the guage faces off. (i may missed a few things here becase its been 3 years since i've done this! sorry)
6. DO NOT do this step to the gauge faces!! use the nail polish remover on the back of the climate control buttons, cruise control switch and rear defroster faces. i dipped a q-tip in the polish remover and rubbed the back of the faces until the blue and white is gone. once the white is gone, you should be able to see through the face and the black will still be there. spray paint the back of the faces white. once the paint is dry, cut out a piece of red vinyl to cover what you just painted for each button. on the defrost/foot climate cntrl button, the polish remover should be rubbed on ONLY the white part. DO NOT rub polish remover on the tiny defrost symbol. once you have all off the faces done, use a SMALL amount of super glue to put them back in. if you use too much super glue, it will frost leaving a white haze around the glue that is near impossible to remove. OR you could use model glue. thats what i used so didn't get any frost.
***pics unfortunately only show everything being done to the climate control, not the cruise control, gauge cluster, rear defrost or clock***
the difference on the pics is that i used nail polish remover to take off that white and blue color on the BACK of the button. when you do this it will not remove any black and it will leave you with the little figure clear.
to paint white on the buttons, take a piece of masking tape and lay it sticky side up on the table. make sure the nail polish remover is gone and put the face of the button down onto the masking tape. then after you have the buttons and temp/fan selector strip all on the tape, spray a coat of white paint onto the buttons. make sure all of the buttons are down on the tape so no paint gets on the front of them! i imagine if paint does get on the front of them, you could use some nail polish remover to rub any paint off. AFTER the paint is dry, follow the rest of step 6!
here's where you put the super glue:
simply just put the buttons back on, they click when they're all the way back in:
the strip will need TINY dabs of glue as well. put those dabs where the arrows are:
7. for the clock, take it apart. then simply cut out a piece of vinyl so it covers the lcd glass.
8. on the back of the guage faces, cut pieces of vinyl so that all numbers, dashes, letters etc. are covered. when you're done, pull the blue caps that cover the 3 big light bulbs off. pulling the needles off will cause them to be inaccurate when you put them back on. if you can find a way without taking the needles off...do that. duh.
***BEFORE YOU PUT THE NEEDLES BACK ON THE GAUGES, reassemble your gauge cluster and put it back into your car!!!! start your car and let it idle for a while so it is up to it's normal temp and idle rpm's. integra's idle right at 750rpm's, so point the needle at 750 and slide it back on gently. as for the temp gauge, point the needle at your cars normal operating temp and slide it back on. same thing with the gas gauge, EXCEPT you need to remember how much gas you had before the needle was taken off. or you can simply use a little piece of masking tape to mark where the needle was pointing to.***
there ya go!
here's what mine looks like:
some information and pics from:
*mystikalstriker* @ team-integra.net
here's the link
Trending Topics
Thread Starter
Honda-Tech Member
Joined: Dec 2003
Posts: 1,183
Likes: 0
From: Cincinnati, Ohio, USA
thanks. if anybody has any questions, please pm me!
Last edited by DA6righthand; Mar 20, 2009 at 01:31 PM. Reason: i'm stupid

Honda-Tech Member
Joined: Feb 2006
Posts: 471
Likes: 0
what kinda red vinyl and white spray paint did you use? did you use the vinyl for the cluster as well?
ive tried changing my colors by using an orange sharpie, but results were very unsatisfying.
ive tried changing my colors by using an orange sharpie, but results were very unsatisfying.
Last edited by uses0ap; Mar 24, 2009 at 02:07 PM.

Thread Starter
Honda-Tech Member
Joined: Dec 2003
Posts: 1,183
Likes: 0
From: Cincinnati, Ohio, USA
i used red vinyl for everything. the red vinyl may be hard to find, but if you message mystikalstriker on team-integra.net, he can get you some. you could also try sign shops or places that make decals. make sure to get transparent red vinyl! i used hobby spray paint found in craft stores.
Honda-Tech Member
Joined: Jun 2007
Posts: 230
Likes: 0
From: Bay Area SJ, CA
i used red vinyl for everything. the red vinyl may be hard to find, but if you message mystikalstriker on team-integra.net, he can get you some. you could also try sign shops or places that make decals. make sure to get transparent red vinyl! i used hobby spray paint found in craft stores.
So by using the Red vinyl when the light hits it , it turns out Amber?
Thread Starter
Honda-Tech Member
Joined: Dec 2003
Posts: 1,183
Likes: 0
From: Cincinnati, Ohio, USA

Thread Starter
Honda-Tech Member
Joined: Dec 2003
Posts: 1,183
Likes: 0
From: Cincinnati, Ohio, USA

Honda-Tech Member

Joined: Apr 2001
Posts: 1,059
Likes: 0
From: Los Angeles, CA
cool, updated pictures and a solution to the cheaper film. I also did this years ago. Hope my old site inspired you, or maybe it's just BG-33P owners are smarter then the rest.
clock is here, https://honda-tech.com/forums/honda-acura-28/how-diy-amber-clock-220512/
follow the link and you will get to my old geocities site with the other amber conversions
clock is here, https://honda-tech.com/forums/honda-acura-28/how-diy-amber-clock-220512/
follow the link and you will get to my old geocities site with the other amber conversions
Thread Starter
Honda-Tech Member
Joined: Dec 2003
Posts: 1,183
Likes: 0
From: Cincinnati, Ohio, USA
cool, updated pictures and a solution to the cheaper film. I also did this years ago. Hope my old site inspired you, or maybe it's just BG-33P owners are smarter then the rest.
clock is here, https://honda-tech.com/forums/showthread.php?t=220512
follow the link and you will get to my old geocities site with the other amber conversions
clock is here, https://honda-tech.com/forums/showthread.php?t=220512
follow the link and you will get to my old geocities site with the other amber conversions
just popping in amber bulbs didn't look right imo. go big or go home right?