

Fat Five Center Caps

Thread Starter
Honda-Tech Member
Joined: Oct 2008
Posts: 300
Likes: 0
From: San Diego, Ca, Usa
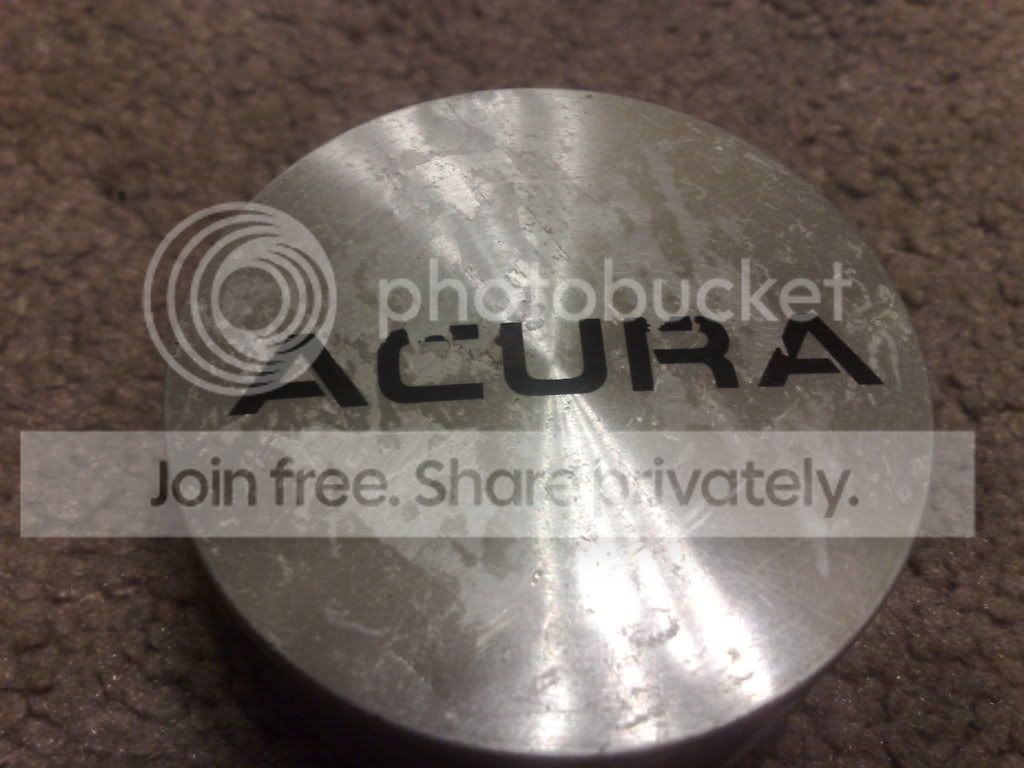
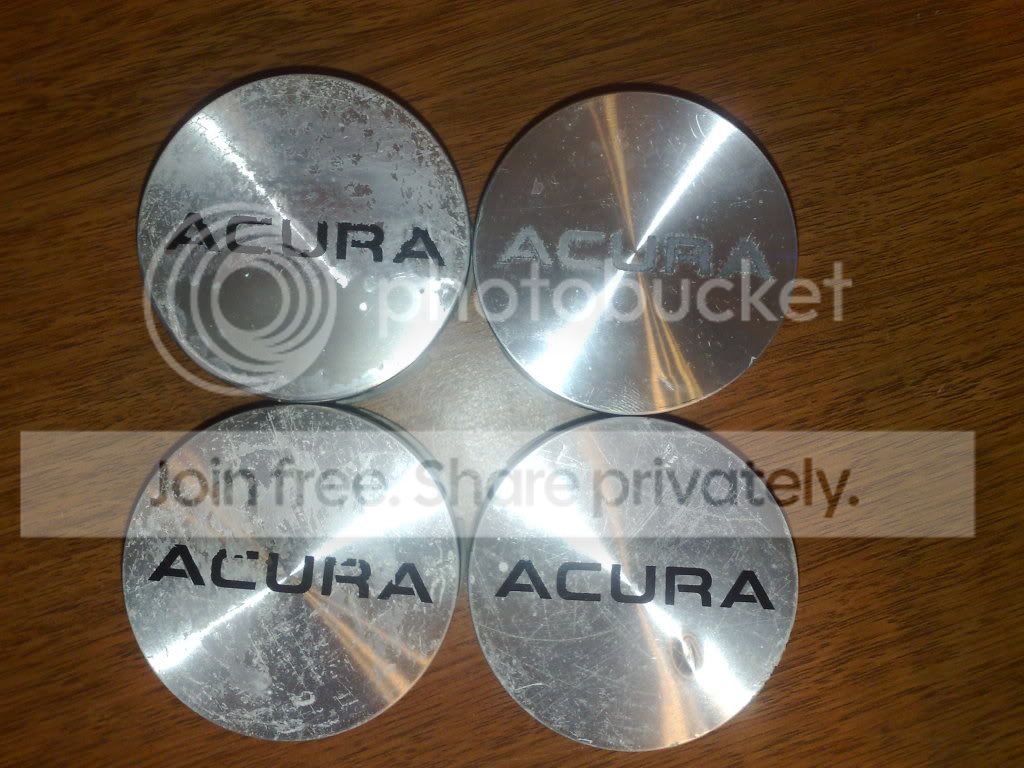
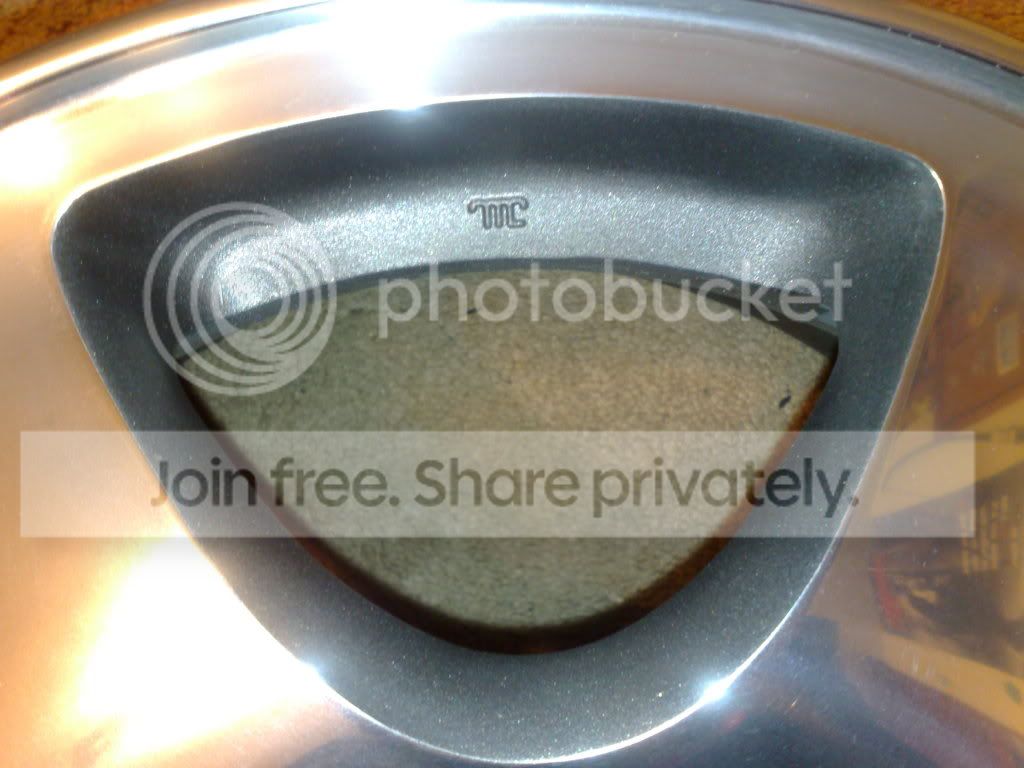
Ive been polishing my Fat Fives and now the center caps are really bothering me. The difference between the new surface of the rims and the 14+(?) year old center cap is very significant. I also dont want my Civic to say Acura  . So I hit the red button on the upper right and found out that the 99-00 Si caps fit. Have not been able to find a set of them so I went to the local Honda Dealer so see if I could order a set. Turns out that they are a special order item thats going to cost me $130!!! So should I sand the Acura stuff off the caps and paint a Honda logo on or put a vinyl sticker on it or something? Or are these caps still worth something to someone and should try to trade/sell them for a set of Si caps?
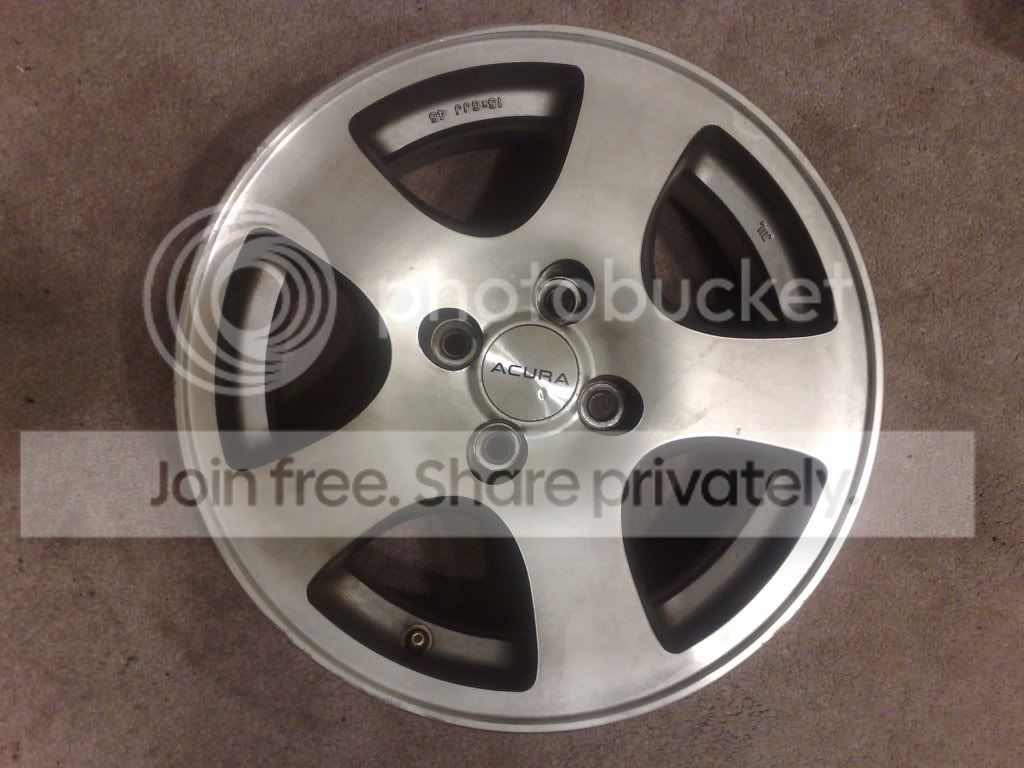
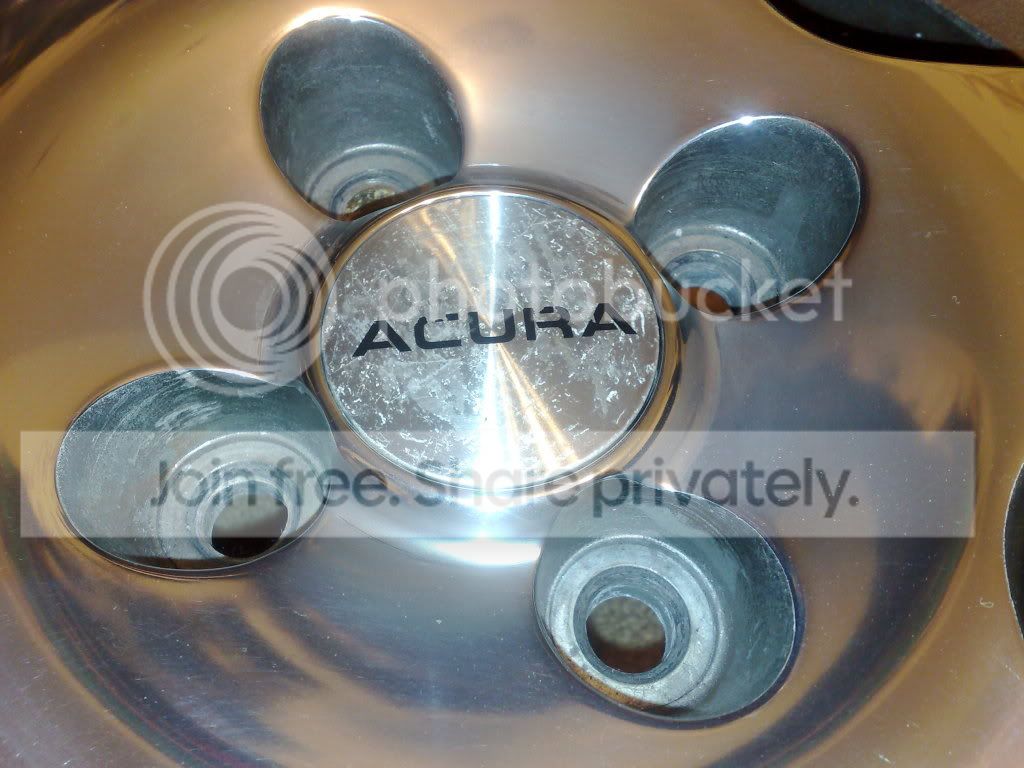
. So I hit the red button on the upper right and found out that the 99-00 Si caps fit. Have not been able to find a set of them so I went to the local Honda Dealer so see if I could order a set. Turns out that they are a special order item thats going to cost me $130!!! So should I sand the Acura stuff off the caps and paint a Honda logo on or put a vinyl sticker on it or something? Or are these caps still worth something to someone and should try to trade/sell them for a set of Si caps?
Last edited by JHP; Nov 18, 2008 at 02:17 PM.
Thread Starter
Honda-Tech Member
Joined: Oct 2008
Posts: 300
Likes: 0
From: San Diego, Ca, Usa
I was thinking about polishing the caps the same way I did with the rims if it came to it then putting a Honda logo on them. The metal is very thin on the caps but its not like the sanding will take that much off of them. So you think its worth "destroying" them?
Honda-Tech Member
Joined: May 2008
Posts: 819
Likes: 0
From: USA
I don't think that you could get the same results on the caps as you did with the wheels.
If you try to polish the caps, you'll just sand it down to the bare plastic.
Just sand them down enough to the point where you can't feel the roughness that was caused by the 'oxidation' and just use the 'chrome' spay paint to at least getting it looking like the surrounding polished area of the wheels.
Thread Starter
Honda-Tech Member
Joined: Oct 2008
Posts: 300
Likes: 0
From: San Diego, Ca, Usa
I doubt that the sanding will blast through the metal. The 'oxidation' is more like the clear coat scratching off. Very different from what happened to the rims.

H-T Order of Merit
Joined: Jan 2000
Posts: 23,478
Likes: 2
From: Chicago
Originally Posted by JHP
Turns out that they are a special order item thats going to cost me $130!!!
Trending Topics
Thread Starter
Honda-Tech Member
Joined: Oct 2008
Posts: 300
Likes: 0
From: San Diego, Ca, Usa
Ugh... no caps? No way. I put too much time and effort cleaning these rims up to leave the job unfinished. About CL, Ive been looking but cant seem to find them. Maybe its easy to find where you live but that does not seem to be the case in So Cal. 
Thread Starter
Honda-Tech Member
Joined: Oct 2008
Posts: 300
Likes: 0
From: San Diego, Ca, Usa
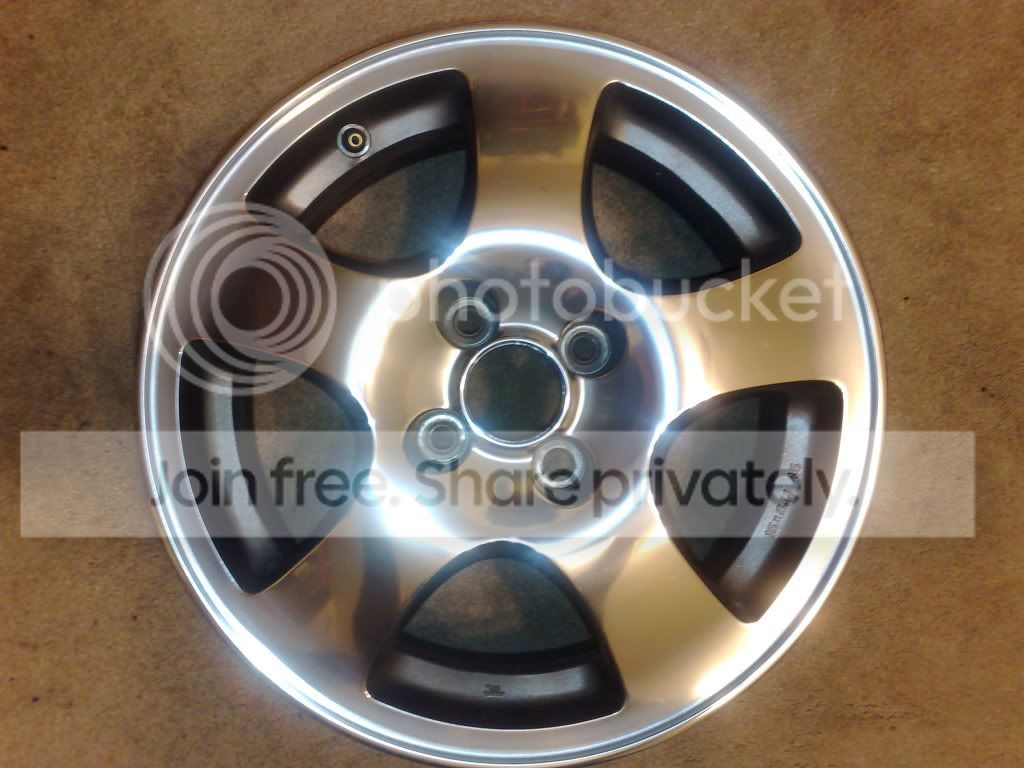
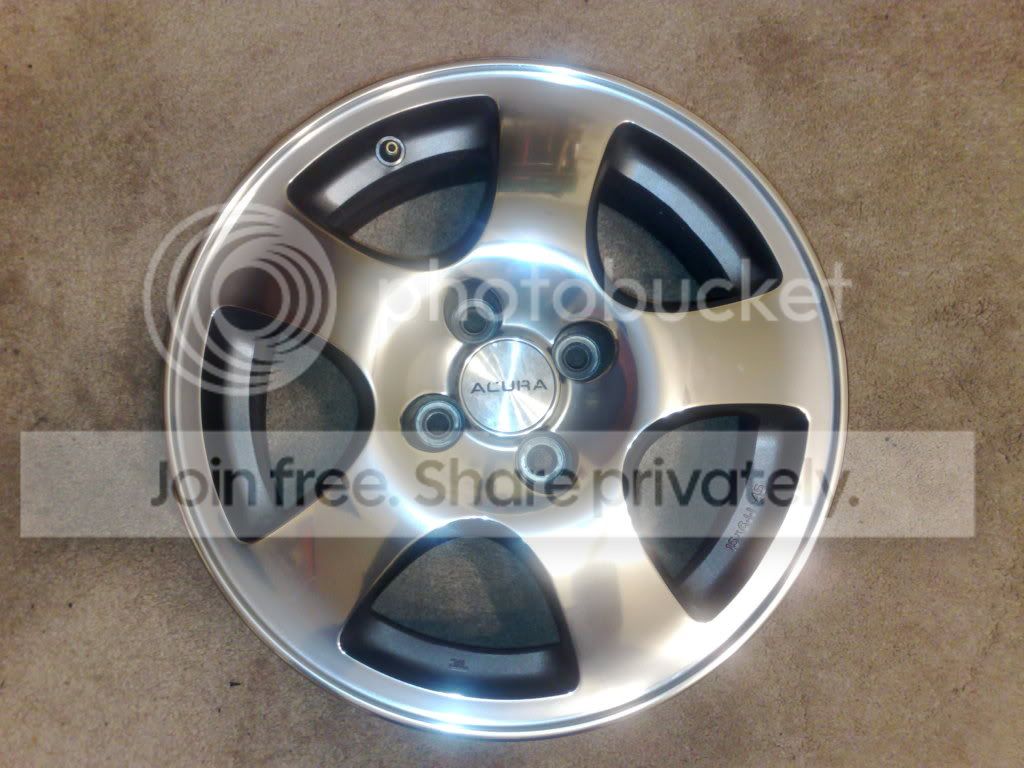
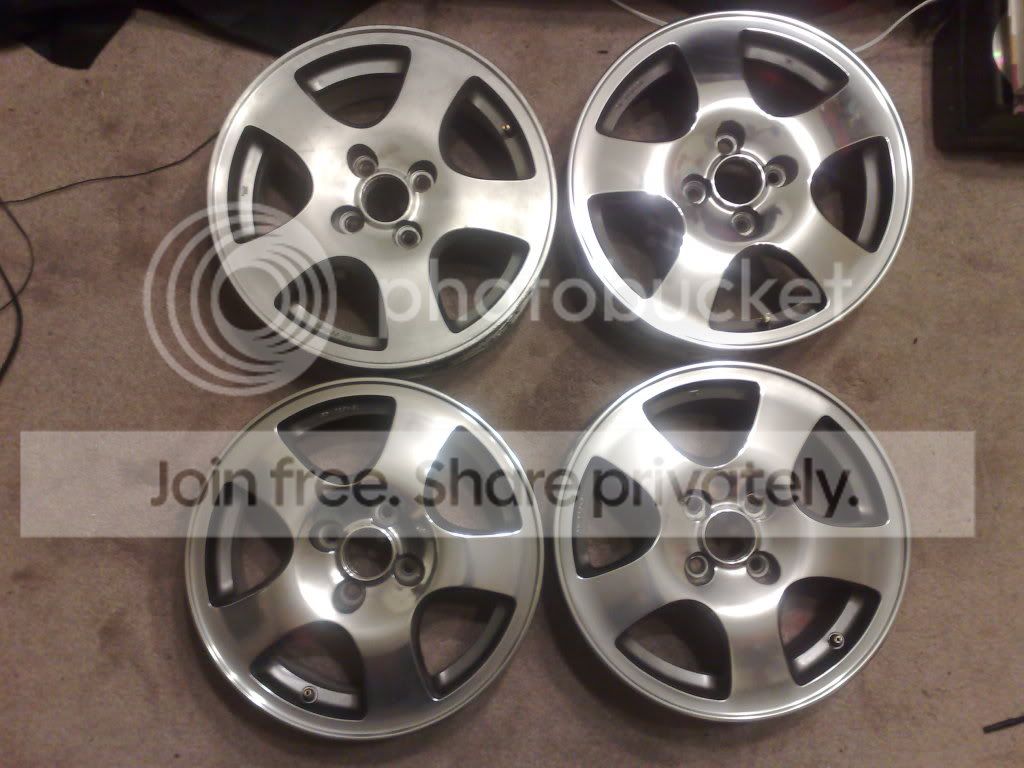
Depending on how bad your rims are to start you might need a lower grit. My rims had pretty bad oxidatation on the clear so it had to go. There was slight curbing on them too. Anyways I just sanded with 240 grit to get through the clear and fix up the curbing and sanding away the lines from the machining then I followed up with 300 grit, 400 grit, 500 grit, 600 grit and 1000 grit. I taped the wheel up here to paint between the spokes. Just a small detail but it changes the look a lot in my book. Went from this
to this.
Then I started wet sanding with 1200 grit, 1500 grit and finished sanding with 2000 grit. I then used a buffer to polish with Mother's Wheel polish and then buffed it again with Blue Magic Wheel Polish. Then I waxed it with Meguiars Gold Class wax and buffed again. Very time consuming (took me over 7 hours a wheel) but the results are good. I still have to finish up one more, might try some aircraft remover to get the clear out of the way. That is the hardest and most time consuming part of the job.
H-T Order of Merit
Joined: Jan 2000
Posts: 23,478
Likes: 2
From: Chicago
Originally Posted by JHP
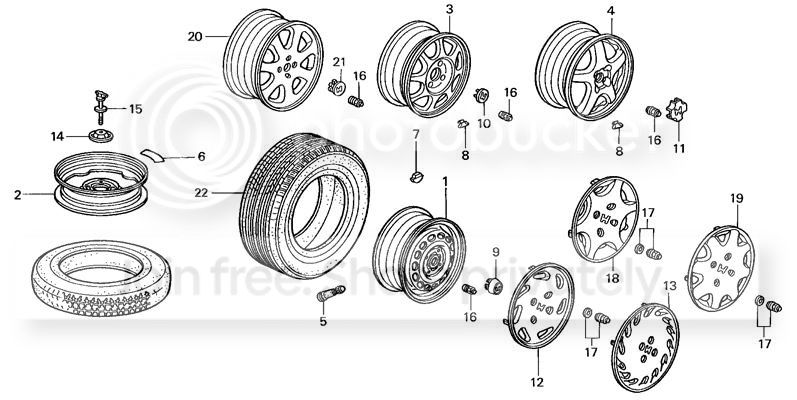
Can anyone confirm that 44732-S50-N91 is part #21 in the pic?
 gonna try it for sure
Thread Starter
Honda-Tech Member
Joined: Oct 2008
Posts: 300
Likes: 0
From: San Diego, Ca, Usa
Ha ha. How did my question turn into a write up?  Well not really a write up, not detailed enough. Got the ideas from another forum, google it. Still, I hpoe that it helps people do it if they want. If I had time it would have taken me about 4 days or so. I dont so it took a lot longer.
Well not really a write up, not detailed enough. Got the ideas from another forum, google it. Still, I hpoe that it helps people do it if they want. If I had time it would have taken me about 4 days or so. I dont so it took a lot longer.

Thread
Thread Starter
Forum
Replies
Last Post
jimmhatch
Southern California (Sales)
0
Sep 24, 2008 11:35 PM
IGotNoSwap
Want to Buy
1
Sep 27, 2005 06:05 PM