

LyveMyche's 95 EG Build

Thread Starter
Honda-Tech Member

Joined: Jul 2007
Posts: 220
Likes: 0
From: tn, USA
Well this is my EG. Pretty much exactly as I bought it. Not much in the way of mods other than the 16" Neepers. They were on it when I bought it, and will be coming off very soon cause I really aint Ballin' son!

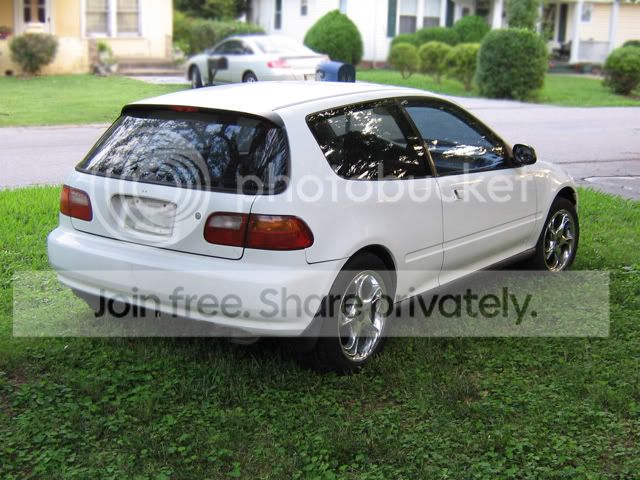
Anyway, I have had this car for a while now and drive it every day. I have been reading and studying a lot and have been, I guess you could say inspired by others work throughout HT and other sites, and most HEAVILY inspired by the SoHonda Garage. guys, I decided I wanted to have my own build. Due also in part to the fact that my car has roughly 170K on it and has the typical Honda Bad Ring syndrome burning oil smoke thing. Not terribly bad though, but getting worse seemingly by the day.
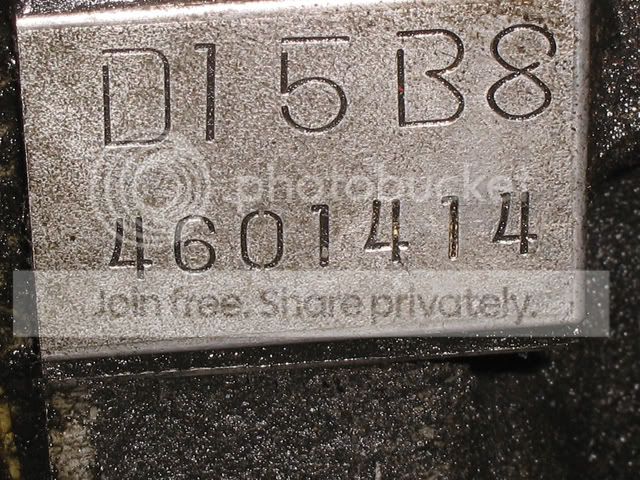
This is it what it has in it...
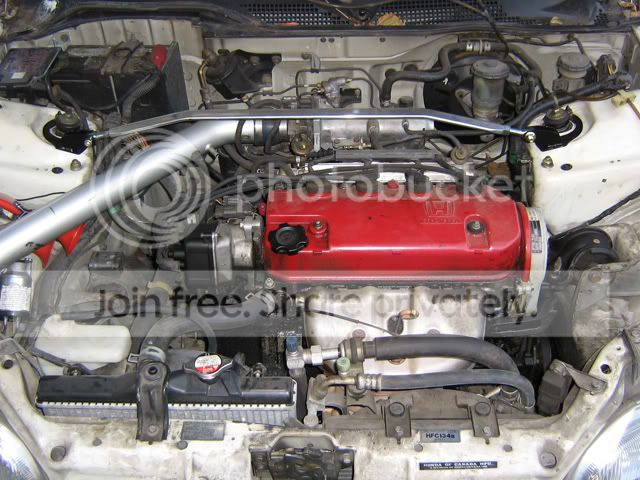
Massive I know....
Yes I know it will be sad to lose such a beast, a pure "POWER" plant as this but... what can you do?
Anyway the purpose of this thread is the same any other build thread to show off what I am doing and what I have done so that maybe someone can learn from my mistakes (as I expect will be plentiful), and to bounce ideas off you and ask questions. If you see that I'm about to screw up, or do something wrong or have the wrong stuff, by all means say so. I can take it, and any input I receive is greatly appreciated.
I do not by any means claim to be an expert of any kind (as I will soon demonstrate). Thanks in advance for checking out my build, and for any advice you wish to toss in.
I have been taking pictures of the stuff I have done to my car so the first part of this will be posted in no particular order just to catch up to where I am currently on this project.
Modified by LyveMyche at 10:13 PM 8/10/2008
Anyway, I have had this car for a while now and drive it every day. I have been reading and studying a lot and have been, I guess you could say inspired by others work throughout HT and other sites, and most HEAVILY inspired by the SoHonda Garage. guys, I decided I wanted to have my own build. Due also in part to the fact that my car has roughly 170K on it and has the typical Honda Bad Ring syndrome burning oil smoke thing. Not terribly bad though, but getting worse seemingly by the day.
This is it what it has in it...
Massive I know....
Yes I know it will be sad to lose such a beast, a pure "POWER" plant as this but... what can you do?
Anyway the purpose of this thread is the same any other build thread to show off what I am doing and what I have done so that maybe someone can learn from my mistakes (as I expect will be plentiful), and to bounce ideas off you and ask questions. If you see that I'm about to screw up, or do something wrong or have the wrong stuff, by all means say so. I can take it, and any input I receive is greatly appreciated.
I do not by any means claim to be an expert of any kind (as I will soon demonstrate). Thanks in advance for checking out my build, and for any advice you wish to toss in.
I have been taking pictures of the stuff I have done to my car so the first part of this will be posted in no particular order just to catch up to where I am currently on this project.
Modified by LyveMyche at 10:13 PM 8/10/2008
Thread Starter
Honda-Tech Member
Joined: Jul 2007
Posts: 220
Likes: 0
From: tn, USA
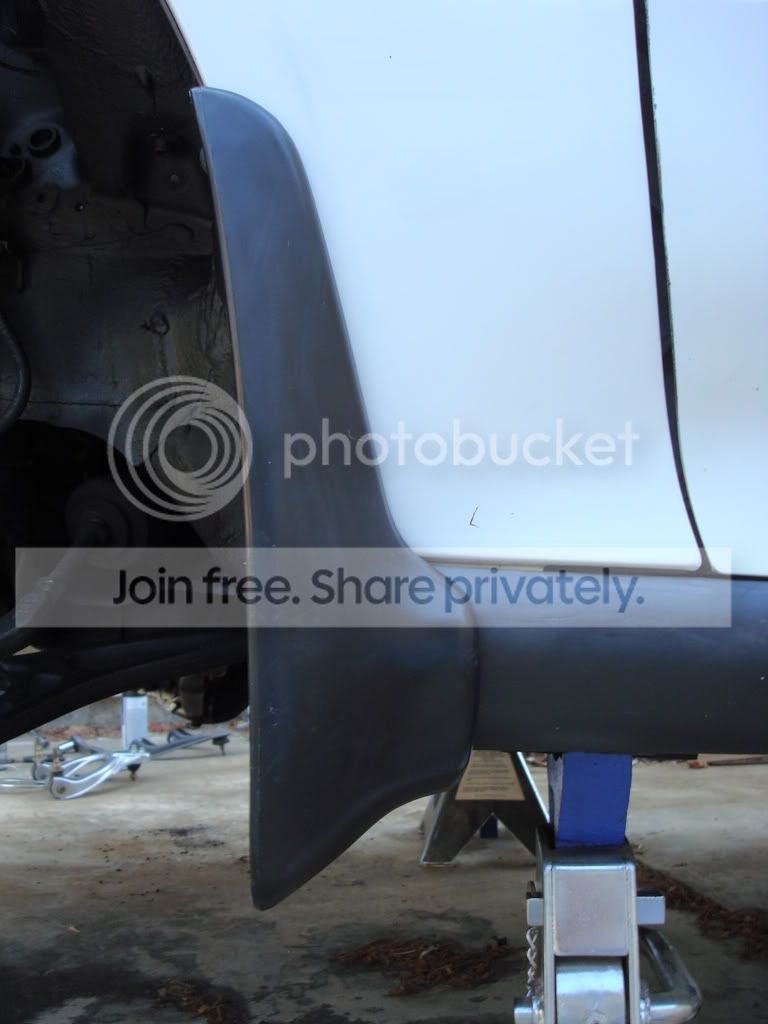
I wanted to do something about this monster truck clearance...

So I bought some KYB struts and coilovers (sorry no pic) from a friend and ordered these...

I know there is a quite a lot of debate about the usefulness of camber kits but i like for my tires to ride vertically and not have a lot of negative camber Like some cars you see with the wheels all slanted way in at the top. That just looks DumbAss!
SO...While I was in there, I undercoated everything too. It does help to cut down on some road noise and it looks way better too.
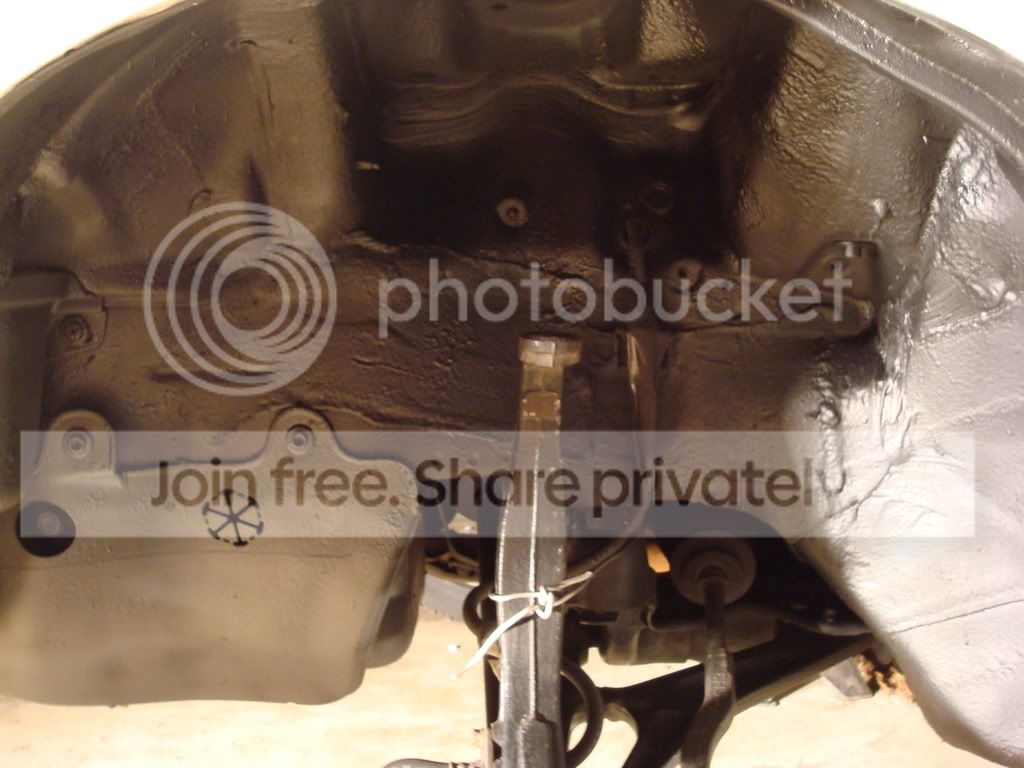
I also painted my calipers while I was in there. And cleaned everything else up.
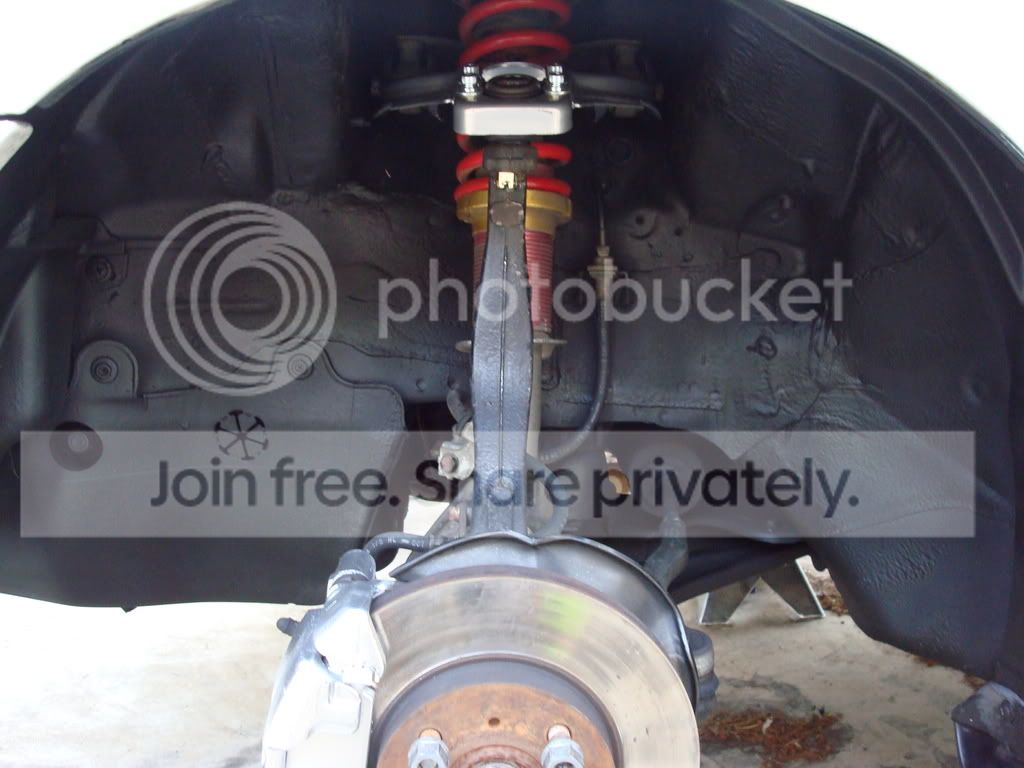
Oh and put these back on too...
Just Because.
Sorry about the darkness of the "after" pic.

It looks tremendously better in the front. It rides at a better position now and handles much better as well.
So I bought some KYB struts and coilovers (sorry no pic) from a friend and ordered these...
I know there is a quite a lot of debate about the usefulness of camber kits but i like for my tires to ride vertically and not have a lot of negative camber Like some cars you see with the wheels all slanted way in at the top. That just looks DumbAss!
SO...While I was in there, I undercoated everything too. It does help to cut down on some road noise and it looks way better too.
I also painted my calipers while I was in there. And cleaned everything else up.
Oh and put these back on too...
Just Because.
Sorry about the darkness of the "after" pic.
It looks tremendously better in the front. It rides at a better position now and handles much better as well.
Last edited by LyveMyche; Nov 16, 2009 at 06:06 PM.
Thread Starter
Honda-Tech Member
Joined: Jul 2007
Posts: 220
Likes: 0
From: tn, USA
For the Back...
Rear disc conversion from a 98 GSR...
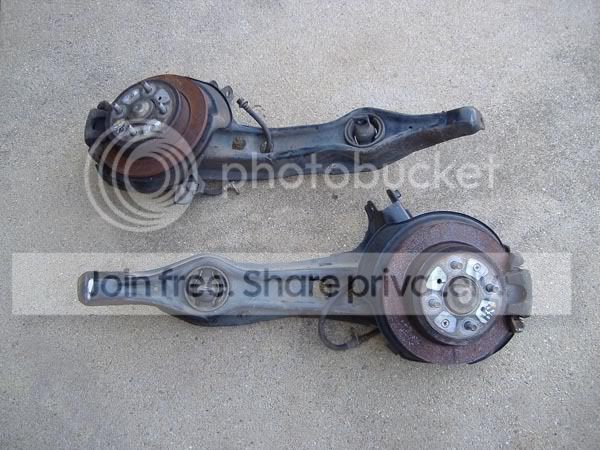
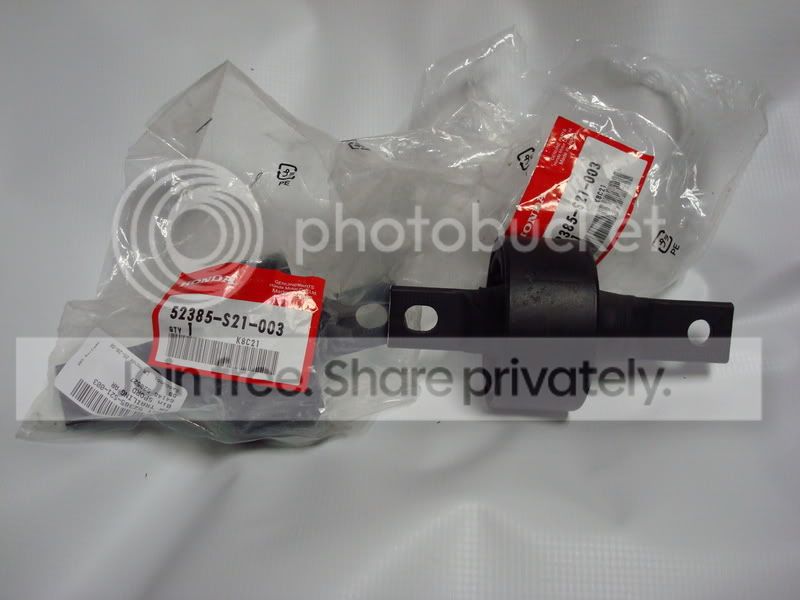
While its out, new Trailing Arm Bushings.
Adjustable UCAs
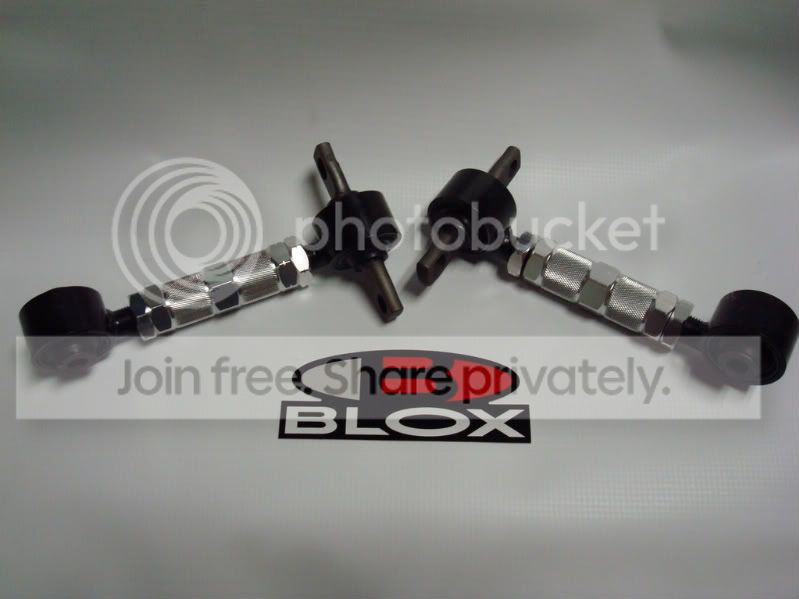
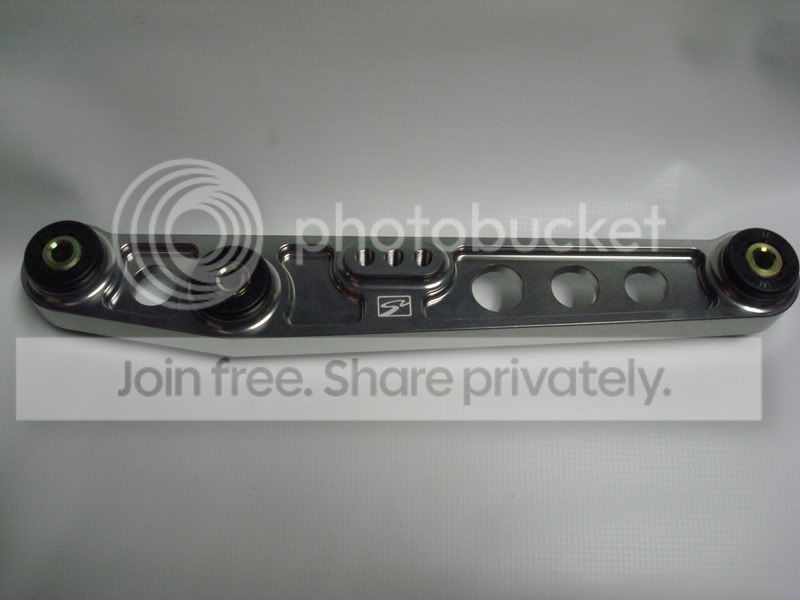
Pretty Shiny Skunk2 LCAs
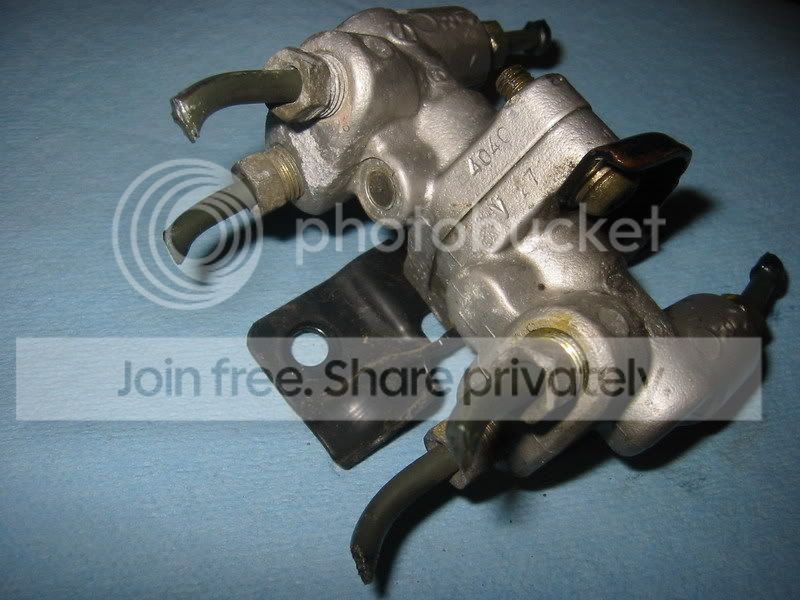
4040 Proportioning Valve
Everything Out...
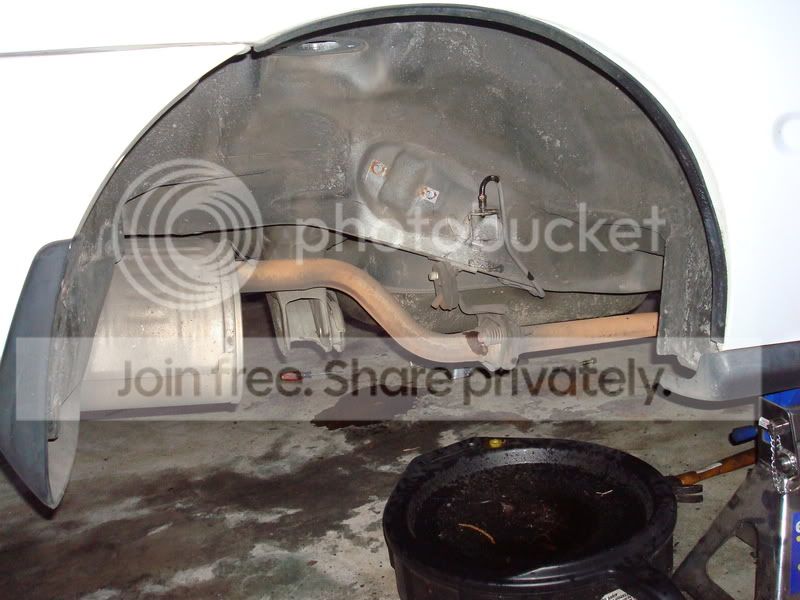
Did the same as the front, cleaned and undercoated everything and painted the calipers.
Looking for after pix...Sorry... don't know where I put them.
I will post them when I find them.
Modified by LyveMyche at 11:26 PM 8/10/2008
Rear disc conversion from a 98 GSR...
While its out, new Trailing Arm Bushings.
Adjustable UCAs
Pretty Shiny Skunk2 LCAs
4040 Proportioning Valve
Everything Out...
Did the same as the front, cleaned and undercoated everything and painted the calipers.
Looking for after pix...Sorry... don't know where I put them.
I will post them when I find them.
Modified by LyveMyche at 11:26 PM 8/10/2008
Thread Starter
Honda-Tech Member
Joined: Jul 2007
Posts: 220
Likes: 0
From: tn, USA
A word about cheap coilovers on the back...
The fronts were great. I like the firmness on the front. It rides good and handles very "sportily". Stiff ones on the back (out of context) make the car ride like pure ****. It will bounce or rather slam over things quite brutally. So I ended up taking off those springs and putting my factory ones back on for the time being. It looked incredible with the coilovers on because the tires tucked right up in the fenders perfectly and it look great! But I cant deal with a ride that brutal. So until I can find some good springs like some Eibach GC's or something. this is where I have to stay.
BTW... after changing out all of the suspension like this you should get a good four wheel alignment from a reputable shop. Its worth every penny it costs you to have your car not only be safe, but to track properly. I can let go of the wheel in mine on the interstate and it will just drive itself forever. and it rides so much better too.

Thread Starter
Honda-Tech Member
Joined: Jul 2007
Posts: 220
Likes: 0
From: tn, USA
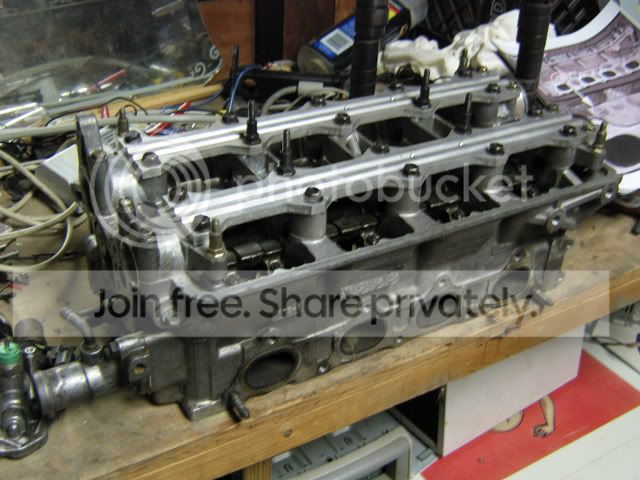
I think this JDM B16A will be way better...

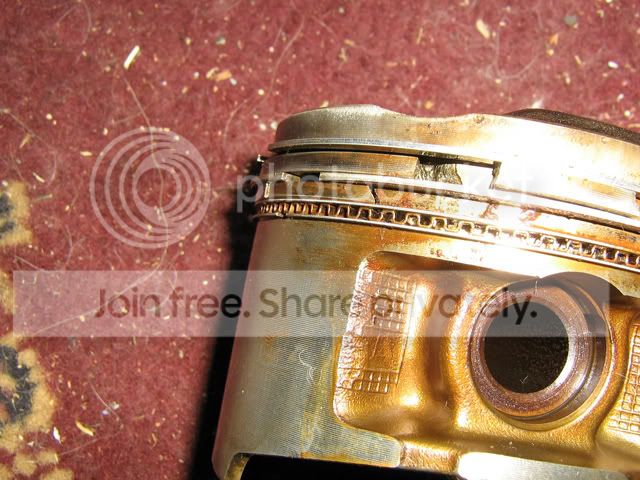
It came from a guy who tried to run boost on it... and apparently didnt upgrade the fuel delivery system. after taking it apart I found this:
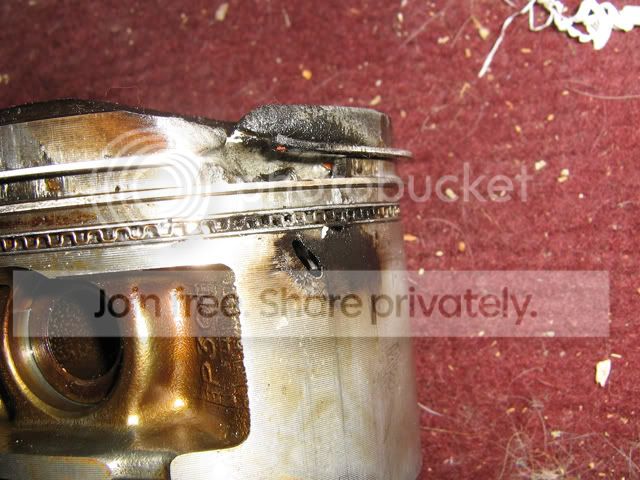
This was the worst piston but the others weren't so good either.
I guess the engine just out ran the fuel system, leaned out, and roasted some pistons...
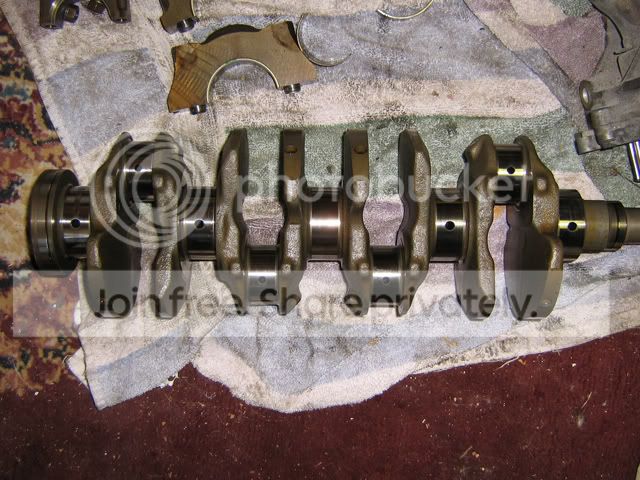
The crank is in good shape.
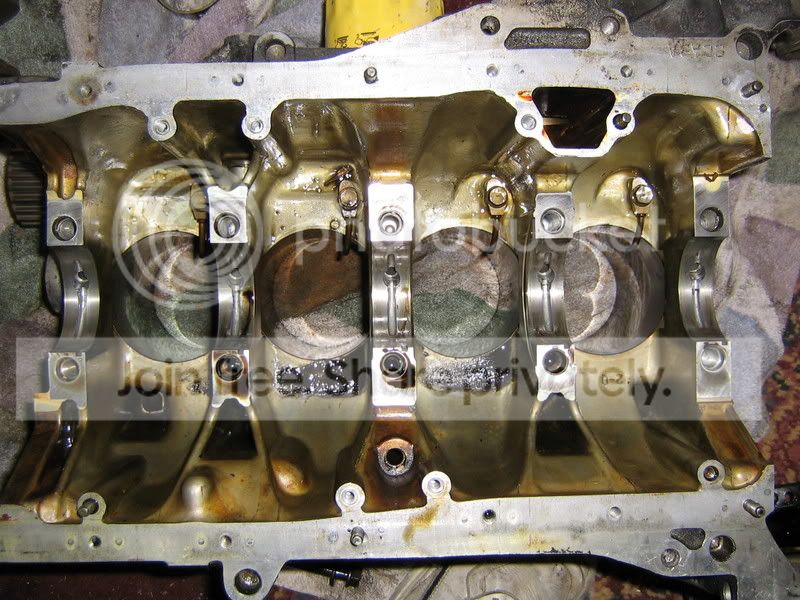
So is the block and the rods
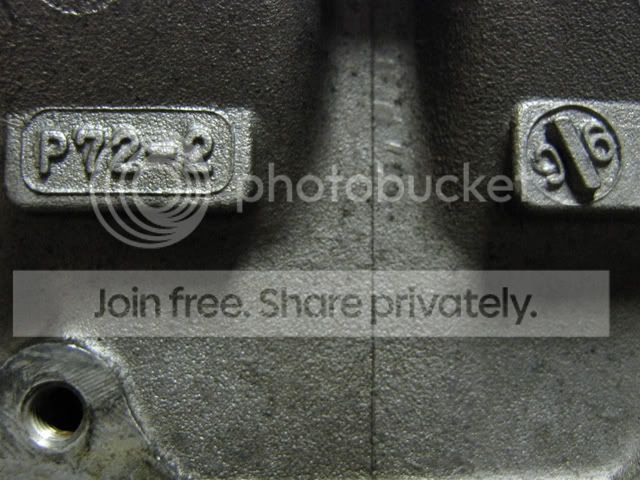
I also picked up a 97 GSR Head
and a 97 GSR Transmission
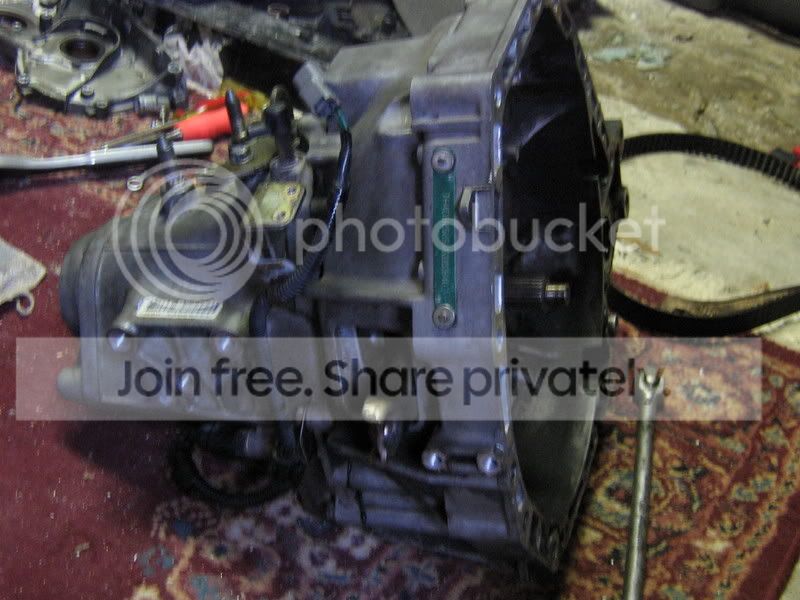
I had a friend of mine (the transmission wizard) go all through it and install all new bearings, synchronizers, change worn gears and put in an LS 5th. That should help out a little with the Gas mileage.

It came from a guy who tried to run boost on it... and apparently didnt upgrade the fuel delivery system. after taking it apart I found this:
This was the worst piston but the others weren't so good either.
I guess the engine just out ran the fuel system, leaned out, and roasted some pistons...
The crank is in good shape.
So is the block and the rods
I also picked up a 97 GSR Head
and a 97 GSR Transmission
I had a friend of mine (the transmission wizard) go all through it and install all new bearings, synchronizers, change worn gears and put in an LS 5th. That should help out a little with the Gas mileage.
Last edited by LyveMyche; Jul 13, 2009 at 05:29 AM.
Thread Starter
Honda-Tech Member
Joined: Jul 2007
Posts: 220
Likes: 0
From: tn, USA
I have been talking with a local machine shop here and will be getting this work done ASAP...
Clean Block
Micro polish the crank
Bore cylinders .025
New P30 pistons
Resurface the flywheel
Balance entire rotating assembly
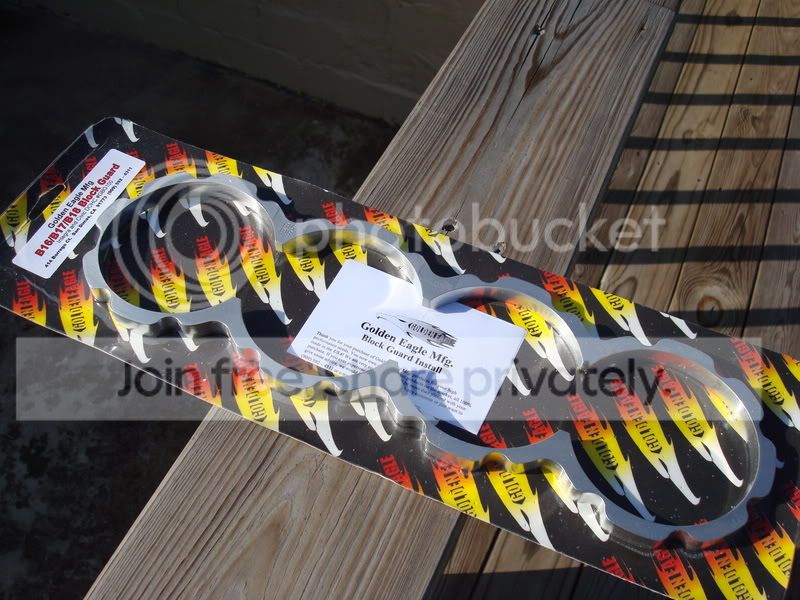
Install block guard
Clean Head
Resurface Head
New Valve Guides & Seals
New Valve Springs
Valve Job
Pressure Test
I should be dropping this off within the next week or so....
Clean Block
Micro polish the crank
Bore cylinders .025
New P30 pistons
Resurface the flywheel
Balance entire rotating assembly
Install block guard
Clean Head
Resurface Head
New Valve Guides & Seals
New Valve Springs
Valve Job
Pressure Test
I should be dropping this off within the next week or so....
Trending Topics
Thread Starter
Honda-Tech Member
Joined: Jul 2007
Posts: 220
Likes: 0
From: tn, USA
I thought very seriously about using Civic Type R pistons in this, but after much research, I found that there would be way too much machine work involved to really make it feasible. And besides, with this setup I should have a compression ratio nearing 11:1 anyway.
Thread Starter
Honda-Tech Member
Joined: Jul 2007
Posts: 220
Likes: 0
From: tn, USA
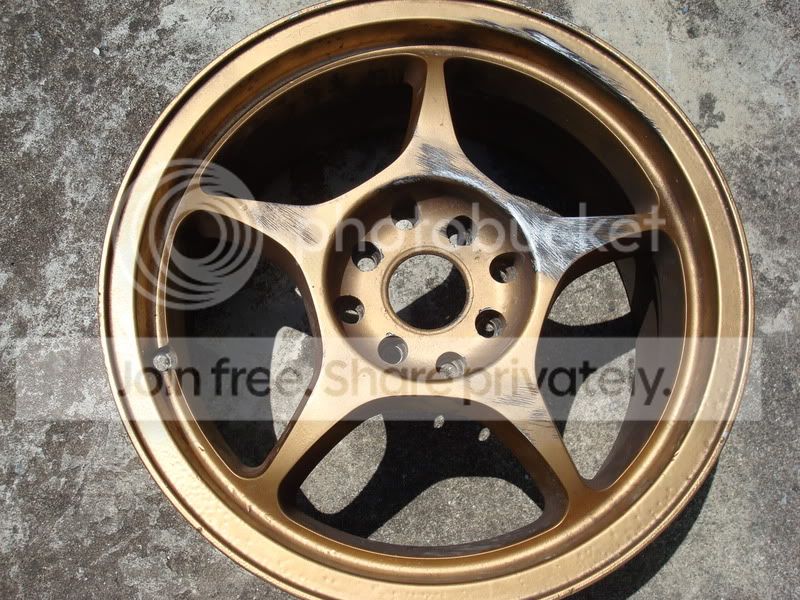
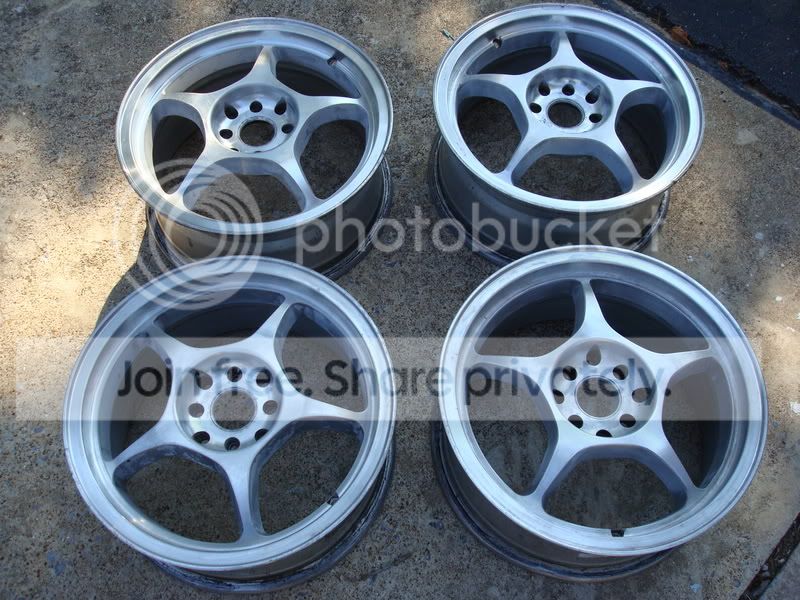
I Picked up some wheels!!! Yeah they aren't Wedsports or Enkeis or whatever but I got a good deal on them and they will look better than what I have.
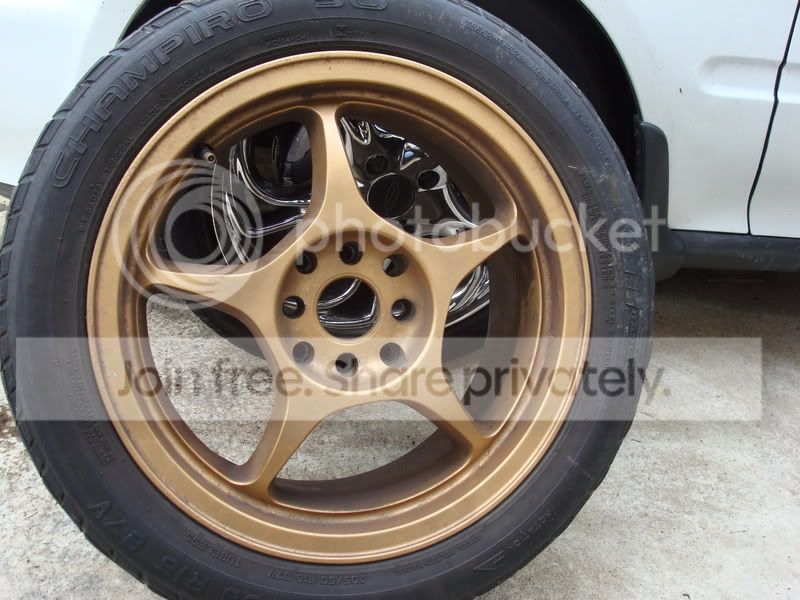
I'm just not feeling the gold and so it must go. so I will be stripping and refinishing them before I put them on.
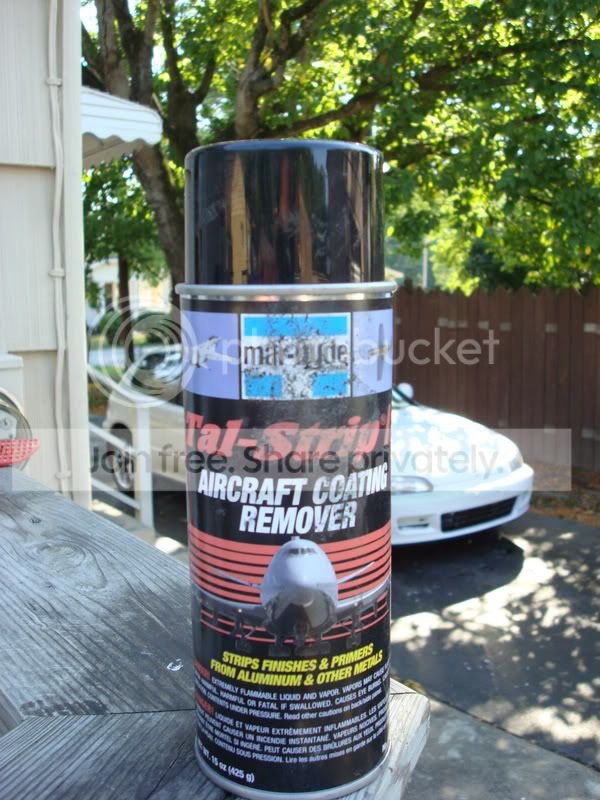
This is what I used for this:
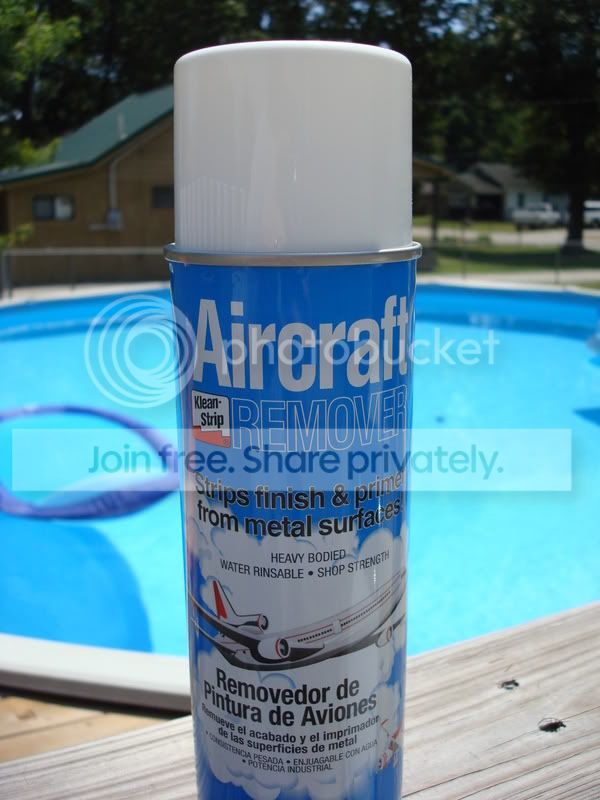
Aircraft Stripper. They do make a non-spay on kind. I suppose one works as well as the other.
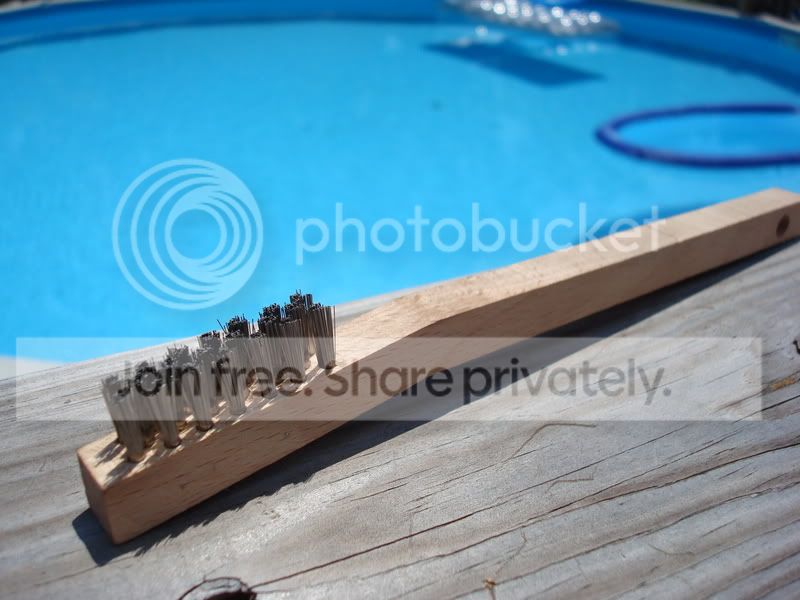
A Wire brush... Though it looks big in the picture, its a little bigger than a toothbrush. Be sure to get one with a wooden handle as the stripper will melt a plastic one.
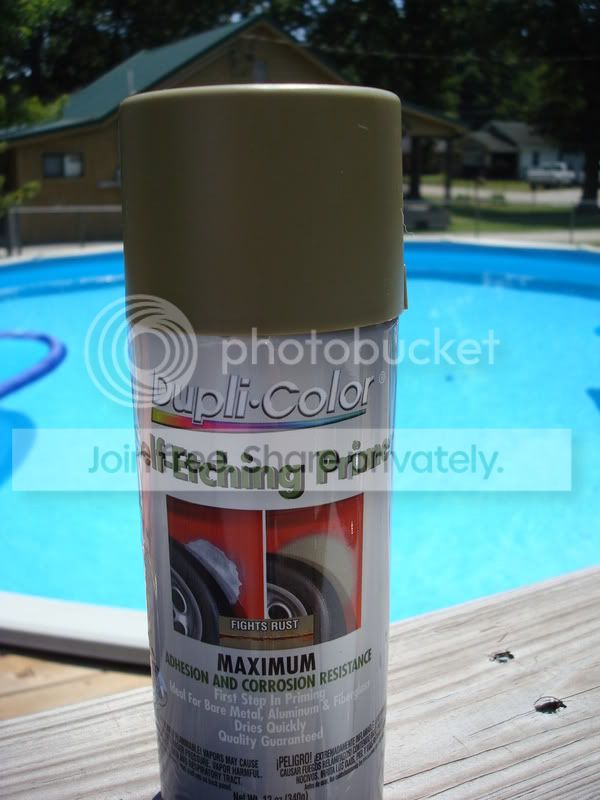
If you are going to repaint them this primer works well. Especially if the wheels are not perfectly smooth. If you are going to powder coat, you wont need this.
Icey Cold NewCastle... Not required, but highly recommended!
Modified by LyveMyche at 7:11 PM 8/11/2008
I'm just not feeling the gold and so it must go. so I will be stripping and refinishing them before I put them on.
This is what I used for this:
Aircraft Stripper. They do make a non-spay on kind. I suppose one works as well as the other.
A Wire brush... Though it looks big in the picture, its a little bigger than a toothbrush. Be sure to get one with a wooden handle as the stripper will melt a plastic one.
If you are going to repaint them this primer works well. Especially if the wheels are not perfectly smooth. If you are going to powder coat, you wont need this.
Icey Cold NewCastle... Not required, but highly recommended!
Modified by LyveMyche at 7:11 PM 8/11/2008
Thread Starter
Honda-Tech Member
Joined: Jul 2007
Posts: 220
Likes: 0
From: tn, USA
I had the old tires removed to make it easier to mess with.
I sprayed on a good heavy coat of the stripper and waited about 10 minutes until it started looking like this.
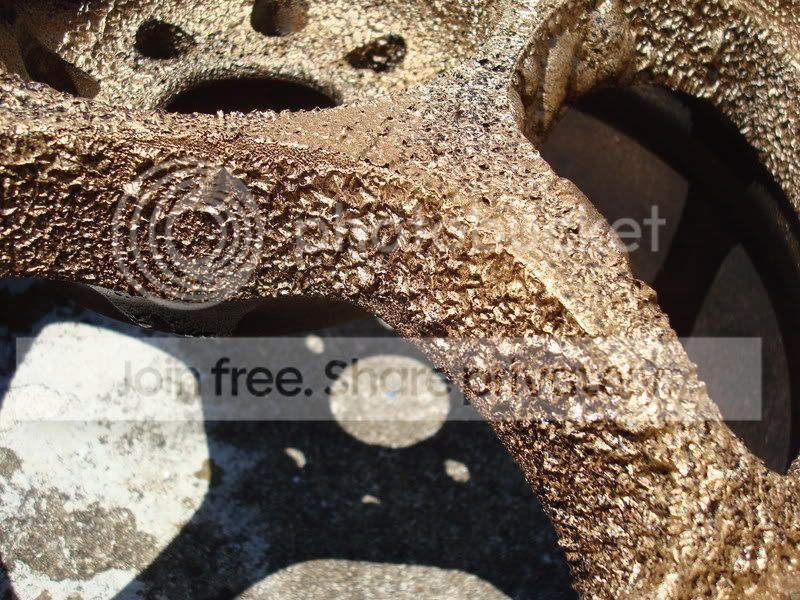
Then I took the wire brush into the tight areas and then went over the whole thing with it.
When I got it to this point I sprayed on another heavy coat and let it sit for about 15 minutes...
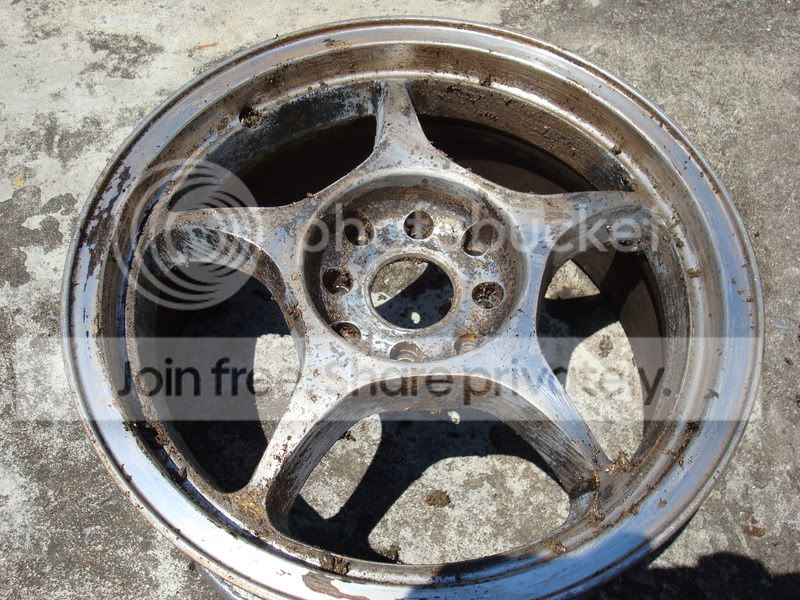
I then went over it with a scotchbrite pad and stripper, then hosed it down with water and a pressure nozzle...A pressure washer isn't really necessary for this but a nozzle on the hose is better than just running water.
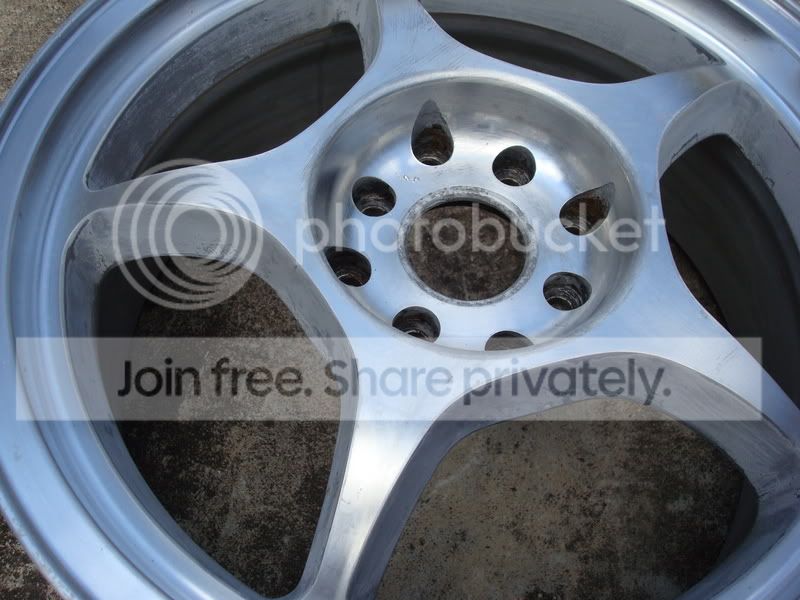
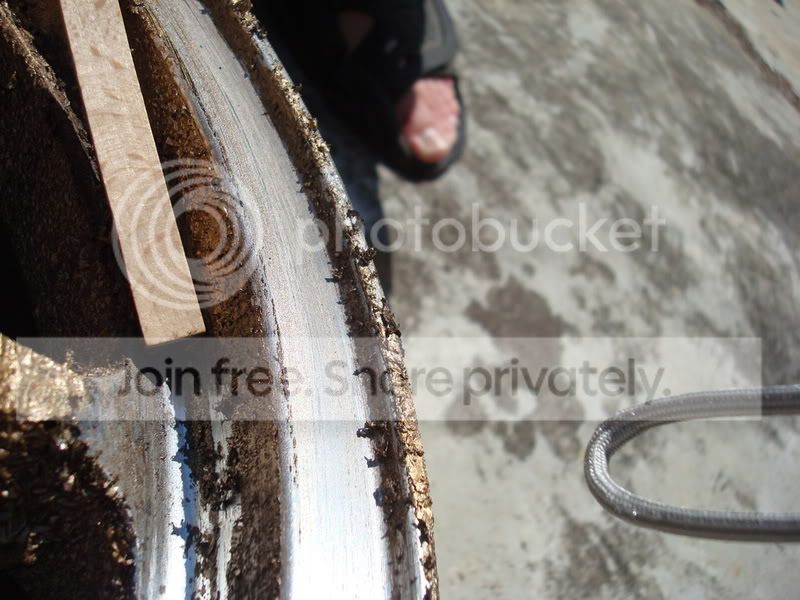
This is what I ended up with. It looks much better already! The only part that didn't completely come off was inside here...
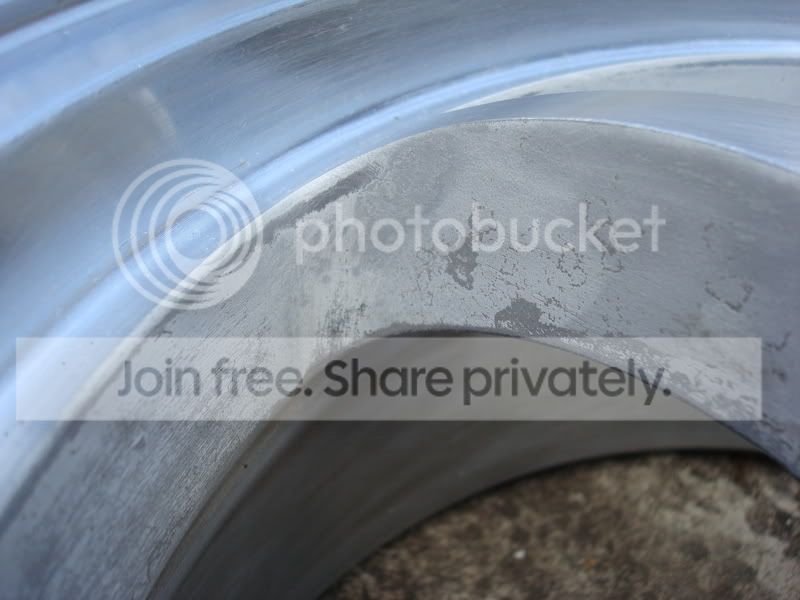
I tried to wet sand this bit of primer out with some 600 I had but it wasn't coarse enough so I am going to pickup some 220 tomorrow and wet sand it again with that. I think that will do it.
I sprayed on a good heavy coat of the stripper and waited about 10 minutes until it started looking like this.
Then I took the wire brush into the tight areas and then went over the whole thing with it.
When I got it to this point I sprayed on another heavy coat and let it sit for about 15 minutes...
I then went over it with a scotchbrite pad and stripper, then hosed it down with water and a pressure nozzle...A pressure washer isn't really necessary for this but a nozzle on the hose is better than just running water.
This is what I ended up with. It looks much better already! The only part that didn't completely come off was inside here...
I tried to wet sand this bit of primer out with some 600 I had but it wasn't coarse enough so I am going to pickup some 220 tomorrow and wet sand it again with that. I think that will do it.
Thread Starter
Honda-Tech Member
Joined: Jul 2007
Posts: 220
Likes: 0
From: tn, USA
If you are going to do this, be sure and get some GOOD gloves. I used the blue Nitril Latex gloves. They were OK when I was spraying and using the brush but when I got to the scotchbrite pad point, they always came apart and Stripper got on my fingers. YOU WILL KNOW when this happens because it burns like acid. So find something better than that.
Also, I recommend some good eye protection as it would suck to lose your vision trying to make your ride look good... I mean just think of all the **** you would miss out on!
After the second one I figured out it is best to keep it out of the sun while you have the stripper on it. Since the chemical doesn't evaporate as fast, it can get more done before drying up.
Be careful when hosing them off as the "spent" stripper/paint mixture will splash everywhere. Make sure your car or anything else you don't want paint removed from is well out of range. Again, Eye protection is a must here.
I will post more pictures after the 220 wet sand.


Thread Starter
Honda-Tech Member
Joined: Jul 2007
Posts: 220
Likes: 0
From: tn, USA
New Pistons and Rings should be here next!
I'm Trying to get everything together to go to the machine shop.
I need to get some flywheel bolts to send with it too (for balancing).
Does anyone know what bolts I need to get? I have a JDM B16A Crank?
I'm Trying to get everything together to go to the machine shop.
I need to get some flywheel bolts to send with it too (for balancing).
Does anyone know what bolts I need to get? I have a JDM B16A Crank?
Thread Starter
Honda-Tech Member
Joined: Jul 2007
Posts: 220
Likes: 0
From: tn, USA
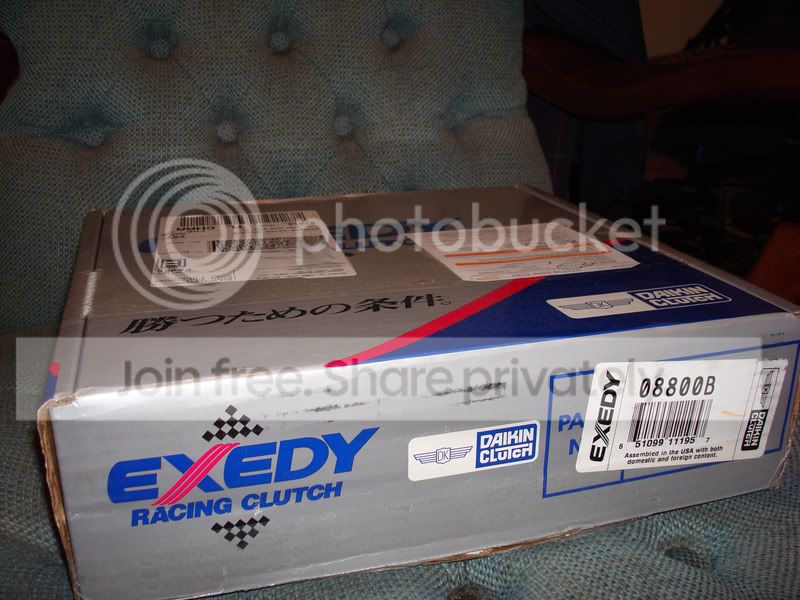
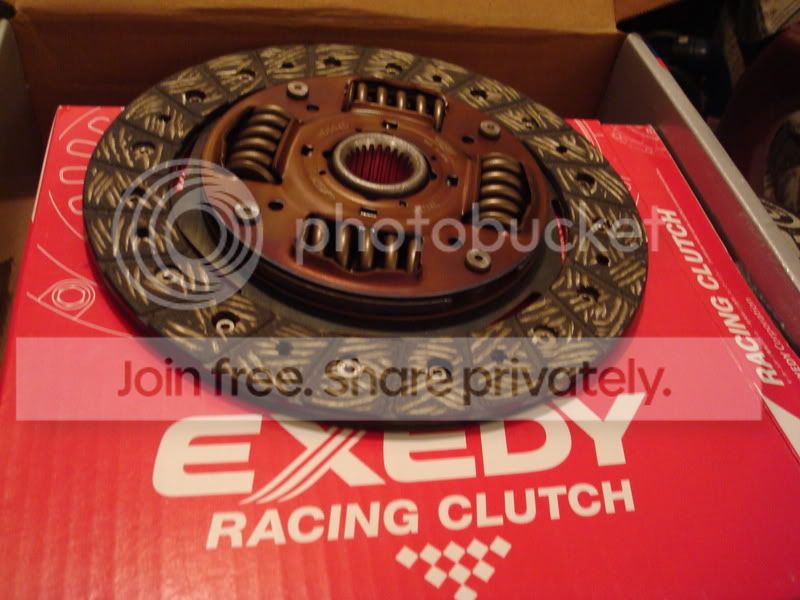
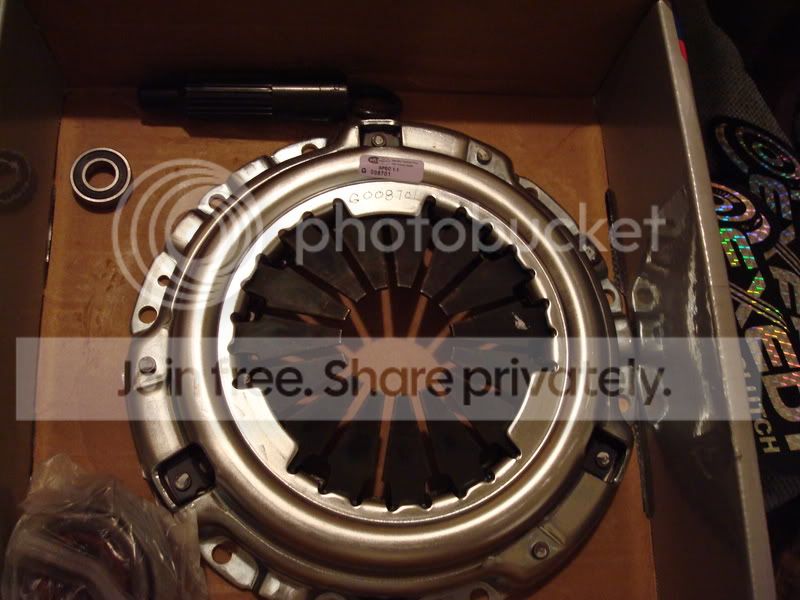
<TABLE WIDTH="90%" CELLSPACING=0 CELLPADDING=0 ALIGN=CENTER><TR><TD>Quote, originally posted by forced00si »</TD></TR><TR><TD CLASS="quote">boost with that clutch???</TD></TR></TABLE>
Oh Hell No!
No Boost here this is an NA Build
That would be way too much for me to tear up!
Oh Hell No!
No Boost here this is an NA Build
That would be way too much for me to tear up!


Thread Starter
Honda-Tech Member
Joined: Jul 2007
Posts: 220
Likes: 0
From: tn, USA
Well....
Today I finally got the other two wheels stripped
The wet sanding with 220 seems to do the trick. It still doesn't get it all but its obviously well adhered, so as long as its all smoothed out it should be fine.
I still need to do some cleaning on them and the 2 on the left still need to be wet sanded.
I also picked this up at WalMart (fallapart)

The most equivalent Dremel had a fully variable speed (sweepable) and this B&D has 3 speeds.... (Good enough)
The Dremel was $49
The B&D was $25
I checked the collar size and threads and it is exactly the same as the Dremel. So any attachments, tools, etc... that Dremel sells will still work on the B&D.
I mainly got it to use the small drum sanders to get down in the lugnut holes to get the remaining paint out of there... and also to try to fix some light curb rash.
Today I finally got the other two wheels stripped
The wet sanding with 220 seems to do the trick. It still doesn't get it all but its obviously well adhered, so as long as its all smoothed out it should be fine.
I still need to do some cleaning on them and the 2 on the left still need to be wet sanded.
I also picked this up at WalMart (fallapart)
The most equivalent Dremel had a fully variable speed (sweepable) and this B&D has 3 speeds.... (Good enough)
The Dremel was $49
The B&D was $25
I checked the collar size and threads and it is exactly the same as the Dremel. So any attachments, tools, etc... that Dremel sells will still work on the B&D.
I mainly got it to use the small drum sanders to get down in the lugnut holes to get the remaining paint out of there... and also to try to fix some light curb rash.
Thread Starter
Honda-Tech Member
Joined: Jul 2007
Posts: 220
Likes: 0
From: tn, USA
I ran out of stripper and used a different kind that Advance AutoParts had:
And honestly, I think this one is stronger than the one in the blue can.
It seemed to work better and faster than the other one.
And honestly, I think this one is stronger than the one in the blue can.
It seemed to work better and faster than the other one.
Thread Starter
Honda-Tech Member
Joined: Jul 2007
Posts: 220
Likes: 0
From: tn, USA
<TABLE WIDTH="90%" CELLSPACING=0 CELLPADDING=0 ALIGN=CENTER><TR><TD>Quote, originally posted by BaconLettuceTomato »</TD></TR><TR><TD CLASS="quote">Good start </TD></TR></TABLE>
Thanks Man.
It just takes a while saving for parts and finding time for doing things you want to do.
</TD></TR></TABLE>Thanks Man.
It just takes a while saving for parts and finding time for doing things you want to do.
Honda-Tech Member
Joined: Jul 2001
Posts: 905
Likes: 0
From: philly, pa
is you are goin to be polishing this wheels,dont kill yourself with sand paper,go to summit and buy the standard abrassion kit,then go to their web side and look up the part number for the kit the offer with those kind of spungy abrasors kit and buy that from, summit,buy the lest coars one and your done some 1500 sand paper its a night and day result,no ruff marks o n the wheel like a 220 grit will leave ,believe have been doing this for 10 years,whith what im telling you ill have one wheel done in 5 hours,also on caswell they have a bunch of cotton wraps that you can attach to a drill and that make then more shinning due the pad burning the material against the aluminum
Thread Starter
Honda-Tech Member
Joined: Jul 2007
Posts: 220
Likes: 0
From: tn, USA
Well, I'm actually going to paint them. When I started stripping them and saw the clean aluminum starting to come though, I really thought about polishing them. But I don't know. I have chrome wheels now and I just want to go a different direction for now. I really, REALLY dig the look of these:
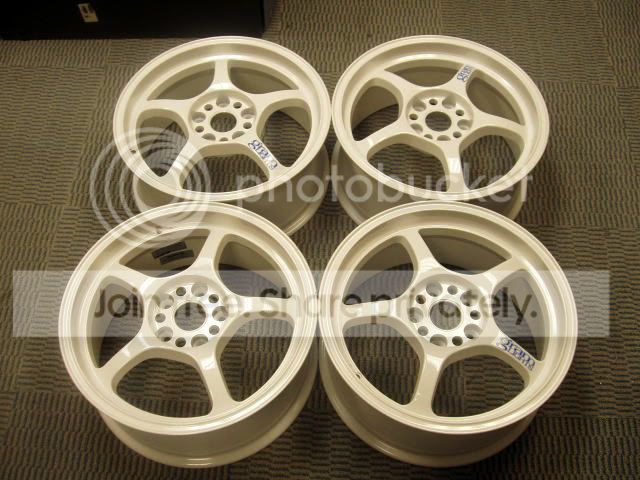
And White EGs with White wheels....

SO SEXY!!!!!!!
And White EGs with White wheels....
SO SEXY!!!!!!!