

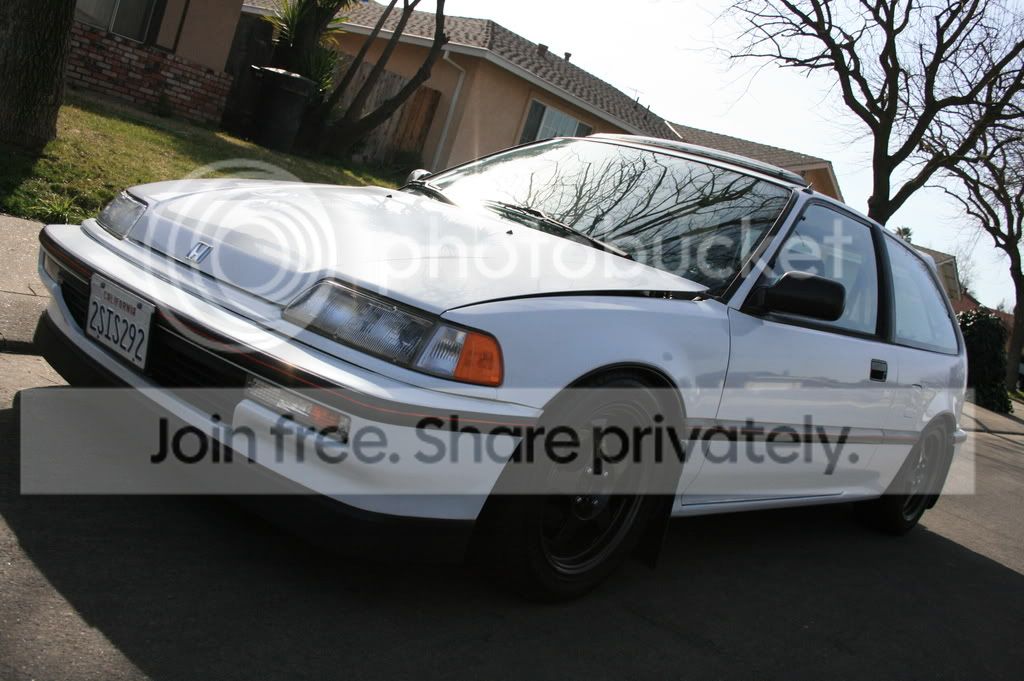
custom lip for my front end!!! (c0sted me only 30 dollars!!!)

Thread Starter
Honda-Tech Member
Joined: Dec 2003
Posts: 3,007
Likes: 0
From: Sacramento, CA, us
ok i was searching for stock front lips and could not really find any for the stock usdm front si hatchbacks except for the stock da lips and stuff but i wanted one that was much better so i custom one myself when i went to OSH for all of the stuffs.
1 tube of epoxy
4 L henges with screws
1 sheet of galvanized sheet metal at least about 7 ft long (i still got enough to make like 3 more lips haha)
1 roll of double stick tape
1 sheet of 800 grit sand paper
1 can of flatblack paint
step1. measured the galvanized sheet metal to about 3 inches wide and then cut it with my snips
step2. test fitted the sheet metal onto my stock lip and bend the very end of it to make it sit flushed to the stock lip.
step3. wiped down the stock lip and put the double stick tape onto the stock lip ( lower portion of it)
step4. slowly put the sheet metal onto the lip and pressed firmly onto the double stick tape. ( do this in the sun so it will stick better as the tape can warm up a little or you can use a hair dryer)
step5. screw in the sides to give it more support and then cut out the extra sheet metal.
step6. epoxy the L henges onto the lip behind it and let it dry up and then screw the screws up onto the bottom of the stock lip to really secure the sheet metal (jack the front end up and get underneath it)
step7. sand the lip down and then wipe it off
step8. tape off the bumper and get it ready to paint
step 9. paint the lip ( i did just 2 coats and it seems to be holding up just fine for the couple of weeks without any chips so far)
step10. sit back have some cold beers and relax and enjoy your new lip that sits flush mounted onto your stock lip!!! now take new pictures of your car and ***** it out haha. hope you all enjoyed my posting.


step2.
1 tube of epoxy
4 L henges with screws
1 sheet of galvanized sheet metal at least about 7 ft long (i still got enough to make like 3 more lips haha)
1 roll of double stick tape
1 sheet of 800 grit sand paper
1 can of flatblack paint
step1. measured the galvanized sheet metal to about 3 inches wide and then cut it with my snips
step2. test fitted the sheet metal onto my stock lip and bend the very end of it to make it sit flushed to the stock lip.
step3. wiped down the stock lip and put the double stick tape onto the stock lip ( lower portion of it)
step4. slowly put the sheet metal onto the lip and pressed firmly onto the double stick tape. ( do this in the sun so it will stick better as the tape can warm up a little or you can use a hair dryer)
step5. screw in the sides to give it more support and then cut out the extra sheet metal.
step6. epoxy the L henges onto the lip behind it and let it dry up and then screw the screws up onto the bottom of the stock lip to really secure the sheet metal (jack the front end up and get underneath it)
step7. sand the lip down and then wipe it off
step8. tape off the bumper and get it ready to paint
step 9. paint the lip ( i did just 2 coats and it seems to be holding up just fine for the couple of weeks without any chips so far)
step10. sit back have some cold beers and relax and enjoy your new lip that sits flush mounted onto your stock lip!!! now take new pictures of your car and ***** it out haha. hope you all enjoyed my posting.
step2.
Pirate General...YARRRR
Joined: Jun 2004
Posts: 12,354
Likes: 2
From: Kills, United States
umm your pics are crap.
I can't see from the shadow and i'm using a VERY good screen.
From what I can see it looks good and write ups always a plus
I can't see from the shadow and i'm using a VERY good screen.
From what I can see it looks good and write ups always a plus
Trending Topics

Thread
Thread Starter
Forum
Replies
Last Post
e-thuggin posour
Honda CRX / EF Civic (1988 - 1991)
5
Feb 25, 2004 02:51 AM