

DIY: EG tsx hid projector retrofit.

Thread Starter
Junior Member
Joined: Aug 2007
Posts: 592
Likes: 0
From: Funky 600block Norcal
Tired of stock lighting but hate the look of plug and play kits? Well I got just what you need...A tsx hid retrofit. Great light output over stock cars, better visibility, bragging rights and high end look. I am in no way responsible if you mess up your car/headlights.
Materials needed:
2 acura tsx hid projectors.
2 d2s bulbs for acura projectors.
2 Hid ballasts.
Roughly 2 feet of wire loom (less then 2 feet actually used)
(8) small washers (I think #2)
Small box of machine screws (hardware store has them in small box include nuts Small size)
"L" brackets also known as corner braces 1"x 1/2"
Extra eg headlights (if this is your daily driver).
Tube of clear silicone for sealing up headlights.
Loctite for securing screws inside headlight.
Black spray paint and primer if you want to do black housing.
Zip ties for organizing wiring and mounting ballast.
Marker.
Electrical tape to cover connections
Heat shrink also to cover connections.
Aoldering iron or crimps to make harness from oem harness to ballast.
Cooking sheet.
Timer if not built into oven.
Tools:
10mm socket, ratchet and extension.
Assorted sizes of philips and flat head screw drivers.
Spatula (separating lens from housing)
Dremel or similar rotary tool.
Razor blades.
Oven capable of fitting your headlight.
Magnet in case you drop a bolt/nut while working.
Magnetic tray to organize your nuts/bolts.
Start off by removing your headlight I'm not going to do a write up on that because you can find out as you got and I think that if you cant find that out you shouldn't try this retrofit.
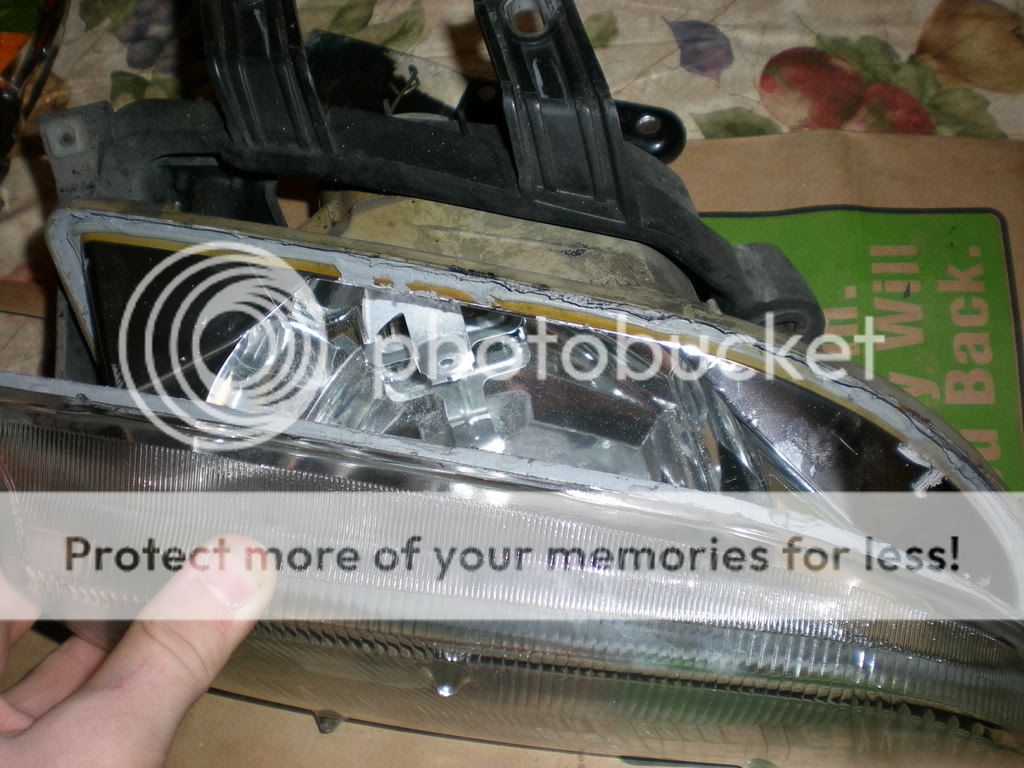
Once you remove your headlight your going to end up with this.
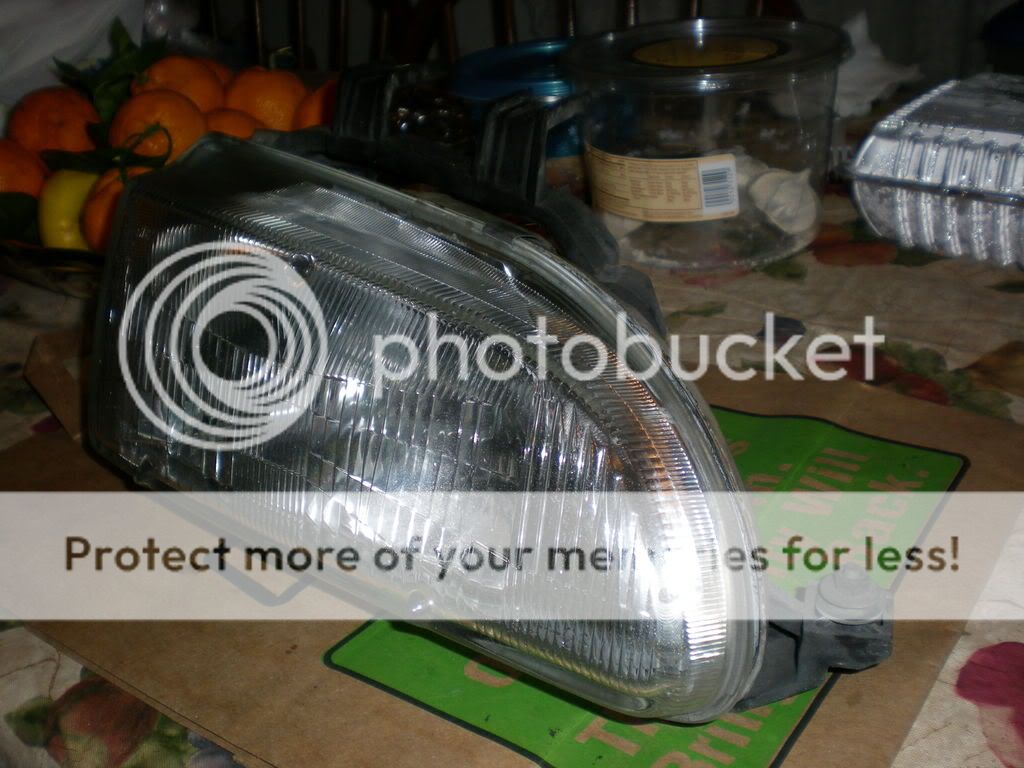
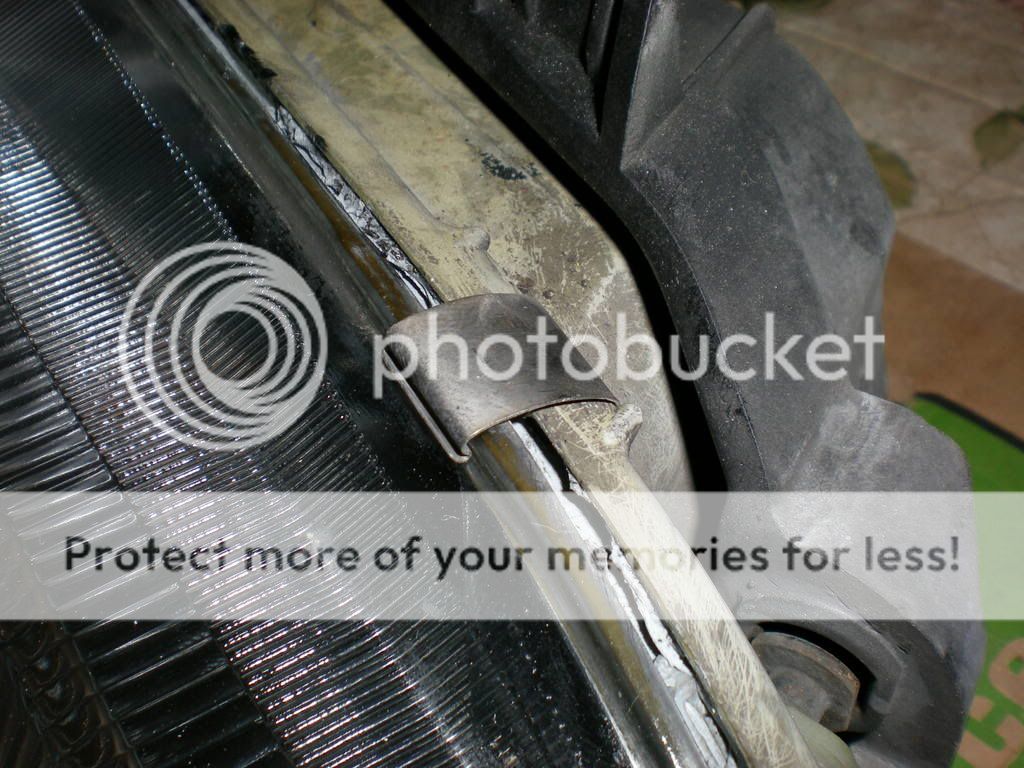
The headlight will have 5 clips around it that hold the lens to the housing pry those off lightly with a flat head screwdriver.
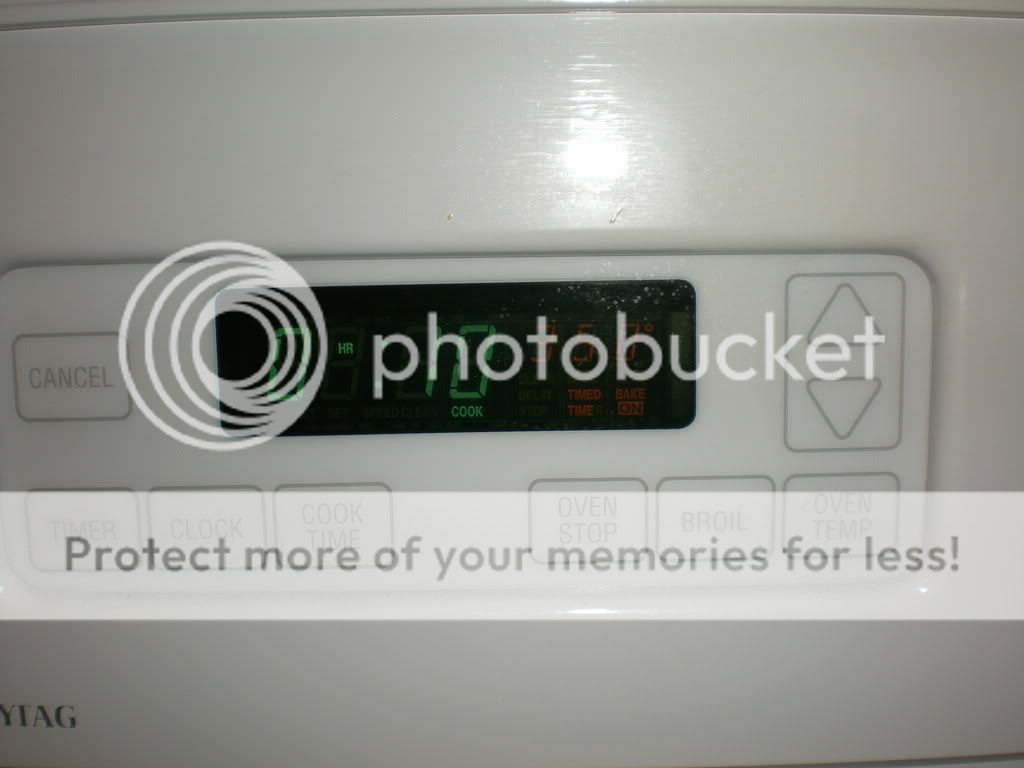
Pop the headlight onto a cooking sheet and get ready to put it in the oven. Set the oven to 350 degrees and set a timer for 10mins. Wait 5 mins then pop the headlight in for the next five minutes.
Pull the headlights out when the timer rings and set them down on the table and begin to pry them apart very lightly and slowly with the spatula.
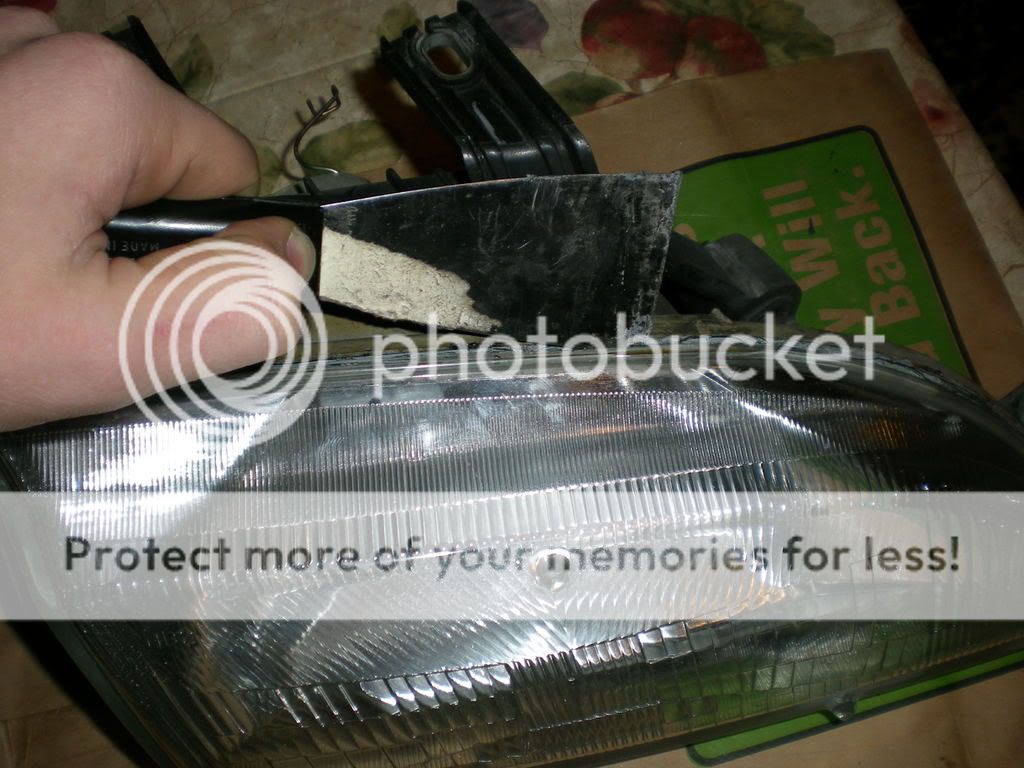
Your gonna get them split be very care full not to brake the glass or the housing.
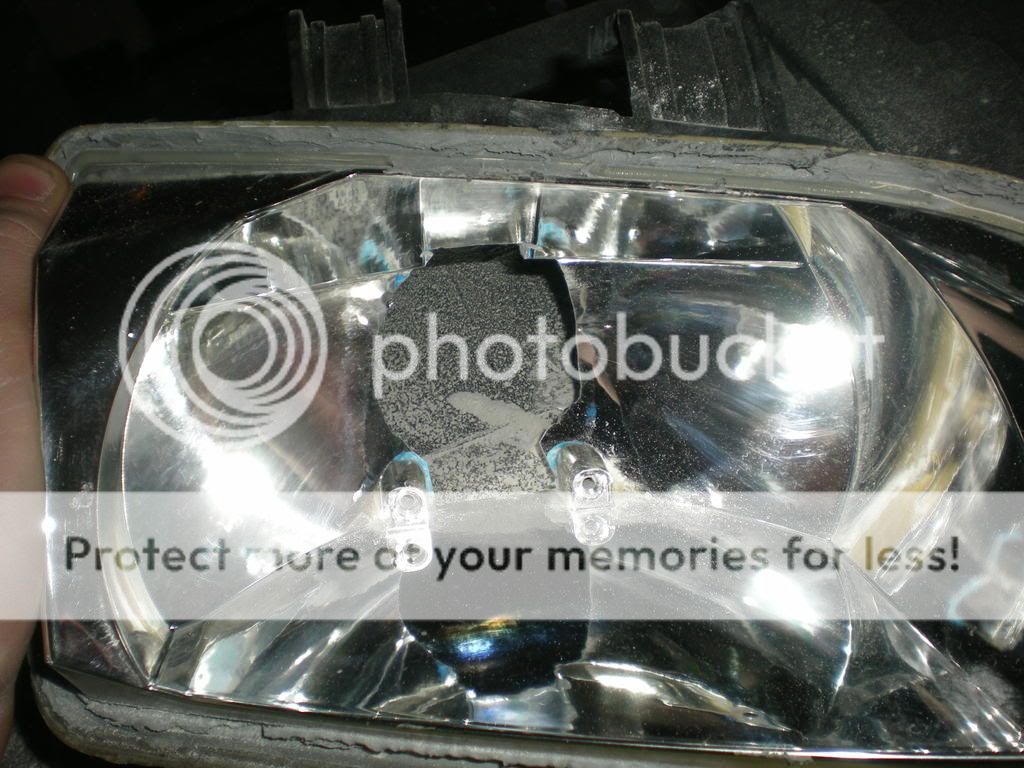
Inside the headlight you will see the original casper shield its held on with 2 philips head screws on the bottom go ahead and remove those and the shield.
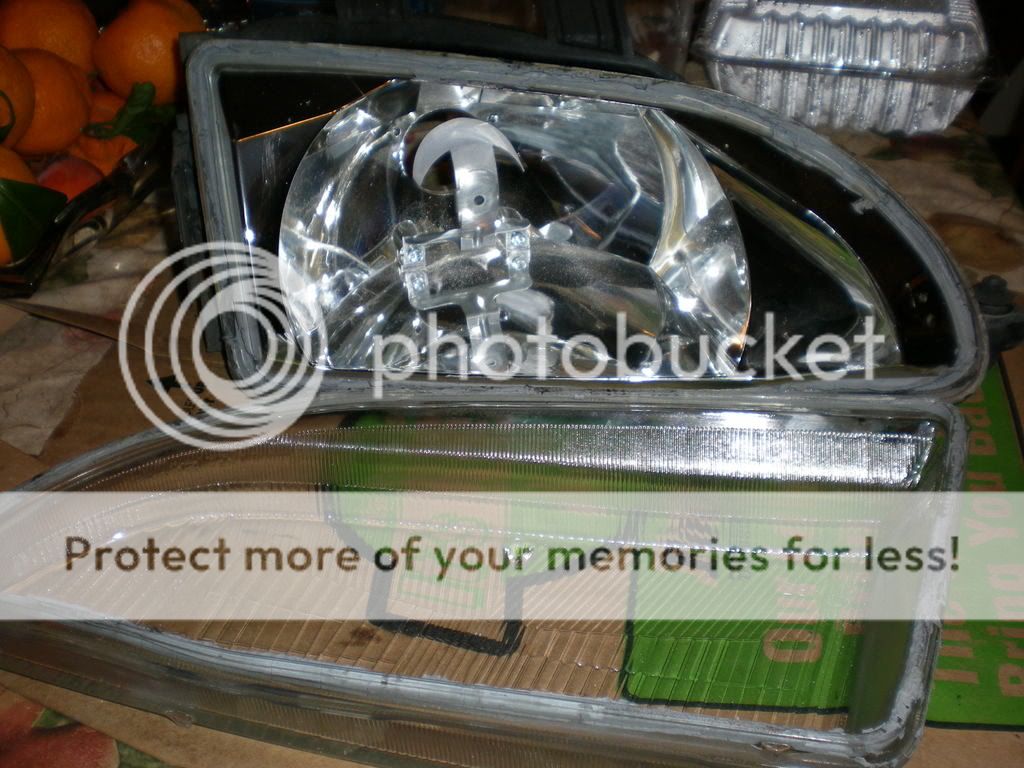
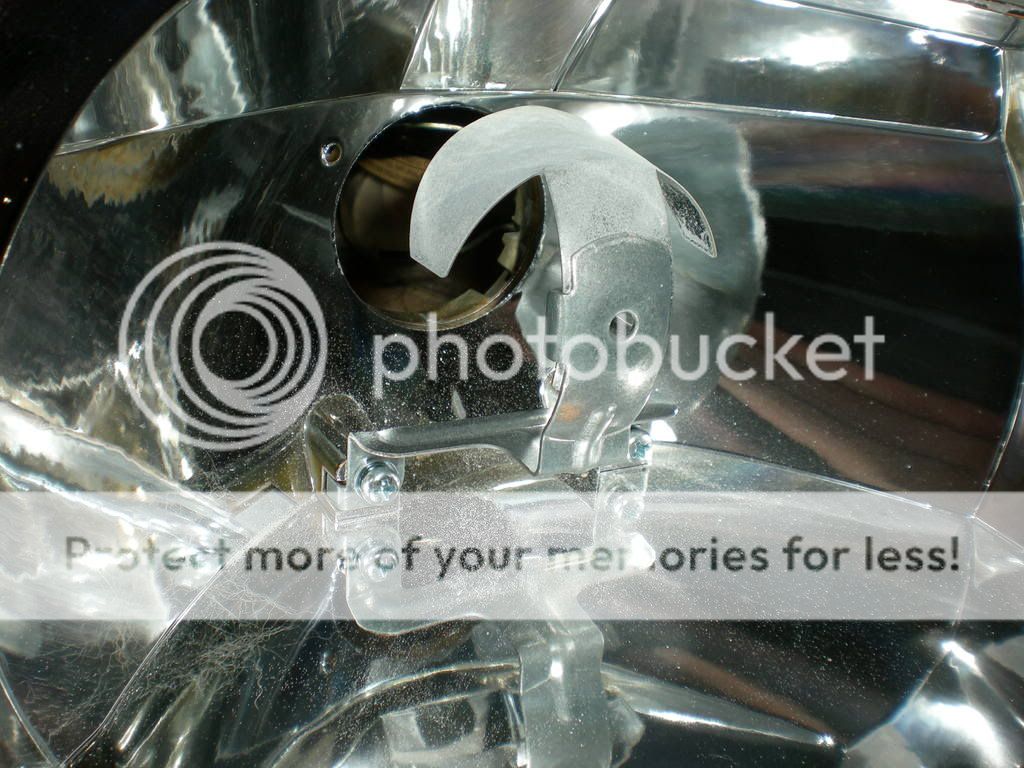
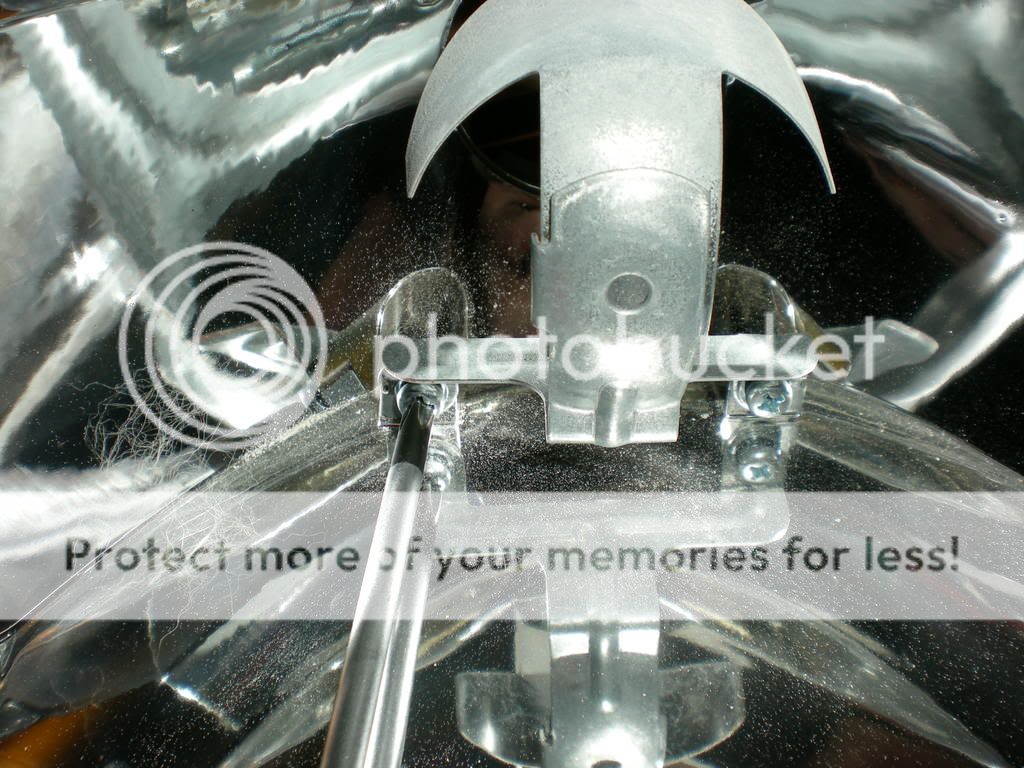
Figure out the are you want to cut out from the back of the housing so the projector clears the housing.
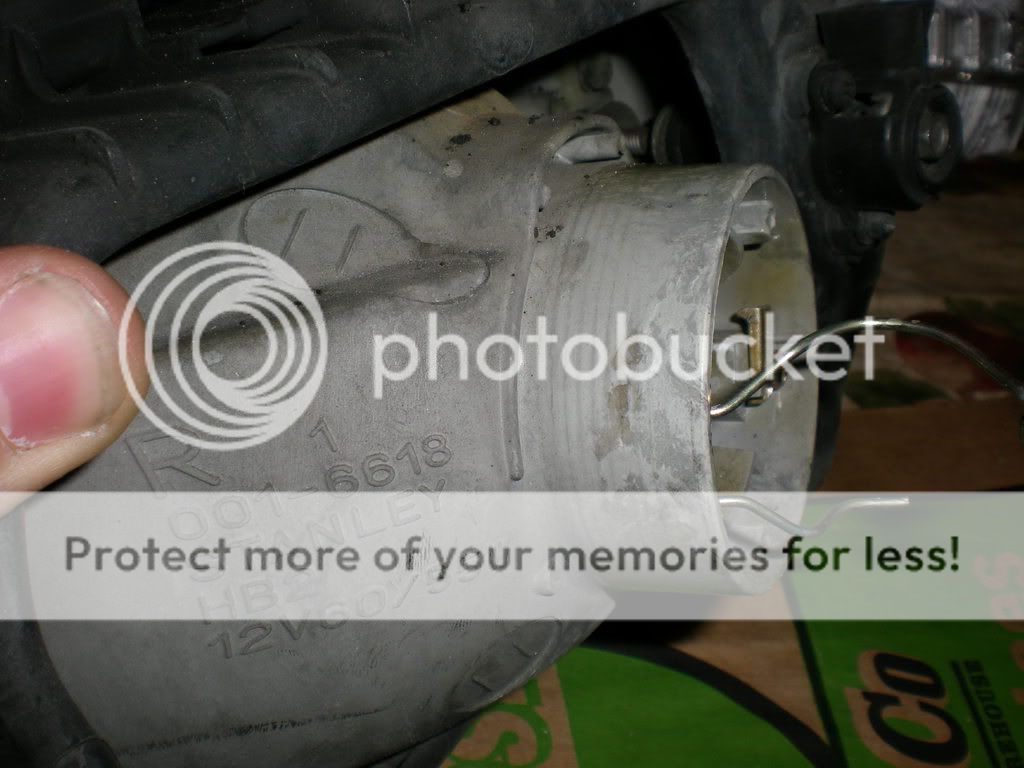
Once you find out that area mark it with a marker from the outside and inside.
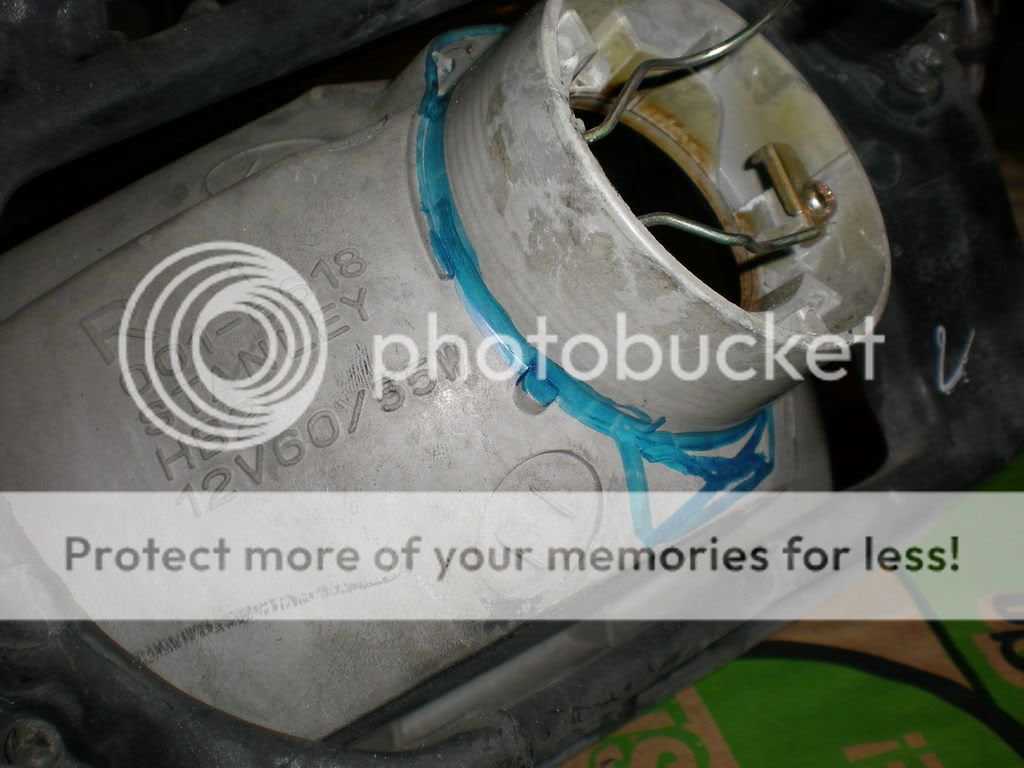
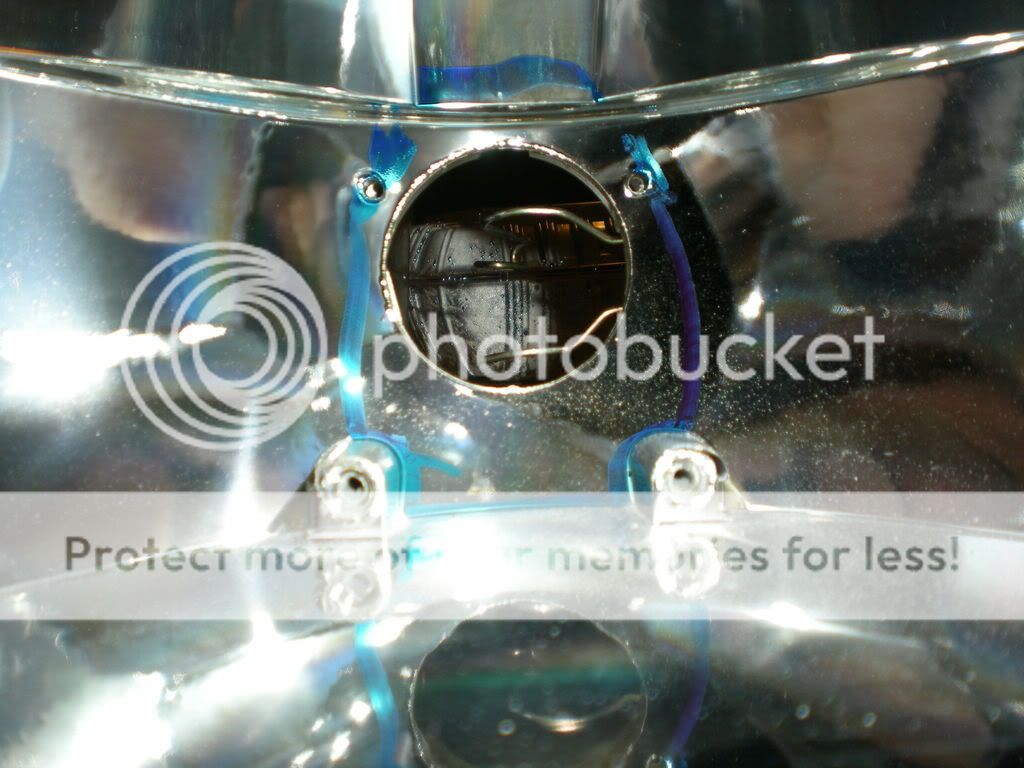
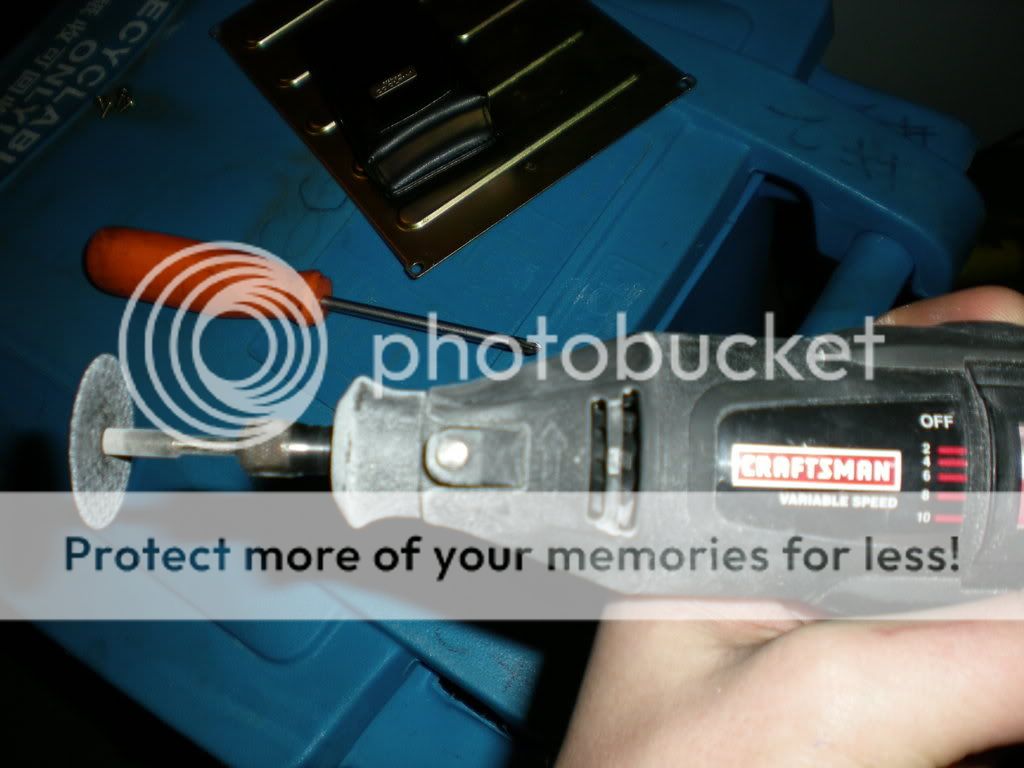
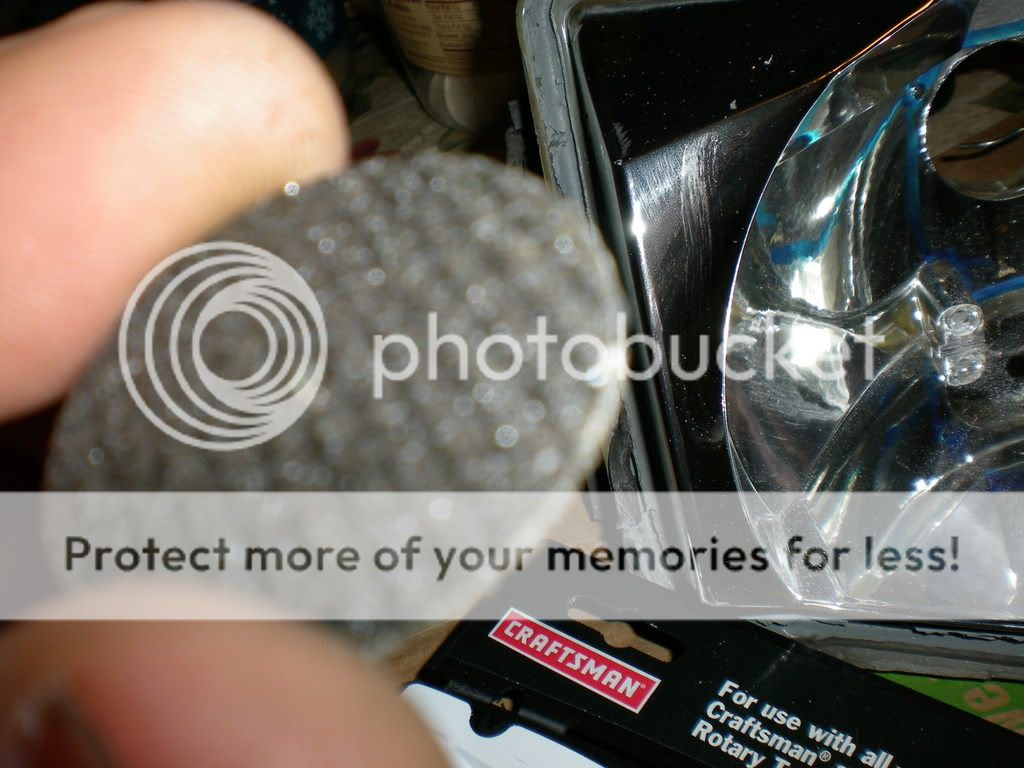
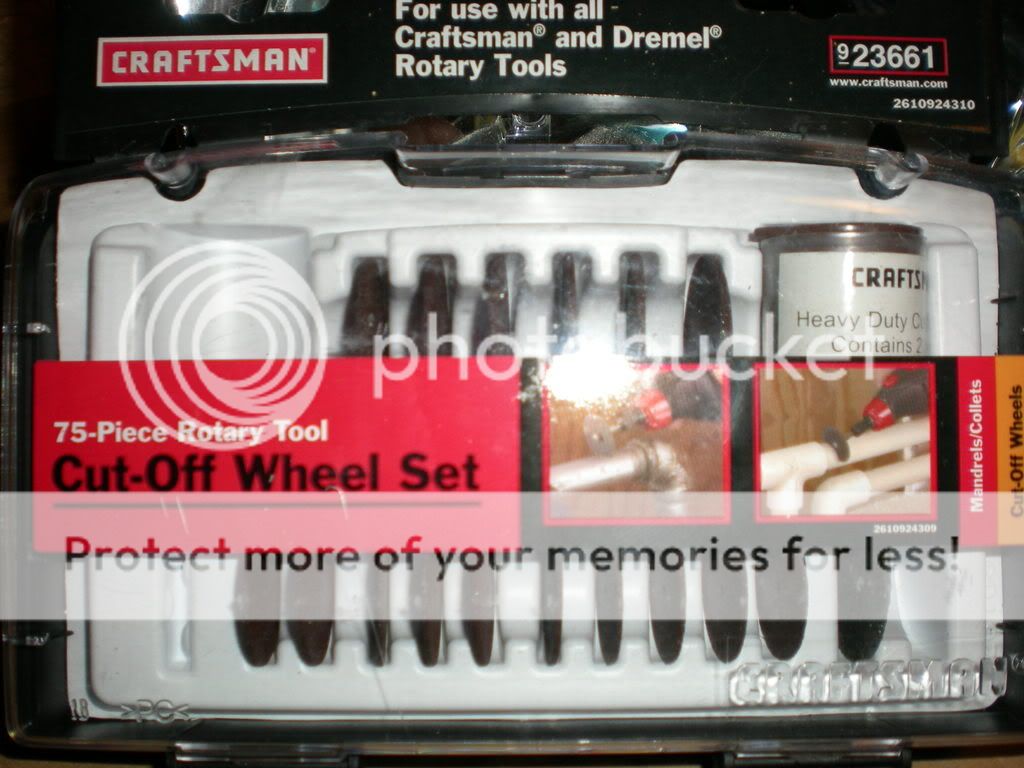
Get your rotary tool and a heavy duty cutoff wheel and begin to cut the area that you marked (do this in a ventilated area outside because there will be a lot of dust).
Once you cut the back of the housing your going to end up with this (or roughly this)

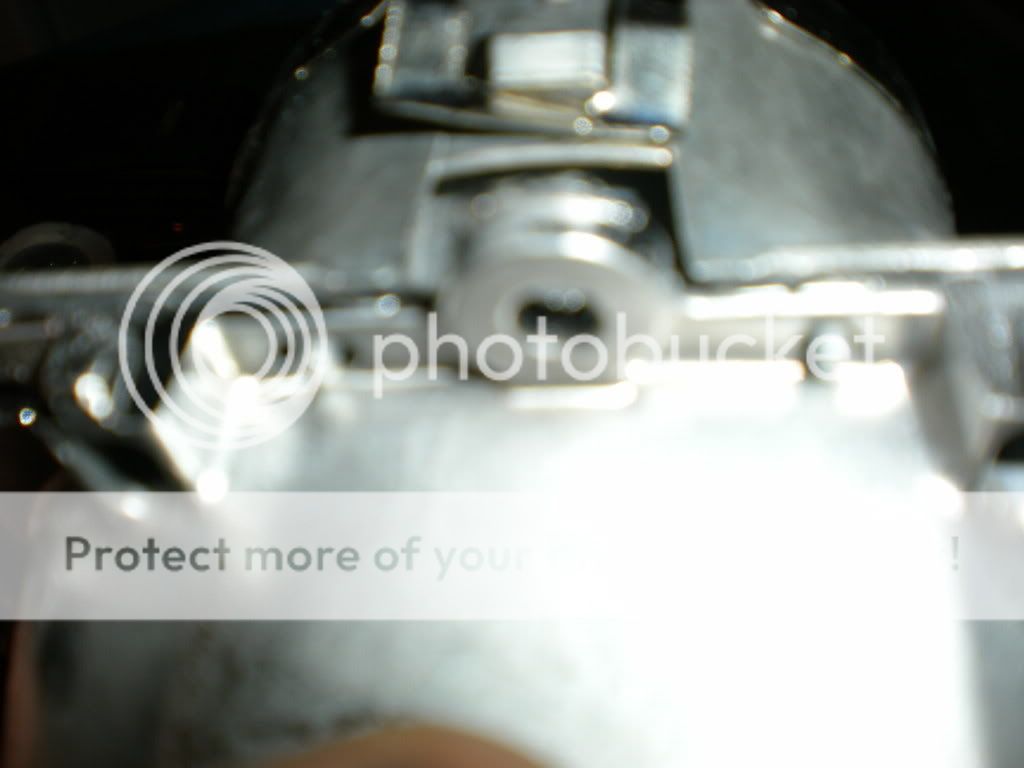
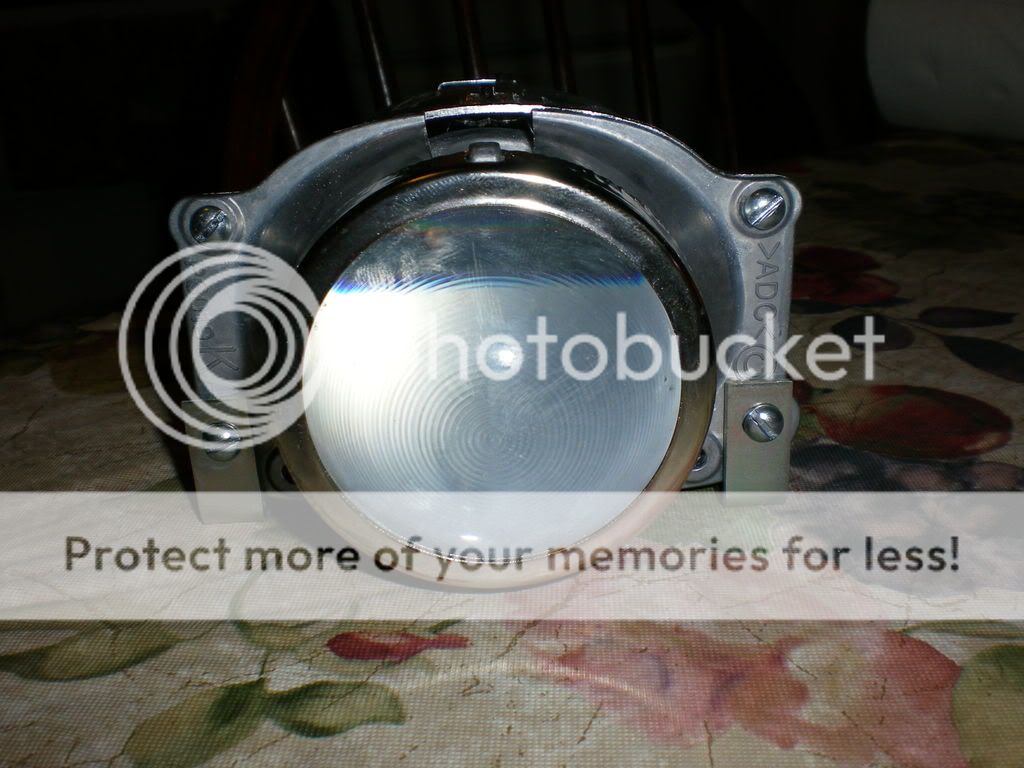
Lets move onto the actual projector. Remove the bulbs from them so you don't risk anything happening to them. Only do this if your going to do the color mod to the projectors. Color mod is a modification done to the housings that make the edge of the cut off line blue and it focuses the beam right under the cut off. Take the projector and unscrews the screws at each corner and your going to end up with two halves, bowl and lens. You going to see to little nipples at the bottom of the projector
notice the two little nipples protruding threw the other half on each side of the center ring.
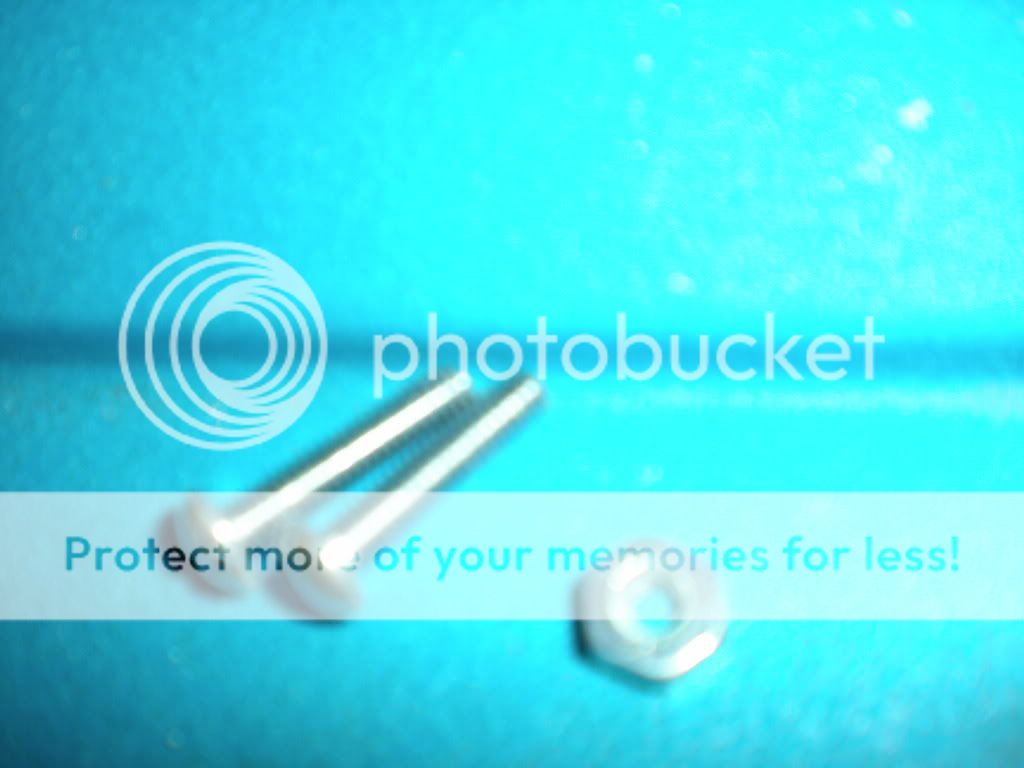
Take your little washer and place two on each nipple total of four on each projector.

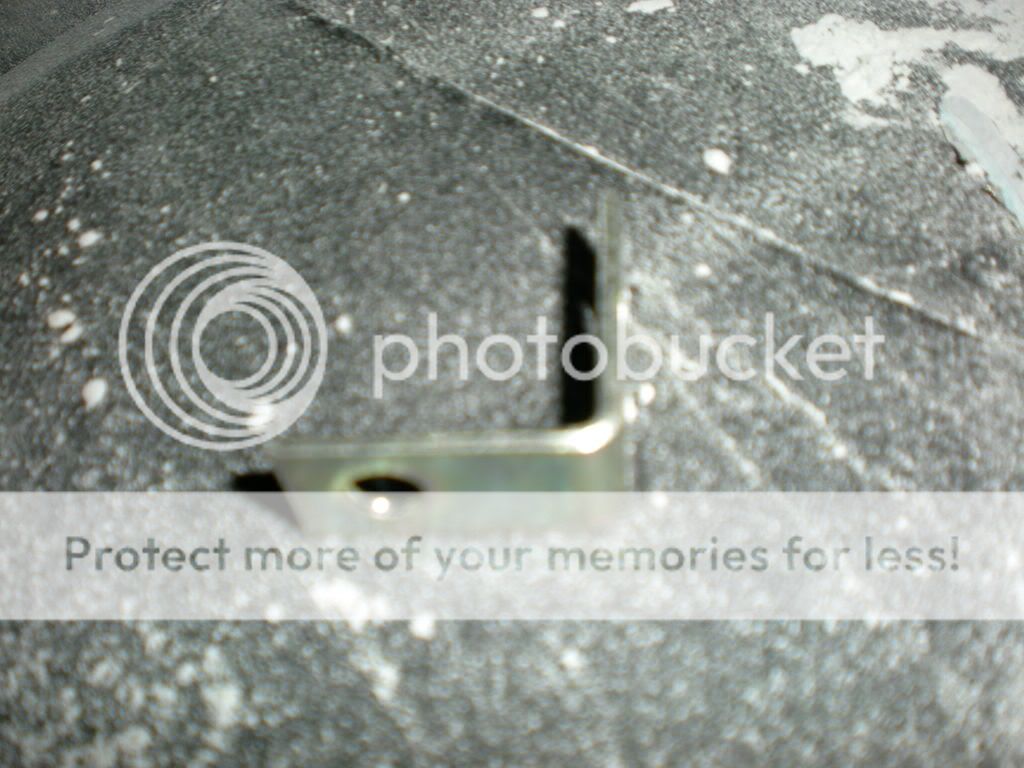
After that take your "L" brackets and mount them up to the projector make sure the little washers don't fall off. Screw the halves together.

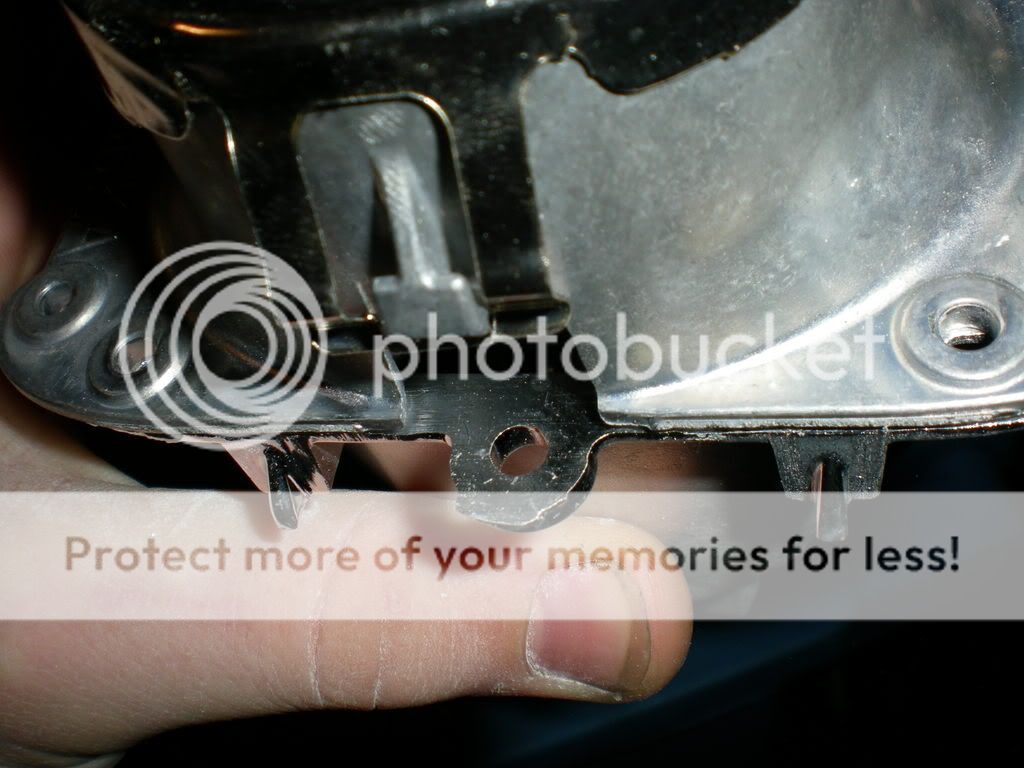
Also your going to have to remove the little ring looking thing at the bottom of the projector that can be seen here.
Your brackets have to be on the outer holes of the projector.
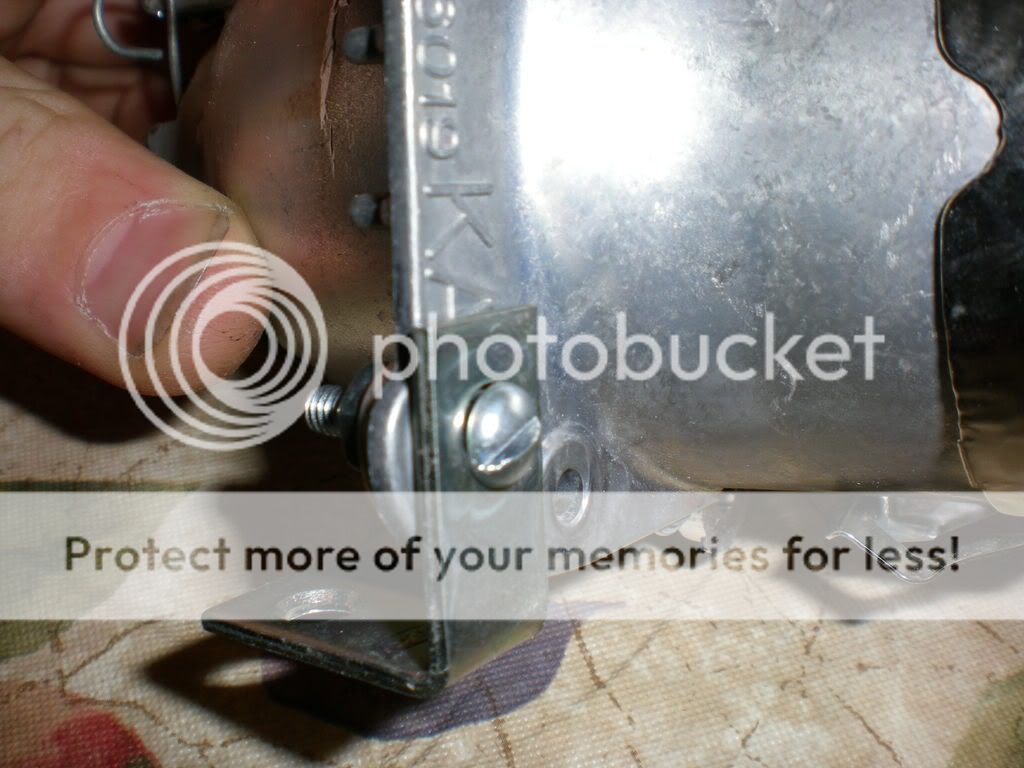
Once the brackets are leveled apply some loctite to all the bolt/nuts. And it should all end up looking like this.
...more update when I get a chance.
Modified by ejoner at 4:02 PM 1/9/2008
Materials needed:
2 acura tsx hid projectors.
2 d2s bulbs for acura projectors.
2 Hid ballasts.
Roughly 2 feet of wire loom (less then 2 feet actually used)
(8) small washers (I think #2)
Small box of machine screws (hardware store has them in small box include nuts Small size)
"L" brackets also known as corner braces 1"x 1/2"
Extra eg headlights (if this is your daily driver).
Tube of clear silicone for sealing up headlights.
Loctite for securing screws inside headlight.
Black spray paint and primer if you want to do black housing.
Zip ties for organizing wiring and mounting ballast.
Marker.
Electrical tape to cover connections
Heat shrink also to cover connections.
Aoldering iron or crimps to make harness from oem harness to ballast.
Cooking sheet.
Timer if not built into oven.
Tools:
10mm socket, ratchet and extension.
Assorted sizes of philips and flat head screw drivers.
Spatula (separating lens from housing)
Dremel or similar rotary tool.
Razor blades.
Oven capable of fitting your headlight.
Magnet in case you drop a bolt/nut while working.
Magnetic tray to organize your nuts/bolts.
Start off by removing your headlight I'm not going to do a write up on that because you can find out as you got and I think that if you cant find that out you shouldn't try this retrofit.
Once you remove your headlight your going to end up with this.
The headlight will have 5 clips around it that hold the lens to the housing pry those off lightly with a flat head screwdriver.
Pop the headlight onto a cooking sheet and get ready to put it in the oven. Set the oven to 350 degrees and set a timer for 10mins. Wait 5 mins then pop the headlight in for the next five minutes.
Pull the headlights out when the timer rings and set them down on the table and begin to pry them apart very lightly and slowly with the spatula.
Your gonna get them split be very care full not to brake the glass or the housing.
Inside the headlight you will see the original casper shield its held on with 2 philips head screws on the bottom go ahead and remove those and the shield.
Figure out the are you want to cut out from the back of the housing so the projector clears the housing.
Once you find out that area mark it with a marker from the outside and inside.
Get your rotary tool and a heavy duty cutoff wheel and begin to cut the area that you marked (do this in a ventilated area outside because there will be a lot of dust).
Once you cut the back of the housing your going to end up with this (or roughly this)
Lets move onto the actual projector. Remove the bulbs from them so you don't risk anything happening to them. Only do this if your going to do the color mod to the projectors. Color mod is a modification done to the housings that make the edge of the cut off line blue and it focuses the beam right under the cut off. Take the projector and unscrews the screws at each corner and your going to end up with two halves, bowl and lens. You going to see to little nipples at the bottom of the projector
notice the two little nipples protruding threw the other half on each side of the center ring.
Take your little washer and place two on each nipple total of four on each projector.
After that take your "L" brackets and mount them up to the projector make sure the little washers don't fall off. Screw the halves together.
Also your going to have to remove the little ring looking thing at the bottom of the projector that can be seen here.
Your brackets have to be on the outer holes of the projector.
Once the brackets are leveled apply some loctite to all the bolt/nuts. And it should all end up looking like this.
...more update when I get a chance.
Modified by ejoner at 4:02 PM 1/9/2008
Honda-Tech Member
Joined: Sep 2002
Posts: 1,048
Likes: 0
From: KIHEI, HAWAII, USA
intresting..... I was just thinking of doing this exact retrofit. But was pushed away do to not sure how bad/good the cutoff would be with fluted glass i will keep my eyes on this.
GL
GL
Honda-Tech Member
Joined: Jul 2006
Posts: 984
Likes: 0
From: Not in a Submarine.
I'd like to see the cutoff with a high quality projector and the OEM fluted glass, I've always been turned off by plastic headlights as they haze and crack too easy for my liking. I was always debating doing an HID retrofit but I never wanted to use plastic lenses for the headlights. If I could get a decent cutoff with the OEM glass, I'd do it. I just wanted to see someone else do it first.
That being said...You are keeping the OEM glass in there right?
-Froth
That being said...You are keeping the OEM glass in there right?
-Froth
Trending Topics
Junior Member
Joined: Jan 2003
Posts: 657
Likes: 1
From: state college, pa, us
<TABLE WIDTH="90%" CELLSPACING=0 CELLPADDING=0 ALIGN=CENTER><TR><TD>Quote, originally posted by Froth »</TD></TR><TR><TD CLASS="quote">I'd like to see the cutoff with a high quality projector and the OEM fluted glass, I've always been turned off by plastic headlights as they haze and crack too easy for my liking. I was always debating doing an HID retrofit but I never wanted to use plastic lenses for the headlights. If I could get a decent cutoff with the OEM glass, I'd do it. I just wanted to see someone else do it first.
That being said...You are keeping the OEM glass in there right?
-Froth</TD></TR></TABLE>
yeah, it's hard to find aftermarket headlight housings that have a glass cover. they used to be very common. fortunately, my projector housings had a glass cover, so i didn't have any problems doing a retrofit.
That being said...You are keeping the OEM glass in there right?
-Froth</TD></TR></TABLE>
yeah, it's hard to find aftermarket headlight housings that have a glass cover. they used to be very common. fortunately, my projector housings had a glass cover, so i didn't have any problems doing a retrofit.


Thread Starter
Junior Member
Joined: Aug 2007
Posts: 592
Likes: 0
From: Funky 600block Norcal
Yes I am going to be using the oem lens, I don't really care too much about the cutoff because even if its not great these will still be 100x better then oem lighting or plug and play kits.
Thread Starter
Junior Member
Joined: Aug 2007
Posts: 592
Likes: 0
From: Funky 600block Norcal
yeah Ive been really busy with school and I tucked my engine bay this weekend so I didn't get anything done. Luckily I already finished the drivers side so its not too much work.

Thread Starter
Junior Member
Joined: Aug 2007
Posts: 592
Likes: 0
From: Funky 600block Norcal
<TABLE WIDTH="90%" CELLSPACING=0 CELLPADDING=0 ALIGN=CENTER><TR><TD>Quote, originally posted by devani »</TD></TR><TR><TD CLASS="quote">very clean cuts....don't get your dirty hands on the reflector too much....
I just want to know what you will be using for a shroud.... </TD></TR></TABLE> Not going to be using a shroud I finished the drivers side already and went ahead and also did black housing while I was in there and I liked the raw look of the projector in there. Maybe later on if I get my hands on some ebay clear lenses I'll redo it with a shroud but right now I'm function over form.
I just want to know what you will be using for a shroud....
</TD></TR></TABLE> Not going to be using a shroud I finished the drivers side already and went ahead and also did black housing while I was in there and I liked the raw look of the projector in there. Maybe later on if I get my hands on some ebay clear lenses I'll redo it with a shroud but right now I'm function over form.
Junior Member
Joined: Jan 2003
Posts: 657
Likes: 1
From: state college, pa, us
<TABLE WIDTH="90%" CELLSPACING=0 CELLPADDING=0 ALIGN=CENTER><TR><TD>Quote, originally posted by ejoner »</TD></TR><TR><TD CLASS="quote"> Not going to be using a shroud I finished the drivers side already and went ahead and also did black housing while I was in there and I liked the raw look of the projector in there. Maybe later on if I get my hands on some ebay clear lenses I'll redo it with a shroud but right now I'm function over form.</TD></TR></TABLE>
shrouds are for function too! they block light from coming out where it's not supposed to... but it guess it doesn't matter too much with your fluted lenses because it's going to glare anyway.
shrouds are for function too! they block light from coming out where it's not supposed to... but it guess it doesn't matter too much with your fluted lenses because it's going to glare anyway.
Thread Starter
Junior Member
Joined: Aug 2007
Posts: 592
Likes: 0
From: Funky 600block Norcal
<TABLE WIDTH="90%" CELLSPACING=0 CELLPADDING=0 ALIGN=CENTER><TR><TD>Quote, originally posted by e46civic »</TD></TR><TR><TD CLASS="quote">Why did you take out the cutoff sheild and cut off the ring that holds it in?</TD></TR></TABLE>  Nub please you don't know what your talking about. These are the new tsx headlights the cutoff shield is molded into the front half of the projector.
Nub please you don't know what your talking about. These are the new tsx headlights the cutoff shield is molded into the front half of the projector.
Thread Starter
Junior Member
Joined: Aug 2007
Posts: 592
Likes: 0
From: Funky 600block Norcal
<TABLE WIDTH="90%" CELLSPACING=0 CELLPADDING=0 ALIGN=CENTER><TR><TD>Quote, originally posted by pgpunkguy »</TD></TR><TR><TD CLASS="quote">
shrouds are for function too! they block light from coming out where it's not supposed to... but it guess it doesn't matter too much with your fluted lenses because it's going to glare anyway.</TD></TR></TABLE> What do you know? How are you going to tell me that I'm not going to have a clean cutoff when I have already completed the drivers side and everything looks perfect.
shrouds are for function too! they block light from coming out where it's not supposed to... but it guess it doesn't matter too much with your fluted lenses because it's going to glare anyway.</TD></TR></TABLE> What do you know? How are you going to tell me that I'm not going to have a clean cutoff when I have already completed the drivers side and everything looks perfect.

Junior Member
Joined: Jan 2003
Posts: 657
Likes: 1
From: state college, pa, us
<TABLE WIDTH="90%" CELLSPACING=0 CELLPADDING=0 ALIGN=CENTER><TR><TD>Quote, originally posted by ejoner »</TD></TR><TR><TD CLASS="quote"> What do you know? How are you going to tell me that I'm not going to have a clean cutoff when I have already completed the drivers side and everything looks perfect.</TD></TR></TABLE>
what do YOU know? i've tried it with fluted lenses before. i've tried PnP and retrofit. if fluted lenses are so "perfect" why don't all oem hid housings have them???
what do YOU know? i've tried it with fluted lenses before. i've tried PnP and retrofit. if fluted lenses are so "perfect" why don't all oem hid housings have them???