

92 cx build

Thread Starter
Honda-Tech Member
Joined: Feb 2007
Posts: 1,155
Likes: 0
From: spokane
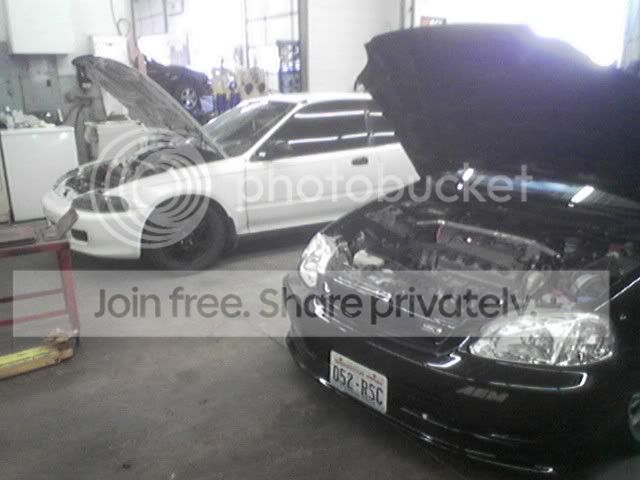
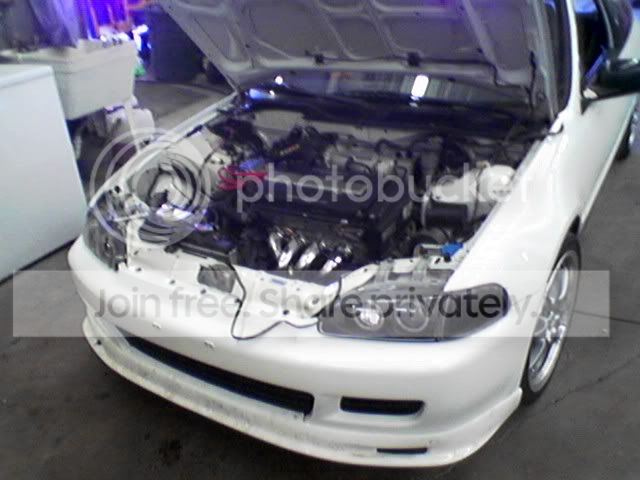
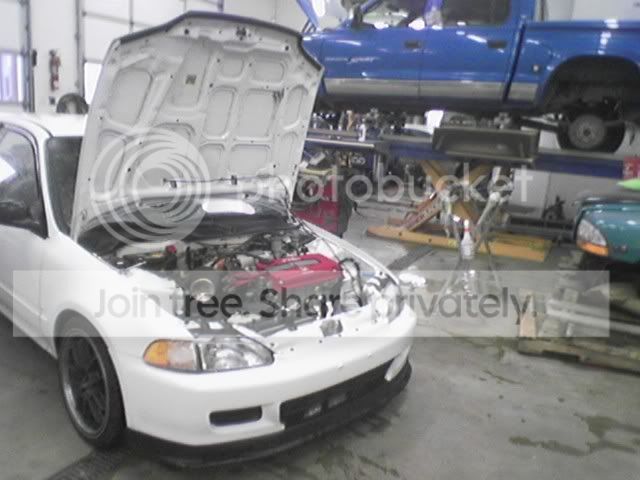
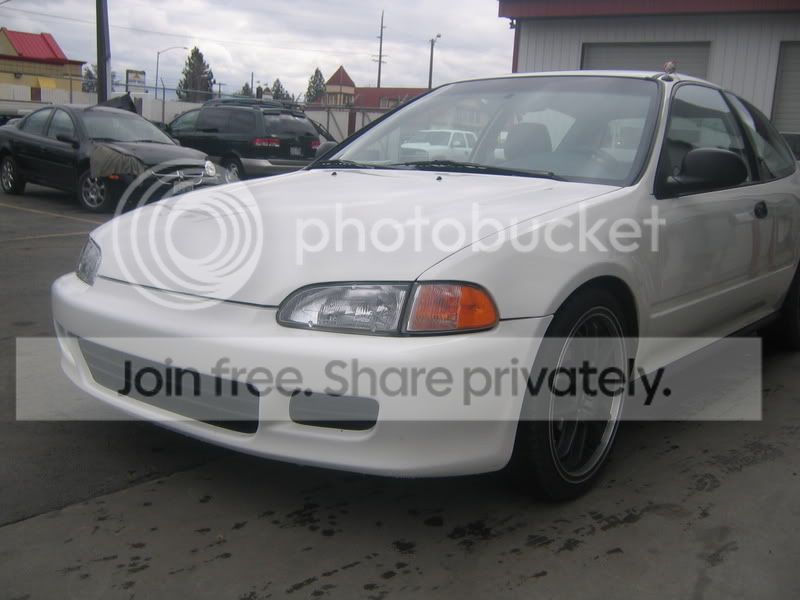
when i first bought the hatch it wasn't really in bad shape. door dings all over, the hood needed work ( two good sized dents ), upper tie bar was pushed in, headlight baffle was in bad shape, but the passenger side door/quarter panel was where most the work was going to be.
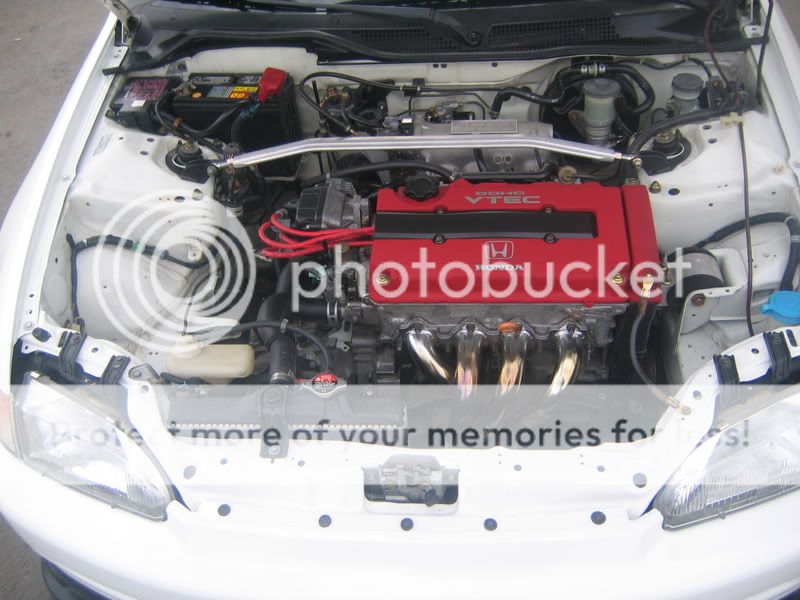
the motor was burning oil before it stopped running (needed a new dizzy). i wasn't going to waste my money on the z6 that was on it's last leg anyway. luckily i had
another motor i had plans for, i bought a b18c1 from a friend a year before.
i bought the car for 900 as is, but i had no intention of fixing that z6. two days after i bought the car i started the swap.
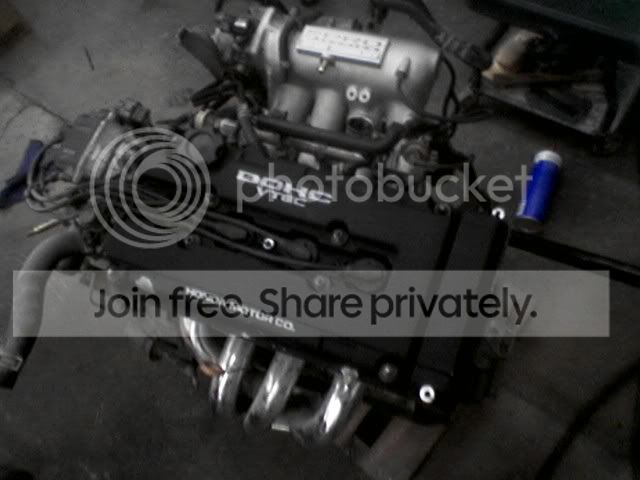
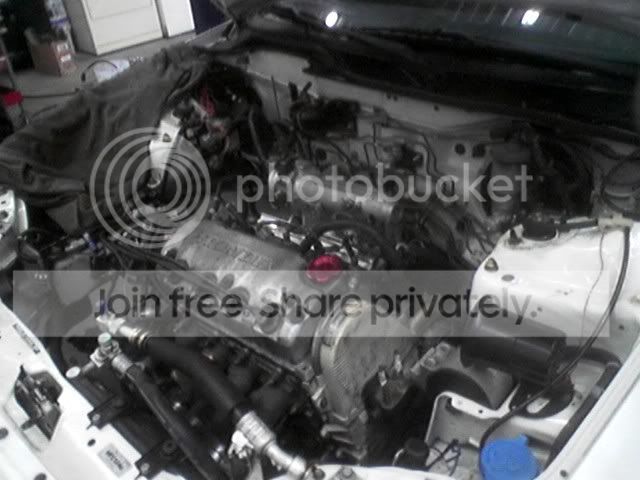
the dual runner was removed in favor of the skunk2 R knock off. shift link was bought, axles were bought, rear t mount was bought. so it was time to remove the motor.


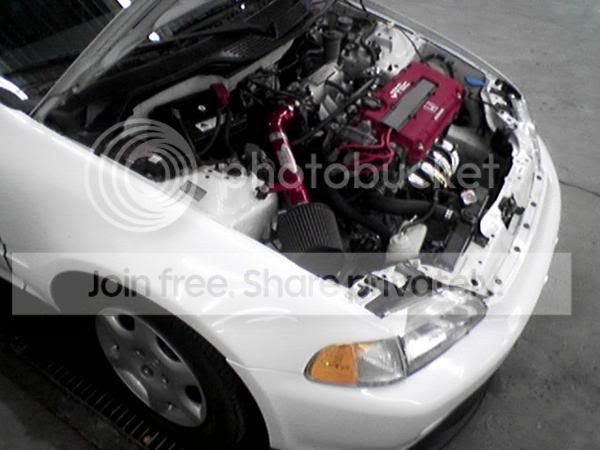
wiring was done (knock sensor, rewired vtec). p72 ecu is in, and it runs ! happy that my motor is actually doing something now really wasn't enough though.
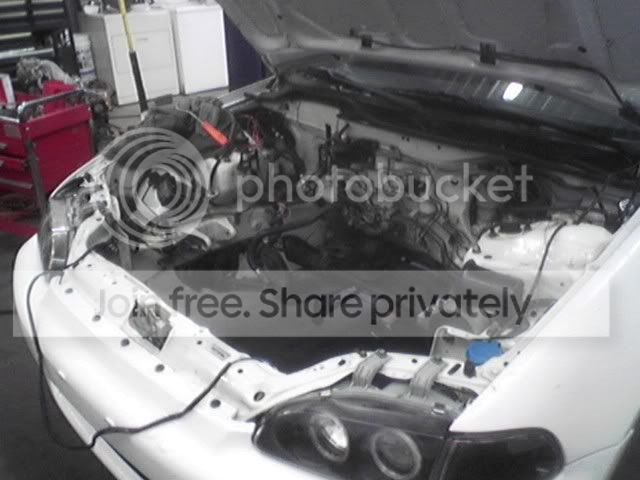
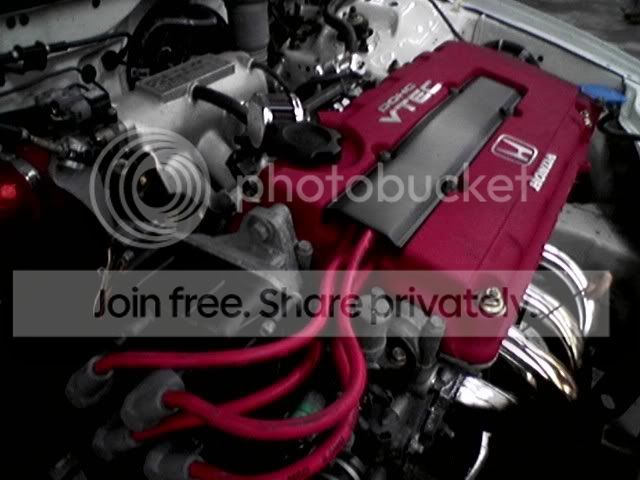
the headlights were ugly ****! i wanted this car to be clean, not a dirty ebay *****. so i took the lip off and sprayed it flat satin. oem headlights where snagged from my buddy's wrecking yard down the street ( thanks noah ). stock steels & hubcaps were my shoes for the time being. the usdm valve cover was swapped with a jdm -R- valve cover.
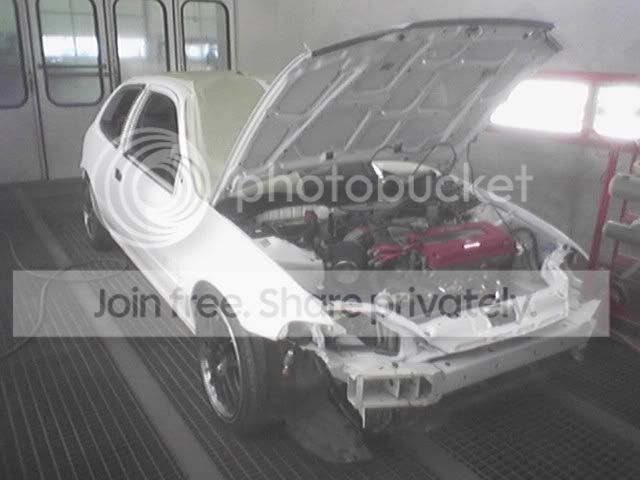
i drove it for a few months and saved up some cash, my shop said i could use the booth.
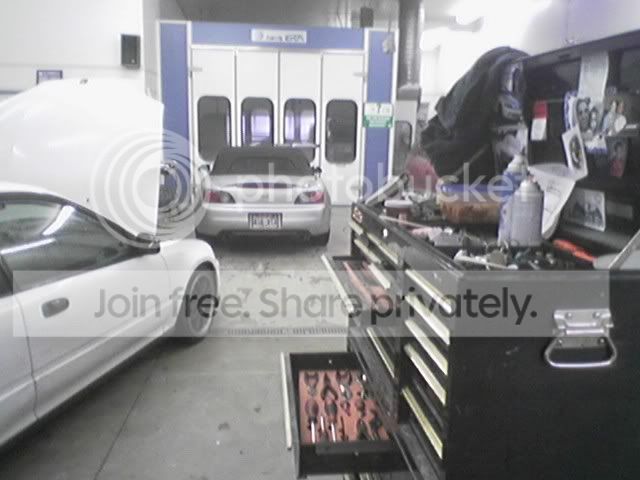
on a friday night i started the taking everything apart for body and paint.
found some previous work in a few spots, so dug those out, pulled the metal out further for less filler.
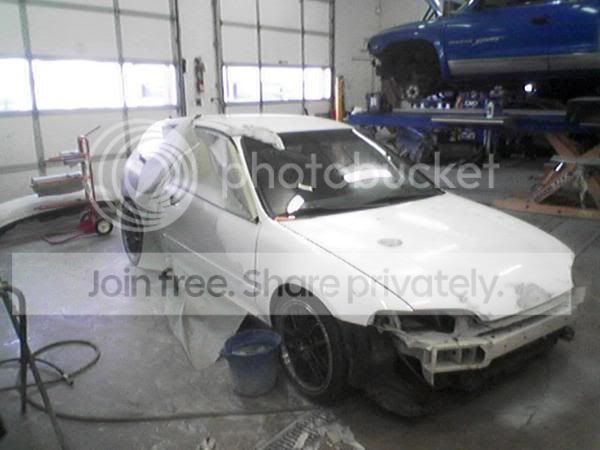
took 8 hours to make a late night but the hard stuff is out of the way. i had to re prime a few spots probably fell asleep while wet sanding (stick marks ). i use ppg k36, now if you don't know ppg paint k36 is good primer but k38 imo is better. i left as much time as i could for curing and worked on one side of the car while the other was under the heat lamp.

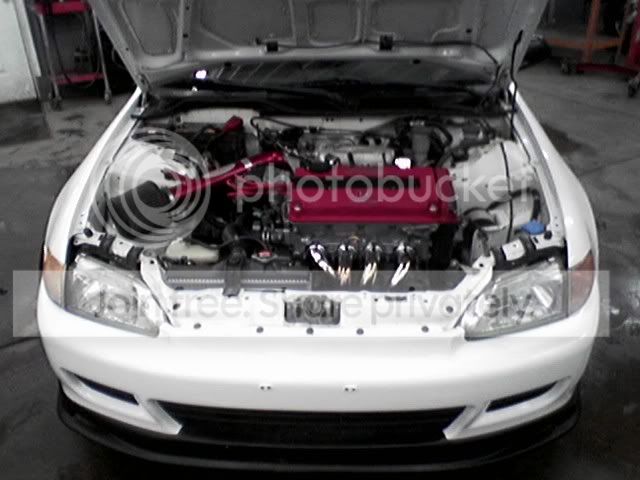
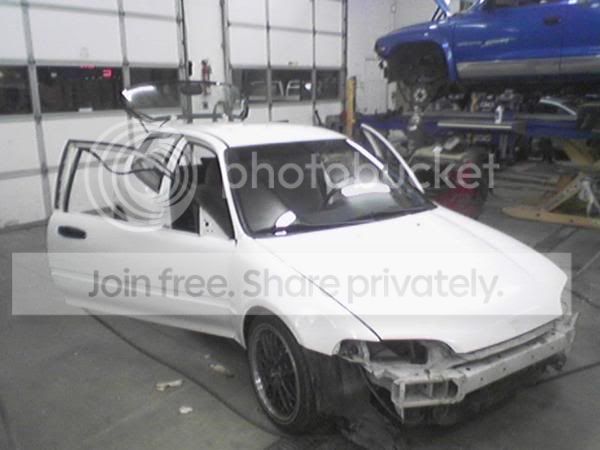
all primer blocked out with 400 grit then 600 fallowed by scotch pad. in the booth it was tack ragged, the fenders where also jammed to clean up the engine bay and to match the upper tie bar i pulled the night before. all installed again to have the same flow and texture of paint.

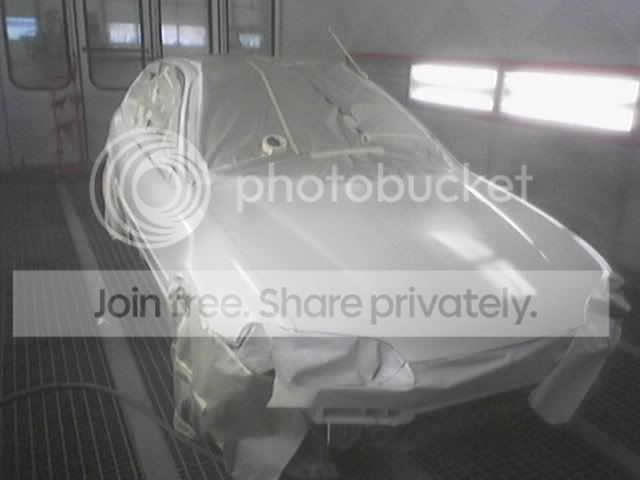
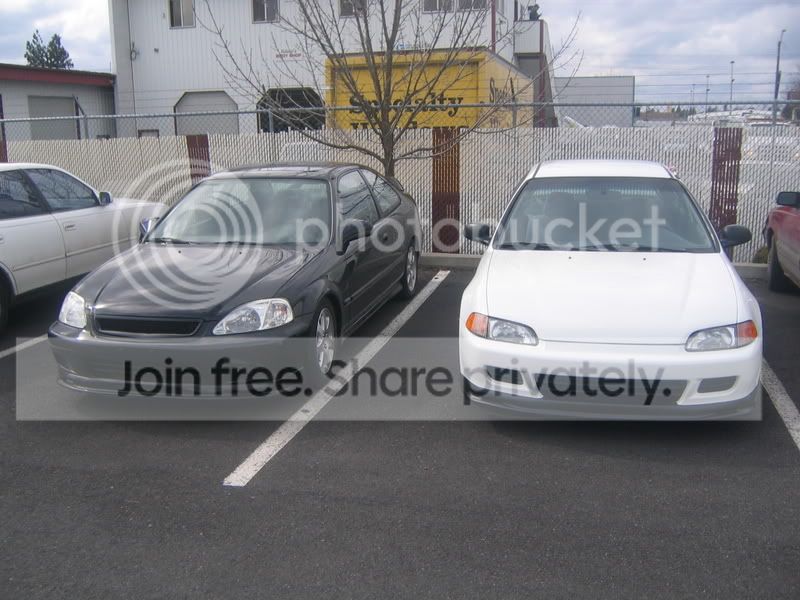
sealed, case coat, & clear coat. turned the booth on. when the baking cycle was done i rolled the car out and went home to sleep. the next morning the paint was ready to work with. i wet sanded the whole car with 1500 grit to a flat texture follow by a 3000 grit soft pad ( 3m products ) 3000 grit can buff up really quick and scratches can't be seen. the 3000 pad is a hook-it style round so it's made for DA sander. really makes a difference

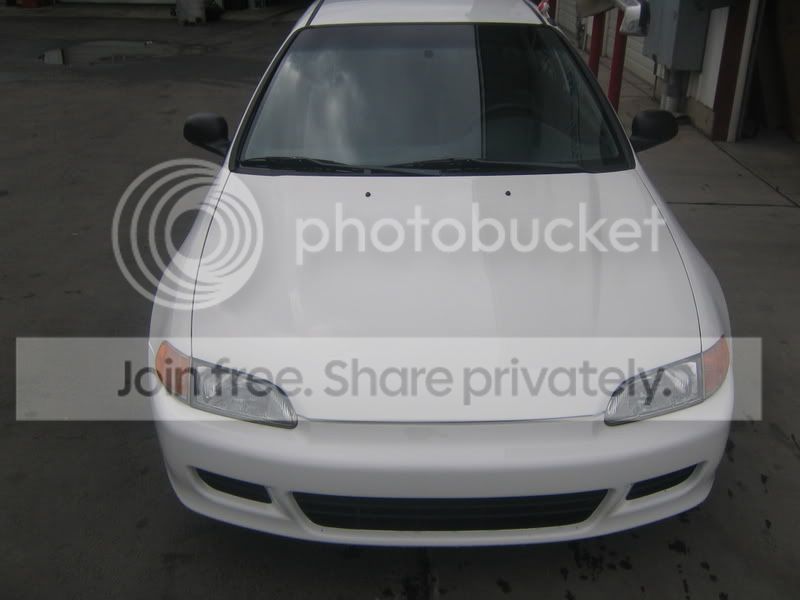
all gaps lined up, bumper l's plate shaved, hood h welded and shaved.

i installed a da sway bar ( some parts fabricated ) da lower control arms and disk's
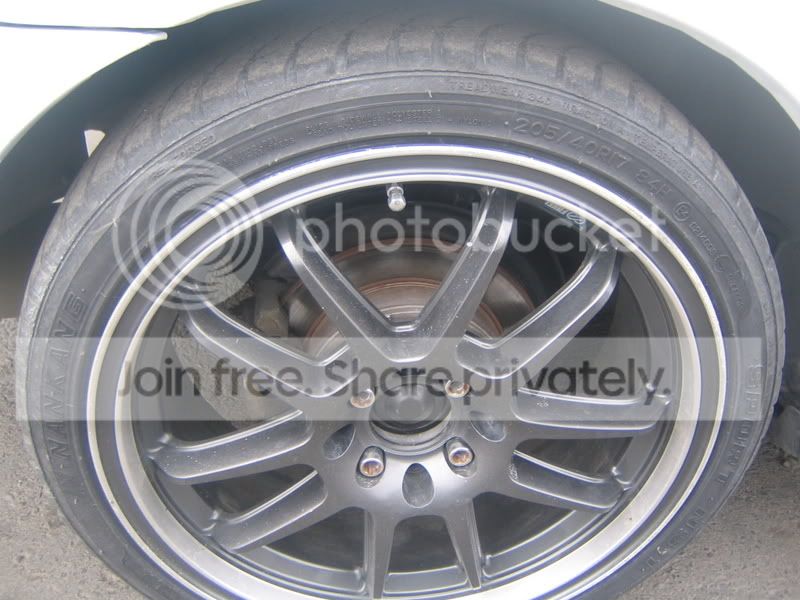
the enki's were ok for now, i just wanted black rims (favorite color). i also went back to the junk yard for 2.25 inch pipes and welded them all in.
i miss this hatch, i'm going to build another like it but better. thieves suck
Modified by jasoncrashtech at 9:03 PM 10/24/2007
the motor was burning oil before it stopped running (needed a new dizzy). i wasn't going to waste my money on the z6 that was on it's last leg anyway. luckily i had
another motor i had plans for, i bought a b18c1 from a friend a year before.
i bought the car for 900 as is, but i had no intention of fixing that z6. two days after i bought the car i started the swap.
the dual runner was removed in favor of the skunk2 R knock off. shift link was bought, axles were bought, rear t mount was bought. so it was time to remove the motor.
wiring was done (knock sensor, rewired vtec). p72 ecu is in, and it runs ! happy that my motor is actually doing something now really wasn't enough though.
the headlights were ugly ****! i wanted this car to be clean, not a dirty ebay *****. so i took the lip off and sprayed it flat satin. oem headlights where snagged from my buddy's wrecking yard down the street ( thanks noah ). stock steels & hubcaps were my shoes for the time being. the usdm valve cover was swapped with a jdm -R- valve cover.
i drove it for a few months and saved up some cash, my shop said i could use the booth.
on a friday night i started the taking everything apart for body and paint.
found some previous work in a few spots, so dug those out, pulled the metal out further for less filler.
took 8 hours to make a late night but the hard stuff is out of the way. i had to re prime a few spots probably fell asleep while wet sanding (stick marks ). i use ppg k36, now if you don't know ppg paint k36 is good primer but k38 imo is better. i left as much time as i could for curing and worked on one side of the car while the other was under the heat lamp.
all primer blocked out with 400 grit then 600 fallowed by scotch pad. in the booth it was tack ragged, the fenders where also jammed to clean up the engine bay and to match the upper tie bar i pulled the night before. all installed again to have the same flow and texture of paint.
sealed, case coat, & clear coat. turned the booth on. when the baking cycle was done i rolled the car out and went home to sleep. the next morning the paint was ready to work with. i wet sanded the whole car with 1500 grit to a flat texture follow by a 3000 grit soft pad ( 3m products ) 3000 grit can buff up really quick and scratches can't be seen. the 3000 pad is a hook-it style round so it's made for DA sander. really makes a difference
all gaps lined up, bumper l's plate shaved, hood h welded and shaved.
i installed a da sway bar ( some parts fabricated ) da lower control arms and disk's
the enki's were ok for now, i just wanted black rims (favorite color). i also went back to the junk yard for 2.25 inch pipes and welded them all in.
i miss this hatch, i'm going to build another like it but better.
thieves suckModified by jasoncrashtech at 9:03 PM 10/24/2007
Honda-Tech Member
Joined: Mar 2002
Posts: 567
Likes: 0
From: Metro, us
Can you please explain a little more of your method of wetsanding down with 1500 grit and finishing off with 3k...what other steps did you take...after the 3k what products if any did you use to bring back the shine...etc etc...i'm interested...
Thread Starter
Honda-Tech Member
Joined: Feb 2007
Posts: 1,155
Likes: 0
From: spokane
1500 wet , with a wet sanding block ( probably 2" wide 6" long ) on top side of doors and fenders, quarters, bumpers, (above molding body line) hood ******* got a lot of attention .
them i used my da (dual action sander) with 3000 thousand grit wet pad , over the 1500 grit scratch marks. this makes the grit on the clear coat even smaller and easier to buff out. buffing with that pad makes a lot of difference
i'll post some pic's when i can
them i used my da (dual action sander) with 3000 thousand grit wet pad , over the 1500 grit scratch marks. this makes the grit on the clear coat even smaller and easier to buff out. buffing with that pad makes a lot of difference
i'll post some pic's when i can


Thread
Thread Starter
Forum
Replies
Last Post
gn2xturbo
Honda Civic / Del Sol (1992 - 2000)
13
Aug 19, 2004 11:06 AM
EHVooDoo
Honda Civic / Del Sol (1992 - 2000)
6
Jan 4, 2003 11:50 AM