

sohcvtec91hatch's project log. Paint/turbo D15B

Thread Starter
Honda-Tech Member
Joined: Mar 2006
Posts: 521
Likes: 0
From: Grand Junction, CO, USA
Okay here we go. On Thursday May 13, 2007 I started construction of my 1991 Honda Civic HB std.
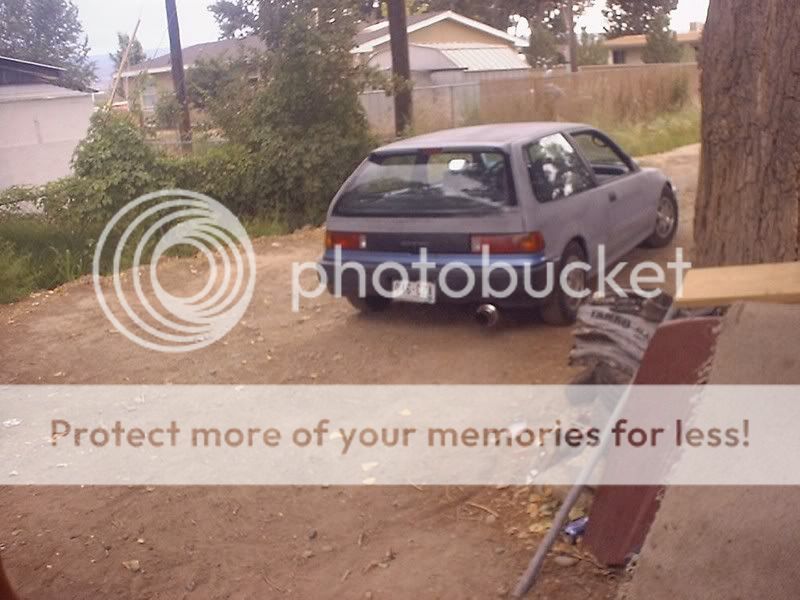
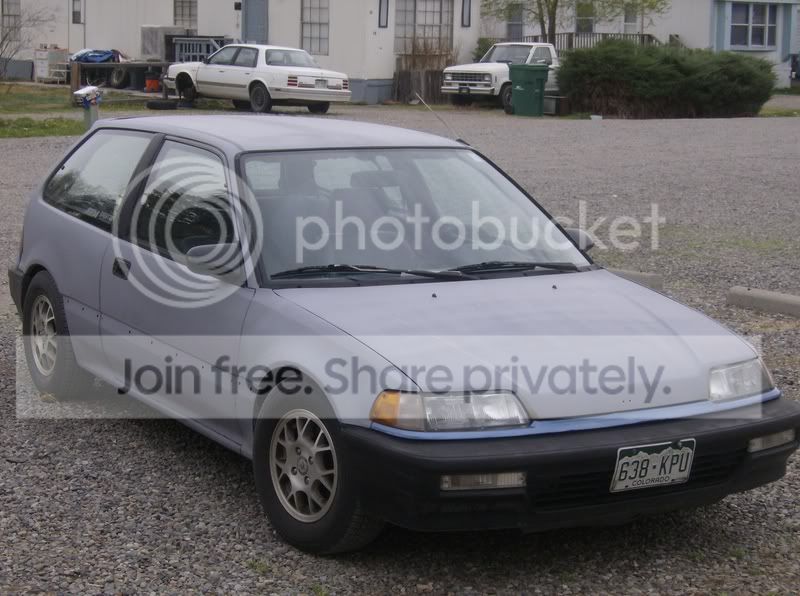
This is the product of my work for that Thursday. I started the day with my daily driver being backed into the garage for a full paint job and to prep for my turbo kit that will be coming at the end of the month. This is how the car looked 3 years ago when I first bought it, after fixing some bodywork and primering the car.
This was with cheap ebay coilovers and 2.25" exhaust with a universal canister style muffler.

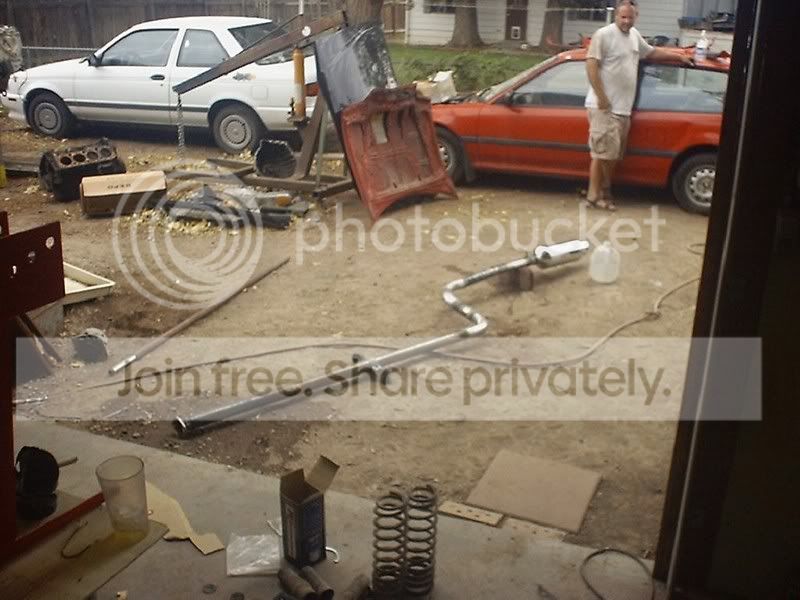
Here is the Exhaust being created.
That was how I drove the car for 2 years, stock D15b1 and all. We were seperated for a year because of other reasons. But if it comes back to you then it was ment to be. Before losing the car I purchased a D15B from Hmotorsonline.com, for $600 plus the ecu for $100 and got stiffed on the ecu but got the refund. After a while I bought a project 1967 Chevy C10 with a big block in it and that was my new love. So needless to say I never did the swap.
When I got the car back it was in horrible shape. It was spray painted multiple colors and the steering coulum was torn apart. So I got the car back and sanded and re-primerd the car, fixed the steering coulum and daily drove it for about 5 months. Then the Clutch went out in it, which triggered me to do the swap!
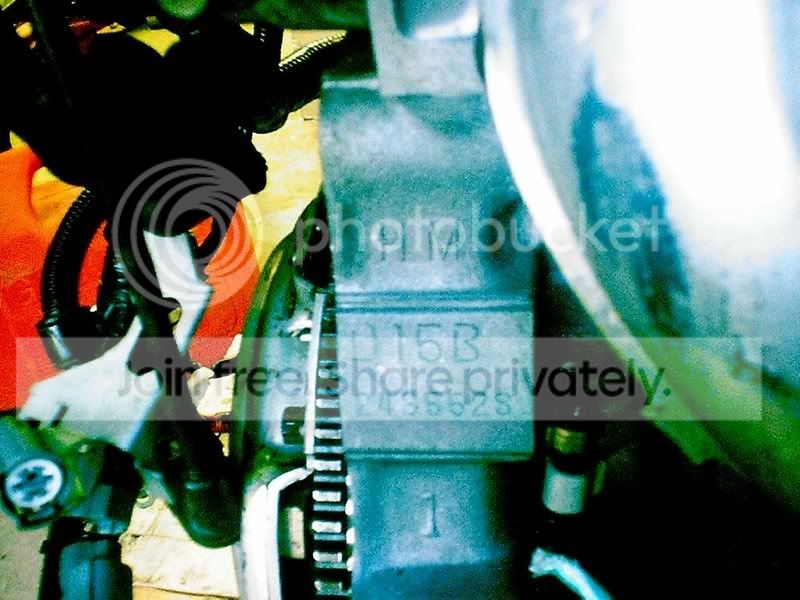
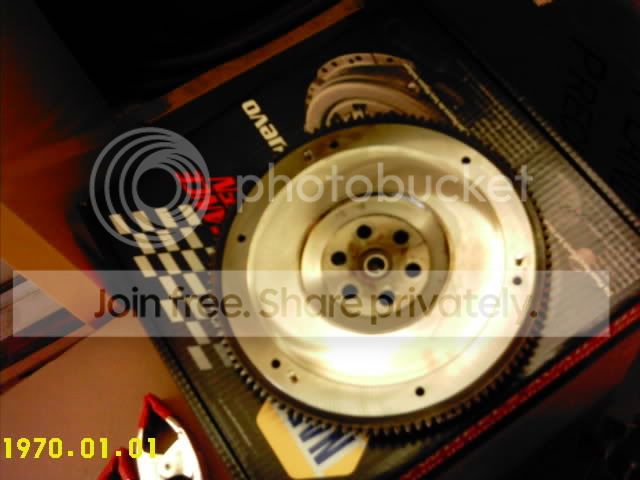
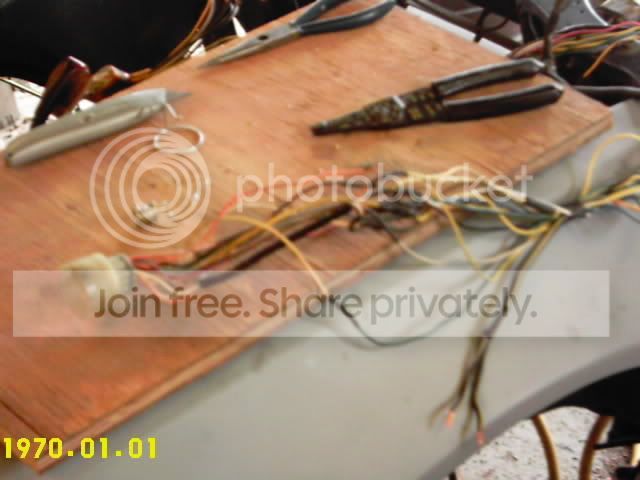
Resurfaced Flywheel and some of the wiring. The new home awaits.
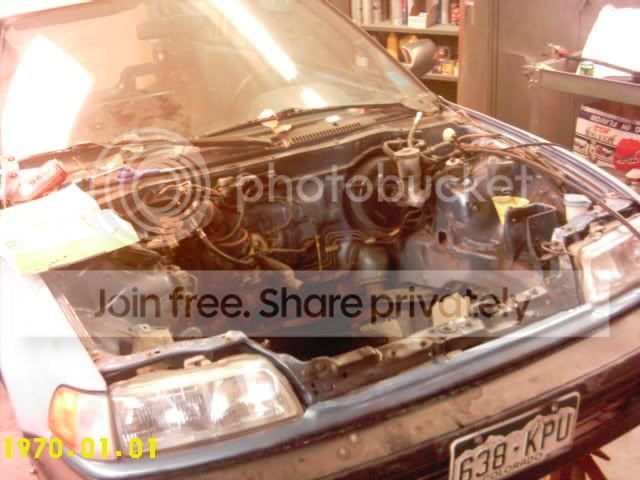
All swapped up.
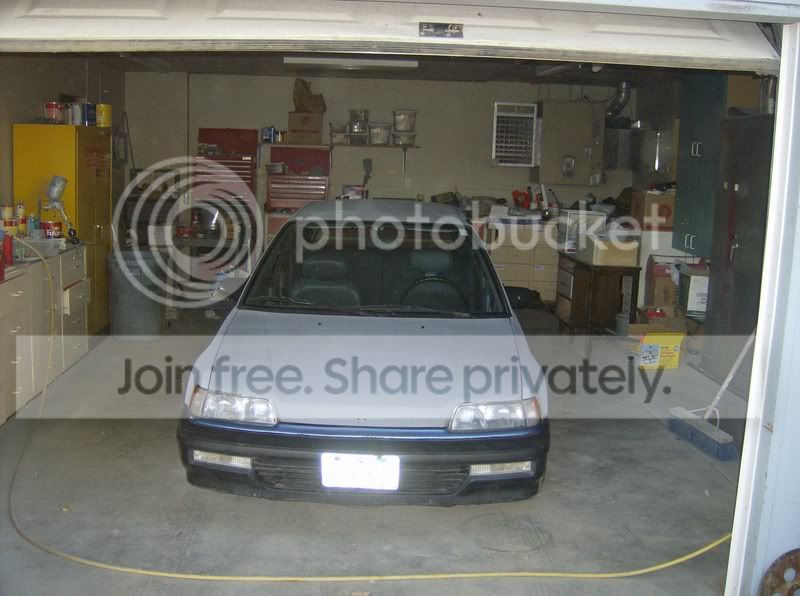
That is how the car has been for the last year or so. A couple of weeks ago I sold the truck! Now I have the money to turbo and that's about it. Here is the car in front of my house and then the garage the day I started.
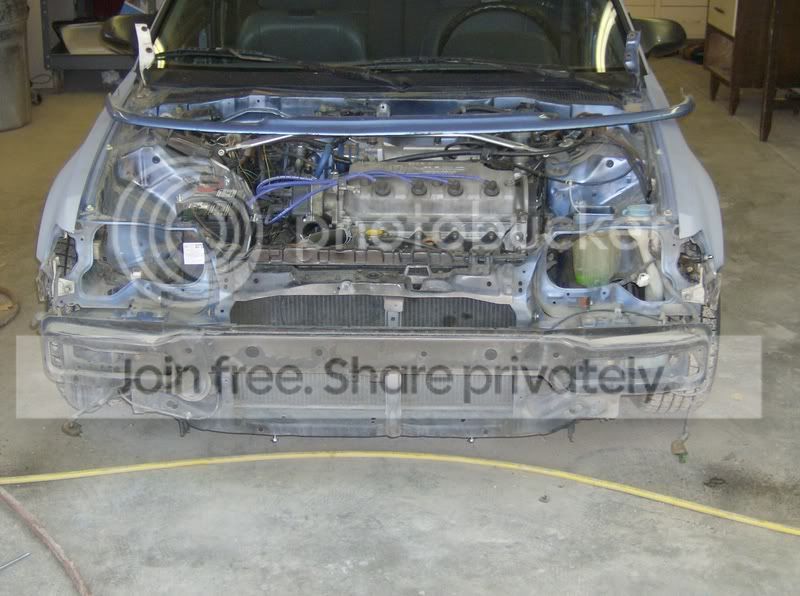
Here is the process of about 2 and a half hrs of tear down.

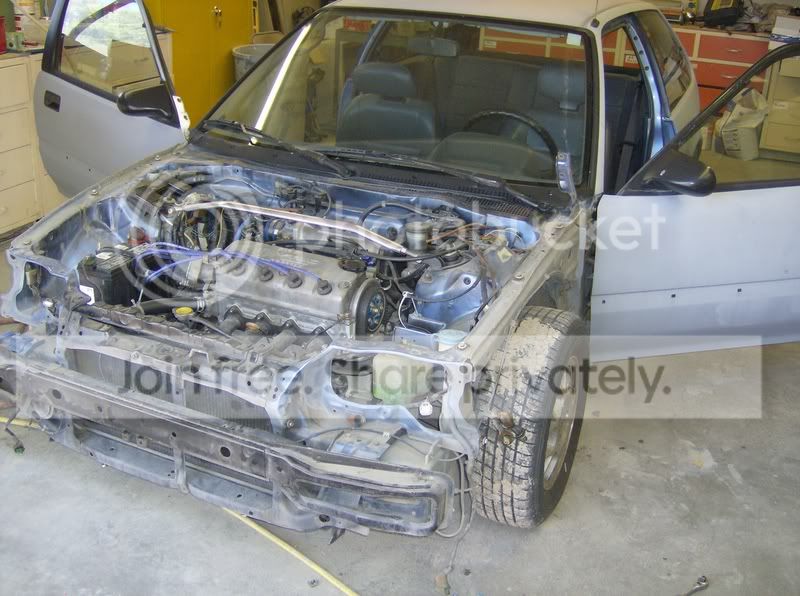
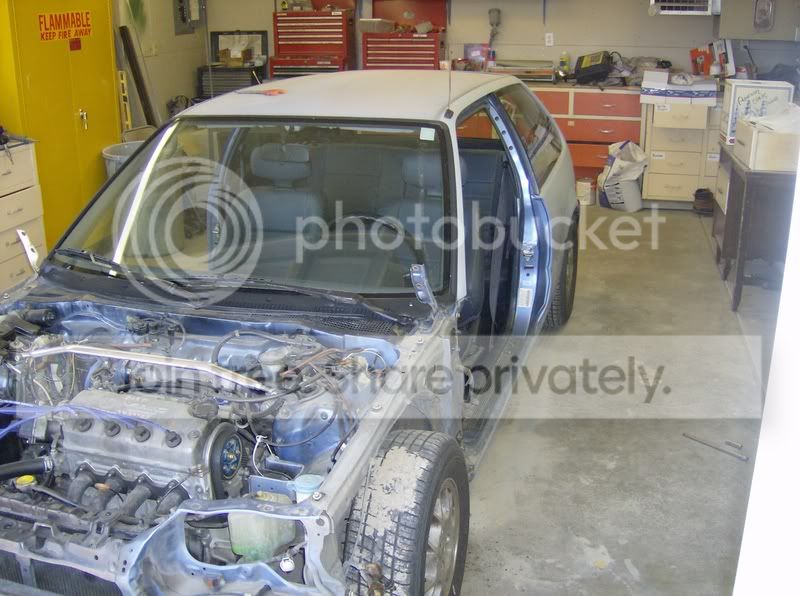

That was most of the day, with the exeption of my door swap trial and the removal of the only rust, which was around the door hinges. I'll post those pics later.
Thanks for lookin.
This is the product of my work for that Thursday. I started the day with my daily driver being backed into the garage for a full paint job and to prep for my turbo kit that will be coming at the end of the month. This is how the car looked 3 years ago when I first bought it, after fixing some bodywork and primering the car.
This was with cheap ebay coilovers and 2.25" exhaust with a universal canister style muffler.
Here is the Exhaust being created.
That was how I drove the car for 2 years, stock D15b1 and all. We were seperated for a year because of other reasons. But if it comes back to you then it was ment to be. Before losing the car I purchased a D15B from Hmotorsonline.com, for $600 plus the ecu for $100 and got stiffed on the ecu but got the refund. After a while I bought a project 1967 Chevy C10 with a big block in it and that was my new love. So needless to say I never did the swap.
When I got the car back it was in horrible shape. It was spray painted multiple colors and the steering coulum was torn apart. So I got the car back and sanded and re-primerd the car, fixed the steering coulum and daily drove it for about 5 months. Then the Clutch went out in it, which triggered me to do the swap!
Resurfaced Flywheel and some of the wiring. The new home awaits.
All swapped up.
That is how the car has been for the last year or so. A couple of weeks ago I sold the truck! Now I have the money to turbo and that's about it. Here is the car in front of my house and then the garage the day I started.
Here is the process of about 2 and a half hrs of tear down.
That was most of the day, with the exeption of my door swap trial and the removal of the only rust, which was around the door hinges. I'll post those pics later.
Thanks for lookin.
Thread Starter
Honda-Tech Member
Joined: Mar 2006
Posts: 521
Likes: 0
From: Grand Junction, CO, USA
Originally Posted by jweeks
nice project. you wanna sell those front seats 
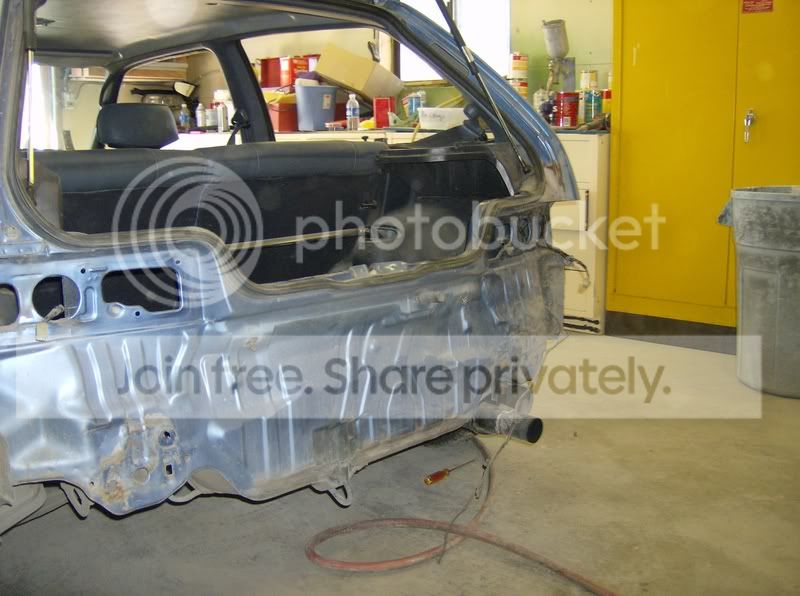
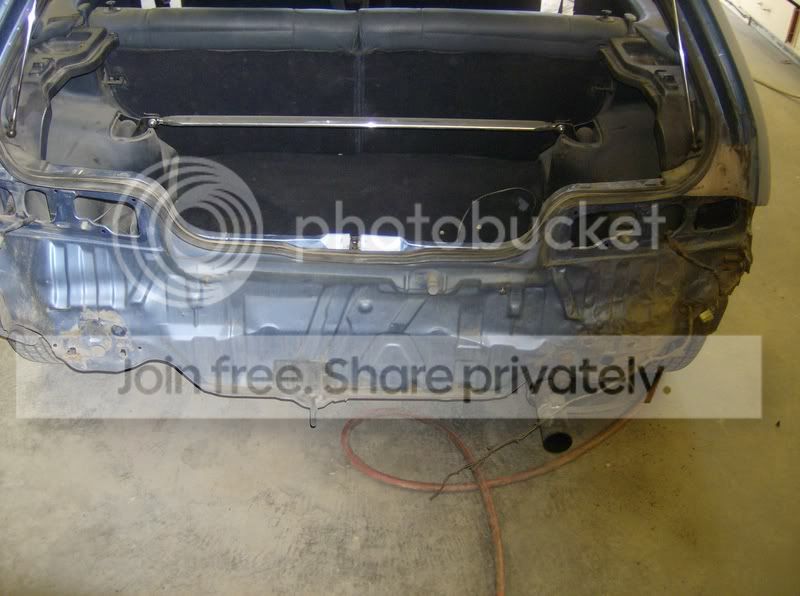
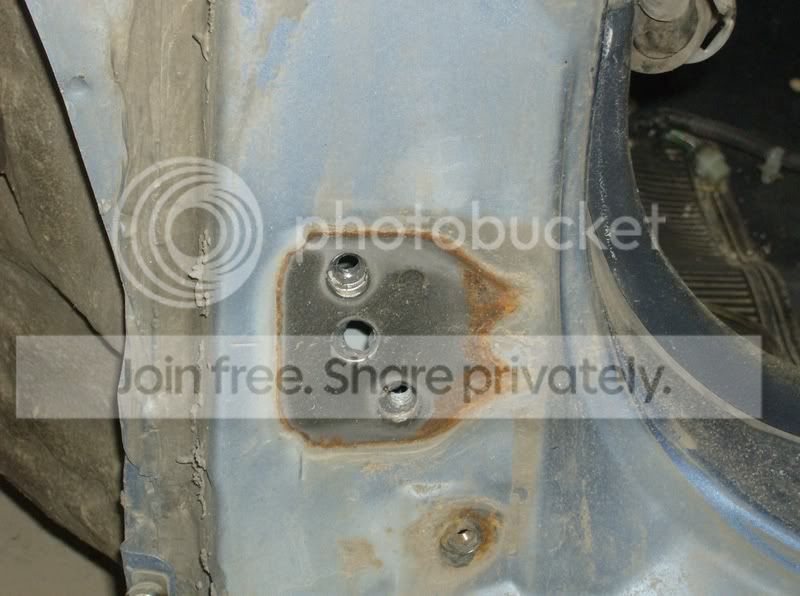
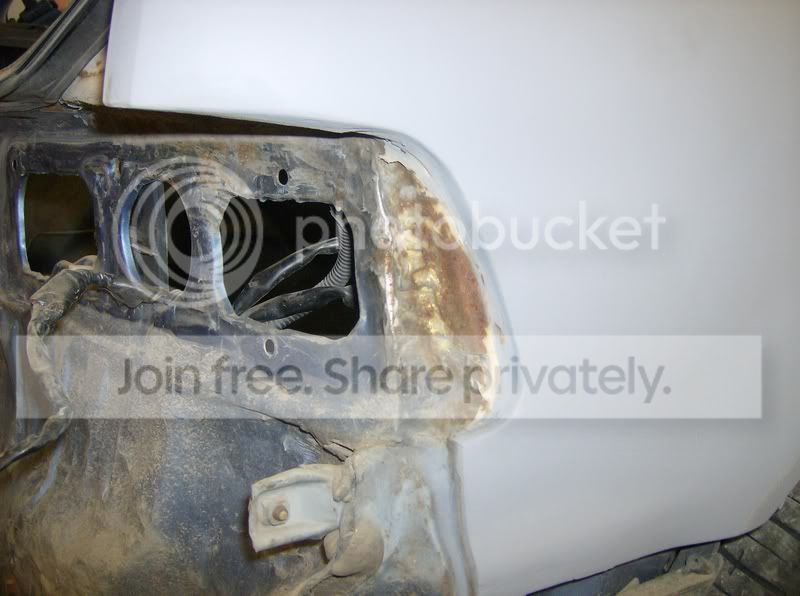
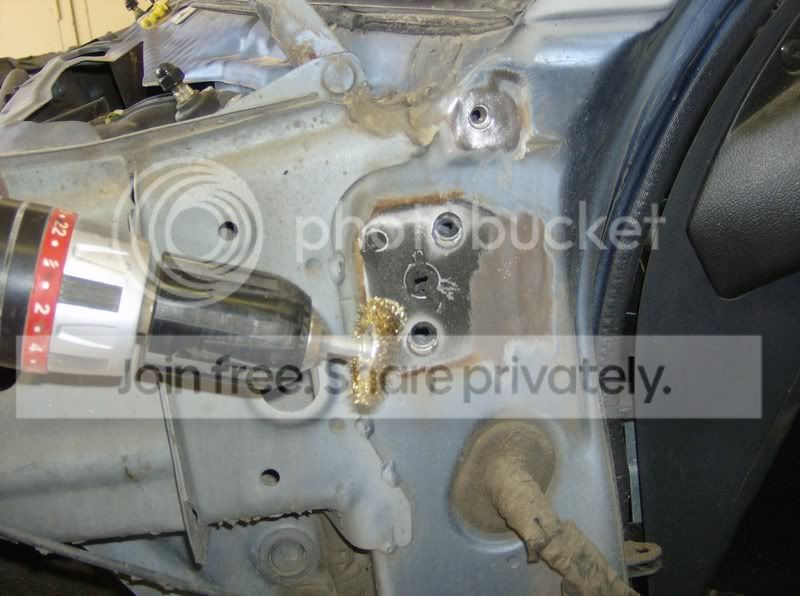
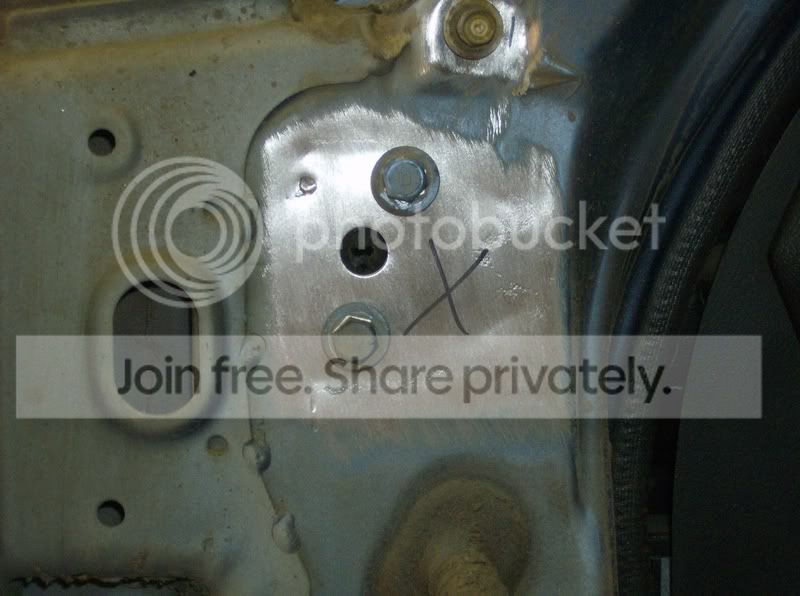
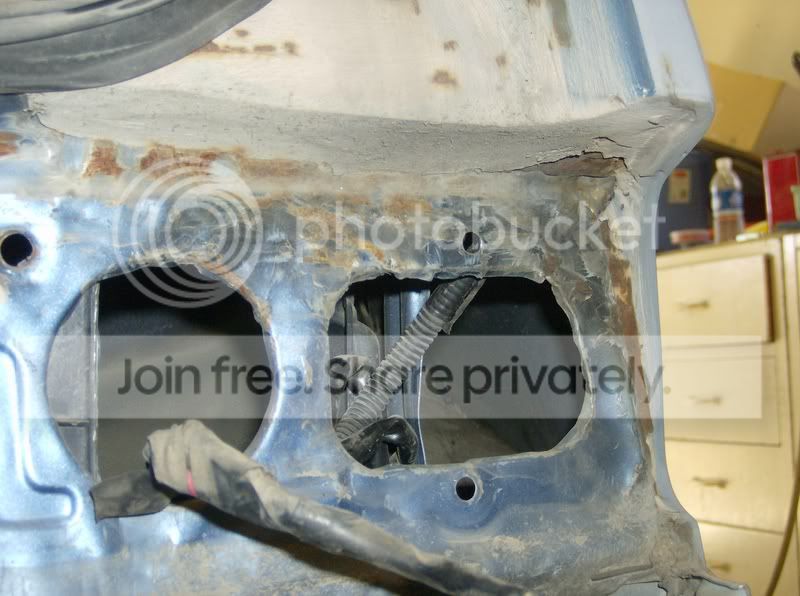
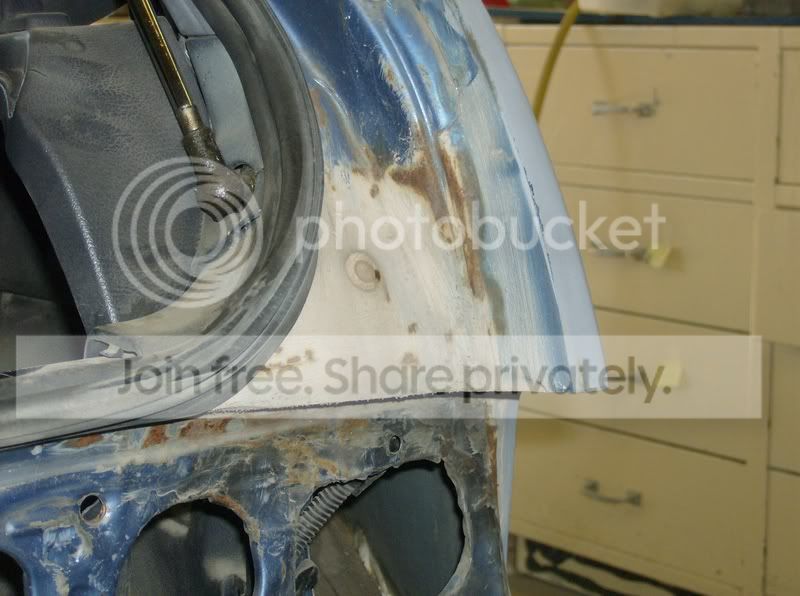
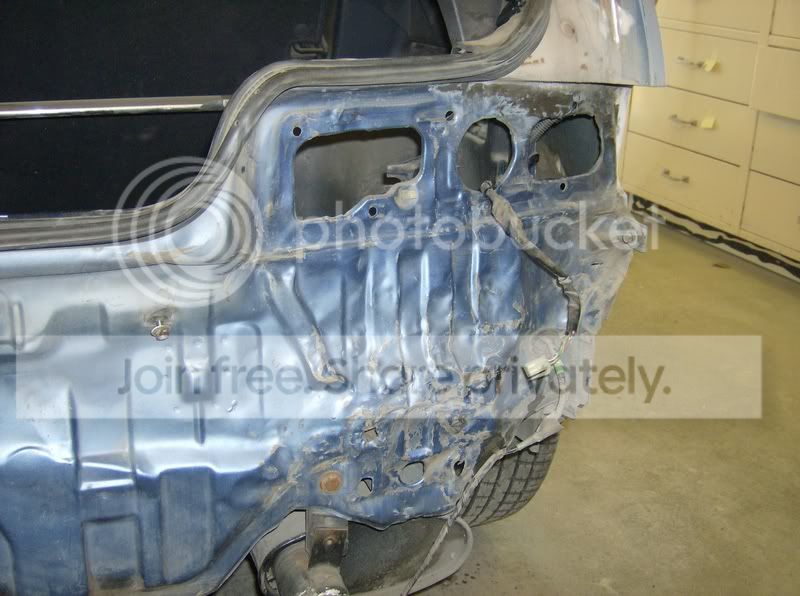
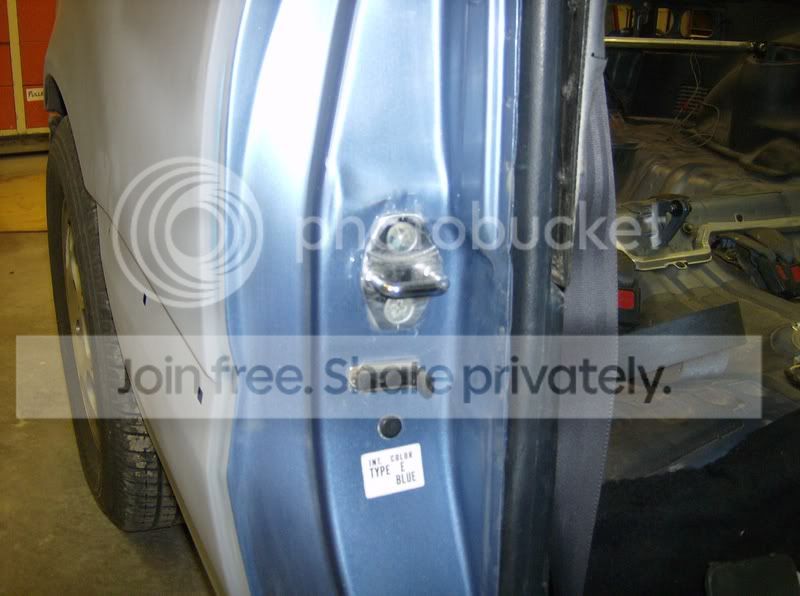
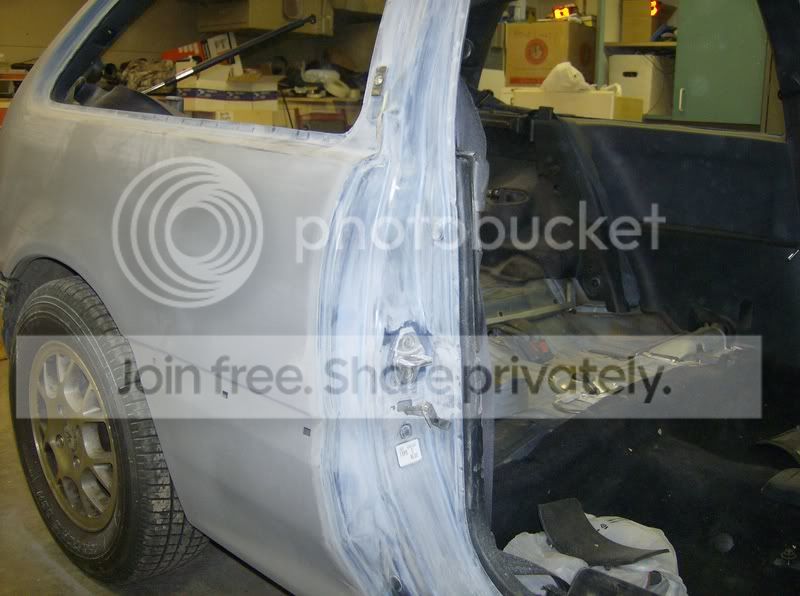
Okay here are the pics of the only rust that is on the car. 64,000 miles on the chasis. I bought it with 36k on it. It is a salvage title, It was totaled in the passenger rear.
The only rust found on the whole car is where the door hinges are, and a little around the passenger taillight area.
After!
Here is some of the work we did after pulling the car off of the frame machine when I first got it. We never finished the body work so we have alot to do.
The outside looks good from far away but up close you can still see the sand lines in the primer.
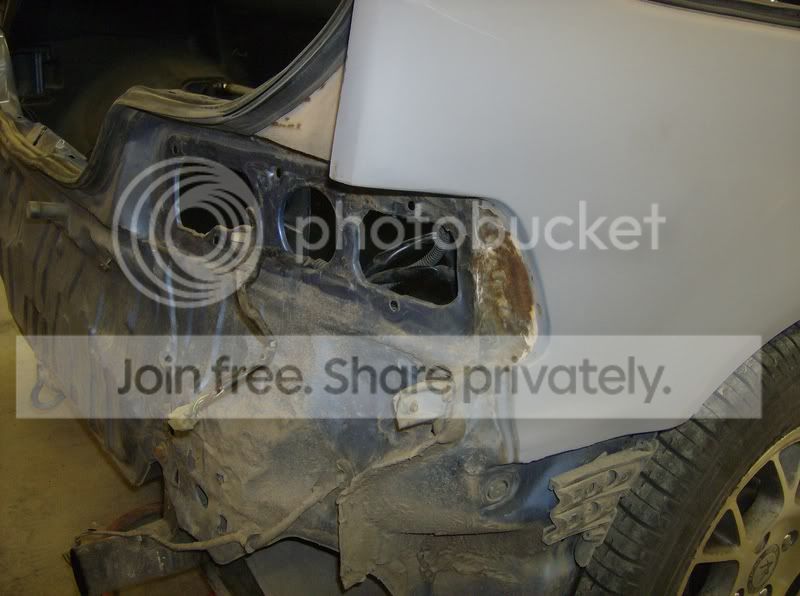
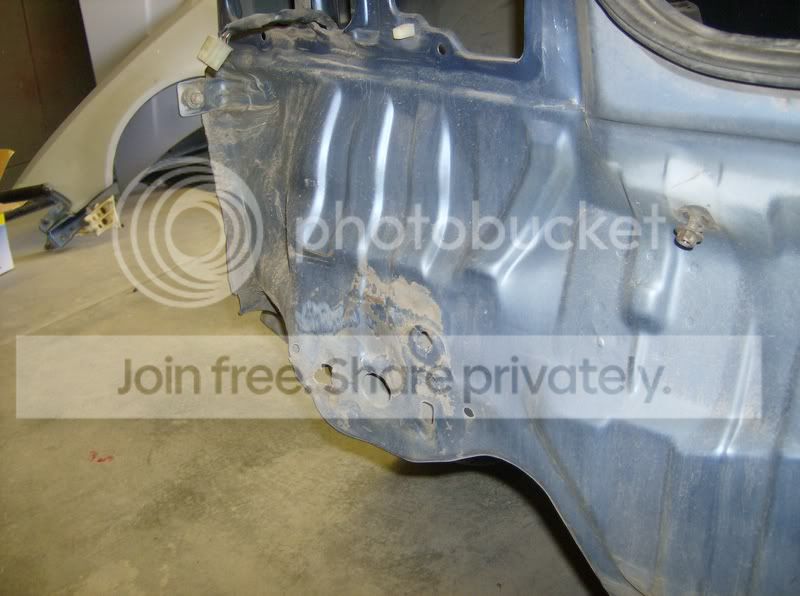
Here you can tell the carnage from the accident. The passenger side rear was pushed in almost a foot (atleast thats what it looked like to me). Here are the driver and passenger rear shots. Everything does line up though!
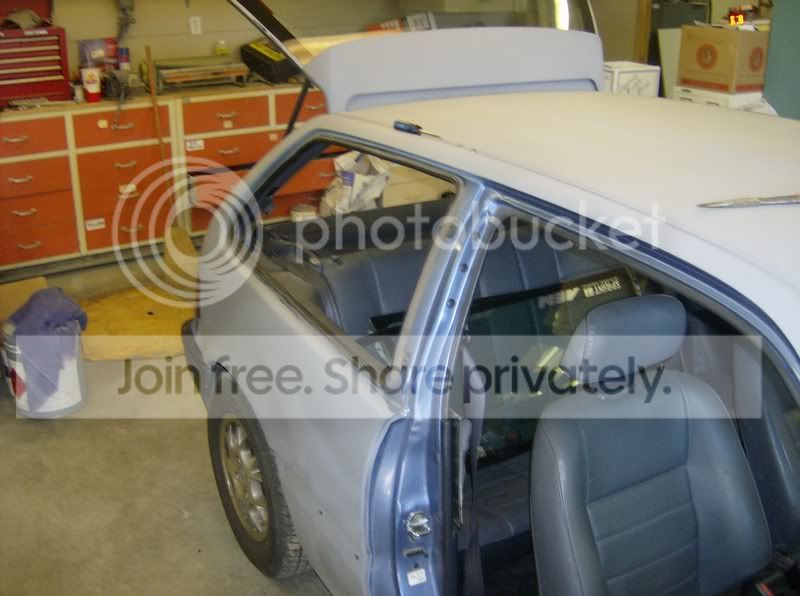
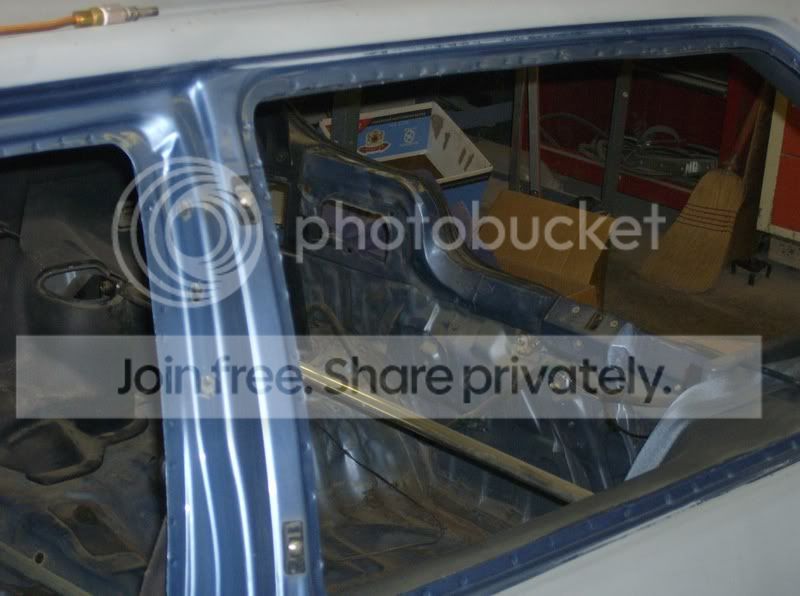
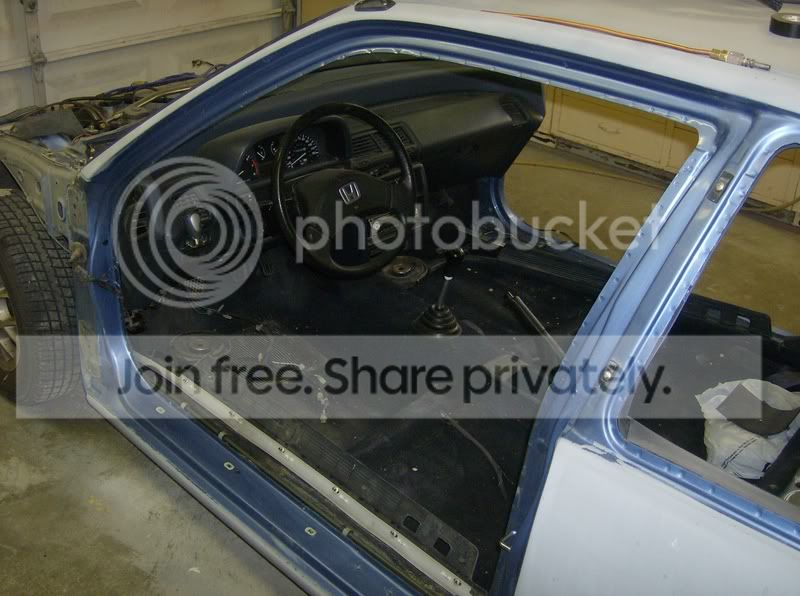
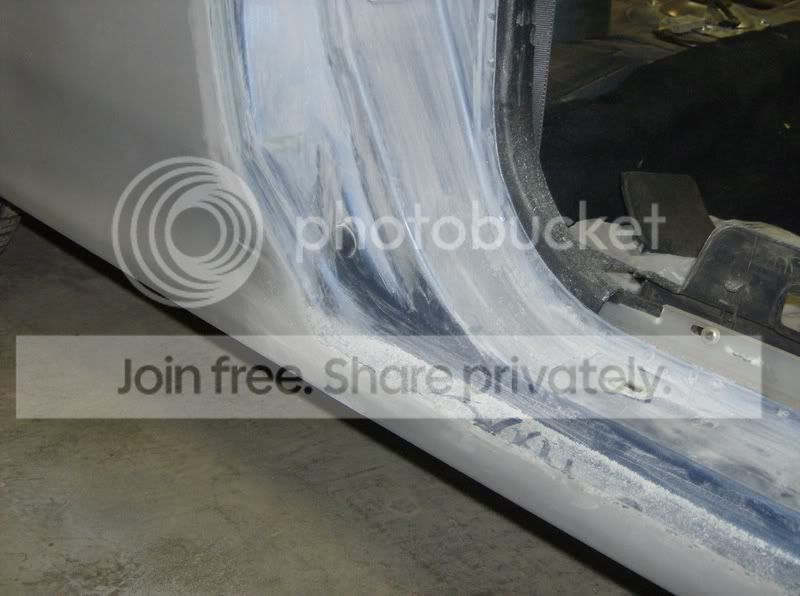
Now for the work I did today. I plan on doing a color change on the car but sticking with a blue color. I'll have the color made up on wednesday, i'm going for something like the '06 civic blue. So I decided even though it will be close to the same color, I will go ahead and jam everything anyways. I knocked everything down with a grey scratch pad, then blew it off with the air hose. After that I wiped all areas with a UTEC oil & adhesive remover. Then I hand sanded the door jams, window jams and, hatch jam with 220 grit DA paper.
Here is one of the jam before scuff and wipe.
And after!
Here is the sanding with 220 grit DA paper!
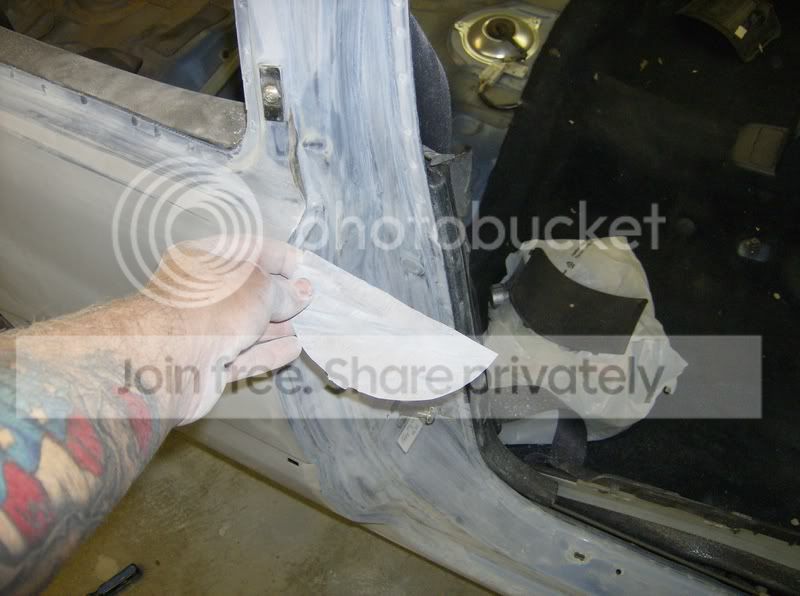
That was what I accomplished today. Along with removal of the seats and weather stripping. I still have to sand the hatch area with 220 grit and get the outside of the engine bay.
Thread Starter
Honda-Tech Member
Joined: Mar 2006
Posts: 521
Likes: 0
From: Grand Junction, CO, USA
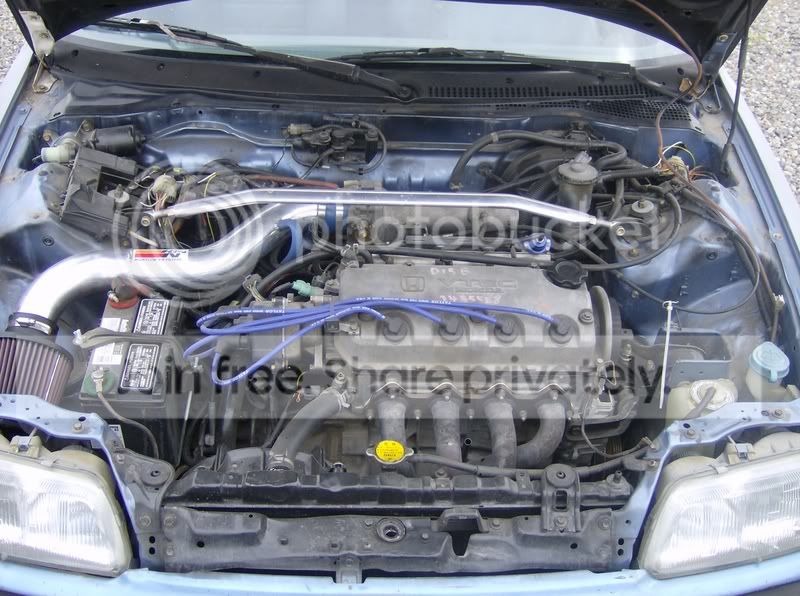
Also my turbo kit will be coming soon. Autoworks is hand fabing a t3/t4 50 trim kit for me as we speak. Check out his site in my sig. Great help and prices IMO.
I tell doctors what to do
Joined: Jun 2005
Posts: 3,693
Likes: 0
From: Chicago
<TABLE WIDTH="90%" CELLSPACING=0 CELLPADDING=0 ALIGN=CENTER><TR><TD>Quote, originally posted by sohcvtec91hatch »</TD></TR><TR><TD CLASS="quote">Also my turbo kit will be coming soon. Autoworks is hand fabing a t3/t4 50 trim kit for me as we speak. Check out his site in my sig. Great help and prices IMO. </TD></TR></TABLE>autoworks made my charge pipes and supplied my intercooler. good stuff
</TD></TR></TABLE>autoworks made my charge pipes and supplied my intercooler. good stuff
Honda-Tech Member
Joined: May 2004
Posts: 2,844
Likes: 3
From: honky in, nc, usa
wanna find some more rust, take your windshield out. i had only one spot of rust on my hole car about half the size of a dime, but the windshield frame had a hole rusted through it. i talked to the installer and he said that was very common.
looks real good!
looks real good!
Trending Topics
Thread Starter
Honda-Tech Member
Joined: Mar 2006
Posts: 521
Likes: 0
From: Grand Junction, CO, USA
Yeah, I was thinking about putting a new windshield in it because mine is cracked. It was fixed by a profesional but you can still see the crack when the sun hits it. Also the Edges are kind of milky color, kinda weird.
Thread Starter
Honda-Tech Member
Joined: Mar 2006
Posts: 521
Likes: 0
From: Grand Junction, CO, USA
Today I recieved the first parts to my Turbo build!
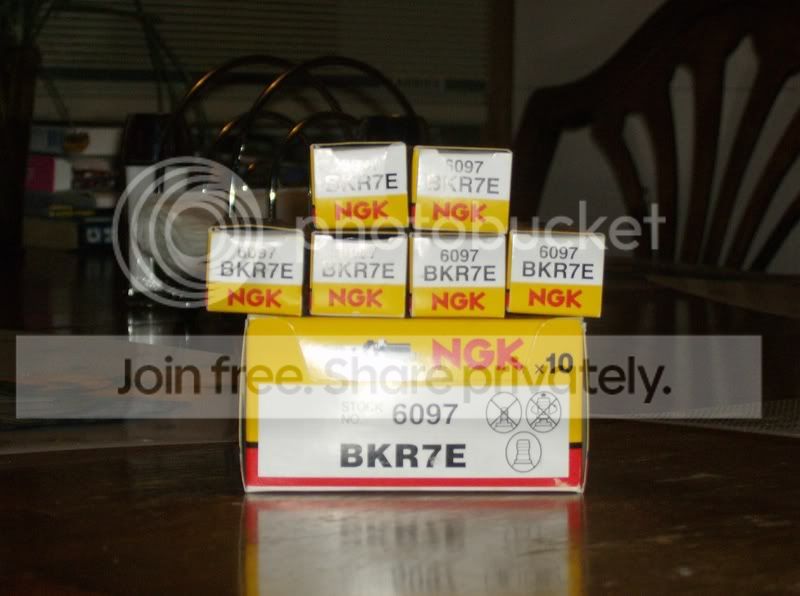
Too bad it is just the Spark Plugs. NGK BKR7E's. I'll probably go with a .028 gap to start. We'll see after the tune.
Too bad it is just the Spark Plugs. NGK BKR7E's. I'll probably go with a .028 gap to start. We'll see after the tune.
Honda-Tech Member
Joined: Jan 2004
Posts: 11,129
Likes: 36
From: GO AUTOWORKS DOT COM
<TABLE WIDTH="90%" CELLSPACING=0 CELLPADDING=0 ALIGN=CENTER><TR><TD>Quote, originally posted by sohcvtec91hatch »</TD></TR><TR><TD CLASS="quote">Also my turbo kit will be coming soon. Autoworks is hand fabing a t3/t4 50 trim kit for me as we speak. Check out his site in my sig. Great help and prices IMO. </TD></TR></TABLE>
Thanks, the build is looking good. The boosted goodness is in the works <TABLE WIDTH="90%" CELLSPACING=0 CELLPADDING=0 ALIGN=CENTER><TR><TD>Quote, originally posted by ILcrxsi1 »</TD></TR><TR><TD CLASS="quote">autoworks made my charge pipes and supplied my intercooler. good stuff </TD></TR></TABLE>
glad you like it.
Keep the Builds going
</TD></TR></TABLE>Thanks, the build is looking good. The boosted goodness is in the works
<TABLE WIDTH="90%" CELLSPACING=0 CELLPADDING=0 ALIGN=CENTER><TR><TD>Quote, originally posted by ILcrxsi1 »</TD></TR><TR><TD CLASS="quote">autoworks made my charge pipes and supplied my intercooler. good stuff </TD></TR></TABLE> glad you like it.Keep the Builds going
Junior Member
Joined: Jun 2006
Posts: 665
Likes: 0
From: somewhere in WA
<TABLE WIDTH="90%" CELLSPACING=0 CELLPADDING=0 ALIGN=CENTER><TR><TD>Quote, originally posted by Autoworks »</TD></TR><TR><TD CLASS="quote">If anyone here has a direct overhead shot of the stock crossmember/engine bay shot post it up </TD></TR></TABLE>
u mean of just the crossmember? which one. theres 2. i have pictures of the one under the firewall.
</TD></TR></TABLE>u mean of just the crossmember? which one. theres 2. i have pictures of the one under the firewall.
Honda-Tech Member
Joined: Jan 2004
Posts: 11,129
Likes: 36
From: GO AUTOWORKS DOT COM
<TABLE WIDTH="90%" CELLSPACING=0 CELLPADDING=0 ALIGN=CENTER><TR><TD>Quote, originally posted by iwantspeed »</TD></TR><TR><TD CLASS="quote">
u mean of just the crossmember? which one. theres 2. i have pictures of the one under the firewall. </TD></TR></TABLE>
Front one. Just need to gauge the clearance between the header/block and crossmember on the drivers side. I don't have a stock crossmember here at all (I think I've put an Innovative bar on every EF/CRX setup I've done)
u mean of just the crossmember? which one. theres 2. i have pictures of the one under the firewall.
</TD></TR></TABLE>Front one. Just need to gauge the clearance between the header/block and crossmember on the drivers side. I don't have a stock crossmember here at all (I think I've put an Innovative bar on every EF/CRX setup I've done)

Thread Starter
Honda-Tech Member
Joined: Mar 2006
Posts: 521
Likes: 0
From: Grand Junction, CO, USA
<TABLE WIDTH="90%" CELLSPACING=0 CELLPADDING=0 ALIGN=CENTER><TR><TD>Quote, originally posted by Autoworks »</TD></TR><TR><TD CLASS="quote">
Front one. Just need to gauge the clearance between the header/block and crossmember on the drivers side. I don't have a stock crossmember here at all (I think I've put an Innovative bar on every EF/CRX setup I've done)</TD></TR></TABLE>
Hey, I will snap one tomorrow and post it, if no one has by then.
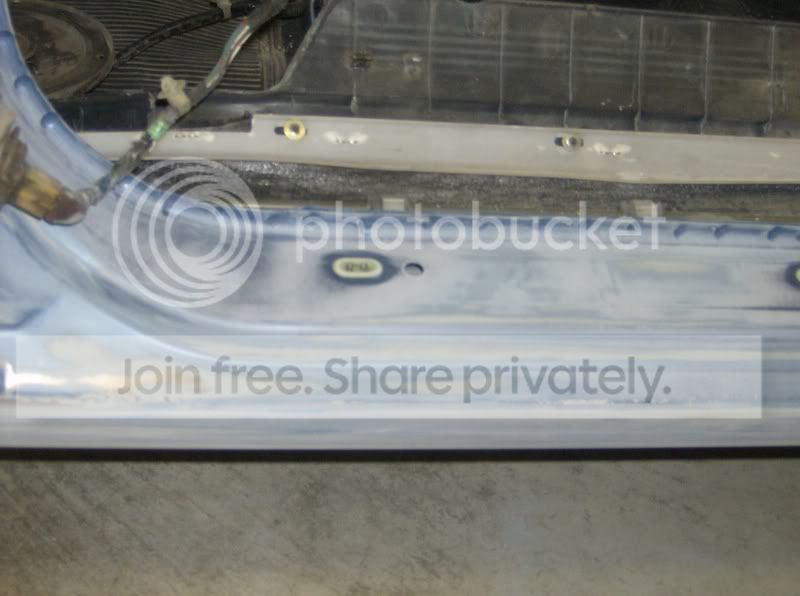
Thanks for everyone for looking! I sanded the hatch jam and the fender mounting areas last night. Probably won't be able to do anything else till sunday but then I will have all day! I will get the doors and hatch and under the hood ready for paint and then hopefully jam it by next thursday! We all know how plans go though!
Front one. Just need to gauge the clearance between the header/block and crossmember on the drivers side. I don't have a stock crossmember here at all (I think I've put an Innovative bar on every EF/CRX setup I've done)</TD></TR></TABLE>
Hey, I will snap one tomorrow and post it, if no one has by then.
Thanks for everyone for looking! I sanded the hatch jam and the fender mounting areas last night. Probably won't be able to do anything else till sunday but then I will have all day! I will get the doors and hatch and under the hood ready for paint and then hopefully jam it by next thursday! We all know how plans go though!
Thread Starter
Honda-Tech Member
Joined: Mar 2006
Posts: 521
Likes: 0
From: Grand Junction, CO, USA
<TABLE WIDTH="90%" CELLSPACING=0 CELLPADDING=0 ALIGN=CENTER><TR><TD>Quote, originally posted by 90sedan »</TD></TR><TR><TD CLASS="quote">Looking Good!
Subscribed</TD></TR></TABLE>
Hey thanks for the encouragement!
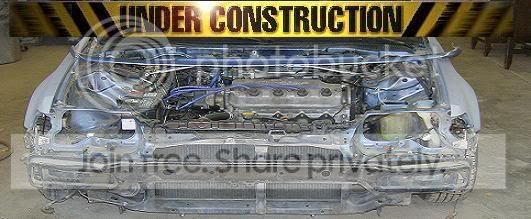
Greg here are the pics I promised. I hope they are what you need. They were the best I could get.

Let me know if you need something better.
Subscribed
</TD></TR></TABLE>Hey thanks for the encouragement!
Greg here are the pics I promised. I hope they are what you need. They were the best I could get.
Let me know if you need something better.
Thread Starter
Honda-Tech Member
Joined: Mar 2006
Posts: 521
Likes: 0
From: Grand Junction, CO, USA
<TABLE WIDTH="90%" CELLSPACING=0 CELLPADDING=0 ALIGN=CENTER><TR><TD>Quote, originally posted by Autoworks »</TD></TR><TR><TD CLASS="quote">pics
Alot of fab work going into the kit </TD></TR></TABLE>
That my friend is why you KICK ***!
Alot of fab work going into the kit
</TD></TR></TABLE>That my friend is why you KICK ***!