

My friend's 90 Accord Swap


Thread Starter
Honda-Tech Member
Joined: Feb 2005
Posts: 4,038
Likes: 3
From: Kitchener, On, Canada
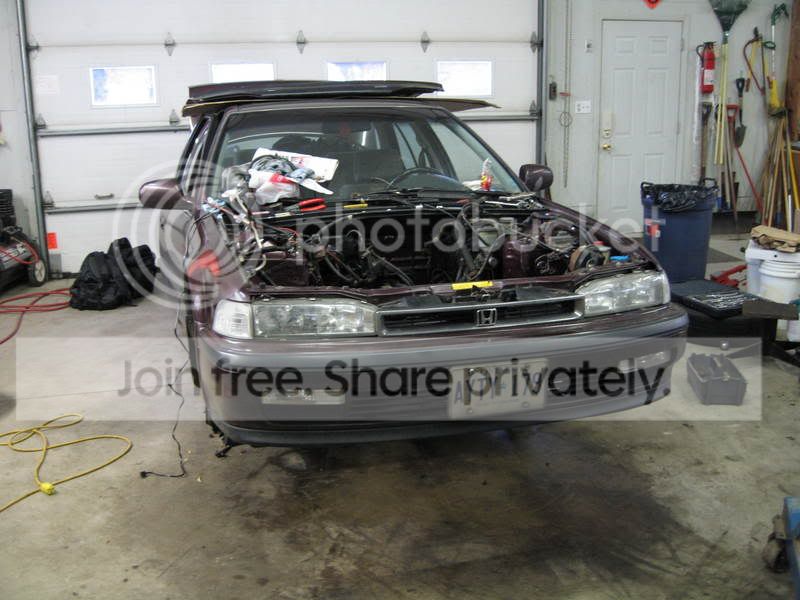
So at the beggining of last summer, my friend bought a pretty nice 1990 Honda Accord EX-R (Canadian EX Model) and it was in great shape physically and mechanically. Thing is, it had 385 000kms on it! It was already on it's second engine and by the sound of it it needed a good bit of work to run, smooth again, like timing belt, injectors, some new gaskets and a good cleaning. During the summer, he saw my complete my civic project, and the B16 swap that I did after I got her running nice again. By late summer/early fall, he ran into some spare money. His motor was getting more and more rough with time, needing a bit of work and tune up parts and was getting to the point of a T-Belt replacement before the winter. I then convinced him buy some goodies for his car, and a list was made to make it happen to what he wanted.
We looked at everything, then chose what the budget could give us, a swap. We searched around and picked up a full front clip minus all the body panels/frame for under 2500$ (suspension, brakes, subframes, all power steering, some brake lines and full engine, tranny, ecu and wiring). After some parts to make it run nicer and going thru our list of available upgrades, we got to it.
The list of parts:
-JDM H22A OBD1 front clip minus body panels
-All new fluids
-Crazy lube for 400000km old bolts lol
-New rad
-Hondata Intake Manifold Gaskets
-Full tune up
-Fidanza 8lbs flywheel
-Exedy Clutch 'Stage 1, OEM replacement'
-Ebay intake
-Ect.
First thing was first, we made a very detailed order list and it was used to a T to plan it all out, that is the true part of a clean swap, we had all the parts and tools to tackle anything and we crunched the swap to give us an awesome buffer zone for mistakes and unknown problem, like a dead thermostat that we encountered!
Well, I won't bore everyone with info, I'm gonna post the pics!
The start of the swap was at 8:00pm Friday night.
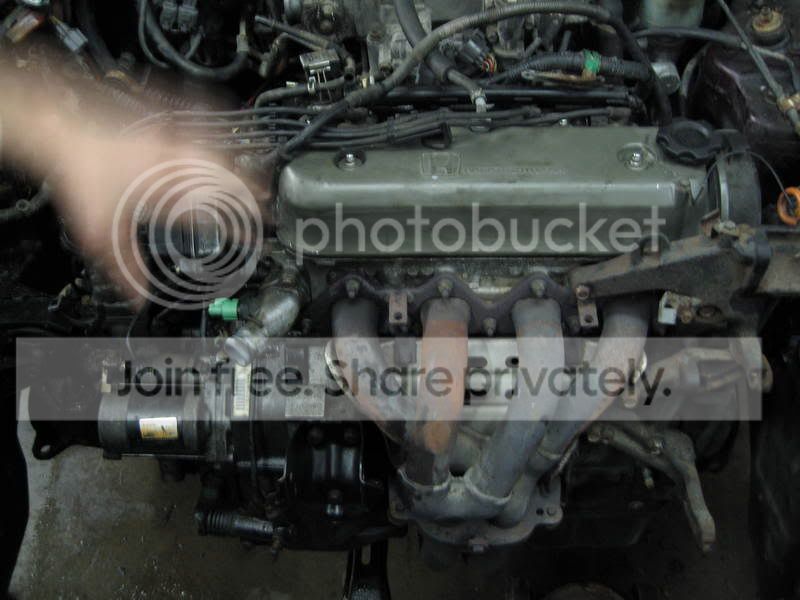
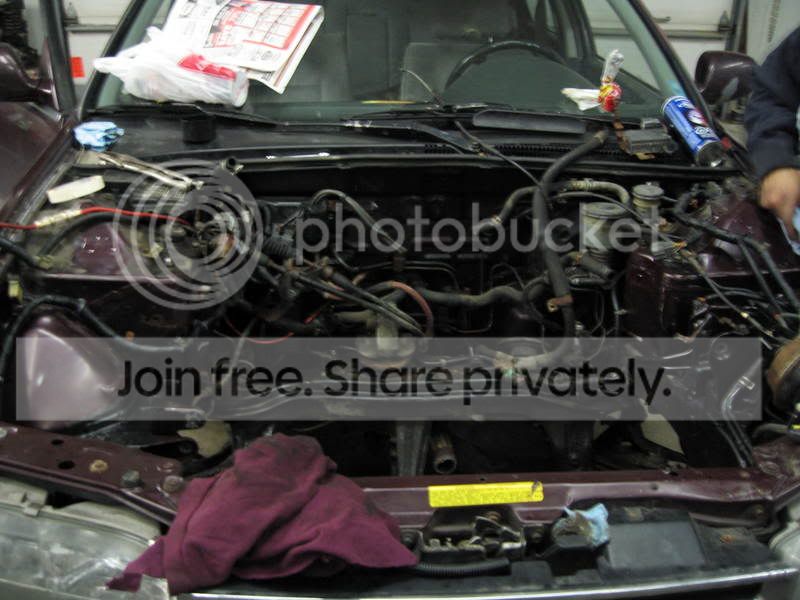
Here is one with the F22 still in, at this point, minor under the hood things are removed and we are remocing the driveshafts. Having 1 man for the driveshafts and the other for the engine disassembly was key to a fast pace:
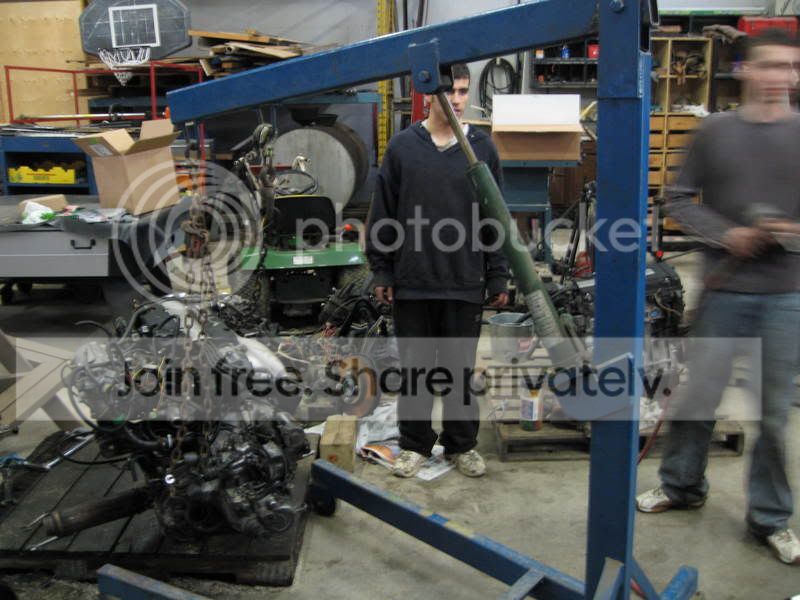
At this point we have the F22 ready for it's removal:
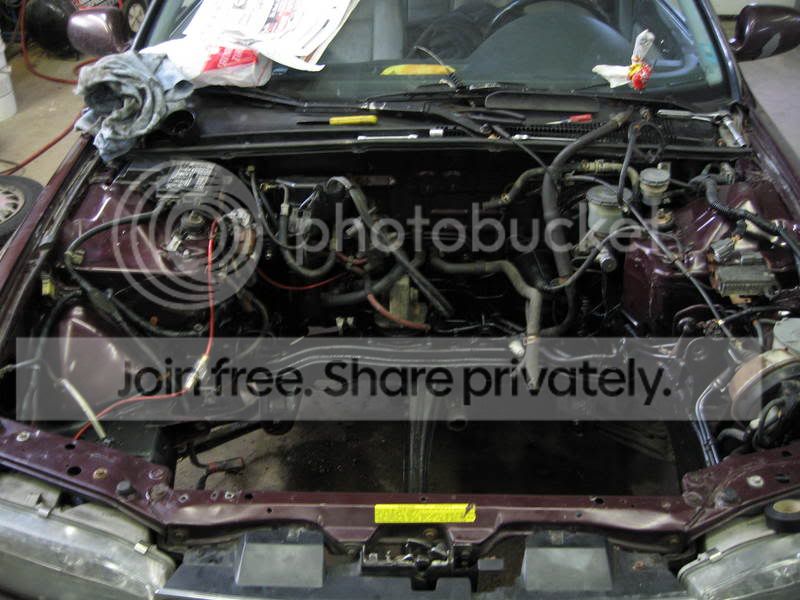
Here it is removed, by this time it was 12:00am on Saturday:
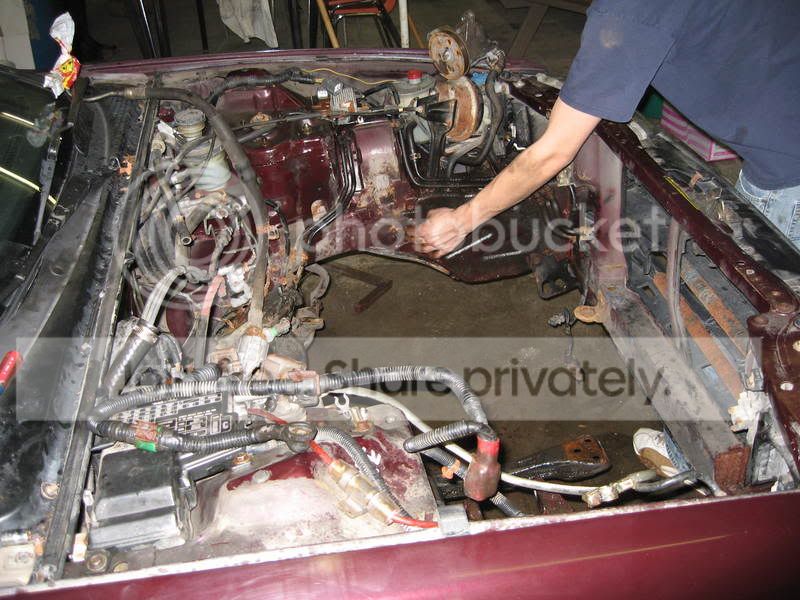
Now time for the team to split off. The owner of the car got started on the engine bay, greatly detailing and prepping the car for the new engine. The exhaust, minor rust removal and some general TLC was done for a couple of hours:
The first clean:
The secondary clean:
The final product:
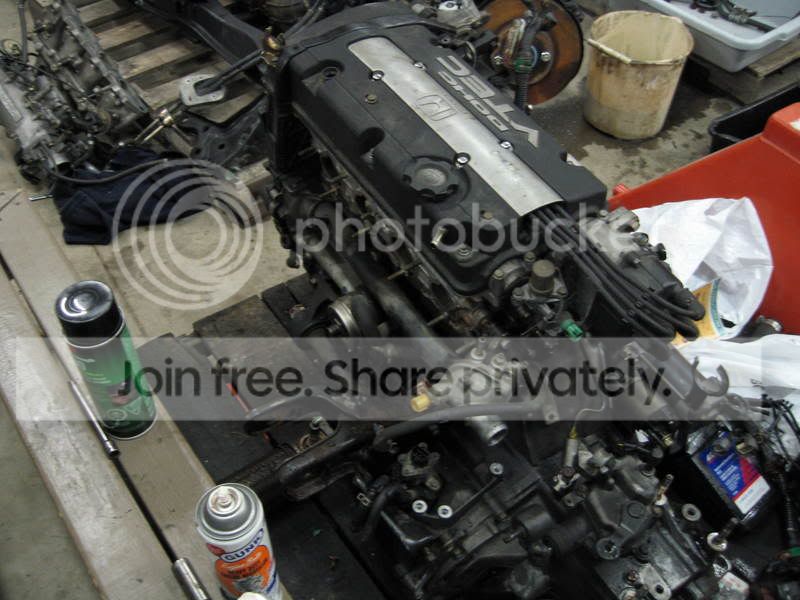
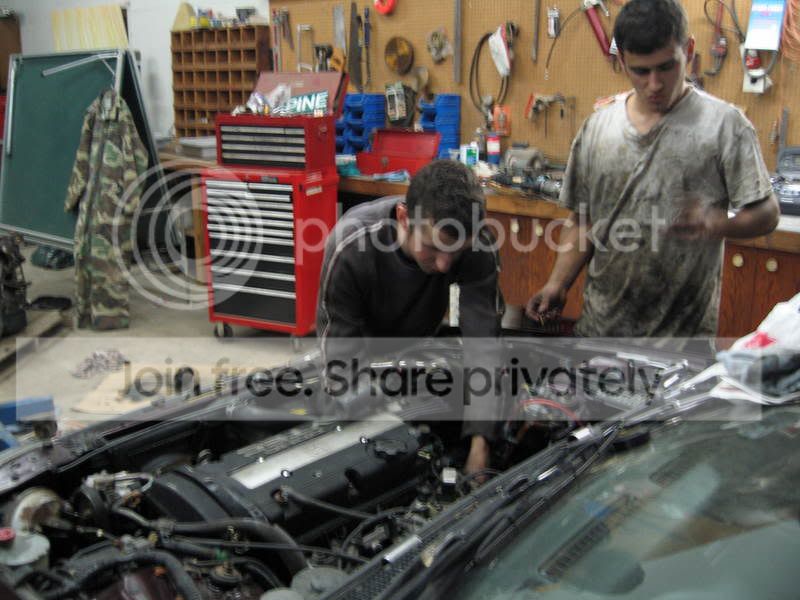
And at the same time, I was working on the engine. Prepping the H22 with mostly F22 wiring and added seperate VTEC sub-harness for the bay and car. We also threw on the IM gasket and the clutch/flywheel combo. I also cleaned the transmission and the engine a bit to give it a fresh look. We also replaced the JDM fuel rail with it's USDM counterpart. We also removed mounts from the F22 and used them on the H22. We did a huge chunk of work in this period of time from 12:00am (begining of the prepping for the new engine to the end of the prepping at around 2pm that day). Remember, we never went to bed at all for the entire length of the swap, we pulled almost 2 all nighters doing the swap after a long focussing day at school lol:
Prepping for the IM Manifold:
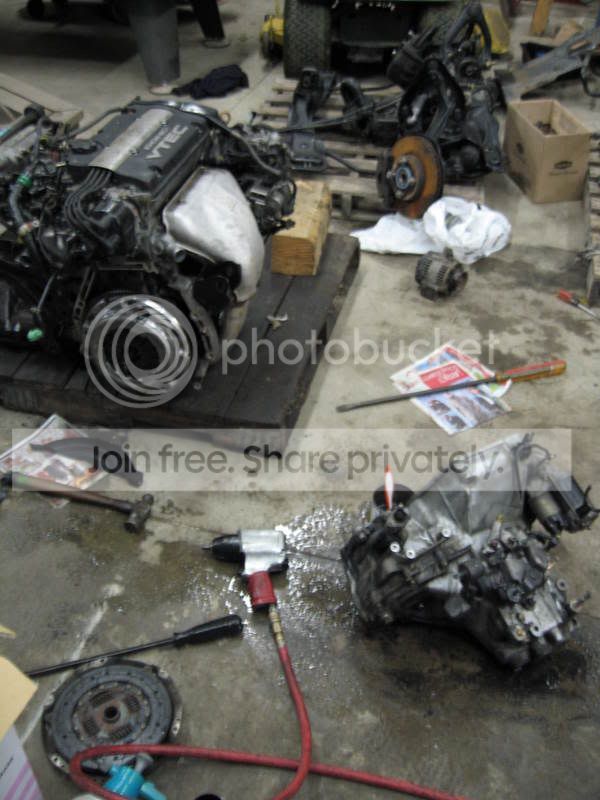
The clutch and the cleaning of transmission:
She's ready to go in now:
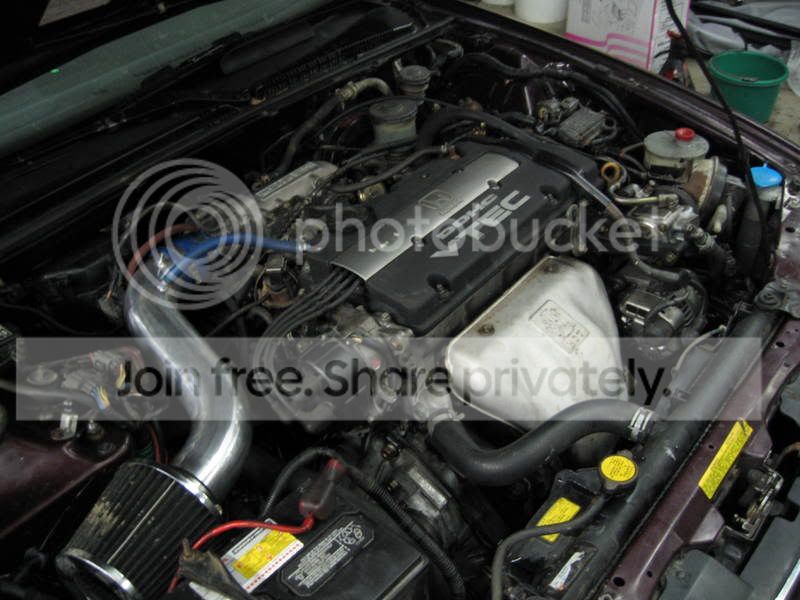
The engine bay:
The engine:
This is where all the preparation came in handy. This is where figuring out mounts, driveshaft, shiftlinkage, wiring, parts needed/torque specs and everything else came handy. At this point, it should be a 'bolt on' setup. We came into some issues with the mounts. The H22 tranny have different mounts for the passenger end support. We had to actually throw a tap into those casted holes to make it happen. We also had to pull 2 tranny mount studs to make the mount fit, and since we had to pull 2 studs and add 2 holes we litterally put 2 and 2 togeter lol. It worked out great for us. We had already came up with a plan and made it clear with all in how to put the engine in and what pattern to do stuff and it worked off like a charm. Here are the pics of the installation/rebuild.
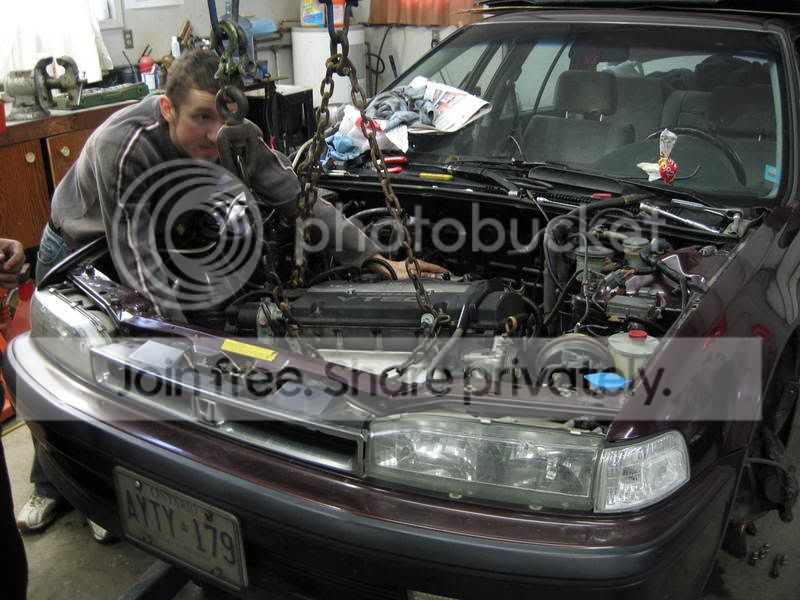
Us thowing it in. As you can see, we are going from the top but had to drop her nice and low to clear the frame. We decided to remove the rad to make room so we used that room to swing the engine in at an angle, tranny thru the fron of the tower and we tucked her under the frame and lifted her up into place:
This is where she was at the lowest point of the installation:
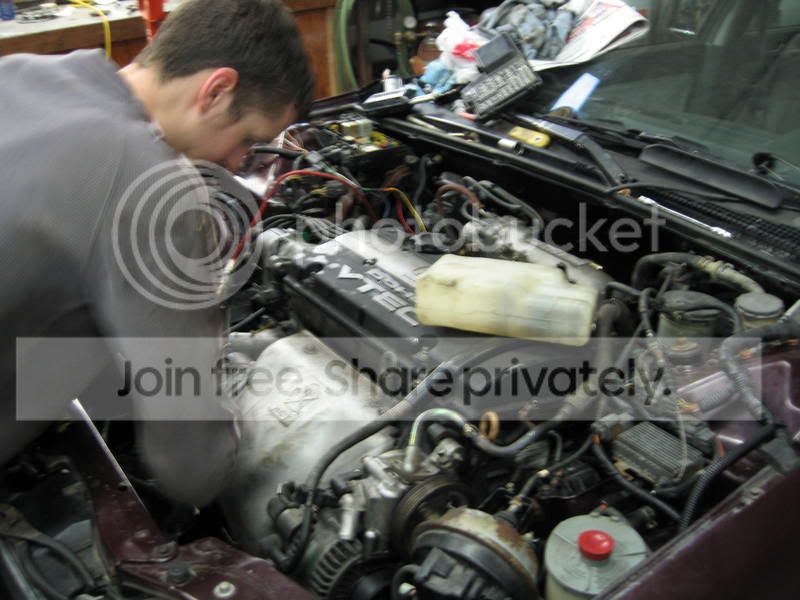
She's in, it is now 4pm Satuday afternoon:
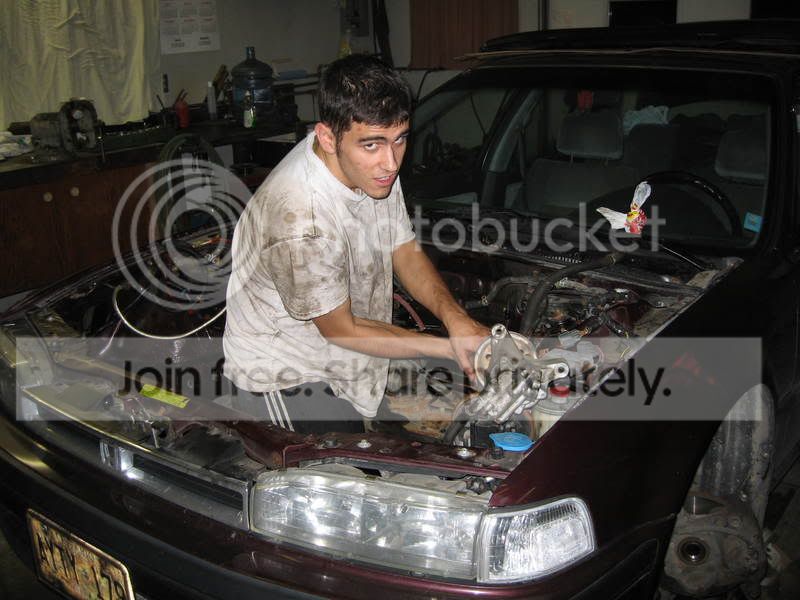
Time to get her hooked up. Some brazing had to be done to make the power steering work. Waiting around for brazing plus a 1 hour long break was taking to eat a nice spaghetti meal, made by our cameraman/shop owner/tool man haha/cook I guess slowed the process alot, it was now 6pm after the brazing point:
We started peicing her back togeter now
She's ready to fire up, It was now 8pm:
Took 4 cranks for the start right up and run like a champ! We got insided running it open headers, bleeding the coolant/clutch and everything else. We had a good time at this point and took her for her madden flight with no hood haha:
This is the point some start up problems arose. One, a coolant leak. We found that there was a crack/cut in one of our heater core lines, an easy fix! The other problem was a cracked o-ring for an injector. Funny thing is, I took my prelude fuel rail for him and I had left a spare o-ring in there, so we used that one. The thermostat was also not working right and for his own safety we replaced it! We thought we we're done, we had decided to go home. But first, we had some fun and sat down, shot the **** and enjoyed the view of the swap, the official swap end time was 12:00am on Sunday.
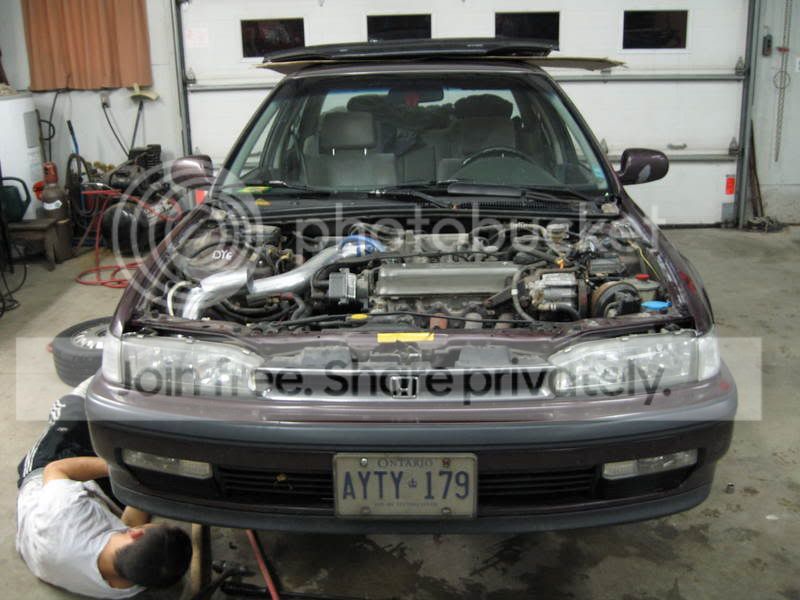
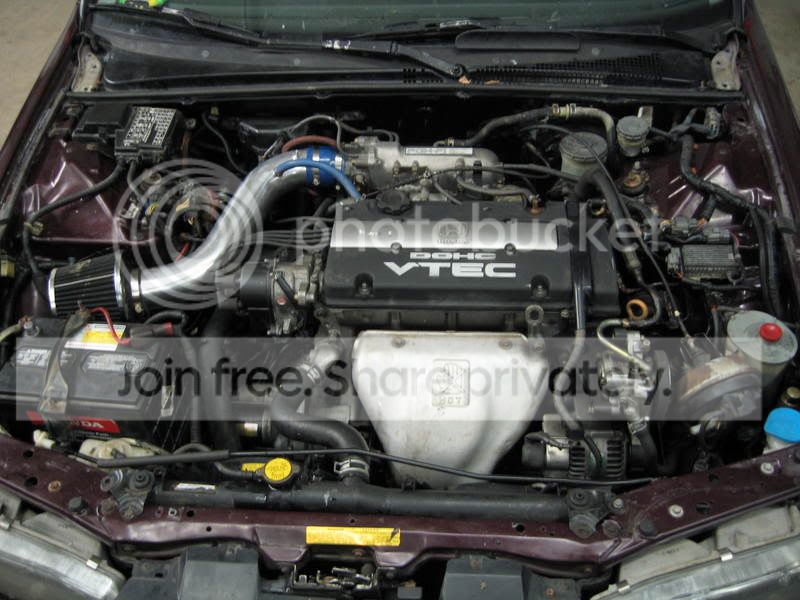
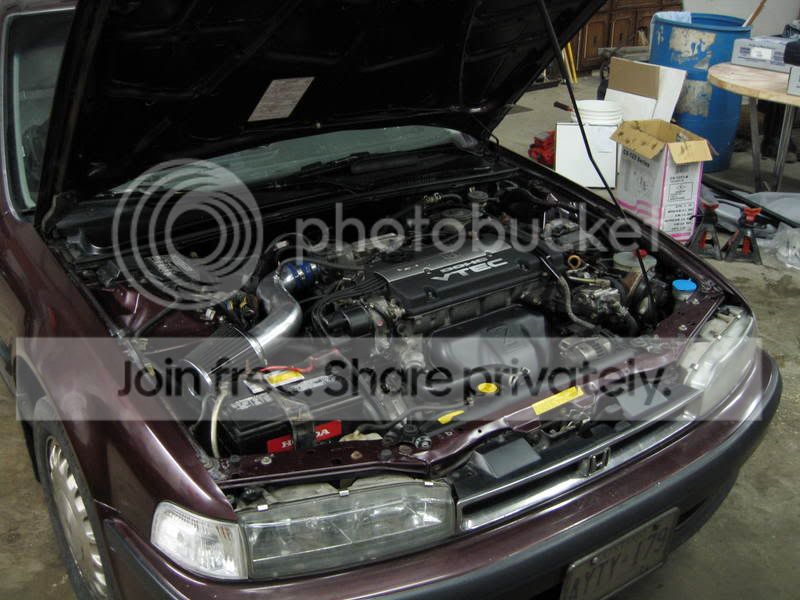
Finished product:

And again:
Right before we left we found another leak, the rad. Another easy, but expensive leak. I guess after 396000kms of driving the matter of removing it and reinstalling it cracked it. We replace it on sunday day. We also had some time to kill on sunday. We started to detail some of the stuff and cleaned her up a bit. I guess after a 28 hour straight swap we had enough time left over out of our busy school schedule to clean her up, and we did:
After 4 hours of cleaning and prepping and what not, the official, 100% finished product:
Finished product 1, plain right?:
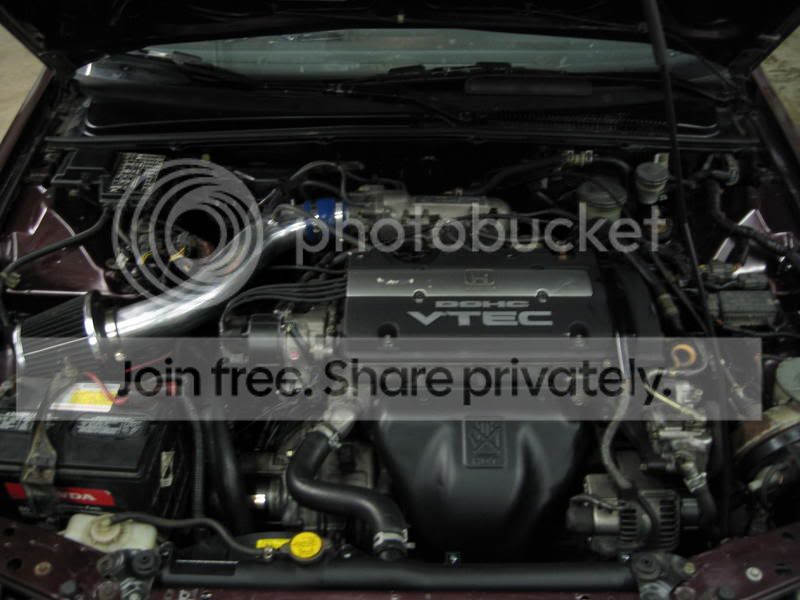
Finished product 2, how about a flash to see the shinnyness that we made:

Finished product 3, my favorite one of them all:
Overall I am very proud of this swap. It's very clean on a very clean platform. The car is in incredible shape for it's year and mileage, having zero visible rust on the body (wheel arch is gonna go by the end of the winter, so the spring project is a paint job). The car physically is 100% stock, done to the stock suspension and ride height, stock 90 EXR wheels, stock exhaust and non-tinted windows. This is by far the best sleeper I've even seen. I am proud to say that 2 other guys and myself did this swap in 28 hours lol. Hope you enjoyed the read.
We looked at everything, then chose what the budget could give us, a swap. We searched around and picked up a full front clip minus all the body panels/frame for under 2500$ (suspension, brakes, subframes, all power steering, some brake lines and full engine, tranny, ecu and wiring). After some parts to make it run nicer and going thru our list of available upgrades, we got to it.
The list of parts:
-JDM H22A OBD1 front clip minus body panels
-All new fluids
-Crazy lube for 400000km old bolts lol
-New rad
-Hondata Intake Manifold Gaskets
-Full tune up
-Fidanza 8lbs flywheel
-Exedy Clutch 'Stage 1, OEM replacement'
-Ebay intake
-Ect.
First thing was first, we made a very detailed order list and it was used to a T to plan it all out, that is the true part of a clean swap, we had all the parts and tools to tackle anything and we crunched the swap to give us an awesome buffer zone for mistakes and unknown problem, like a dead thermostat that we encountered!
Well, I won't bore everyone with info, I'm gonna post the pics!
The start of the swap was at 8:00pm Friday night.
Here is one with the F22 still in, at this point, minor under the hood things are removed and we are remocing the driveshafts. Having 1 man for the driveshafts and the other for the engine disassembly was key to a fast pace:
At this point we have the F22 ready for it's removal:
Here it is removed, by this time it was 12:00am on Saturday:
Now time for the team to split off. The owner of the car got started on the engine bay, greatly detailing and prepping the car for the new engine. The exhaust, minor rust removal and some general TLC was done for a couple of hours:
The first clean:
The secondary clean:
The final product:
And at the same time, I was working on the engine. Prepping the H22 with mostly F22 wiring and added seperate VTEC sub-harness for the bay and car. We also threw on the IM gasket and the clutch/flywheel combo. I also cleaned the transmission and the engine a bit to give it a fresh look. We also replaced the JDM fuel rail with it's USDM counterpart. We also removed mounts from the F22 and used them on the H22. We did a huge chunk of work in this period of time from 12:00am (begining of the prepping for the new engine to the end of the prepping at around 2pm that day). Remember, we never went to bed at all for the entire length of the swap, we pulled almost 2 all nighters doing the swap after a long focussing day at school lol:
Prepping for the IM Manifold:
The clutch and the cleaning of transmission:
She's ready to go in now:
The engine bay:
The engine:
This is where all the preparation came in handy. This is where figuring out mounts, driveshaft, shiftlinkage, wiring, parts needed/torque specs and everything else came handy. At this point, it should be a 'bolt on' setup. We came into some issues with the mounts. The H22 tranny have different mounts for the passenger end support. We had to actually throw a tap into those casted holes to make it happen. We also had to pull 2 tranny mount studs to make the mount fit, and since we had to pull 2 studs and add 2 holes we litterally put 2 and 2 togeter lol. It worked out great for us. We had already came up with a plan and made it clear with all in how to put the engine in and what pattern to do stuff and it worked off like a charm. Here are the pics of the installation/rebuild.
Us thowing it in. As you can see, we are going from the top but had to drop her nice and low to clear the frame. We decided to remove the rad to make room so we used that room to swing the engine in at an angle, tranny thru the fron of the tower and we tucked her under the frame and lifted her up into place:
This is where she was at the lowest point of the installation:
She's in, it is now 4pm Satuday afternoon:
Time to get her hooked up. Some brazing had to be done to make the power steering work. Waiting around for brazing plus a 1 hour long break was taking to eat a nice spaghetti meal, made by our cameraman/shop owner/tool man haha/cook I guess slowed the process alot, it was now 6pm after the brazing point:
We started peicing her back togeter now
She's ready to fire up, It was now 8pm:
Took 4 cranks for the start right up and run like a champ! We got insided running it open headers, bleeding the coolant/clutch and everything else. We had a good time at this point and took her for her madden flight with no hood haha:
This is the point some start up problems arose. One, a coolant leak. We found that there was a crack/cut in one of our heater core lines, an easy fix! The other problem was a cracked o-ring for an injector. Funny thing is, I took my prelude fuel rail for him and I had left a spare o-ring in there, so we used that one. The thermostat was also not working right and for his own safety we replaced it! We thought we we're done, we had decided to go home. But first, we had some fun and sat down, shot the **** and enjoyed the view of the swap, the official swap end time was 12:00am on Sunday.
Finished product:
And again:
Right before we left we found another leak, the rad. Another easy, but expensive leak. I guess after 396000kms of driving the matter of removing it and reinstalling it cracked it. We replace it on sunday day. We also had some time to kill on sunday. We started to detail some of the stuff and cleaned her up a bit. I guess after a 28 hour straight swap we had enough time left over out of our busy school schedule to clean her up, and we did:
After 4 hours of cleaning and prepping and what not, the official, 100% finished product:
Finished product 1, plain right?:
Finished product 2, how about a flash to see the shinnyness that we made:
Finished product 3, my favorite one of them all:
Overall I am very proud of this swap. It's very clean on a very clean platform. The car is in incredible shape for it's year and mileage, having zero visible rust on the body (wheel arch is gonna go by the end of the winter, so the spring project is a paint job). The car physically is 100% stock, done to the stock suspension and ride height, stock 90 EXR wheels, stock exhaust and non-tinted windows. This is by far the best sleeper I've even seen. I am proud to say that 2 other guys and myself did this swap in 28 hours lol. Hope you enjoyed the read.

Trending Topics
Honda-Tech Member

Joined: Nov 2003
Posts: 604
Likes: 0
From: 714/949, SoCal
<TABLE WIDTH="90%" CELLSPACING=0 CELLPADDING=0 ALIGN=CENTER><TR><TD>Quote, originally posted by iam7head »</TD></TR><TR><TD CLASS="quote">damn, the size of the garage is something worth killing for in california  </TD></TR></TABLE>
ditto!
very nice build. it took me two weeks for mine . but it prolly equated to about 40hrs of work. it's due to having a 9-5 job and one weekend. again very good work!
what ECU are you running?
</TD></TR></TABLE>ditto!
very nice build. it took me two weeks for mine
. but it prolly equated to about 40hrs of work. it's due to having a 9-5 job and one weekend. again very good work!what ECU are you running?


Thread
Thread Starter
Forum
Replies
Last Post
mantishi
Honda Accord (1990 - 2002)
6
Jan 16, 2007 04:16 PM