

DIY: 94-97 Tail Lights=>98-01 Tail Lights :o() Save All Your Money For Engine Mods

Thread Starter
Honda-Tech Member


Joined: Feb 2005
Posts: 6,289
Likes: 0
From: Wii
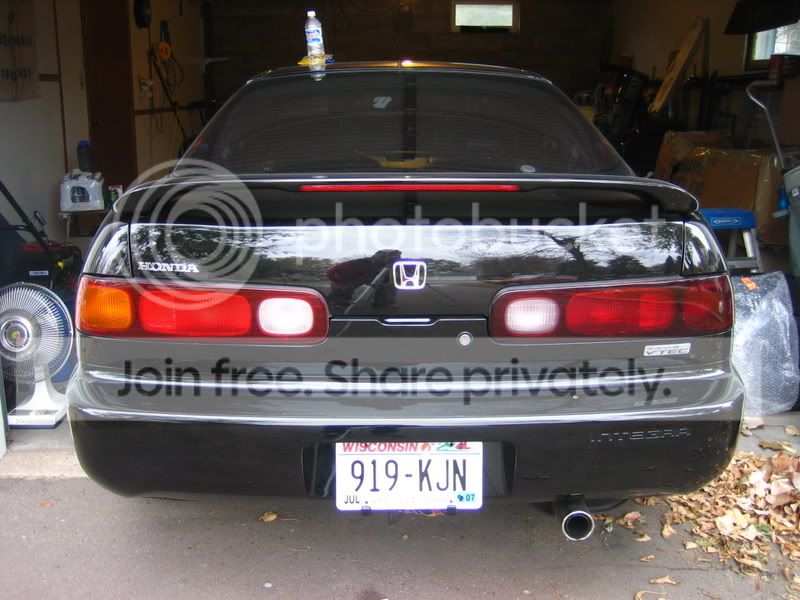
I have just changed my 94-97 Intera red with amber turn signal tail lights__ Into 98-01 Integra tail lighs= RED WITH RED TURN SIGNAL.
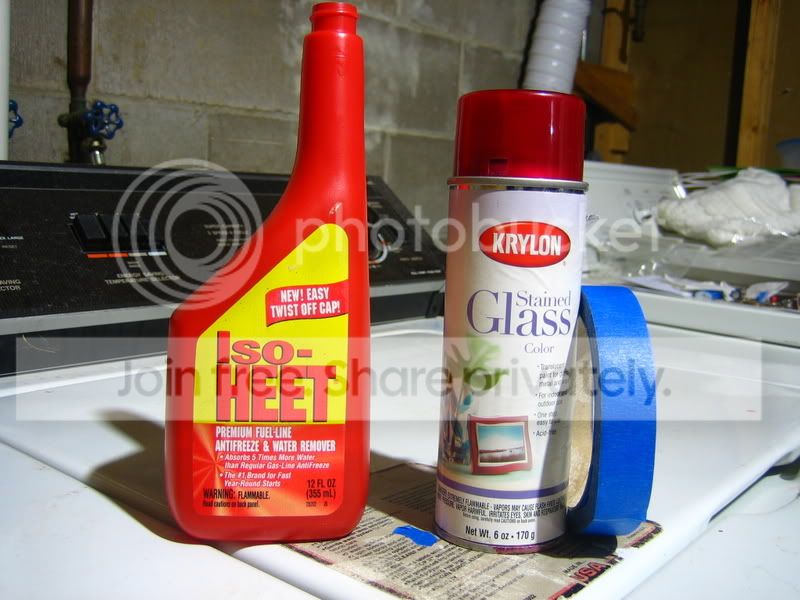
Materials Needed Include:
1) One Can Red Krylon Stain Glass Paint
2) One Can Clear Coat
3) One Bottle Of Rubbing Alchole
4) One Role Of Blue Painters Tape
5) One Bottle of Mineral Spirits (In case you screw somthing up clean up is a lot easier with this product)
6) Couple of clean rags to wipe lights down with the rubbing alchohol
7) 1000 and 1500 grit sand paper
8) Polishing compound of your choice (will need this after wet sanding to make it nice and shinny)
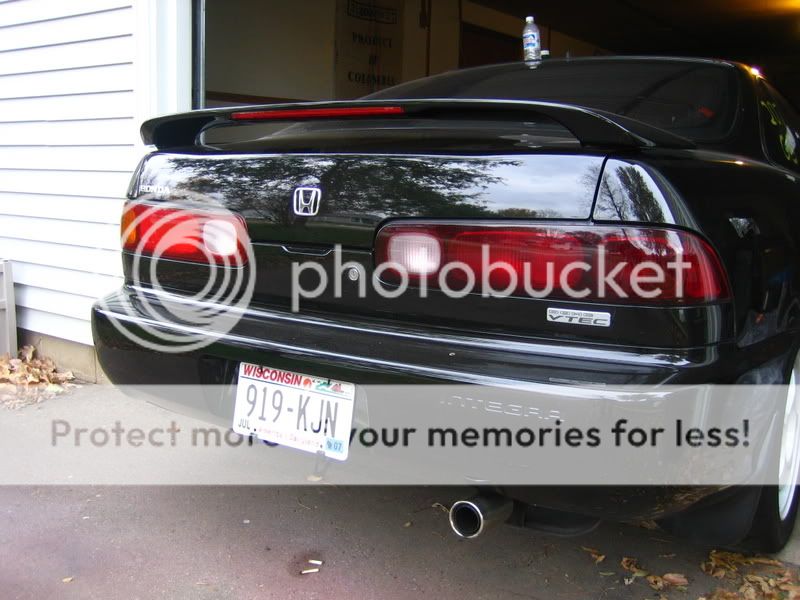
VERDICT.. They turned out a little darker than I thought, but that is fine with me because I wanted to tint them anyways. After sanding and polishing they look OEM.
This is the process I used, there may be better ways to go about it. So feel free to give your tips or advice.
1) Gave the lenses a light sanding with 1500 grit to get off any stuck on dirt.
2) Wiped them down with the "Heat"
3) Taped off the reverse light
4) Wiped them down again with the "Heat"
5) Make sure they were free of any dust
6) Spray 2-3 coats (more if you want it darker) of Krylon Red Stained Glass Paint
7) Let it get almost dry, remove tape from reverse light and spray clear coat over entire lense. I sprayed 3-4 coats to make sure I had enough there to sand down.
8) Let the clear coat dry for a day or two and then start sanding
9) I started WET SANDING with 1000 (no sanding block needed, best to hold the sand paper in your hand because of the contour of the lense)
10) Make sure you wash the lense off multiple times to make sure no large paritcals are scratching anything
11) Dry off the lense and make sure the clear coat is nice and smooth with no orange peel.
12) Finish up with 1500 grit (wetsand)
13) BUFF THE **** OUT OF THE LENSE
14) Wax, install done
Modified by jonshonda at 6:13 PM 10/19/2006
Materials Needed Include:
1) One Can Red Krylon Stain Glass Paint
2) One Can Clear Coat
3) One Bottle Of Rubbing Alchole
4) One Role Of Blue Painters Tape
5) One Bottle of Mineral Spirits (In case you screw somthing up clean up is a lot easier with this product)
6) Couple of clean rags to wipe lights down with the rubbing alchohol
7) 1000 and 1500 grit sand paper
8) Polishing compound of your choice (will need this after wet sanding to make it nice and shinny)
VERDICT.. They turned out a little darker than I thought, but that is fine with me because I wanted to tint them anyways. After sanding and polishing they look OEM.
This is the process I used, there may be better ways to go about it. So feel free to give your tips or advice.
1) Gave the lenses a light sanding with 1500 grit to get off any stuck on dirt.
2) Wiped them down with the "Heat"
3) Taped off the reverse light
4) Wiped them down again with the "Heat"
5) Make sure they were free of any dust
6) Spray 2-3 coats (more if you want it darker) of Krylon Red Stained Glass Paint
7) Let it get almost dry, remove tape from reverse light and spray clear coat over entire lense. I sprayed 3-4 coats to make sure I had enough there to sand down.
8) Let the clear coat dry for a day or two and then start sanding
9) I started WET SANDING with 1000 (no sanding block needed, best to hold the sand paper in your hand because of the contour of the lense)
10) Make sure you wash the lense off multiple times to make sure no large paritcals are scratching anything
11) Dry off the lense and make sure the clear coat is nice and smooth with no orange peel.
12) Finish up with 1500 grit (wetsand)
13) BUFF THE **** OUT OF THE LENSE
14) Wax, install done
Modified by jonshonda at 6:13 PM 10/19/2006


Thread
Thread Starter
Forum
Replies
Last Post
BlueIntegraBoy
For Sale
46
Nov 16, 2008 02:34 PM
jonshonda
Acura Integra
59
Oct 23, 2008 07:23 PM
iH8RICERZ
For Sale
4
Jan 6, 2003 06:51 PM