When you click on links to various merchants on this site and make a purchase, this can result in this site earning a commission. Affiliate programs and affiliations include, but are not limited to, the eBay Partner Network.
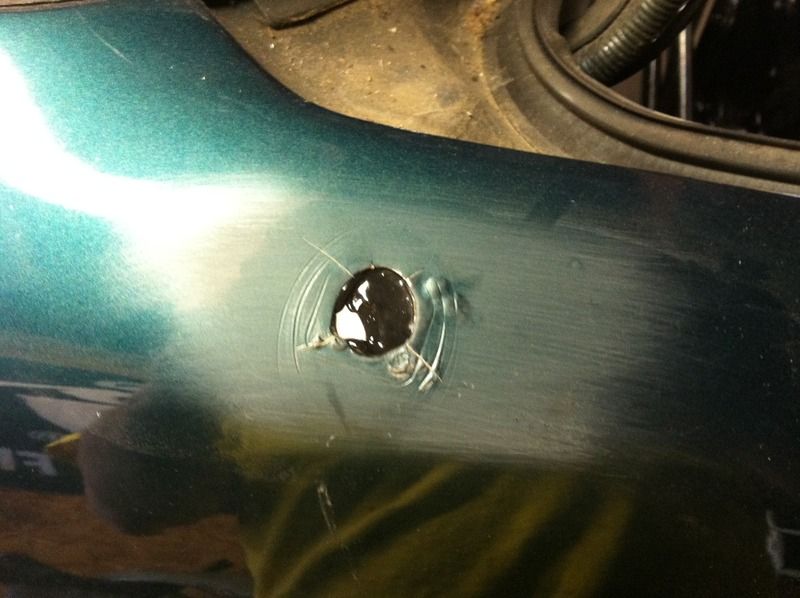
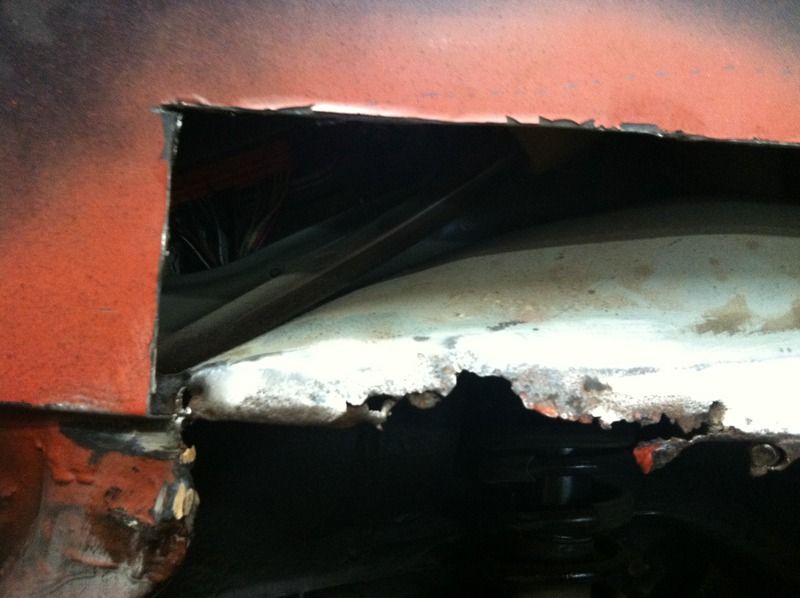
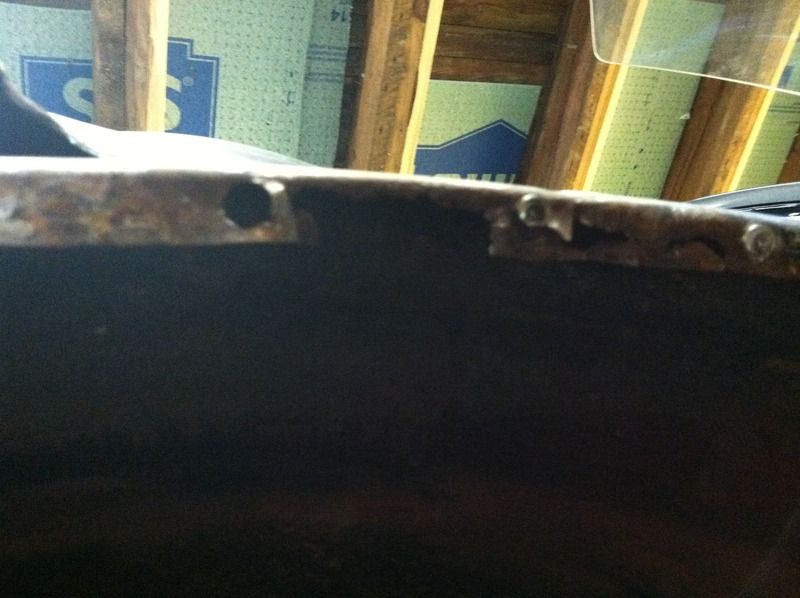
I was going back through my pics last night and started looking at this one pic, tell me if i'm crazy. Could this, residue or whatever it is, be at least partially caused from a leak from this plug i have circled? i would assume it would be a coolant leak and not an oil leak, but i could be wrong
should i just remove this plug and put some sealant or whatever on the threads and re-torque it back in the block to spec?
Personally, I haven't had that plug leak on an engine before. The black gunk looks like accumulated oil from a leak starting above it that's been cooked over time. Not sure a leak of any sort originated from there. If coolant was leaking from that plug, I would think cleaner metal be exposed and the surface would feel slippery to touch. Were you losing coolant prior to tearing down your car?
You could remove the plug and spread sealant on the threads before tightening it back on. I just dont know how easy that plug would be to remove with the miles on that block and the cold temperatures outside. I dont usually remove block plugs unless it's necessary to complete a repair or upgrade.
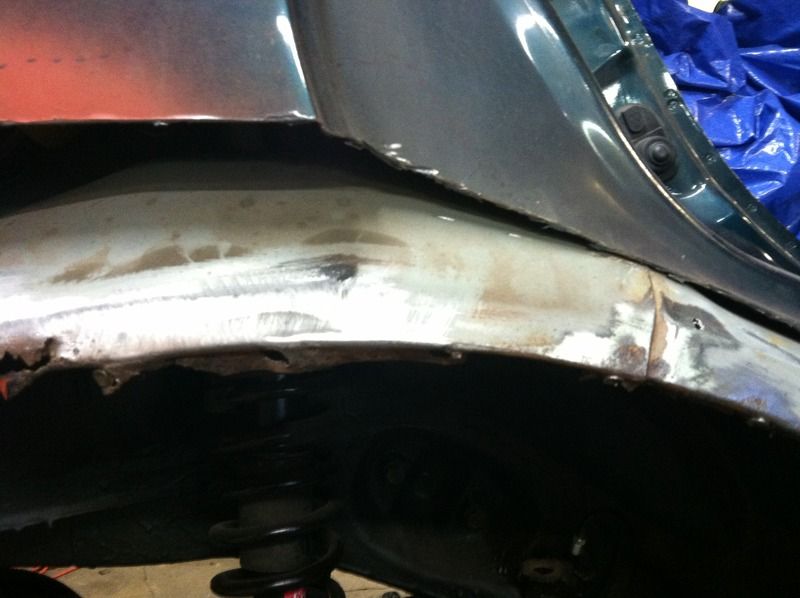
when i bought the car back, i only drove it from the previous owners house to my house. then i would start it a few times a week, but the only coolant leak i noticed was from a bad hose on the back of the intake manifold. however...now that i am typing this and remembering, if coolant was leaking in that area and leaking all over the transmission, i wonder if some of that is coolant mixing with the oil in that area.
either way, i'll clean up that area with some brake clean and see if i see anything that looks like it could be leaking.
I got a lot accomplished this weekend. the machine shop was closed so i was unable to drop off the flywheel, i got most of the mess cleaned up in the tranny, and i am def missing a box of parts somewhere in my house lol. i could not locate my axle seals anywhere. i know i bought them, just have to track them down.
so here is what i did get done:
ITR cooler = in!
i'm a little worried about this top hose, does it look like it is kinked too much? i'd much rather address this now and avoid a possible leak when the car is all put back together.
got the evap canister all hooked back up to the appropriate fuel lines
next, the LMAs. Thank God there are DIY's and how-to's for this already created by other people
a little extra factor of safety
sharpied a line on the distributor to help line it all back up. not shown, i did the same thing with the t belt and the cam gears.
science of speed replacements
i got the old ones out and the new ones in before i ran out of time. just need to mostly reassemble, then tackle the t-belt replacement and water pump replacement along with some other seals.
organization is key!!!
i started soaking some bolts in that evaporust...man is that stuff nice! it works real well. and my last pic, i obtained another part:
looking forward to getting some real work done this week and upcoming weekend. just need to find my missing bag o parts.....
i got more work done last weekend, nothing really worth mentioning, i realized i didnt update this lol. i placed another order with acura. i dropped my oil pan last night to get ready to replace the oil pan gasket, install a stud kit from myhondahabit, and install the main and real oil seals. when i dropped the pan, to my surprise the oil pickup/strainer was crushed. not sure how...i dont see any damage on the pan itself. so ordered a new one of those and a new gasket. hopefully i can finish up the seals, pan gasket, and water pump and timing belt this weekend.
also found out my crank pulley was trashed, so i have a new to me one of those on the way as well.
hey i messed up my heater core pipes too so i could get at the rear engine mount. i opened them a bit with a screw driver then
found a big extractor and just screwed it in there and back out. it worked great and was pretty quick and easy! a nice surprise for once lol. i think getting the clamps on the very edge helped a bit as well...doing the rear mount was hell on earth. 8(
i still need to make some adjustments on the timing belt before i close up that end of the motor. it seems like there is a little too much play in the belt.
i mainly wanted to show how awesome this evaporust stuff is. check out these pictures. these first few pics are of the new to me crank pulley when i got it.
and here it is after soaking in evaporust for a day.
hopefully someday i'll provide an exciting update...
got the oil pan on with the new stud kit all torq'd to spec, put the flywheel on and tried to torq it to spec. i set up the torq wrench but i never got to the point where it clicked. i used a pry bar to try and hold the flywheel still while i torq'd but i got to a point where it wouldn't tighten anymore. is there any other way i should be trying to torq this thing down?
same goes for the crank pulley, put a brand new bolt in and the manual says to torq to 140, back it out and then torq to 130. using the crank pulley tool on a large breaker bar, and my 1/2" torq wrench i was not able to get it to the 140 or the 130. i was starting to get some deflectiong in the breaker bar. tight enough? or should i worry about really getting in to spec?
hopefully tonight or tomorrow after work i'll get the clutch installed, then if i have time before the weekend i'll try and get the tranny back in. i wanted to get the tranny back in before i mess with the final tension adjustments on the timing belt in case i need to lower that driver's side mount again. that way i won't have to play balancing act with the motor connected to one mount and resting on jackstands lol
updates! i got the flywheel and crank pulley torq'd as they should. now time for some hilarity/stupidity on my part. i grab my clutch kit and clean the surface of the flywheel and get everything ready. i use my alignment tool and set the clutch disc on and i push the clutch disc in place. then i notice, something isn't lining up correctly. took everything off and realigned and the clutch disc itself was setting on the pins the pressure plate lines up with. at this point, i'm goin WTF??? so i start researching and second guessing how i'm going about assembling the clutch. after not finding any conclusive answers i go to my garbage pile where the old disc and pressure plate are and i grab them to compare to the new replacement. instantly, something is wrong. the replacement is like twice the size. so now i'm thinking AWESOME....i got shipped the wrong part. then it hit me....i'm an idiot. i'm trying to install the clutch for my Tacoma on the integra....now that i've wasted an hour i go back in the house and get the correct kit and feel stupid lol.
so my goal was to get the clutch all done and get the transmission back in the car. that didnt happen. for whatever reason, my torque wrench decided not to click off and i snapped off a pressure plate bolt in the flywheel. so i have a new one of those on order. i think next pay day, i'm going to invest in a decent torq wrench. i have so many issues with these cheapos (no sh*t right??). it's my own fault.
i got the timing belt fixed up too. i followed the manual's method of tightening the tensioner bolt after lining up the cam gears per the manual, but it just wasnt getting tight enough. so i used a pry bar and put a little more tension on the timing belt and that did the trick. no more excessive slack in the belt in any of the rotations. so i'm calling that good.
got the new motor mount installed, torq mount installed, put some oil in the motor, and did a valve lash adjustment. i also installed the new fuel meter, pump, and new to me pump bracket that doesnt have the rusted and corroded fuel line connections. i think that's about all i did this weekend. just gotta wait for my new parts to arrive.
oh no wait, i tried to install the throw out bearing in the clutch while i had some time. (yes i tried to install the integra one, not the one for the tacoma.) anyways, i squeezed the spring clip together to release the fork and the clip broke in two. sure....why not.... at this point, i called it quits for the weekend lol.
and my checklist is getting much shorter. this dry erase board was basically full from one side to the other. and most of these items dont take much work, just replacement parts. some light at the end of the tunnel!
i think i would have got more done this weekend if it were not for 2 things. spending over 2 hours working on my brother in law's wrx, and still waiting for parts from acura.
i cant attach the pics yet either, my photobucket is being dumb this morning. so here is what got accomplished this weekend.
-re-sprayed valve cover with the wrinkle black paint. it came out better, but its still not great. definitely a good from far, far from good kind of paint job. next time i have the valve cover off or if i pick up an extra one, i'll re-do the wrinkle finish again.
-started re-installing the power steering system. its been so long since the car has had power steering, i'm kind of surprised it all fits in there. after laying all of the hoses etc.. out, it just seems like it cant all fit in there with all of the coolant hoses etc...
-installed the shifter bushings in the shift linkage (energy suspension kit).
-removed the old outer tie rods (lots of heat via a torch finally got these things off), i'll rent the tool this week for the inner tie rods.
-installed new bando drive belts
-after curing for 48 hours, installed new valve cover gasket and appurtenances with the valve cover
-installed new cap/rotor/plugs and wires
-installed the clutch disc and pressure plate
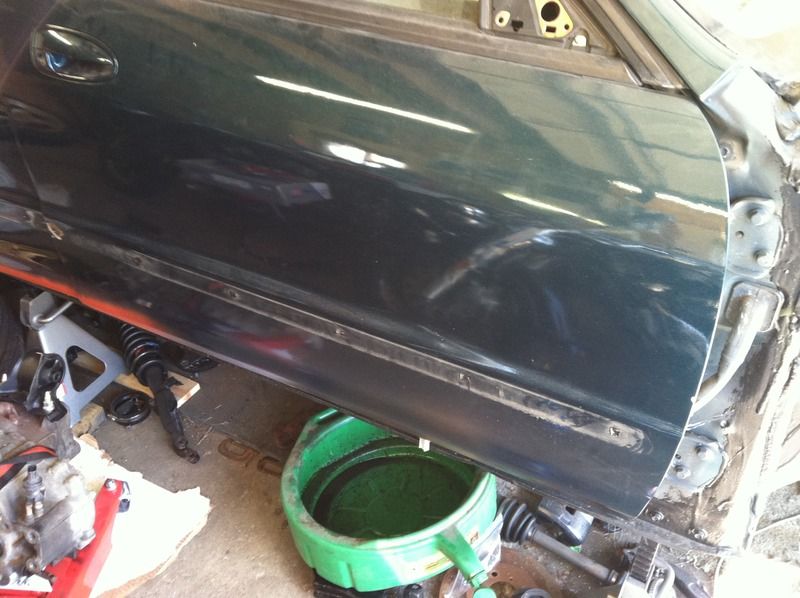
-and lastly i "plugged" the holes where the door mouldings used to be. i finally tried out my panel bonding adhesive, this stuff seems to work pretty good. i cut approximately 1"x 2" metal squares, prepped both surfaces, and then basically glued them in place with the adhesive. 'll just need to sand off the excess material on the outside, add some bondo and smooth out the doors.
oh, i also used the same method to shave off the antenna hole as well.
i'm STILL waiting for my freakin parts from acura. i really , really need the new clutch fork spring so i can re-install the transmission. i think at that point, i'll really feel like the car is coming together.
found a couple more parts i need. i need the upper power steering pump bracket. i picked a set off of ebay only to realize that it is for an LS motor. DOH! i also found out that the bumper cover i purchased last year off CL is cracked in quite a few places. the grille work is all cracked and broken. i'll try to re-sell it on CL and label it as perfect for cutting up and running a front mount intercooler. the rest of the bumper is fine, but not going to work for me.
Edit: Photobucket is working again
Drive belts routed and power steering started
cooler mounted
my bleh valve cover
cap, rotor, wires, clutch
hard to tell, but these are the "filled" moulding holes
shaved antenna hole, or at least the beginnings of it.
the mess i'm trying to re-plumb and re-route...
another shot of the bleh valve cover. its good enough for now.
Last edited by danteisme; Apr 18, 2016 at 11:18 AM.
Reason: added photos
i just picked up a new to me truck so i've been taking all of my toys of my old truck and putting them on the new one. thats been taking a lot of my free time.
i've been slowly working on the teg. very slowly.
power steering is all the way in, along with the itr exhaust manifold
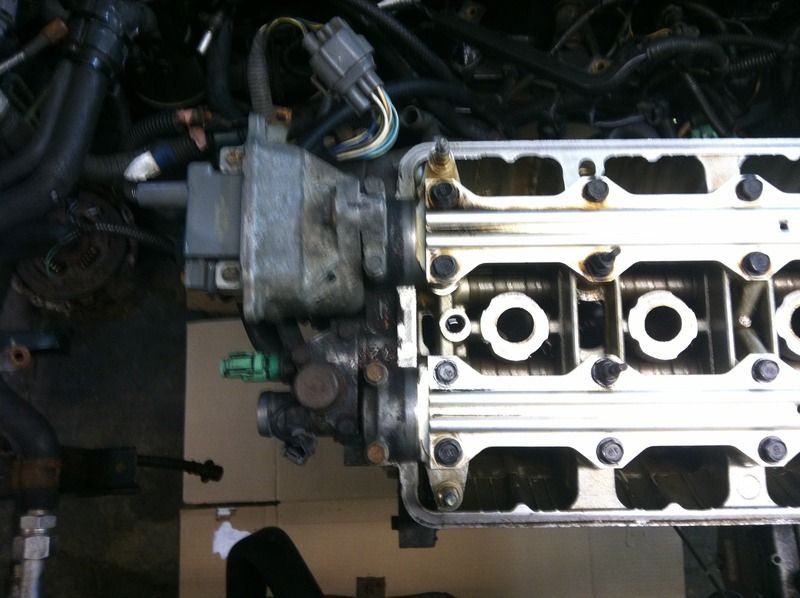
intake manifold back on. good grief, those middle nuts at manifold to cylinder head connection are ridiculous to try and reinstall. its all plumbed up about 95% too. got the fuel rail, injectors, and fuel hose all connected too.
i say 95% complete because for the life of me i cannot recall what connects to this nipple sticking out of the throttle body. its not the evap canister, got that ruled out already. little help with this one?
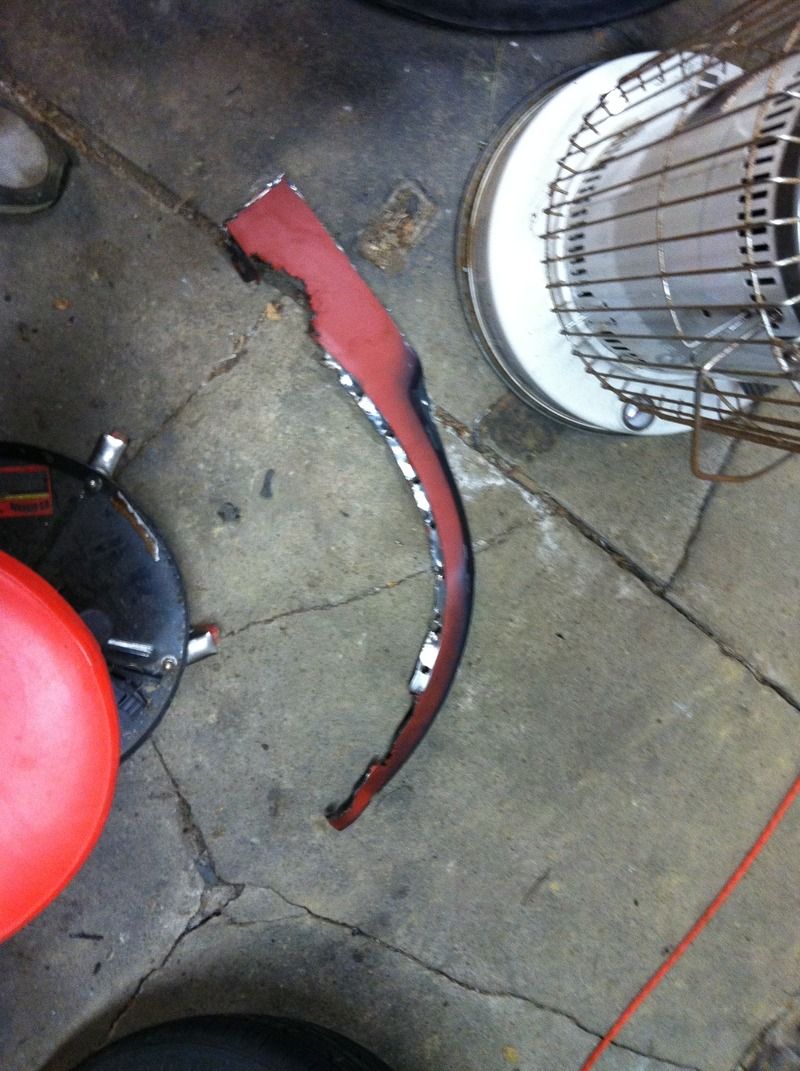
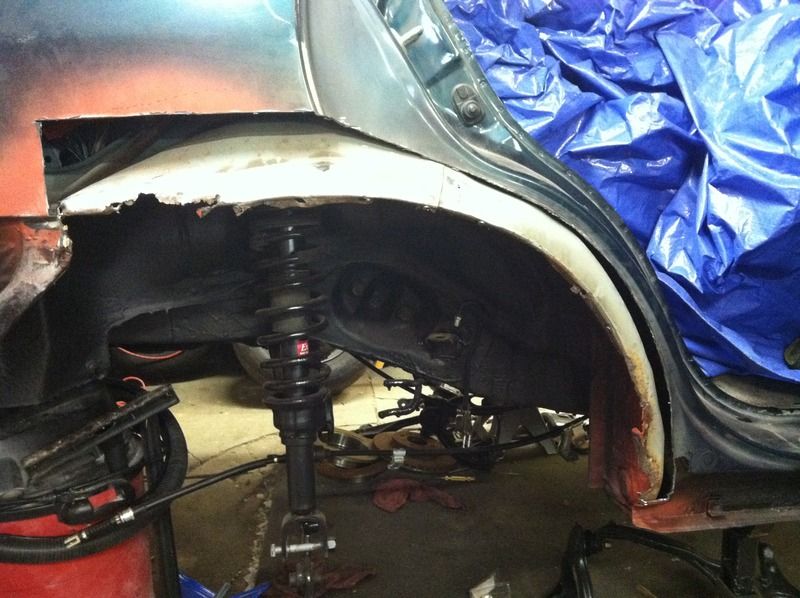
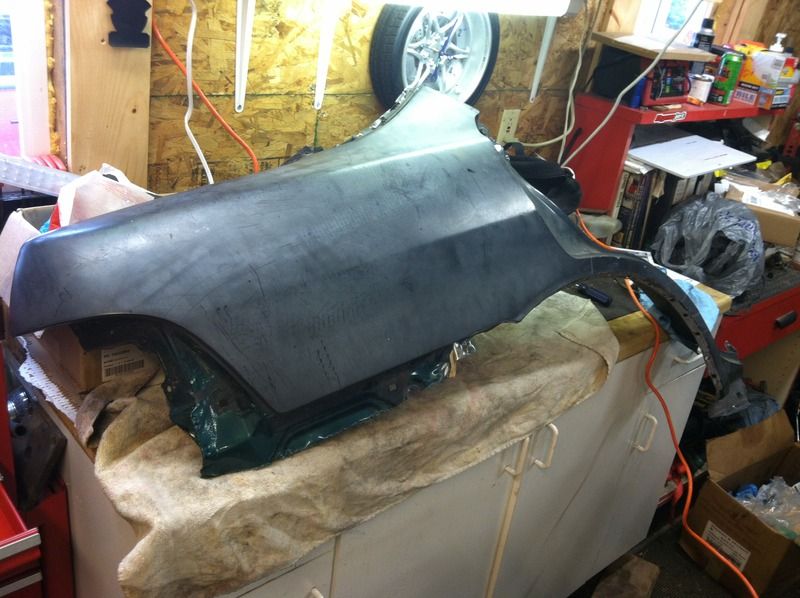
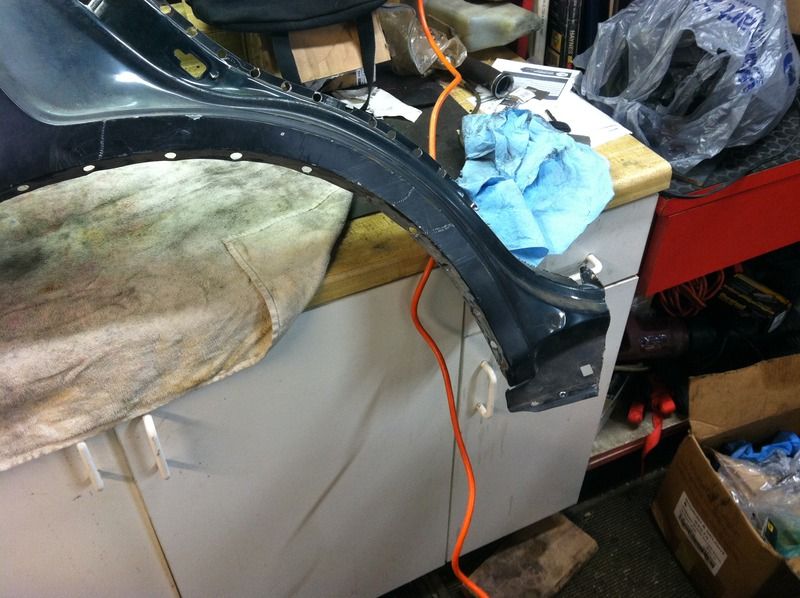
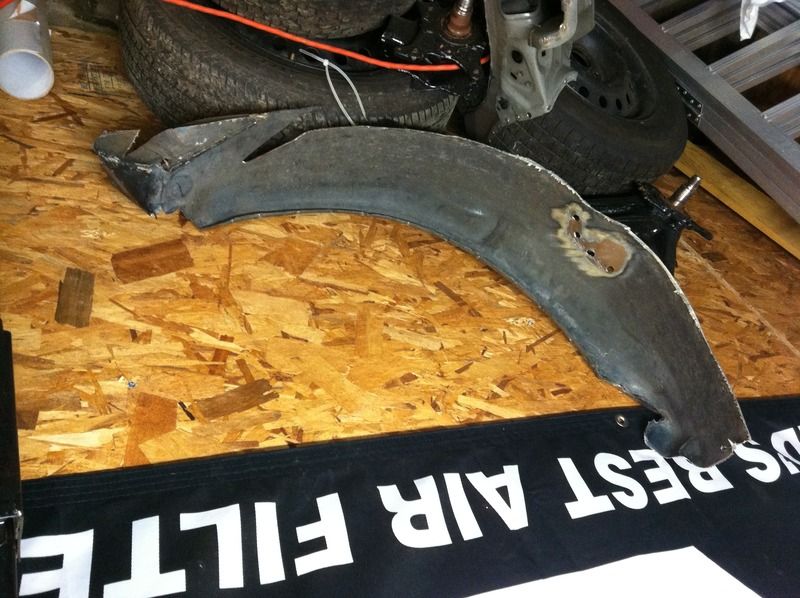
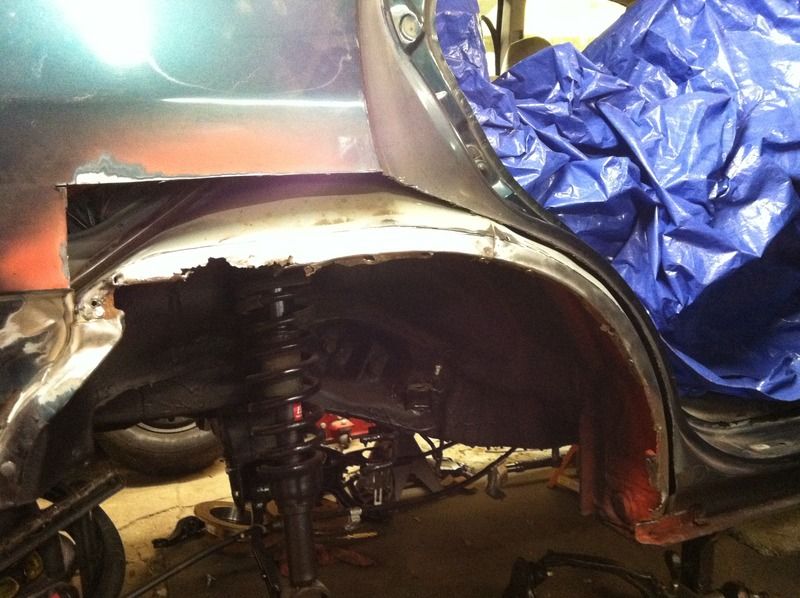
i also started the most terrifying process yet on this car. i cut this piece off the car to start the rear rust repair. i'm starting small, because i dont want to have to cut off more than i need and replace more than i need. so a few things i'm finding out so far. the rust to the inner panel is pretty bad. the outter is not bad at all other than what you could plainly see.
cut this off
exposed this portion of the wheel arch and inner panel.
you can see how trashed the inner panel is in the lip area
so far, i actually do not anticipate needing to cut off any additional outer panel for rust repair, maybe to get better access to the inner panel for repair.
luckily, i have one of these for both sides
and the inner panels they came with are in decent shape, so i;ll probably end up cutting material off these ones and welding them to the car
so, this is definitely more than the body work i'm used to and have previous experience with. it probably shows lol. if i take my time, and keep doing my research, hopefully this will turn out ok.
i say 95% complete because for the life of me i cannot recall what connects to this nipple sticking out of the throttle body. its not the evap canister, got that ruled out already. little help with this one?
Coolant lines connect to the spigots at the bottom of the throttle body.
EVAP canister vac line to the nipple on the top of the throttle body,
i'm borrowing someone else's image, here is what i used to route my hoses etc.. for the intake manifold.
i did not see a line coming from the cannister up to the throttle body. i'm pretty sure another issue in play here is the car is OBD2, and i'm 90% sure the TB is OBD1 setup.
From a quick Google image search it appears that only the OBD1 throttle body has the port on top of the throttle body like that. I'd just block it off and see what happens.
From a quick Google image search it appears that only the OBD1 throttle body has the port on top of the throttle body like that. I'd just block it off and see what happens.
i did have a misc. black cap i found after i was done installing everything. i wonder if that is what i did before and it just fell off during installation. this is one of the bad things about tear into a car for almost 2 years, i cant remember how **** was before i tore into it lol
i will hopefully have some good updates at the end of this week. i took of Friday from work, so i have 4 days off of work. as long as people leave me alone, i'll be able to dedicate almost all of the time off on Friday and Saturday on the car, and a good portion of Sunday and Monday as well.
here is where i left off from this weekend.
i cut out all of the bad metal in the driver's wheel well. i'll pick up another piece of sheet metal and put something together to patch this up.
and i did some more exploratory cutting and i think i'm through all of the rusted metal. outter panel cut got a little bigger, but not much. and it gives me an easy place to locate my cut on the donor panel.
and i'm going to cut the inner panel somewhere along this sharpied line and grab the metal from the donor's inner panel and weld the two together.
things i need to do before this long weekend is mainly get my welder dialed in and set up to work on thin metal like this. its a crappy welder, but i've been doing my research and it should do what i need it to do. i also need to determine what i need to do with my panel adhesived areas (wheel arch) and my welded areas (everything else). i'm sure there is some precaution i need to take, just need to find out what it is lol. but that is my goals as of right now, get one side of the car squared away in terms of replacing the bad metal so i can work on the driver's side.
my original goal of having the car out for a test drive this weekend is completely out the window, but that might have been too ambitious of a goal. i'm setting my new test drive goal for this time next month, which at this point i think is much more realistic!


 It happens..