

new exhaust system for my 86 hatch

Thread Starter
longest project ever
Joined: Sep 2009
Posts: 3,494
Likes: 2
From: on the south side of dixie, 1986 Accord Hatch
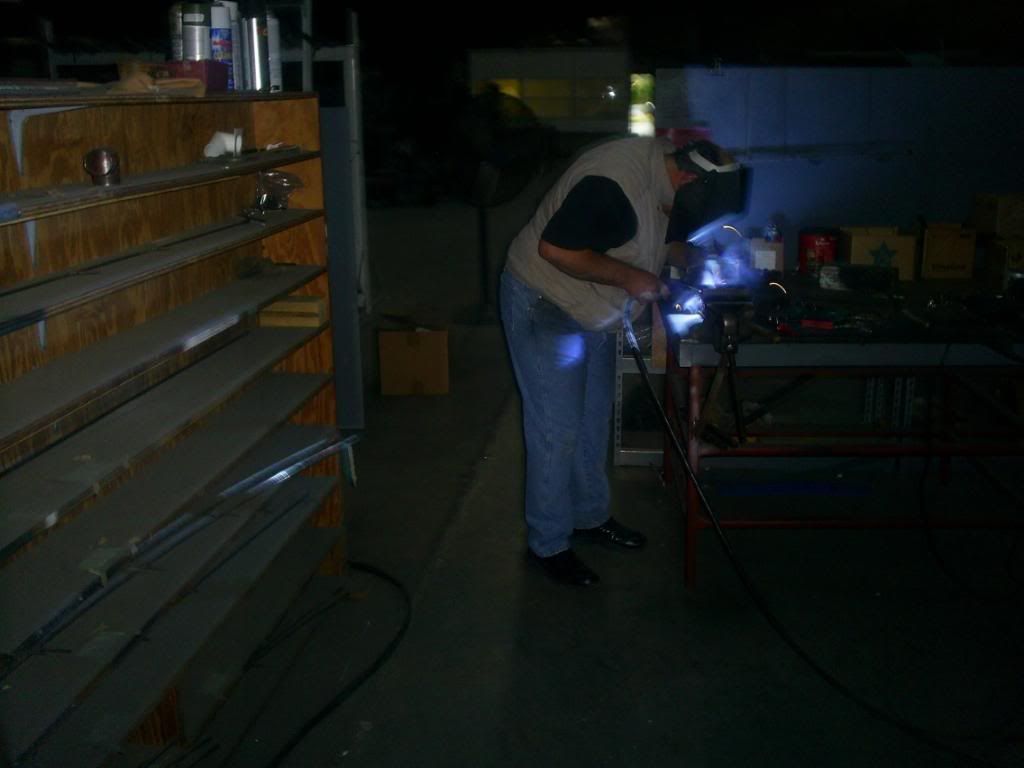
I'm building a stainless system for my 86 accord, I got ahold of the rare S&S headers for the A20, so I decided to rip out the system I had and start with something better. I have a basket of T-304 stainless Mandrel bends that are leftovers, so that was my starting point, Many thanks to Bobby Brock and David Maule for the welds, I can fabricate all day but can't weld worth a crap.
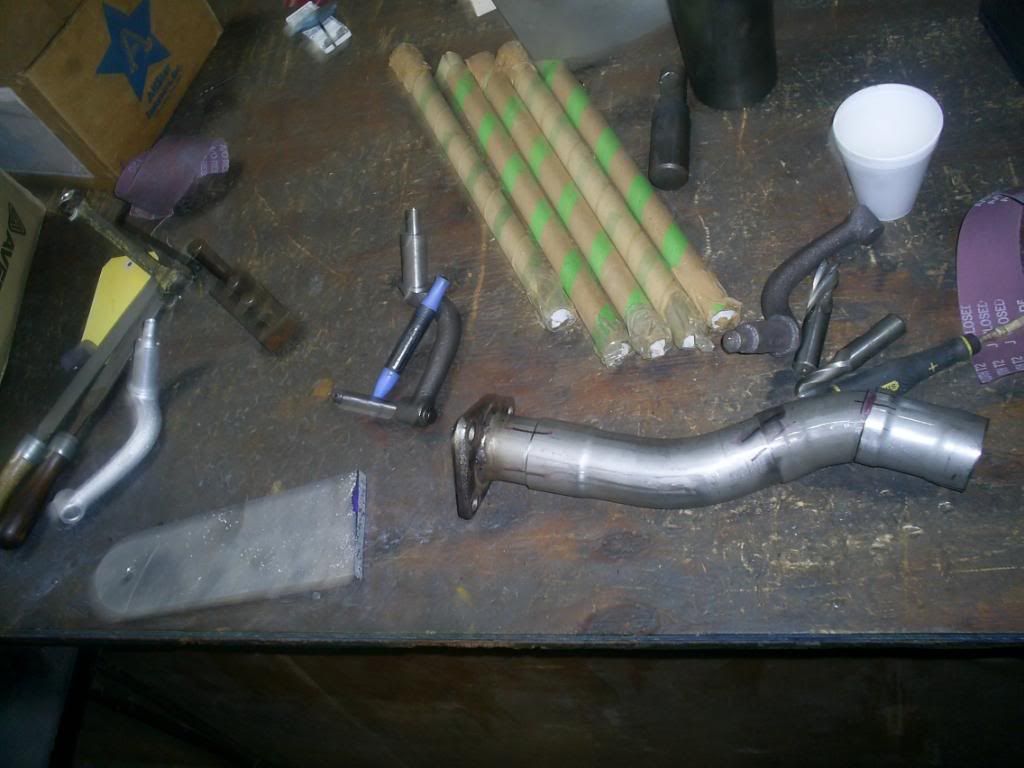
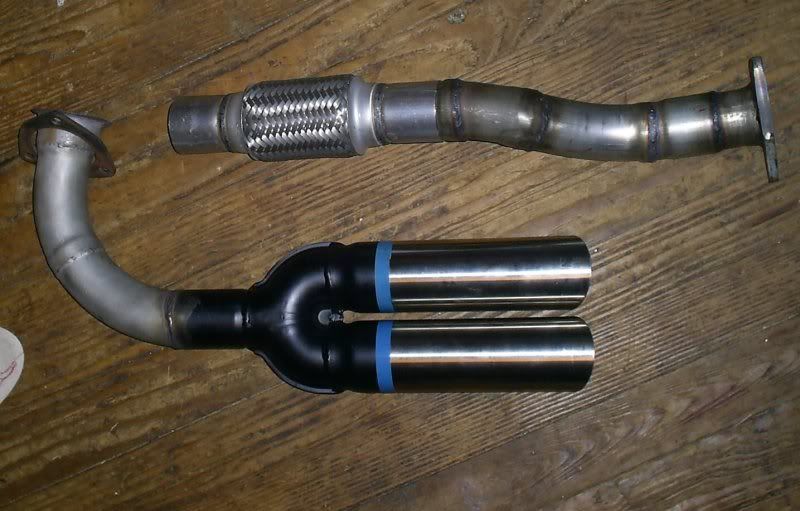
I started out at the other end, I wanted something unique for a tip, I found what I wanted but it had been discontinued for a long time, I also wanted an exhaust that exited under the side of the rear bumper, I've seen lots of different setups, but I haven't seen a side exit for a while, old school stuff for a quarter century old car. I kept looking for the tip, and finally after I was going to give up, I found someone with one left on clearance, 20 bucks, the normal list price was 120.
I ended up getting this package, that had literally been sitting on a warehouse shelf for 15 years, plastic was so old it had cracked. I love unearthing finds like this!!!

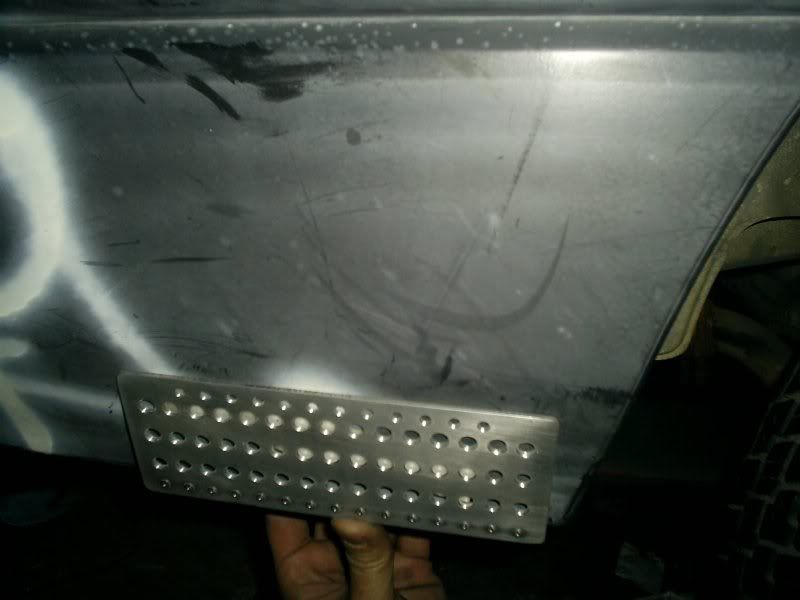
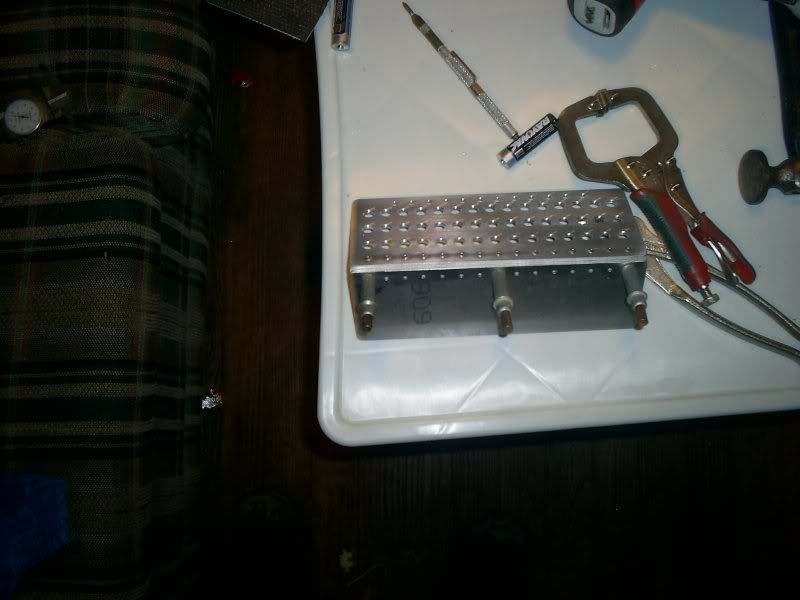
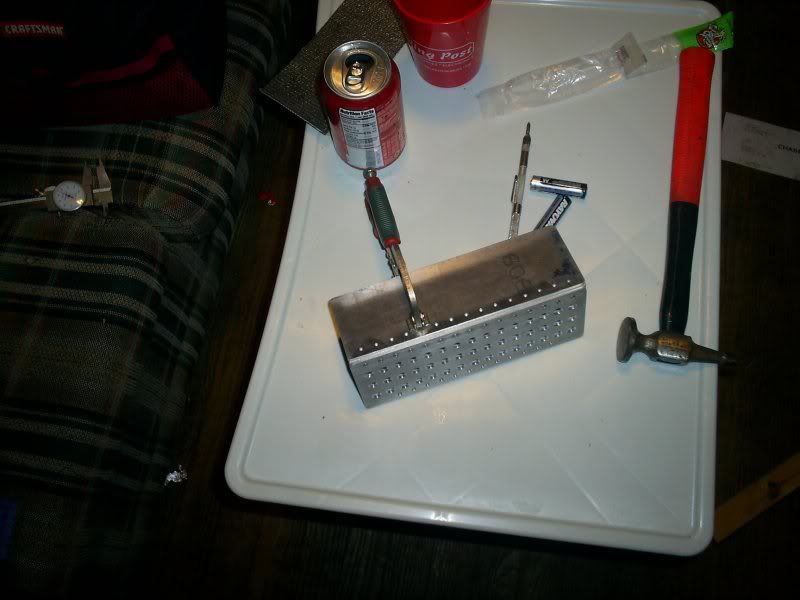
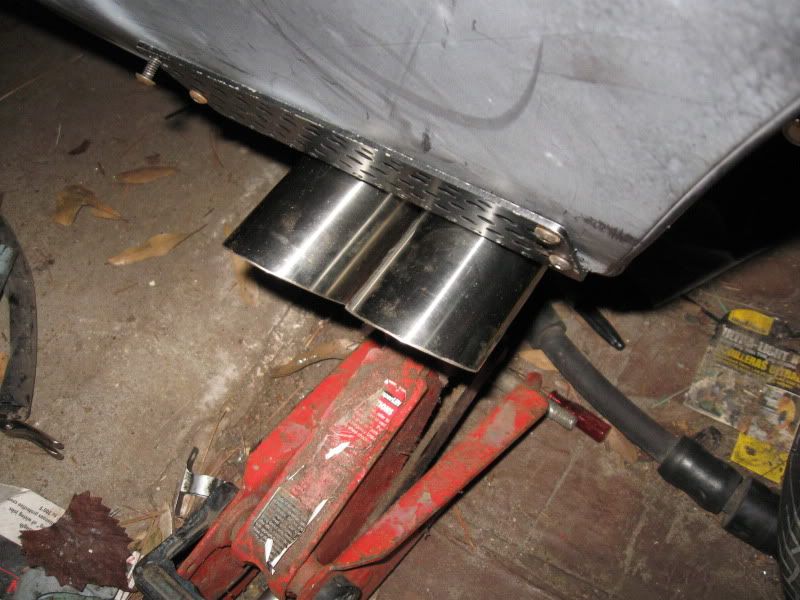
I was concerned the heat would melt the bumper so I ended up making this, the bumper hasn't been painted yet, a good friend of mine found a really good condition one at a pick a part,

ok now back to the other end
I started out at the other end, I wanted something unique for a tip, I found what I wanted but it had been discontinued for a long time, I also wanted an exhaust that exited under the side of the rear bumper, I've seen lots of different setups, but I haven't seen a side exit for a while, old school stuff for a quarter century old car. I kept looking for the tip, and finally after I was going to give up, I found someone with one left on clearance, 20 bucks, the normal list price was 120.
I ended up getting this package, that had literally been sitting on a warehouse shelf for 15 years, plastic was so old it had cracked. I love unearthing finds like this!!!
I was concerned the heat would melt the bumper so I ended up making this, the bumper hasn't been painted yet, a good friend of mine found a really good condition one at a pick a part,
ok now back to the other end
Last edited by lostforawhile; May 14, 2011 at 04:29 PM.
Thread Starter
longest project ever
Joined: Sep 2009
Posts: 3,494
Likes: 2
From: on the south side of dixie, 1986 Accord Hatch
the first thing I did was get rid of the AIR fittings sticking out the side of the header tube, cut off and ground down, I then split a piece of tube, put it over the two holes and it got welded up. 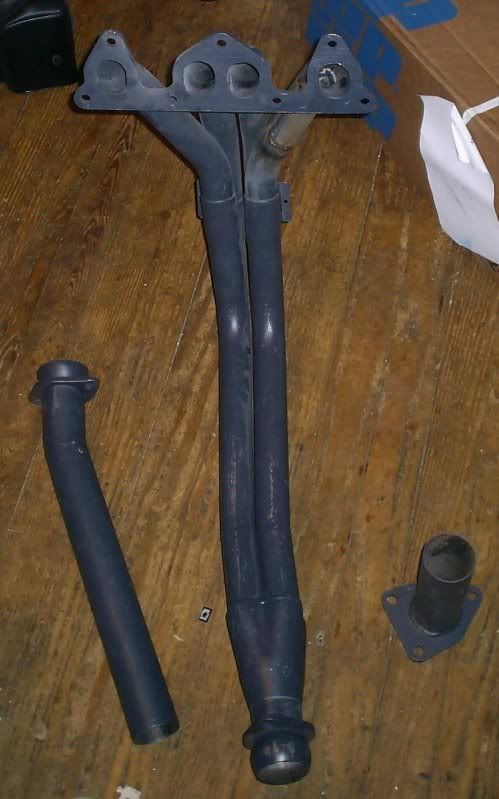
Last edited by lostforawhile; May 14, 2011 at 04:31 PM.
Thread Starter
longest project ever
Joined: Sep 2009
Posts: 3,494
Likes: 2
From: on the south side of dixie, 1986 Accord Hatch
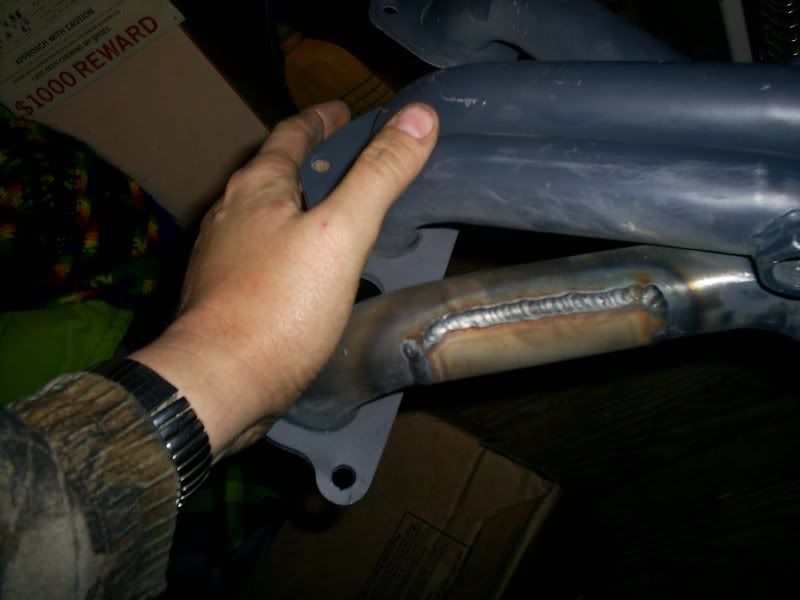
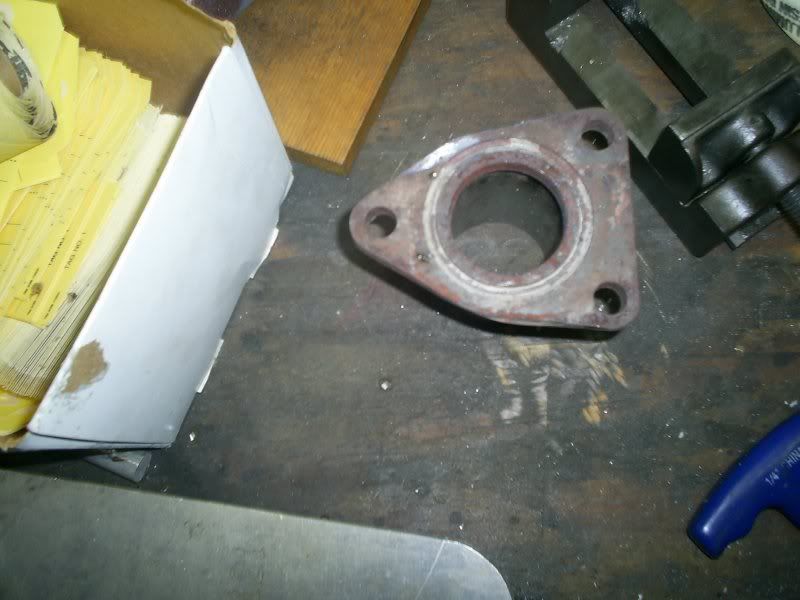
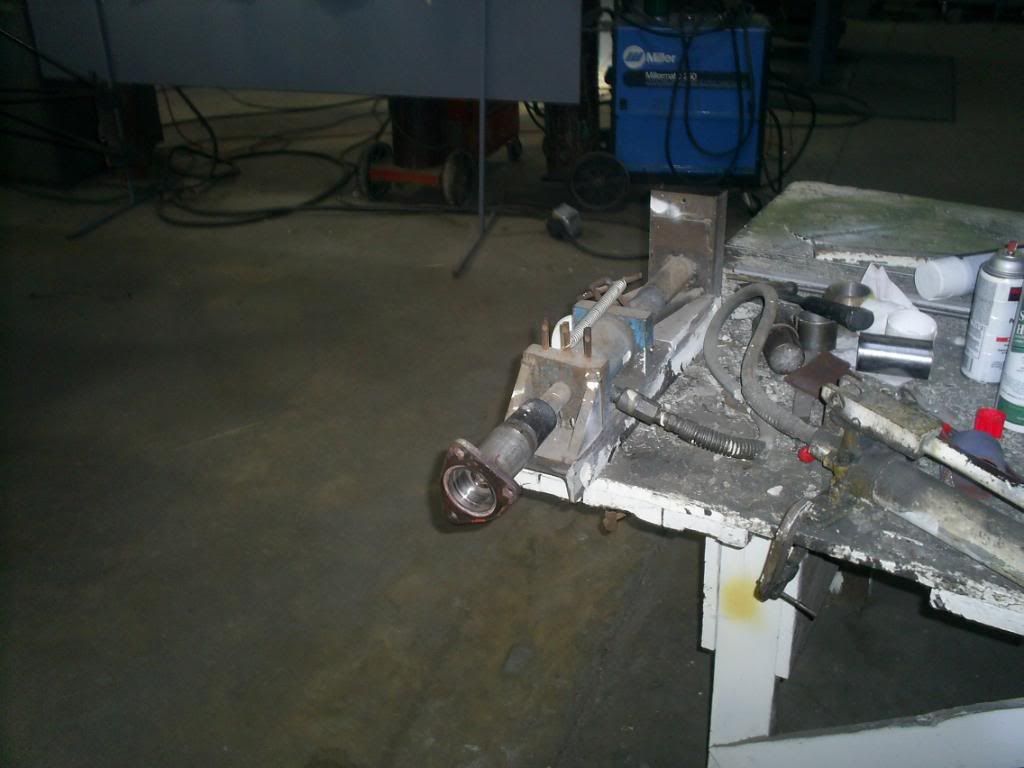
the ball and socket joint on the header had to go, it came with a nice heavy flange to connect to the converter, I was lucky to have saved the old input flange for the other side, the only problem with it, was it was only 1.5 inches inside, and looked like crap,


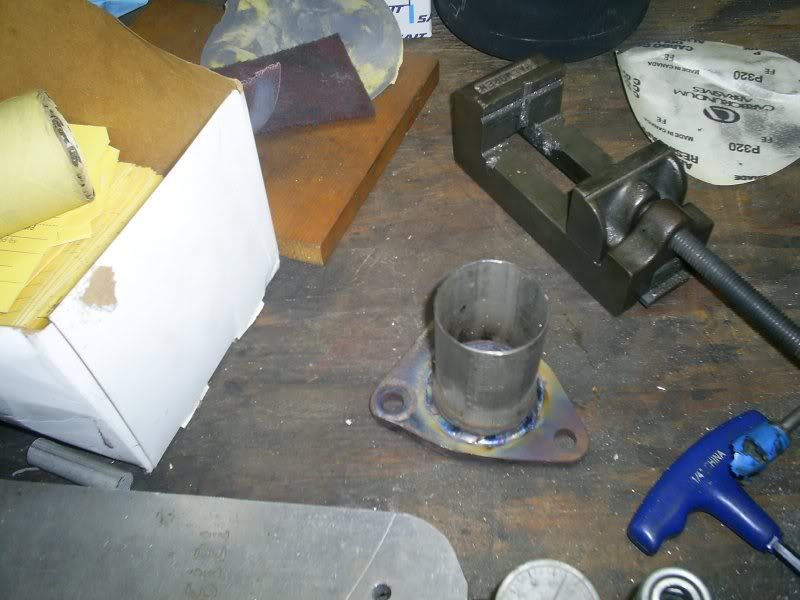
I cut off the old pipe as close as I could to the flange, then put it in the mill and cut the rest off, after an hour in the surface grinder, I had a nice flat plate again, with the O ring groove for the factory donut gasket. after this, It got a piece of stainless tubing welded on, then it was bored out in the lathe,
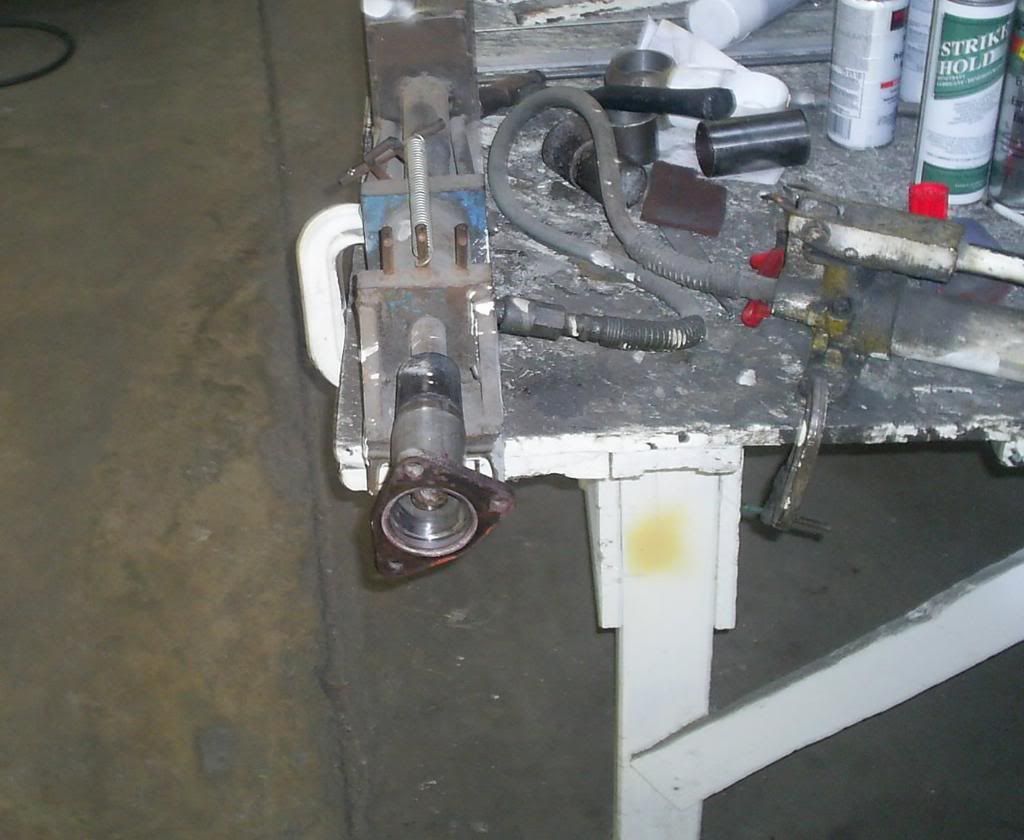
flange ready to be welded, I got this so perfect on center it didn't even wobble in the lathe at 600 rpm, :D
this is the seal side of the flange before any machine work
thanks to Bobby Brock for this awesome weld
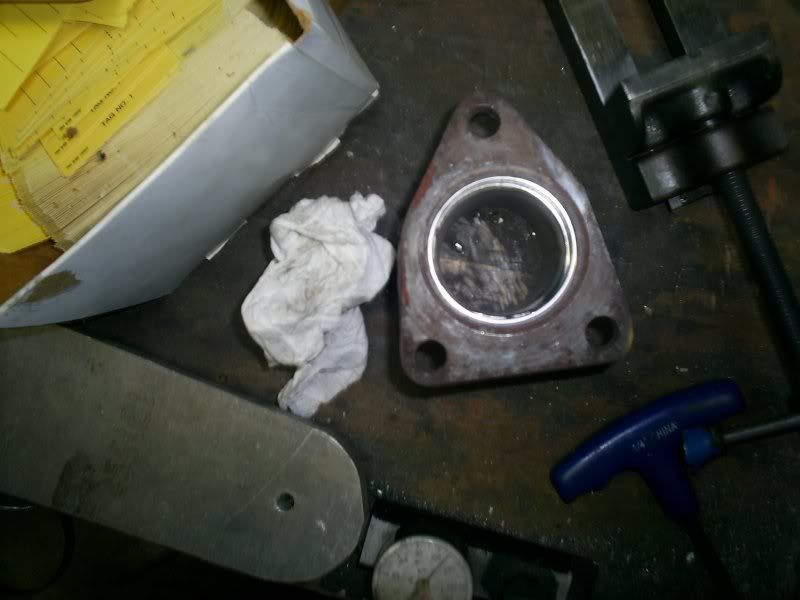
this is how much of a difference there is between the factory inlet size and the 2 inch pipe

not anymore!! i kept the step of course to retain the factory crush gasket,
I flared the end of the two inch pipe so it's a nice smooth transition, that flange material is some hard stuff, took a carbide insert to bore it out
I cut off the old pipe as close as I could to the flange, then put it in the mill and cut the rest off, after an hour in the surface grinder, I had a nice flat plate again, with the O ring groove for the factory donut gasket. after this, It got a piece of stainless tubing welded on, then it was bored out in the lathe,
flange ready to be welded, I got this so perfect on center it didn't even wobble in the lathe at 600 rpm, :D
this is the seal side of the flange before any machine work
thanks to Bobby Brock for this awesome weld
this is how much of a difference there is between the factory inlet size and the 2 inch pipe
not anymore!! i kept the step of course to retain the factory crush gasket,
I flared the end of the two inch pipe so it's a nice smooth transition, that flange material is some hard stuff, took a carbide insert to bore it out
Last edited by lostforawhile; May 14, 2011 at 04:33 PM.
Thread Starter
longest project ever
Joined: Sep 2009
Posts: 3,494
Likes: 2
From: on the south side of dixie, 1986 Accord Hatch
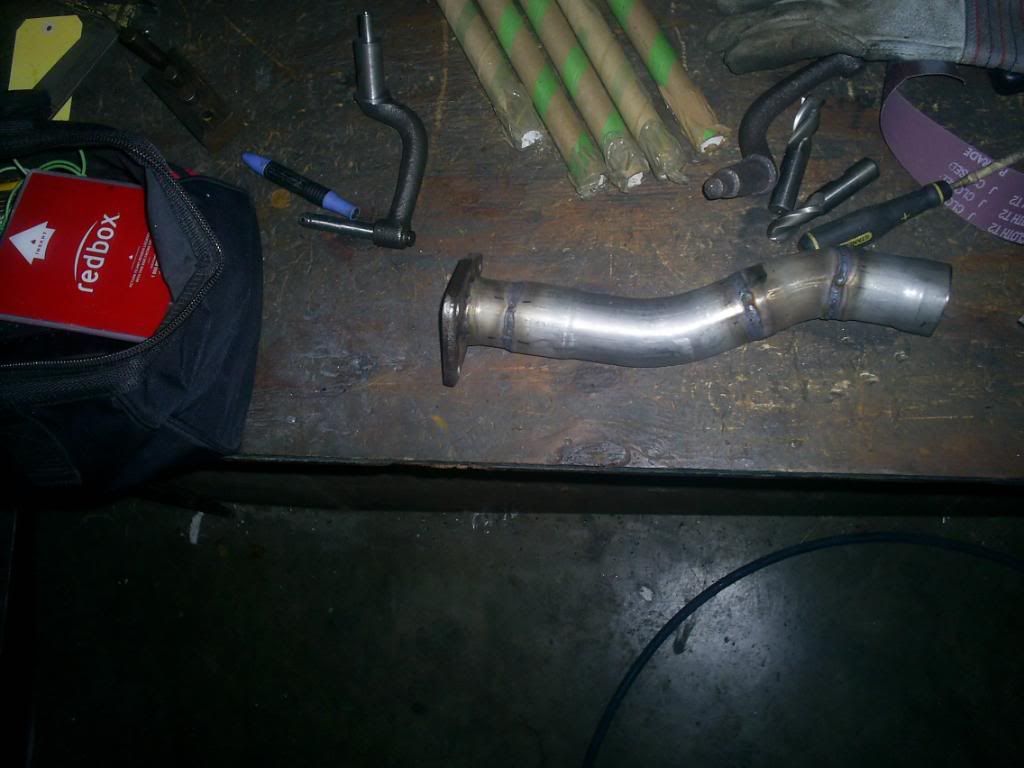
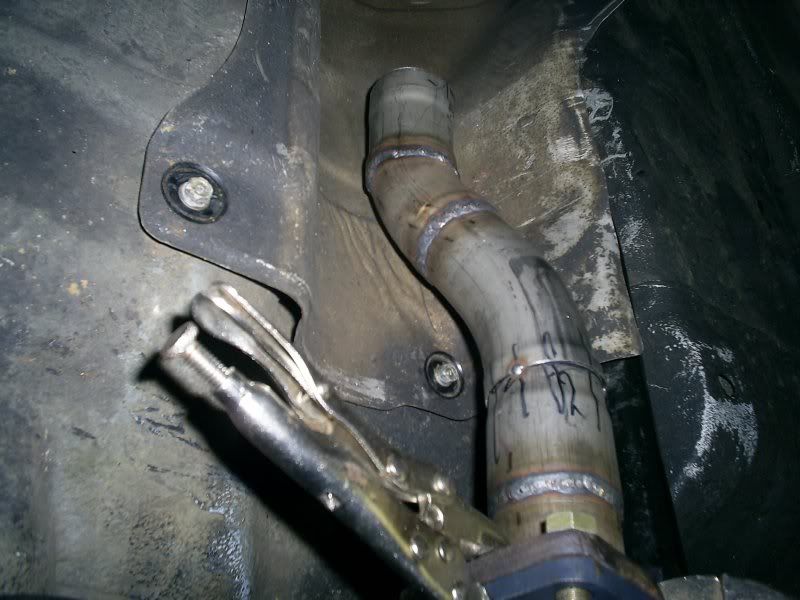
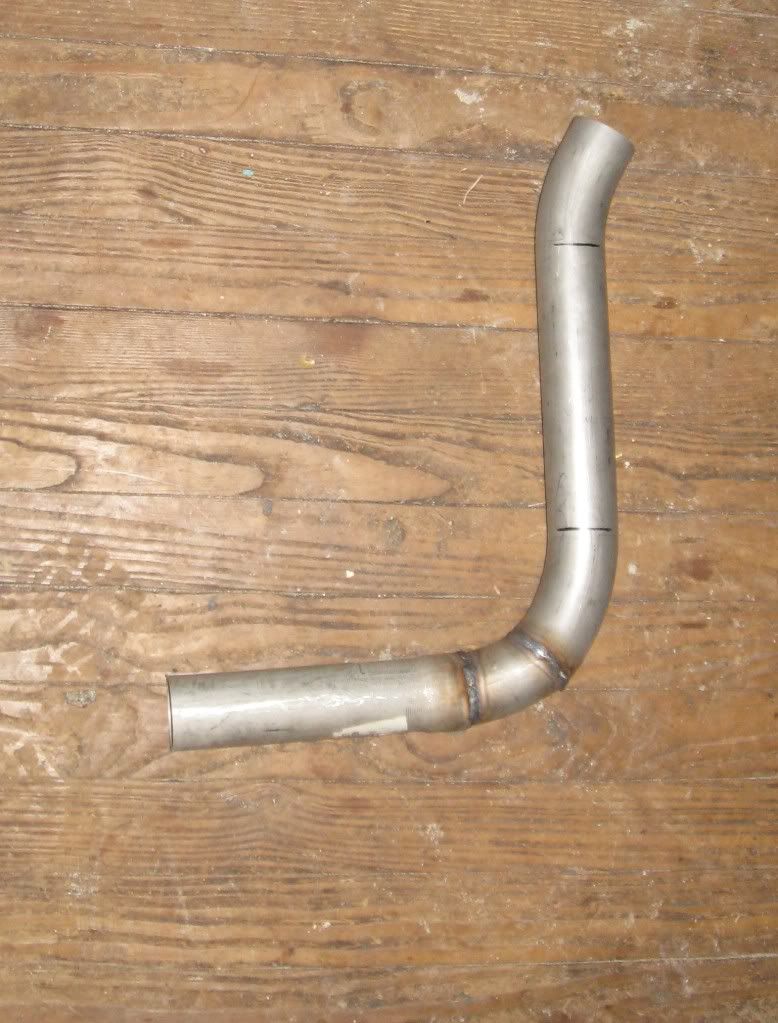
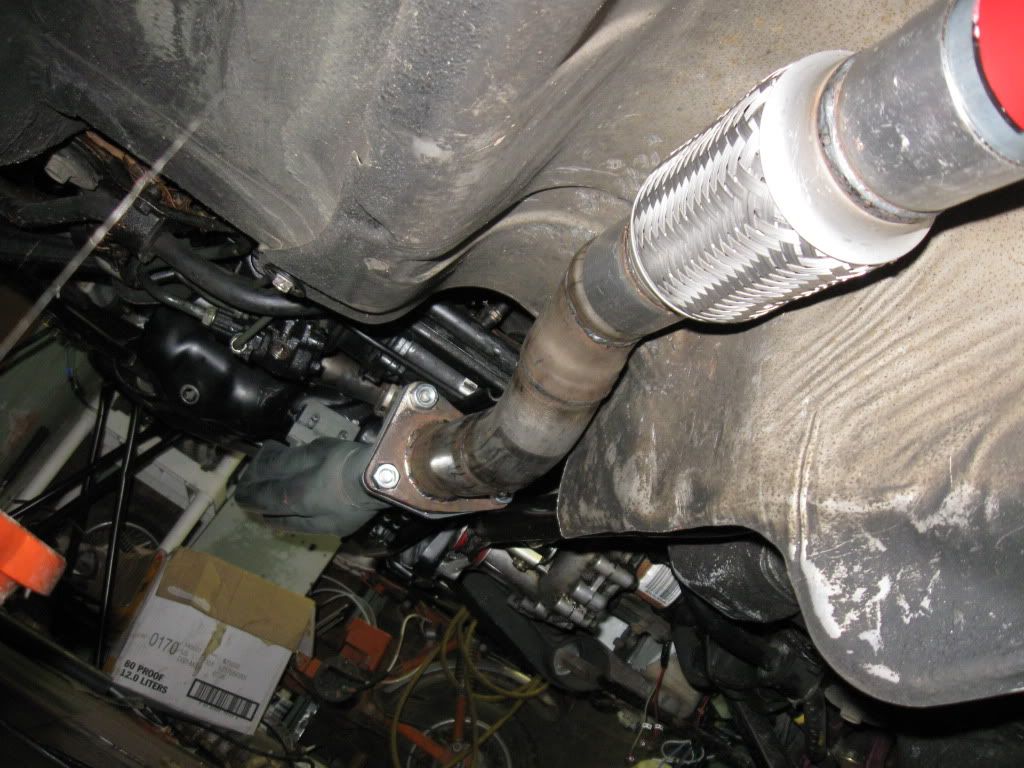
OK here's the section where the pipe comes off the header, goes to the left, then up at the same time, the flex pipe attaches to this, it's pretty close to the weird twisted factory bend. This took a ton of fitting pieces together and flaring, finding out it didn't fit, then doing it again. Thanks to David for welding this thing together for me.
Last edited by lostforawhile; May 14, 2011 at 04:34 PM.
Thread Starter
longest project ever
Joined: Sep 2009
Posts: 3,494
Likes: 2
From: on the south side of dixie, 1986 Accord Hatch
I discovered this nice piece i made, even after making sure the marks were all lined up, I somehow welded the flange on upside down :sad2:, so once again,I chopped it off, flared it again, and it's tacked, this time it fits!! augghhh!!!
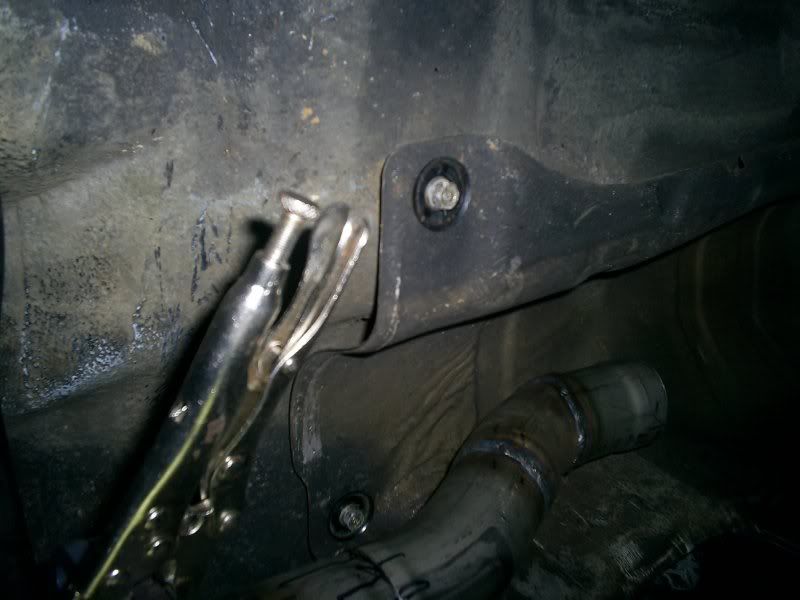
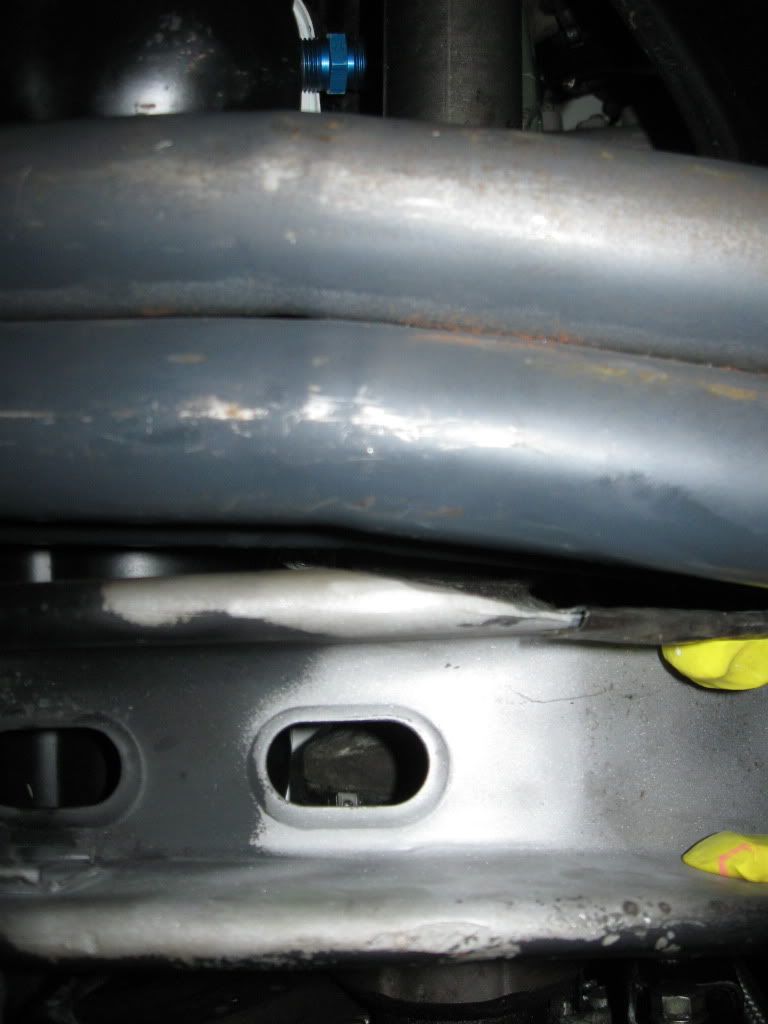
now another problem, the headers hit the %$##@&&* cross member!! i'm going to have to gind off a section of cross member, then weld in some steel to reinforce the cut section
now another problem, the headers hit the %$##@&&* cross member!! i'm going to have to gind off a section of cross member, then weld in some steel to reinforce the cut section
Last edited by lostforawhile; May 14, 2011 at 04:37 PM.
Thread Starter
longest project ever
Joined: Sep 2009
Posts: 3,494
Likes: 2
From: on the south side of dixie, 1986 Accord Hatch
here's the cross member, the cardboard is where the brace will be.

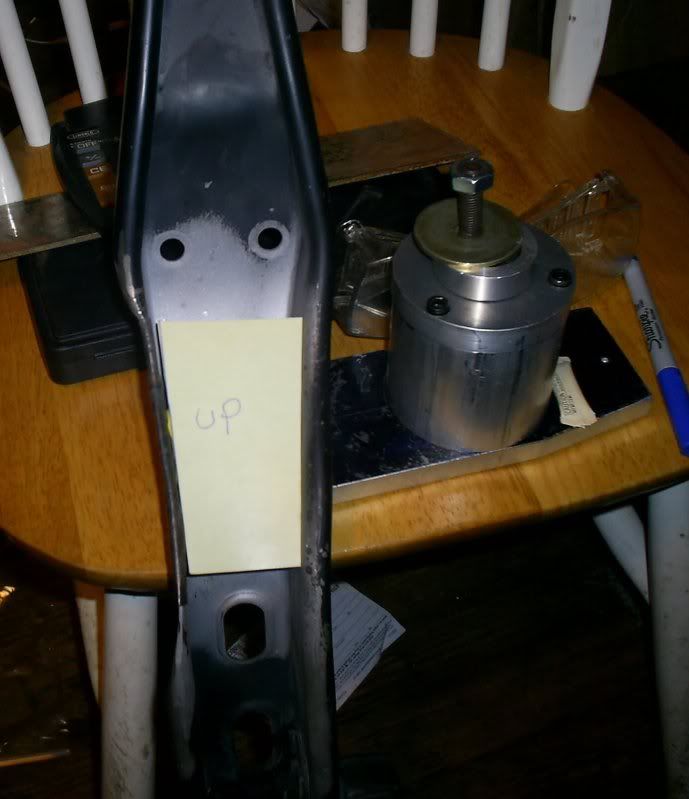
I couldn't live without modeling clay and cardboard,
more stuff
I couldn't live without modeling clay and cardboard,
more stuff
Last edited by lostforawhile; May 14, 2011 at 04:39 PM.
Thread Starter
longest project ever
Joined: Sep 2009
Posts: 3,494
Likes: 2
From: on the south side of dixie, 1986 Accord Hatch
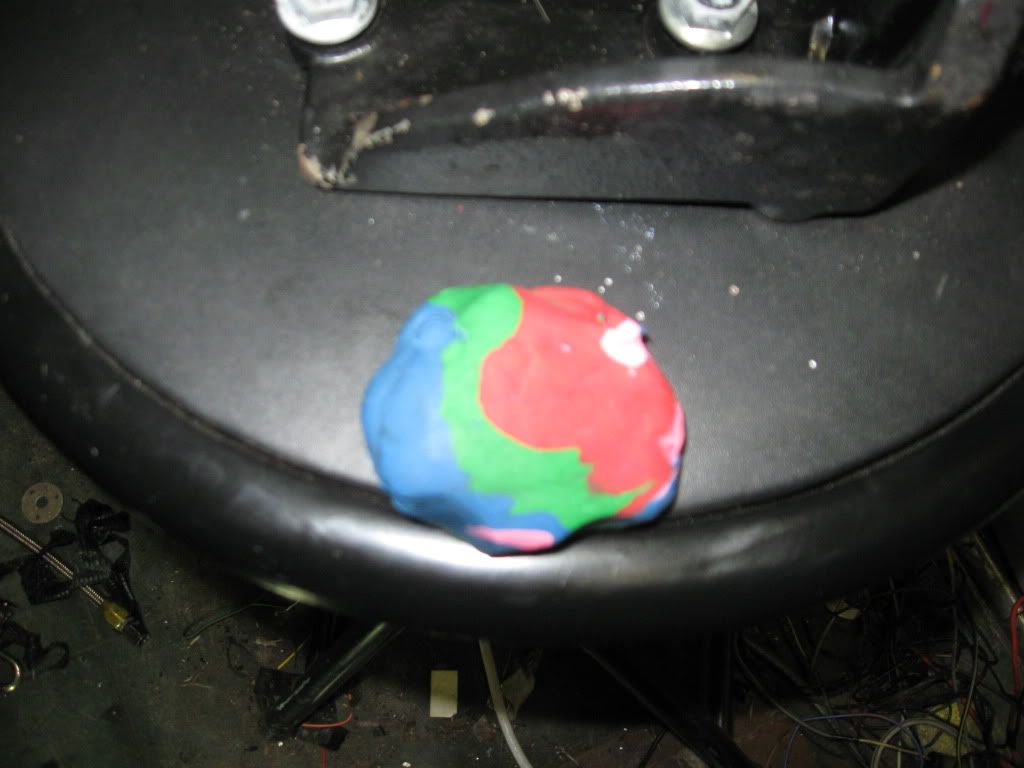
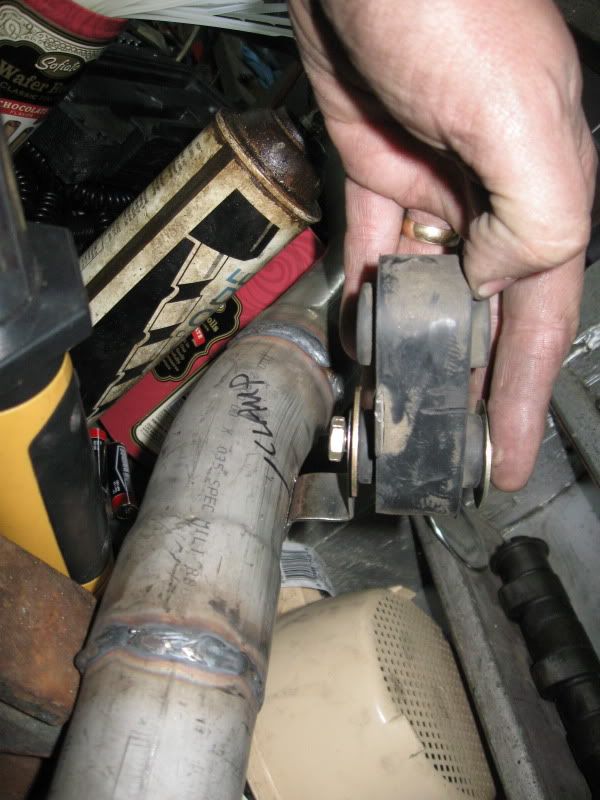
I meant to get this picture further up on the pipe, but it clears now, once the correct motor mount is in, it also will drop down a bit which will help.
kids modeling clay is your friend, now I have the hanger stud centers from the top of the pipes. also useful for holding on cardboard templates
Last edited by lostforawhile; May 14, 2011 at 04:40 PM.
Trending Topics


Thread Starter
longest project ever
Joined: Sep 2009
Posts: 3,494
Likes: 2
From: on the south side of dixie, 1986 Accord Hatch
it's 2 inches inside now, I think it will be ok, the collector outlet of the header is also 2 inches, with all mandrel bends and smooth flow, it should be fine for this engine, once i got the tube welded on the old flange, I bored it out to two inches inside
Thread Starter
longest project ever
Joined: Sep 2009
Posts: 3,494
Likes: 2
From: on the south side of dixie, 1986 Accord Hatch
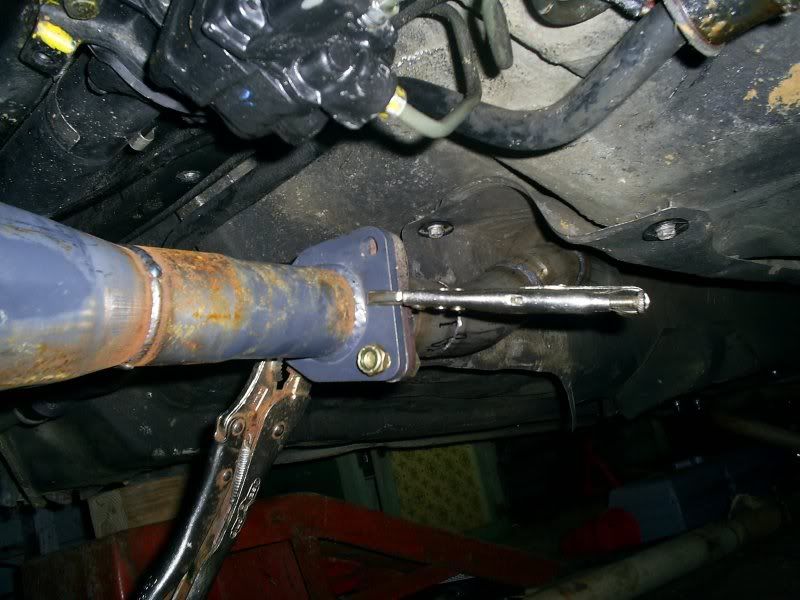
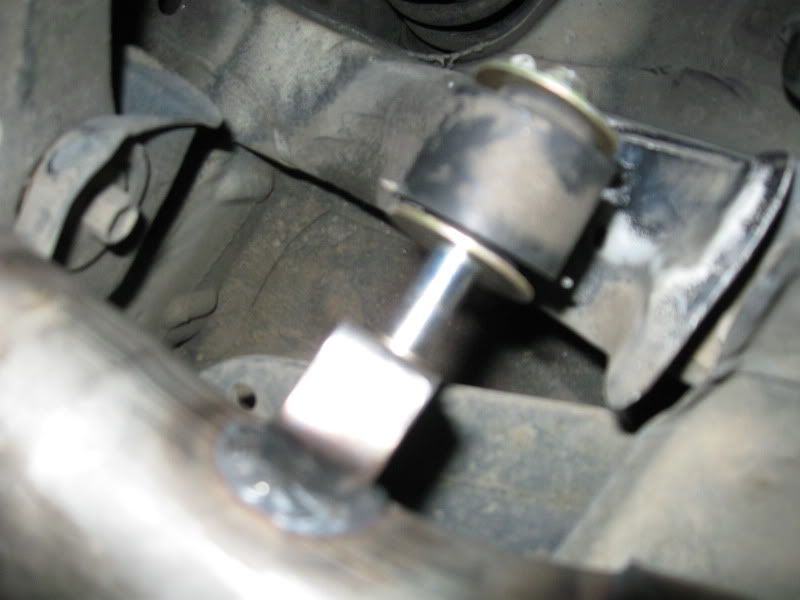
here's the cross member with it's bracing welded in, it now clears the header tubes
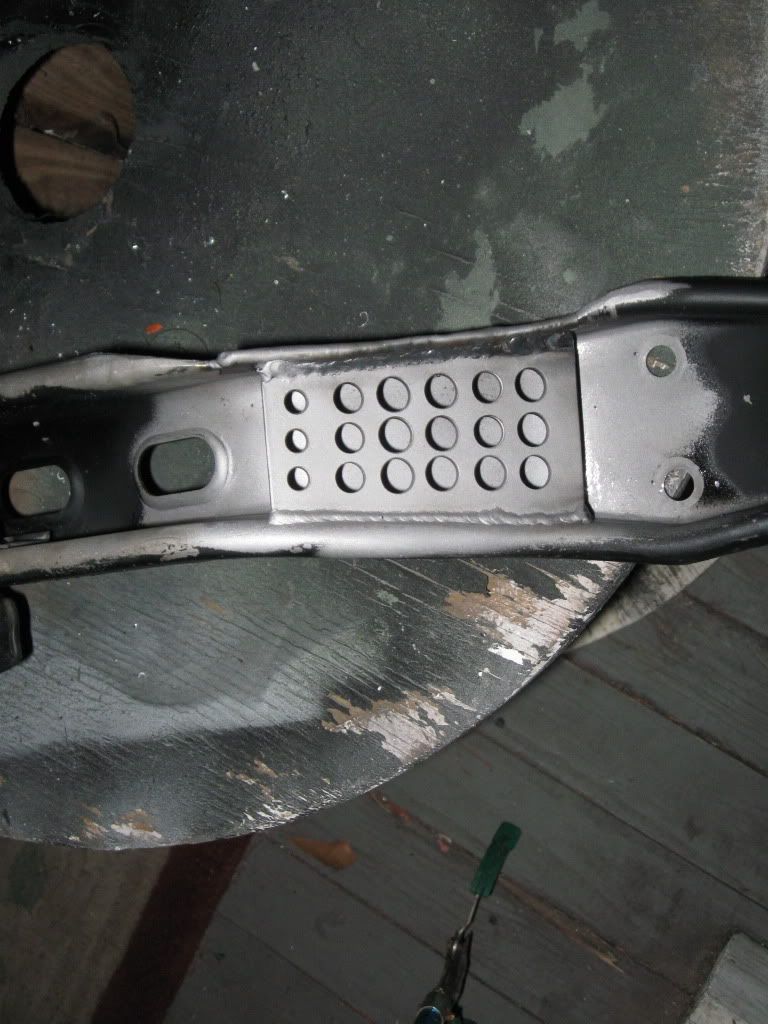
the bracket that hangs the header tubes on the original exhaust hanger at the back of the engine, I somehow screwed up one slot, but it will be ok
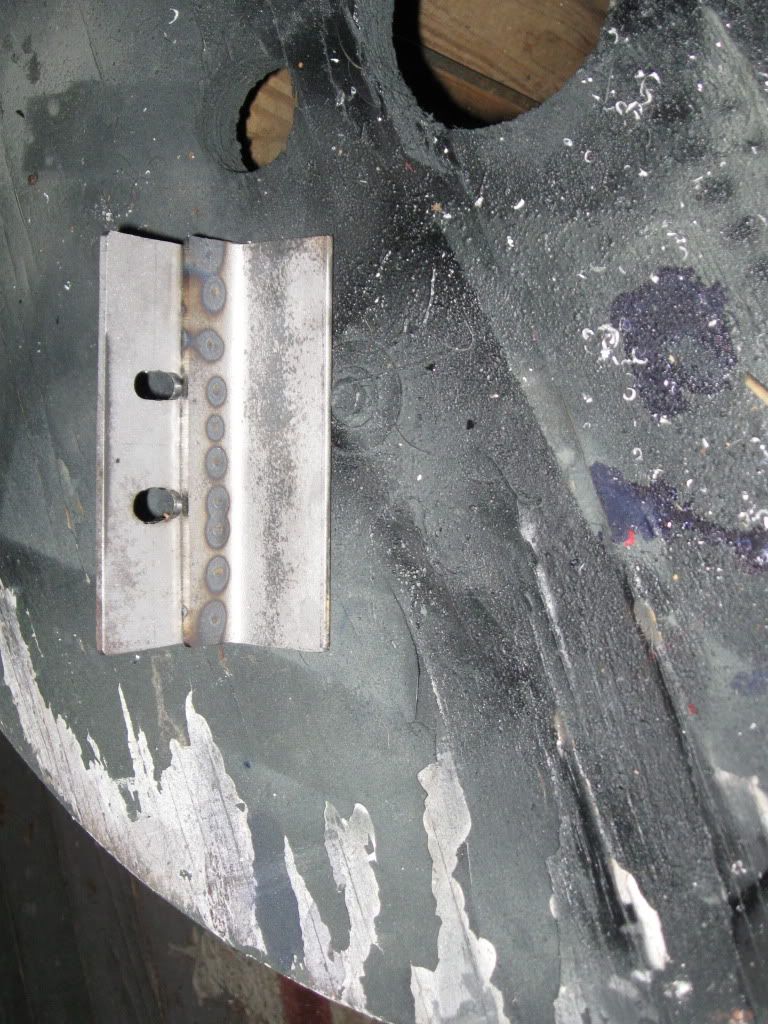
the bracket that hangs the header tubes on the original exhaust hanger at the back of the engine, I somehow screwed up one slot, but it will be ok
Last edited by lostforawhile; May 14, 2011 at 04:42 PM.
Thread Starter
longest project ever
Joined: Sep 2009
Posts: 3,494
Likes: 2
From: on the south side of dixie, 1986 Accord Hatch
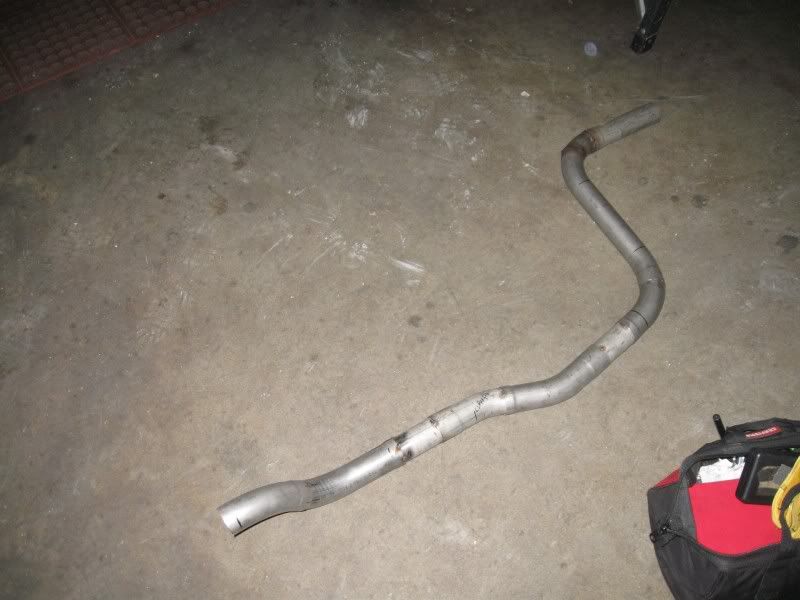
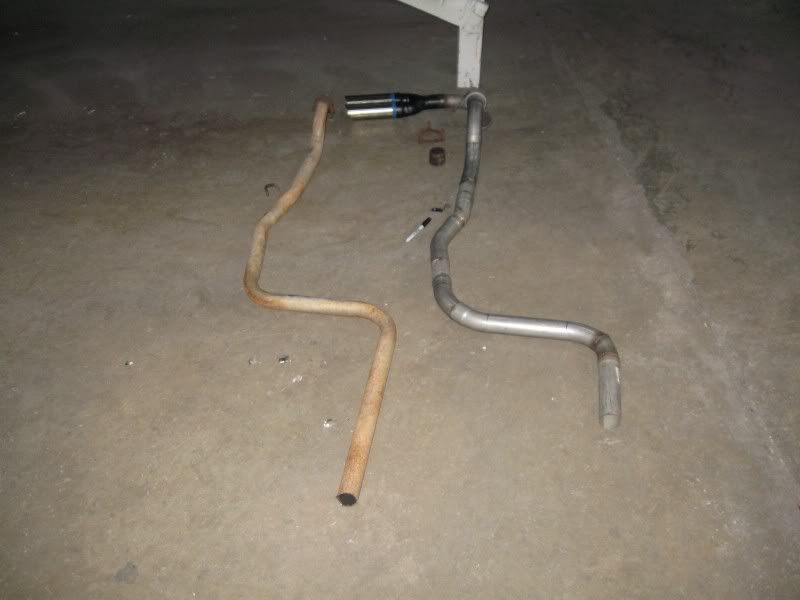
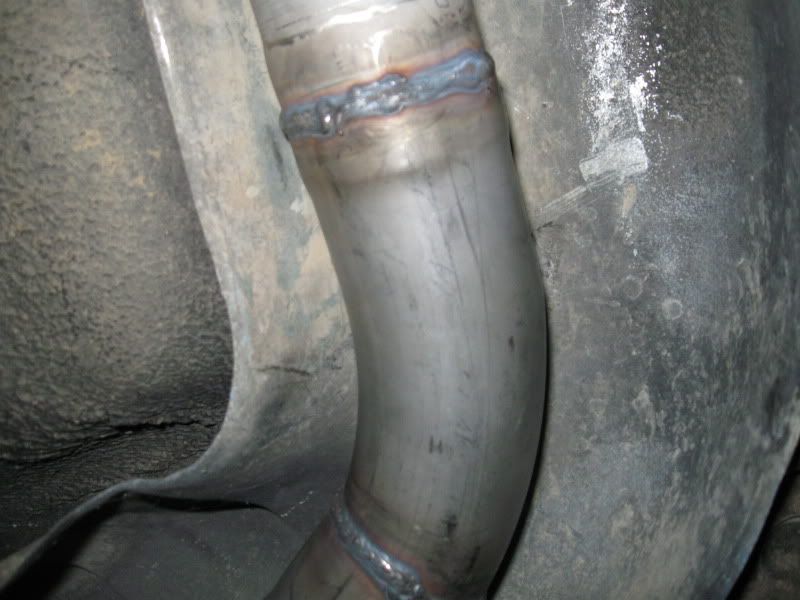
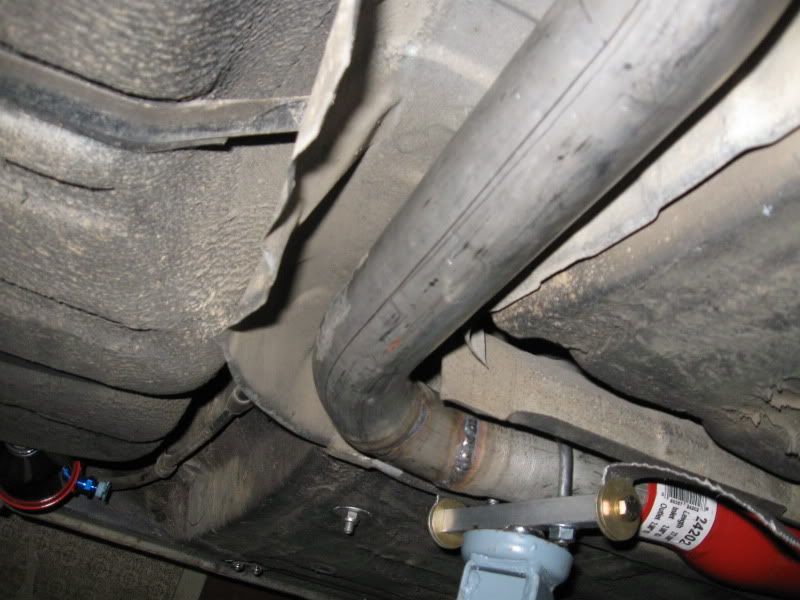
this is the section I need to duplicate, everything from the middle of the car forward is already done, I was figuring bends. it's easy, you trace out the system, find the center of each straight piece of pipe in two places, draw a line through center, and where two lines intersect, you measure with a protractor. 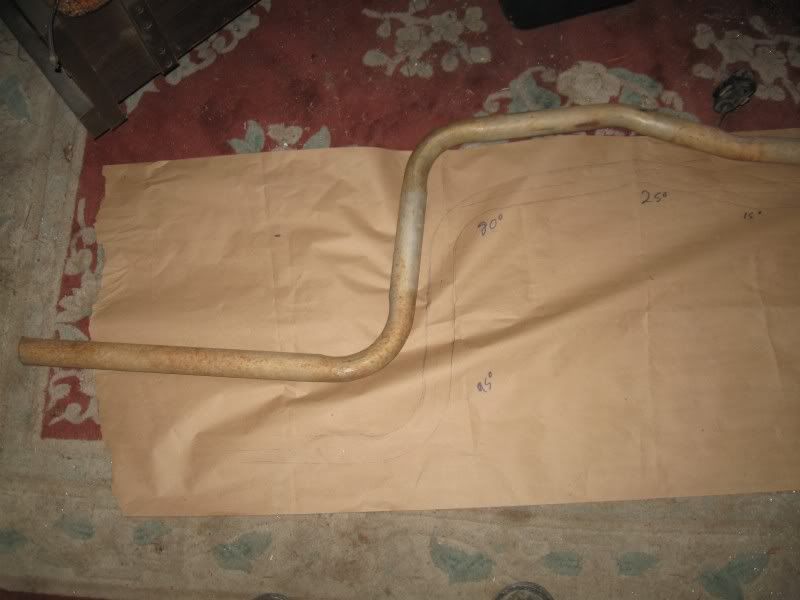

Last edited by lostforawhile; May 14, 2011 at 04:43 PM.
Thread Starter
longest project ever
Joined: Sep 2009
Posts: 3,494
Likes: 2
From: on the south side of dixie, 1986 Accord Hatch
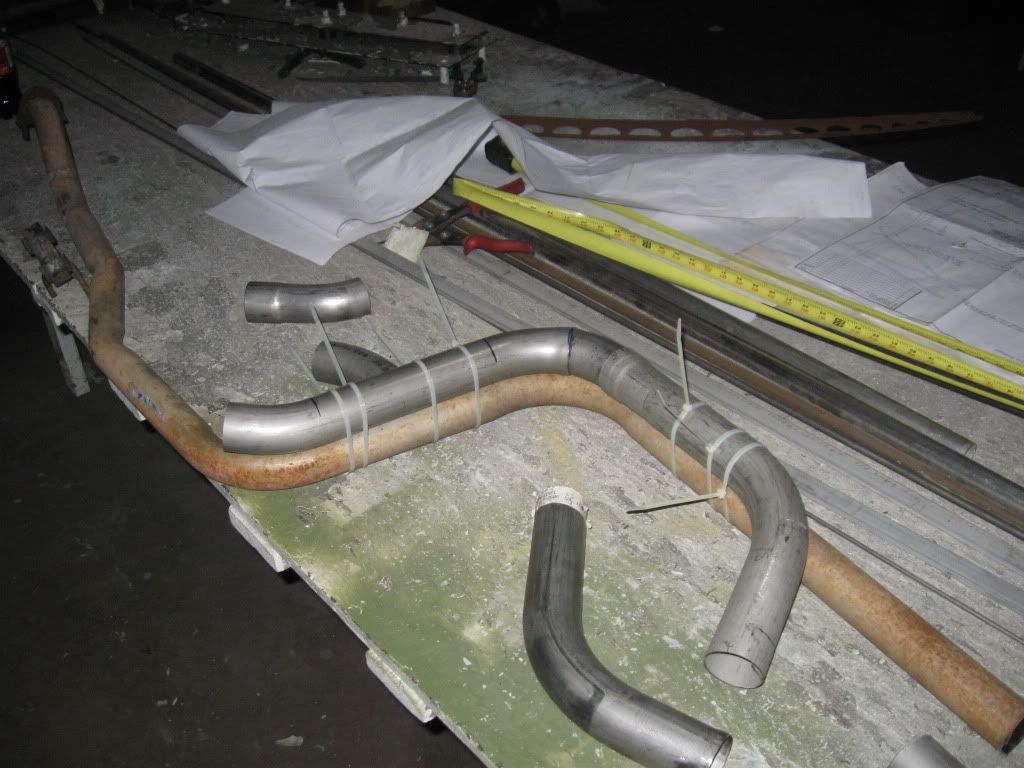
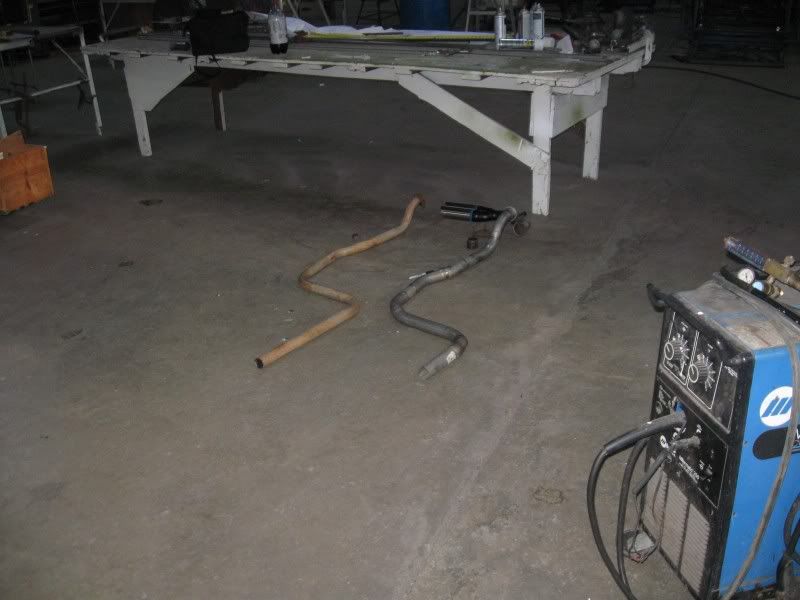
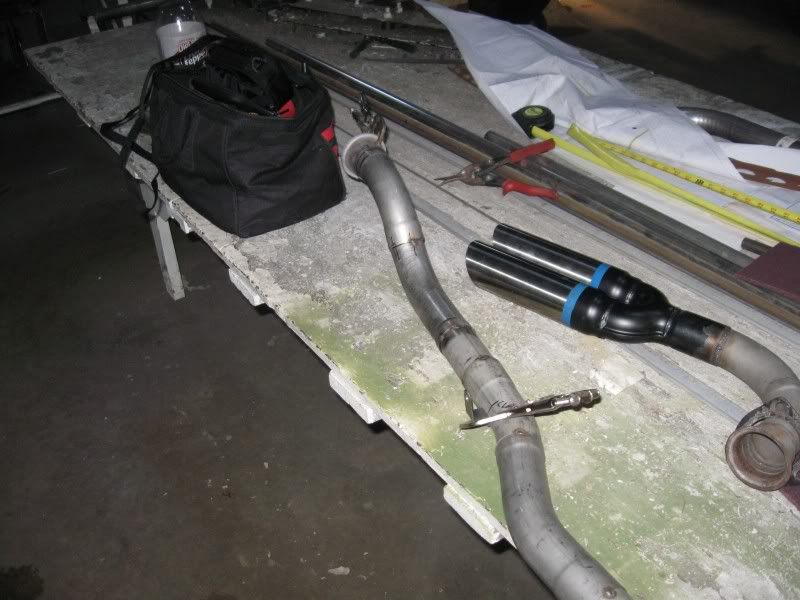
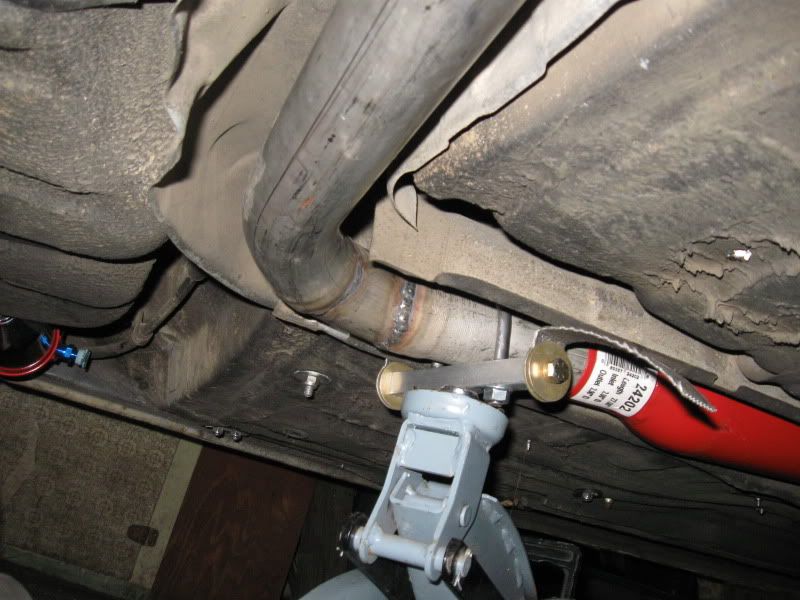
Ok the first part of the rear pipes is done, this was a son of a bitch to get it just right, cutting and fitting sections of stainless together. the wire ties are the best type of clamp to hold something until it's tacked. I finally got the pipes to stay without coming apart, then once they get tacked they hold their position.
Last edited by lostforawhile; May 14, 2011 at 04:44 PM.
Thread Starter
longest project ever
Joined: Sep 2009
Posts: 3,494
Likes: 2
From: on the south side of dixie, 1986 Accord Hatch
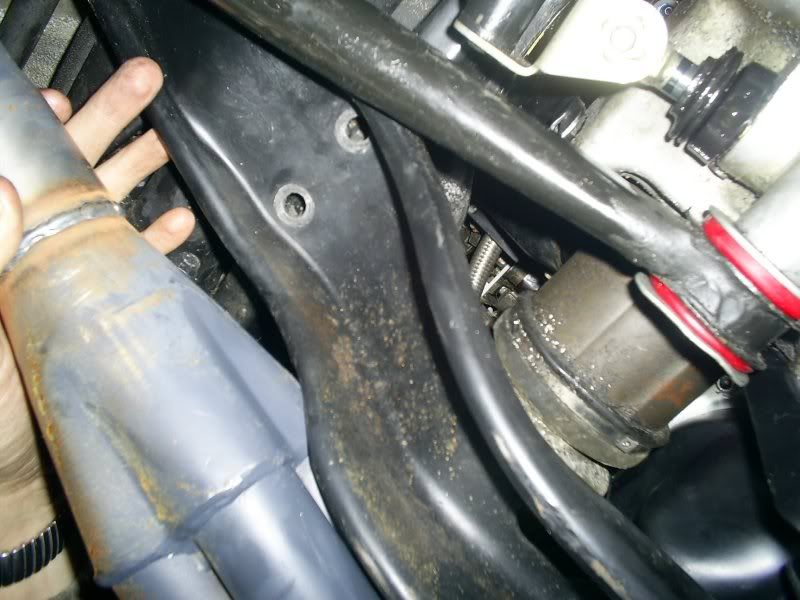
Ok I got the engine dropped down to it's proper height and I discovered a new issue, apparently it caused the pipe to swing up and hit the heat shield, I'm working on a solution now,
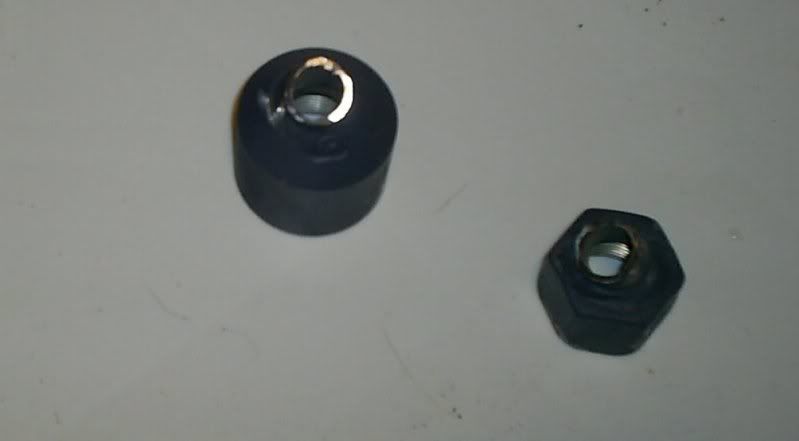
I put a little primer on these to protect them from rust until they are coated

the engine is now at the proper height

the hanger is now welded to the bracket, I may have to modify the hanger off of the engine to drop it slightly.

the header tubes now clear the cross member

the flanges came out great

my ugly mug


this is where the pipe now hits

I put a little primer on these to protect them from rust until they are coated
the engine is now at the proper height
the hanger is now welded to the bracket, I may have to modify the hanger off of the engine to drop it slightly.
the header tubes now clear the cross member
the flanges came out great
my ugly mug
this is where the pipe now hits
Last edited by lostforawhile; May 14, 2011 at 04:45 PM.
Thread Starter
longest project ever
Joined: Sep 2009
Posts: 3,494
Likes: 2
From: on the south side of dixie, 1986 Accord Hatch
I was able to get the first pipe to clear the heat shield, by tightening the nuts on the header flange, and messing with the hanger bracket, plus a large wooden mallet to the heat shield, I was going to use the factory center bracket, but apparently it took a heck of a hit somewhere in the past, no fixing this one
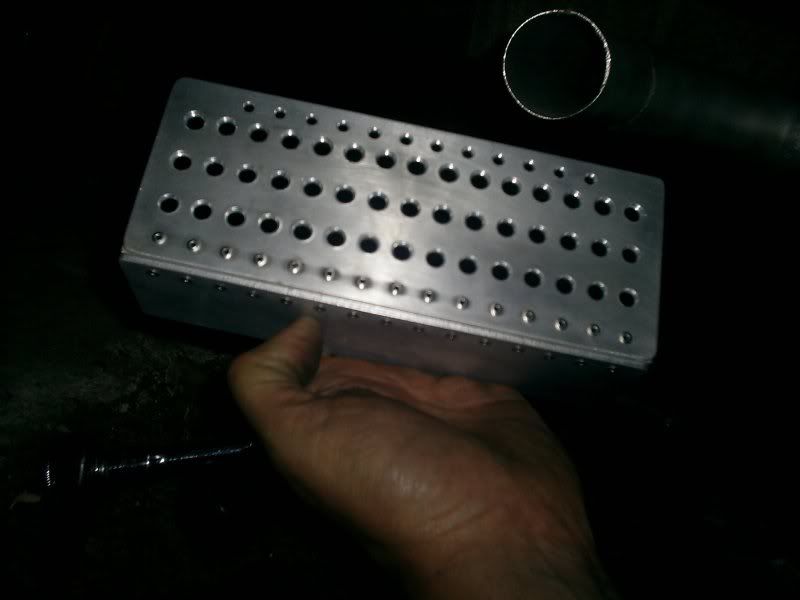
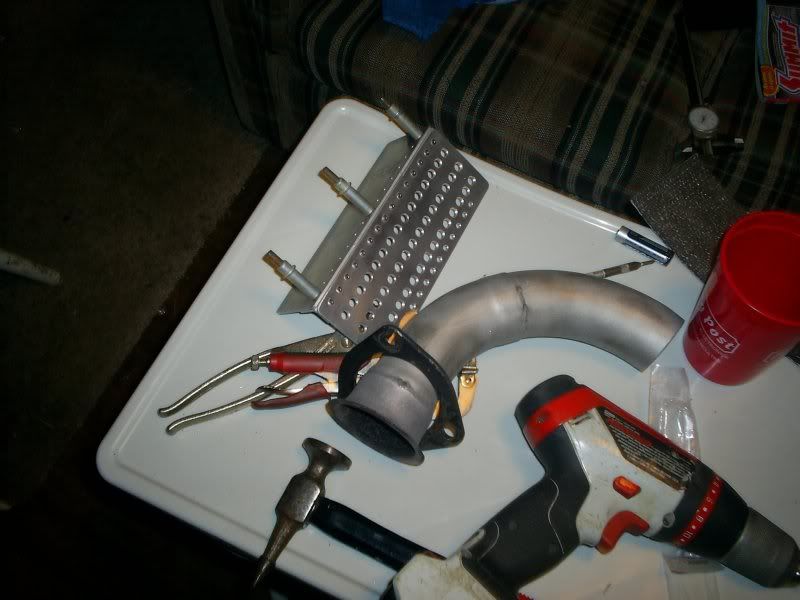
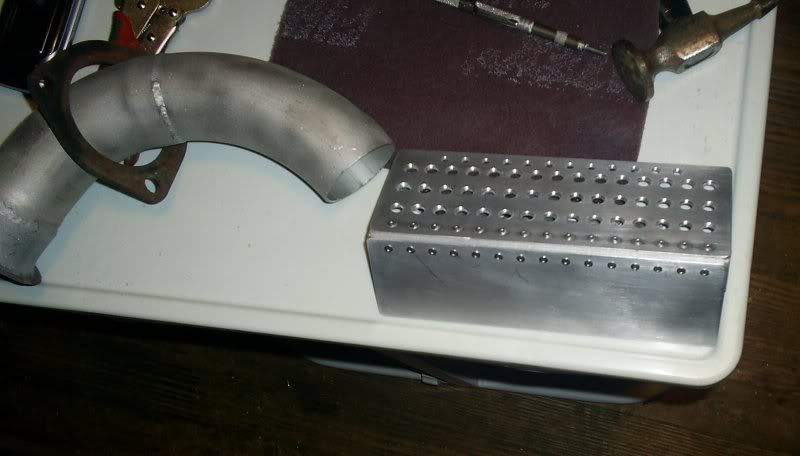
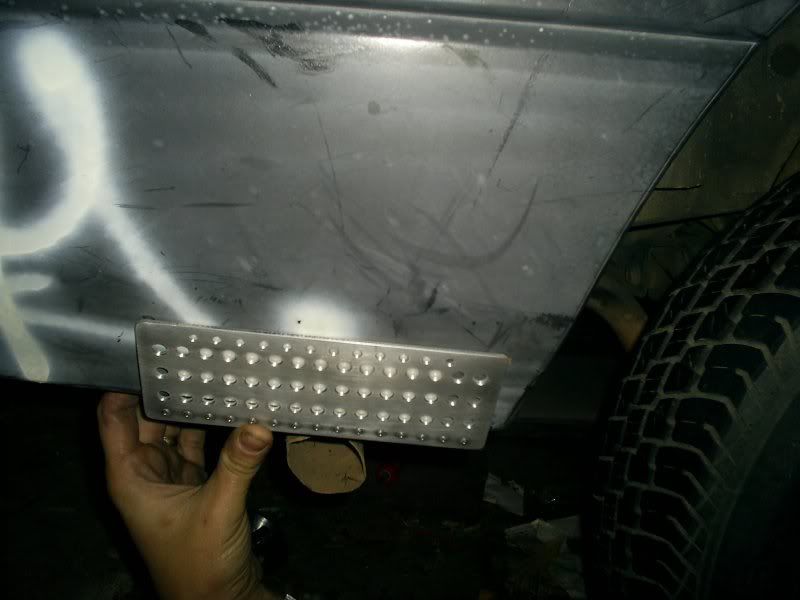
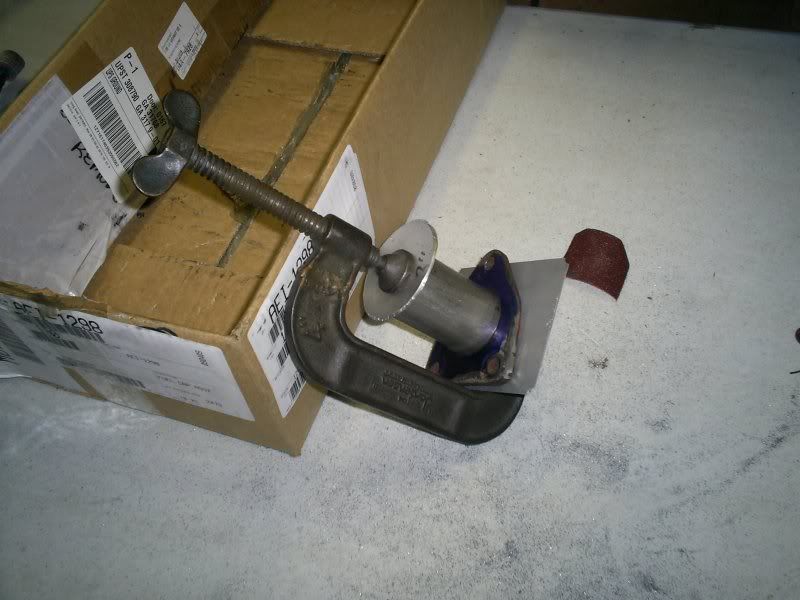
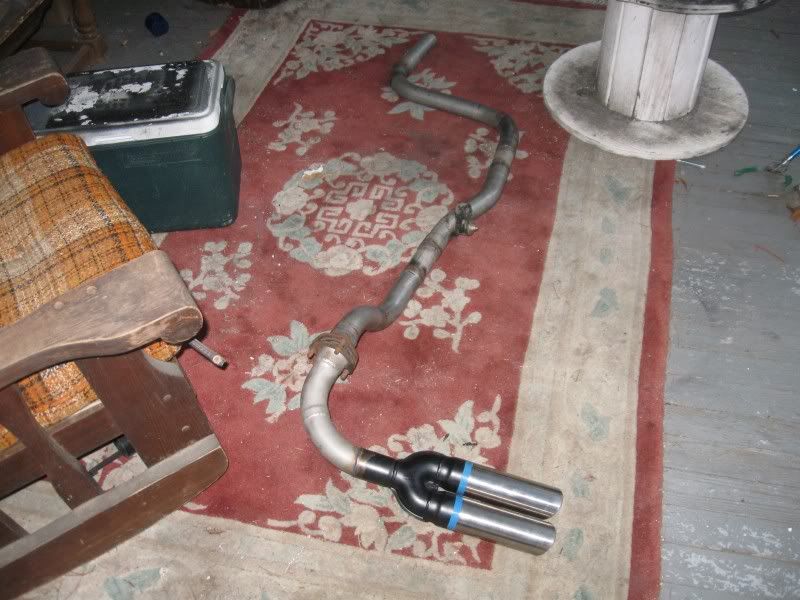
I made a nice bracket for the rear to hold the cherry bomb, by taking off one piece of it, it fits the center tunnel, it's off to one side in the picture, but the bracket is offset, so all I have to do is flip it around, it's grooved to hold a large worm drive clamp
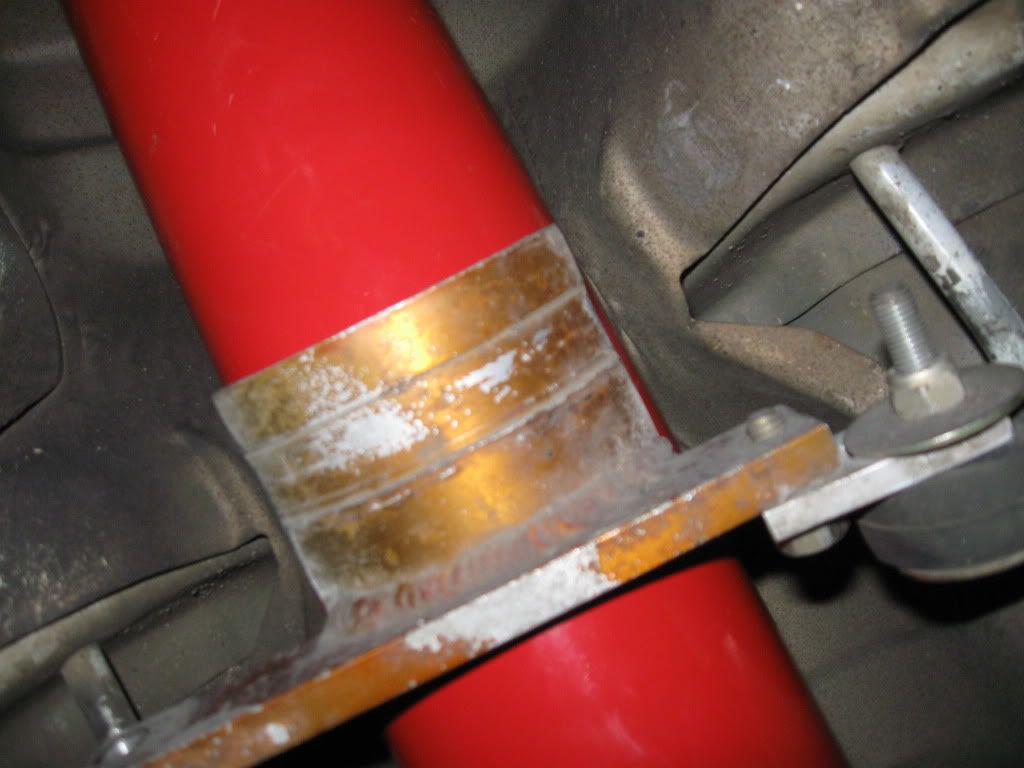
I made a nice bracket for the rear to hold the cherry bomb, by taking off one piece of it, it fits the center tunnel, it's off to one side in the picture, but the bracket is offset, so all I have to do is flip it around, it's grooved to hold a large worm drive clamp
Last edited by lostforawhile; May 14, 2011 at 04:46 PM.


Thread Starter
longest project ever
Joined: Sep 2009
Posts: 3,494
Likes: 2
From: on the south side of dixie, 1986 Accord Hatch
everything hangs under the car perfectly, but for some reason the tips are now at an angle and sticking out way too far, I have no idea how, a couple of cuts a flare and some more welding should fix it.
Thread Starter
longest project ever
Joined: Sep 2009
Posts: 3,494
Likes: 2
From: on the south side of dixie, 1986 Accord Hatch
So do I, I just have a long way to go before it's on the road again,at least this is a major piece done, I was working on this massive wiring harness project,then I found out about the headers, which started this project. I keep having to stop, but I seem to be making some progress lately
Thread Starter
longest project ever
Joined: Sep 2009
Posts: 3,494
Likes: 2
From: on the south side of dixie, 1986 Accord Hatch
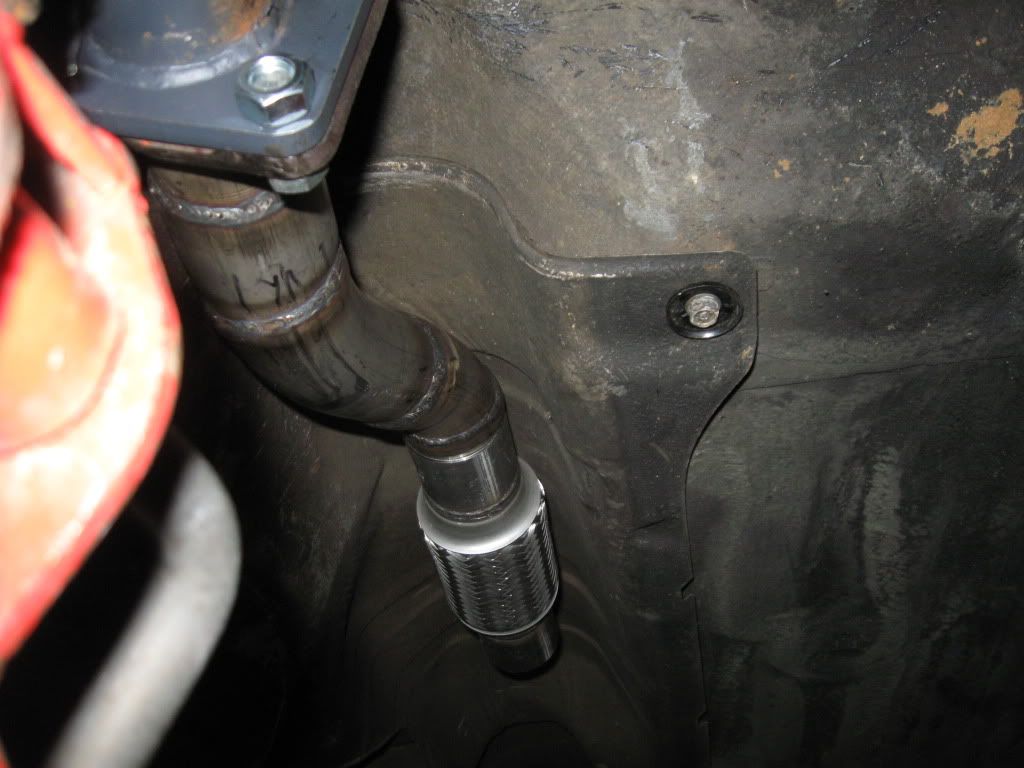
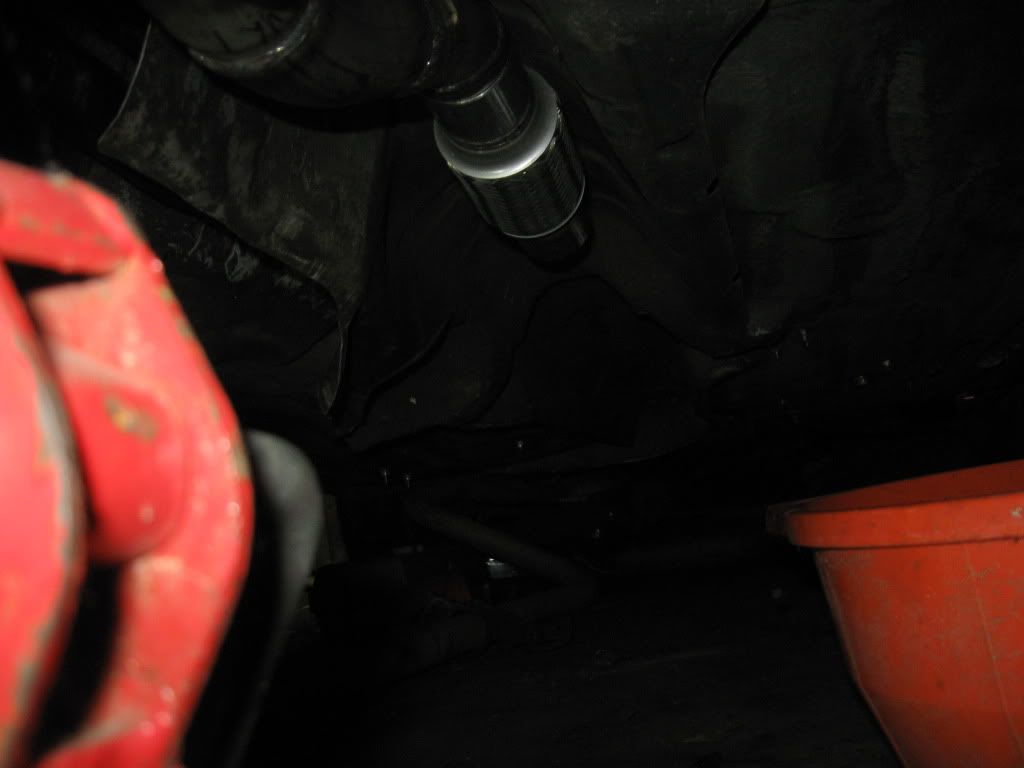
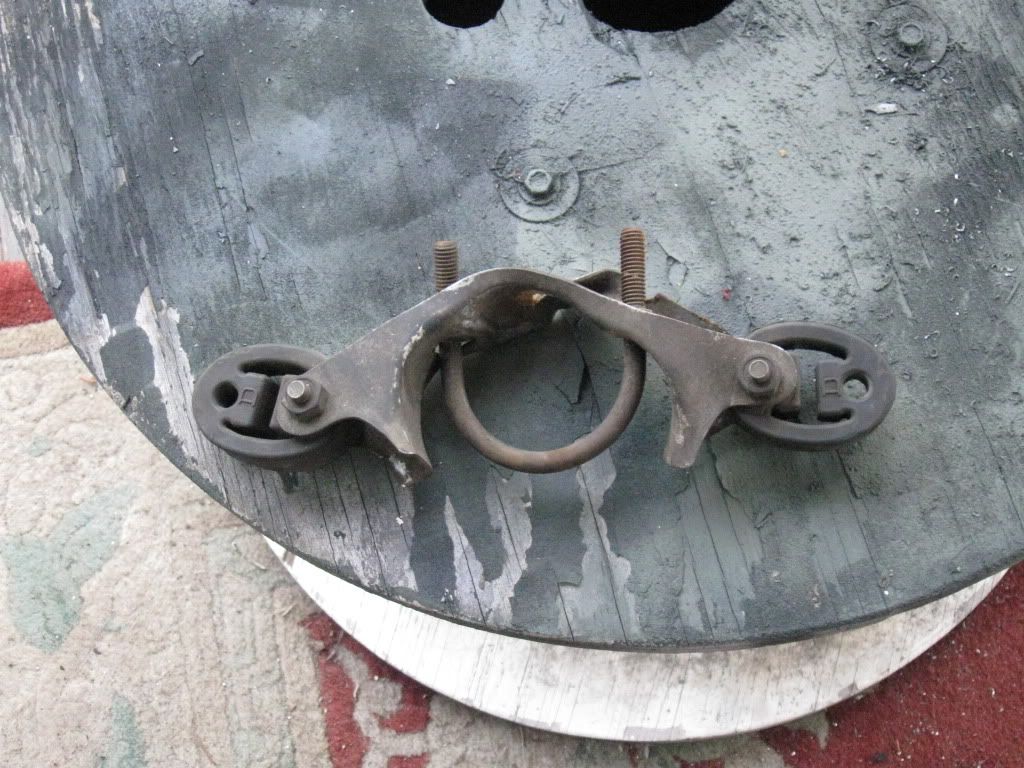
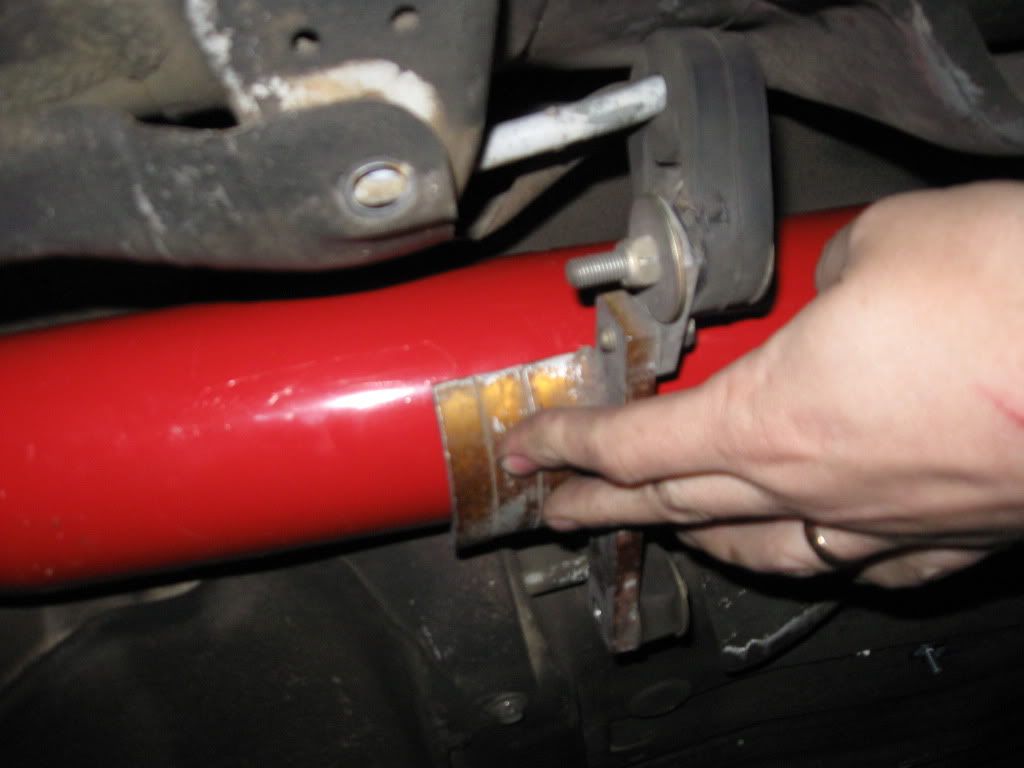
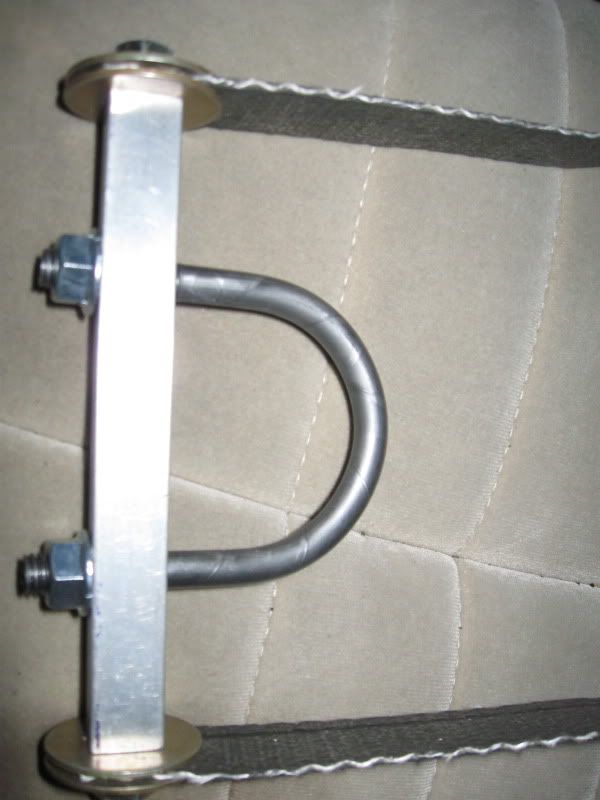
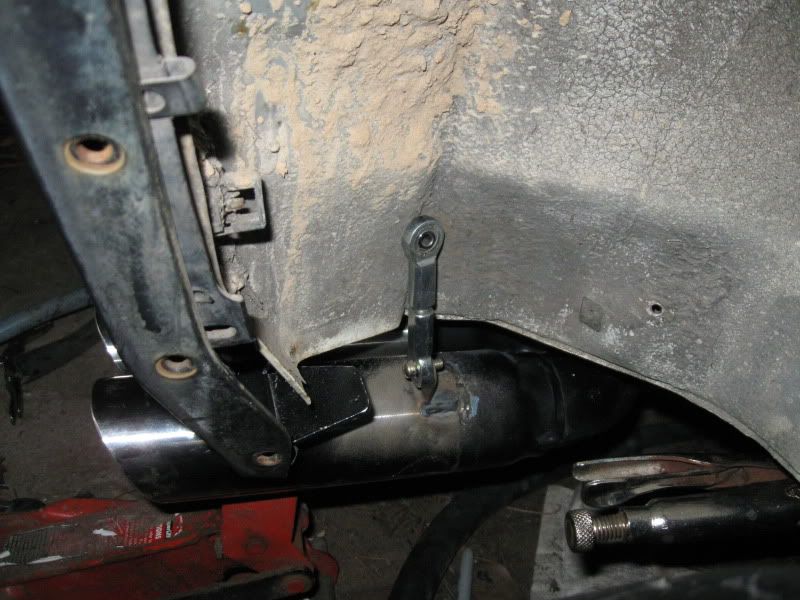
I ended up making this hanger today to help hold the pipe up, the pipe sits on the flat part and the U bolt just keeps it from sliding around, I have to change a little of the heat shield sheet metal before it will fit.
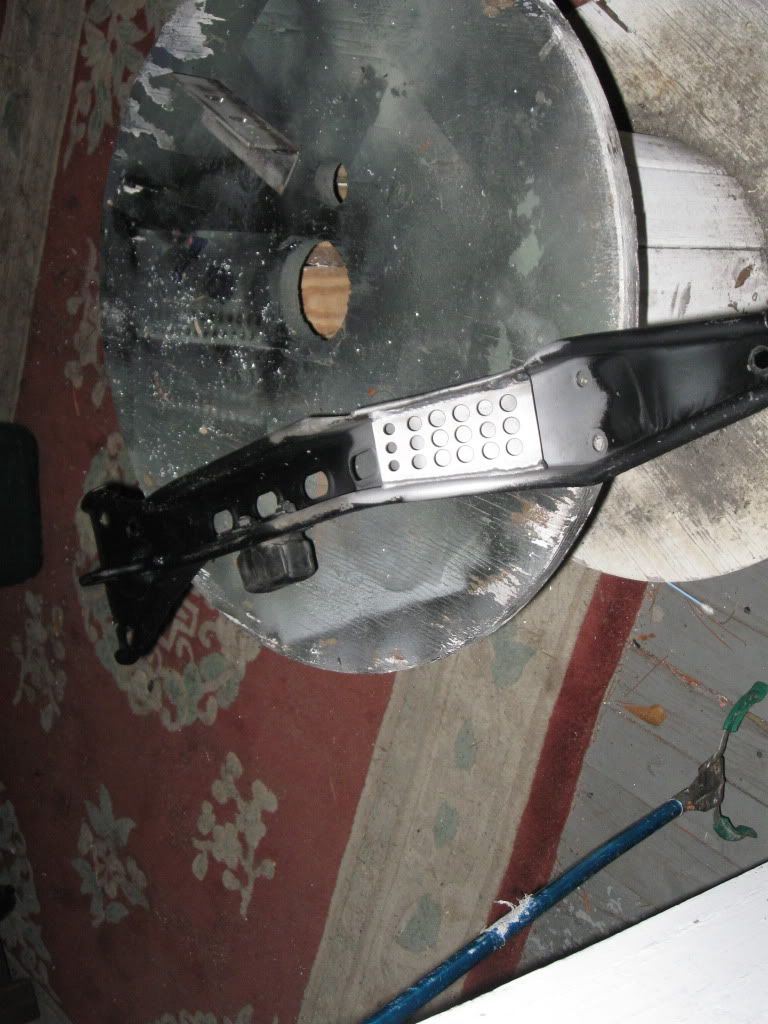
I was having a problem with the system not lining up, it seems the problem was, when i made the system, one of the bends was off just a little,it fits fine under the car, but the bend was right where the rear hanger was, I thought I had moved the hanger out far enough, but apparently it was pulling the piping too far to one side, and causing the entire system to pivot off center.
this was the hanger bracket before
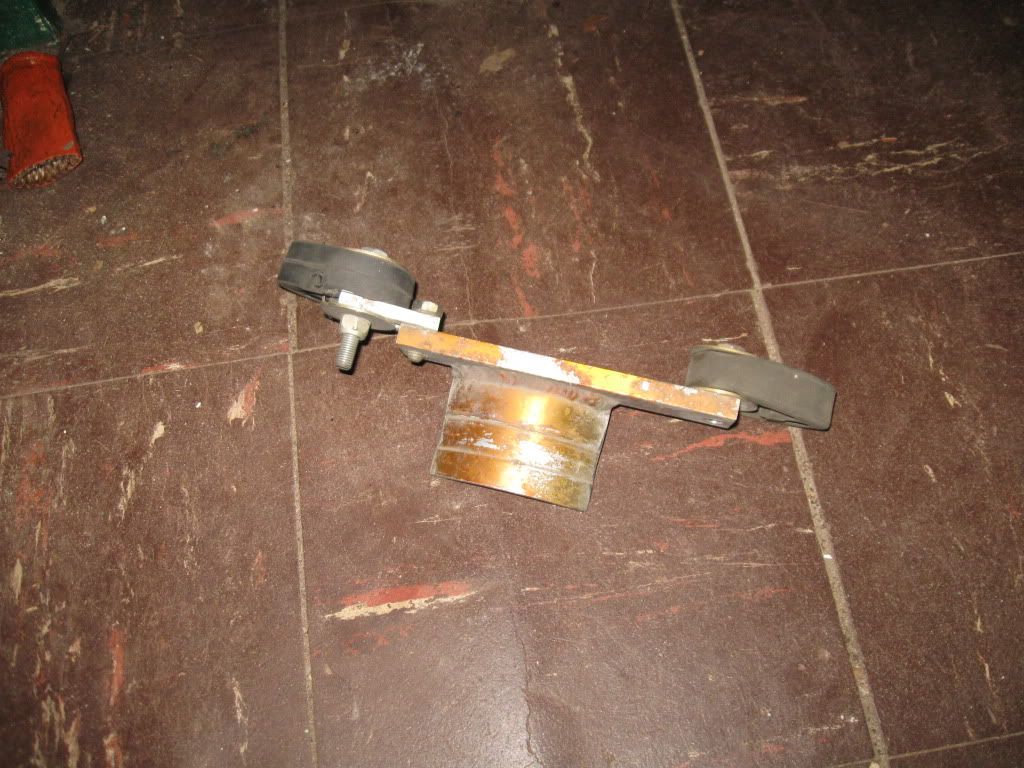
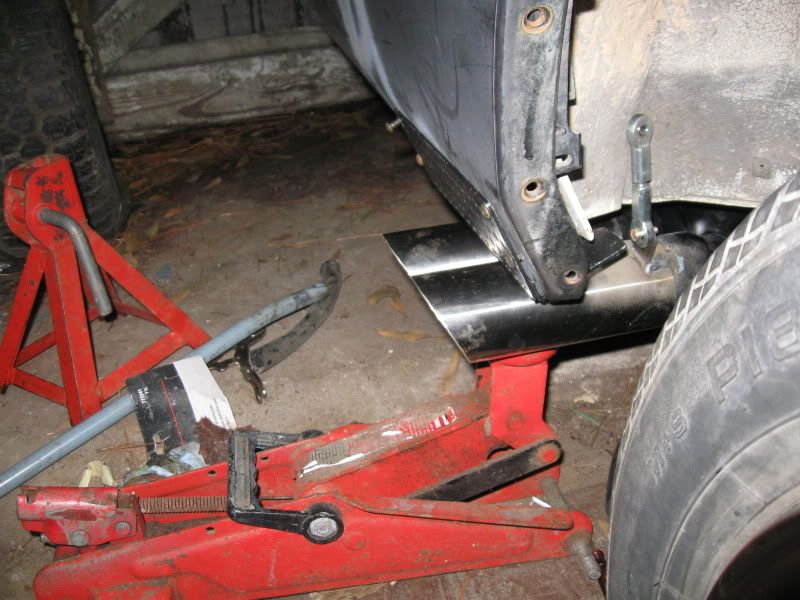
this was my solution, it moved the piping 1 inch towards the center of the car, and now everything lines up.
this one needs to be moved over slightly
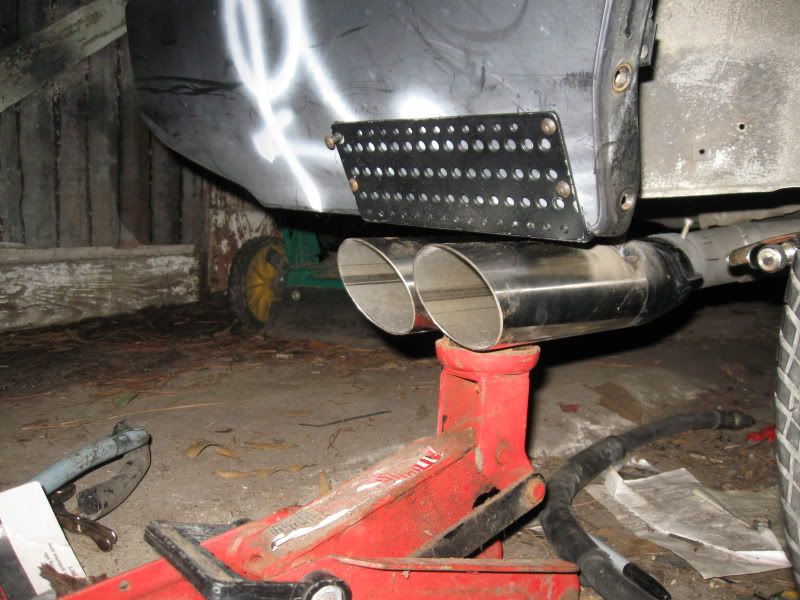
this is the hanger bracket for the tips
I was having a problem with the system not lining up, it seems the problem was, when i made the system, one of the bends was off just a little,it fits fine under the car, but the bend was right where the rear hanger was, I thought I had moved the hanger out far enough, but apparently it was pulling the piping too far to one side, and causing the entire system to pivot off center.
this was the hanger bracket before
this was my solution, it moved the piping 1 inch towards the center of the car, and now everything lines up.
this one needs to be moved over slightly
this is the hanger bracket for the tips
Last edited by lostforawhile; May 14, 2011 at 04:56 PM.
