

SHG_Felliphe's EG Hatch Build Thread

A Digital Frontier
Joined: Dec 2007
Posts: 5,549
Likes: 0
From: On the Grid.
wow awesome, they just opened up a new one like 5 min from my house. I need to go rip it over there.
http://www.youtube.com/watch?v=upxA2...eature=related
Thread Starter
Honda-Tech Member
Joined: Nov 2007
Posts: 6,334
Likes: 1
From: MA
Ehh its just some dripping on the header that evaporates instantly. Its not a treat IMO. That video was a pretty rare instance itself and its a race car at that. Not to mention he didnt even have a rear window wtf? He had a hose full of oil break loose lol, not quite the same here but Im looking to doing the swap this weekend probably. I saw that a few weeks ago, pretty nuts that he was ok.
Honda-Tech Member
Joined: Feb 2004
Posts: 13,716
Likes: 2
From: DSM, IA
Nevermind...looked last night. Must have been trashed because I can't find them. When I replaced my inner tie-rods I replaced the boots with my 98 Civic boots since they were nicer...guess I threw the 93 Civic boots away. Sorry Claude.
I'm sure they're fairly inexpensive at NAPA: https://www.napaonline.com/Catalog/R...06&Ntk=Keyword
I'm sure they're fairly inexpensive at NAPA: https://www.napaonline.com/Catalog/R...06&Ntk=Keyword
Thread Starter
Honda-Tech Member
Joined: Nov 2007
Posts: 6,334
Likes: 1
From: MA
I'll look into it! Thanks Gabus 
Update:
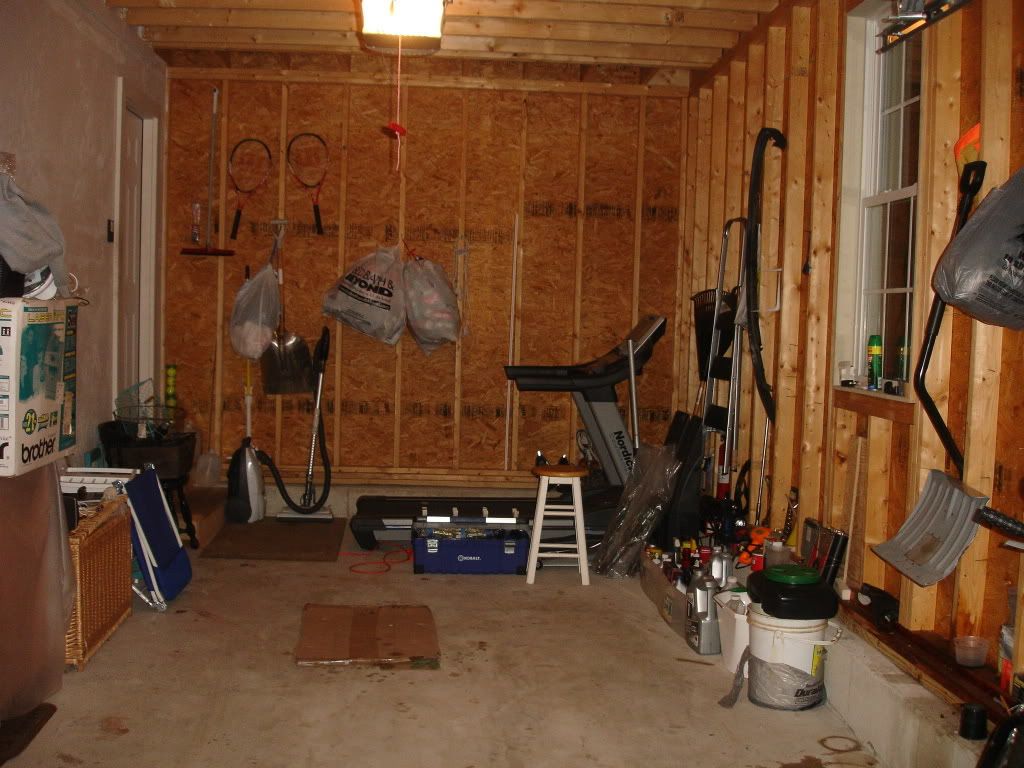
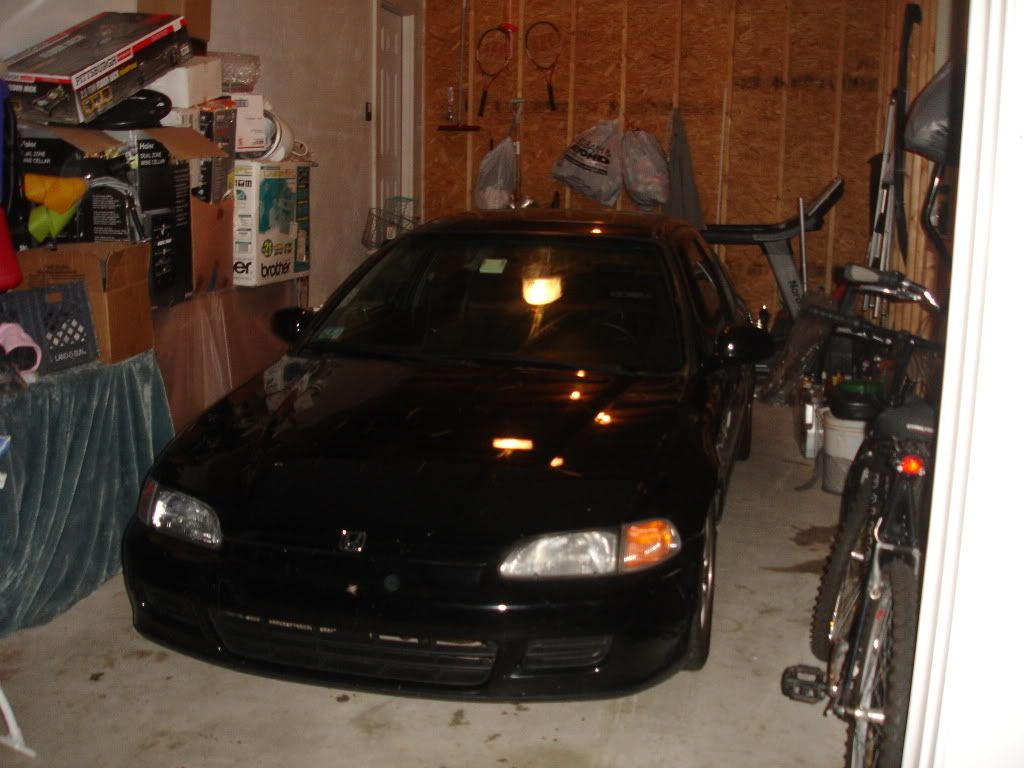
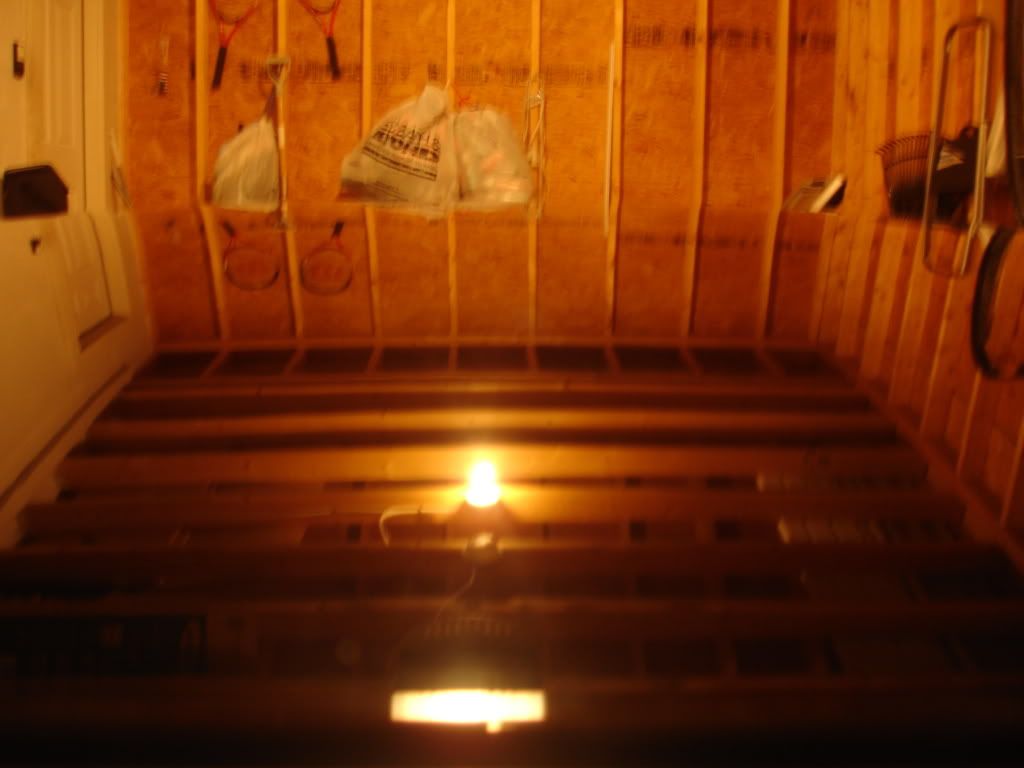
2 nights ago I cleaned up the garage. It was a mess with tools all over the place and I neatly ordered my bin of cans/supplies and all the tools into the toolbox. Lotta space to work on it now
It will improve as time goes on but its a nice step in the right direction.
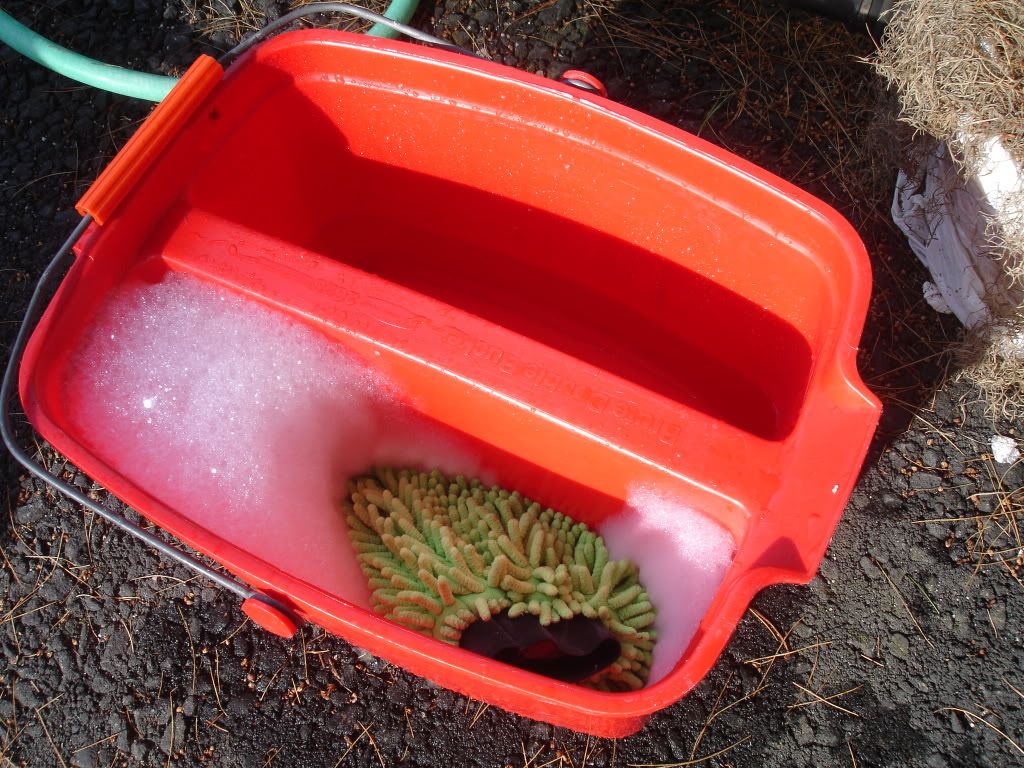
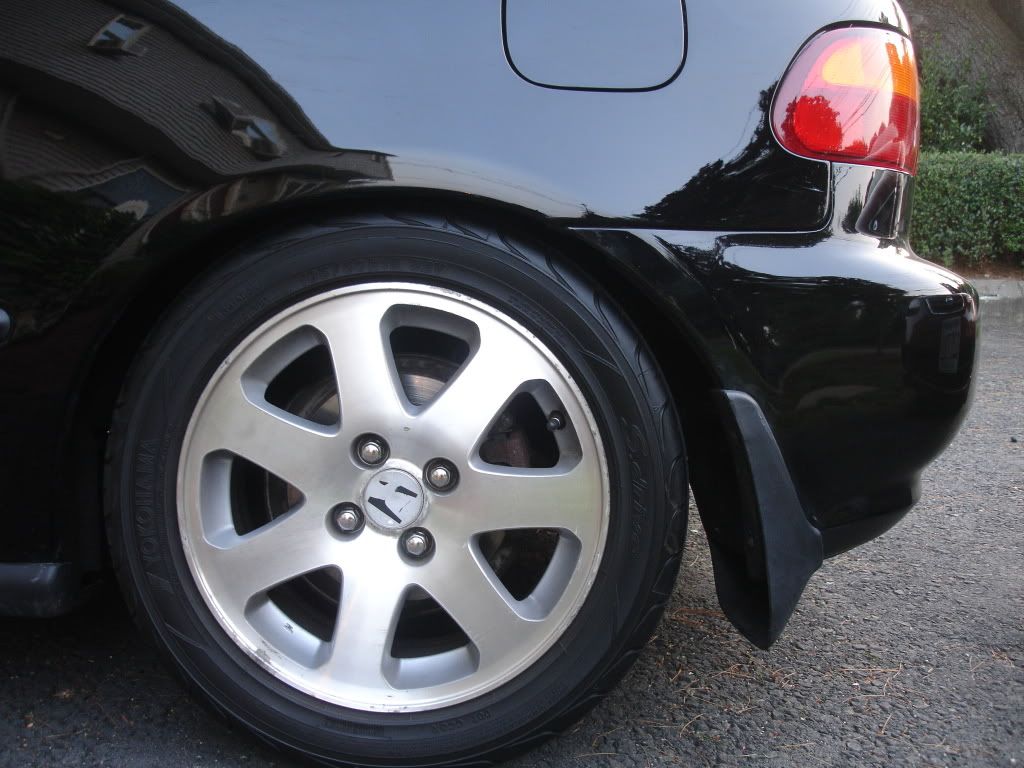
Next up was a much needed wash and wax!
Drove through a heavy rain storm yesterday and that's why it looks so clean
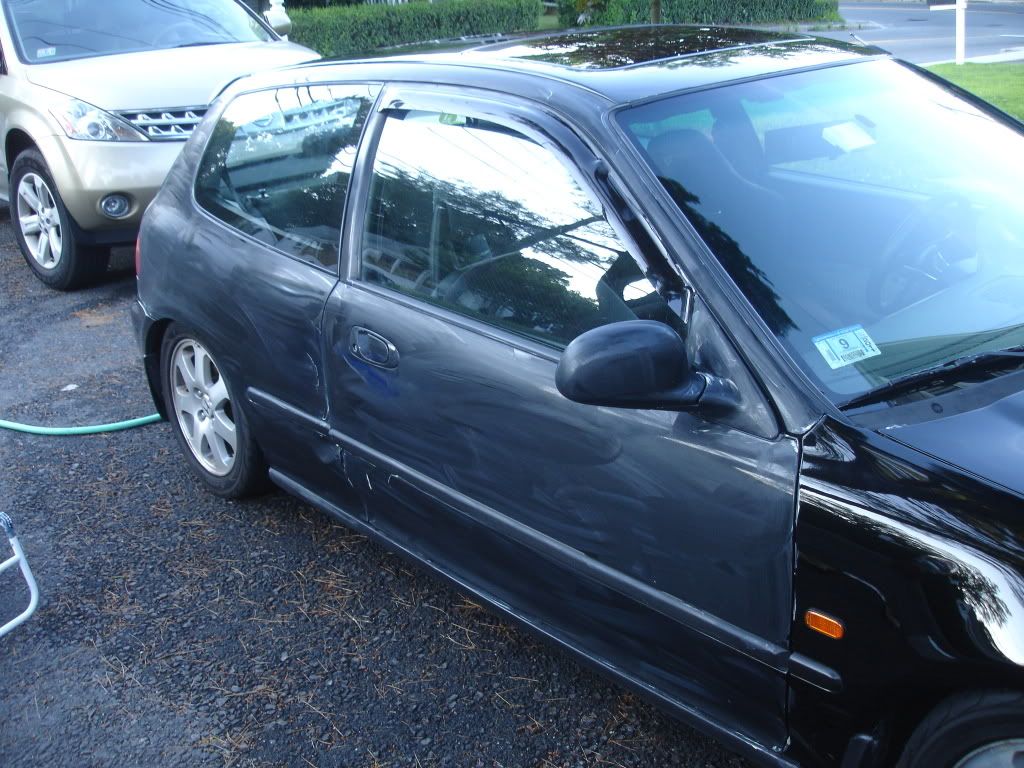
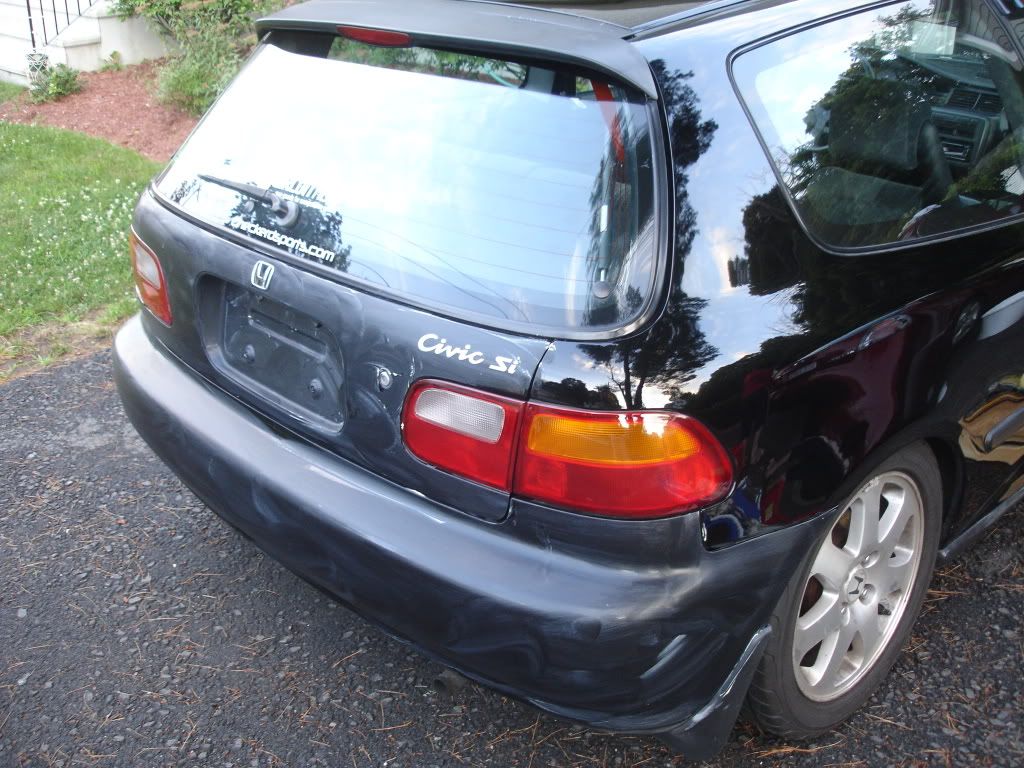
So... the first day I take my car out after fixing the axle I park it at the DMV to drop off some plates real quick and I come back out 10 minutes later and someone did a nice job getting out of their spot fuuuuuuuuuuuuu
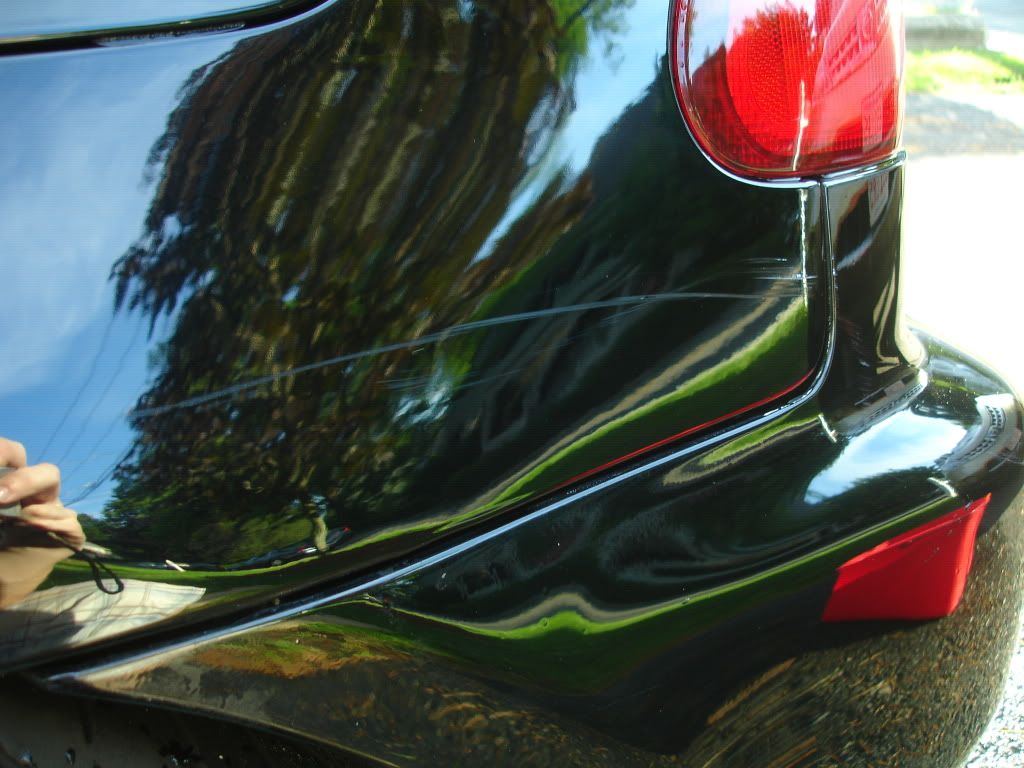
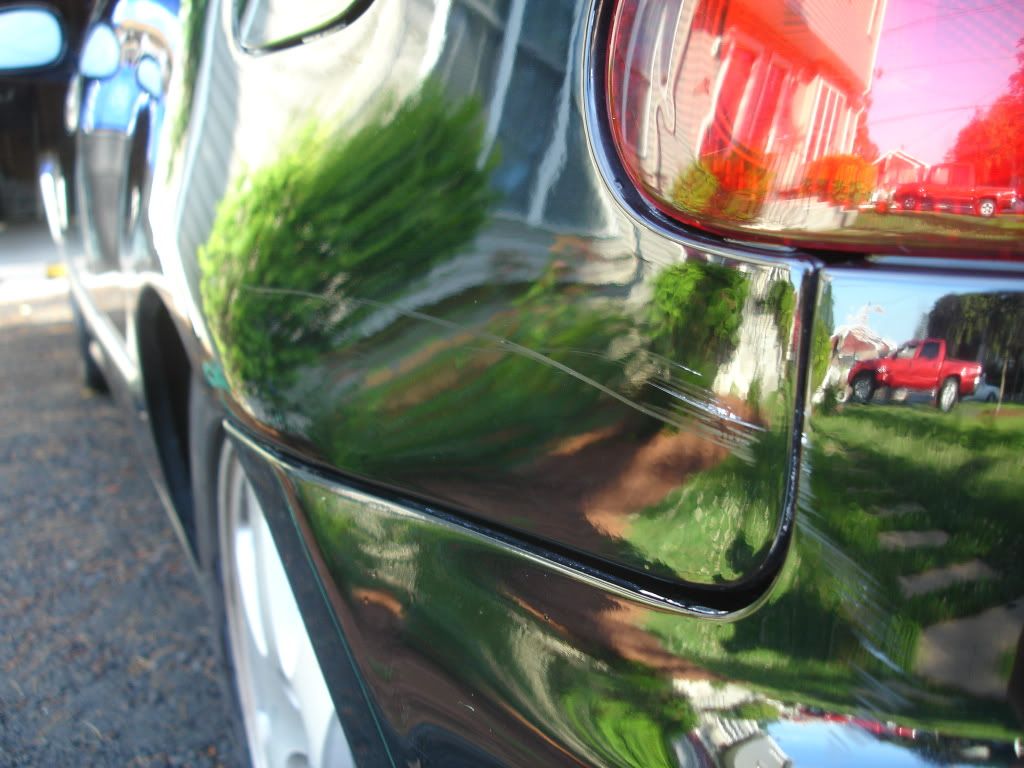
Thats just how it is though, I'm over it now but I was a bit angry over it. I wish people could be more attentive around other people's cars. Theres some scratches in the bumper too from it. :/
Just cuz my car is black!!
Washed:
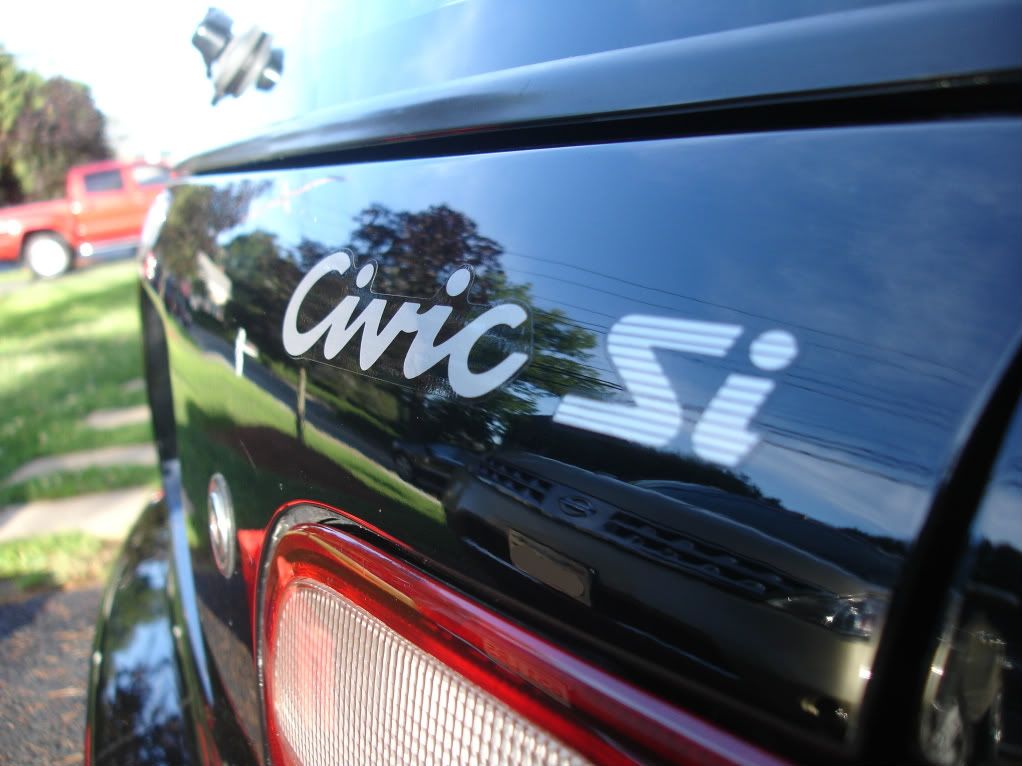
I love taking shots of my Civic Si sticker. Looks so nice in there.
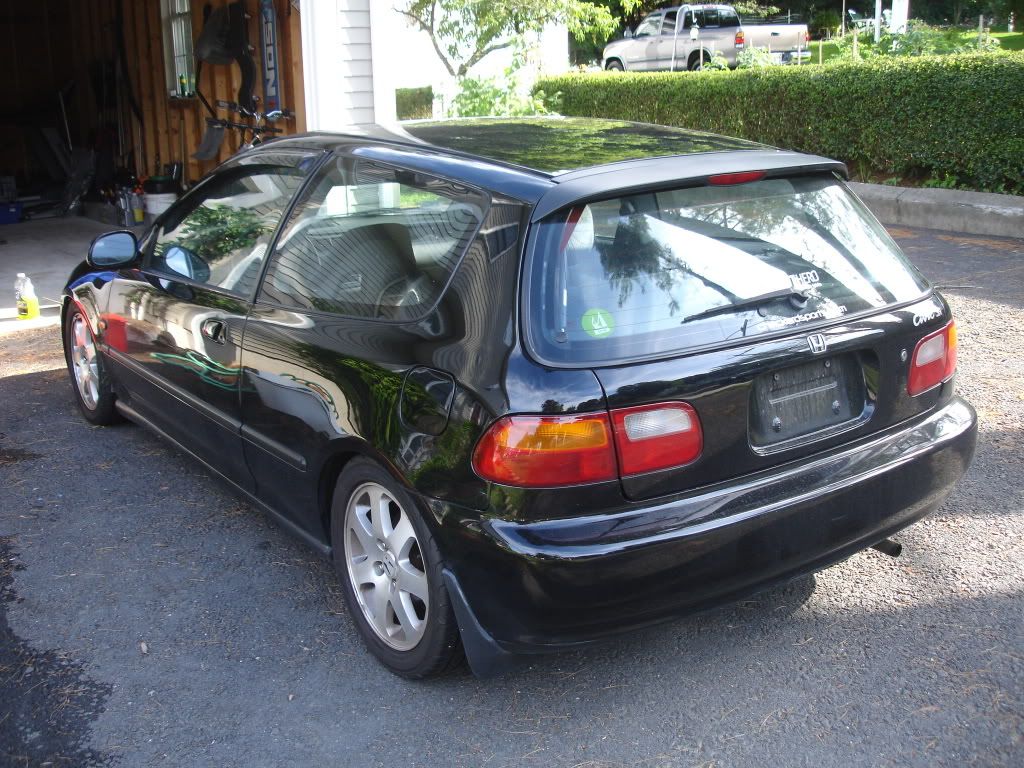
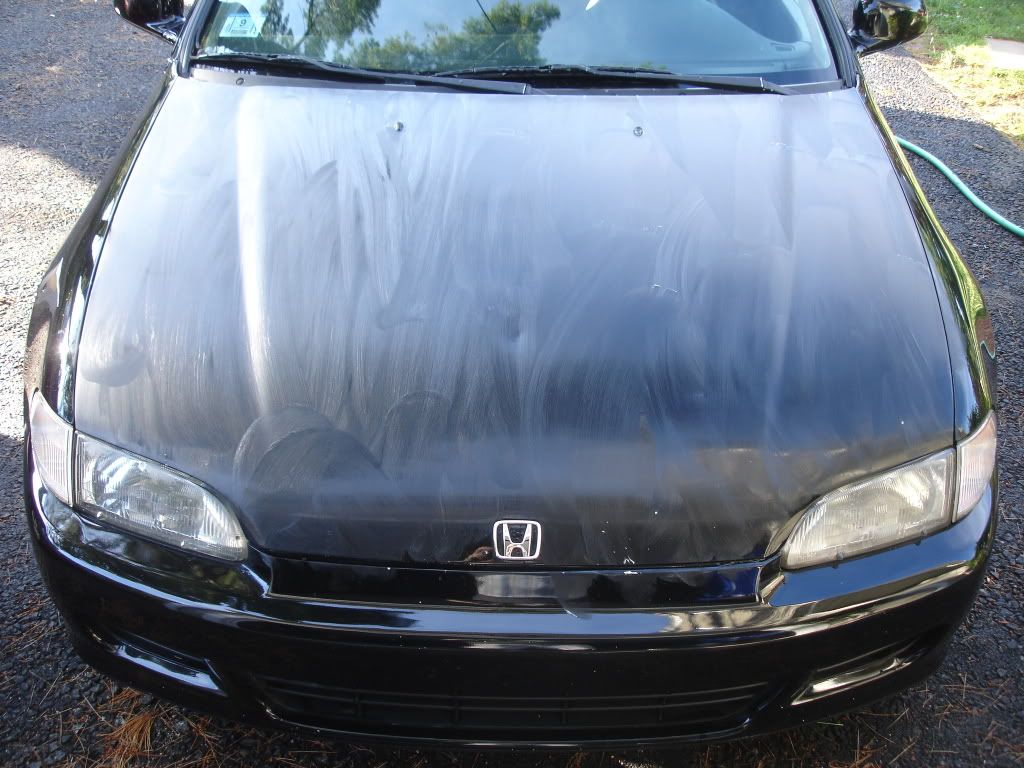
Next after washing and drying the car was time for the wax. I used Meguiar's Gold Class Carnauba Plus paste wax. Worked good! I didn't feel as slippery as the Turtle Wax I was used to but it does look very nice as expected from using any sort of wax. I'll have to wait till tomorrow to see it in the daylight but I have read great reviews on it. I cleaned it off with a 100% polyester cloth, veryyy smooth.
Started with the hood
Did the fender and then the door and 1/4.
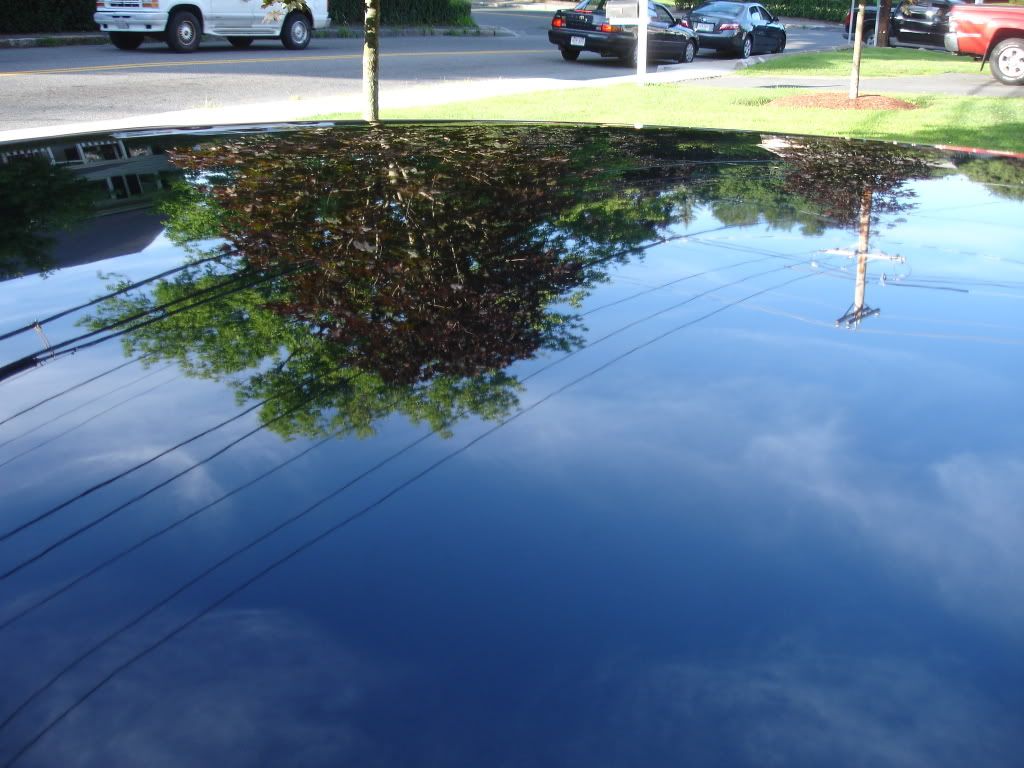
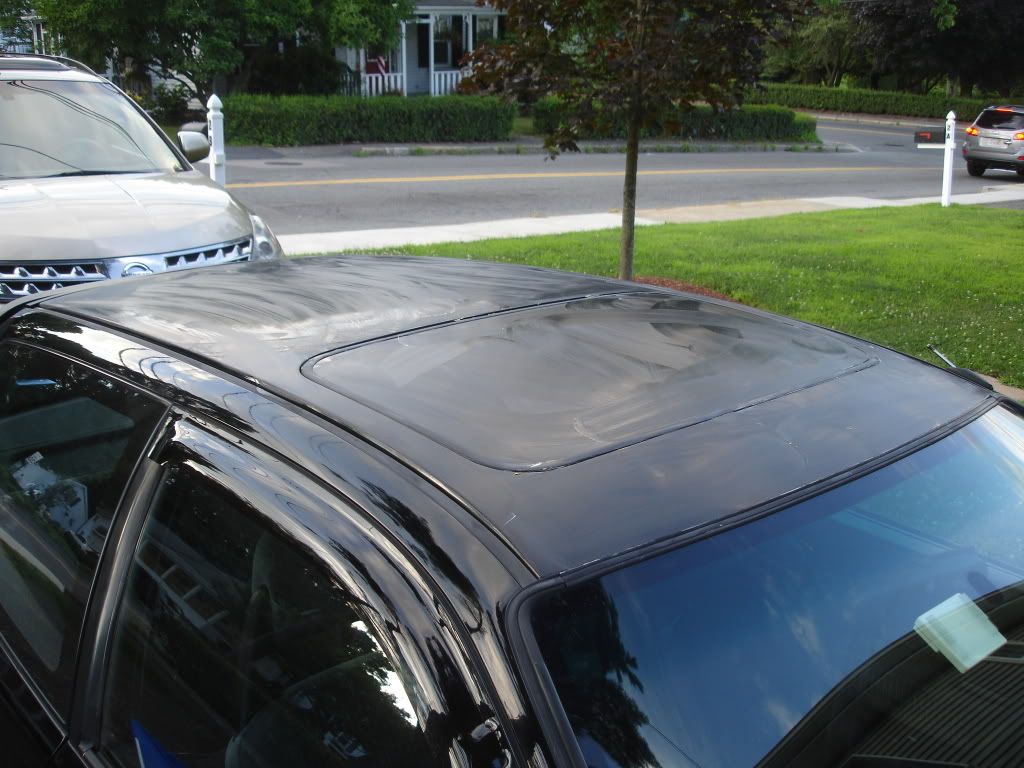
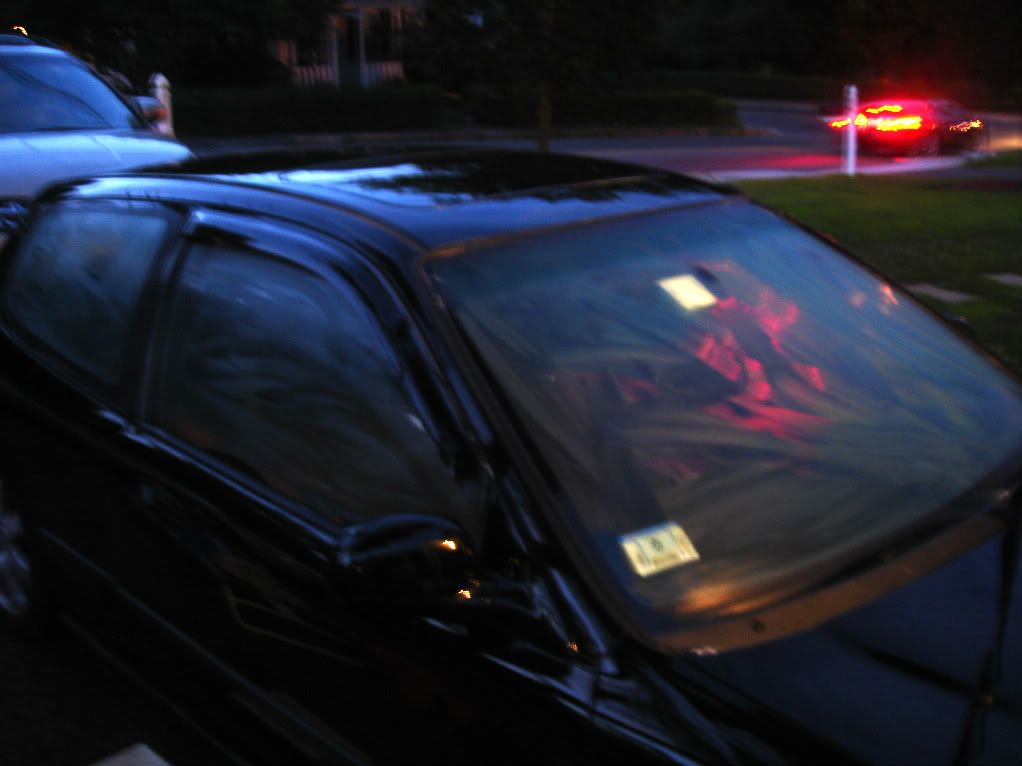
Next up was the roof. Notice I waxed the glass too. This was mainly for 2 reasons. A waxed car has a slippery surface which is good for making air go over it easier. By having the air slide over the car easier, this can improve the aerodynamics of the car, granted small as far as acceleration and turning, it does net substantial MPG improvements and secondly rain slides better on a waxed surface. That doesn't matter much since I have the shade closed during rain but for the windshield its very helpful. The moonroof was mainly to make it slippery.
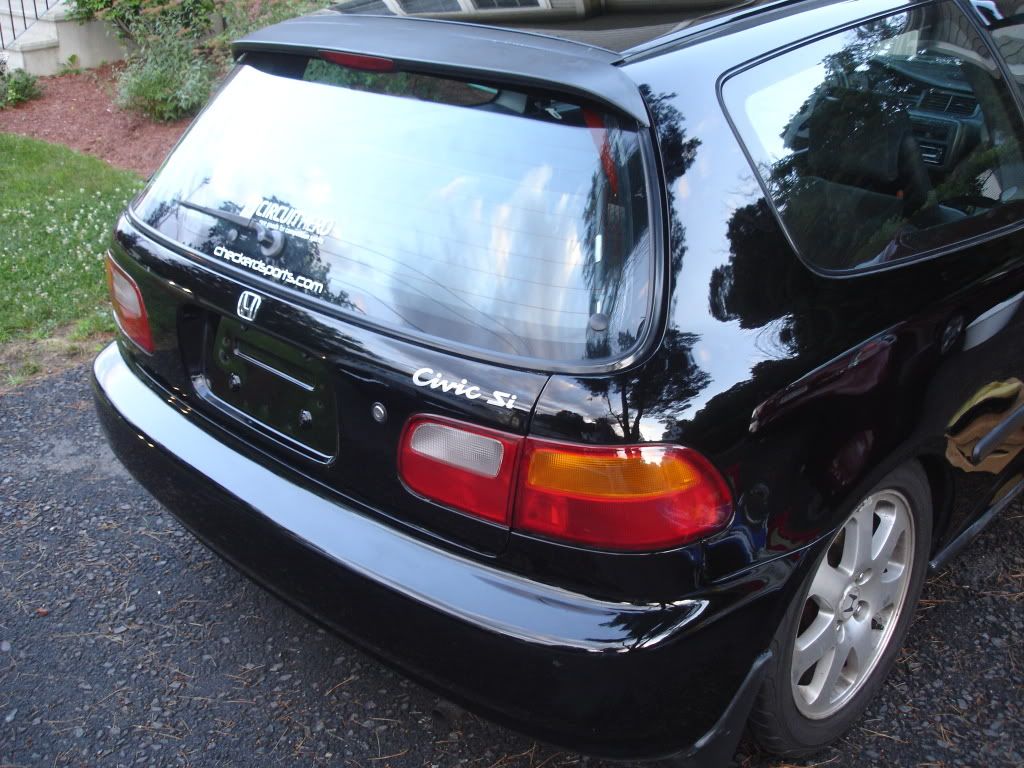
Rear bumper and tailgate
Take this for what its worth lol
Till next time
Update:
2 nights ago I cleaned up the garage. It was a mess with tools all over the place and I neatly ordered my bin of cans/supplies and all the tools into the toolbox. Lotta space to work on it now
It will improve as time goes on but its a nice step in the right direction.
Next up was a much needed wash and wax!
Drove through a heavy rain storm yesterday and that's why it looks so clean
So... the first day I take my car out after fixing the axle I park it at the DMV to drop off some plates real quick and I come back out 10 minutes later and someone did a nice job getting out of their spot
fuuuuuuuuuuuuuThats just how it is though, I'm over it now but I was a bit angry over it. I wish people could be more attentive around other people's cars. Theres some scratches in the bumper too from it. :/
Just cuz my car is black!!
Washed:
I love taking shots of my Civic Si sticker. Looks so nice in there.
Next after washing and drying the car was time for the wax. I used Meguiar's Gold Class Carnauba Plus paste wax. Worked good! I didn't feel as slippery as the Turtle Wax I was used to but it does look very nice as expected from using any sort of wax. I'll have to wait till tomorrow to see it in the daylight but I have read great reviews on it. I cleaned it off with a 100% polyester cloth, veryyy smooth.
Started with the hood
Did the fender and then the door and 1/4.
Next up was the roof. Notice I waxed the glass too. This was mainly for 2 reasons. A waxed car has a slippery surface which is good for making air go over it easier. By having the air slide over the car easier, this can improve the aerodynamics of the car, granted small as far as acceleration and turning, it does net substantial MPG improvements and secondly rain slides better on a waxed surface. That doesn't matter much since I have the shade closed during rain but for the windshield its very helpful. The moonroof was mainly to make it slippery.
Rear bumper and tailgate
Take this for what its worth lol
Till next time

Honda-Tech Member
Joined: Apr 2010
Posts: 365
Likes: 0
From: Mass/Boston
I need to start checking out these build threads out more often. Didnt know there was a person from my area with good taste, haha. Hatch is looking good
Thread Starter
Honda-Tech Member
Joined: Nov 2007
Posts: 6,334
Likes: 1
From: MA
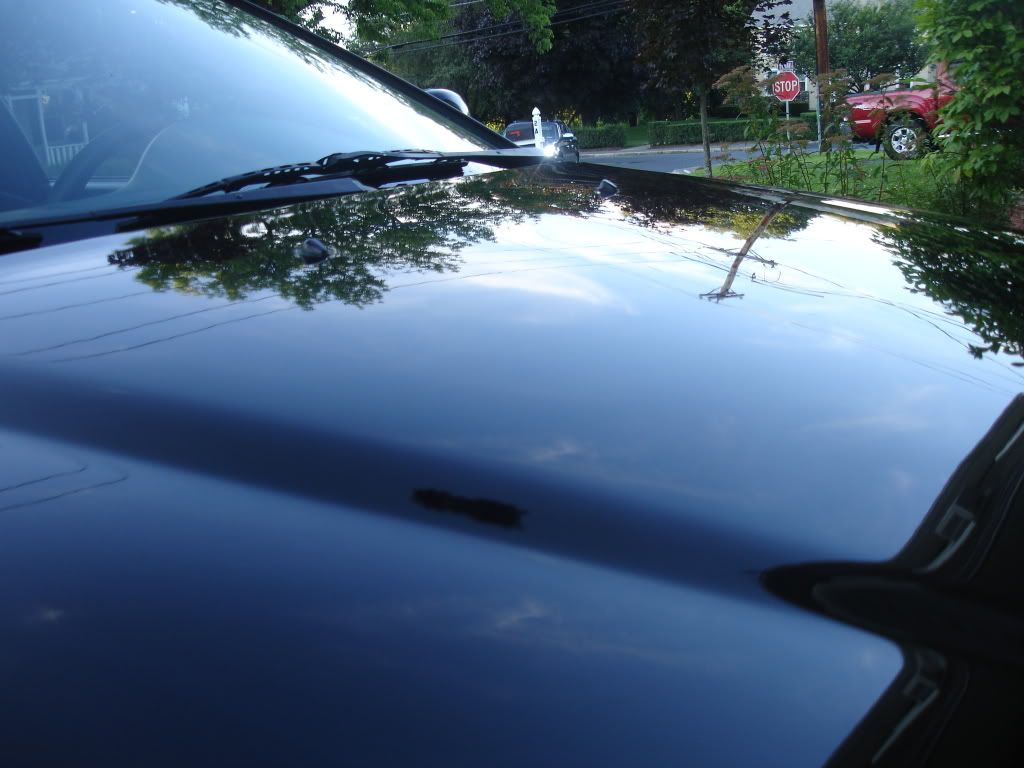
Yeahh. I was out tonight with SHG and we were looking at it parked and we were just bugging how the driver's window looked to be down even though it was up. The wax made it so glossy and clear its amazing lol.
Its nice having fresh paint, just wish it didnt have a dent =[
Thanks Odayne, hope to see a debut at Oktober Fest.
Thread Starter
Honda-Tech Member
Joined: Nov 2007
Posts: 6,334
Likes: 1
From: MA
Honda-Tech Member
Joined: Jan 2004
Posts: 10,475
Likes: 0
From: Working in the NRBG, Garage
ehhh i never have applied in a straight line, nor have i have put 10000000lbs of pressure on my cars when i wax em either. orbital buffer move that way for a reason, know what i mean. everyone has their way. lookin to this bet it will help with your scratches. i'll be owning one here shortly as well.
http://www.tools-plus.com/porter-cab...term=P-C7424XP
http://www.tools-plus.com/porter-cab...term=P-C7424XP
Honda-Tech Member
Joined: Dec 2003
Posts: 12,680
Likes: 1
From: True Honda Enthusiast
word!
A couple tips on waxing clauds....
1- I agree with Jeff that a circular motion is better than straight. this is because when your spreading the wax in every direction its filling in all angles of pits and fine scratches, instead of just filling the side of them thats facing the one direction your moving the pad in when rubbing it on straight. Also its easier to keep a steady pressure when you have one constant fluid motion rather that coming to a rest at the end of each motion.
2- I would avoid using excessive pressure while applying WAX. You shouldnt be using wax to clean your paint, its simply there to leave a protective coating. If you feel the paint needs to be cleaner you should claybar the car first. Pressing too hard when waxing makes the chance of scratching the paint much greater. Any debris thats still on the car after washing, or lands on the car out of the air while your waxing can contaminate the pad and if youre pressing like crazy, you'll just bury that **** into the paint. I always use light pressure, just enough to keep the pad in good contact with the surface.
3- You can use ALOT less wax. Remember that once you buff off the excess there is only a microscopic layer of wax left behind, so you dont need to put on a ton of excess to achieve full coverage. The thinner the coat of wax is on the pad also provides better penetration into pits and scratches (albeit microscopic). Less excess makes it much easier to remove and is just plain economical, and I know youre all about that . After applying the way you should only see a light haze, and no globs or white looking streaks. This means there is wet wax still and is just a paint to get off.
Also, with that tie rod boot, why not just get it from Honda? Seems alot of people avoid getting OEM parts because of cost, but Majestic prices are crack and you can call after you place the online order, cancell shipping, and go pick it up at no extra cost
A couple tips on waxing clauds....
1- I agree with Jeff that a circular motion is better than straight. this is because when your spreading the wax in every direction its filling in all angles of pits and fine scratches, instead of just filling the side of them thats facing the one direction your moving the pad in when rubbing it on straight. Also its easier to keep a steady pressure when you have one constant fluid motion rather that coming to a rest at the end of each motion.
2- I would avoid using excessive pressure while applying WAX. You shouldnt be using wax to clean your paint, its simply there to leave a protective coating. If you feel the paint needs to be cleaner you should claybar the car first. Pressing too hard when waxing makes the chance of scratching the paint much greater. Any debris thats still on the car after washing, or lands on the car out of the air while your waxing can contaminate the pad and if youre pressing like crazy, you'll just bury that **** into the paint. I always use light pressure, just enough to keep the pad in good contact with the surface.
3- You can use ALOT less wax. Remember that once you buff off the excess there is only a microscopic layer of wax left behind, so you dont need to put on a ton of excess to achieve full coverage. The thinner the coat of wax is on the pad also provides better penetration into pits and scratches (albeit microscopic). Less excess makes it much easier to remove and is just plain economical, and I know youre all about that
. After applying the way you should only see a light haze, and no globs or white looking streaks. This means there is wet wax still and is just a paint to get off. Also, with that tie rod boot, why not just get it from Honda? Seems alot of people avoid getting OEM parts because of cost, but Majestic prices are crack and you can call after you place the online order, cancell shipping, and go pick it up at no extra cost
Honda-Tech Member
Joined: Jan 2004
Posts: 10,475
Likes: 0
From: Working in the NRBG, Garage
word!
A couple tips on waxing clauds....
1- I agree with Jeff that a circular motion is better than straight. this is because when your spreading the wax in every direction its filling in all angles of pits and fine scratches, instead of just filling the side of them thats facing the one direction your moving the pad in when rubbing it on straight. Also its easier to keep a steady pressure when you have one constant fluid motion rather that coming to a rest at the end of each motion.
2- I would avoid using excessive pressure while applying WAX. You shouldnt be using wax to clean your paint, its simply there to leave a protective coating. If you feel the paint needs to be cleaner you should claybar the car first. Pressing too hard when waxing makes the chance of scratching the paint much greater. Any debris thats still on the car after washing, or lands on the car out of the air while your waxing can contaminate the pad and if youre pressing like crazy, you'll just bury that **** into the paint. I always use light pressure, just enough to keep the pad in good contact with the surface.
3- You can use ALOT less wax. Remember that once you buff off the excess there is only a microscopic layer of wax left behind, so you dont need to put on a ton of excess to achieve full coverage. The thinner the coat of wax is on the pad also provides better penetration into pits and scratches (albeit microscopic). Less excess makes it much easier to remove and is just plain economical, and I know youre all about that. After applying the way you should only see a light haze, and no globs or white looking streaks. This means there is wet wax still and is just a paint to get off.
Also, with that tie rod boot, why not just get it from Honda? Seems alot of people avoid getting OEM parts because of cost, but Majestic prices are crack and you can call after you place the online order, cancell shipping, and go pick it up at no extra cost
A couple tips on waxing clauds....
1- I agree with Jeff that a circular motion is better than straight. this is because when your spreading the wax in every direction its filling in all angles of pits and fine scratches, instead of just filling the side of them thats facing the one direction your moving the pad in when rubbing it on straight. Also its easier to keep a steady pressure when you have one constant fluid motion rather that coming to a rest at the end of each motion.
2- I would avoid using excessive pressure while applying WAX. You shouldnt be using wax to clean your paint, its simply there to leave a protective coating. If you feel the paint needs to be cleaner you should claybar the car first. Pressing too hard when waxing makes the chance of scratching the paint much greater. Any debris thats still on the car after washing, or lands on the car out of the air while your waxing can contaminate the pad and if youre pressing like crazy, you'll just bury that **** into the paint. I always use light pressure, just enough to keep the pad in good contact with the surface.
3- You can use ALOT less wax. Remember that once you buff off the excess there is only a microscopic layer of wax left behind, so you dont need to put on a ton of excess to achieve full coverage. The thinner the coat of wax is on the pad also provides better penetration into pits and scratches (albeit microscopic). Less excess makes it much easier to remove and is just plain economical, and I know youre all about that
. After applying the way you should only see a light haze, and no globs or white looking streaks. This means there is wet wax still and is just a paint to get off. Also, with that tie rod boot, why not just get it from Honda? Seems alot of people avoid getting OEM parts because of cost, but Majestic prices are crack and you can call after you place the online order, cancell shipping, and go pick it up at no extra cost
Thread Starter
Honda-Tech Member
Joined: Nov 2007
Posts: 6,334
Likes: 1
From: MA

ehhh i never have applied in a straight line, nor have i have put 10000000lbs of pressure on my cars when i wax em either. orbital buffer move that way for a reason, know what i mean. everyone has their way. lookin to this bet it will help with your scratches. i'll be owning one here shortly as well.
http://www.tools-plus.com/porter-cab...term=P-C7424XP
http://www.tools-plus.com/porter-cab...term=P-C7424XP
word!
A couple tips on waxing clauds....
1- I agree with Jeff that a circular motion is better than straight. this is because when your spreading the wax in every direction its filling in all angles of pits and fine scratches, instead of just filling the side of them thats facing the one direction your moving the pad in when rubbing it on straight. Also its easier to keep a steady pressure when you have one constant fluid motion rather that coming to a rest at the end of each motion.
2- I would avoid using excessive pressure while applying WAX. You shouldnt be using wax to clean your paint, its simply there to leave a protective coating. If you feel the paint needs to be cleaner you should claybar the car first. Pressing too hard when waxing makes the chance of scratching the paint much greater. Any debris thats still on the car after washing, or lands on the car out of the air while your waxing can contaminate the pad and if youre pressing like crazy, you'll just bury that **** into the paint. I always use light pressure, just enough to keep the pad in good contact with the surface.
3- You can use ALOT less wax. Remember that once you buff off the excess there is only a microscopic layer of wax left behind, so you dont need to put on a ton of excess to achieve full coverage. The thinner the coat of wax is on the pad also provides better penetration into pits and scratches (albeit microscopic). Less excess makes it much easier to remove and is just plain economical, and I know youre all about that. After applying the way you should only see a light haze, and no globs or white looking streaks. This means there is wet wax still and is just a paint to get off.
Also, with that tie rod boot, why not just get it from Honda? Seems alot of people avoid getting OEM parts because of cost, but Majestic prices are crack and you can call after you place the online order, cancell shipping, and go pick it up at no extra cost
A couple tips on waxing clauds....
1- I agree with Jeff that a circular motion is better than straight. this is because when your spreading the wax in every direction its filling in all angles of pits and fine scratches, instead of just filling the side of them thats facing the one direction your moving the pad in when rubbing it on straight. Also its easier to keep a steady pressure when you have one constant fluid motion rather that coming to a rest at the end of each motion.
2- I would avoid using excessive pressure while applying WAX. You shouldnt be using wax to clean your paint, its simply there to leave a protective coating. If you feel the paint needs to be cleaner you should claybar the car first. Pressing too hard when waxing makes the chance of scratching the paint much greater. Any debris thats still on the car after washing, or lands on the car out of the air while your waxing can contaminate the pad and if youre pressing like crazy, you'll just bury that **** into the paint. I always use light pressure, just enough to keep the pad in good contact with the surface.
3- You can use ALOT less wax. Remember that once you buff off the excess there is only a microscopic layer of wax left behind, so you dont need to put on a ton of excess to achieve full coverage. The thinner the coat of wax is on the pad also provides better penetration into pits and scratches (albeit microscopic). Less excess makes it much easier to remove and is just plain economical, and I know youre all about that
. After applying the way you should only see a light haze, and no globs or white looking streaks. This means there is wet wax still and is just a paint to get off. Also, with that tie rod boot, why not just get it from Honda? Seems alot of people avoid getting OEM parts because of cost, but Majestic prices are crack and you can call after you place the online order, cancell shipping, and go pick it up at no extra cost
 The pressure part makes sense, good point.
You're right, I did use a lot. I'll keep that in mind next time, it takes forever to get all that off lol. Shouldn't be taking that long ha. With the tree of life doing work 24/7 its always hard but I gently used my big bird cloth to dust it off before waxing a panel.
I would like to claybar next time I do it, but it was out of the budget this time but you're right, it could of had been done. I noticed a few things that just didn't quite come off but I just wanted to protect the paint for the meantime. It was crazy hot too, just wouldn't of been possible at home.
As for the tie rod, I just haven't looked into it. I typically take a look at Majestic to compare but I didn't want a universal boot either so I rather have a ripped one lol. Love that tip though, I didn't know about it before when you mentioned it. Suave! Thanks for the tips homeslice
Update:
Did some math and got 44mpg, however I was using my GPS and noticed my speedo was just off. 71mph was actually 65mph and it prob gets worse if I'm going faster. That probably bumped up the odometer a bit more than it should so I probably am getting less than 44mpg but I'll have to look into it more. This is probably from having touched the needles when painting them even though I barely moved them. I think all needles are off a little
 blahhh
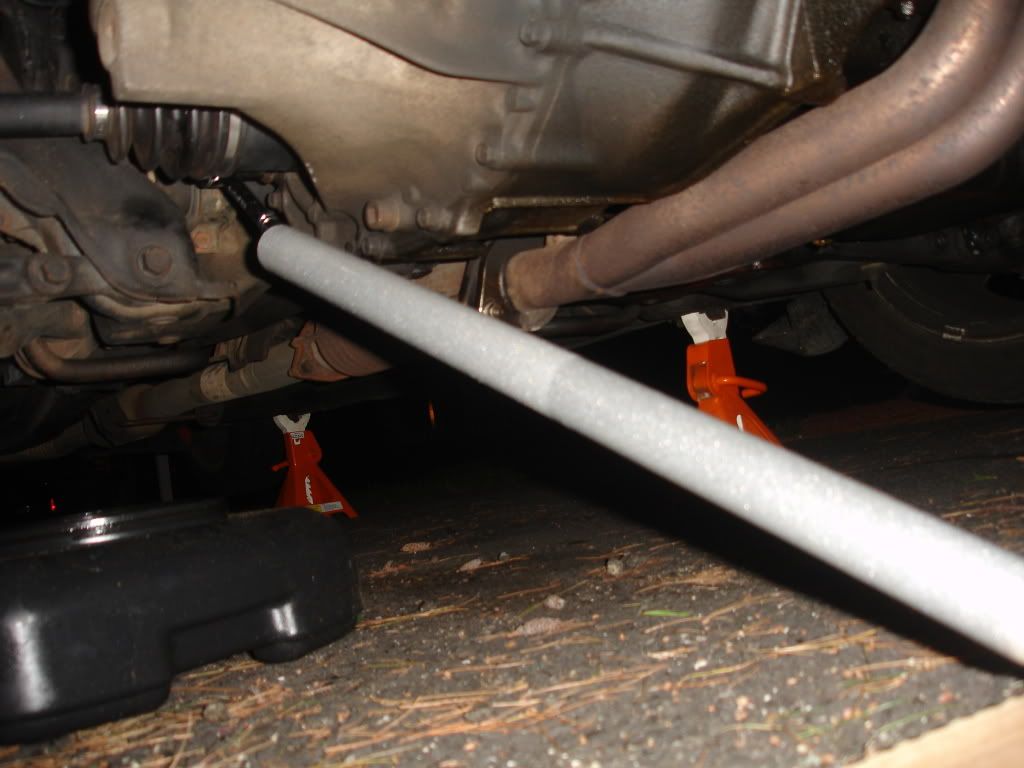
Anyways, its been pretty hot to even attempt any work lately but tonight I finally got around to changing my transmission fluid. I've had the car for about 28,000 miles so I'm overdue the recommended 24,000 even if I had changed it the day I got it. So yeah its probably some 40,000 miles or less on this fluid, yikes!
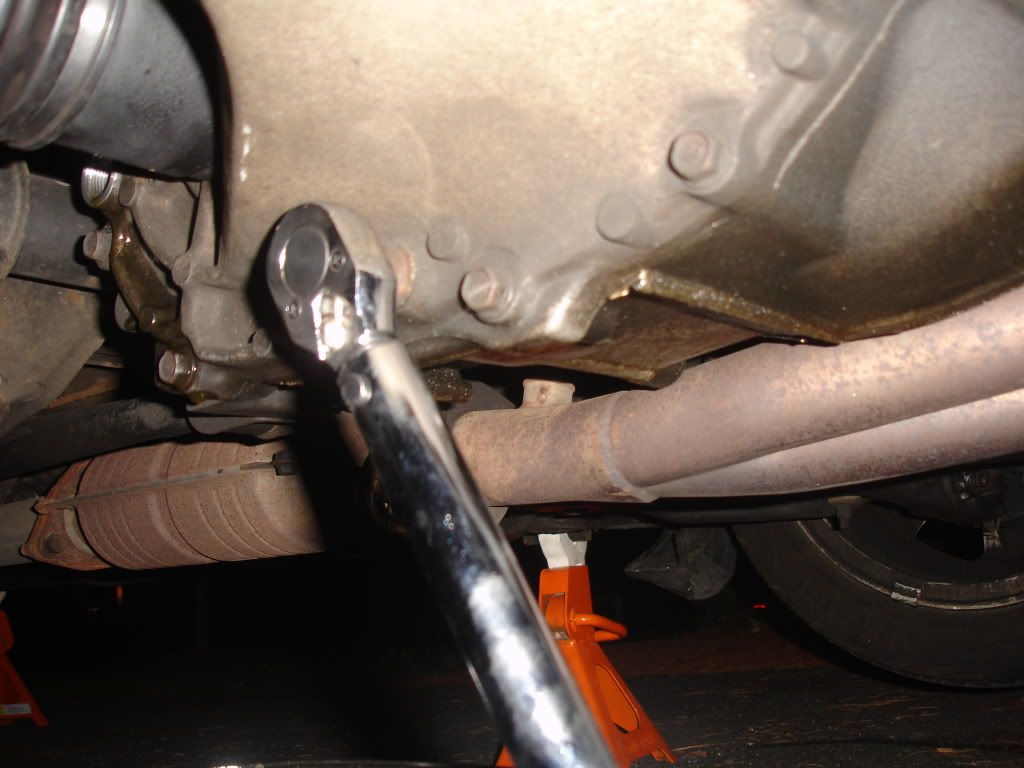
Yo filler bolt, sup? Thing was on there tight, had to extend my ratchet and use 2 hands to get it loose. Some fluid dripped off after it was out, this is normal.
Then the drain bolt wasn't too bad but I used my torque wrench so it had good leverage.
Filler vs drain
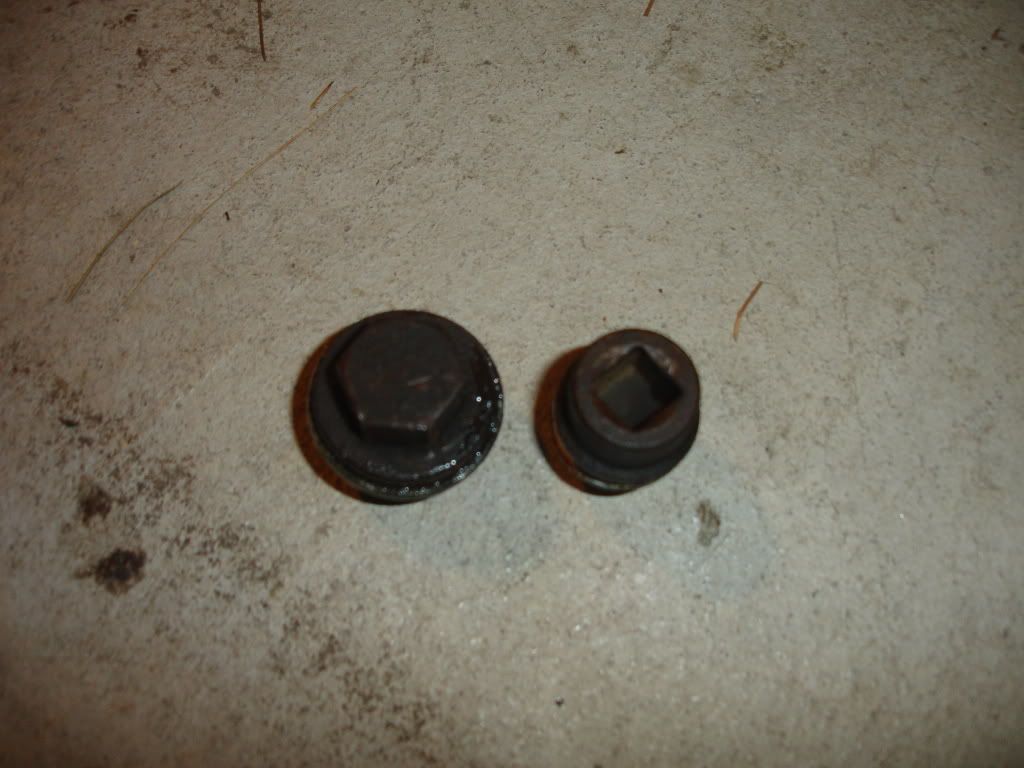
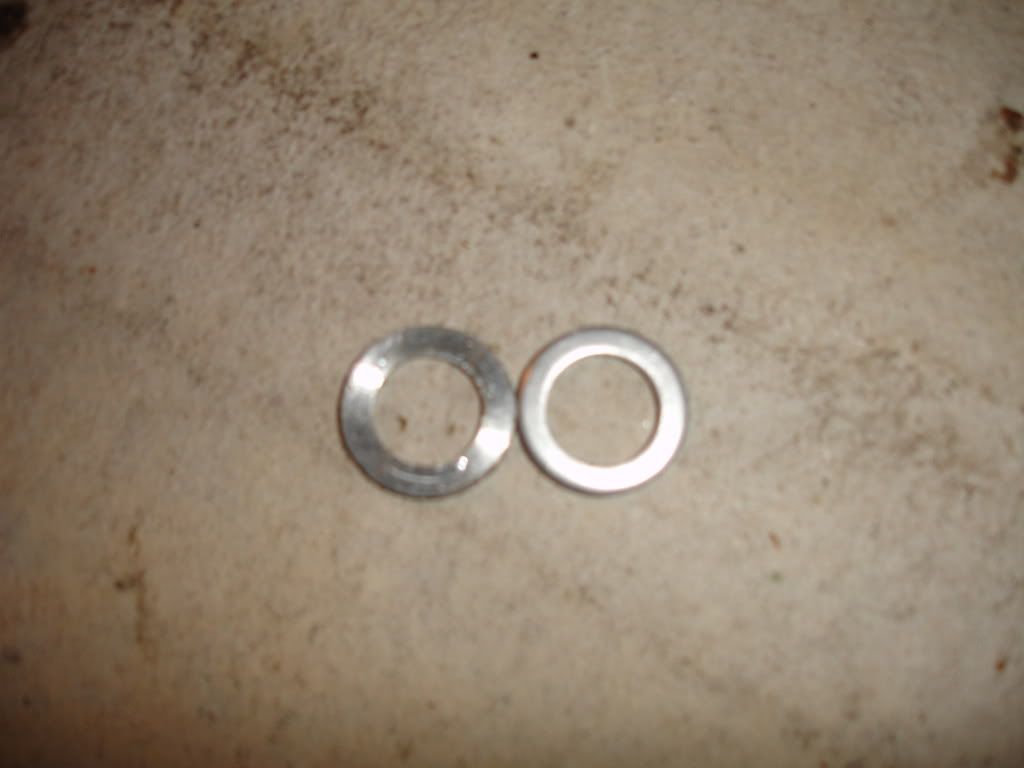
Used washer(left) vs new(right)
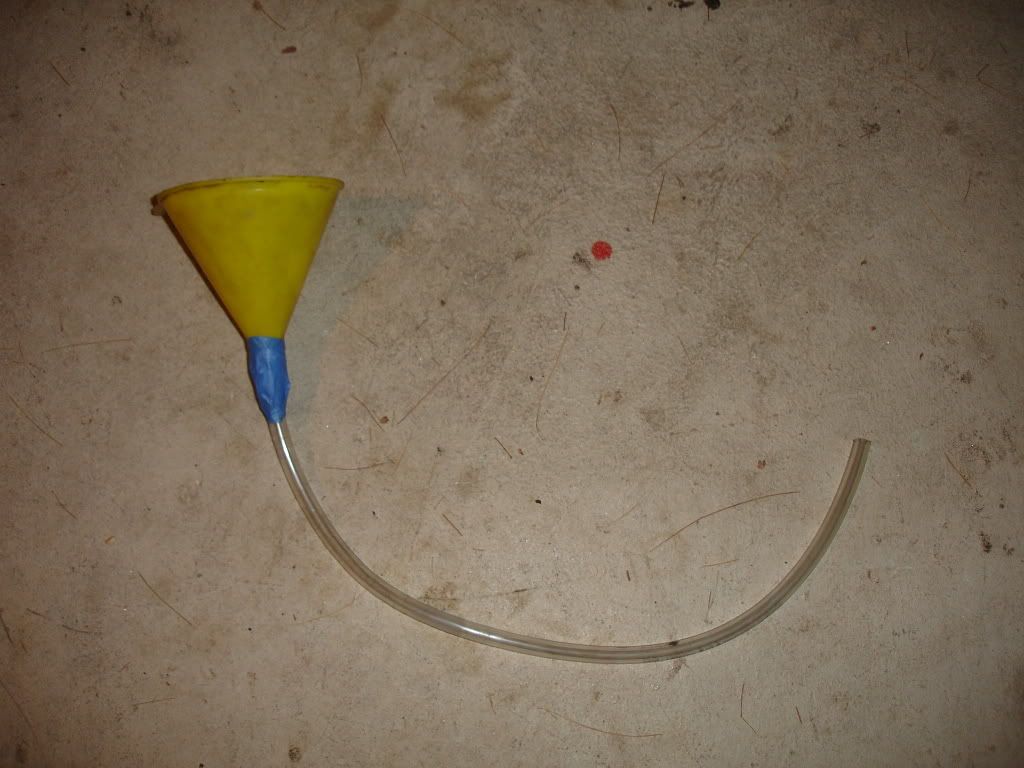
Used some tubing I had leftover that I got at Lowe's a couple of years ago and this is what I came up with haha. Did the trick without any leaks
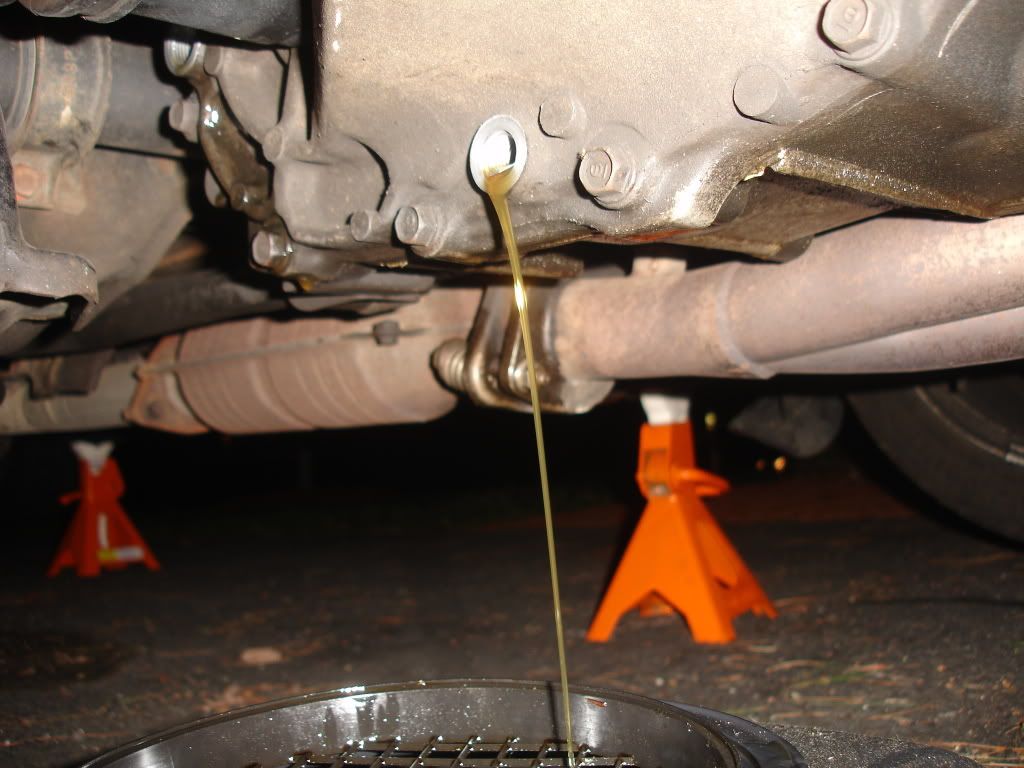
Stick it in the filler hole and pour fluid till it starts to leak out.
D16Z6 takes 1.9 quarts so it will be almost 2 full bottles. 2.0 quarts if the tranny has been taken apart.
This was pretty easy for anyone wondering, besides the filler bolt being a bit stuck, you shouldn't have any issues other than that.
I used this DIY, very informative! https://honda-tech.com/forums/honda-civic-del-sol-1992-2000-1/default-%5Bfaq%5D-how-change-your-civic-manual-transmission-fluid-1687986/
Heres a few shots of the paint now, slightly dusty but still fresh!
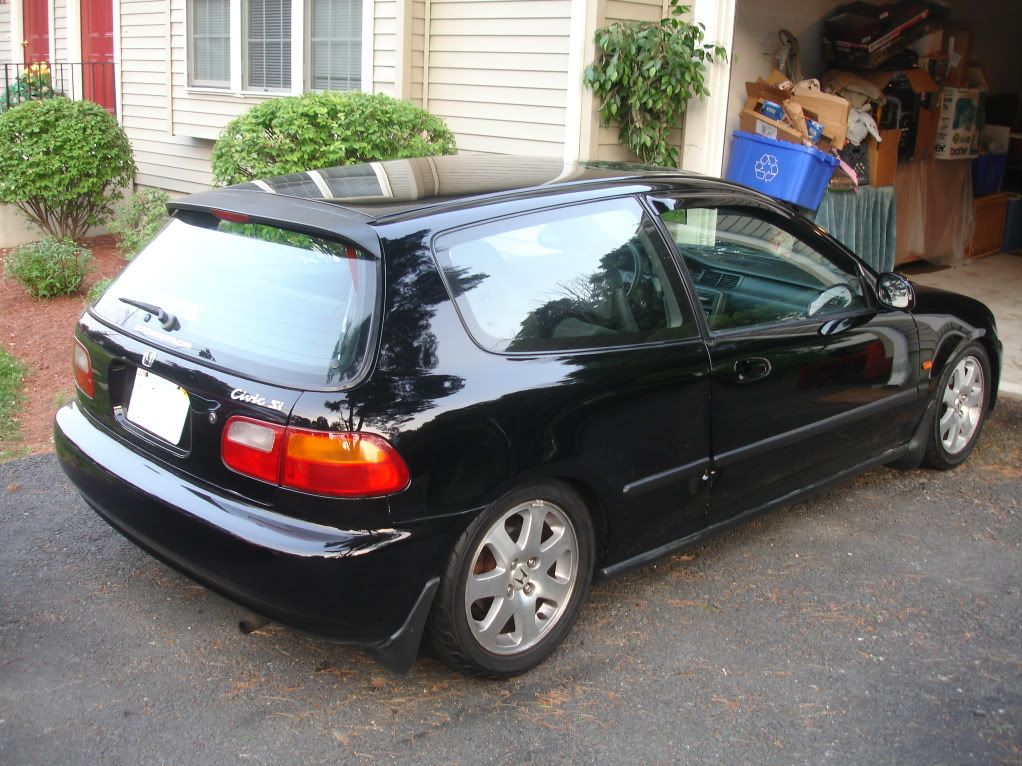
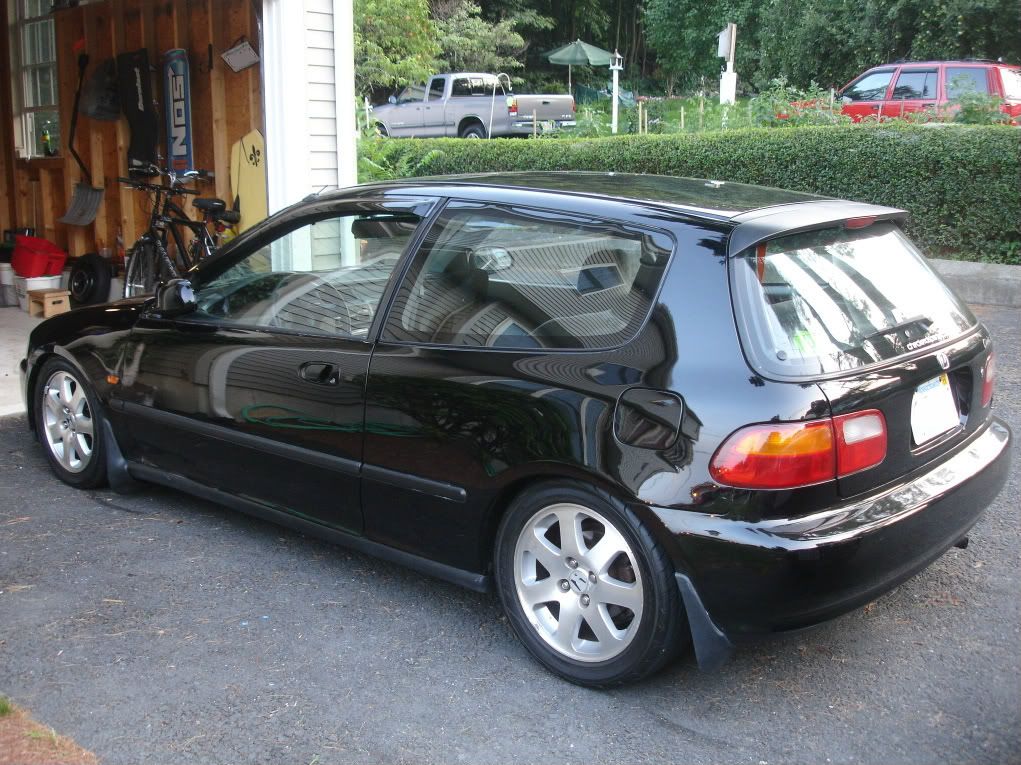
Till next time fellas thanks for reading.
Honda-Tech Member
Joined: Dec 2003
Posts: 12,680
Likes: 1
From: True Honda Enthusiast
Yo looks god but one o the rules of using a torque wrench is to never loosen with it. It can/will throw off the calibration. Also, don't use it within 10ftlbs of it's min and max settings, and always store it 10ftlbs above min setting.
Honda-Tech Member
Joined: Dec 2006
Posts: 989
Likes: 0
From: Dallas Texas
And claudio have i told you lately how jealous i am of your car!...man so oem minty fresh. Such a good platform for a build
Last edited by mattrt09; Jul 25, 2011 at 08:01 AM.