5 Tips for Repairing Rust on Your Honda
Here's what you need to know before considering tackling this repair yourself.
September 27, 2016
Get rid of rust...the right way
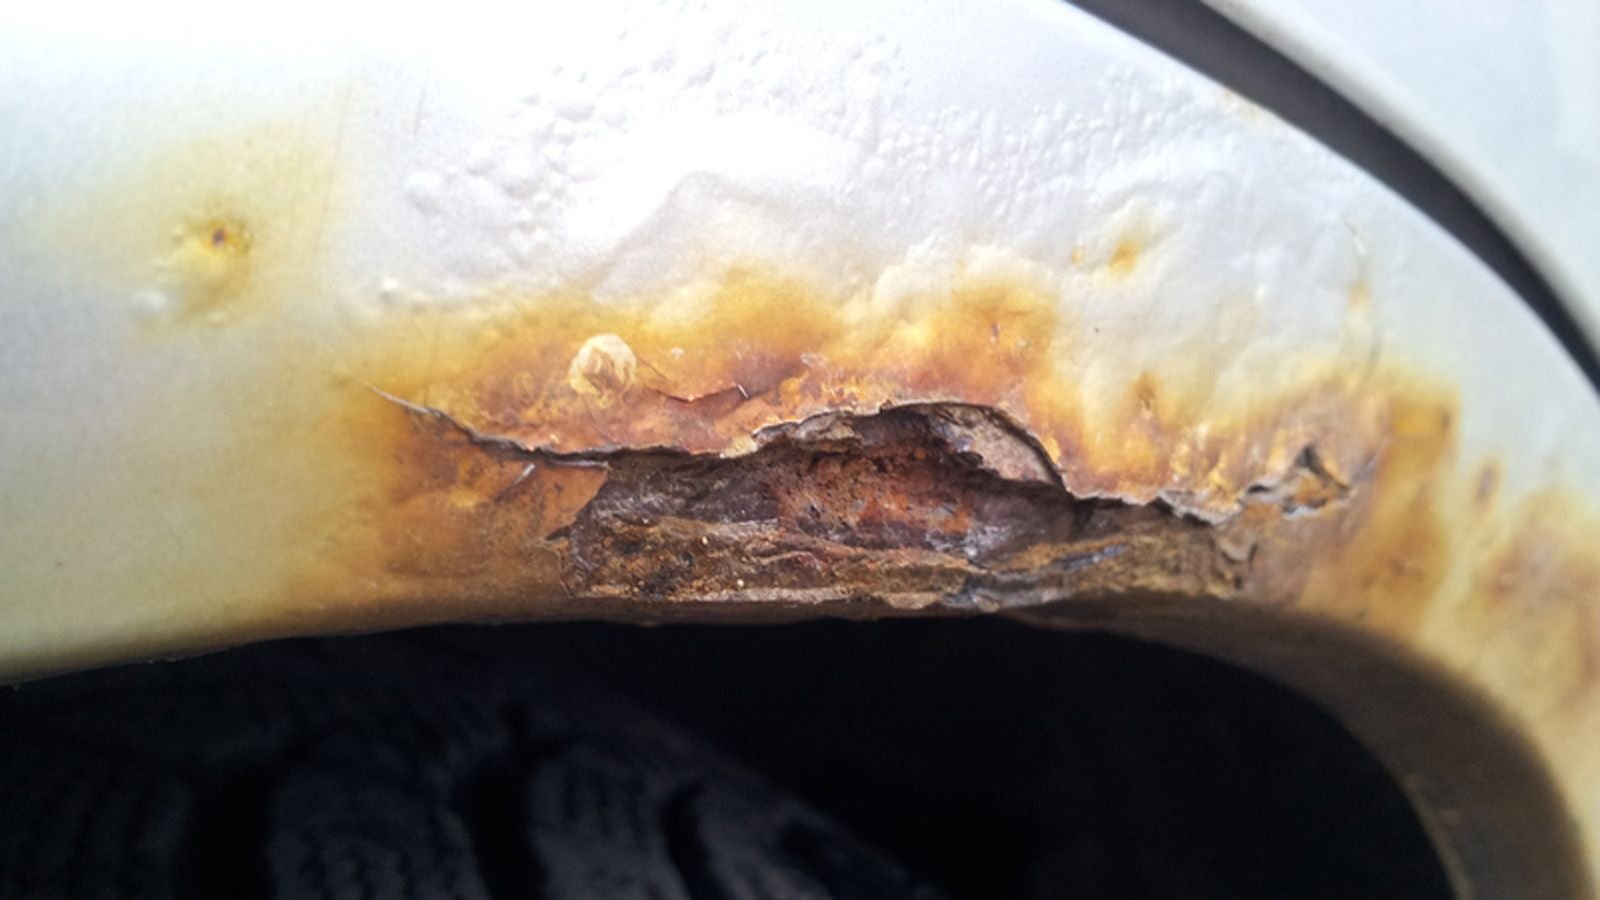
Rust is a common occurrence on older model Hondas, so much so that Honda-Tech forum members have offered several helpful tips for repairing areas that have succumbed to the copper colored corrosion. Here are five tips to consider before tackling this repair yourself.
1. Clean the Area
Before you begin any type of repair on a rust spot, make sure you thoroughly clean the area first. You don’t want to work on a surface that has residual dirt or wax buildup. Spray on a product like 3M adhesive remover and wipe it off with a cloth.
2. Sand it Down
The rusted area needs to be sanded down to bare metal. This is the most important part of rust removal and repair. If you don’t spend adequate time carefully grinding down the rust, the rest of the repair will not turn out as well.
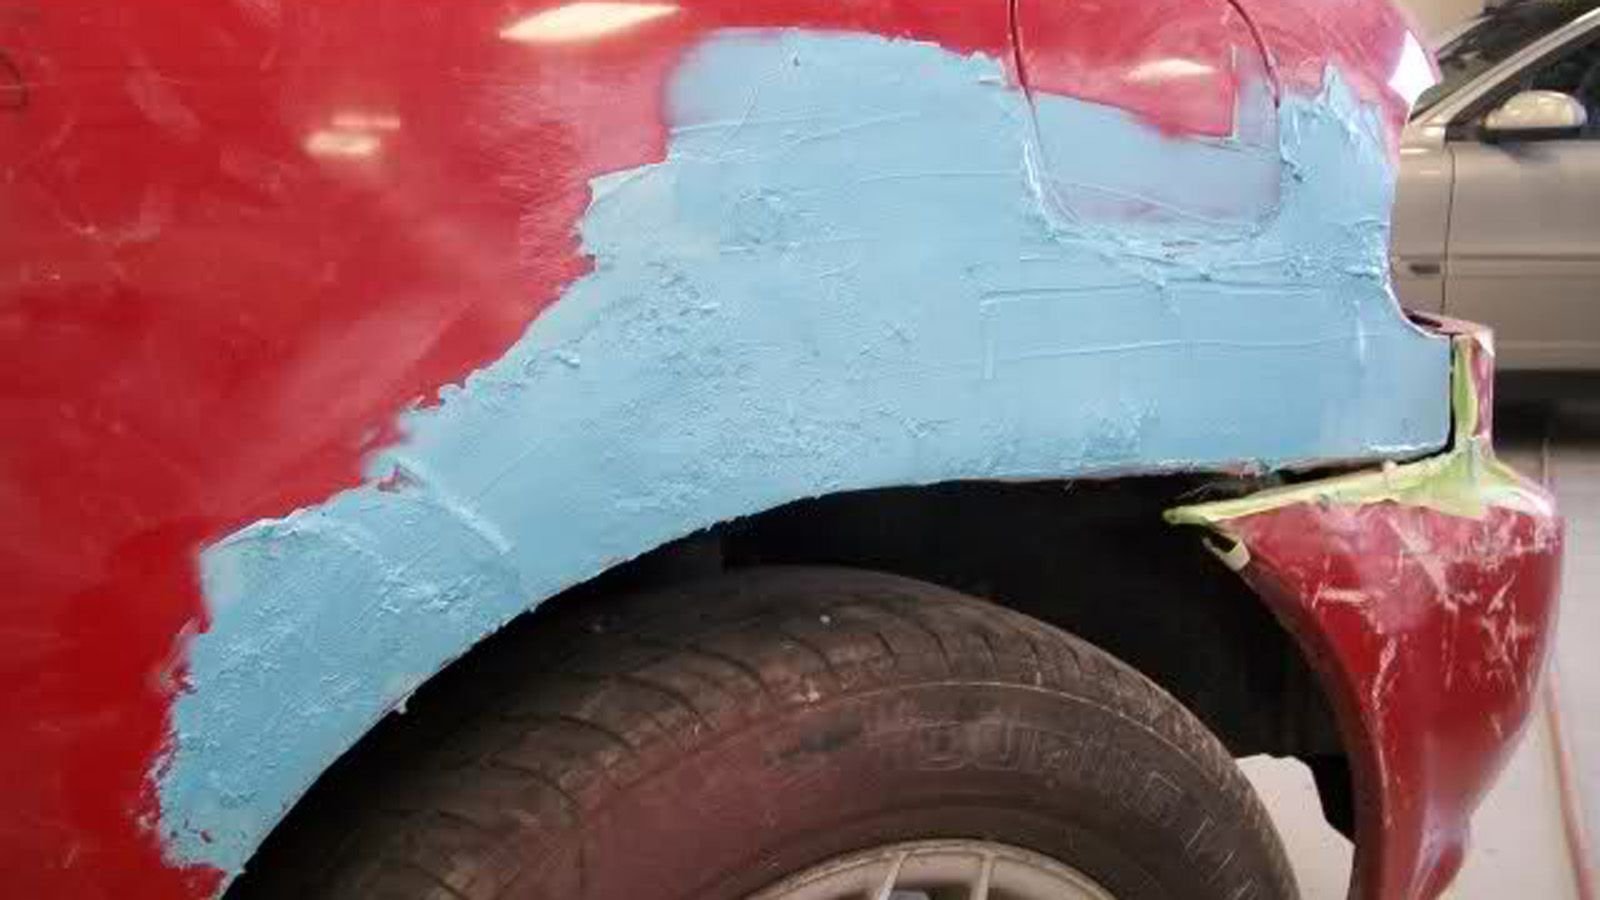
3. Smooth the Edges
Honda-Tech enthusiasts recommend smoothing the edges after you’ve ground the rust down to bare metal. Taking this extra step will ensure the surface is sufficiently primed and flush with the rest of the surrounding area.
4. Use Filler
Using filler is essential to making the damaged area smooth again to prep the surface for paint. Bondo is one such product that forum members recommend. Make sure to apply an even, thin layer; you don't want the filler to create too much texture or be too thick.
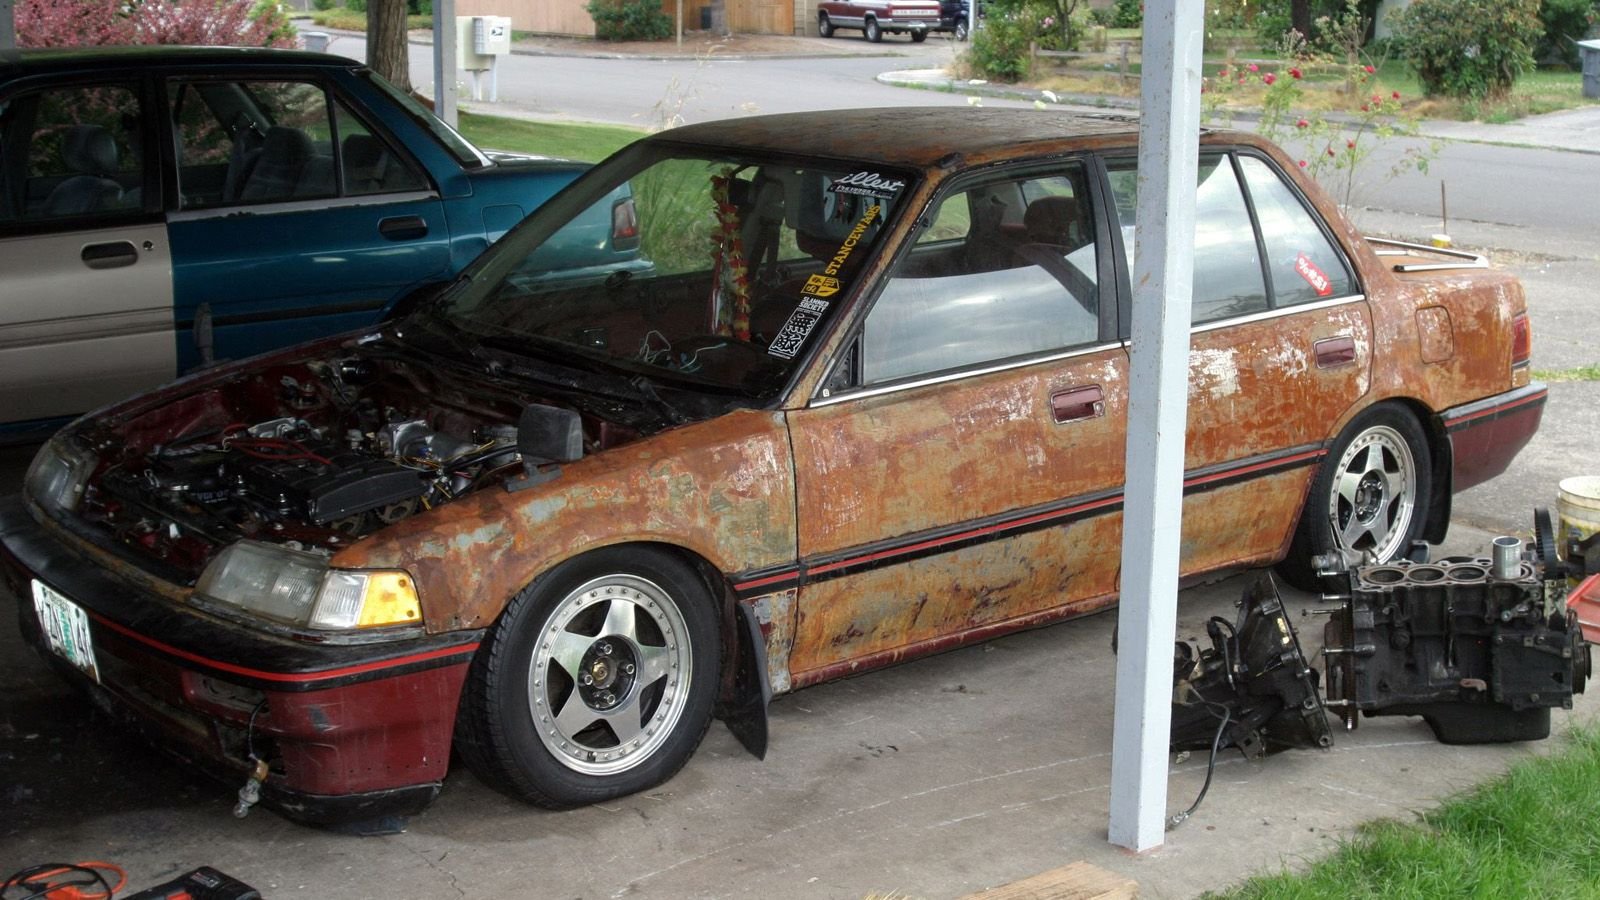
5. Cut It Out
If the rust is significantly bad or covers a very large area, you’re better off cutting it out entirely and replacing panels at a time. Don’t bother taking the time to try to repair a much larger area or one that's falling apart entirely. Instead, take your Honda to a repair shop for them to weld the new metal into place.
For more information and repair guides, browse our technical How-To articles at http://honda-tech.com/how-tos!