Honda: How to Replace Your Wheel Studs
Replacing your wheel studs doesn't require a trip to a shop if you know what you're doing. This guide will show you the most cost effective means of doing it yourself.
This article applies to the Honda Civic (1992-2000), and Accord (1990-2002).
The wheel studs are what hold your wheel to the car. It's not uncommon for studs to wear down or break over time, and losing one isn't the end of the world. But you still want all four intact to ensure that your wheels won't just fall off. There are different ways to replace the wheel studs, and this guide will show you one way.

Materials Needed
- Ratchet or torque wrench with 32, 19, 17, and 10mm sockets, and extensions
- #9 Phillips head screwdriver
- Large slide hammer
- Axle puller
- Brake cleaner
- Long pipe
- Heavy hammer
- Jack and jack stands
Pro Tip
The axle puller and slide hammer can both be rented for a cheap price at an auto parts store.
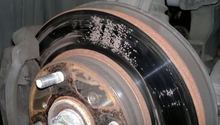
Step 1 – Lift the car to remove the wheel and rotor
Set the car on four jack stands. Remove the wheel and the axle nut. Then, remove the rotor nuts and the caliper. Set the caliper where it won't hang from the brake hose. Remove the rotor.
Related Articles
- Honda Accord: How to Replace Brake Pads, Calipers and Rotors - Honda-Tech.com
- Honda Civic: How to Replace Calipers, Pads and Rotors - Honda-Tech.com
- How to Jack Up Your Accord - Honda-Tech.com
- How to Jack Up Your Civic - Honda-Tech.com
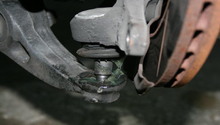
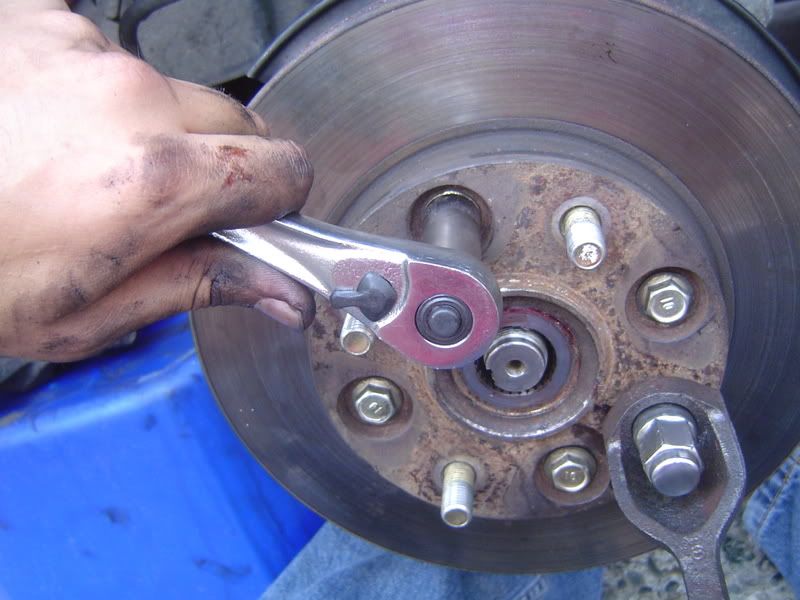
Step 2 – Remove the hub
Remove the lug nuts. Put the axle puller over the studs, and tighten it down using the lug nuts. Then attach the slide hammer to the axle puller. To remove the hub, repeatedly pull back on the heavy handle with straight and steady strokes. When you think the hub is about to give make sure that it doesn't hit the ground hard.

Pro Tip
It is possible to change out the wheel studs without removing the hub. You have to rotate the hub to where you can pull out the stud from the back or cut the stud to make it small enough where you can pull it out, and then hammer the stud until it comes loose. This is fine if you only need to replace one or two studs, but if you're replacing all four it might be better to remove the hub.
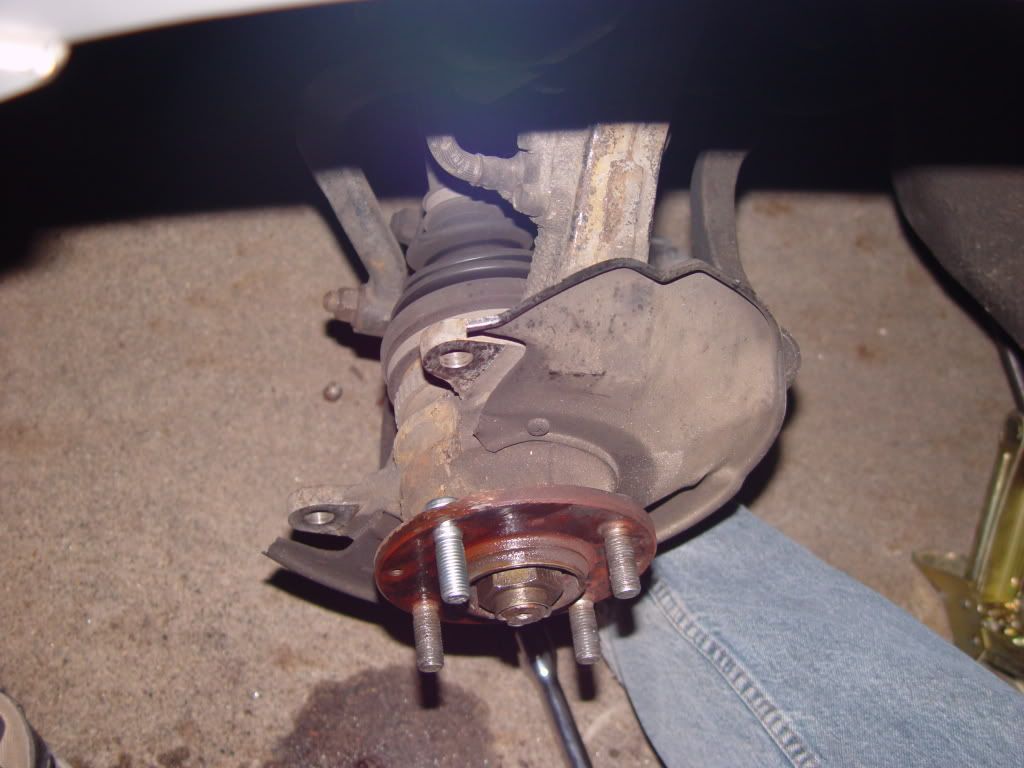
Step 3 – Remove the wheel studs
Place the hub between a couple blocks of wood, and hammer the studs out one by one. You will want to hammer them out straight or you can risk messing up the stud holes, which means replacing the hub itself.

Step 4 – Insert new studs
There are a couple different ways to insert the new studs. You can hammer them in like before or you can put them in part way, attach a washer and torque them in.
Step 5 – Reattach the hub
Clean off the bearing race. Make sure the bearing is secure and undamaged. Put the hub back on the spindle. Then reattach the hub puller, and slide the hammer. Hit the hub back on starting slowly and working your way up to steady strokes. Put the axle nut back on, and torque it to 134 lb/ft.

Step 6 – Re-install
Return the components you removed in the following order:
- Rotor
- Rotor nuts
- Caliper - bolts torqued to 80 lb/ft.
- Wheel
- Lug nuts - torqued to 80 lb/ft.
Related Discussions
- Wheel Stud Replacement - Honda-Tech.com
- Wheel Stud DIY With Pictures - Honda-Tech.com
- 1997 Accord Brakes Tutorial - Honda-Tech.com