Honda Civic: Why Won't My Dash Lights Work?
If you find yourself squinting to see your current speed or flipping on various interior lights to read your gas gauge, it's time to figure out why your car's dash lights aren't working. This guide will help you pinpoint what is causing your Civic's dash lights to fail, and what you can do to resolve it.
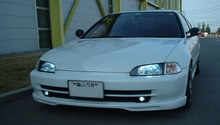
This article applies to the Honda Civic/Del Sol (1992-2000).
The dashboard displays crucial information about your car like the speed, fuel level, and engine temperature. You can typically see this information clearly during the day, but if your dash lights aren't working properly, then you'll find yourself struggling to see the dash at night. A simple DIY project can save lots of time, and money that you would otherwise spend at a repair shop. Take a look at these common suggestions to narrow down the most likely reasons why your car's dash lights aren't working.
Step 1 – Check your fuses
They might be loose or burnt out.
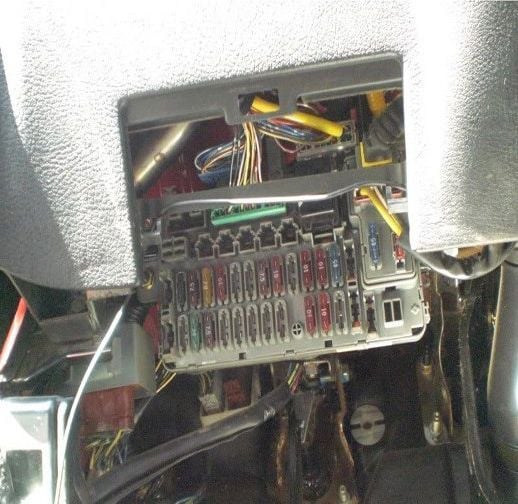
To check your fuses, start by locating the interior fuse box. This box is situated near the driver's left foot. Remove the fuse box cover, and find the fuse responsible for the dashboard lighting. If it's not loose, check to see if it's blown or burned out. If this is the case, you'll need to swap out the existing fuse with a new one.
A slightly less common problem is a continually blown fuse (15A) whenever the headlights are turned on. In this instance, you'll need to check for a short in the circuit.
(Related Article: Fuse Box Diagrams - Honda-Tech.com)
Step 2 – Inspect the dimmer switch
It may need to be replaced.
A faulty or broken dimmer switch will cause the instrument panel and A/C control lights to fail. However, dashboard indicator lights such as turn signals and high beams may continue to work.
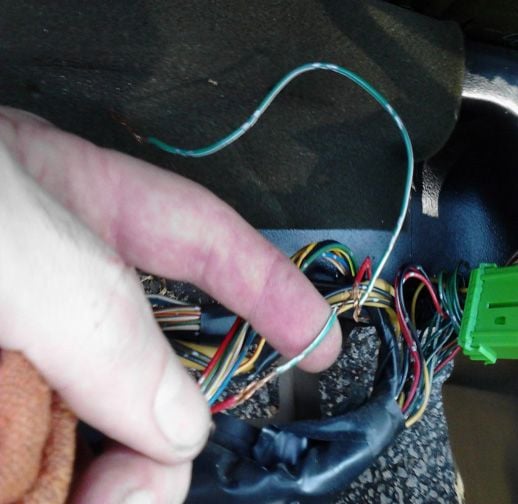
You can easily pull the dimmer switch out with a screwdriver. Once the switch is out, unplug it to jump the red and black wires when the headlights are on. If the switch is bad, the console lights should come on at this point. Although it's not necessary, you may want to use a multimeter to verify that the dimmer switch is faulty.
Step 3 – Check the illumination and headlight switches
They might be faulty.
If you've already checked the fuses and the dimmer switch without finding any hint of a problem, the next step is to make sure the illumination as well as the headlight switches are in good working order.
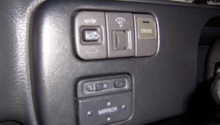
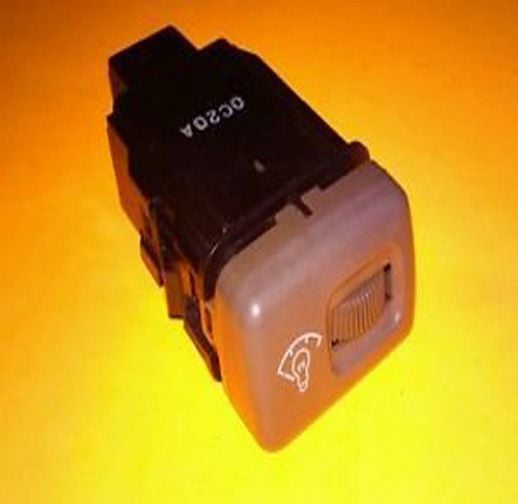
The illumination switch controls the level of brightness on the dashboard. You'll find it towards the left-hand side of the dash as part of a three-switch pod. For those with 1992 to 1995 Civics, these other switches might be plastic blocks.
The headlight switch is in the same location. If faulty or bad, the headlight switch will also cause a dark dash.
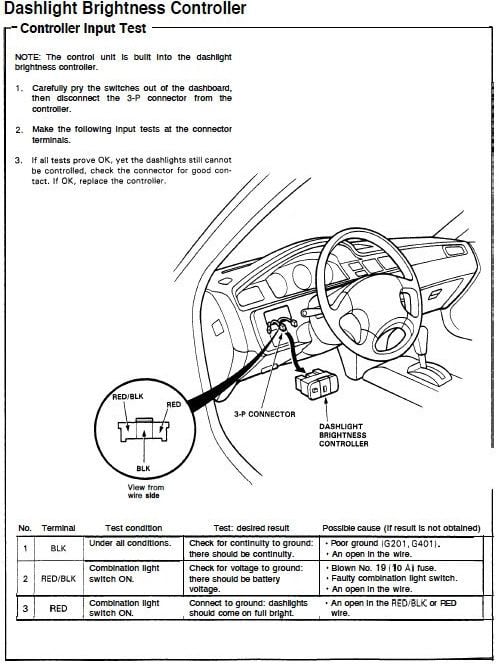
Step 4 – Inspect the dashlight brightness controller
It might have failed.
The control unit is built into the dashlight brightness controller, and will cause a dark dashboard if faulty.
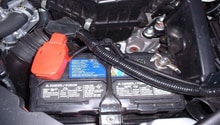
To inspect the unit, carefully pry out the switches from the dashboard. Then, disconnect the 3-P connector from the controller. There are three different terminals: black, red, and black with red. Test the black terminal first for continuity. If it's okay, move on to the red/black terminal. With the combination light switch on, check to make sure there's adequate battery voltage. The last terminal is the red one. Again, with the combination light switch on, check to see if the dash lights are illuminating as bright as possible.
Related Discussions
- 94 coupe - no dash lights with headlights on - Honda-Tech.com
- Instrument panel lights don't work - Honda-Tech.com
- My dash lights don't work! - Honda-Tech.com