Honda Civic: Why is My Cruise Control Not Working?
Cruise control is a useful system in the Honda Civic that allows you to achieve controlled speeds on the road. Learn the easiest ways to repair a malfunctioning speed control system.
This article applies to the Honda Civic (1992-2000).
Cruise control (also known as the "auto-cruise" feature) offers a safe and reliable way to maintain the speed of your Honda Civic on the highway, which provides ease of mind as well as easier driving. This feature can be turned on or off with just the click of a button; however, if your cruise control is not operating properly, don't rush to your nearest garage looking for a costly repair. This guide has outlined the most common solutions for this easy-to-fix problem. You won't need to spend all day replacing parts and it's easy to do it yourself.

Materials Needed
- Replacement fuse
- Fuse puller or needle nose pliers
- Owner's manual
Step 1 – Test the cruise control system
First, check if your cruise control feature is properly operating. Follow the steps to run the cruise control system.
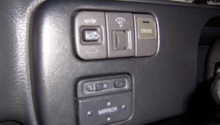
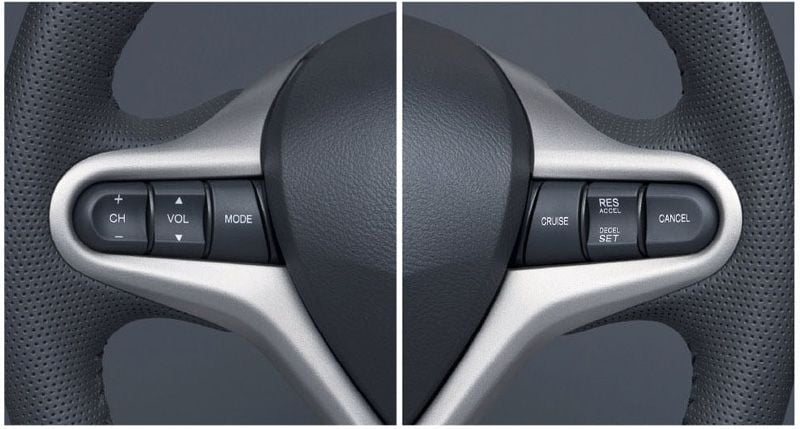
- Locate the cruise control button on the steering wheel.
- Accelerate and hold the gas pedal to a desired speed.
- Press the cruise control button to engage the system.
- A green light will appear on the dashboard to indicate the system is engaged.
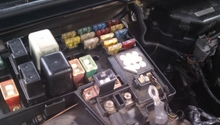
Step 2 – Check the under-dash fuse box
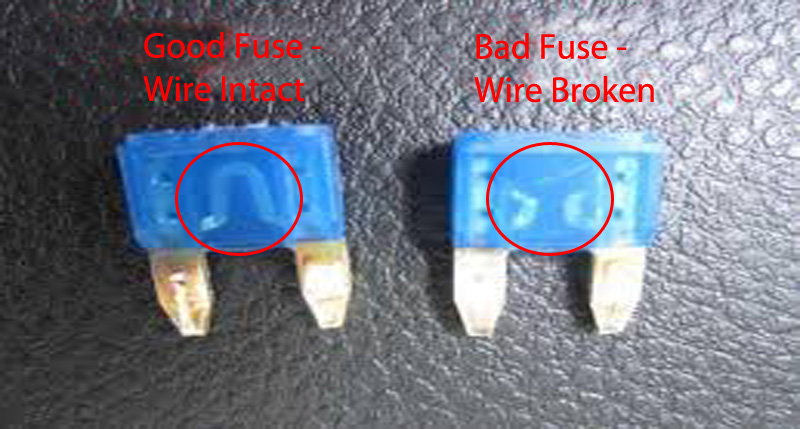
If cruise control does not engage after the green light appears, the problem is most likely due to a blown fuse.
- Open the under-dash fuse box below the instrument panel.
- Check your owner's manual to determine which fuse number corresponds to the cruise control feature. Fuse numbers vary by model and year.
- The fuse box cover displays and maps the location of each fuse.
- With the fuse puller tool or needle nose pliers, remove the fuse from the fuse box.
- If the center strip in the fuse is broken, replace the fuse with a new one. Double check that the amperage is correct before snapping it into place.
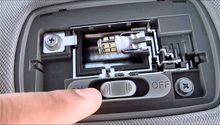
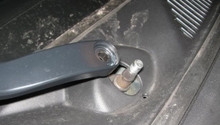
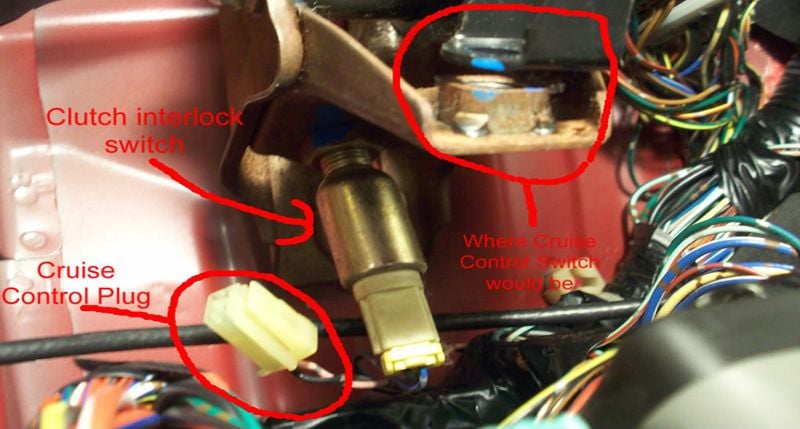
Step 3 – Check the clutch switch
The wiring may be damaged.
- Check to ensure the wiring is intact. You should see a pink wire and a black wire coming from the connector.
- If the wiring is damaged, have a professional mechanic complete the repair to minimize the risk of further damage.
- If you have completed steps one and two, a faulty clutch switch is likely the cause of the problem. Expect to pay between $40 and $50 for a replacement, plus the cost of labor. Honda dealership charges $90.
Related Discussions
- Cruise Control Labor Costs - Honda-Tech.com
- Blown Cruise Control Fuse - Honda-Tech.com
- Cruise Control Switch on Pedal Assembly - Honda-Tech.com