The fuel pump provides your engine with one of the basic elements for internal combustion. Continue reading to replace the fuel pump on your Civic when it fails.
This article applies to the Honda Civic (1992-2000).
Besides air and ignition, your car needs fuel in order to work. The fuel pump is a hydraulic device. Its role is to pump the gas from the gas tank—through the fuel lines—to the engine. While fuel pumps are fairly reliable, once your Civic gets up in miles it's just a matter of time until it needs to be replaced. Thankfully, this is quite simple in the 1992 through 2000 Honda Civic. But if you have any doubts, then it is suggested to take you car to an auto shop.
Materials Needed
Philips screwdriver
Needle nose pliers
10 mm socket
10 mm ratchet wrench
Drip pan
New fuel pump
Warning
When working near fuel, it is imperative that there are no sources of smoke nearby. This could lead to a sudden fire or explosion.
Step 1 – Remove the backseats
The fuel pump in your Civic is accessible through the rear seats.
To gain access, firmly grab both ends of the seat.
Pull upwards to remove the seat. It helps if you wiggle it while pulling.
Take the seats out of the car to avoid damage.
Figure 1. There are small latches on the front edge of the seat.
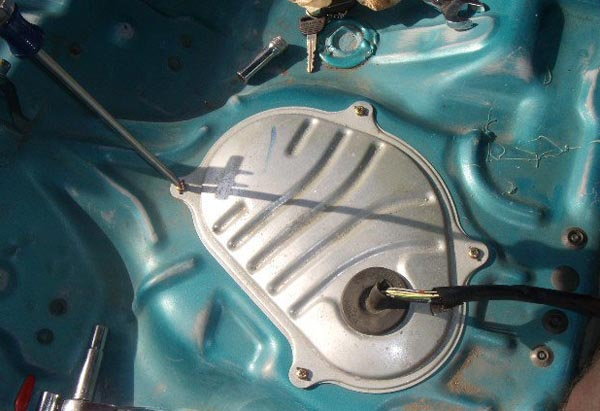
Step 2 – Remove pump cover
Once the seats are removed, locate the metal cover and use your Phillips screwdriver to remove the four bolts that hold it in place. Then, tilt the cover out of the way to gain more access.
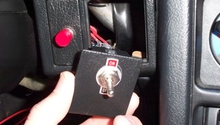
Figure 2. Location of the fuel pump. The voltmeter is irrelevant and not needed to replace the fuel pump.
Step 3 – Prep the pump for removal
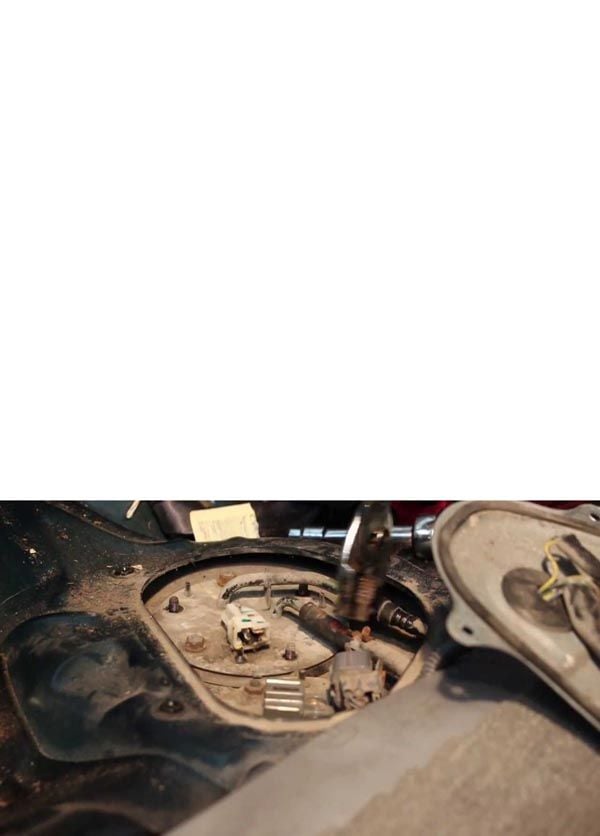
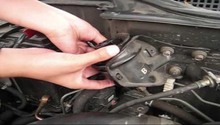
When the cover is removed, there are a number of items you have to remove before the pump can be retrieved.
Slip off the boot that covers the wiring connector.
Unplug the connector.
Use pliers to remove the clamp on the rubber hose.
Disconnect the main fuel line. You will need to squeeze it to remove it.
Use the 10 mm socket and ratchet to unbolt the bracket.
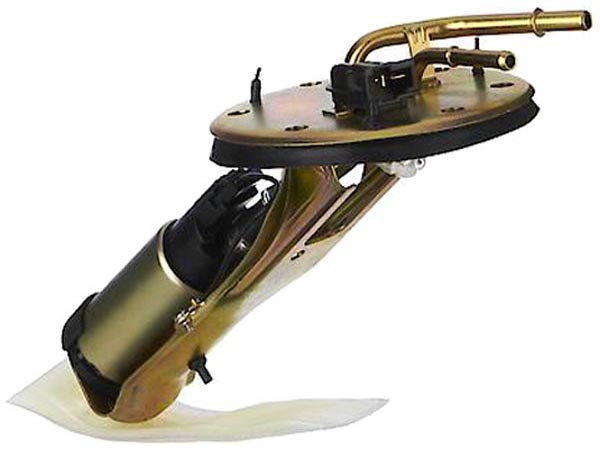
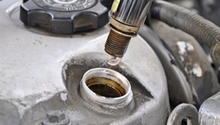
Figure 3. Diagram of the fuel pump.
Figure 4. A detailed view of the connector and hoses.
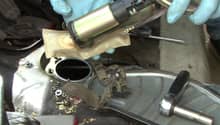
Step 4 – Remove the strainer and replace the pump
Now that the pump is disconnected, grab it and pull it upwards. Make sure your drip pan is handy because the fuel strainer can drip fuel.
Once the fuel pump strainer is out, perform the following steps:
Disconnect the top plug.
Remove the strainer clamp.
Pull out the pump.
Figure 5. Be careful not to drip any fuel while removing the pump strainer.
Figure 6. The fuel pump is located inside the metal cylinder/canister.
Step 5 – Install new pump and re-install
You are now ready to install the new pump, and connect everything back up.
Slide the new pump into place.
Reconnect the plug and fuel strainer.
Slide it back into the fuel tank opening.
Bolt the bracket back in with the six screws to hold it in place.
Connect the fuel line and rubber hose.
Plug connector back in.
Reattach the connector boot.
Reattach the access cover with the five bolts.
Finally, re-install the backseat.
Figure 7. Replacing the cover is the last step before putting the seats back in.
Featured Video: How to Replace Your Civic's Fuel Pump
How to Replace Fuel Pump
Honda-tech, GyroGerald, Jmdracing
Does your car have starting issues? If so, then you may have already figured out the culprit is the fuel pump. Here we explain how remove and replace that ...
How to Install a Kill Switch
3lo
Keep your car safe by installing a kill switch. This guide will show you how.
This article applies to the Honda Accord (1990-2002), and Civic (1992-2000).
The Honda Accord and Civic ...
How to Install A Turbocharger Kit
EMSHHH
Are you tired of getting smoked at stop lights? Then add some power to your Honda Accord!
This article applies to the Honda Accord (1990-2002).
Are you looking to bring new ...
Why Does My Car Shut Off While I am Driving?
What are you going to do if your Accord dies on the freeway? Familiarize yourself with the most common problems, and be ready to get your engine running again.
This ...
How to Replace Fuel Filter
joigold7, HondaPartsHero
Is your car hesitating or getting fuel starvation? It is time to replace the fuel filter.
This article applies to the non-VTEC engine Honda Civic ...
How to Install Supercharger Kit
ct-engineering, v6performance
You've been planning on upgrading your engine for more power. So why not take the unique route, and install a supercharger? Learn how to do just that ...