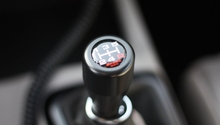
Honda Civic: How to Replace Clutch and Flywheel
When the clutch fails, its not a matter of if it leaves you stranded; it's when. A damaged clutch does not allow you to engage into gear and will have you calling roadside on a regular basis. This article breaks down a complicated process and takes you step-by-step in how to correctly replace the flywheel and clutch on your Honda Civic.
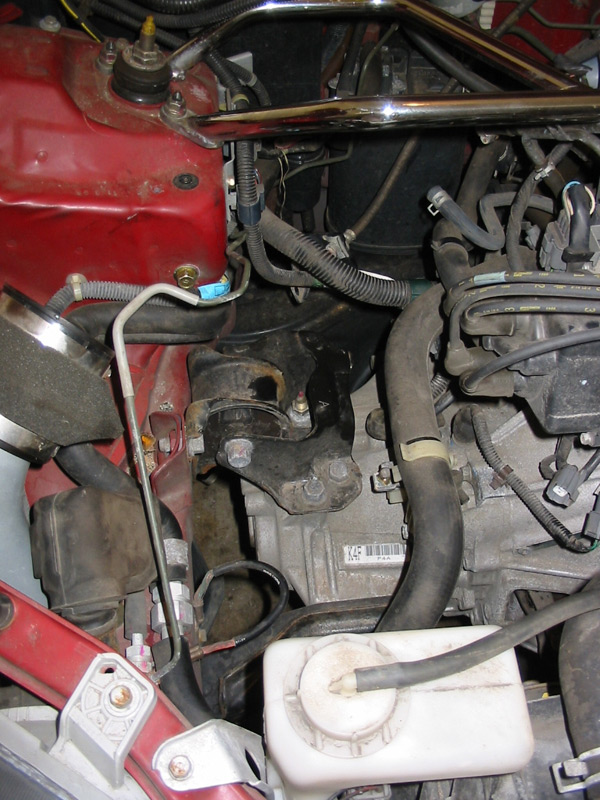
This article applies to the Honda Civic (1992-2000).
Your Honda Civic uses a hydraulic clutch system to engage the transmission into the gears. When the clutch plate wears down, the system loses the required pressure needed to engage the gears, turning the car into a really heavy paperweight. The replacement process is difficult and requires raising the vehicle, removing the axle and hub assembly, and lowering the transmission. However, doing it yourself saves time and generally costs half as much as a repair shop. Use the following steps to replace the flywheel and clutch on your Honda Civic.

Materials Needed
- Jack and jack stands
- Impact gun
- Breaker bar
- Ratchet
- Needle nose pliers
- Screwdrivers
- Pickle fork
- Clutch alignment tool
- Hammer
- Punch
- Metric socket set
- Socket extensions
- Funnel
- Oil drain pan
- Torque wrenches
Step 1 – Raise and secure the car
The quickest way to reach the clutch is from underneath the chassis. In order to do this, use a jack to raise the vehicle and a pair of jack stands to support the chassis in the air. Also use this as an opportunity to drain the transmission fluid.
Related Articles:
- Honda Civic: How to Jack Up Your Civic - Rennlist.com
- Honda Civic: How to Change Manual Transmission Fluid - Rennlist.com
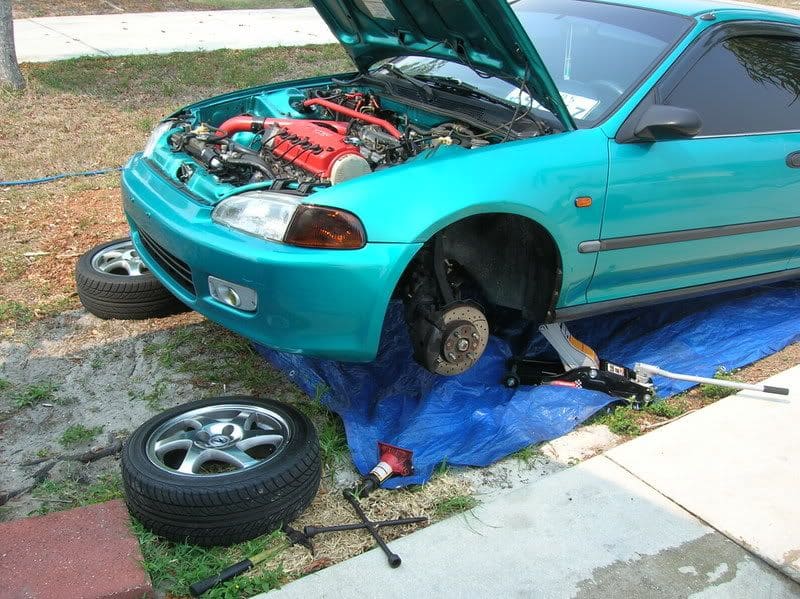
Figure 1. Raise the vehicle. 
Figure 2. Drain the transmission fluid.
Step 2 – Remove the axle nut
First, remove both of the front wheels. The axle nut will most likely be seized and require the strength of the car gods to remove or just a nice breaker bar. Place the 32mm socket on the axle nut and break it loose.

Step 3 – Loosen the lower balljoints
The hub is held in place with the lower and upper balljoint. Remove the lower balljoint by pulling out the cotter-pin and loosening the 17mm castle nut. Once the nut is off, grab the pickle fork and pry it out. Now grab the hub assembly and completely pull it aside.
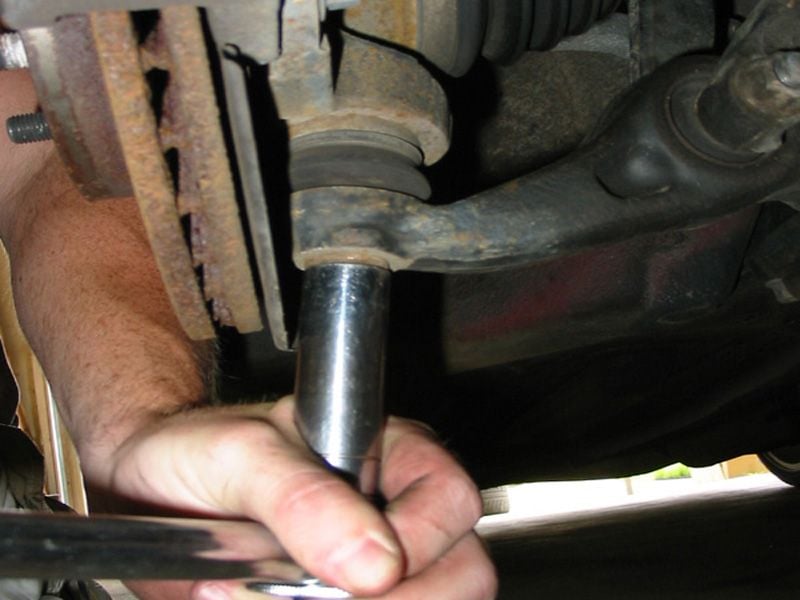
Figure 4. Loosen the castle nut. 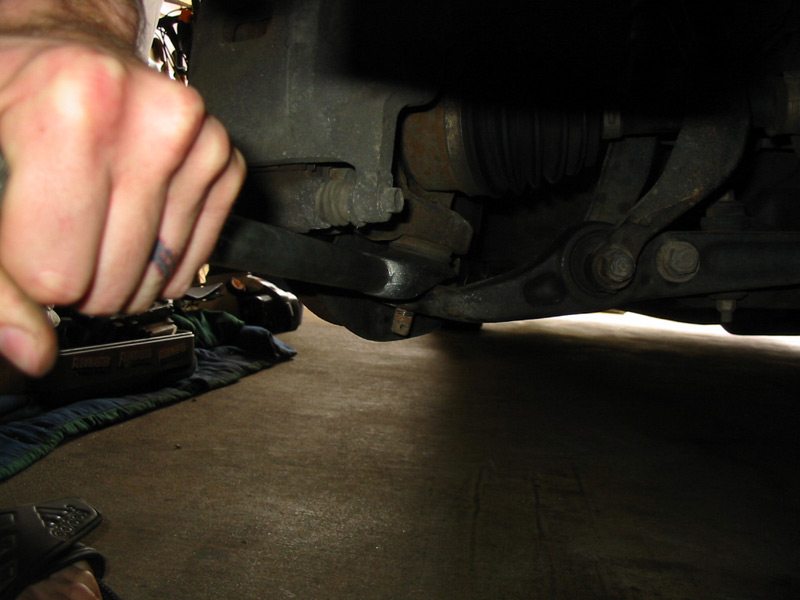
Figure 5. Use the pickle puller. 
Figure 6. Pull the hub assembly.
Step 4 – Remove the axle
Use a small pry and wedge the axle out of the transmission. Do not worry about pulling the axle out all the way, just rest it on top of the strut fork.
Step 5 – Remove the shift linkage
Disconnect the two shift rods from the transmission and focus on the keeper pin. The best tactic to use on its removal requires using hammer and punch to knock it out.
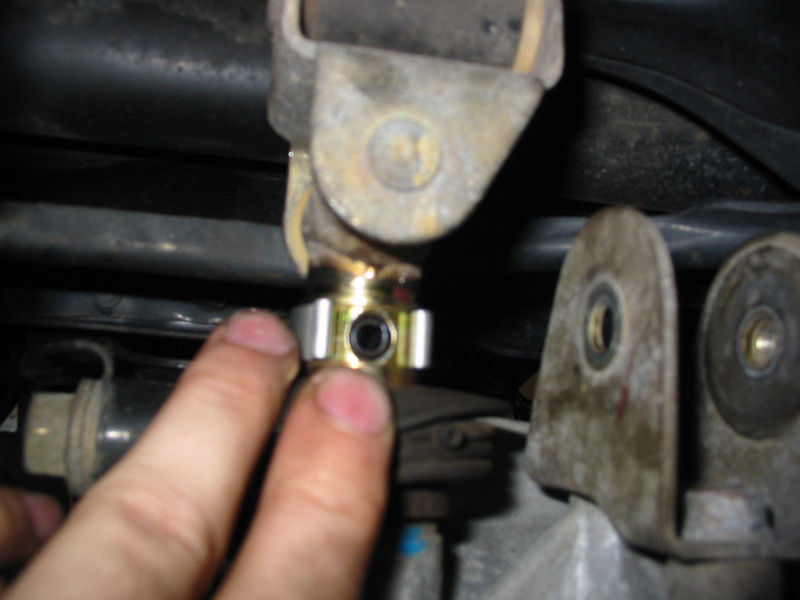
Figure 8. The cotter pin. 
Figure 9. Use a punch on the pin. 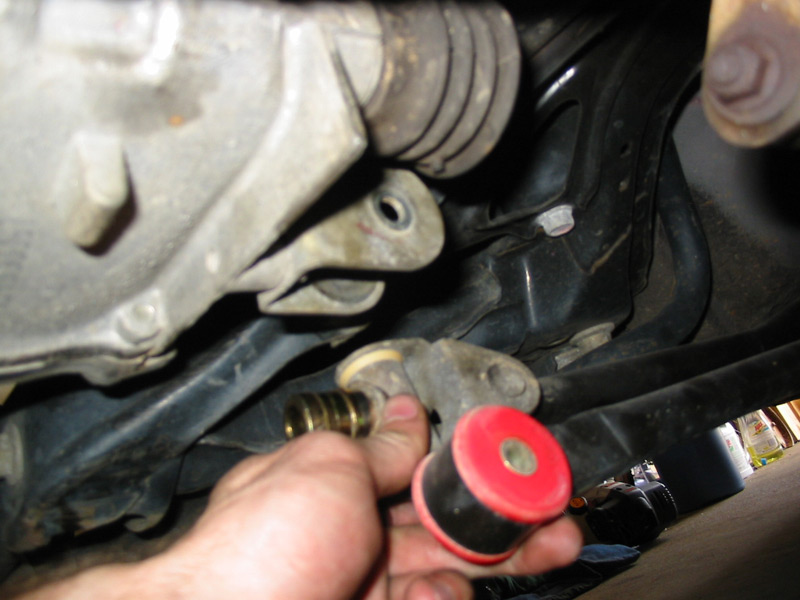
Figure 10. Remove the shift linkage.
Step 6 – Begin removing the transmission components
Remove the transmission mount, starter, upper transmission bolt, wire harness bracket, clutch line bracket, slave cylinder assembly, and speed sensor. The rear transmission mount is held in by a 17mm bolt and the starter has two 14mm bolts, a wire clip, and a 12mm cable nut. The slave cylinder assembly is held in place by two 12mm bolts.
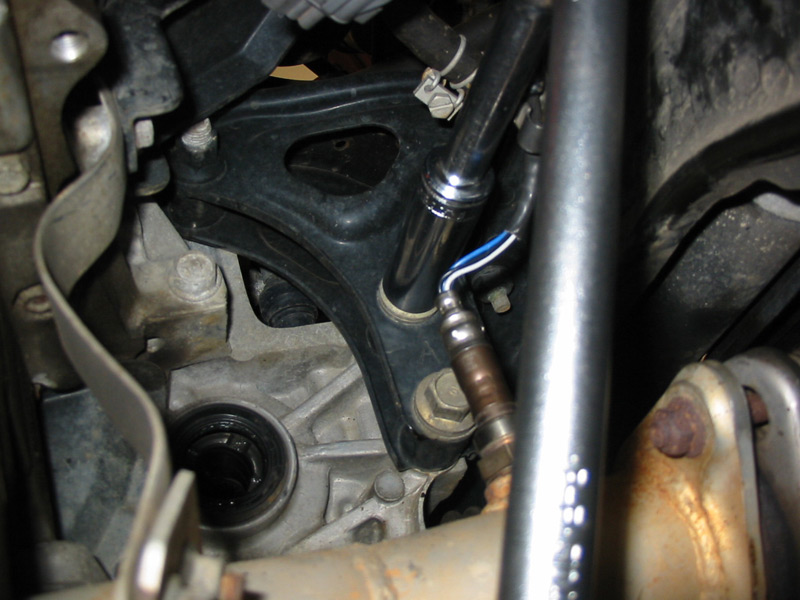
Figure 11. Remove bolts for rear torsion mount. 
Figure 12. Remove the starter bolts. 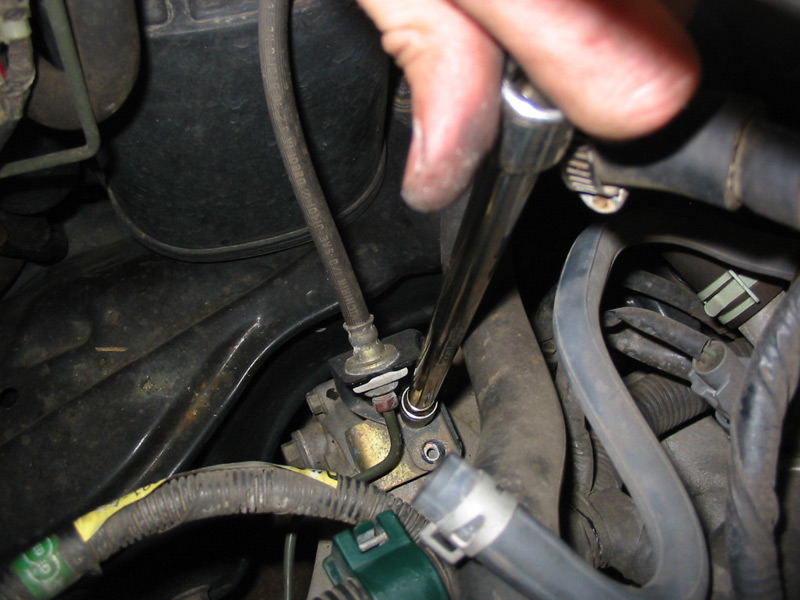
Figure 13. Remove the clutch line bracket. 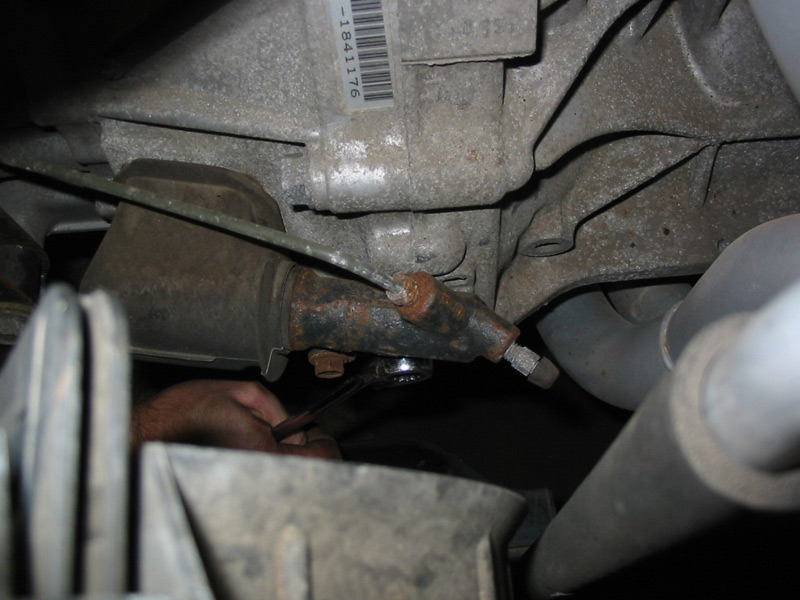
Figure 14. Remove the slave cylinder.
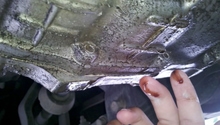
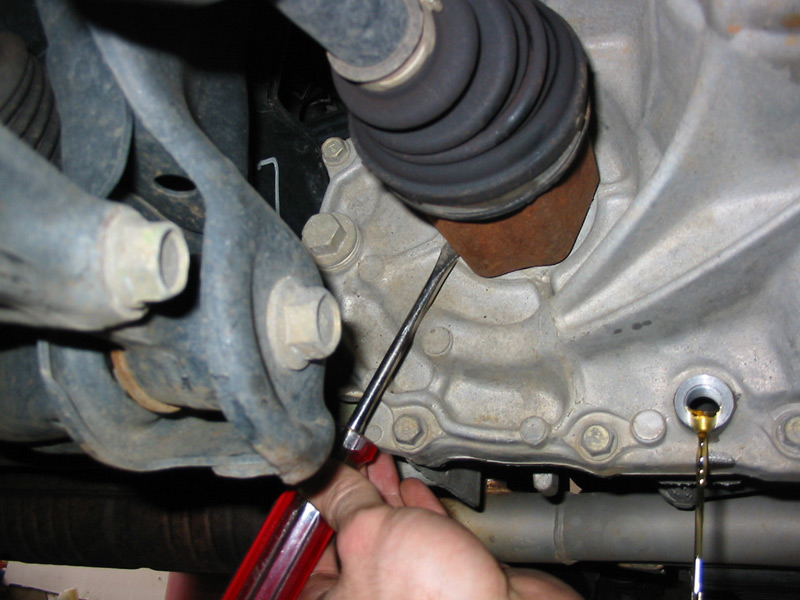
Step 7 – Lower the transmission
Place a piece of wood on top of a hydraulic jack and position it under the transmission. Remove the transmission top mount's 17mm bolts. Proceed to remove the front transmission mount (three 17mm bolts and two 14mm bolts). Remove the final 19mm mount bolt located behind the transmission. Once done, loosen all four bolts that connect the transmission housing to the engine. Use a small pry bar and separate the engine and transmission housing, then safely lower the complete assembly.
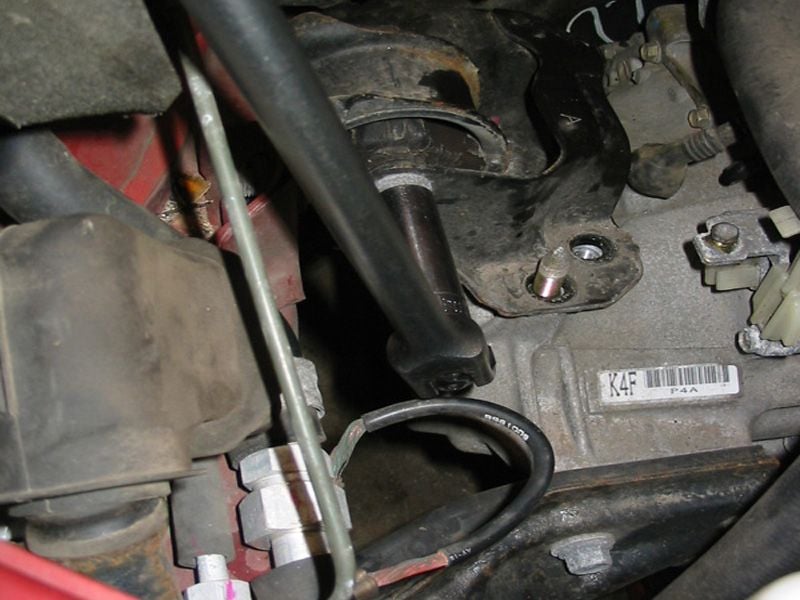
Figure 15. Remove upper transmission mount. 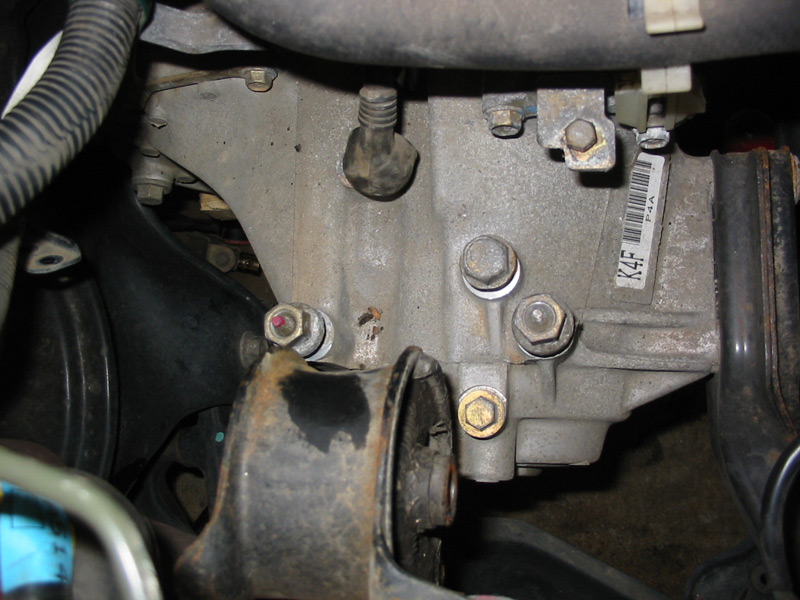
Figure 16. Remove front transmission mount. 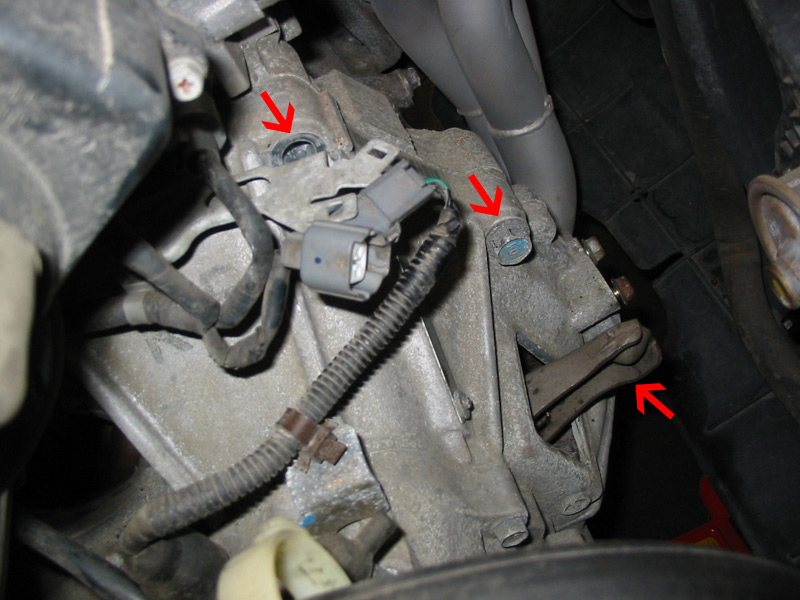
Figure 17. Remove the bolts that hold the transmission to the engine. 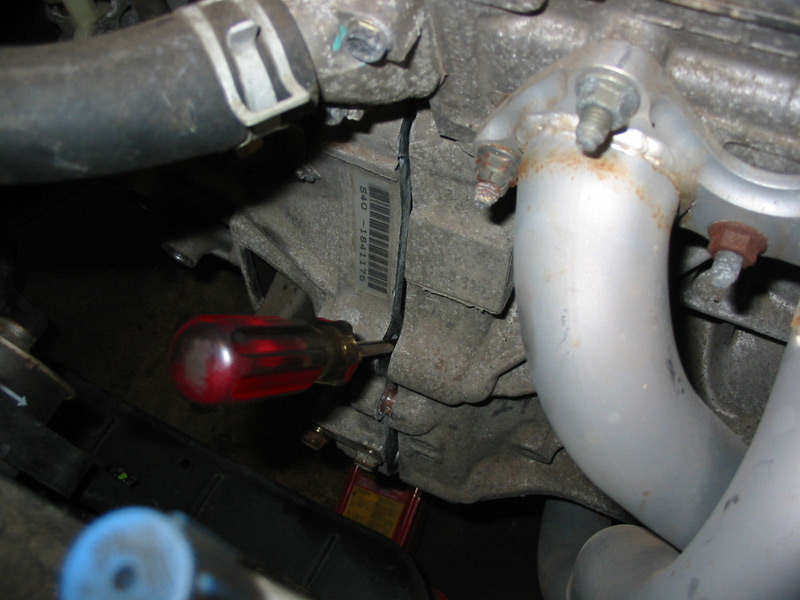
Figure 18. Pry the transmission off. 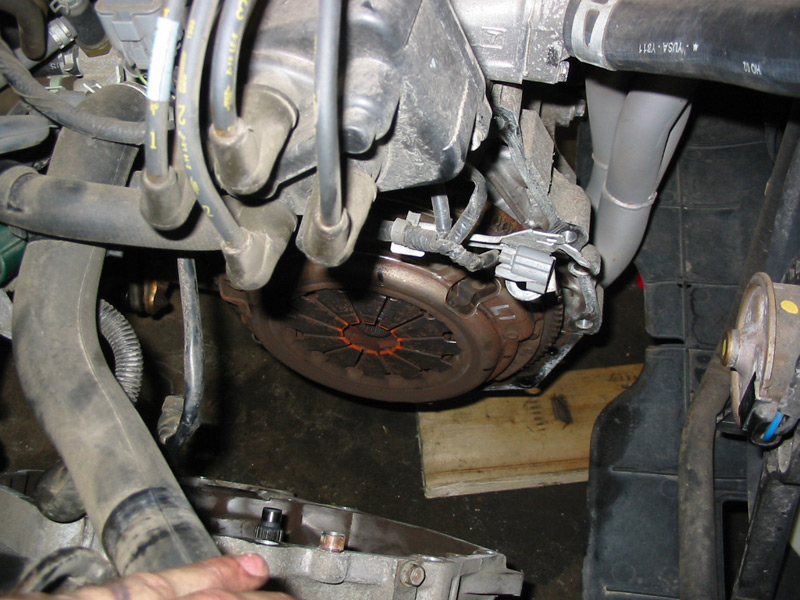
Figure 19. Safely lower the transmission.
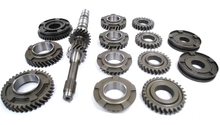
Step 8 – Remove the clutch and flywheel
Loosen the six 12-point 10mm bolts that mount the pressure plate to the flywheel. Then, loosen the six 12-point 17mm bolts that mount the flywheel to the engine.
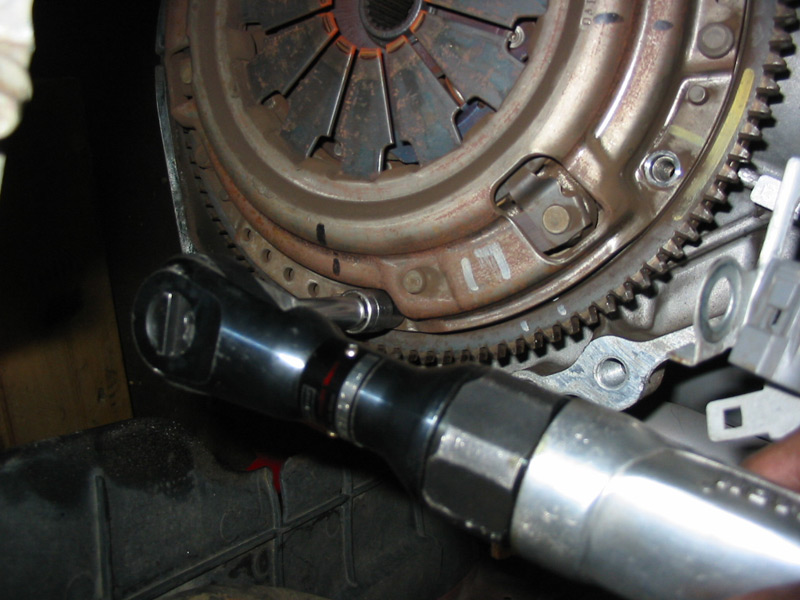
Figure 20. Remove the pressure plate bolts. 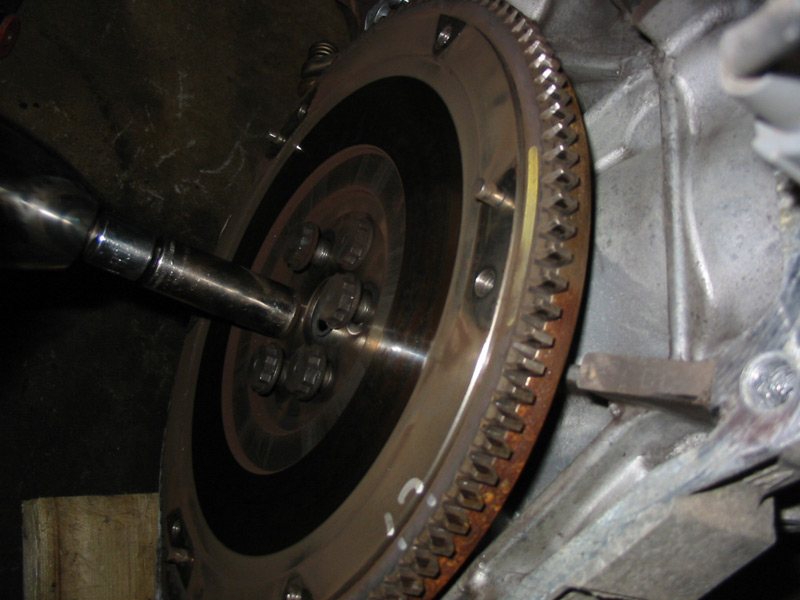
Figure 21. Remove the flywheel bolts.
Pro Tip
When removing the flywheel bolts, it is best to use an impact wrench as the flywheel itself will lean, making the removal more difficult than it needs to be.
Step 9 – Install the new flywheel
Grab the pilot bearing and use a hammer and socket to press it into the new flywheel. Once it's flush, re-install the flywheel onto the engine and torque down the mounting bolts to 87 ft/lbs.
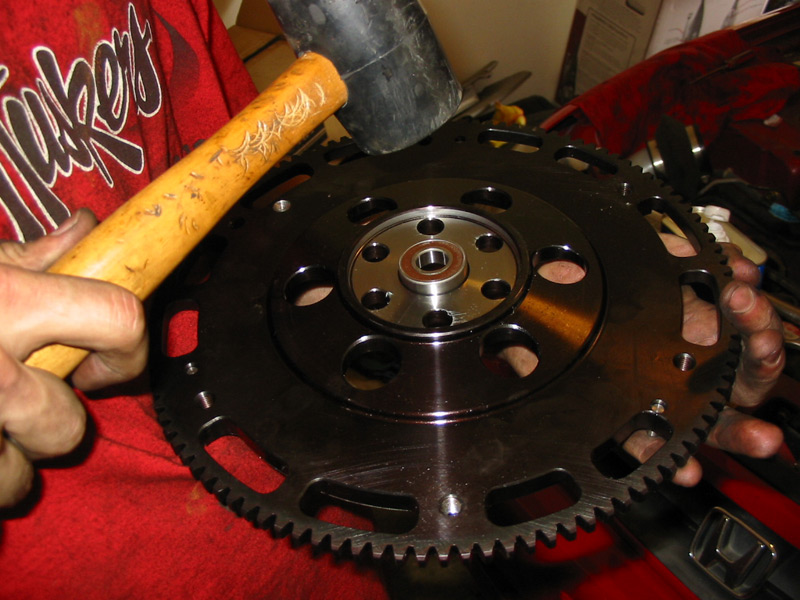
Figure 22. Install the pilot bearing. 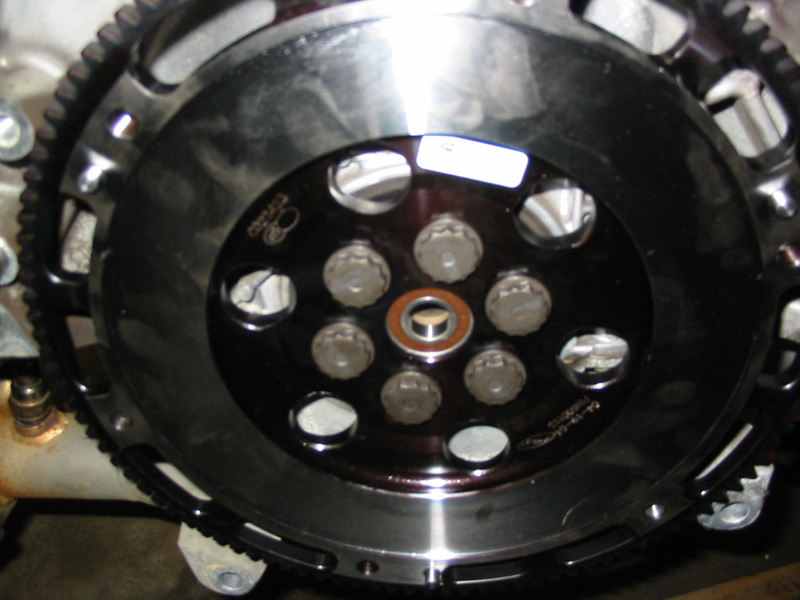
Figure 23. Install the flywheel to the engine.
Step 10 – Mount the clutch
Slide the alignment tool into the clutch disk and position it on top of the new flywheel. Take the pressure plate and mount it on top of the clutch plate. Position the pressure plate so the three studs on the flywheel are visible. Once fitted, tighten the pressure plate bolts to 19 ft/lbs using a criss-cross pattern. When tightening, remove the clutch alignment tool and replace the throwout bearing found inside the transmission housing.

Figure 24. Mount clutch disc to flywheel. 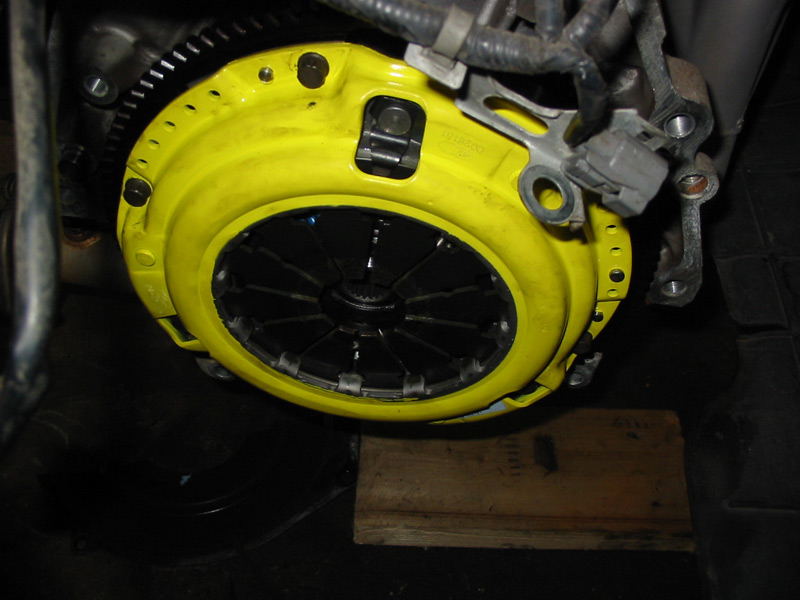
Figure 25. Mount and align pressure plate. 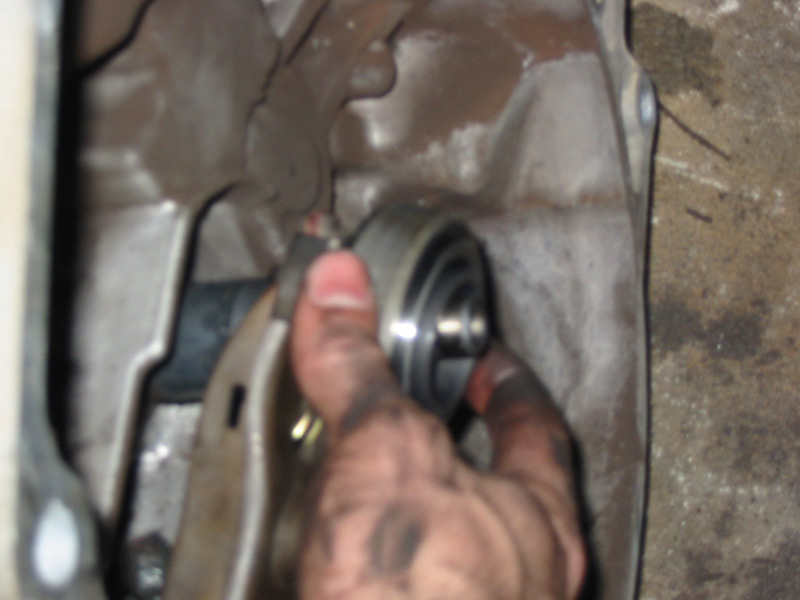
Figure 26. Replace the throwout bearing.
Step 11 – Mount the transmission and components
With the clutch and flywheel installed, raise the transmission and align the splines so it correlates the ones inside the engine. Mate the transmission and engine block together and tighten the mounting bolts. Reconnect the shift linkage, starter, mounts, wire clips, axles, and balljoints. Be sure to torque the balljoints to 47 ft/lbs and axle nuts to 134 ft/lbs.
Featured Video: How to Replace Clutch and Flywheel in Civic
Related Discussions
- Clutch Replacement DIY - Honda-Tech.com
- Which Clutch and Flywheel - Honda-Tech.com
- How Aggressive of a Clutch is Needed? - Honda-Tech.com