Honda Civic: How to Replace Brake Lines
Your original brake lines are made of rubber, and sometimes they go bad. This leads to dangerous driving conditions. Find out how to protect yourself by replacing these critical components.
This article applies to the Honda Civic/Del Sol (1992 2000).
The hydraulic pressure in your braking system is critically important. When lines leak, the loss of pressure can dramatically reduce your stopping power in an instant. Old brake lines that are cracked or dry should be replaced before they become a hazard. Find out how to swap these rubber components out of your braking system, and restore foot pedal pressure.

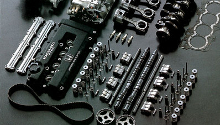
Materials Needed
- 10, 12, and 14mm open end wrenches
- Pliers
- Drain bucket
- Jack stands, tire blocks and a jack
- Tire iron
- Brake fluid
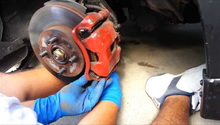
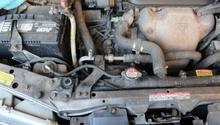
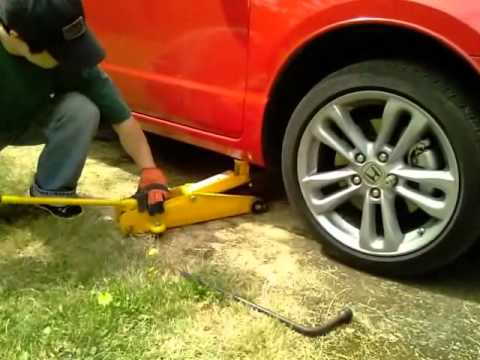
Step 1 – Lift vehicle and remove wheel
Set the parking brake, block the wheels, and loosen the lug nuts with your tire iron. Lift your vehicle, and secure it on jack stands. Make sure it is stable before proceeding. Remove the tire and wheel assembly.
(Related Article: How to Jack Up Your Civic - Honda-Tech.com)
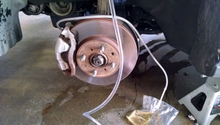
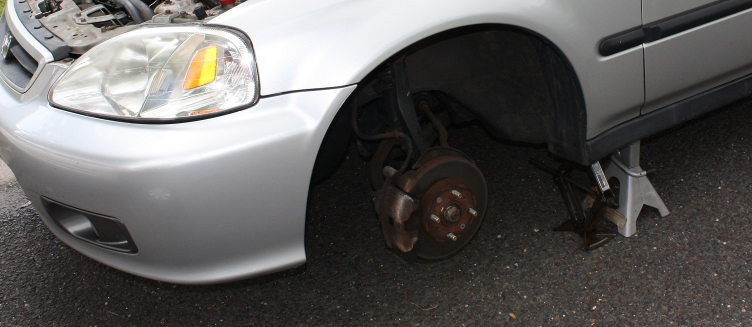
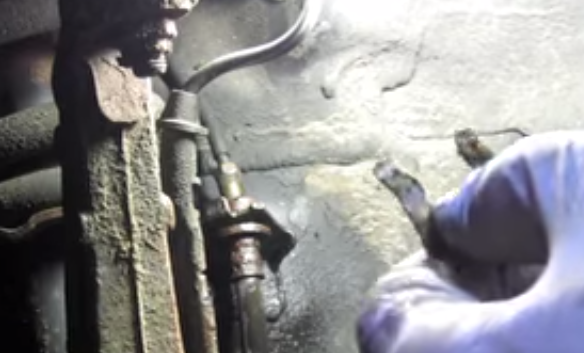
Step 2 – Unbolt and release brake line
Set your drain bucket under the wheel hub assembly. Use the pliers to remove the old spring retaining clip from its bracket. Use the open end wrenches to loosen the brake line fittings. Remove the banjo bolt, and unbolt the line's mounting bracket from the wheel knuckle.
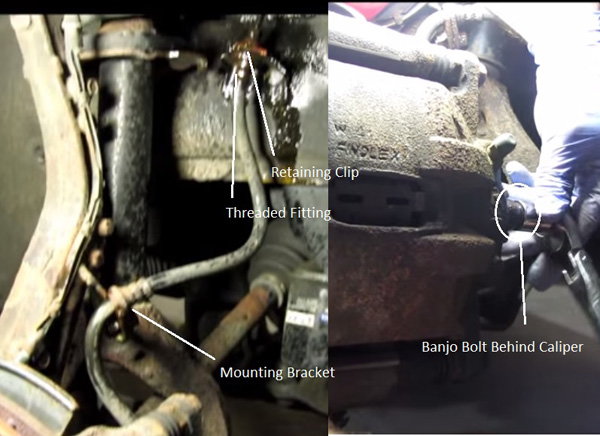
Pro Tip
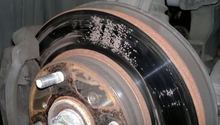
Try to keep the brake fluid from splashing onto the paint of your car. The fluid causes permanent damage to the finish.
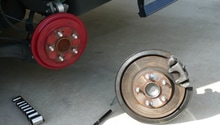
Step 3 – Install replacement line
Loosely thread the new line into place. Using a new retaining clip, secure the line to the top mounting bracket. Replace the banjo bolt washers, and thread the bolt back into its place, leaving it loose for the time being. Bolt the mounting bracket back onto the steering knuckle. Then tighten the upper fitting and banjo bolt.
Pro Tip
Avoid over tightening the new line. Stripped threads lead to leaks, and loss of hydraulic pressure.
Step 4 – Bleed brakes
You need to get all of the air out of the lines.
Top up the brake fluid reservoir, and allow it to sit for a few moments. Loosen the bleeder screw and allow the fluid to bleed. Sometimes, large air bubbles can be removed by simply allowing the fluid from the top of the reservoir to flow through the line. Once you see clean fluid leaking out, it is time to work out the smaller air bubbles. Tighten the screw back down, and have someone get in the car.
To foot bleed, your helper needs to pump the brake pedal three times and hold it down to pressurize the hydraulic system. Loosen the bleed screw to relieve pressure, and allow the fluid to escape. Twist the screw closed to seal the system off again. Repeat this process until you no longer see air bubbles escaping from the fluid. You will know that you have gotten all of the air out when you feel a solid pressure at the brake pedal with the screw closed.
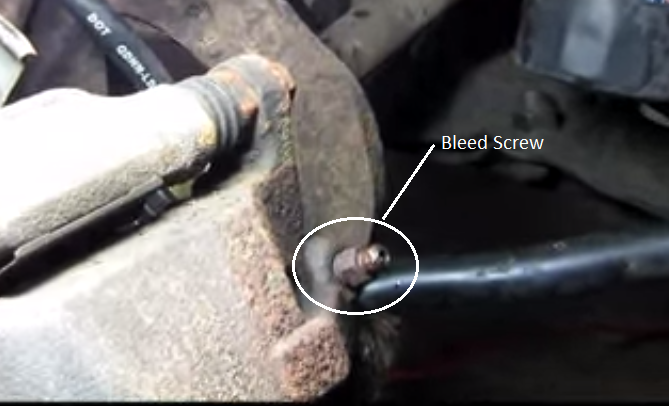
Pro Tip
Always keep an eye on the brake fluid reservoir. Never let this fall below half full when bleeding the brake system.
(Related Article: How to Bleed Your Brakes - Honda-Tech.com)
Step 5 – Mount wheel and lower vehicle
Attach your wheels back on, and tighten the lug nuts all the way down by hand. Lower the vehicle, and use your tire iron to finish securing the lug nuts.
Featured Video: Brake Line Replacement
Related Discussions
- Bleeding Brakes - Honda-Tech.com
- Replacing Broken Hard Line - Honda-Tech.com